
Mastering the Art of Freezing Baked Treats Without Losing Flavor

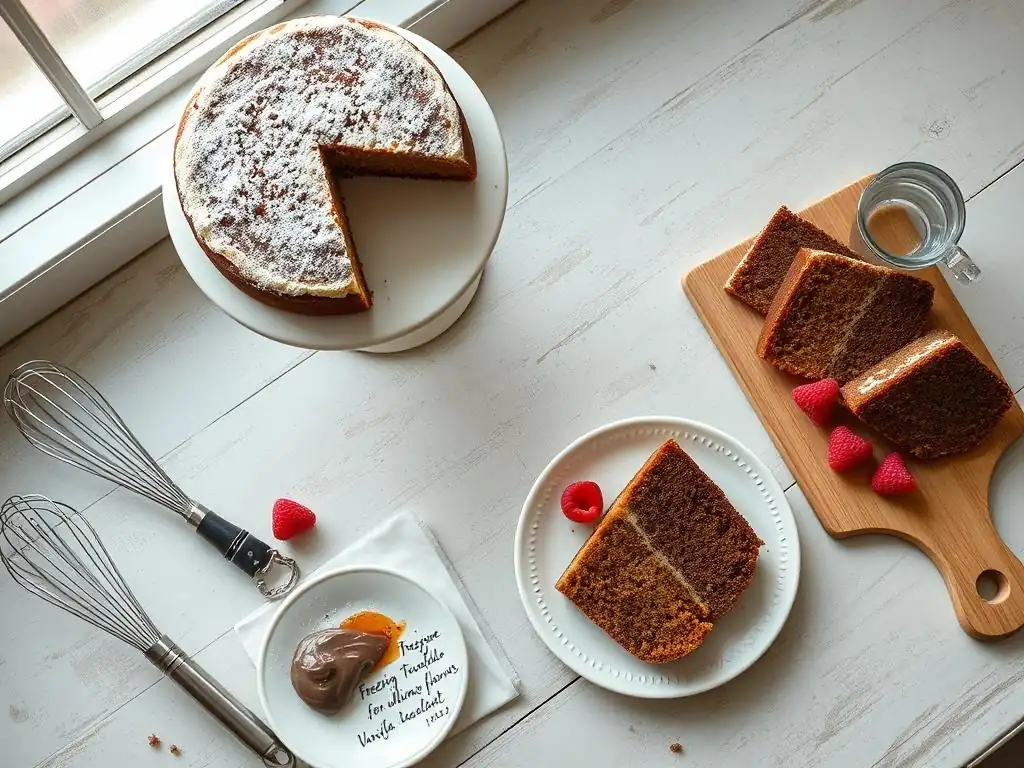
Welcome to BakeWithEase, your kitchen companion for unlocking baking brilliance! Ever wonder how to perfectly preserve that homemade goodness? This guide dives deep into freezing baked goods, revealing the secrets to maintaining their delicious flavor and texture. Discover the tried-and-true techniques that will ensure your treats taste as fresh as the day they came out of the oven. Ready to say goodbye to freezer burn and hello to long-lasting deliciousness? Let's get started!
- Mastering the Art of Freezing Baked Treats: A Comprehensive Guide
- Introduction: Preserving the Quality of Your Baked Creations
- Why Freeze Baked Goods? Benefits for Flavor and Convenience
- The Science of Freezing Baked Goods: Flavor Retention Principles
- Essential Tools for Freezing Baked Goods Effectively
- Step-by-Step Guide: Freezing Various Baked Goods
- Pro Tips for Freezing Baked Goods
- Thawing Techniques: Restoring Frozen Baked Goods
- Troubleshooting: Common Mistakes and Prevention
- Conclusion: Enjoying Freshly Baked Taste from the Freezer
-
Frequently Asked Questions
- How does freezing baked goods affect their flavor?
- What types of baked goods freeze best without significant flavor loss?
- What is the best way to wrap baked goods for freezing to preserve their flavor?
- How long can I freeze baked goods without compromising their flavor?
- What's the best way to thaw frozen baked goods to retain the most flavor?
- Final Reflection: The Enduring Sweetness of Frozen Delights
- Unlock Your Freezer's Baking Potential!
Mastering the Art of Freezing Baked Treats: A Comprehensive Guide
Introduction: Preserving the Quality of Your Baked Creations
There's a special joy in baking, filling your home with wonderful aromas and creating delicious treats from scratch. But what happens when you've baked a bit too much, want to get ahead for a special occasion, or simply want to savor that fresh-baked taste later? Freezing baked goods is a fantastic solution. It allows you to preserve the quality, texture, and, crucially, the flavor of your creations for weeks or even months, giving you access to delightful pastries, cakes, and cookies whenever the craving strikes.
However, simply tossing baked goods into the freezer isn't enough to guarantee they'll taste as good as they did fresh out of the oven. Mastering the art of freezing requires understanding a few key principles and techniques. The goal is to protect your delicate treats from the harsh freezer environment, preventing issues like freezer burn and moisture loss that can significantly impact flavor and texture. By following the right steps, you can ensure that your efforts in the kitchen are rewarded with delicious results, even after a stint in the deep freeze.
Why Freeze Baked Goods? Benefits for Flavor and Convenience
Extending Shelf Life: Maintaining Freshness Over Time
Freezing is one of the most effective methods for significantly extending the shelf life of baked goods, far beyond the typical few days they might last at room temperature or in the refrigerator. For instance, most cakes and cookies, when properly wrapped and frozen, can maintain their quality for 2-3 months. Breads and rolls often fare even better, sometimes lasting up to 4-6 months. This preservation is key to maintaining the original flavor profile, as it halts the staling process and prevents spoilage.
By freezing, you essentially press pause on the natural degradation that occurs over time. This means the delicate balance of flavors, the moist crumb of a cake, or the tender chewiness of a cookie is preserved. Instead of rushing to consume everything before it goes stale, you gain the flexibility to enjoy your homemade treats weeks or months down the line, with minimal loss of that freshly baked goodness. This makes freezing baked goods a powerful tool for flavor retention.
Baking Efficiency: Preparing in Advance for Future Enjoyment
Freezing allows bakers to work smarter, not harder, by preparing components or entire finished goods well in advance of when they are needed. This is particularly useful for busy periods, holidays, or when hosting events. Imagine needing multiple types of cookies for a party; you could bake and freeze several batches over a few weeks, then simply thaw them closer to the date, saving immense time and stress in the final days.
This forward planning doesn't just save time; it also ensures consistent quality. By baking when you have the time and focus, you're likely to produce better results than if you were rushing under pressure. Freezing these perfectly executed items locks in their quality, making them ready to be enjoyed later without compromise. This ability to pre-bake and freeze is a game-changer for managing baking projects of any scale while preserving the desired freezing baked goods flavor.
Minimizing Waste: Storing Leftovers and Extra Portions
One of the most practical benefits of freezing baked goods is the ability to minimize food waste. Whether you've baked a large batch of muffins, have leftover cake from a celebration, or simply couldn't finish that loaf of bread before it started to go hard, freezing provides a simple solution. Instead of discarding perfectly good food, you can preserve it for future consumption.
This not only saves money but also respects the effort and ingredients that went into baking. A half-eaten pie can be portioned, wrapped, and frozen to be enjoyed slice by slice later. Extra cookie dough can be frozen in ready-to-bake portions. This mindful approach to storing leftovers ensures that delicious baked goods don't end up in the trash, allowing you to enjoy their flavor and texture whenever you're ready.
The Science of Freezing Baked Goods: Flavor Retention Principles
Impact on Texture and Taste: Understanding Freezing Effects
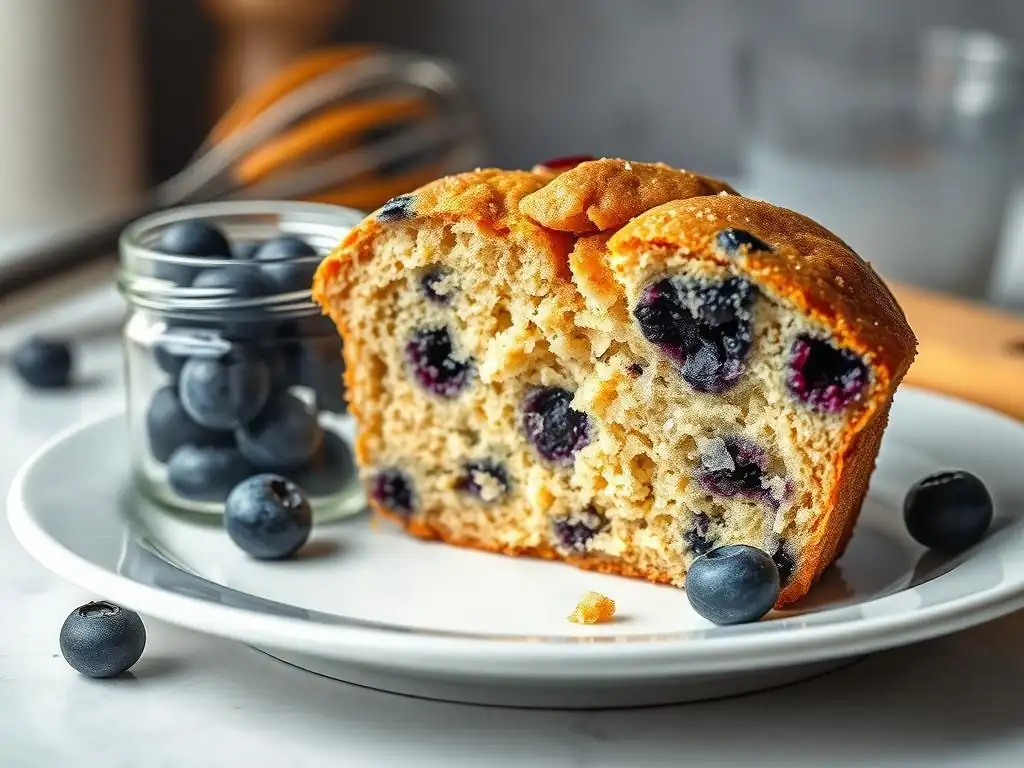
When baked goods are frozen, the water content within them turns into ice crystals. The size and formation of these crystals significantly impact the final texture upon thawing. Large ice crystals can damage the cell structure of the baked item, leading to a dry, crumbly, or tough texture. This is why rapid freezing is often preferred, as it creates smaller, less damaging crystals. The freezing process also affects the distribution of fats and sugars, which can influence the perceived richness and sweetness.
The freezing process itself doesn't inherently destroy flavor compounds, but improper freezing or storage can lead to flavor degradation. Exposure to air can cause oxidation, leading to stale or off-flavors. Additionally, baked goods can absorb odors from other items in the freezer if not properly sealed. Protecting the item from these environmental factors is paramount to preserving the original, intended freezing baked goods flavor profile.
Key Factors: Temperature, Packaging, and Thawing
Maintaining a consistent, low temperature is crucial for effective freezing. A standard freezer temperature of 0°F (-18°C) or lower is ideal for long-term storage. Fluctuations in temperature, often caused by opening the freezer door frequently or placing warm items inside, can lead to thawing and refreezing cycles, resulting in larger ice crystals and degraded quality.
Proper packaging is arguably the most critical factor in preserving flavor and texture. Airtight packaging prevents moisture loss (which causes freezer burn) and protects the item from absorbing foreign odors. Materials like plastic wrap, aluminum foil, and freezer bags, used correctly, create a barrier against the harsh freezer environment. Finally, the thawing process itself impacts the final result; rapid thawing can sometimes lead to moisture loss, while slow, controlled thawing helps the item reabsorb moisture evenly, restoring texture and flavor.
Essential Tools for Freezing Baked Goods Effectively
Freezer-Safe Containers: Selecting Optimal Storage Solutions
Freezer-safe containers, made from durable plastic or glass, provide a robust barrier against freezer burn and physical damage. They are particularly useful for delicate items like frosted cakes or pastries that need structural support. When selecting containers, look for those specifically labeled "freezer-safe" as they are designed to withstand the low temperatures without becoming brittle and are less likely to impart plastic flavors.
Choosing the right size is also important; the container should be snug enough to minimize air space around the baked item. This reduces the risk of oxidation and helps maintain the freezing baked goods flavor. While containers offer excellent protection, they should often be used in conjunction with wrapping the item first for maximum effectiveness.
Airtight Bags: Removing Air for Enhanced Preservation
High-quality, airtight freezer bags are indispensable for freezing baked goods. They are flexible, conform well to the shape of the item, and are designed to prevent air exchange. The key to using freezer bags effectively is removing as much air as possible before sealing. This can be done by gently pressing the air out or using a straw to suck out the remaining air just before sealing.
Minimizing air exposure is critical because air contains moisture that can freeze and cause ice crystals, and oxygen that can lead to oxidation and off-flavors. Freezer bags are excellent for cookies, muffins, rolls, and slices of cake or bread. For best results, consider using a vacuum sealer if you freeze baked goods frequently, as they remove significantly more air than manual methods, greatly enhancing the preservation of freezing baked goods flavor.
Foil and Wrap: Providing Extra Layers of Protection
Plastic wrap and aluminum foil serve as essential initial layers of protection when freezing baked goods. Plastic wrap, when applied directly and snugly to the surface of the item, prevents air from reaching the food, minimizing moisture loss and freezer burn. It's particularly useful for wrapping individual cookies, slices of cake, or loaves of bread before placing them in a bag or container.
Aluminum foil, especially heavy-duty freezer foil, provides an additional layer of insulation and protection against freezer burn and odors. Wrapping an item tightly in foil after it's been wrapped in plastic wrap creates a double barrier. This double-wrapping technique is highly recommended for items that will be stored for longer periods or are particularly susceptible to freezer burn, ensuring the freezing baked goods flavor remains intact.
Labeling: Tracking Contents and Dates
Proper labeling is a simple yet crucial step in managing your frozen baked goods. Without labels, it's easy to forget what's in a package or how long it's been in the freezer. Use freezer-safe tape or labels and a permanent marker to clearly write the contents (e.g., "Chocolate Chip Cookies," "Banana Bread Slice"), the date it was frozen, and potentially the quantity.
This practice helps you rotate your stock, ensuring you use older items first, which is important for maintaining quality. It also prevents the frustrating mystery of finding unidentifiable frozen objects months later. Accurate labeling is a small step that makes a big difference in organizing your freezer and enjoying your frozen baked goods at their best quality.
Step-by-Step Guide: Freezing Various Baked Goods
Freezing Cakes: Maintaining Moisture and Preventing Freezer Burn
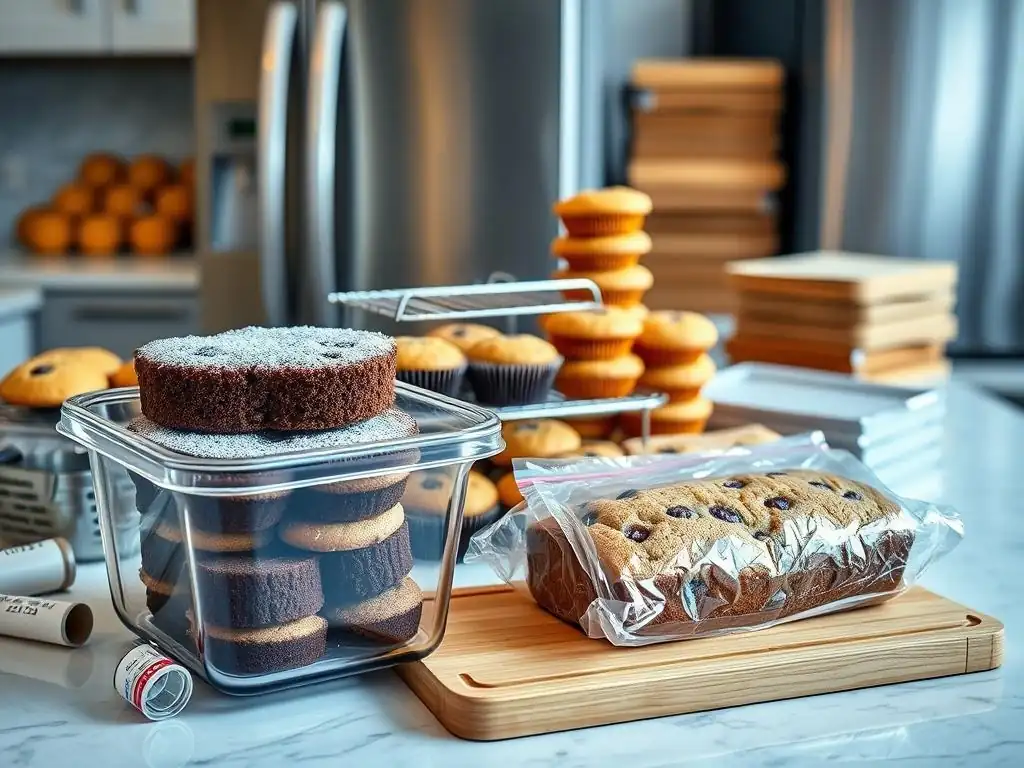
Freezing cakes requires careful handling to protect their delicate structure and moist crumb. The key is to prevent moisture loss and damage. Ensure the cake is completely cooled before wrapping; warm cakes create condensation, which leads to ice crystals. For unfrosted cakes, chilling them in the refrigerator for an hour or two before wrapping can make them firmer and easier to handle.
Wrap the cooled cake tightly in several layers of plastic wrap, ensuring no surface is exposed. Then, wrap it again securely in a layer of aluminum foil or place it in a freezer-safe container or bag. This double layer of protection is vital for preventing freezer burn and preserving the cake's texture and freezing baked goods flavor for up to 2-3 months.
Freezing Whole Cakes: Layered and Unfrosted Cakes
To freeze a whole layered cake that is unfrosted, make sure it's completely cool. If the layers are separate, wrap each layer individually as described above. If the layers are assembled but unfrosted, wrap the entire cake body tightly in plastic wrap, then foil. Place the wrapped cake in a sturdy container or cake box within a freezer bag to protect it from being crushed.
Freezing unfrosted cakes is generally easier and yields better results than freezing frosted ones, as frosting can sometimes change texture in the freezer. Ensure all wrapping is snug against the cake surface to prevent air pockets. A properly frozen and thawed unfrosted cake can be frosted right before serving, offering the closest experience to a freshly baked cake, preserving its moistness and freezing baked goods flavor.
Freezing Cake Slices: Individual Servings
Freezing individual cake slices is perfect for portion control and enjoying a treat whenever you like. Cut the cake into desired slices once it's fully cooled. For frosted slices, it's helpful to "flash freeze" them first: place the slices on a baking sheet lined with parchment paper and put them in the freezer for about 30 minutes to an hour, until the frosting is firm.
Once the slices are firm, wrap each one individually and tightly in plastic wrap, then in aluminum foil. Place the double-wrapped slices into a freezer-safe bag or container. Flash freezing prevents the frosting from sticking to the wrapping. Properly wrapped and frozen slices can be stored for 2-3 months, ready to be thawed and enjoyed as a single serving while maintaining their freezing baked goods flavor.
Cookies are excellent candidates for freezing, either as dough or after baking. Freezing cookie dough allows you to bake fresh cookies anytime, which is the absolute best way to enjoy maximum flavor and texture. Freezing baked cookies is a convenient way to save leftovers or bake ahead for events. The key with baked cookies is protecting their texture, preventing them from becoming crumbly or soft upon thawing.
Ensure baked cookies are completely cool before freezing. Warm cookies will create condensation, leading to ice crystals and impacting texture. Different types of cookies freeze differently; drop cookies and bar cookies generally freeze very well, while delicate or very thin cookies might be more challenging. Proper packaging is essential to protect against breakage and freezer burn, ensuring the freezing baked goods flavor is maintained.
Freezing Cookie Dough: Preparing for Baking
Freezing cookie dough is a brilliant hack for having warm, fresh cookies on demand. For scoopable dough (like chocolate chip or oatmeal), portion the dough using a scoop or spoon and place the portions on a baking sheet lined with parchment paper. Flash freeze for 1-2 hours until solid. Once solid, transfer the dough balls to a freezer-safe bag or container. This prevents them from sticking together.
For slice-and-bake dough, shape the dough into logs, wrap tightly in plastic wrap, then in foil. Place logs in a freezer bag. Frozen dough can last 3-6 months. Baking from frozen dough usually requires adding a few extra minutes to the baking time compared to fresh dough, but the result is a cookie with peak texture and freezing baked goods flavor.
Freezing Baked Cookies: Storing Different Varieties
To freeze baked cookies, ensure they are completely cool. For sturdy cookies like shortbread or sugar cookies, you can often stack them with parchment paper in between layers in a freezer-safe container. For more delicate cookies or those with frosting, it's better to freeze them in a single layer or flash freeze them first before carefully stacking or placing them in a container.
Wrap containers or bags tightly, removing as much air as possible. Baked cookies can be frozen for 2-3 months. Thawing is usually done at room temperature. Freezing baked cookies is convenient, but baking from frozen dough often yields a slightly better texture closer to fresh. However, with proper freezing, the freezing baked goods flavor of baked cookies holds up quite well.
Freezing Breads: Retaining Softness and Preventing Staling
Bread freezes exceptionally well, making it easy to always have a loaf or rolls on hand. Freezing halts the staling process, preserving the bread's soft texture and fresh taste. Whether it's a rustic loaf, sandwich bread, or dinner rolls, proper freezing techniques can keep them tasting great for months.
Ensure bread is completely cool before freezing. Freezing warm bread will trap moisture and lead to ice crystal formation, damaging the texture. For loaves you plan to slice before eating, it's often best to slice the cooled loaf before freezing. This way, you can take out just the number of slices you need, leaving the rest frozen.
Freezing Bread Loaves: Slicing or Freezing Whole
For freezing a whole loaf, whether homemade or store-bought, wrap it tightly in a layer of plastic wrap, pressing out all the air. Then, wrap it again in aluminum foil or place it inside a freezer-safe bag specifically designed for bread. This double layer is crucial for preventing freezer burn on the crust and maintaining the soft interior. Whole loaves can be frozen for 4-6 months.
If you prefer to freeze slices, slice the cooled loaf first. You can then stack the slices and wrap the stack tightly in plastic wrap and foil, or place them directly into a freezer bag, removing as much air as possible. Freezing slices makes it incredibly convenient to grab just what you need for toast or a sandwich, quickly thawing at room temperature or in a toaster. This preserves the freezing baked goods flavor and texture slice by slice.
Freezing Rolls: Individual Wrapping
Dinner rolls, burger buns, or other individual rolls also freeze very well. Once completely cooled, they can be placed directly into a freezer-safe bag. To prevent them from freezing together in a solid mass, you can flash freeze them on a baking sheet first for about 30-60 minutes until firm, then transfer them to the freezer bag.
For longer storage or extra protection, wrap individual rolls tightly in plastic wrap before placing them in a freezer bag. This is particularly useful for enriched rolls like brioche or challah. Properly frozen rolls can last 4-6 months. Thawing is usually quick at room temperature, and a brief warm-up in the oven can restore their freshly baked feel and freezing baked goods flavor.
Freezing Pastries: Maintaining Flakiness
Freezing pastries requires care to preserve their delicate structure and flaky layers. Items like croissants, Danishes, or puff pastry treats can be frozen both before baking (as dough) or after baking. Freezing dough is often preferred as it yields a fresher result, but freezing baked pastries is also possible with the right technique.
Ensure baked pastries are completely cool before freezing. For pastries with fillings or glazes, chilling them briefly in the refrigerator first can help prevent the filling/glaze from sticking to the wrapping. The key is to protect the layers from becoming crushed and prevent moisture loss.
Freezing Pies: Protecting Crust and Filling
Both unbaked and baked pies can be frozen. Freezing unbaked pies often results in a flakier crust, but requires careful wrapping to prevent the crust from drying out or absorbing odors. Wrap the unbaked pie tightly in several layers of plastic wrap, then cover the entire pie with aluminum foil, ensuring the edges are well-protected. Freeze for up to 3-4 months. Bake from frozen, adding extra time.
To freeze a baked pie, ensure it's completely cooled. If possible, flash freeze the pie first until solid. Then, wrap it tightly in plastic wrap followed by aluminum foil. Baked pies can be frozen for 2-3 months. Thaw a baked pie in the refrigerator overnight or bake from frozen at a lower temperature to warm through. Proper wrapping is crucial for preserving the integrity of the crust and the freezing baked goods flavor of the filling.
Freezing Croissants: Preserving Delicate Layers
Croissants, whether baked or unbaked, can be frozen. Freezing unbaked croissants is ideal for having fresh, warm croissants anytime. Place shaped, proofed (or unproofed, depending on the recipe) croissants on a baking sheet and flash freeze until solid. Transfer to a freezer-safe bag, removing air. Freeze for up to 1-2 months. Bake from frozen, allowing extra proofing time if needed.
To freeze baked croissants, ensure they are completely cool. Flash freeze them on a baking sheet until solid. Then, carefully transfer them to a freezer-safe container or bag, minimizing stacking to prevent crushing the delicate layers. Wrapped baked croissants can be frozen for about 2 months. Thaw at room temperature and warm briefly in a low oven to crisp up the layers and restore their delightful freezing baked goods flavor.
Pro Tips for Freezing Baked Goods
Cool Completely: Preventing Condensation
This is perhaps the most fundamental rule: always ensure your baked goods are completely cool before wrapping them for the freezer. Even slight warmth can create condensation inside the wrapping. This moisture turns into ice crystals during freezing, which can negatively impact the texture of your baked goods, making cakes gummy or cookies brittle, and ultimately detracting from the freezing baked goods flavor. Patience here pays off significantly in preserving quality. Allow items to cool fully on a wire rack.
Wrap Tightly: Minimizing Air Exposure
Air is the enemy of frozen baked goods flavor and texture. Oxygen can cause oxidation, leading to stale flavors, and air pockets allow for moisture migration and freezer burn. Use plastic wrap to create a tight, conforming layer directly against the surface of the baked item, pressing out any air bubbles. This initial barrier is crucial. Follow this with another layer of protection like foil, a freezer bag, or a container to create an airtight seal and maintain the freezing baked goods flavor.
Flash Freezing: Solidifying Items Quickly
Flash freezing involves placing items on a baking sheet in the freezer until they are solid before transferring them to their final storage container or bag. This technique is invaluable for individual items like cookies, muffins, rolls, or cake slices. It prevents them from sticking together and helps maintain their shape. Once flash-frozen, they can be easily portioned and stored without clumping, making retrieval and thawing much more convenient while protecting the item's integrity and freezing baked goods flavor.
Double Wrapping: Adding Protection
For longer storage (beyond a month or two) or for items particularly susceptible to freezer burn, double wrapping provides an extra layer of security. After wrapping the item tightly in plastic wrap, wrap it again in aluminum foil or place it in a freezer-safe bag or container. This creates a more robust barrier against air and moisture loss, significantly extending the quality lifespan of your frozen baked goods and ensuring the freezing baked goods flavor remains as close to fresh as possible.
Thawing Techniques: Restoring Frozen Baked Goods
Room Temperature Thawing: Gradual Reheating
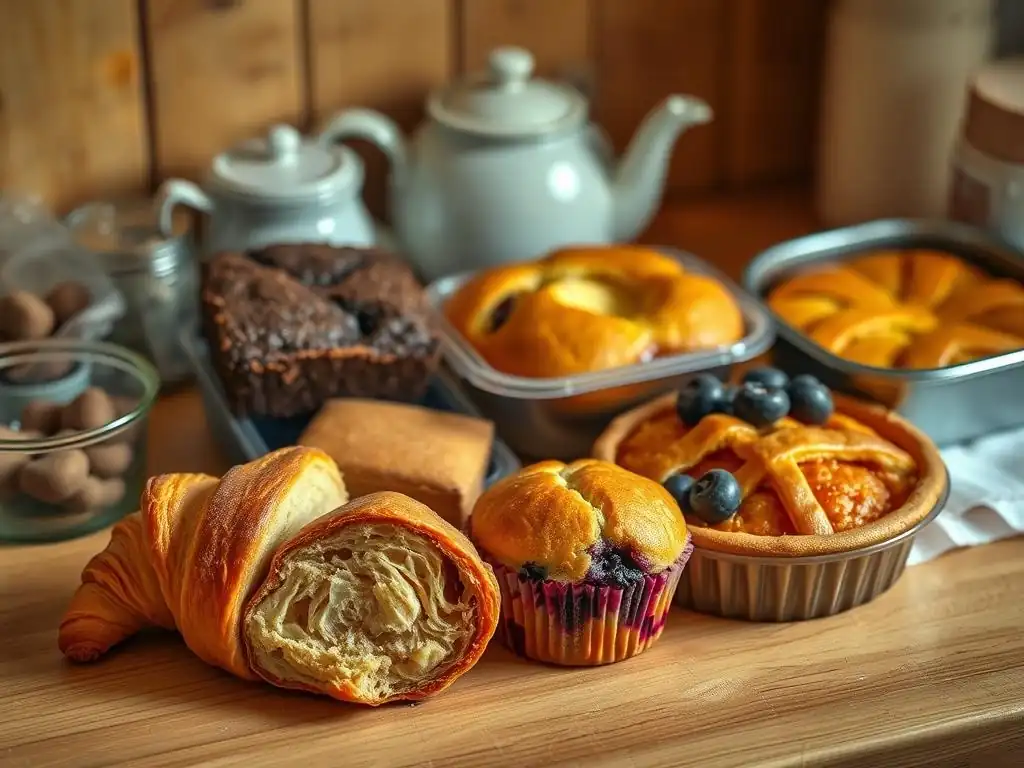
Thawing at room temperature is the most common and often simplest method for many baked goods, especially breads, rolls, cookies, and some pastries. Simply unwrap the item (or leave it loosely wrapped to manage condensation) and let it sit on the counter. Smaller items like cookies or rolls may take only 30-60 minutes, while a whole loaf of bread could take 2-3 hours.
This gradual thawing process allows moisture to redistribute within the item. For best results with breads and pastries, a quick warm-up in a low oven (around 300°F or 150°C) after thawing can restore their crispy crust or flaky layers and bring back that wonderful freshly baked aroma and freezing baked goods flavor. Avoid thawing delicate items like cream-filled pastries at room temperature for food safety reasons.
Refrigerator Thawing: Slow Defrosting
Thawing in the refrigerator is the safest method for more perishable baked goods, such as cakes with dairy-based frostings, cheesecakes, or items with fruit fillings that could spoil at room temperature. It is also a good method for dense items like pound cake or brownies. Simply transfer the wrapped baked good from the freezer to the refrigerator and let it thaw slowly.
This method can take significantly longer, often several hours or even overnight for larger items like a whole cake. While slower, it minimizes the risk of bacterial growth and helps maintain moisture, especially for items like cheesecake. The texture and freezing baked goods flavor are generally well-preserved, though some items might benefit from a brief period at room temperature or a quick warm-up after refrigerator thawing.
Oven Thawing: Quick Methods
Using the oven to thaw and reheat baked goods can be a quick way to enjoy items like bread, rolls, or certain pastries, often restoring a fresh-baked texture. For bread or rolls, you can often place them directly into a preheated oven (around 300-350°F or 150-175°C) from frozen or partially thawed. The time needed will vary depending on the size, but it might take 10-30 minutes.
This method works by warming the item through, which helps melt ice crystals and crisp the exterior. It's particularly effective for crusty breads. However, be cautious not to overcook or dry out the item. This method is less suitable for delicate cakes or cookies, which can easily become tough or burnt. Oven thawing is great for quickly enjoying that fresh freezing baked goods flavor and texture.
Troubleshooting: Common Mistakes and Prevention
Freezer Burn: Identifying and Preventing
Freezer burn appears as dry, discolored spots (often grayish or white) on the surface of frozen food. It occurs when the surface of the food is exposed to air, causing moisture to sublimate (turn directly from ice to vapor). This loss of moisture leads to a dry, tough texture and can significantly degrade the freezing baked goods flavor, often giving it a stale or off taste.
The primary cause of freezer burn is improper packaging that allows air contact. To prevent it, ensure all baked goods are wrapped tightly with as little air as possible using plastic wrap pressed directly against the surface, followed by an airtight outer layer like foil, a freezer bag, or a sealed container. Minimizing temperature fluctuations in the freezer also helps. While freezer-burned portions can sometimes be cut away, prevention is the best strategy for preserving flavor.
Texture Loss: Maintaining Consistency
Texture loss is a common issue when freezing baked goods, often resulting in items that are too dry, too wet, crumbly, or tough upon thawing. This is frequently caused by the formation of large ice crystals, which damage the internal structure of the baked item. Freezing warm goods, slow freezing, and temperature fluctuations during storage all contribute to large ice crystals.
To maintain texture, ensure items are completely cooled before freezing. Use rapid freezing techniques like flash freezing for individual pieces. Wrap items tightly to prevent moisture loss, which exacerbates texture issues. The thawing method also plays a role; slow thawing in the refrigerator is often better for delicate items, while quick oven reheating can improve the texture of breads and pastries. Properly managing moisture and ice crystal formation is key to preserving the desired freezing baked goods flavor and feel.
Off-Flavors: Avoiding Odor Absorption
Frozen baked goods can absorb odors from other foods stored in the freezer, resulting in unpleasant off-flavors. This is especially true for items with porous textures, like cakes or breads. Strong-smelling foods, such as onions, garlic, or certain meats, are common culprits. If your baked goods aren't properly sealed, they can easily pick up these unwanted aromas.
Preventing odor absorption relies entirely on airtight packaging. Ensure your baked goods are wrapped meticulously in multiple layers or sealed in high-quality freezer bags or containers that prevent any air exchange. Avoid storing baked goods directly next to strongly scented items if possible. Using dedicated freezer containers for baked goods can also help isolate them. Protecting against odor absorption is vital for enjoying the intended freezing baked goods flavor.
Conclusion: Enjoying Freshly Baked Taste from the Freezer
Mastering the techniques for freezing baked goods is a valuable skill for any home baker. It offers unparalleled convenience, reduces waste, and allows you to enjoy the fruits of your labor long after they've been baked. By understanding the science behind freezing and following best practices for wrapping, storing, and thawing, you can successfully preserve the delicate texture and, most importantly, the delicious freezing baked goods flavor that you worked so hard to create.
From cakes and cookies to breads and pastries, almost any baked treat can be frozen successfully with the right approach. Remember the key principles: cool completely, wrap tightly, protect from air and odors, and thaw appropriately. With a little care and practice, your freezer can become a treasure trove of ready-to-enjoy delights, allowing you to experience that wonderful freshly baked taste whenever the mood strikes, making your baking efforts even more rewarding.
Frequently Asked Questions
How does freezing baked goods affect their flavor?
Freezing can affect flavor through ice crystal formation which can damage cell structure and cause flavor compound loss. Proper wrapping and storage are crucial to minimize this.
What types of baked goods freeze best without significant flavor loss?
Generally, dense baked goods like brownies and some cakes freeze better than delicate items. Items with high fat content also tend to retain moisture and flavor better.
What is the best way to wrap baked goods for freezing to preserve their flavor?
Using a double-layer of protection is ideal. First, wrap tightly in plastic wrap, then place in a freezer-safe bag or container to prevent freezer burn and flavor absorption.
How long can I freeze baked goods without compromising their flavor?
For optimal flavor, aim to consume frozen baked goods within 2-3 months. While they may still be safe to eat longer, flavor degradation will become more noticeable.
What's the best way to thaw frozen baked goods to retain the most flavor?
Thaw slowly in the refrigerator for best results. This allows for more even thawing and helps to minimize moisture loss, preserving the original texture and flavor.
Final Reflection: The Enduring Sweetness of Frozen Delights
The art of freezing baked goods without compromising flavor is not merely a kitchen hack; it's a gateway to culinary efficiency and joyful spontaneity. Imagine a world where the aroma of freshly baked cookies or the comforting warmth of a muffin is always just a quick thaw away. This isn't a fantasy; it's the reality we unlock by mastering the techniques explored in this article.
The ability to preserve the deliciousness of our baked creations has profoundly impacted our relationship with food, particularly in our fast-paced modern lives. It allows us to enjoy homemade treats whenever the craving strikes, reducing reliance on store-bought alternatives often lacking the same love and care. This resonates deeply with my own experience; I used to be frustrated by the quick spoilage of my baking, leading to waste and disappointment. The best things in life are worth preserving,
and this certainly applies to the fruits of our baking labor. The techniques shared here are a testament to that principle, transforming potential loss into lasting enjoyment.
Now, it's your turn. Consider your favorite baked treat – that irresistible cake, those melt-in-your-mouth brownies, or perhaps those perfectly crisp cookies. Don't let the fear of spoilage limit your baking adventures. Embrace the power of freezing, experiment with the methods outlined in this article, and unlock a world of culinary convenience and consistently delicious results. The joy of a perfectly preserved, freshly-thawed treat awaits!
Unlock Your Freezer's Baking Potential!
Thanks for joining us on this delicious journey into freezing baked goods! We hope you've learned valuable tips to keep your treats tasting their best. Now, let's put that knowledge to work:
- Freeze your next batch of freshly baked cookies or brownies using our recommended methods. Remember the key is proper wrapping and quick freezing for optimal results.
- Share your freezer-friendly baking triumphs (or challenges!) with our community in the comments below. We love seeing your creations!
- Experiment with a new recipe from our extensive archives, and embrace the joy of always having a delicious treat on hand!
Ready to conquer your freezer and unlock a world of convenient baking? What's your favorite treat to freeze and enjoy later?