
Diagnosing Underproofed Dough: Indicators and Remedial Steps

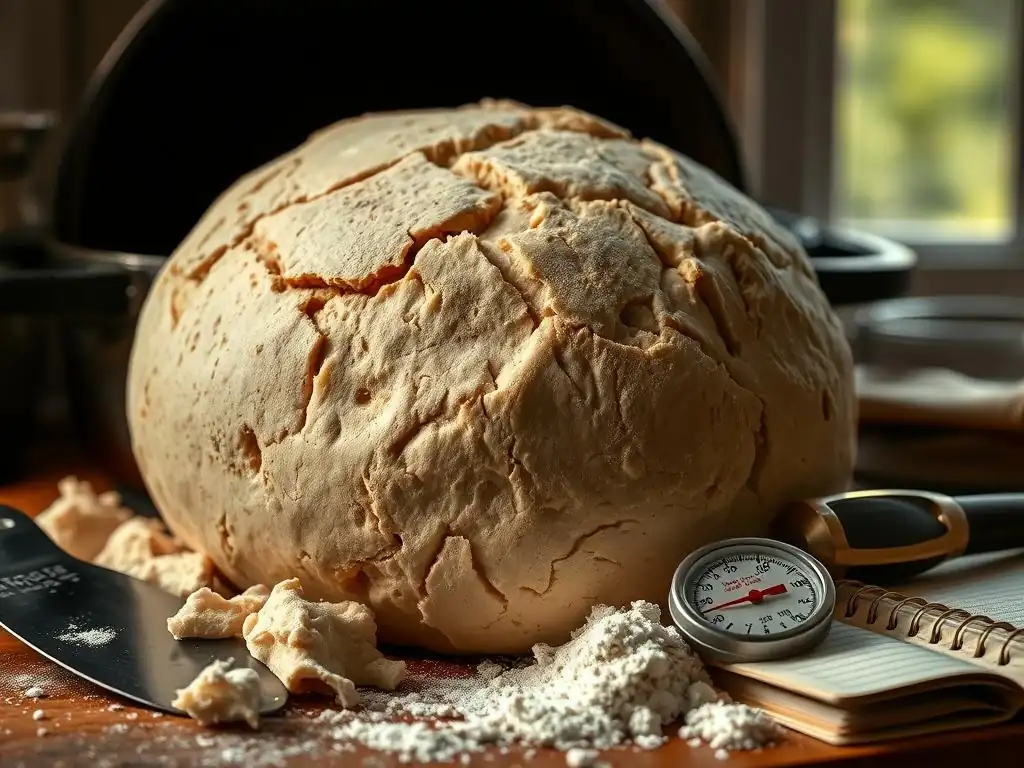
Welcome to BakeWithEase, your kitchen companion for unlocking baking brilliance! Ever wondered if your dough is truly ready for the oven? Our latest article, "Diagnosing Underproofed Dough: Indicators and Remedial Steps," dives deep into the subtle signs of underproofed dough and offers practical solutions to rescue your bake. Don't let a sluggish rise ruin your masterpiece – discover the secrets to perfect proofing and transform your baking journey today!
- Underproofed Dough Troubleshooting Guide: Bake With Ease
- Identifying Underproofed Dough: Recognizing the Signs
- Diagnosing Underproofed Dough: A Step-by-Step Assessment
- Remedial Steps for Underproofed Dough: Saving Your Bake
- Preventing Underproofed Dough: Best Practices for Proofing Success
- Troubleshooting Specific Dough Types: Underproofing Considerations
- Underproofed Dough vs. Overproofed Dough: How to Differentiate
- Conclusion: Mastering the Art of Proofing for Baking Excellence
- Frequently Asked Questions
- Final Reflection: The Rise and Fall (and Rise Again!) of Underproofed Dough
- Unleash Your Inner Baker: Perfecting Your Dough!
Underproofed Dough Troubleshooting Guide: Bake With Ease
What is Proofing and Why is it Important?
Proofing is a critical step in baking yeast-leavened doughs, essentially allowing the yeast to work its magic. During this resting period, the yeast ferments sugars in the dough, producing carbon dioxide gas. This gas gets trapped within the elastic gluten network that was developed during kneading, causing the dough to expand and rise. This initial rise, often called the bulk fermentation or first proof, is crucial for developing both the texture and flavor of the final baked good.
Beyond just increasing volume, proofing significantly impacts the dough's structure and complexity. As the dough rests, enzymes naturally present in the flour and yeast break down starches into simpler sugars, providing more fuel for the yeast and contributing to a more nuanced flavor profile. The gluten network also relaxes and becomes more extensible, making the dough easier to shape and handle. Proper proofing ensures a light, airy crumb and a well-developed flavor, making it a cornerstone of successful bread and pastry baking.
The Role of Leavening Agents in Dough Proofing
Leavening agents, primarily yeast in this context, are the engine of proofing. Active dry yeast, instant yeast, and fresh yeast all function by consuming sugars and releasing carbon dioxide and alcohol. The type and amount of yeast used directly influence the speed and extent of proofing. For instance, using too little yeast or yeast that isn't active will result in a slow or stalled rise, a common cause of underproofed dough.
The effectiveness of the leavening agent is also influenced by other ingredients. Sugar provides food for the yeast, salt helps control yeast activity (too little allows it to go wild, too much inhibits it), and fats and dairy can slow down gluten development and proofing slightly. Understanding how these components interact is key to predicting and managing the proofing process, helping bakers avoid the pitfalls that lead to underproofed dough.
Optimal Proofing Conditions: Temperature, Humidity, and Time
Achieving the perfect proof requires controlling the environment. Yeast is most active within a specific temperature range, typically between 75°F and 85°F (24°C to 30°C). Temperatures too low slow yeast activity dramatically, while temperatures too high can kill the yeast or cause it to overproduce gas too quickly before the gluten structure is ready, potentially leading to collapse. A warm, consistent temperature is vital for predictable proofing and preventing underproofing.
Humidity also plays a role, preventing the surface of the dough from drying out and forming a crust, which would restrict expansion. A slightly humid environment, often achieved by covering the dough loosely with plastic wrap or a damp cloth, or proofing in a slightly steamy oven (turned off! ), helps the dough rise evenly.
The final factor is time, which is highly variable depending on the recipe, yeast type, temperature, and ingredients. Recipes often provide a time range (e.g., "proof for 1-1.5 hours"), but it's crucial to rely more on visual and tactile cues than just the clock when troubleshooting underproofed dough.
Identifying Underproofed Dough: Recognizing the Signs
Visual Cues of Underproofed Dough: What to Look For
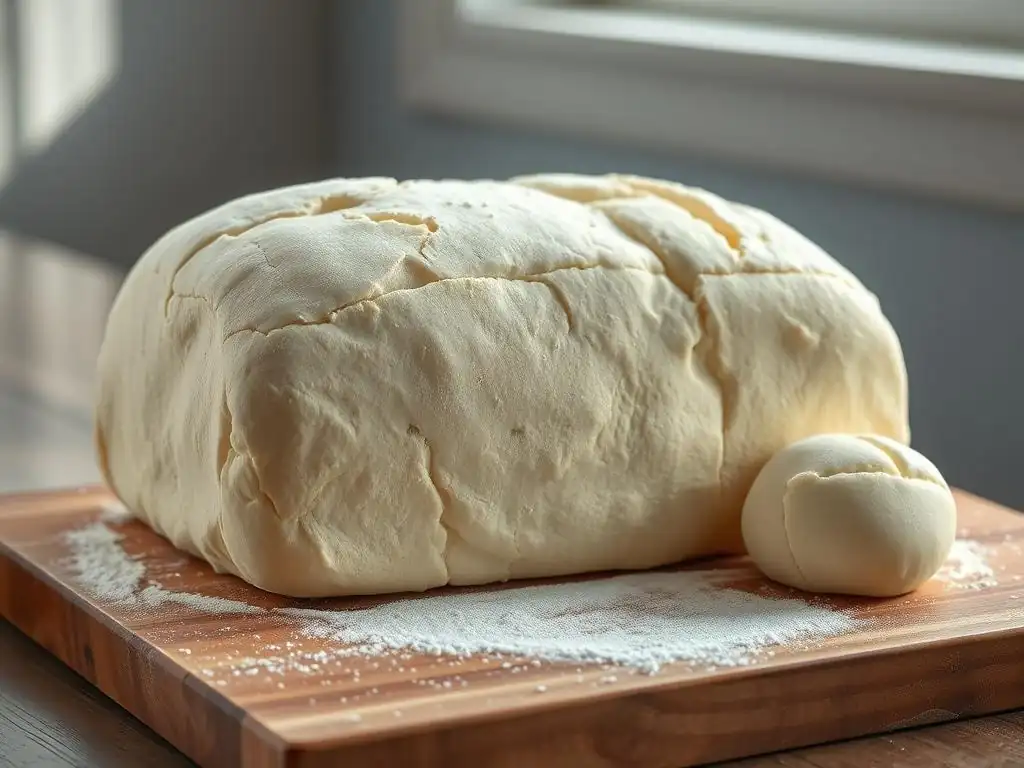
Lack of Volume: A Key Indicator
One of the most apparent signs of underproofed dough is insufficient volume increase. Dough that should have doubled in size might only have risen by 30-50%. For example, if a recipe specifies proofing until the dough is "doubled," and after the recommended time it has clearly not reached this target, it's a strong indicator of underproofing. This lack of expansion means the yeast hasn't produced enough gas to create a light structure.
Dense Texture and Tight Crumb
Underproofed dough often feels dense and heavy compared to properly proofed dough. When baked, this translates into a tight, compact crumb structure with small, uneven holes. Instead of an open, airy network of bubbles, you'll see a more uniform, heavy interior. This dense texture is a direct result of the insufficient gas production during proofing.
Dough That Springs Back Quickly
When gently poked, underproofed dough has a lot of resistance and springs back almost immediately, leaving little to no indentation. This indicates that the gluten network is still very tight and hasn't relaxed sufficiently through fermentation. A properly proofed dough will spring back slowly and leave a slight indentation.
Touching and Feeling the Dough: Assessing Proofing by Hand
The Poke Test: A Simple Method
The poke test is a classic way to assess dough proofing. Gently flour a finger and press it about half an inch into the dough. For underproofed dough, the indentation will rapidly spring back completely. A properly proofed dough will spring back slowly, leaving a small indentation. If the indentation remains completely, the dough is likely overproofed. Mastering this simple test is key to diagnosing underproofed dough.
Dough Elasticity and Resistance
Beyond the poke test, the overall feel of the dough provides clues. Underproofed dough feels tight and resistant when gently prodded or stretched. It lacks the relaxed, slightly puffy quality of proofed dough. Trying to shape underproofed dough can be challenging because it fights back and shrinks considerably, making it difficult to achieve the desired form.
Common Mistakes Leading to Insufficient Proofing
Incorrect Yeast Measurement or Activity
Using too little yeast, yeast that is expired, or yeast that hasn't been properly activated (e.g., using cold water for active dry yeast) are frequent culprits behind underproofed dough. For instance, a recipe might call for 2.25 teaspoons of active dry yeast, but if the yeast is old, its potency might be significantly reduced, leading to a sluggish rise.
Using Cold Ingredients
Cold liquids (water, milk) or cold eggs can significantly lower the overall dough temperature, inhibiting yeast activity. Yeast thrives in warmth; introducing cold elements slows down the fermentation process considerably. Using lukewarm water (around 100-110°F or 38-43°C) for activating active dry yeast and ensuring other refrigerated ingredients are at room temperature can prevent this issue.
Insufficient Proofing Time
Simply not allowing enough time for the dough to rise is a straightforward cause of underproofing. Proofing times provided in recipes are often estimates. If your kitchen is colder than average, or you've added ingredients that slow fermentation (like certain spices or excessive salt), the dough will take longer to proof adequately. Relying solely on the clock without checking the dough's volume and feel is a common mistake in underproofed dough troubleshooting.
Diagnosing Underproofed Dough: A Step-by-Step Assessment
Step 1: Observe the Dough's Appearance
Begin by visually inspecting the dough. Has it increased significantly in volume since you started proofing? Compare its current size to its original size; a doubling is often the target for a good first proof. Look at the surface: does it appear smooth and puffy, or does it still look dense and tight? Underproofed dough will show minimal rise and a less airy appearance.
Step 2: Perform the Poke Test
Gently flour a finger and press it into the dough about half an inch deep. Observe how quickly the indentation springs back. If it bounces back immediately and completely, leaving no mark, your dough is underproofed. If it springs back slowly, leaving a slight indentation, it's likely well-proofed. If it doesn't spring back at all, it's likely overproofed.
Step 3: Evaluate the Dough's Aroma
While not as definitive as visual and tactile cues, the aroma can provide hints. Properly proofed dough develops a pleasant, slightly alcoholic or yeasty smell due to fermentation. Underproofed dough might smell more simply like flour and water, lacking that fermented complexity.
Step 4: Check the Internal Temperature (If Applicable)
Sometimes, especially in professional settings or when proofing in controlled environments, checking the dough's internal temperature can help confirm if it's in the optimal range (75-85°F). If the dough's core temperature is significantly below this range, it's a strong indicator that yeast activity has been slow, leading to underproofing.
Remedial Steps for Underproofed Dough: Saving Your Bake
Extending the Proofing Time: The First Course of Action
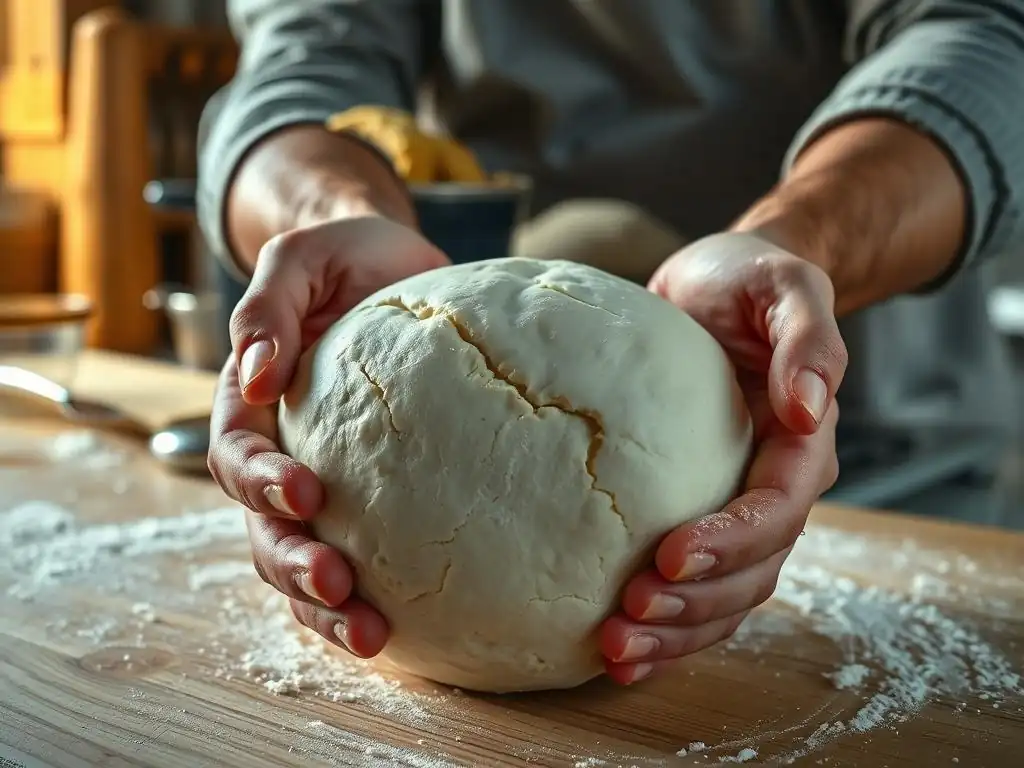
If you've diagnosed underproofed dough, the simplest and often most effective solution is to give it more time to rise. Place the dough back in its proofing environment and allow it to continue fermenting. Check it periodically using the poke test and visual cues until it reaches the desired state (e.g., doubled in size, passing the poke test).
How Long to Extend the Proofing?
The exact extension time depends on how underproofed the dough is and the proofing environment. If it's only slightly underproofed, an extra 20-30 minutes might suffice. If it has barely risen, it could take another hour or even longer. Continue checking every 15-30 minutes. The goal is to reach the target volume and texture, not just add arbitrary time.
Creating a Warmer Proofing Environment
To speed up the extended proofing, try to create a warmer environment if your current one is cool. Options include placing the covered dough in a turned-off oven with the light on, using a proofing box if you have one, or placing the bowl on a warming mat set to a low temperature. Aim for that 75-85°F range to encourage yeast activity.
Re-kneading and Re-proofing: A More Aggressive Approach
If the dough is significantly underproofed after a considerable time extension, or if the gluten structure feels too tight, a more aggressive approach might be necessary: re-kneading. This is particularly useful if you suspect the initial kneading didn't fully develop the gluten or if the yeast was very sluggish.
When to Consider Re-kneading
Consider re-kneading if the dough shows very little signs of life even after extending the proofing time in a warm environment, or if it feels unusually stiff and resistant. A brief re-knead (perhaps 5-10 minutes by hand or mixer) can help redistribute the yeast, even out the temperature, and further develop the gluten, preparing it for a second attempt at rising.
The Re-proofing Process
After a brief re-knead, reshape the dough and place it back in a clean, oiled bowl. Cover it and return it to a warm proofing environment. You will essentially start the proofing process over. While this adds time to your baking schedule, it can often salvage a severely underproofed dough, giving it a chance to develop properly.
Adjusting Baking Time and Temperature: Compensating for Underproofing
If you only realize the dough is underproofed just before or during baking, you can make adjustments in the oven to mitigate some of the negative effects. While you can't achieve the airy crumb of a perfectly proofed loaf, you can improve the outcome.
Lowering the Baking Temperature
Baking underproofed dough at a slightly lower temperature (e.g., 375°F instead of 400°F) and for a bit longer can help. A lower temperature allows more time for "oven spring" – the final burst of rising that happens in the hot oven – and ensures the interior cooks through before the crust burns.
Increasing Baking Time Slightly
Because underproofed dough is denser, it takes longer for heat to penetrate and cook the interior fully. Be prepared to bake the item for slightly longer than the recipe specifies. Use visual cues like deep golden-brown crust color and an internal temperature check (e.g., 190-210°F for most bread) to determine doneness, rather than relying solely on the clock. This is a key tip in any underproofed dough troubleshooting guide.
Preventing Underproofed Dough: Best Practices for Proofing Success
Ensuring Yeast Viability and Activity
Always check the expiration date on your yeast. If using active dry yeast, "proof" it first by dissolving it in lukewarm water (around 105°F or 40°C) with a pinch of sugar. Within 5-10 minutes, it should become foamy and bubbly. If it doesn't, your yeast is likely dead, and you should start with a new packet. Instant yeast doesn't require proofing but still needs to be within its expiry date.
Using Warm (Not Hot) Water for Yeast Activation
When activating yeast or adding liquid to your dough, ensure the water is lukewarm, not hot. Water that is too hot (above 130°F or 54°C) can kill the yeast, rendering it inactive and guaranteeing an underproofed dough. Aim for a temperature that feels comfortably warm to the touch, like a warm bath.
Maintaining Consistent Temperature and Humidity
Find a warm, draft-free spot for proofing. A turned-off oven with the light on, a microwave, or a dedicated proofing box works well. Cover the dough to prevent drying; plastic wrap lightly coated with cooking spray or a damp towel are good options. Consistency in temperature is more important than hitting an exact number, as fluctuations can stress the yeast.
Accurately Measuring Ingredients: Precise Baking for Perfect Proofing
Accurate ingredient measurement, especially flour and yeast, is fundamental to successful proofing. Too much flour makes a stiff dough that is difficult to rise, while inaccurate yeast measurement directly impacts fermentation power. Using a kitchen scale for flour and measuring spoons leveled correctly for yeast ensures you're starting with the right ratios, a crucial step in avoiding underproofed dough issues from the outset.
Troubleshooting Specific Dough Types: Underproofing Considerations
Sourdough Underproofing: Unique Challenges and Solutions
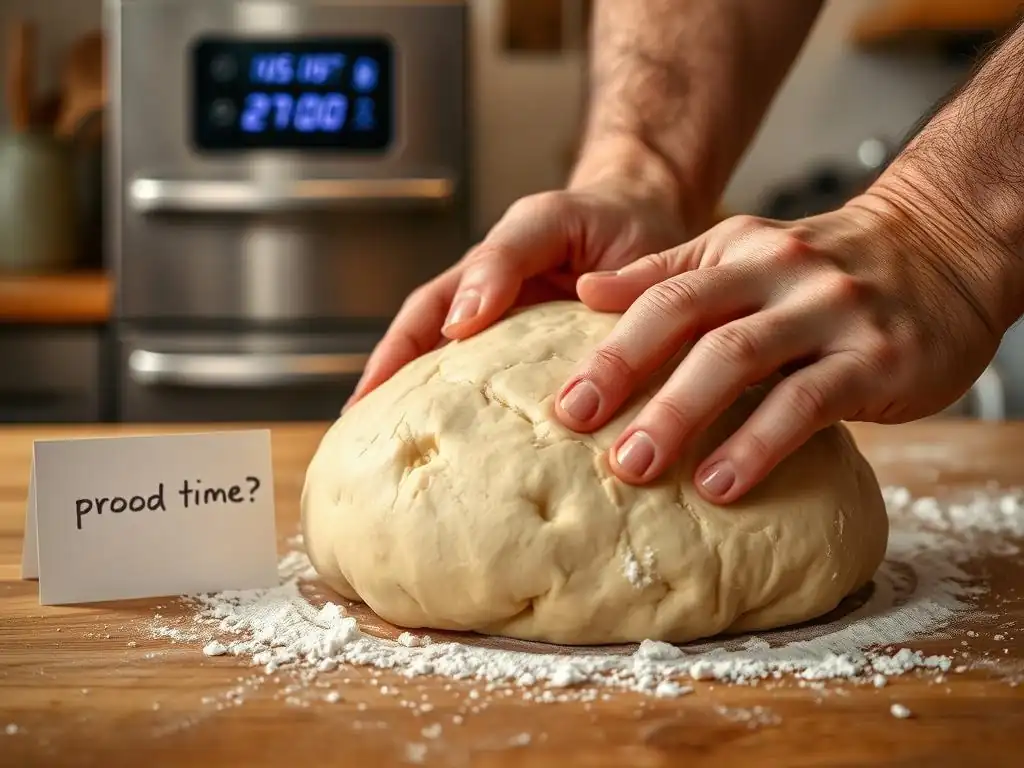
Sourdough relies on wild yeast and bacteria, which ferment more slowly and are more sensitive to temperature than commercial yeast. Underproofing in sourdough often results from a weak or inactive starter, or proofing in too cool an environment. A common sign is a loaf that spreads sideways rather than rising upwards in the oven.
To fix underproofed sourdough, ensure your starter is active and bubbly before use. Extend the bulk fermentation and/or final proof time, potentially in a warmer spot (75-80°F is ideal for many starters). You can also use a small amount of commercial yeast alongside your starter to ensure a better rise if needed.
Enriched Doughs: Dealing with Fats and Sugars
Enriched doughs, containing butter, eggs, milk, and sugar, present their own proofing challenges. Fats and sugars can slow down yeast activity and gluten development. Doughs for brioche or challah, for example, often take longer to proof than lean bread doughs. If these doughs are underproofed, they will be dense and heavy. Ensure your ingredients are at room temperature and allow ample proofing time, potentially longer than a standard bread dough. A slightly warmer proofing environment can also help the yeast work through the richness of the dough.
Whole Wheat Doughs: Hydration and Proofing
Whole wheat flour contains bran and germ, which can interfere with gluten development and absorb more liquid than white flour. Underproofed whole wheat dough can be particularly dense and brick-like. Ensuring adequate hydration is crucial – whole wheat often needs more water. Give whole wheat dough sufficient time for both kneading (to hydrate the bran) and proofing. It might not double quite as dramatically as white dough, but it should become noticeably lighter and puffier. If it's underproofed, extend the proofing time in a warm, humid environment.
Underproofed Dough vs. Overproofed Dough: How to Differentiate
Key Differences in Appearance and Texture
While both underproofed and overproofed doughs lead to poor results, they look and feel different. Underproofed dough is dense, tight, and hasn't expanded much. Overproofed dough, conversely, has often expanded significantly but may start to look bubbly or even slightly deflated, particularly around the edges. Its surface might appear slack or wrinkled. When touched, underproofed dough is resistant and springs back quickly; overproofed dough feels fragile, may tear easily, and doesn't spring back at all when poked.
Understanding the "Poke Test" Results
The poke test is the most reliable differentiator. As mentioned, underproofed dough springs back immediately. Overproofed dough, having exhausted its fermentation power and potentially weakened its gluten structure, will collapse slightly or leave a permanent indentation when poked. A properly proofed dough leaves a small indentation that slowly springs back. This simple test is invaluable in your underproofed dough troubleshooting guide toolkit.
Conclusion: Mastering the Art of Proofing for Baking Excellence
Frequently Asked Questions
What are the key indicators of underproofed dough?
The key indicators include a dense texture, a lack of significant volume increase, and a dough that springs back quickly when poked.
Why is it important to properly proof dough?
Proper proofing allows the yeast to fully develop and create the gas needed for a light and airy texture. Underproofed dough results in a dense, less flavorful final product.
Can I rescue underproofed dough after baking has started?
Unfortunately, once baking has begun, it's generally too late to rescue underproofed dough. The crust will have already formed.
What are some common causes of underproofed dough?
Common causes include using expired yeast, proofing in a cold environment, or not allowing enough time for the dough to rise.
How can I prevent underproofing my dough in the future?
Ensure your yeast is active, proof in a warm, humid environment, and allow sufficient time for the dough to double or nearly double in size.
Final Reflection: The Rise and Fall (and Rise Again!) of Underproofed Dough
The subtle art of bread baking hinges on a precise understanding of dough proofing, and misjudging this crucial step can lead to disastrous results. A seemingly minor oversight in the proofing process can transform a promising loaf into a dense, disappointing brick. This reality underscores the importance of understanding the nuances of dough development and the critical role of proper proofing.
The impact of this seemingly small detail extends far beyond the individual baker's kitchen. It speaks to a larger cultural appreciation for the process of creation, the patience required for achieving perfection, and the resilience needed to overcome setbacks. The frustration of an underproofed loaf mirrors the challenges we face in life, reminding us that even with careful planning, unexpected hurdles can arise. The best bread is made with patience and care, and even then, sometimes it doesn't turn out perfectly. But that's part of the beauty of it.
- Unknown Baker
Now, armed with a deeper understanding of the indicators and remedial steps for underproofed dough, I invite you to approach your next baking project with renewed confidence. Don't let the fear of failure hold you back. Embrace the learning process, celebrate the small victories, and remember that even a slightly underproofed loaf can teach you valuable lessons about timing, temperature, and the delicate balance required to achieve baking bliss. The journey of a thousand loaves begins with a single, perfectly proofed one.
Unleash Your Inner Baker: Perfecting Your Dough!
Thanks for taking the time to learn about diagnosing underproofed dough! You've now gained valuable insights into identifying and fixing this common baking problem. Ready to put your new knowledge into practice?
- Bake a test loaf: This is the most crucial step! Try the techniques outlined in the article with a small batch to see the difference.
- Share your baking journey: Post a picture of your improved loaf on social media and tag us @BakeWithEase – we’d love to see your success!
- Explore our other resources on bread making: Dive deeper into the world of baking with our extensive collection of recipes and tutorials.
What unique troubleshooting tips have you discovered for working with dough? Let's share our baking wisdom!