
Troubleshooting Dense Sourdough Loaves: Get That Airy Crumb

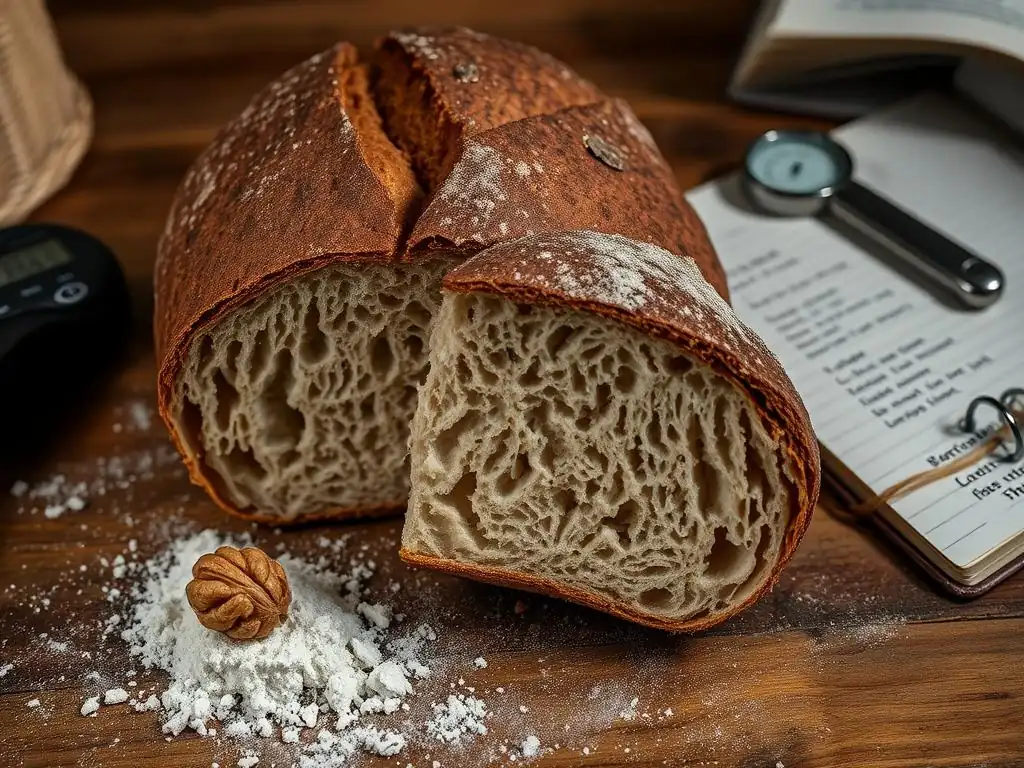
Welcome to BakeWithEase, your companion in the delightful world of baking! Ever wrestled with a dense sourdough loaf that just wouldn't rise to the occasion? You're not alone! Dive into our latest article where we unravel the mysteries behind dense sourdough, offering simple troubleshooting tips and techniques to finally achieve that coveted airy crumb. Ready to transform your sourdough journey? Let's get baking!
- Troubleshooting Dense Sourdough: Achieving an Open Crumb
- Why Is My Sourdough Dense? Understanding Common Causes
-
Dense Sourdough Troubleshooting: Key Areas to Investigate
- 1. Starter Activity: The Engine of Your Sourdough
- 2. Flour Selection: Building a Strong Gluten Network
- 3. Dough Hydration: Finding the Sweet Spot
- 4. Gluten Development: Strength and Structure
- 5. Bulk Fermentation: Time, Temperature, and Observation
- 6. Shaping Technique: Building Tension for Oven Spring
- 7. Baking: Temperature, Steam, and Doneness
- Fixing Dense Sourdough: Practical Solutions and Tips
- Advanced Techniques for an Open Crumb
- Conclusion: Mastering Sourdough and Achieving an Open Crumb.
-
Frequently Asked Questions
- What are the most common causes of a dense sourdough loaf?
- How can I tell if my sourdough starter is active enough?
- What steps can I take to improve gluten development in my sourdough?
- How long should I ferment my sourdough dough for an airy crumb?
- What type of flour is best for achieving an open crumb in sourdough?
- Final Reflection: Embracing the Art of Airy Sourdough
- Unleash Your Inner Baker: Achieve That Dreamy Sourdough Crumb!
Troubleshooting Dense Sourdough: Achieving an Open Crumb
Why Is My Sourdough Dense? Understanding Common Causes
Identifying the Root Cause of Dense Sourdough
A frustratingly dense sourdough loaf is one of the most common challenges bakers face. It's rarely the result of a single misstep, but rather a combination of factors throughout the process. Think of sourdough baking as a chain where each link – from the health of your starter to the final bake – must be strong.
If just one link is weak, the entire structure, or in this case, the crumb, can suffer, leading to a heavy, brick-like texture instead of that desired airy network of bubbles. Pinpointing the exact issue requires looking at the entire journey the dough takes.
Consider a scenario where your starter is only moderately active, perhaps doubling in 8 hours instead of the expected 4-6 for a vigorous one. Combine this with slightly under-developed gluten and a slightly too-short bulk fermentation, and you've created conditions ripe for a dense outcome. The dough simply didn't have enough leavening power or structural integrity to capture and hold the gas needed for a light crumb. Effective dense sourdough loaf troubleshooting tips begin with a holistic view of your baking process.
Common Culprits Behind a Heavy Sourdough Crumb
Several key areas frequently contribute to a heavy or dense sourdough crumb. A primary suspect is often a weak or inactive starter that lacks the vigor to produce sufficient carbon dioxide for leavening. If your starter struggles to double or triple in volume after feeding, it won't lift your dough effectively. Another common issue relates to the flour itself – using flour with insufficient protein content can result in a weak gluten network unable to support an open structure.
Insufficient hydration can also lead to a dense loaf, as drier doughs are harder to develop gluten in and don't expand as readily. Conversely, excessively high hydration without adequate gluten development can result in a dough that spreads rather than rises, yielding a collapsed, dense center.
Other frequent causes include improper gluten development (either under or overworking), under-proofing (not allowing enough time for fermentation and rise), over-proofing (where the dough rises and then collapses), poor shaping technique that doesn't build necessary tension, and inadequate steam during baking which restricts oven spring. Understanding these common culprits is crucial for effective dense sourdough loaf troubleshooting.
Dense Sourdough Troubleshooting: Key Areas to Investigate
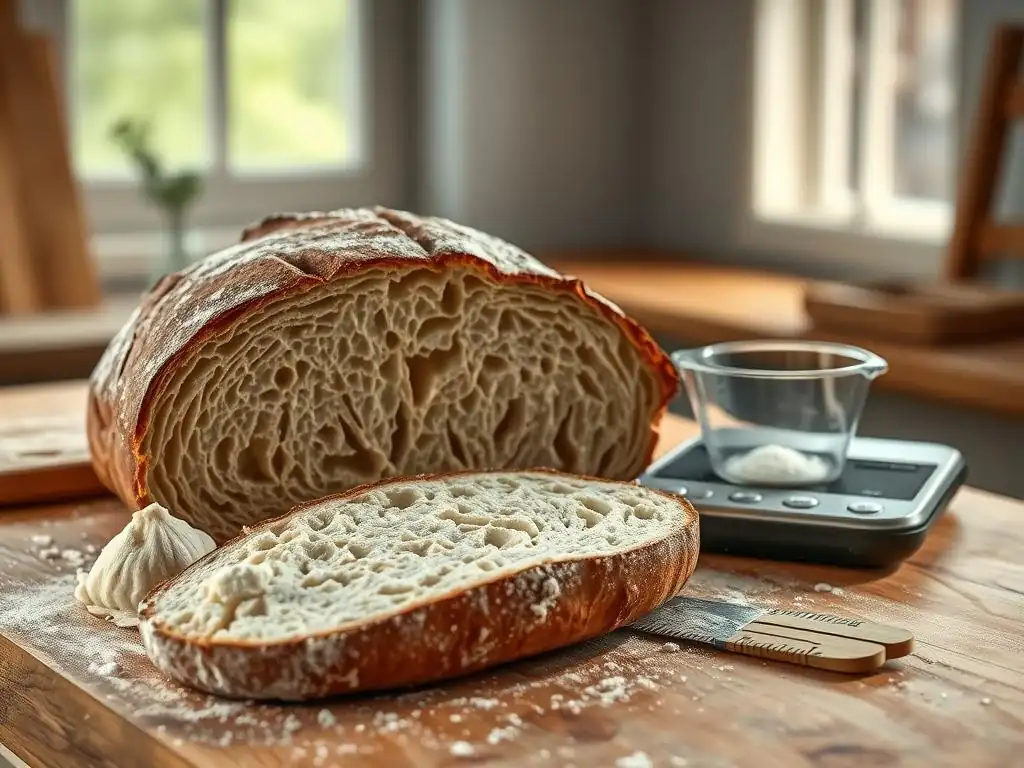
1. Starter Activity: The Engine of Your Sourdough
Is Your Starter Ready? Assessing Activity and Maturity
Your sourdough starter is the living leavening agent, and its activity level is paramount for a successful, airy loaf. An active, ready-to-bake starter should show significant signs of life: doubling or even tripling in volume within 4-6 hours after being fed with a 1:1:1 ratio (starter:flour:water) at around 75-80°F (24-27°C).
You'll observe numerous bubbles on the surface and throughout the culture, and it should have a pleasant, tangy aroma, not overly acetic or yeasty. A simple float test can also indicate readiness: drop a small spoonful into a glass of water; if it floats, it's generally considered ready to use for baking as it's sufficiently gassy.
If your starter isn't showing these signs – perhaps only increasing by 50% in volume, or sinking immediately in the float test – it's likely too weak to properly leaven your dough, leading directly to a dense sourdough loaf. This could be due to infrequent feeding, incorrect feeding ratios, or suboptimal temperature. Troubleshooting dense sourdough often starts with nurturing your starter back to peak vitality through consistent feeding and warmth.
Feeding Ratios: Optimizing Starter Strength for a Strong Rise
The ratio of starter, flour, and water you use for feeding significantly impacts its strength and readiness. A common maintenance ratio is 1:1:1 by weight (e.g., 25g starter, 25g flour, 25g water). While this is fine for keeping a starter alive, it often doesn't build enough strength for leavening a large loaf. To prepare your starter for baking and ensure maximum leavening power, it's often beneficial to use a higher feeding ratio, such as 1:2:2 or even 1:3:3 (e.g., 10g starter, 20g flour, 20g water, or 10g starter, 30g flour, 30g water).
Using a higher ratio provides more "food" (flour) for the yeast and bacteria relative to the existing population in the starter, allowing them to multiply and produce gas more vigorously before running out of food. This results in a stronger rise and a more active culture ready to tackle your dough. Experimenting with these ratios and observing how quickly your starter peaks can be a key dense sourdough loaf troubleshooting tip. Aim to use your starter when it's at or just past its peak volume, typically 4-8 hours after a strong feed.
Starter Temperature: Controlling Fermentation for Consistent Results
Temperature plays a critical role in the activity of your sourdough starter. The optimal temperature range for yeast and lactobacilli activity in a starter is generally between 75°F and 80°F (24°C and 27°C). Within this range, the microorganisms are most active, leading to faster gas production and a quicker, more vigorous rise after feeding. Maintaining a consistent temperature helps ensure your starter is predictably ready when you need it.
Temperatures below this range will significantly slow down fermentation, potentially leading to a sluggish starter that doesn't fully leaven the dough, contributing to a dense sourdough loaf. For example, a starter fed at 60°F (15°C) might take 12-24 hours to peak, while the same starter at 78°F (26°C) peaks in 5-7 hours.
Conversely, excessively high temperatures can cause the starter to ferment too quickly, peak, and then collapse before you're ready to use it, potentially depleting its leavening power. Finding a warm, stable spot in your kitchen or using aids like a proofing box or oven light (turned off, or slightly on if very low power) can help regulate temperature for consistent results.
2. Flour Selection: Building a Strong Gluten Network
Understanding Flour Protein Content and Its Impact on Sourdough Structure
Flour is the structural backbone of your sourdough loaf, and its protein content is a primary determinant of crumb structure. Proteins in flour, specifically gliadin and glutenin, combine with water to form gluten when kneaded or folded. Gluten creates an elastic network that can trap the carbon dioxide gas produced by your starter, allowing the dough to rise and form an open, airy crumb. Flour with a higher protein content generally has the potential to form a stronger gluten network.
Bread flours typically have a protein content ranging from 12% to 14%, providing ample protein for robust gluten development. All-purpose flours usually fall between 10% and 12%. While AP flour can certainly be used for sourdough, its lower protein means a potentially weaker gluten network, which might struggle to support high hydration levels or achieve the same degree of openness as bread flour. If you're struggling with a dense sourdough loaf, examining your flour's protein content is a key step in troubleshooting.
Using Bread Flour vs. All-Purpose Flour: Choosing the Right Strength
When aiming for an open crumb and troubleshooting dense sourdough, the choice between bread flour and all-purpose flour can make a difference. Bread flour, with its higher protein content (12-14%), is specifically milled to promote strong gluten development. This strength is advantageous in sourdough because the long fermentation periods require a resilient gluten network that can withstand the acidic environment and hold onto gas over many hours. Using bread flour often makes dough handling easier, especially at higher hydration levels, and provides a more reliable structure for oven spring.
All-purpose flour (10-12% protein) is more versatile but may not provide the same structural support as bread flour. While skilled bakers can achieve excellent results with AP flour, beginners or those struggling with density might find more consistent success with bread flour. If using AP flour, you might consider slightly lower hydration or incorporating techniques like an autolyse or more rigorous stretch and folds to help compensate for the lower protein. Switching to a quality bread flour is a practical dense sourdough loaf troubleshooting tip if flour type is suspected.
Weighing Flour Accurately: Ensuring Consistent Hydration
Precision is paramount in baking, and nowhere is this more evident than with flour and water measurements. Using a digital scale to weigh your ingredients, especially flour, is crucial for consistent results and a key aspect of dense sourdough loaf troubleshooting. Measuring flour by volume (cups) is notoriously inaccurate because the amount of flour that fits in a cup can vary significantly depending on how packed it is – potentially by as much as 20-30 grams difference per cup.
This variability in flour weight directly impacts the dough's hydration percentage, even if the water volume is kept constant. If you intend to bake at 70% hydration but accidentally measure 140g of flour instead of 120g per cup, your actual hydration drops, resulting in a stiffer, potentially under-hydrated dough that is harder to develop gluten in and more likely to produce a dense loaf. Using a scale ensures you are working with the intended hydration level every time, allowing you to accurately assess and adjust other variables in your process.
3. Dough Hydration: Finding the Sweet Spot
Understanding Dough Hydration Percentage in Sourdough
Dough hydration refers to the amount of water in the dough relative to the amount of flour, expressed as a percentage (Water Weight / Flour Weight * 100%). For example, a dough with 1000g of flour and 700g of water has 70% hydration. Higher hydration doughs (e.g., 75-85%+) are often associated with a more open, airy crumb because the increased water makes the dough more extensible, allowing it to expand further as gas is produced. However, high hydration also makes the dough stickier and harder to handle, requiring stronger gluten development and more careful shaping.
Lower hydration doughs (e.g., 60-70%) are easier to manage, less sticky, and require less intensive gluten development. While they might yield a slightly less open crumb compared to a perfectly executed high-hydration loaf, they are less prone to collapsing or spreading, which can lead to density. If you are consistently getting a dense sourdough loaf, especially one that spreads excessively during baking, your hydration might be too high for your current skill level, flour type, or gluten development technique.
Adjusting Hydration Based on Flour Type and Ambient Humidity
The ideal hydration level isn't a one-size-fits-all number; it depends heavily on the type of flour you are using and the ambient environmental conditions. Different flours absorb water differently. Whole wheat flour, for instance, contains more bran and germ than white flour and is significantly more absorbent. A dough made with 50% whole wheat might feel and behave similarly at 75% hydration as a white flour dough at 65% hydration. Similarly, different brands of the same type of flour can vary in their absorption rates.
Ambient humidity also plays a role; in very humid environments, flour may already contain more moisture, and the dough won't lose water to evaporation as readily. Conversely, in very dry climates, the dough might dry out quickly, requiring slightly higher hydration or more careful handling. If you're troubleshooting dense sourdough, don't be afraid to adjust hydration slightly based on how the dough feels. If your standard recipe feels too stiff with your current flour or climate, add a little more water (a tablespoon at a time). If it feels too soupy and unmanageable, use slightly less water next time.
Recognizing Signs of Under-Hydrated and Over-Hydrated Dough
Learning to read your dough is a crucial skill in sourdough baking and essential for effective dense sourdough loaf troubleshooting. Under-hydrated dough will feel stiff, dense, and possibly dry or crumbly during mixing and kneading. It will be difficult to stretch without tearing, and the resulting loaf will likely have a tight, compact crumb with little openness. The crust may also be thick and hard.
Over-hydrated dough, on the other hand, will feel excessively wet, sticky, and slack. It may spread out rapidly on the counter and be very difficult to build tension into during shaping. While high hydration can yield an open crumb if the gluten is sufficiently developed and the dough is handled correctly, over-hydrated dough with insufficient structure often results in a loaf that collapses in the oven or has a gummy, dense layer, particularly at the bottom. If your dough feels like soup, your hydration is likely too high for your flour's strength or your gluten development technique.
4. Gluten Development: Strength and Structure
The Importance of Gluten Development in Sourdough
Gluten development is the process of forming the elastic network that gives sourdough its structure and allows it to rise. When flour and water are mixed, the proteins gliadin and glutenin start to bond. Working the dough through kneading or folding helps align these proteins and strengthen these bonds, creating a robust gluten network. This network is essential for trapping the CO2 gas produced by the yeast during fermentation.
A weak gluten network cannot hold onto the gas effectively. As the dough ferments and the yeast produces bubbles, a weak network will simply allow the gas to escape, resulting in a dough that doesn't rise well and bakes into a dense sourdough loaf. Proper gluten development provides the necessary elasticity and extensibility for the dough to expand significantly during bulk fermentation, proofing, and the crucial oven spring phase.
Effective Kneading Techniques: Stretch and Folds, Laminations
Sourdough benefits greatly from gentle, periodic gluten development techniques rather than continuous, aggressive kneading (though some bakers do use mixers). Stretch and folds are a popular method: during the first 1-3 hours of bulk fermentation, you might perform 3-6 sets of stretch and folds every 15-30 minutes. To do this, wet your hands, grab one side of the dough from underneath, stretch it upwards gently, and fold it over the center. Rotate the bowl and repeat for all sides. This builds strength progressively.
Lamination is another effective technique, often done once early in bulk fermentation. The dough is gently stretched out into a thin rectangle on a lightly wet surface. Then, it's folded like a letter or an envelope. This process helps align gluten strands and incorporates air. Both stretch and folds and laminations help build a strong, extensible gluten network without tearing it, contributing significantly to preventing a dense sourdough loaf.
Avoiding Over-Mixing: Maintaining Dough Integrity
While developing gluten is crucial, it is possible to over-mix dough, especially in a stand mixer. Over-mixing can break down the gluten network, making the dough slack, sticky, and difficult to handle. Instead of becoming smooth and elastic, over-mixed dough might appear wet or soupy and tear easily when stretched, failing the windowpane test (where a small piece of dough can be stretched thin enough to see light through without tearing).
Dough with a damaged gluten network from over-mixing cannot effectively hold gas during fermentation or baking. This often results in a loaf that spreads outwards instead of rising upwards in the oven, leading to a dense, sometimes gummy, crumb. Pay attention to the dough's feel and appearance. Stop mixing or folding once the dough is smooth, elastic, and passes the windowpane test. For manual methods like stretch and folds, it's harder to overdo it, but recognizing when the dough has sufficient strength (holding its shape better between folds) is key.
5. Bulk Fermentation: Time, Temperature, and Observation
Understanding Bulk Fermentation: The Key to Flavor and Texture
Bulk fermentation, also known as the first rise, is arguably the most critical phase in sourdough baking for developing both flavor and structure. It's the period from when the starter is mixed with the main dough ingredients until the dough is divided and shaped. During this time, the yeast consumes sugars and produces carbon dioxide gas (leavening) and alcohol, while the lactic acid bacteria produce organic acids (flavor). These acids also help condition the gluten, making it more extensible.
Proper bulk fermentation allows the dough to develop sufficient gas for a good rise and creates the complex flavors characteristic of sourdough. Under-fermented dough will not have produced enough gas, resulting in a dense loaf with a tight crumb and less complex flavor. Over-fermented dough, while potentially flavorful, may have exhausted its leavening power and the gluten structure might begin to break down, leading to a loaf that collapses or spreads, also resulting in density. Mastering this phase is key to dense sourdough loaf troubleshooting.
Optimizing Bulk Fermentation Time Based on Dough Temperature
The duration of bulk fermentation is highly dependent on dough temperature. Yeast and bacteria activity increases with warmth. Dough kept at a warm room temperature, say 75-78°F (24-26°C), might complete bulk fermentation in 4-6 hours. The same dough at a cooler 68-70°F (20-21°C) could take 8-12 hours or even longer. Using a thermometer to measure your dough temperature, not just the ambient room temperature, is incredibly helpful for predicting fermentation time.
Focusing solely on recipe time recommendations without considering temperature is a common cause of dense sourdough loaf issues. If your kitchen is cold, the dough will ferment slower than expected. If it's warm, it will ferment faster. Learn to adjust the time based on the dough's temperature and visual cues. A dough thermometer is an inexpensive but invaluable tool for consistent sourdough results.
Recognizing Visual Cues of a Properly Fermented Dough
Relying solely on time for bulk fermentation is risky; learning to read the dough itself is far more reliable. A properly bulk-fermented dough should show a significant increase in volume, typically between 30% and 50% for many recipes, though some bakers aim for closer to doubling depending on desired outcome. The dough should appear visibly puffier, with a domed surface and potentially small bubbles visible just beneath the surface.
When you gently jiggle the bowl, the dough should show some movement, indicating it's airy inside. The "poke test" can also be helpful: gently press a wet finger into the dough about half an inch deep. If the indentation slowly springs back only partially (leaving a small indent), the dough is likely ready. If it springs back immediately, it's under-proofed. If it leaves a permanent indent and the dough feels very fragile or starts to deflate, it's likely over-proofed, both scenarios potentially leading to a dense sourdough loaf.
6. Shaping Technique: Building Tension for Oven Spring
Shaping Methods for Sourdough: Boule, Batard
After bulk fermentation, the dough needs to be shaped into its final form, commonly a round (boule) or oval (batard). While the specific method for each shape differs, the underlying principle is the same: to create surface tension. This tension acts like a skin or membrane that holds the dough's structure together during the final proof and, crucially, during the initial phase of baking when the loaf experiences rapid expansion known as oven spring.
A well-shaped loaf has a taut surface that helps direct the oven spring upwards rather than allowing the dough to spread outwards into a flat disc. This upward expansion is essential for achieving a tall loaf with an open crumb. Poor shaping that fails to create sufficient tension is a common reason why a loaf might appear relatively well-proofed but then collapse or spread in the oven, resulting in a dense sourdough loaf.
Creating Surface Tension: Tightening the Dough for a Strong Rise
Creating surface tension involves carefully folding and tucking the dough to create a smooth, tight outer layer. For a boule, this often involves rounding the dough by gently pulling the top towards you and tucking the bottom underneath, rotating, and repeating, or using your hands to cup and pull the dough towards you on an unfloured surface until a taught skin forms on top. For a batard, it involves folding the dough into thirds or halves and then rolling or stitching the seam closed, using the work surface to create tension as you roll.
The key is to build this tension without tearing the surface or forcing out all the gas bubbles that developed during fermentation. It takes practice to find the right balance of firmness and gentleness. A well-shaped loaf will feel relatively firm and hold its shape well as you transfer it to its proofing basket.
Avoiding Degassing: Preserving Air Pockets During Shaping
While shaping requires handling the dough, the goal is not to deflate it completely. Excessive pressing, punching, or rough handling during shaping can force out the precious carbon dioxide gas bubbles that are essential for an open crumb. Think of the dough as a network of delicate balloons; you want to manipulate the structure around them, not pop them all.
Gentle handling preserves the majority of the large and small air pockets created during bulk fermentation. Some degassing is unavoidable and even necessary to redistribute the gas and make the dough manageable for shaping, but aim to be as light-handed as possible. If your dough significantly reduces in size and feels dense or heavy after shaping, you may have been too rough, contributing to a dense sourdough loaf.
7. Baking: Temperature, Steam, and Doneness
Optimizing Oven Temperature for Crust and Crumb Development
The initial oven temperature is critical for achieving maximum oven spring and developing a good crust. A high initial temperature, typically between 450°F and 500°F (230°C and 260°C), provides a burst of heat that causes the gas inside the dough to expand rapidly before the crust sets. This rapid expansion is oven spring, contributing significantly to the loaf's final volume and open crumb structure.
After the initial burst (usually 15-20 minutes), the temperature is often reduced (e.g., to 400-425°F or 200-220°C) to allow the interior of the loaf to bake through without the crust burning. Baking at too low a temperature, especially initially, will result in less oven spring and a denser loaf. Ensure your oven is fully preheated to the correct temperature before loading the dough; using an oven thermometer can verify accuracy.
The Role of Steam: Creating a Crusty Exterior and Open Crumb
Steam is a non-negotiable element for achieving a great sourdough crust and an open crumb. In the first 15-20 minutes of baking, steam keeps the surface of the dough moist and pliable. This prevents a hard crust from forming prematurely, allowing the loaf to expand fully during oven spring. Once the crust sets, the moisture on the surface evaporates, leading to the development of a thin, crispy crust.
Without sufficient steam, the crust forms too quickly, restricting the loaf's ability to rise and resulting in a smaller volume and a denser interior. Methods for creating steam include baking in a preheated Dutch oven (which traps the dough's own moisture), placing a tray of hot water or ice cubes on a rack below your baking stone/steel, or using a dedicated steam injection oven. For most home bakers, a Dutch oven is the most effective way to guarantee adequate steam for a non-dense sourdough loaf.
Determining Doneness: Internal Temperature and Visual Cues
Pulling your loaf out of the oven too early can result in an underbaked, gummy interior – a common characteristic of a dense sourdough loaf. While the crust might look golden brown, the inside needs sufficient time to cook through and set its structure. The most reliable way to check for doneness is to measure the internal temperature with an instant-read thermometer. A properly baked sourdough loaf should register between 200°F and 210°F (93°C and 99°C) in the center.
Visual cues also help: the crust should be a deep golden-brown or even mahogany color, depending on your preference and flour type. The bottom of the loaf should sound hollow when tapped. If the loaf is pale or feels heavy for its size, it likely needs more baking time. Don't be afraid to bake it longer, even if the recipe suggests otherwise, until the internal temperature is reached.
Fixing Dense Sourdough: Practical Solutions and Tips
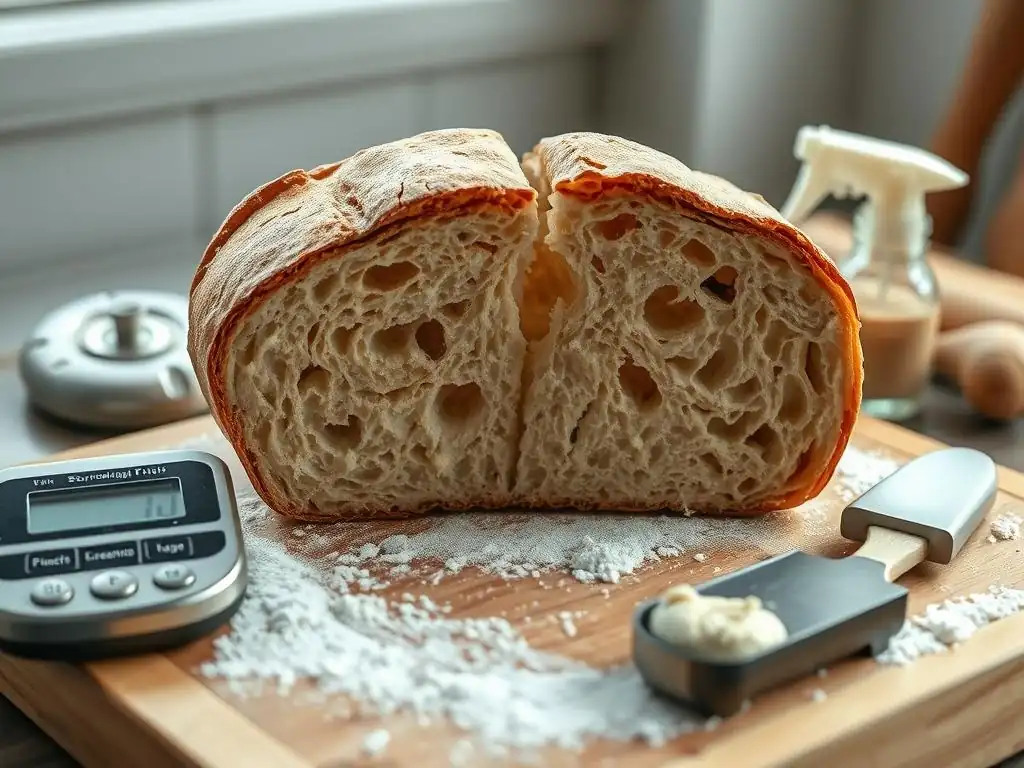
Troubleshooting Checklist: A Step-by-Step Guide to Improvement
If you're consistently getting dense sourdough loaves, systematically review your process using this checklist:
- Starter Activity: Is your starter doubling/tripling within 4-8 hours after a 1:2:2 or 1:3:3 feed at 75-80°F?
- Flour: Are you using bread flour (12%+ protein)? Are you weighing your flour accurately on a scale?
- Hydration: Is your hydration level manageable for your flour/skill level? Are you adjusting slightly based on dough feel?
- Gluten Development: Are you performing enough stretch and folds/laminations? Does the dough pass the windowpane test? Are you avoiding over-mixing?
- Bulk Fermentation: Is your dough temperature consistent (75-78°F)? Is the dough increasing in volume by 30-50%? Does the poke test indicate readiness (slow spring back)?
- Shaping: Are you creating sufficient surface tension? Are you handling the dough gently to preserve gas?
- Baking: Is your oven preheated to a high temperature (450-500°F)? Are you using sufficient steam (Dutch oven)? Is the internal temperature reaching 200-210°F?
By methodically checking each step, you can isolate the potential weak links causing your dense sourdough loaf issues.
Recipe Adjustments: Adapting Your Formula for Success
Sometimes, slight adjustments to your recipe can help mitigate dense sourdough problems while you refine your technique. If your dough is consistently unmanageably sticky and spreading, try reducing the hydration by 2-5 percentage points in your next bake. If your dough feels too stiff and tears easily, increase hydration by the same amount.
If your starter seems sluggish but you need to bake, you can add a tiny amount of commercial instant yeast (perhaps 0.5% of the total flour weight, e.g., 5g for 1000g flour) to your dough as a temporary crutch. This will help ensure a decent rise while you work on strengthening your starter. Be aware this will slightly alter the flavor profile. Also, consider adding a small percentage of whole wheat or rye flour (e.g., 10-20%) if you are using only white flour; these flours can add structure and nutrition for the starter, sometimes improving fermentation activity.
Preventative Measures: Avoiding Density in Future Bakes
The best dense sourdough loaf troubleshooting tips are preventative. Establish a consistent routine for maintaining a healthy, vigorous starter – regular feeding with quality flour and water at a stable temperature. Always weigh your ingredients using a scale for accuracy. Choose a flour with adequate protein content, especially while learning.
Practice effective but gentle gluten development techniques like stretch and folds until you can feel the dough strengthening. Learn to judge bulk fermentation readiness by the dough's volume increase and feel, rather than strictly by time. Refine your shaping technique to consistently build good surface tension. And finally, ensure your baking setup provides adequate heat and steam for maximum oven spring and a thorough bake. Consistent practice and attention to these details are your best defense against a dense sourdough loaf.
Advanced Techniques for an Open Crumb
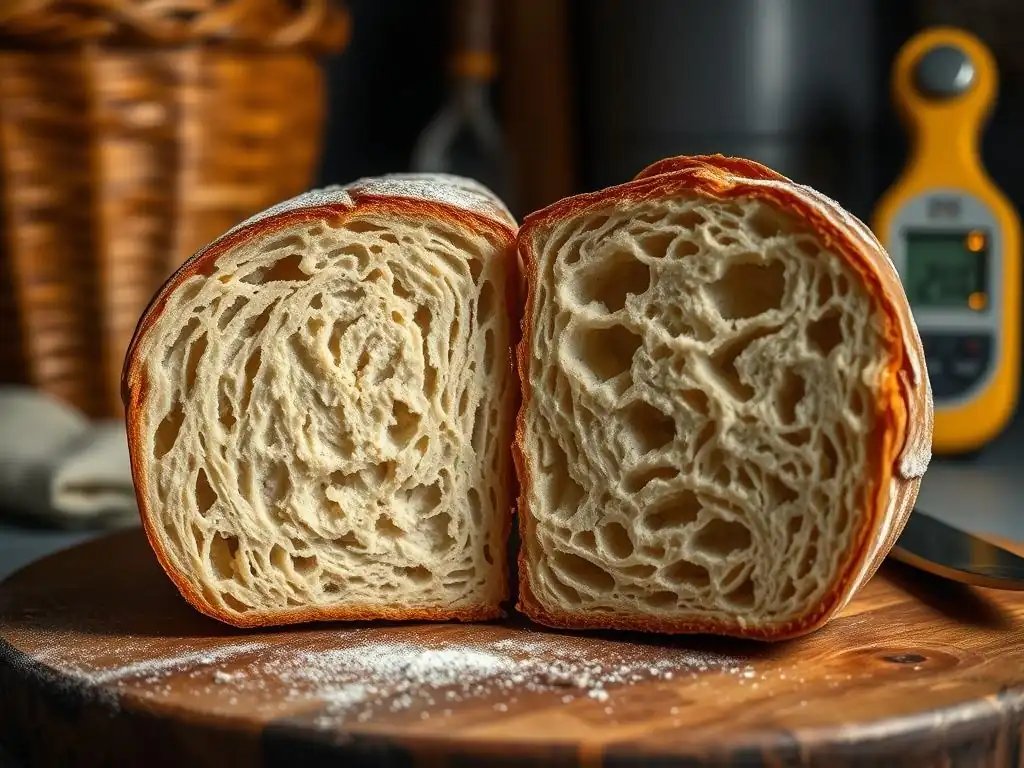
Autolyse: Enhancing Hydration and Gluten Development
Autolyse is a simple technique that can significantly improve dough extensibility and make gluten development easier, contributing to a more open crumb and helping combat a dense sourdough loaf. It involves mixing just the flour and water from your recipe and letting the mixture rest for a period, typically 20 minutes to an hour, before adding the starter and salt. During this rest, the flour fully hydrates, and enzymes naturally present in the flour begin to break down proteins, making the gluten network easier to form and align.
This initial rest allows the gluten strands to start developing on their own without the interference of salt (which tightens gluten) or starter (which begins fermentation). When you later add the starter and salt and begin mixing/folding, the dough is already more pliable and less shaggy, making subsequent gluten development more efficient. This can lead to a stronger, more extensible dough capable of trapping more gas for a lighter, airier crumb.
Cold Proofing: Slowing Fermentation for Flavor and Structure
Cold proofing (retarding the dough in the refrigerator, typically for 12-48 hours) is a technique loved by many sourdough bakers for both practical and quality reasons. Placing the shaped loaf in the fridge significantly slows down yeast activity, pausing the rapid gas production. However, the lactic acid bacteria remain relatively more active at colder temperatures, continuing to produce organic acids that deepen the sourdough's flavor profile.
Beyond flavor, cold proofing benefits structure. The prolonged, slow fermentation allows enzymes more time to act, potentially improving crumb structure. The cold also firms up the dough, making it easier to handle and score just before baking. The chilled dough holds its shape better and often experiences a more vigorous oven spring when it hits the hot oven, as the cold center takes longer to warm up and set, allowing the exterior to expand further. This technique is a powerful tool in dense sourdough loaf troubleshooting, often resulting in a more open and consistent crumb.
Dutch Oven Baking: Creating a Steamy Baking Environment
Baking sourdough in a preheated Dutch oven is one of the most effective methods for home bakers to replicate the conditions of a professional bakery oven and consistently achieve a great crust and open crumb, directly addressing dense sourdough loaf issues. The method involves preheating a heavy pot (like cast iron) with its lid in a hot oven (450-500°F). The shaped dough is then carefully placed inside the hot pot, the lid is replaced, and it's baked for the first 15-20 minutes.
The lid traps all the moisture evaporating from the dough, creating a high-humidity environment around the loaf. As discussed earlier, this steam keeps the crust soft and pliable, allowing the dough to expand fully during oven spring. After the initial covered period, the lid is removed, allowing the trapped moisture to escape and the crust to brown and crisp up. This simple technique provides the ideal balance of steam and dry heat, dramatically improving oven spring and preventing that restrictive early crust set that leads to a dense interior.
Conclusion: Mastering Sourdough and Achieving an Open Crumb.
Achieving that coveted open, airy sourdough crumb is a journey that requires patience, practice, and attention to detail across multiple stages of the baking process. Dense sourdough loaf troubleshooting tips involve examining everything from the health and activity of your starter – the crucial engine of leavening – to the final moments in the oven. Factors like flour type and accurate measurement build the necessary structure, while proper hydration finds the balance between workability and extensibility.
Developing sufficient gluten strength through techniques like stretch and folds, carefully controlling bulk fermentation based on dough temperature and visual cues, and mastering gentle shaping to build tension are all vital steps. Finally, optimizing your bake with high heat and essential steam ensures maximum oven spring and a well-cooked interior. Don't be discouraged by a dense sourdough loaf; view it as an opportunity to learn. By systematically addressing each potential cause and practicing the techniques discussed, you'll be well on your way to consistently baking beautiful loaves with a light, open crumb you can be proud of.
Frequently Asked Questions
What are the most common causes of a dense sourdough loaf?
A dense sourdough loaf is often caused by under-fermentation of the dough, insufficient gluten development, or using a starter that isn't active enough.
How can I tell if my sourdough starter is active enough?
An active starter should double in size within 4-8 hours after feeding and have a pleasing, slightly sour smell. It should also be bubbly and float in water.
What steps can I take to improve gluten development in my sourdough?
Improve gluten development by using the windowpane test to check for elasticity. Also, consider using the stretch and fold technique during bulk fermentation.
How long should I ferment my sourdough dough for an airy crumb?
Bulk fermentation time varies depending on temperature and starter activity. Look for the dough to be puffy and jiggly with visible bubbles.
What type of flour is best for achieving an open crumb in sourdough?
Bread flour is generally recommended for sourdough due to its high protein content, which is crucial for developing strong gluten networks and an airy crumb.
Final Reflection: Embracing the Art of Airy Sourdough
The journey to mastering sourdough baking is not just about achieving an airy crumb; it’s a testament to patience, practice, and the joy of creation. In today's fast-paced world, where instant gratification often overshadows the beauty of slow processes, the art of sourdough baking stands as a reminder of the value of dedication and the rewards that come from nurturing a living culture. Each loaf we craft reflects our commitment to the craft, and understanding the nuances of troubleshooting dense sourdough loaves is essential for any aspiring baker.
Sourdough baking has woven itself into the fabric of our culinary culture, transforming kitchens into laboratories of flavor and texture. The process of troubleshooting dense loaves not only enhances our baking skills but also fosters a deeper connection to our food and the traditions behind it. As we navigate the intricacies of fermentation and hydration, we learn to appreciate the delicate balance of ingredients and the science behind the rise. Baking is both an art and a science; it requires intuition and precision.
This ongoing dialogue between creativity and technique enriches our lives and encourages us to share our experiences with others, creating a community bound by the love of bread.
As you reflect on your own sourdough journey, I invite you to embrace the challenges and triumphs that come with each loaf. Consider how the lessons learned from troubleshooting dense sourdough loaves can apply to your life beyond the kitchen. Whether it’s cultivating patience, experimenting with new techniques, or simply enjoying the process, let your sourdough adventures inspire you to approach challenges with curiosity and resilience. Remember, every loaf is a step toward mastery, and with each bake, you are not just creating bread; you are crafting memories and connections that will last a lifetime.
Unleash Your Inner Baker: Achieve That Dreamy Sourdough Crumb!
Thanks for joining me on this sourdough journey! You've just unlocked some crucial tips for tackling dense loaves – now it's time to put them into practice. Ready to bake your best loaf yet?
- Master the Art of the Sourdough Score: Practice your scoring techniques – a perfect score is key to a beautiful, airy crumb. Try different patterns and depths to see what works best for your dough. This is your next step to success!
- Share Your Sourdough Triumphs: Snap a picture of your perfectly risen loaf and share it with the BakeWithEase community on social media! Use #BakeWithEaseSourdough and inspire others.
- Explore Advanced Techniques: Dive deeper into advanced sourdough techniques by exploring our other articles on hydration levels and fermentation times.
What unique scoring technique will you try on your next sourdough loaf?