
The Science of Tempering: Why It Matters for Your Chocolate Treats

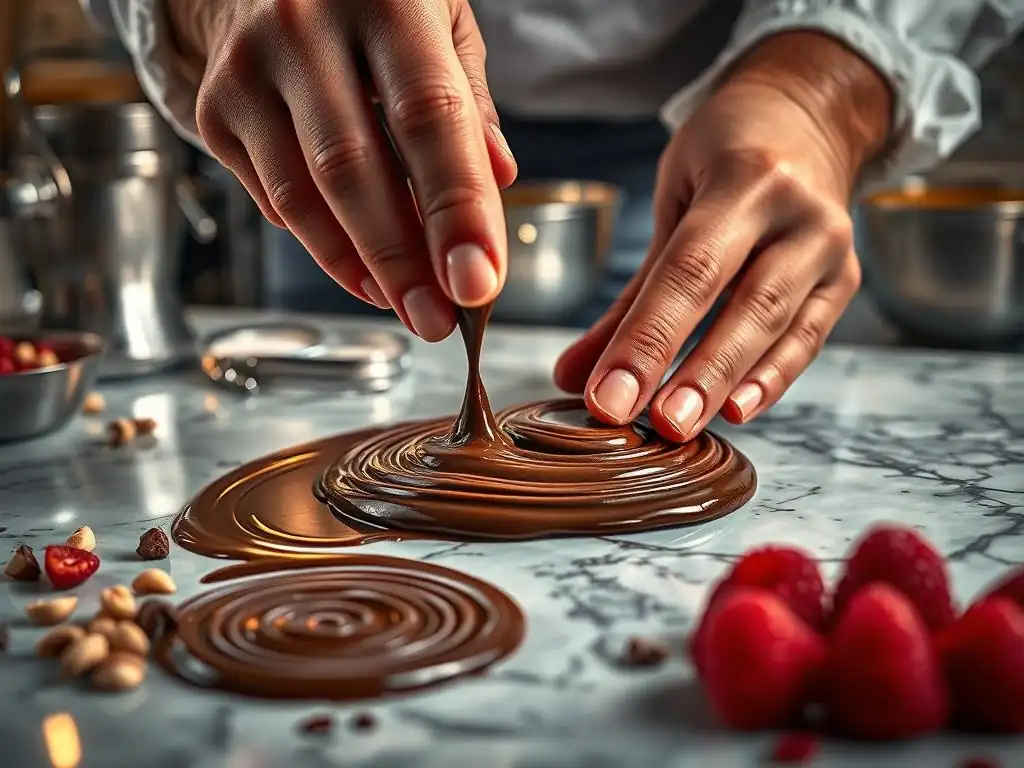
Welcome to BakeWithEase, your trusted guide in the delicious world of baking! Ever wondered why your homemade chocolate desserts sometimes look dull and taste grainy? Dive into the essential science of tempering chocolate for desserts. Unlock the secrets to achieving that perfect snap, shine, and smooth texture that elevates your creations from ordinary to extraordinary. Ready to transform your chocolate game? Let's get started!
- The Science of Tempering: Achieving Perfect Chocolate for Baking
- Understanding the Importance of Tempering Chocolate
- The Science Behind Chocolate Tempering
- Tempering Methods: A Step-by-Step Guide
- Troubleshooting Common Tempering Problems
- Applications of Perfectly Tempered Chocolate
- Storing and Handling Tempered Chocolate
- Achieving Professional Results with Tempered Chocolate
- Frequently Asked Questions
- Final Reflection: The Enduring Allure of Perfectly Tempered Chocolate
- Unlock Your Chocolate's Full Potential!
The Science of Tempering: Achieving Perfect Chocolate for Baking
Understanding the Importance of Tempering Chocolate
Why Tempering is Essential for Quality Chocolate
Tempering chocolate is a fundamental technique in confectionery and baking, crucial for achieving desirable physical properties. When chocolate is properly tempered, the cocoa butter crystals within it are aligned into a stable structure, specifically the 'beta' crystal form (Form V). This stable crystalline structure is what gives chocolate its characteristic snap when broken, a smooth, glossy surface, and a pleasant melt-in-your-mouth texture. Without proper tempering, chocolate intended for coating, molding, or decoration will lack these qualities, resulting in a less appealing final product.
Achieving the correct temper ensures your chocolate creations not only look professional but also perform correctly in terms of shelf life and handling. Properly tempered chocolate contracts slightly as it cools, making it easy to release from molds. It is also more resistant to blooming – the unsightly gray or white streaks that can appear on the surface due to fat or sugar separation. For anyone serious about elevating their baking, especially when working with chocolate for desserts, mastering the technique of tempering chocolate is a vital step.
Consequences of Untempered Chocolate
Using untempered chocolate in baking applications, particularly for coatings, decorations, or molded items, leads to several undesirable outcomes. The most immediate visual issue is the lack of gloss; untempered chocolate often appears dull or streaky. Functionally, untempered chocolate sets unevenly and lacks the satisfying snap of properly tempered chocolate. It also remains soft and sticky at room temperature, making it difficult to handle and prone to melting on contact.
Furthermore, untempered chocolate is highly susceptible to blooming. Fat bloom occurs when unstable cocoa butter crystals melt and recrystallize on the surface, while sugar bloom happens due to moisture causing sugar to dissolve and recrystallize. Both types of bloom significantly detract from the appearance and texture, making the chocolate look old and unappealing. While the chocolate is usually still safe to eat, its quality is severely compromised, which is why tempering chocolate for desserts is so important for professional results.
The Science Behind Chocolate Tempering
Cocoa Butter Polymorphism: Crystal Structures Explained
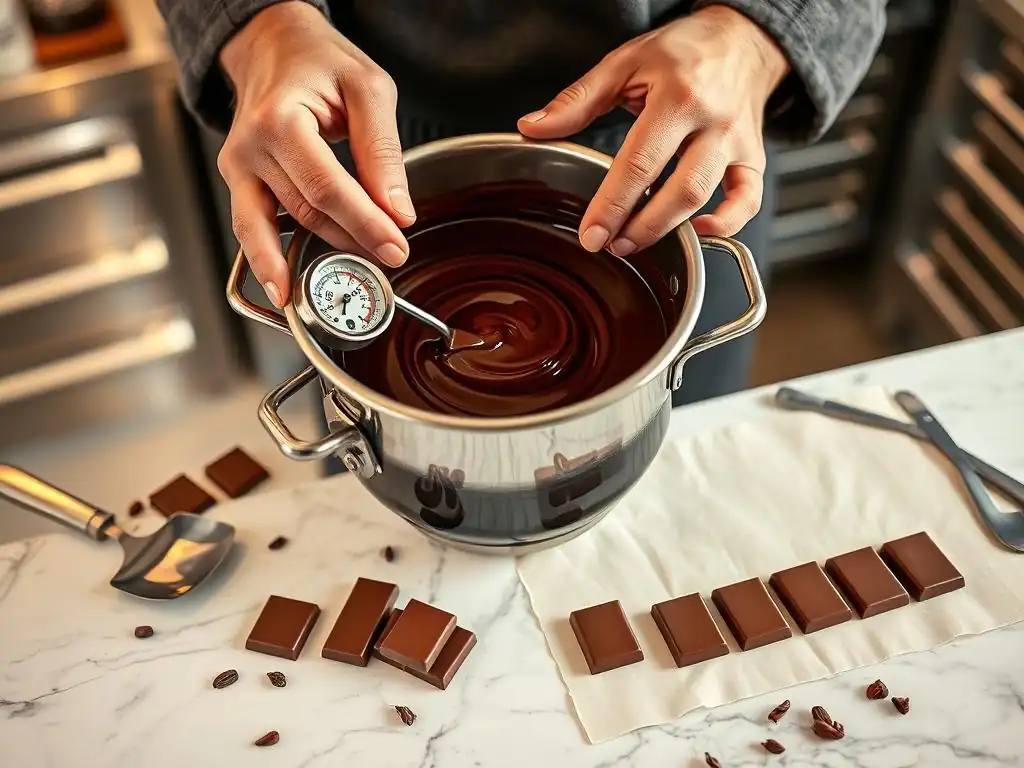
The science behind tempering chocolate lies in the unique properties of cocoa butter, the fat component of chocolate. Cocoa butter is polymorphic, meaning it can crystallize into different structures depending on temperature and handling. There are six known crystalline forms, typically labeled Forms I through VI. These forms have different melting points and stability levels. Form I is the least stable, melting at around 17°C (63°F), while Form VI is the most stable but forms over long periods and at higher temperatures, usually through solid-state transformation.
The key to successful tempering chocolate for desserts is to encourage the formation of stable beta crystals, specifically Form V, which melts between 32°C and 34°C (90-93°F). The tempering process involves carefully heating, cooling, and agitating the chocolate to melt all unstable crystal forms and then promote the growth of these desired stable crystals. Understanding these different crystal structures is crucial for controlling the tempering process and achieving that perfect finish.
The Desired Beta Crystal Form (Form V) for Optimal Results
Form V, or the beta crystal, is the target structure when tempering chocolate. These crystals are small, uniform, and stable, forming a tight lattice structure within the chocolate. This structure is responsible for all the desirable qualities of properly tempered chocolate: the high gloss, the firm snap, the smooth texture, and the resistance to bloom. Achieving a high proportion of Form V crystals is the goal of every tempering method.
To favor the formation of Form V crystals, chocolate is first heated to a temperature that melts all crystal forms (typically around 45-50°C or 113-122°F). It is then cooled while being agitated to a specific working temperature range (which varies depending on the type of chocolate – dark, milk, or white). This cooling and agitation process encourages the beta crystals to form and spread throughout the chocolate mass. Maintaining the chocolate within this narrow working temperature range keeps the Form V crystals stable and ready for use in tempering chocolate for desserts.
Tempering Methods: A Step-by-Step Guide
Preparing Your Workspace and Equipment
Before you begin tempering chocolate for desserts, ensuring your workspace and equipment are clean, dry, and prepared is paramount. Moisture is the enemy of chocolate tempering; even a single drop of water can cause the chocolate to seize, becoming a thick, lumpy mass. Ensure all bowls, spatulas, and surfaces are thoroughly dry. You will also need a reliable thermometer capable of measuring temperatures accurately within a degree or two, as precise temperature control is essential.
Having your ingredients measured out and any molds or surfaces ready to receive the tempered chocolate will streamline the process. For methods like the seeding method, you'll need finely chopped untempered chocolate or pre-tempered chocolate callets. For the tablier method, a cool, clean marble or granite slab is necessary. Setting everything up beforehand minimizes distractions and allows you to focus on maintaining the correct temperatures and agitation required for successful tempering chocolate for desserts.
Seeding Tempering Technique
The seeding method is a popular and relatively straightforward way to temper chocolate, particularly suitable for smaller batches or for beginners learning to temper chocolate for desserts. This technique relies on introducing stable beta crystals from already tempered chocolate (the "seed") into melted, untempered chocolate to encourage the formation of more beta crystals.
Adding Pre-Crystallized Chocolate to Induce Tempering
The principle is simple: melt the majority of your chocolate to a temperature that eliminates all crystal forms, then cool it down by stirring in finely chopped, already-tempered chocolate or chocolate callets. The stable crystals in the seed chocolate act as templates, guiding the molten cocoa butter to crystallize into the desired Form V structure as the mixture cools. The amount of seed chocolate typically ranges from 10% to 20% of the total chocolate weight.
Melt Chocolate to Initial Temperature
Start by gently melting about 80-90% of your chocolate. You can do this in a double boiler over simmering water (making sure the bottom of the bowl doesn't touch the water) or carefully in a microwave on low power, stirring frequently. Heat the chocolate until it reaches its initial melting temperature, typically around 45-50°C (113-122°F) for dark chocolate, slightly lower for milk and white chocolate. At this temperature, all cocoa butter crystals, including the unstable ones, will be melted.
Add Seeding Chocolate and Stir
Remove the melted chocolate from the heat source. Immediately add the remaining 10-20% of finely chopped, untempered chocolate or tempered callets (the seed). Stir continuously and gently with a spatula. As the seed chocolate melts, it cools the bulk of the chocolate while distributing stable beta crystals throughout the mixture. Continue stirring until the temperature drops into the working range: approximately 31-32°C (88-90°F) for dark chocolate, 29-30°C (84-86°F) for milk chocolate, and 28-29°C (82-84°F) for white chocolate.
Monitor Temperature and Remove Seeding Chocolate
Keep stirring and monitoring the temperature closely. If you used finely chopped chocolate as seed, it should fully melt as the temperature drops. If you used callets and the temperature reaches the target working range but some callets haven't melted, you can carefully remove them (as they've served their purpose of cooling and seeding). The chocolate is now tempered and ready for use in tempering chocolate for desserts like dipping or molding. Maintain the chocolate within its working temperature range using a warming pad or by briefly returning it to the double boiler off the heat, stirring constantly.
Tablier Tempering (Marble Slab Method)
The tablier method, also known as the marble slab method, is a classic technique often used by professional chocolatiers. It involves rapidly cooling a portion of melted chocolate on a cool surface, typically a marble or granite slab, while agitating it to encourage beta crystal formation. This method requires a bit more practice and physical space than the seeding method but can be very effective for tempering chocolate for desserts.
Cooling and Working Chocolate on a Marble Slab
The core of this method is spreading melted chocolate onto a cool surface to quickly reduce its temperature while working it with spatulas or scrapers. This vigorous movement helps to distribute the forming beta crystals evenly throughout the mass. Approximately two-thirds of the melted chocolate is worked on the slab, while the remaining one-third is kept warm in the bowl.
Melt Chocolate to Initial Temperature
As with the seeding method, start by melting all of your chocolate to eliminate all existing crystal forms. Heat the chocolate to its initial melting point, around 45-50°C (113-122°F) for dark, slightly lower for milk and white chocolate, using a double boiler or microwave. Ensure the chocolate is completely smooth and free of any lumps.
Pour onto Marble Slab and Spread
Pour about two-thirds of the melted chocolate onto a clean, cool marble or granite slab. Using a metal spatula or bench scraper, immediately begin spreading and scraping the chocolate back and forth across the slab. The goal is to cool the chocolate rapidly while keeping it moving. As you work it, the chocolate will start to thicken and become slightly cloudy, indicating that beta crystals are forming. Continue working until the chocolate cools to approximately 28-29°C (82-84°F) for dark chocolate (slightly lower for milk/white).
Scrape and Return to Bowl
Once the chocolate on the slab has reached the target temperature and thickened slightly, quickly scrape it up using your spatula or scraper. Return this cooled, partially crystallized chocolate to the bowl containing the remaining one-third of the warm, melted chocolate. Stir the mixture thoroughly.
The warmth of the reserved chocolate will gently raise the temperature of the mass into the desired working range (31-32°C for dark, 29-30°C for milk, 28-29°C for white) while the beta crystals from the cooled portion seed the rest of the chocolate. Stir until the mixture is smooth and uniform. Perform a test to check if it's tempered before using it for tempering chocolate for desserts.
Using a Chocolate Tempering Machine
For those who frequently work with larger quantities of chocolate or desire a more automated and precise process, a chocolate tempering machine is an excellent investment. These machines are designed to melt, cool, and maintain chocolate at the exact temperatures required for perfect tempering, significantly simplifying the process of tempering chocolate for desserts.
Automating the Tempering Process
Tempering machines typically use controlled heating and cooling elements, often combined with agitation, to guide the chocolate through the necessary temperature curve automatically. This removes much of the guesswork and manual effort involved in other methods. They are particularly useful for continuous use in a busy kitchen or for professional applications.
Set Temperature Parameters
To use a tempering machine, you first input the specific temperature parameters required for the type of chocolate you are using (dark, milk, or white). The machine will have settings for the initial melting temperature, the cooling temperature (where beta crystals form), and the final holding or working temperature. Consult the machine's manual and potentially the chocolate manufacturer's recommendations for precise temperatures.
Load Chocolate and Start Cycle
Load the chocolate into the machine's bowl or reservoir. Start the tempering cycle. The machine will take the chocolate through the programmed heating and cooling phases, typically with built-in agitation to ensure even crystal formation. Some machines require you to add seed chocolate at a specific point in the cycle, while others can temper chocolate directly from solid form. Follow the machine's instructions carefully.
Monitor and Adjust as Needed
While the machine automates the process, it's still wise to monitor the temperature display and the chocolate's consistency, especially when you are first getting acquainted with the equipment. Some machines may allow minor adjustments to hold temperatures. Once the cycle is complete and the machine indicates the chocolate is tempered, it will maintain the chocolate at the optimal working temperature, ready for continuous use in tempering chocolate for desserts like elaborate decorations or large batches of molded candies.
Troubleshooting Common Tempering Problems
Addressing Over-Crystallization
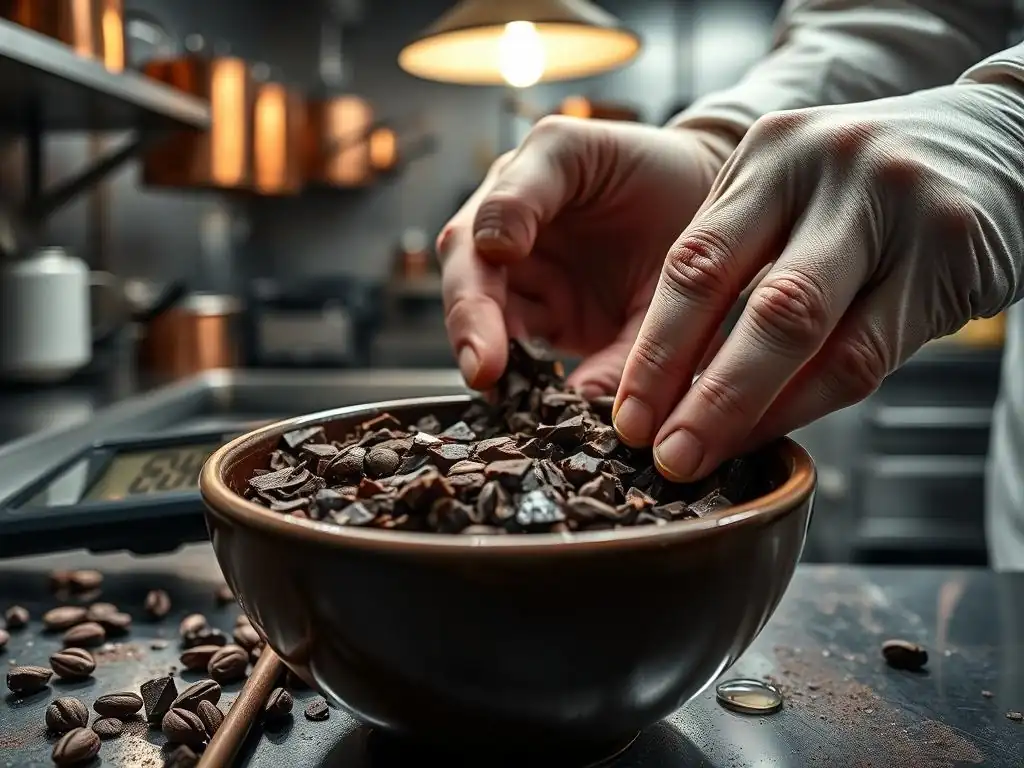
Over-crystallization occurs when the chocolate cools too much during the tempering process, resulting in too many crystals forming, or the wrong type of crystals (Forms IV or VI) starting to appear alongside Form V. The chocolate will become thick, sludgy, and difficult to work with, sometimes seizing completely. It may look dull and set improperly.
To correct over-crystallization, gently reheat the chocolate slightly while stirring continuously. You want to raise the temperature just enough to melt some of the excess or unstable crystals without melting the desirable Form V crystals. For dark chocolate, try raising the temperature by 1-2°C (approx. 2-4°F) above the working temperature. For milk/white, it might be just 0.5-1°C. Stir until the consistency loosens. If it's still too thick, you may need to add a small amount of warm, melted, untempered chocolate or start the tempering process over.
Correcting Under-Crystallization
Under-crystallization means that not enough stable beta crystals (Form V) have formed. This can happen if the chocolate didn't cool enough, wasn't agitated sufficiently, or the seed chocolate wasn't effective. Untempered or under-tempered chocolate will set slowly, be soft and sticky, lack gloss, and be highly prone to blooming.
To fix under-crystallization, you need to encourage more beta crystal formation. If using the seeding method, add more finely chopped tempered chocolate or callets and stir vigorously to cool the mixture further into the working temperature range. If using the tablier method, pour more chocolate onto the cool slab and work it until it thickens before returning it to the bowl.
Alternatively, you can gently cool the entire batch down a degree or two while stirring until it shows signs of thickening, then bring it back up to the working temperature. If these adjustments don't work, you may need to reheat the chocolate completely and restart the tempering process from the beginning to achieve proper tempering chocolate for desserts.
Preventing Common Tempering Errors
Preventing tempering issues is easier than fixing them. The most critical factors are temperature control and keeping moisture out. Always use a reliable thermometer and monitor the temperature diligently throughout the process. Ensure all equipment and surfaces are bone dry. Avoid tempering chocolate on humid days, as excess moisture in the air can interfere with the process.
Using good quality chocolate with a sufficient amount of cocoa butter (couverture chocolate) also makes tempering easier, as it has the right composition for crystal formation. Working in a cool environment helps, ideally between 18-22°C (65-72°F). Finally, be patient and stir consistently during the cooling phase to ensure even crystal distribution. By paying close attention to these details, you significantly increase your chances of successfully tempering chocolate for desserts on your first attempt.
Applications of Perfectly Tempered Chocolate
Creating Glossy Coatings and Decorations
One of the primary uses for perfectly tempered chocolate is creating beautiful, glossy coatings for candies, truffles, and pastries. When dipped or enrobed in tempered chocolate, desserts gain a professional finish that is both visually appealing and texturally satisfying. The chocolate sets quickly, forming a hard, shiny shell that protects the interior and provides a delightful snap when bitten into.
Beyond simple dipping, tempered chocolate is essential for creating delicate chocolate decorations, such as curls, shards, or piped designs. Its ability to set firmly and maintain its shape allows for intricate work. A thin layer of tempered chocolate spread onto a surface and cut before it fully hardens can yield elegant shapes. The stability of the beta crystals ensures these decorations remain crisp, shiny, and bloom-resistant, enhancing the overall presentation of any dessert requiring tempering chocolate for desserts.
Molding and Shell Making
Tempering is absolutely critical when working with chocolate molds. Properly tempered chocolate contracts slightly as it cools and crystallizes, allowing it to shrink away from the sides of the mold. This makes demolding clean and easy, leaving you with perfect, shiny shapes every time. Untempered chocolate, in contrast, sticks to the mold, breaks easily upon removal, and lacks the desired surface finish.
Creating chocolate shells for filled chocolates (like bonbons) also relies entirely on tempered chocolate. A thin layer is poured or brushed into the mold, allowed to set, and then the excess is poured out, leaving a hollow shell. This shell must be strong enough to hold the filling and have a good snap. Only tempered chocolate provides the necessary structure and stability for successful molding and shell making, making it indispensable when tempering chocolate for desserts and confectionery.
Incorporating into Recipes
While tempering is most critical for applications where the chocolate is a finished surface (coatings, molds), understanding its properties is still beneficial when incorporating chocolate into certain recipes. For instance, adding properly tempered chocolate chips or chunks to cookies or muffins can result in distinct pockets of chocolate that hold their shape better during baking compared to untempered chocolate, which might melt and spread excessively.
Furthermore, recipes involving ganaches or mousses where a smooth, stable texture is desired can sometimes benefit from the use of tempered chocolate, though the tempering process itself might be modified or less critical depending on the other ingredients. However, for recipes where a clean, hard set is needed, such as chocolate bars or solid figures, using properly tempered chocolate is non-negotiable for achieving the correct texture, appearance, and shelf life. Mastering tempering chocolate for desserts opens up a world of possibilities.
Storing and Handling Tempered Chocolate
Optimal Storage Practices
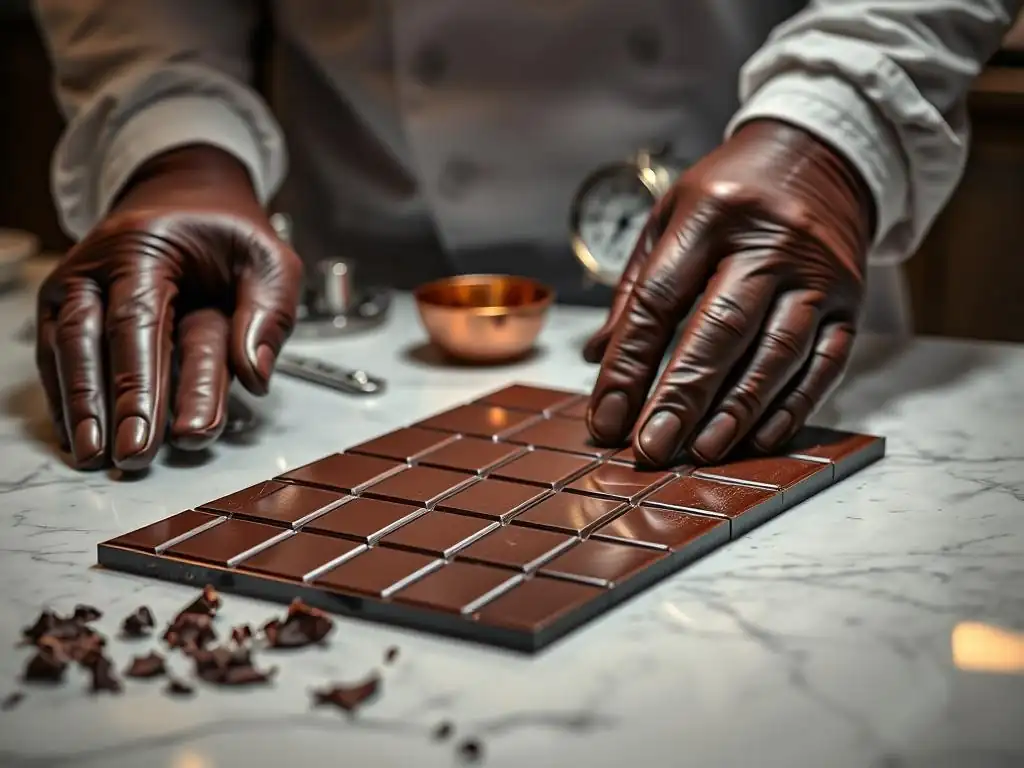
Properly tempered chocolate, once set, should be stored correctly to maintain its temper and prevent blooming. The ideal storage environment is cool, dry, and away from direct sunlight or strong odors. Temperatures between 15-18°C (59-64°F) are best. Avoid storing chocolate in the refrigerator unless absolutely necessary, as the humidity and temperature fluctuations can cause sugar bloom.
Seal tempered chocolate properly in airtight containers or wrap it tightly in plastic wrap and then foil. This protects it from moisture, odors, and temperature changes. Stored correctly, tempered chocolate will retain its snap and gloss for several months. If it does show signs of bloom over time, it is still usable for melting down and re-tempering, though its aesthetic qualities are diminished. Proper storage is key to preserving the quality of tempering chocolate for desserts.
Maintaining Temper During Use
Once chocolate is tempered and ready for use, maintaining its working temperature is crucial. If the chocolate cools too much, it will over-crystallize and become too thick. If it gets too warm, the stable beta crystals will melt, causing it to lose its temper. Keep the tempered chocolate within its specific working temperature range (around 31-32°C for dark, 29-30°C for milk, 28-29°C for white) while you are working with it.
Use a gently heated surface, like a warming pad set to a very low temperature, or a double boiler off the heat with warm water in the bottom bowl, to keep the chocolate fluid. Stir the chocolate occasionally to ensure even temperature distribution. Work relatively quickly, especially in cooler environments, to utilize the chocolate while it's in temper. If it starts to thicken, you can gently warm it slightly while stirring vigorously, but be careful not to exceed the maximum working temperature and lose the temper. Consistent temperature maintenance is vital when actively using tempering chocolate for desserts.
Achieving Professional Results with Tempered Chocolate
Mastering the art of tempering chocolate is a skill that significantly elevates the quality of your baked goods and confections. While it may seem intimidating at first, understanding the science of cocoa butter crystals and practicing the different techniques will lead to consistent success. The difference between untempered and perfectly tempered chocolate is stark – the former is dull, soft, and prone to bloom, while the latter boasts a beautiful shine, a satisfying snap, and a smooth texture.
Whether you're making molded chocolates, dipping truffles, or creating intricate decorations, using properly tempered chocolate ensures your creations are not only delicious but also visually stunning and stable at room temperature. It's an essential technique for anyone serious about baking with chocolate. With a little practice and attention to detail, you can confidently achieve professional-quality results when tempering chocolate for desserts, making your treats truly stand out.
Frequently Asked Questions
What exactly does tempering chocolate mean?
Tempering chocolate is the process of stabilizing the cocoa butter within the chocolate. This process creates a smooth, glossy finish and a satisfying "snap" when broken.
Why is tempering chocolate important for making desserts?
Tempering is crucial because untempered chocolate can look dull, have unsightly bloom (white streaks), and melt unevenly. Tempered chocolate has a better texture and appearance.
What happens if I skip the tempering process?
If you skip tempering, your chocolate will likely be grainy, soft, and prone to melting. It won't have the desired shine or snap, detracting from the final dessert.
What are some common methods for tempering chocolate at home?
Common methods include the seeding method, the tabling method, and using a double boiler to carefully control the temperature. BakeWithEase provides detailed guides on these techniques.
How can I tell if my chocolate is properly tempered?
A well-tempered chocolate should set quickly with a glossy shine. You can test it by dipping a knife into the chocolate; if it hardens quickly and evenly, it's properly tempered.
Final Reflection: The Enduring Allure of Perfectly Tempered Chocolate
The science of tempering chocolate isn't just about creating aesthetically pleasing desserts; it's about unlocking the full potential of this beloved ingredient. A perfectly tempered chocolate shell boasts a satisfying snap, a luxurious sheen, and a melt-in-your-mouth texture that elevates any confection from good to extraordinary. This seemingly simple process holds the key to unlocking a truly unforgettable culinary experience.
The impact of properly tempered chocolate extends far beyond the individual enjoyment of a delicious treat. It's a testament to the power of precision and attention to detail in the culinary arts, a skill passed down through generations of chocolatiers. The subtle nuances of crystal formation, the careful monitoring of temperature, and the unwavering dedication to achieving the perfect result speak to a deeper appreciation for the craft. As renowned pastry chef, Jacques Torres, once said: Chocolate is a magical ingredient, but it needs to be treated with respect. Tempering is the key to unlocking its magic.
This quote underscores the importance of understanding the science behind this seemingly simple process.
Now, consider your own approach to baking and confectionery. Will you embrace the challenge of mastering the art of tempering, unlocking the potential for creating truly exceptional chocolate treats? Perhaps you'll experiment with different methods, refine your technique, and discover the joy of transforming simple ingredients into works of edible art. The journey of mastering chocolate tempering is a rewarding one, filled with both challenges and triumphs – a testament to the enduring allure of this timeless ingredient.
Unlock Your Chocolate's Full Potential!
Thanks for diving into the fascinating world of chocolate tempering! You've now learned the secrets to creating flawlessly shiny, snappable treats. Ready to put your new knowledge into practice?
- Master the art of tempering: Try the technique discussed today with your favorite chocolate recipe – the results will speak for themselves! Experiment with different types of chocolate to see how the process varies.
- Share your chocolate creations: Show us your perfectly tempered masterpieces on social media using #BakeWithEaseTempering! We’d love to see your success.
- Challenge yourself: Attempt a more complex chocolate recipe, such as a molded chocolate figure or intricately designed truffles.
What amazing chocolate treat will you temper first?