
Glazing Enriched Doughs: When and What to Use for Shine

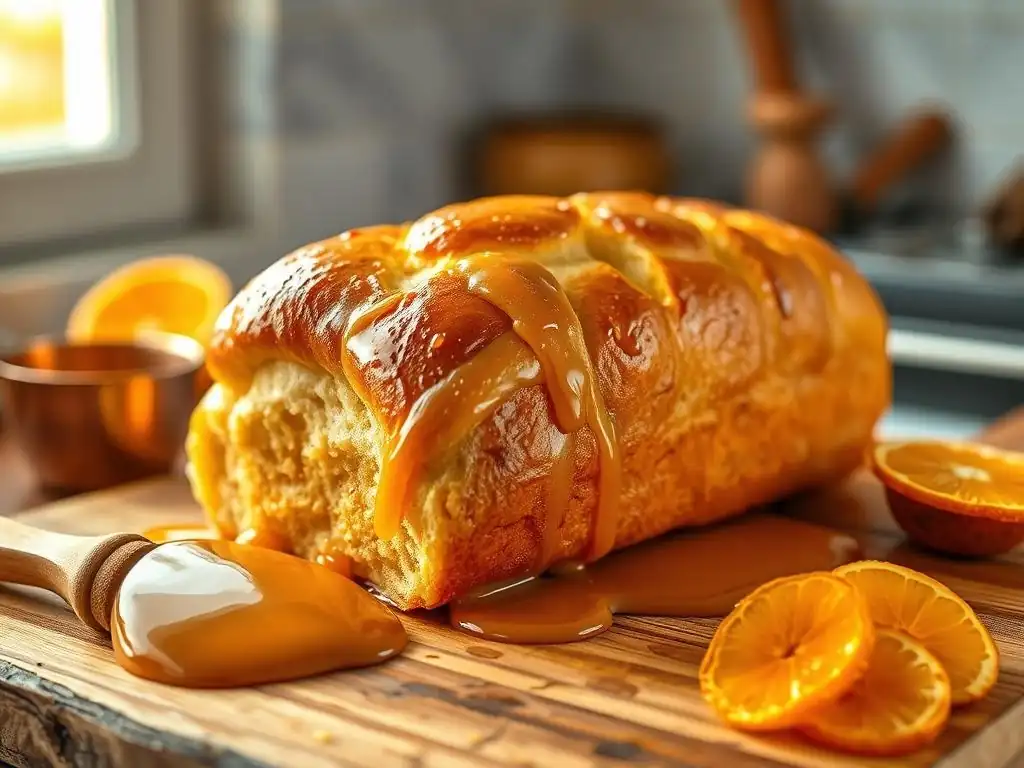
Welcome to BakeWithEase, your trusted companion on your baking journey! Ever wondered how to achieve that perfect, glossy finish on your favorite enriched doughs? Unlock the secrets to irresistible shine and flavor with our guide on glazing techniques. Discover exactly how to glaze enriched dough for bakery-worthy results and prepare to elevate your baking game. Curious to learn more? Let's get started!
- How to Glaze Enriched Doughs: Achieving the Perfect Shine
- Understanding the Importance of Glazing Enriched Doughs
- When to Glaze Enriched Dough: Timing is Key
- What to Use for Glazing Enriched Dough: A Comprehensive Guide
- Specialized Glazes for Enriched Doughs
- Troubleshooting Common Glazing Problems
- Tips for Perfect Glazing Every Time
- Mastering the Art of Glazing: Your BakeWithEase Guide to Shiny Enriched Doughs
- Frequently Asked Questions
- Final Reflection: The Art and Science of a Perfect Glaze
- Unlock Your Dough's Full Potential: Glaze Like a Pro!
How to Glaze Enriched Doughs: Achieving the Perfect Shine
Understanding the Importance of Glazing Enriched Doughs
Why Glaze Enriched Dough? Benefits for Brioche & More
Glazing enriched doughs, such as brioche, challah, and panettone, offers a multitude of benefits that go beyond simple aesthetics. A well-applied glaze creates a beautiful, often glossy, finish that makes the baked goods look incredibly appealing. This visual appeal is crucial, especially for celebratory breads or pastries where presentation is key. The glaze acts as a protective layer, helping to seal in moisture during baking, which results in a softer, more tender crumb. For instance, a brioche loaf glazed with an egg wash typically retains moisture better and develops a richer golden-brown crust compared to an unglazed one.
Beyond moisture retention and visual appeal, glazing significantly impacts the texture and flavor of the crust. Egg washes contribute to a crispier, golden crust, while milk or cream glazes result in a softer finish. Sugar-based glazes add sweetness and a delightful sticky or crackly texture.
Consider a classic challah: the iconic braiding is highlighted by a glossy egg wash that turns a deep, inviting brown. Without this glaze, the surface would be duller and less defined. Learning how to glaze enriched dough properly is a fundamental step in elevating your baking results, ensuring your brioche, challah, and other enriched treats look and taste their absolute best.
The Science of Shine: How Glazes Interact with Dough
The transformation that occurs when a glaze meets a hot oven involves fascinating chemical reactions, primarily the Maillard reaction and caramelization. Egg washes, rich in proteins and sugars, are prime candidates for the Maillard reaction, which occurs between amino acids and reducing sugars at high temperatures. This reaction is responsible for the development of hundreds of flavor compounds and the characteristic browning of the crust.
The proteins in the egg also coagulate, forming a smooth, glossy film on the surface. A typical egg wash (one whole egg with a splash of water or milk) applied to a brioche baked at 375°F (190°C) will start to brown within the first 10-15 minutes, creating that desired golden hue and shine.
Sugar-based glazes, like simple syrups, rely more heavily on caramelization. As the sugar solution heats up, water evaporates, and the sugar molecules break down and rearrange, turning brown and developing complex flavors. This happens at temperatures typically above 320°F (160°C).
The high concentration of sugar on the surface melts and then hardens into a shiny, often slightly brittle, layer upon cooling. Milk glazes, containing lactose (a sugar) and proteins, also undergo some degree of Maillard reaction and caramelization, though less intensely than egg or pure sugar glazes, resulting in a softer, less dramatic shine. Understanding these processes helps bakers predict the outcome and choose the best glaze for their specific enriched dough recipe.
When to Glaze Enriched Dough: Timing is Key
Pre-Bake Glazing: Advantages and Considerations
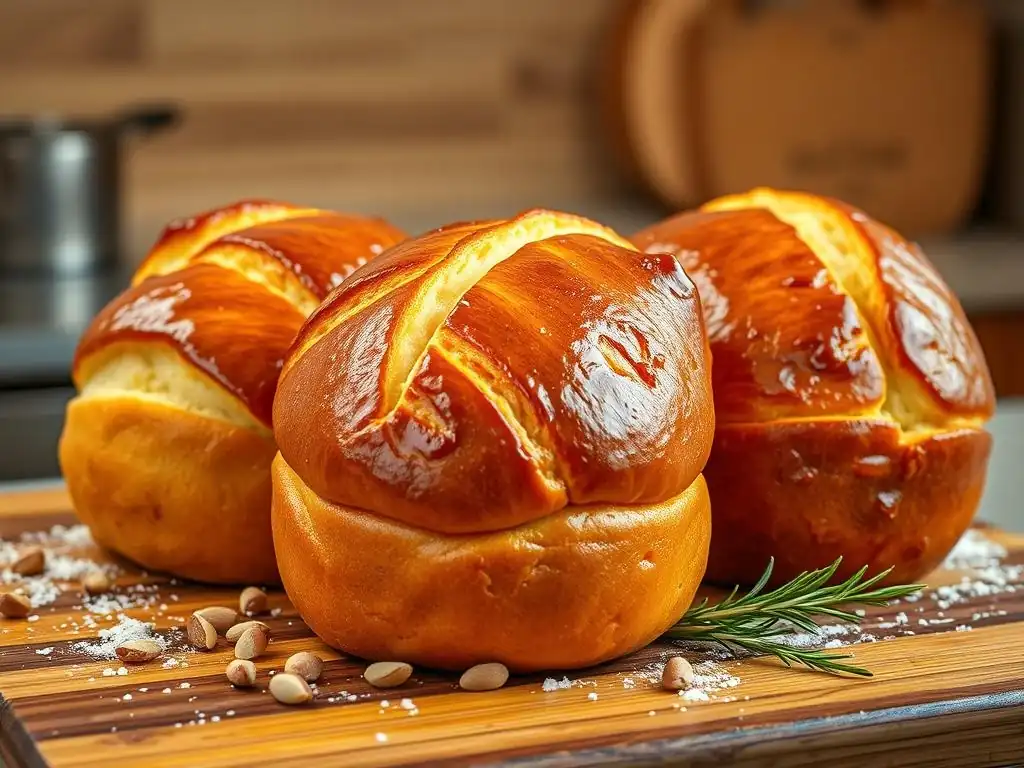
Applying a glaze before baking is the most common method for enriched doughs and offers significant advantages. The primary benefit is that the glaze sets and bakes onto the dough simultaneously as it rises and browns in the oven. This allows the glaze to fully adhere to the surface, creating a durable, integrated crust. Egg washes, milk washes, and many sugar washes are best applied pre-bake. For example, brushing a challah with egg wash just before it goes into the oven ensures that the intricate braids are coated evenly and develop a uniform golden-brown color.
However, pre-bake glazing requires careful consideration, particularly regarding the proofing stage. Glazes, especially thick ones like egg wash, can form a skin on the dough that might restrict its final oven spring. It's crucial to apply the glaze after the final proofing (or just before, if proofing is done uncovered and the dough is very delicate), handling the dough gently to avoid deflation.
Also, some glazes, particularly those high in sugar, can cause the crust to brown very quickly, potentially before the interior is fully baked. Bakers often mitigate this by tenting the bread with foil partway through baking if the crust is browning too fast, typically after the first 15-20 minutes for a standard-sized loaf.
Post-Bake Glazing: Adding Shine After Baking
Glazing after baking serves a different purpose and uses different types of glazes, primarily those that would burn or become too hard if baked. These glazes are typically applied while the bread or pastry is still hot, allowing the residual heat to slightly melt or set the glaze, ensuring it adheres well. Butter glazes, simple sugar syrups, and fruit glazes like apricot are frequently applied post-bake. Brushing melted butter onto hot dinner rolls, for instance, gives them a soft crust, rich flavor, and a gentle sheen that wouldn't be achievable by baking the butter onto the dough.
The advantage of post-bake glazing is the ability to add moisture, flavor, and shine without affecting the dough's rise or risking premature browning during the bake. It's an excellent technique for adding a final touch of sweetness or a specific flavor profile.
A classic example is applying a simple syrup glaze to a panettone immediately after it comes out of the oven; the hot crumb absorbs some of the syrup, adding moisture and sweetness throughout, while the surface develops a beautiful, glossy sheen. The key is timing – applying the glaze while the baked good is still warm but not so hot that the glaze runs off completely.
The Best Time to Glaze Different Enriched Dough Types [Brioche, Challah, Panettone]
The optimal timing for glazing varies slightly depending on the specific enriched dough and the desired outcome. For Brioche, the most common glaze is an egg wash applied just before baking. This provides the signature rich, golden-brown crust. Apply the wash gently after the final proof to avoid deflating the tender dough. Sometimes, brioche is also glazed with a simple syrup or melted butter immediately after baking for extra shine and richness, especially for sweet applications like pain perdu.
Challah is almost always glazed before baking, traditionally with an egg wash (sometimes mixed with a touch of honey or sugar for extra browning and sweetness). The glaze is applied after the intricate braiding is complete and the dough has had its final proof. This ensures the glaze settles into the crevices of the braid, highlighting its structure and resulting in a uniform, deep golden-brown color across the entire loaf.
Panettone, a highly enriched Italian sweet bread, often receives multiple glazing treatments. A pre-bake topping (often an glassa, a mixture of sugar, egg whites, and almond flour) is common and bakes into a delicate, crackly crust. Additionally, panettone is frequently brushed with a sugar syrup (sometimes flavored with liqueur) immediately after baking while still hot. This post-bake glaze adds moisture, sweetness, and a characteristic glossy finish that complements the rich, airy crumb. Understanding these specific applications is key to mastering how to glaze enriched dough properly for each type.
What to Use for Glazing Enriched Dough: A Comprehensive Guide
Egg Washes: The Classic Glaze for a Golden Crust
Egg washes are arguably the most traditional and versatile glaze for enriched doughs, prized for their ability to produce a beautiful golden-brown, slightly shiny crust. The composition of the egg wash dictates the final appearance. A standard egg wash is made by whisking a whole egg with a liquid, typically water or milk.
Using water results in a shinier finish, while milk (or cream) provides a softer, more matte sheen due to its fat content. A common ratio is one large egg whisked with one tablespoon of liquid. This mixture is then gently brushed onto the surface of the dough before baking.
The proteins and fats in the egg, combined with the heat of the oven, undergo the Maillard reaction, creating rich flavors and colors. The sugar content, though small, also contributes to browning. For example, a brioche loaf brushed with a whole egg wash and baked at 375°F (190°C) will typically achieve a deep golden hue within 20-30 minutes. Egg washes also help seeds, grains, or sugar toppings adhere securely to the dough, preventing them from falling off during handling or baking. Mastering how to glaze enriched dough with an egg wash is a fundamental technique.
Egg Wash Variations: Whole Egg, Egg Yolk, Egg White
Varying the components of the egg wash allows for control over the final crust appearance. Using a whole egg (whisked with water or milk) provides a balanced result: good color, moderate shine, and decent adhesion for toppings. This is the most common and versatile option for general use on enriched doughs like challah or brioche rolls.
An egg yolk wash (often mixed with a small amount of cream or milk) yields the richest color and highest shine. Yolks are higher in fat and emulsifiers, which contribute to a deep golden hue and a glossy finish. This variation is excellent when you want a particularly luxurious look, perhaps on a holiday brioche or a decorative braided bread. However, it can brown quite intensely, so monitoring during baking is advised.
An egg white wash (sometimes mixed with water) provides the least color but the most shine. The proteins in the white coagulate into a clear, glossy layer. This is often used when you want a very shiny finish without significant browning, or as a base for sugar or seed toppings that you want to stand out against a lighter crust. It can also be used to create a crispier crust. Each variation offers a distinct effect, allowing bakers to tailor the glaze to their specific needs when considering how to glaze enriched dough.
Achieving a Uniform Egg Wash Application
Applying an egg wash evenly is crucial for a beautiful, professional-looking result. The goal is a thin, consistent layer across the entire surface of the dough. Using the right tool is key; a soft-bristled pastry brush (either natural or silicone) is ideal. Avoid using stiff brushes that can drag or tear the delicate dough surface, especially after proofing.
Dip the brush into the egg wash, then gently tap or swipe it against the side of the bowl to remove excess liquid. Too much wash can pool in crevices, leading to uneven browning and a thick, unpleasant crust in those spots. Brush the dough with light, feathery strokes, ensuring all visible surfaces are covered, including the sides. For braided loaves like challah, carefully brush into the valleys between the strands. Work relatively quickly to avoid letting the wash dry out unevenly. For the best results, apply the wash just before placing the dough in the oven.
Milk and Cream Glazes: For a Softer Shine
Milk and cream glazes offer a subtler alternative to egg washes, resulting in a softer crust and a gentle sheen rather than a high gloss. These glazes are particularly good for enriched doughs where you want a tender crust that doesn't become too crisp or deeply colored. The lactose (milk sugar) and proteins in milk and cream still contribute to some degree of Maillard browning, but less intensely than egg.
Brushing milk or cream onto dough before baking helps keep the surface moist, promoting even baking and contributing to a softer texture. For instance, brushing milk on enriched dinner rolls just before baking helps them achieve a soft, tender crust with a light golden color. This method is simpler than using egg wash and is often preferred for everyday enriched breads where a less dramatic finish is desired.
Milk Glaze Recipes for Enriched Doughs
A basic milk glaze is simply whole milk, brushed directly onto the dough. For a slightly richer glaze, you can use half-and-half or light cream. Some recipes suggest warming the milk slightly, although this is not strictly necessary. The key is to apply a thin, even layer using a pastry brush just before the dough goes into the oven.
For a slightly sweeter and browner crust, you can dissolve a small amount of sugar (like 1-2 teaspoons per quarter cup of milk) in the milk before brushing. This adds extra fuel for caramelization and the Maillard reaction. For example, brushing an enriched sandwich loaf with milk mixed with a touch of sugar will give it a lovely light golden color and a soft, slightly sweet crust. These simple glazes are easy to prepare and effective for achieving a soft, appealing finish on enriched doughs.
The Impact of Fat Content in Cream Glazes
The fat content of the dairy product used for glazing significantly impacts the final result. Using whole milk (around 3.5% fat) provides a modest amount of richness and contributes to a softer crust than skim milk. Half-and-half (typically 10-12% fat) or light cream (around 20% fat) will yield an even softer crust and a slightly richer flavor.
Heavy cream (36% or more fat) provides the most richness and can result in a very tender crust, but it may create a less uniform browning pattern as the fat melts and renders. Higher fat content also tends to produce a less shiny finish compared to lower-fat liquids or egg washes. When deciding how to glaze enriched dough with dairy, consider the desired crust texture and color – higher fat for softer, less shiny; lower fat for slightly firmer, potentially shinier results within the milk glaze category.
Sugar Syrups: Adding Sweetness and Glistening Sheen
Sugar syrups are excellent for adding both sweetness and a high-gloss finish to enriched doughs, typically applied after baking. As the hot baked good cools, the syrup sets into a translucent, shiny layer. This method is particularly popular for sweet enriched breads like panettone, hot cross buns, or sweet rolls. The syrup can also penetrate the crust slightly, adding moisture and flavor.
Applying a sugar syrup glaze immediately after baking ensures the heat helps the syrup spread and absorb slightly before setting. A common method is to brush the syrup onto the warm surface. For items like panettone, which are often hung upside down to cool, the syrup is brushed on the bottom surface before hanging, allowing gravity to help it distribute.
Simple Syrup Glaze Recipes and Techniques
A basic simple syrup is made by dissolving sugar in water, usually in equal parts by volume (e.g., 1 part sugar to 1 part water). Heating the mixture gently helps the sugar dissolve quickly. For a thicker, more durable glaze, a higher sugar-to-water ratio can be used (e.g., 2 parts sugar to 1 part water).
To use as a glaze for enriched dough, the hot syrup is typically brushed onto the baked item as soon as it comes out of the oven. For example, simmering 1/2 cup sugar with 1/2 cup water until dissolved creates enough syrup to glaze several loaves of sweet bread or a batch of rolls. Brush a generous, even layer using a pastry brush. The syrup will look wet at first but will set into a glossy finish as it cools. For extra flavor, extracts (like vanilla or almond) or citrus zest can be added to the warm syrup.
Using Honey or Maple Syrup for Glazing
Beyond simple sugar syrup, other liquid sweeteners like honey and maple syrup can also be used as glazes, offering distinct flavors and colors. Honey provides a rich, floral sweetness and a beautiful golden-brown color. It can be used thinned with a little hot water or butter and brushed onto enriched doughs after baking. A honey glaze works wonderfully on challah or sweet rolls, adding moisture and a lovely aroma. However, honey can be quite sticky and browns intensely if baked on, so it's almost always a post-bake application.
Maple syrup offers a different kind of sweetness and flavor profile, pairing particularly well with enriched doughs containing nuts or warming spices. Like honey, pure maple syrup is best applied after baking. It can be used straight or warmed slightly for easier brushing. Maple glaze gives a warm, inviting sheen and flavor to items like enriched cinnamon rolls or a sweet braided loaf. Both honey and maple syrup glazes should be applied while the baked goods are still warm for best absorption and setting.
Butter Glazes: Richness and Flavor Enhancement
Butter glazes are simple yet incredibly effective for adding richness, flavor, and a soft crust to enriched doughs. Unlike many other glazes, butter is primarily about flavor and texture rather than a high-gloss shine. When melted butter is brushed onto hot baked goods, it soaks into the crust, making it tender and infusing it with that irresistible buttery taste and aroma.
This type of glaze is almost exclusively applied after baking, as butter would simply melt and potentially burn if applied before. It's particularly popular for enriched rolls, buns, and soft loaves. Brushing melted butter on hot brioche buns, for instance, creates a wonderfully soft, flavorful exterior that complements the rich interior.
Applying Butter Glaze for a Buttery Crust
Applying a butter glaze is straightforward. Simply melt unsalted butter in a small saucepan or microwave. Use a pastry brush to generously coat the surface of the baked enriched dough immediately after it comes out of the oven. The heat of the bread will help the butter melt and absorb.
For extra flavor, you can infuse the melted butter with herbs (like rosemary for savory rolls) or garlic (for garlic bread made from enriched dough). A simple melted butter glaze is often all that's needed to transform a plain enriched roll into something special, adding both moisture and a rich finish. Aim for an even coating across the top and sides.
Considerations for Butter Glaze Application (Melting Point, etc.)
When using butter as a glaze, the primary consideration is its melting point, which is relatively low (around 90-98°F or 32-37°C). This is why it's applied after baking – it needs the residual heat of the bread to stay liquid and soak in. If the bread isn't hot enough, the butter will solidify on the surface, creating a greasy layer rather than soaking in.
Use unsalted butter for better control over the final saltiness of your baked good. If using salted butter, be mindful of how it might affect the overall flavor profile. Apply the butter generously but avoid pooling, which can make the crust greasy. The goal is for the butter to soak in, not sit on top. Using clarified butter or ghee (which have higher smoke points) isn't necessary for a post-bake glaze, as the temperatures aren't high enough to cause burning, and regular melted butter provides the best flavor.
Specialized Glazes for Enriched Doughs
Apricot Glaze: A Traditional Choice for Pastries
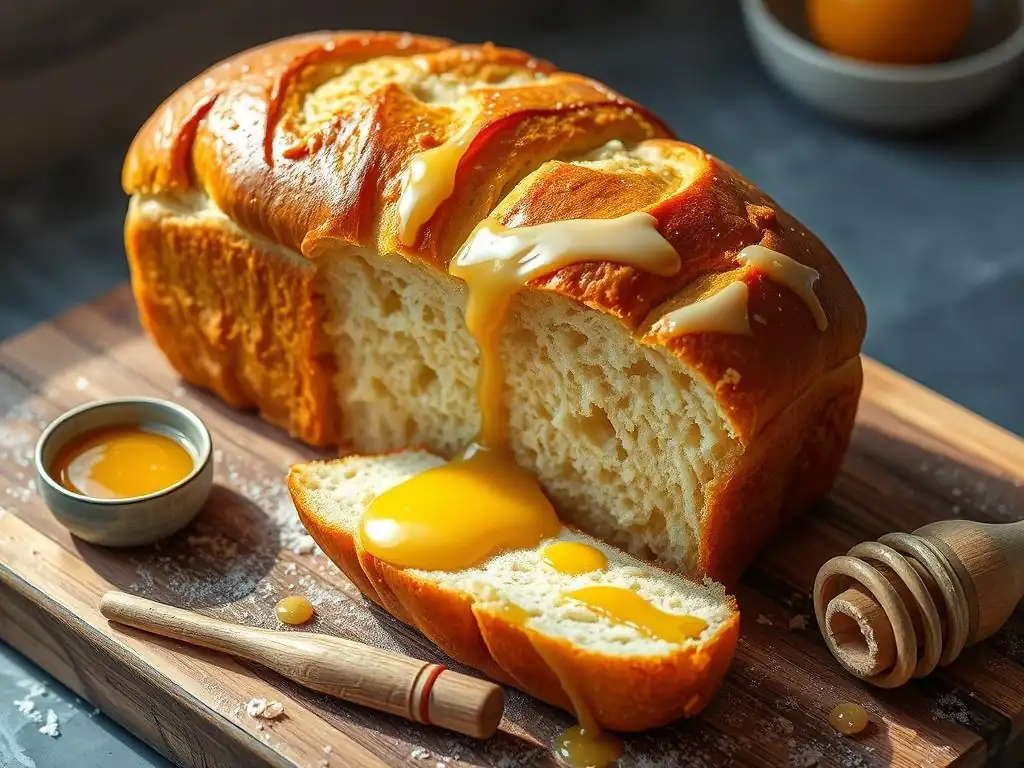
Apricot glaze is a classic finishing touch, particularly for enriched pastries, fruit tarts, and sweet breads. It provides a beautiful, clear, high-gloss shine and a subtle fruity sweetness that complements many enriched dough recipes. This glaze is typically made from apricot jam or preserves, which are strained and then heated with a little water or liqueur.
The pectin in the apricots helps the glaze set into a firm yet pliable, shiny coating upon cooling. It's often applied to baked goods, especially fruit-topped ones, to give them a professional, polished look and to prevent the fruit from drying out. A brioche tart base filled with pastry cream and topped with fruit, for example, is often brushed with warm apricot glaze after baking.
Icing Sugar Glazes: Decorative and Flavorful
Icing sugar (powdered sugar) glazes are primarily decorative and add a sweet, opaque, or translucent finish to enriched doughs, often drizzled or spread on after baking and cooling. These glazes are simple to make by whisking icing sugar with a liquid like milk, water, or lemon juice.
The consistency can be adjusted by adding more liquid for a thin, drizzling glaze or less for a thicker, spreadable icing. For example, a simple lemon glaze for brioche buns can be made by mixing icing sugar with fresh lemon juice. This adds brightness and sweetness. These glazes are ideal for enriched cinnamon rolls, sweet buns, or loaves where you want a sugary topping that sets firm. They provide sweetness and visual appeal but do not contribute to crust development during baking.
Using Jams and Preserves as Glazes
Beyond apricot, other jams and preserves can be used as glazes, offering a wide range of fruit flavors and colors. Similar to apricot glaze, these are typically warmed and strained (if necessary) before being brushed onto baked enriched doughs. Strawberry, raspberry, cherry, or even orange marmalade can be used.
The key is to choose a jam with good color and flavor that complements the baked good. Heating the jam makes it liquid enough to brush. For instance, warming raspberry jam and brushing it onto baked sweet rolls provides a vibrant color, fruity flavor, and a pleasant shine. These glazes are best used on items that are already baked, as the sugar content is high and would likely burn if applied before baking.
Troubleshooting Common Glazing Problems
Avoiding a Dull or Uneven Glaze
A dull or uneven glaze can detract from the appearance of your beautiful enriched dough. For egg washes, dullness often results from using too much milk or cream, or not enough egg yolk. Ensure your egg wash ratio provides enough protein and fat for shine. Unevenness is usually caused by improper application – using too little glaze, using a brush that's too stiff, or not coating the surface thoroughly. Re-read the "Achieving a Uniform Egg Wash Application" section for tips.
For sugar syrups, dullness can occur if the syrup isn't hot enough when applied, preventing it from spreading and setting smoothly. Ensure the syrup is warm and the baked good is hot. Unevenness can also happen if the syrup is too thick or applied too sparingly. If using a post-bake glaze, ensure the surface is free of flour dust before applying.
Preventing Glaze from Burning
Burning glaze, particularly sugar or egg-based glazes, is a common issue when baking enriched doughs. This happens when the sugar on the surface reaches too high a temperature too quickly. For egg washes, ensure the oven temperature isn't excessively high and that the glaze layer isn't too thick.
If your glazed enriched dough (like challah or brioche) is browning too fast in the oven, especially the top, loosely tent it with aluminum foil. This shields the top crust from direct radiant heat, allowing the interior to finish baking without the glaze burning. For sugar glazes applied post-bake, burning isn't an issue, but if you're using a pre-bake sugar wash, keep the sugar concentration moderate and monitor closely, tenting if necessary.
Fixing a Sticky Glaze
A glaze that remains excessively sticky after cooling can be messy and unpleasant. This often happens with sugar syrups that have too high a water content or weren't heated sufficiently to reach the proper concentration of sugar needed to set firmly. Ensure your simple syrup is made with at least a 1:1 sugar-to-water ratio, and preferably slightly more sugar, and heated until all sugar is dissolved.
For post-bake sugar glazes, letting the baked goods cool completely before handling can help the glaze set fully. If a pre-bake egg wash results in a sticky crust, it might be due to underbaking; the residual moisture keeps the surface tacky. Ensure your enriched dough is baked through to the proper internal temperature (typically 190-200°F or 88-93°C for enriched breads).
Tips for Perfect Glazing Every Time
Ensuring Proper Dough Proofing Before Glazing
Proper proofing is paramount before applying a pre-bake glaze to enriched dough. The dough should be adequately risen – typically doubled in size or close to it, depending on the recipe – but not overproofed. Applying a glaze to underproofed dough means the glaze will set before the dough has finished rising in the oven, potentially restricting oven spring and resulting in a dense crumb.
Conversely, applying a glaze to significantly overproofed dough makes it extremely delicate and prone to deflation when brushed. Gently brush the glaze onto dough that has achieved the correct final proof volume, using light strokes to maintain its airy structure. This ensures the glaze bakes onto a dough that is ready to expand fully in the oven, leading to a light, airy texture and a beautiful crust.
Using the Right Brush for Even Application
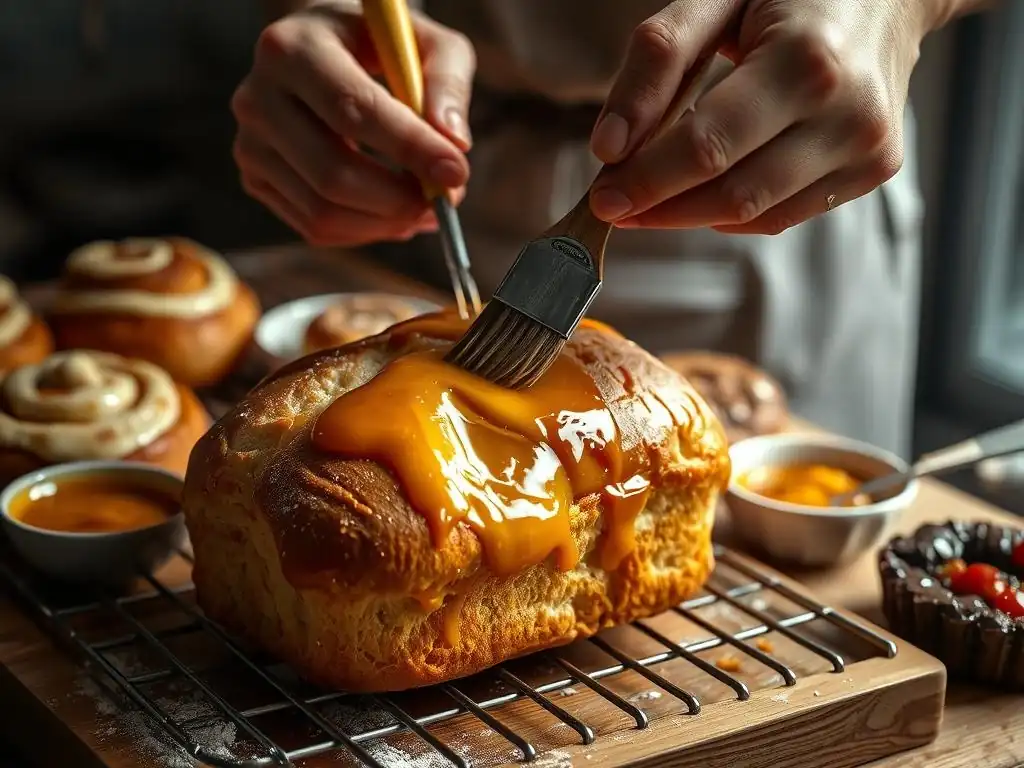
The choice of brush significantly impacts the evenness and quality of your glaze application. A soft-bristled pastry brush is essential, whether it's made of natural fibers or silicone. Stiff brushes can drag across the dough's surface, leaving streaks, pulling at the dough, or even causing delicate, proofed dough to deflate.
Natural bristle brushes tend to hold more liquid, requiring careful tapping to remove excess. Silicone brushes are easier to clean and don't shed bristles, but they may require slightly more strokes to distribute the glaze evenly. Whichever type you choose, ensure the bristles are soft and flexible enough to glide smoothly over the delicate surface of your enriched dough, allowing you to apply a thin, uniform layer of glaze without damaging the dough structure.
Adjusting Baking Time Based on Glaze Type
Certain glazes can affect the baking time and temperature needed for enriched doughs. Glazes high in sugar (like egg washes or sugar syrups applied pre-bake) will cause the crust to brown faster than an unglazed loaf or one brushed with just milk or butter. This means you might need to reduce the oven temperature slightly or be prepared to tent the loaf with foil sooner in the baking process to prevent the crust from burning before the interior is cooked.
Monitor the internal temperature of the bread using an instant-read thermometer to ensure it's fully baked, regardless of how quickly the crust browns. A standard enriched loaf is typically done when the internal temperature reaches 190-200°F (88-93°C). If your glaze is browning rapidly, tenting after the first 15-20 minutes is a common strategy. Understanding how your chosen glaze affects browning helps you adjust your baking approach for perfect results.
Mastering the Art of Glazing: Your BakeWithEase Guide to Shiny Enriched Doughs
Experimenting with Different Glaze Combinations [Lemon Glaze on Brioche, Maple Glaze on Challah]
Once you've mastered the basic glazes, don't hesitate to experiment with combinations and flavorings to elevate your enriched doughs. Consider pairing glazes with the specific flavors within your bread. A Lemon Glaze on Brioche, for instance, is a delightful combination. After baking brioche buns or a loaf, whisk powdered sugar with fresh lemon juice and a tiny bit of zest until smooth, then drizzle over the warm bread. The bright citrus cuts through the richness of the brioche beautifully.
For Maple Glaze on Challah, warm pure maple syrup slightly and brush it onto the hot, baked challah. This is particularly good on a challah enriched with ingredients like pecans or cinnamon. The maple adds a warm, comforting sweetness that complements the bread's slight richness. You can also infuse glazes; for example, steeping a vanilla bean or citrus peel in a simple syrup before brushing it on a panettone. Experimenting allows you to personalize your enriched doughs and discover new flavor pairings.
Achieving Professional-Looking Results at Home
Achieving professional-looking results when glazing enriched doughs at home is entirely within reach with attention to detail and practice. It starts with selecting the right glaze for your specific dough and desired outcome – understanding whether an egg wash, milk glaze, or sugar syrup is most appropriate. Paying close attention to timing is crucial, whether glazing before or after baking, and handling delicate, proofed dough with care during application is key.
Using a quality, soft pastry brush and applying the glaze evenly in thin layers prevents streaks and pooling. Monitoring the bake and being prepared to tent the bread if the glaze is browning too quickly ensures a beautiful, unburnt crust. By focusing on these techniques – choosing the right glaze, timing the application correctly, using the proper tools, and managing the bake – you can consistently produce enriched doughs like brioche, challah, and panettone with the perfect shine and professional finish that impress everyone.
Frequently Asked Questions
What is enriched dough, and why does it need a glaze?
Enriched dough is bread dough that contains added fats and sugars, such as butter, eggs, or milk. Glazing helps enhance the color and shine of the baked product and add flavor.
When is the best time to apply a glaze to enriched dough?
The timing depends on the glaze. Some are applied before baking to promote browning and sealing, while others are applied after for added shine and flavor.
What are some common types of glazes used for enriched dough?
Common glazes include egg washes (for browning), milk washes (for a softer crust), and sugar syrups (for sweetness and shine). The best choice depends on the desired result.
How does glazing impact the final texture of an enriched dough?
Glazing can create a crispier or softer crust, depending on the ingredients used. For example, an egg wash can result in a more substantial crust, while a milk wash will be softer.
Can I add flavoring to my enriched dough glaze?
Yes! Adding extracts like vanilla or almond, or even citrus zest, to a glaze can infuse the baked good with flavor. This is a simple way to customize your creations.
Final Reflection: The Art and Science of a Perfect Glaze
The quest for the perfect glazed enriched dough—a seemingly simple pursuit—reveals a surprising depth of culinary artistry and scientific precision. From the subtle nuances of egg washes to the glossy allure of a simple sugar glaze, the final flourish on a bread, pastry, or bun can elevate it from good to unforgettable. This exploration into glazing techniques highlights the importance of understanding not just what to use, but when to use it, for optimal results.
The impact of a well-executed glaze extends far beyond mere aesthetics. It's a testament to the baker's skill, a visual representation of dedication to craft, and a sensory experience that enhances the overall enjoyment of the baked good. The proof of the pudding is in the eating,
they say, and the same holds true for the glaze. A beautiful, perfectly applied glaze speaks volumes about the care and attention put into the entire baking process, transforming a simple loaf into a masterpiece.
Consider the impact of your next glaze. Will you opt for the classic simplicity of an egg wash, the rich depth of a honey glaze, or the elegant shine of a neutral oil? Take the time to experiment, to understand the subtle differences in texture and flavor that each glaze provides. Embrace the process, learn from each attempt, and discover the joy of transforming a humble dough into something truly special. The journey of mastering the art of glazing enriched doughs is a rewarding one, filled with delicious discoveries and the satisfaction of creating something beautiful and delicious.
Unlock Your Dough's Full Potential: Glaze Like a Pro!
Thanks for taking the time to explore the art of glazing enriched doughs with us! You've now got the knowledge to create truly stunning and delicious baked goods. Ready to put your new skills to the test?
- Master your glaze: Experiment with different glazes (egg wash, milk wash, simple syrup) on your next batch of pastries – note the variations in shine and flavor!
- Share your creations: Show us your glazed masterpieces on social media using #BakeWithEaseGlaze – we'd love to see them!
- Dive deeper: Explore more advanced glazing techniques and recipes in our upcoming articles (check back next week for more!)
What unique glaze combination are you excited to try next?