
Filling Puff Pastry: Techniques for Before and After Baking

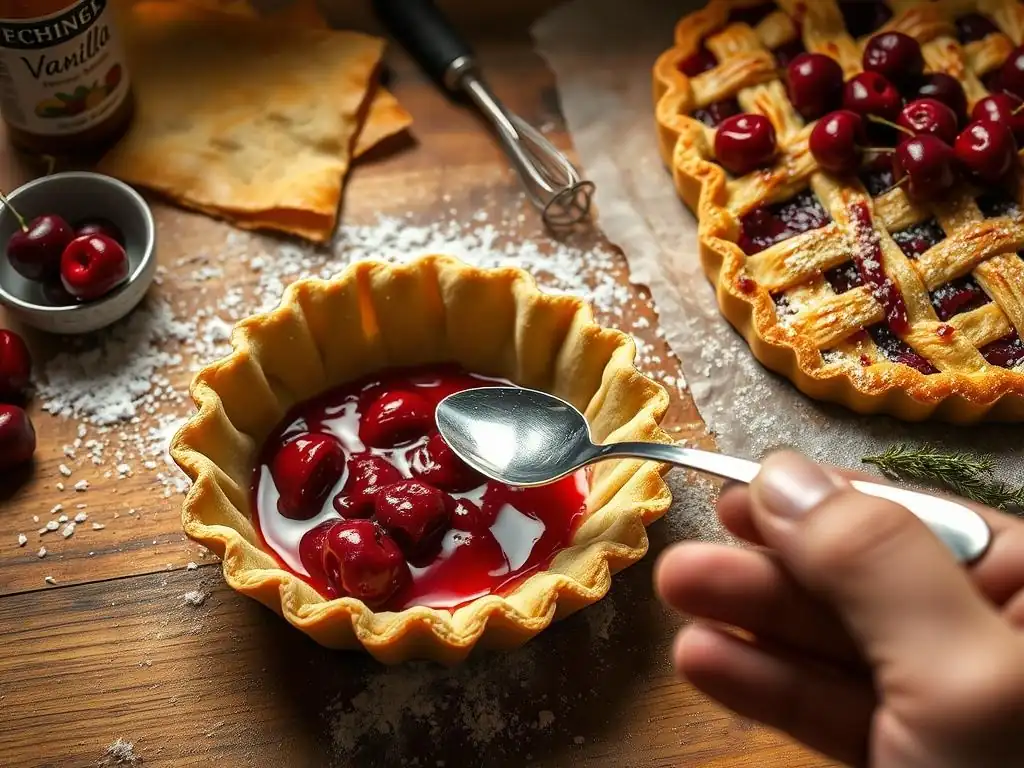
Welcome to BakeWithEase, your trusted companion on your baking journey! Are you ready to elevate your pastry game? This week, we're diving deep into the secrets of perfecting puff pastry techniques easily. Uncover the best methods for filling your flaky creations, both before and after baking, to achieve that irresistible, melt-in-your-mouth result. Curious about the difference and which method suits your recipe best? Let's get baking!
- Puff Pastry Perfection: Mastering Sweet and Savory Fillings
- The Art of Filling Puff Pastry: Techniques for Optimal Texture and Flavor
- Understanding Puff Pastry Structure and Filling Compatibility
- Filling Puff Pastry Before Baking: Creating Cohesive Pastries
- Filling Puff Pastry After Baking: Delicate Flavors and Textures
- Puff Pastry Filling Ideas: Sweet and Savory Inspiration
- Tips for Maintaining Puff Pastry Crispness with Fillings
- Advanced Puff Pastry Filling Techniques
- Conclusion: Elevate Your Puff Pastry Skills with Expert Filling Techniques
-
Frequently Asked Questions
- What are the best practices for filling puff pastry before baking?
- What are some popular filling options for puff pastry after baking?
- How can I prevent my puff pastry from becoming soggy when adding fillings?
- What's the best way to seal puff pastry when filling it before baking?
- Can I use the same filling techniques for both store-bought and homemade puff pastry?
- Final Reflection: Mastering the Flaky Art of Puff Pastry
- Unleash Your Inner Pastry Chef!
Puff Pastry Perfection: Mastering Sweet and Savory Fillings
The Art of Filling Puff Pastry: Techniques for Optimal Texture and Flavor
Mastering puff pastry is a rewarding endeavor, and the filling you choose and how you incorporate it is just as crucial as the pastry itself. A perfectly baked puff pastry boasts hundreds, even thousands, of delicate, buttery layers that shatter with a satisfying crunch. The wrong filling, or improper technique, can easily turn this flaky marvel into a soggy disappointment. Understanding the interaction between the filling and the pastry's structure is the first step towards creating truly exceptional results, whether you're aiming for elegant appetizers or decadent desserts.
Achieving that ideal balance of crisp pastry and flavorful filling requires attention to detail at every stage. From selecting ingredients with appropriate moisture levels to employing precise sealing or piping methods, each step contributes to the final outcome. This guide will walk you through the essential techniques for filling puff pastry both before and after baking, ensuring your creations are consistently delicious and visually appealing. By focusing on these core principles, you'll find perfecting puff pastry techniques easily becomes second nature.
Understanding Puff Pastry Structure and Filling Compatibility
Puff pastry's magic lies in its lamination – alternating layers of dough and butter. As the pastry bakes at high heat, the butter melts and creates steam, which forces the layers apart, resulting in that characteristic rise and flakiness. This delicate, airy structure is highly susceptible to moisture. Introducing a wet filling without proper precautions can prevent the layers from separating or cause them to collapse, leading to dense, heavy, or soggy areas.
Compatibility isn't just about moisture; it's also about how the filling behaves under heat. Fillings baked inside the pastry need to be stable and withstand temperatures often reaching 400°F (200°C) without excessive bubbling or bursting. Fillings added after baking can be more delicate, focusing on fresh flavors and textures that would be compromised by high heat. Choosing the right filling and application method is fundamental to preserving the pastry's delicate structure and achieving the desired culinary result.
Balancing Moisture Content in Fillings for Crispy Puff Pastry
Moisture is arguably the biggest challenge when filling puff pastry, particularly when baking the filling inside. Excess liquid from the filling can seep into the dough layers, inhibiting the steam production necessary for puffing and resulting in a dense, unappetizing texture, often referred to as a "soggy bottom." Ingredients like fresh fruits, vegetables, or creamy sauces are notorious for releasing moisture during baking.
While precise target moisture levels are difficult to quantify universally, aiming for fillings that are visibly thick and not watery is a practical approach. For instance, reducing a fruit filling until its volume is decreased by approximately 30-40% can significantly improve its compatibility with puff pastry.
Several techniques can be employed to manage moisture. Pre-cooking fillings, especially those with high water content like spinach or mushrooms, allows excess liquid to evaporate before they are enclosed in pastry. Thickening agents such as flour, cornstarch, or tapioca starch are essential for sauces, gravies, or fruit mixtures.
A general guideline is using about 1 to 2 tablespoons of cornstarch slurry (cornstarch mixed with an equal amount of cold water) per cup of liquid to achieve a pudding-like consistency when cooked. Draining and pressing vegetables like spinach thoroughly is also crucial. Chilling the prepared filling until it is firm helps prevent it from spreading and releasing moisture prematurely during assembly and the initial stages of baking, contributing significantly to perfecting puff pastry techniques easily.
Choosing Fillings Based on Puff Pastry Application (Before or After Baking)
The intended application – baking the filling inside the pastry or adding it after the pastry is baked – dictates the type of filling you should use. Fillings intended for baking inside need to be robust and stable. This means they should be cooked, thickened, and relatively low in free-standing liquid.
Savory examples include cooked meat or vegetable mixtures bound with a thick sauce, or firm cheese blends. Sweet examples often involve fruit fillings that have been cooked down and thickened, or dense nut pastes like frangipane. These fillings must withstand the high heat and steam of the oven without excessively bubbling or leaking.
Conversely, fillings added after baking are typically more delicate and heat-sensitive. These include classic choices like pastry cream (crème pâtissière), whipped cream, chocolate mousse, fresh fruit, or light cheese spreads. These fillings are used to fill pre-baked shells, cases (like vol-au-vents), or layers (for creations like mille-feuille). Adding these fillings after the pastry has cooled preserves their fresh flavors, light textures, and vibrant colors, which would be compromised by baking. This distinction is fundamental when perfecting puff pastry techniques easily for various culinary uses.
Filling Puff Pastry Before Baking: Creating Cohesive Pastries
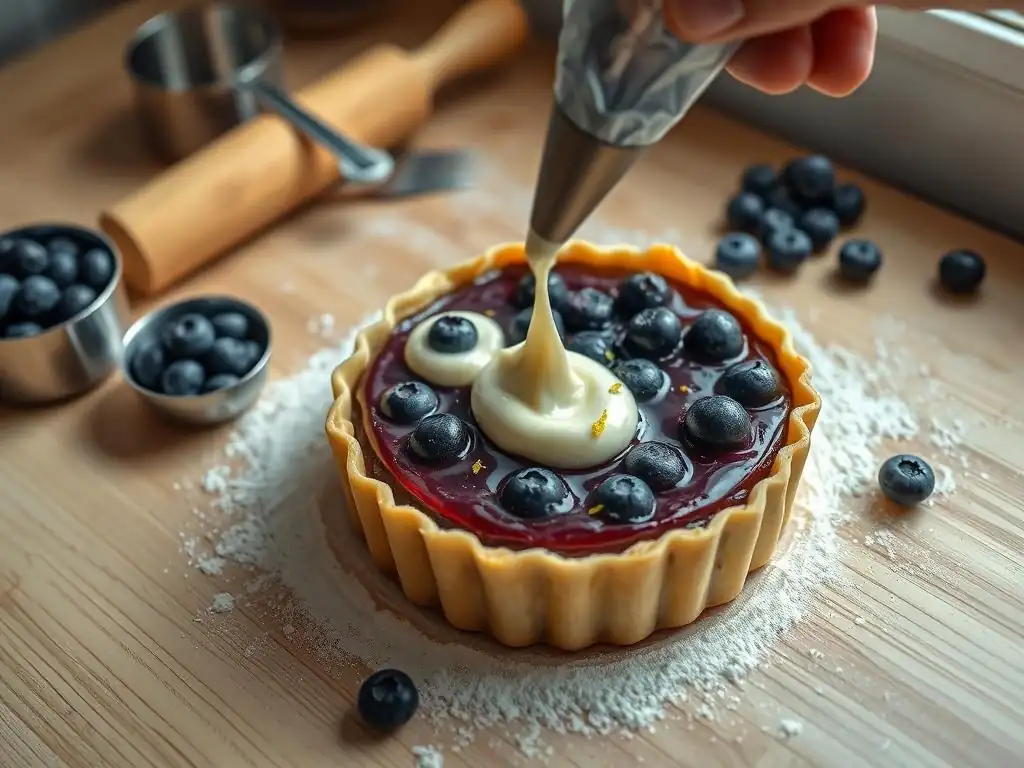
When the filling is baked inside the puff pastry, the goal is to create a self-contained unit where the pastry bakes up light and crispy around a flavorful, stable core. This method is common for turnovers, hand pies, savory parcels, and certain tarts. The primary challenges are preventing the filling from making the pastry soggy, bursting during baking, or leaking out and creating a mess.
Success hinges on careful preparation of both the filling and the pastry parcel. The filling must be cooked and cooled, and the pastry must be properly sealed. Achieving an even bake ensures the bottom crust is as flaky as the top.
Preparing Robust Fillings for High-Heat Baking
Fillings destined for the hot oven alongside puff pastry require careful preparation to withstand the heat and prevent issues. This usually involves pre-cooking ingredients and ensuring the filling has a thick, stable consistency when cool. For a savory filling, such as ground meat or poultry, cook it thoroughly and drain off any excess fat or liquid.
Then, bind it with a thick sauce, using ingredients like flour or cornstarch to ensure it doesn't become watery during baking. For example, when making a chicken pot pie filling for puff pastry tops, ensure the sauce is much thicker than you might for a standard pot pie baked with a double crust.
Sweet fillings, particularly those with fruit, demand similar attention. Fruits release significant moisture when heated. Cooking diced apples or berries with sugar and a thickener like cornstarch or tapioca starch until the mixture is jammy and reduced is crucial.
A typical ratio for a slightly thickened fruit filling might be 1 tablespoon of cornstarch per cup of fruit mixture, cooked until thickened. Allowing the filling to cool completely, ideally chilling it until firm (perhaps 30-60 minutes in the refrigerator), provides extra insurance against leakage and helps it hold its shape within the raw pastry, which is a key part of perfecting puff pastry techniques easily.
Crimping and Sealing Techniques to Prevent Filling Leakage
A properly sealed pastry parcel is essential to keep the filling contained and ensure the pastry puffs up correctly. Leaking filling can glue the pastry layers together, prevent rising, and burn on the baking sheet. Before folding or topping the pastry, slightly moisten the edges that will be joined. An egg wash (a whisked egg with a tablespoon of water or milk) is commonly used, but plain water works well too. Apply it sparingly to the edges with a pastry brush.
Once the edges are moistened and the pastry is folded over the filling (ensure you haven't overfilled – leave a border of at least 1/2 to 1 inch), press the edges firmly together with your fingers to create an initial seal. Then, reinforce this seal by crimping. Using the tines of a fork to press down along the entire seam is a classic and effective method.
For shapes like turnovers, you can also fold the edge over onto itself in a decorative rope pattern. A secure, continuous seal is vital for perfecting puff pastry techniques easily when baking filled items.
Achieving Even Baking and Preventing Soggy Bottoms
Even baking is critical for filled puff pastry. The goal is a golden brown, fully puffed top and sides, and crucially, a crisp, cooked bottom crust. One common issue is a soggy bottom caused by either moisture from the filling or insufficient heat reaching the base of the pastry. Baking at the correct temperature is paramount; usually, a hot oven (around 400°F or 200°C) is needed to generate enough steam for maximum lift. Sometimes, the temperature is slightly reduced after the initial rise to ensure the pastry cooks through without burning.
To encourage a crisp bottom, place the assembled pastries on a preheated baking sheet. While not always practical for delicate shapes, placing the baking sheet directly onto a preheated baking stone or steel in the oven can significantly boost the heat transfer to the base of the pastry. Ensure the oven is fully preheated before baking. For larger or thicker parcels that require longer baking times (say, 25-35 minutes), rotating the baking sheet halfway through the baking time can help promote even browning and ensure the bottom cooks thoroughly, contributing to perfecting puff pastry techniques easily.
Preventing Filling Boil-Over and Maintaining Pastry Shape
Boil-over occurs when the filling, particularly if it's too liquid or the pastry is overfilled, heats up and creates steam pressure that the pastry seal cannot contain. This can cause the filling to erupt, distorting the pastry's shape and creating a sticky mess. The primary defenses against boil-over are using a properly thickened and cooled filling and avoiding overfilling the pastry. Use a measured amount of filling appropriate for the size of the pastry piece – for individual turnovers, 1 to 2 tablespoons is often sufficient.
Maintaining the pastry's shape is also influenced by handling and chilling. Handle the dough gently during assembly to avoid stretching or tearing, which can weaken the structure. Once assembled and sealed, chilling the filled pastries for 15-20 minutes in the refrigerator before baking helps solidify the butter in the dough.
This firm structure is more resistant to collapsing or distorting as it enters the hot oven and the butter begins to melt, further aiding in perfecting puff pastry techniques easily. For savory items with thick fillings, making a small vent (a slit or two) on the top crust can allow steam to escape more controllably.
Filling Puff Pastry After Baking: Delicate Flavors and Textures
Filling puff pastry after it has been baked and cooled offers the opportunity to use fillings that are too delicate or moist to withstand high heat. This method is perfect for pastries like éclairs, cream puffs (when made from choux pastry, which shares some principles with puff), vol-au-vents, or layered constructions like mille-feuille. The focus shifts from preventing leaks during baking to achieving smooth textures, precise application, and beautiful presentation.
The pastry shells are baked empty until fully puffed, golden brown, and crisp, then allowed to cool completely. The filling is prepared separately and added just before serving, or relatively close to serving time, to maintain the pastry's crispness.
Creating Stable and Pipeable Fillings
Fillings added after baking need to be smooth and stable enough to hold their shape, especially if they are piped. Classic examples include pastry cream (crème pâtissière), whipped cream (often stabilized with a touch of gelatin or cornstarch), ganache, or smooth fruit curds. These fillings are typically cooked or prepared, then thoroughly chilled to firm them up before use. For instance, a standard pastry cream is cooked on the stovetop using milk, sugar, egg yolks, and a thickener like cornstarch, then chilled until firm, usually for at least 2-3 hours.
The consistency is key for pipeable fillings. It should be thick enough not to run out of the pastry shell but smooth enough to pass easily through a piping tip without clogging. If a chilled filling is too stiff, a brief whisking or stirring might loosen it.
If too loose, ensuring it was cooked correctly (for creams/curds) or properly chilled is important. For pastry cream, ensuring it reaches a boil and is whisked vigorously for a minute or two after thickening ensures the starch is fully activated and the custard is stable. Perfecting puff pastry techniques easily when filling after baking relies heavily on achieving the right filling consistency.
Using Piping Bags and Nozzles for Precise Filling Application
Piping bags and appropriate nozzles (tips) are indispensable tools for filling baked puff pastry shells cleanly and efficiently. Disposable or reusable piping bags can be used. For filling cavities like those in éclairs or vol-au-vents, a plain round tip is usually the best choice, as it allows for a smooth flow of filling into the interior space. For decorating the tops of pastries or creating visual interest, star tips or other shaped nozzles can be used.
To fill a pastry bag, fold the top edge down to create a cuff, then use a spatula to scoop the filling into the bag, pushing it towards the nozzle end. Avoid overfilling the bag; filling it about halfway makes it easier to handle. Twist the top of the bag to create pressure.
For éclairs or cream puffs, make a small hole (or two or three) in the bottom or side of the cooled pastry shell using a sharp knife or the piping tip itself. Insert the tip into the hole and gently squeeze the bag, filling the pastry until it feels heavy and slightly resistant.
For vol-au-vents, lift or remove the lid (the inner circle of pastry baked within the case) and pipe the filling into the hollow cavity before replacing the lid or topping decoratively. Precise application is crucial for achieving a professional look and ensuring the pastry is adequately filled.
Layering Fillings for Visual Appeal and Flavor Complexity
For larger baked puff pastry shells, such as tart cases or generously sized vol-au-vents, layering different fillings can add both visual appeal and complexity to the flavor profile. This technique involves placing one filling on top of another within the pastry shell. Consider contrasting colors, textures, or flavors. For example, a layer of vibrant red raspberry coulis could sit atop a creamy white vanilla pastry cream.
Another approach is layering textures – a smooth cream base topped with a layer of fresh fruit, crunchy nuts, or a scattering of chocolate shavings. Savory examples might include a base layer of mushroom duxelles followed by a chicken in cream sauce filling, topped with fresh chives. This layering technique, while requiring careful placement, elevates a simple filled pastry into a sophisticated dessert or appetizer. It demonstrates how perfecting puff pastry techniques easily can lead to stunning and delicious multi-component creations.
Garnishing and Finishing Techniques for Elegant Presentation
The final touches can transform a well-filled puff pastry into a showstopper. Garnishes add visual appeal, provide textural contrast, and can enhance the flavor. Common garnishes for sweet puff pastries include a simple dusting of powdered sugar (applied just before serving to prevent it from dissolving), a drizzle of glaze (like a simple icing sugar glaze made with icing sugar and a little milk or lemon juice), fresh berries or sliced fruit, chocolate curls or shavings, or toasted nuts.
For savory puff pastries, garnishes might include fresh herbs (like parsley, chives, or dill), a sprinkle of cheese, a swirl of sauce, or a small salad on the side. Apply garnishes thoughtfully – a light dusting of sugar, a few strategically placed berries, or a neat drizzle of glaze. Presentation is the final step in perfecting puff pastry techniques easily and making your baked goods look as incredible as they taste.
Puff Pastry Filling Ideas: Sweet and Savory Inspiration
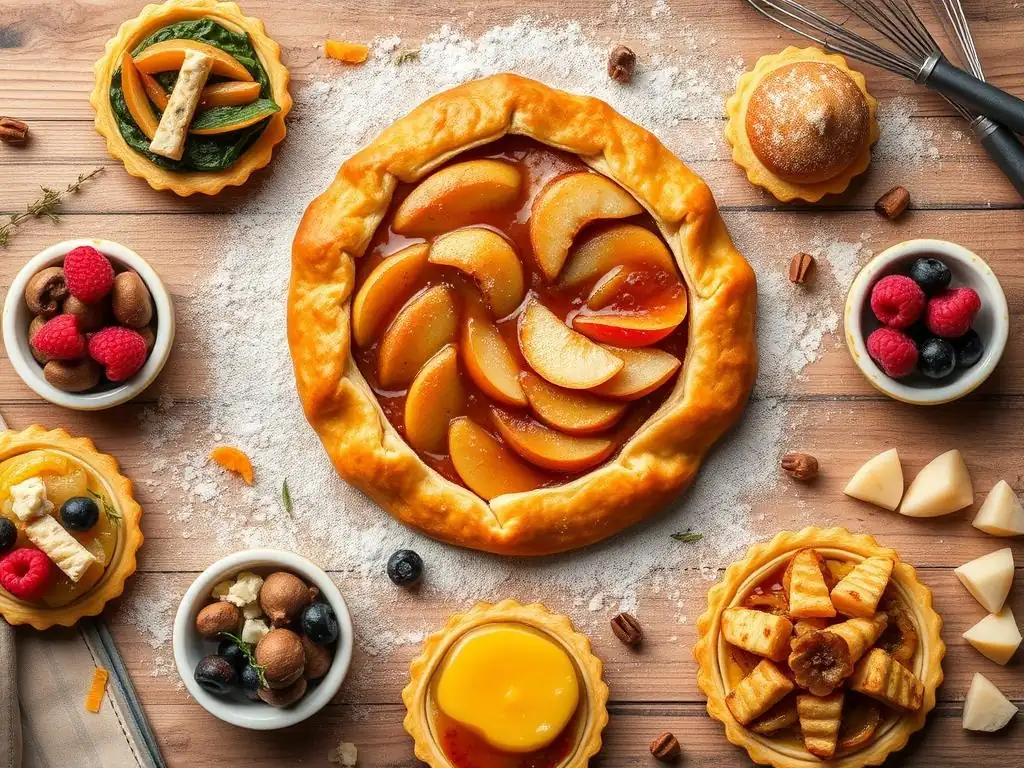
Exploring different filling ideas is one of the most exciting parts of working with puff pastry. The versatility of this dough means it pairs beautifully with a wide range of flavors, from classic sweet combinations to rich, savory mixtures. Here are a few reliable starting points, keeping in mind the techniques discussed for preparing fillings for baking inside or filling after baking.
Whether you're making turnovers, tarts, or elegant filled cases, having a repertoire of tested filling recipes will make perfecting puff pastry techniques easily achievable and consistently delicious.
Sweet Puff Pastry Filling Recipes: Apple Cinnamon Filling, Chocolate Hazelnut Cream
- Apple Cinnamon Filling (for baking inside): This classic is perfect for turnovers or small tarts. Dice 3-4 medium apples (such as Honeycrisp or Gala) into small cubes. Cook them in a saucepan with 1/4 cup brown sugar, 1 teaspoon ground cinnamon, a pinch of nutmeg, and a splash of lemon juice until they begin to soften but still hold their shape. In a small bowl, whisk together 1 tablespoon of cornstarch with 2 tablespoons of cold water to create a slurry. Stir the slurry into the hot apple mixture and cook, stirring constantly, until thickened to a jam-like consistency (about 1-2 minutes). Remove from heat and cool completely before using, ideally chilling for at least 30 minutes.
- Chocolate Hazelnut Cream (for filling after baking): A rich and decadent option for éclairs, cream puffs, or vol-au-vents. In a saucepan, whisk together 1 cup heavy cream, 1/2 cup milk, 3 egg yolks, 1/4 cup granulated sugar, and 2 tablespoons cornstarch. Cook over medium heat, whisking constantly, until the mixture thickens to a pudding-like consistency and bubbles gently for 1 minute (about 5-7 minutes total). Remove from heat and stir in 1/2 cup of your favorite chocolate hazelnut spread (like Nutella) and 1 tablespoon of unsalted butter until smooth. Pour into a bowl, cover the surface directly with plastic wrap to prevent a skin from forming, and chill completely until firm, at least 2-3 hours.
Savory Puff Pastry Filling Recipes: Spinach and Feta Filling, Mushroom and Gruyere Filling
- Spinach and Feta Filling (for baking inside): A popular and flavorful option for savory turnovers or parcels. Sauté 1 clove of minced garlic in a tablespoon of olive oil over medium heat until fragrant. Add 10 ounces of frozen spinach that has been thawed and very well-drained and squeezed to remove excess water. Cook briefly until any remaining moisture evaporates. Remove from heat and stir in 4 ounces of crumbled feta cheese, 1/4 cup of ricotta cheese (if using, for added creaminess), a pinch of nutmeg, salt, and black pepper to taste. Mix until combined. Cool completely before filling the pastry.
- Mushroom and Gruyere Filling (for baking inside): A sophisticated and earthy filling for savory tarts or parcels. Sauté 1 pound of sliced mushrooms (like cremini or button) in 2 tablespoons of butter over medium-high heat until they release their moisture and then brown nicely. Stir in 1 tablespoon of all-purpose flour and cook for 1 minute. Gradually whisk in 1/2 cup of milk or light cream, stirring until the mixture thickens into a sauce. Remove from heat and stir in 1/2 cup of shredded Gruyere cheese until melted and smooth. Season with salt, pepper, and a pinch of fresh thyme. Cool completely before using. These savory fillings are excellent examples of perfecting puff pastry techniques easily for appetizers or light meals.
Tips for Maintaining Puff Pastry Crispness with Fillings
One of the most challenging aspects of working with fillings is preserving the desired crisp, flaky texture of the puff pastry. Fillings, especially those with even a small amount of moisture, can quickly soften the delicate layers, particularly the bottom crust. However, several strategies can help minimize this effect and keep your filled pastries crispier for longer.
These techniques focus on creating barriers, managing moisture migration, and proper storage. Implementing these tips will greatly improve your success in perfecting puff pastry techniques easily, ensuring your final product has that signature satisfying crunch.
Minimizing Moisture Migration from Filling to Pastry
Preventing moisture from the filling from seeping into the pastry is paramount. The most effective way to do this is by ensuring your filling is as dry and thick as possible before it ever touches the dough. This means thoroughly pre-cooking and reducing sauces, draining vegetables completely, and using adequate thickeners for fruit fillings or creams. As mentioned earlier, chilling the filling until it is firm also significantly reduces its tendency to weep liquid.
For fillings baked inside, consider creating a physical barrier on the bottom layer of pastry before adding the filling. For sweet applications, a thin layer of melted chocolate (white or dark, depending on the flavor profile) brushed onto the base and allowed to set can seal the pastry surface. For both sweet and savory pastries, a light sprinkling of dry ingredients like fine breadcrumbs, crushed cookies (such as graham crackers for sweet fillings), or finely grated hard cheese (like Parmesan for savory) can absorb any small amount of moisture that the filling might release, acting as a sacrificial layer.
Using a Crumb Layer to Absorb Excess Moisture
The "crumb layer" technique is a simple yet effective method for absorbing moisture released by fillings, particularly those baked inside the pastry. Before placing your filling onto the bottom piece of puff pastry, sprinkle a thin layer of dry crumbs over the area the filling will cover. The type of crumb depends on the filling: use plain, dry breadcrumbs for savory fillings, or crushed cookies (like shortbread, digestive biscuits, or graham crackers) for sweet fruit fillings.
Use approximately 1 to 2 teaspoons of crumbs per individual pastry item, just enough to create a thin, even layer. As the filling heats during baking, any moisture it releases will be absorbed by the crumbs instead of soaking into the pastry dough. This helps maintain the crispness of the bottom crust, which is often the first part to become soggy. This straightforward technique is a valuable addition when perfecting puff pastry techniques easily.
Storing Filled Puff Pastries to Preserve Texture
Filled puff pastry is generally best enjoyed fresh, shortly after baking (for baked-in fillings) or filling (for post-baked fillings) when the pastry is at its crispiest. However, if storage is necessary, proper handling can help preserve the texture as much as possible, though some loss of crispness is often inevitable, especially with moist fillings. Always ensure filled pastries are completely cooled before storing.
For pastries with fillings baked inside (like meat pies or turnovers), they can often be stored in an airtight container at room temperature for 1-2 days. For pastries filled after baking with perishable fillings like pastry cream, whipped cream, or fresh fruit, refrigeration is required. Store them in a single layer in an airtight container. Be aware that refrigeration will soften the pastry. While some pastries filled before baking can be briefly reheated in a moderate oven (around 350°F/175°C) for 5-10 minutes to attempt to restore some crispness, pastries filled after baking cannot typically be effectively re-crisped once refrigerated.
Advanced Puff Pastry Filling Techniques
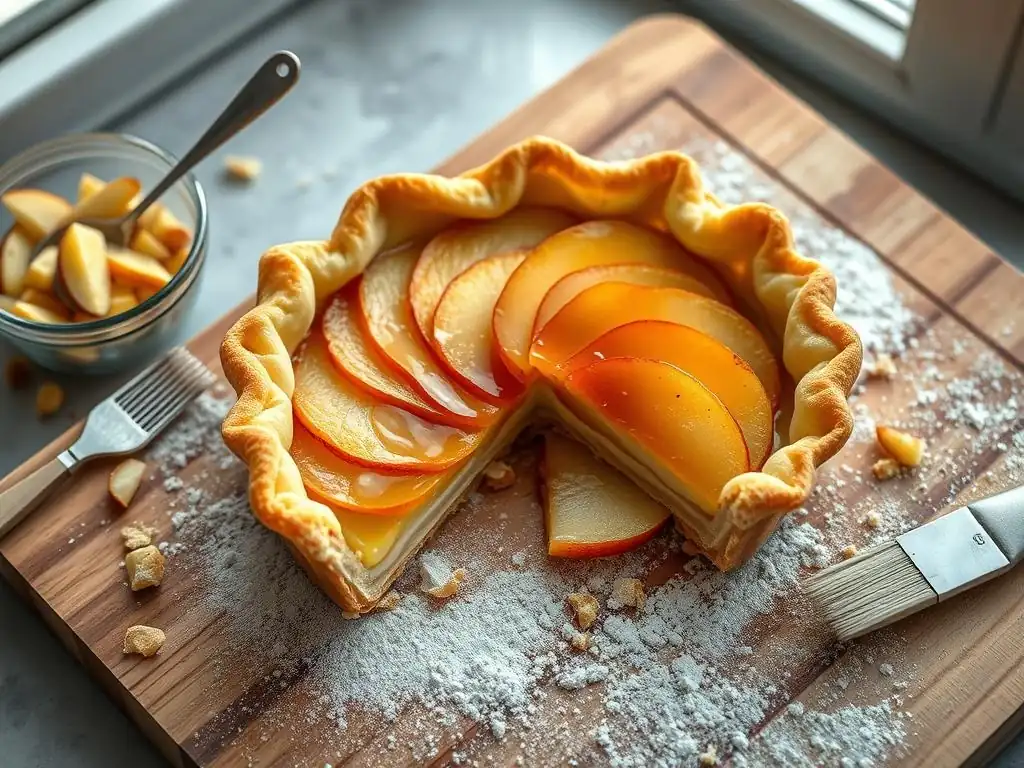
Once you've mastered the fundamental techniques of filling puff pastry before and after baking, you can explore more complex and nuanced applications. These advanced methods often involve working with more delicate or multi-component fillings that require precise timing and execution to achieve perfect results.
Tackling these techniques will further elevate your baking skills and allow you to create truly impressive puff pastry creations. While they might require a bit more practice, they are well within reach as you continue perfecting puff pastry techniques easily.
Working with Custard-Based Fillings
Custard-based fillings present unique challenges depending on whether they are baked inside the pastry or used after baking. Pastry cream (crème pâtissière) is a classic post-bake filling. It requires careful cooking on the stovetop to reach the correct thickness and stability without curdling. Ensuring it boils for a minute or two after thickening is crucial for starch activation and a stable set. It must then be chilled completely before use.
Other custard-based fillings, like frangipane (an almond cream) or quiche-style fillings (mixtures of egg and cream), are often baked inside the pastry. Frangipane typically bakes well at moderate temperatures (around 350-375°F / 175-190°C).
Quiche fillings require a different approach: the puff pastry shell is usually blind-baked first (partially or fully baked empty) to prevent a soggy bottom, then the liquid filling is added, and the tart is baked at a lower temperature (around 325-350°F / 160-175°C) until the custard is just set (the center should still be slightly wobbly). Precision in cooking times and temperatures is key to avoid curdling or underbaking.
Incorporating Fresh Fruit into Puff Pastry Fillings
While cooked fruit fillings are common for baking inside pastry, incorporating fresh fruit, especially into fillings added after baking, adds a wonderful burst of freshness, color, and texture. Delicate berries, sliced kiwi, or segments of citrus can be layered with creams or custards in pre-baked pastry shells. The challenge here is managing the natural moisture and acidity of the fruit, which can cause creams to loosen or pastry to soften over time.
For fillings baked inside that use some fresh fruit (perhaps mixed with cooked fruit), tossing the fresh pieces with a thickener like cornstarch or tapioca starch and sugar is essential to manage the juices released during baking. Allowing this mixture to sit for 10-15 minutes before filling can help draw out some liquid which is then thickened. For post-bake fillings, adding fresh fruit just before serving is often best to maintain its integrity and prevent the pastry from becoming soggy. This balance of freshness and stability is part of perfecting puff pastry techniques easily.
Creating Multi-Layered Puff Pastry Creations
Perhaps the pinnacle of puff pastry artistry involves creating multi-layered structures like mille-feuille (Napoleons) or elaborate layered tarts. Mille-feuille typically consists of three thin, crisp layers of baked puff pastry separated by generous layers of pastry cream, often topped with fondant or icing. These creations require baking flat, even sheets of puff pastry, usually achieved by baking the pastry between two baking sheets.
Assembling these requires careful layering and handling of the baked pastry sheets, which are brittle. The fillings (often pastry cream, but sometimes whipped cream, fruit curds, or ganache) must be smooth and pipeable for neat layering. Cutting the baked pastry layers cleanly (a serrated knife works well) and assembling the layers just before serving helps maintain crispness. While more complex, mastering these layered structures demonstrates the full potential unlocked by perfecting puff pastry techniques easily.
Conclusion: Elevate Your Puff Pastry Skills with Expert Filling Techniques
Perfecting puff pastry techniques easily involves more than just mastering the dough itself; it's equally about understanding how to best pair it with delicious fillings. Whether you choose to bake your filling inside or add it to a pre-baked shell, paying close attention to moisture content, filling consistency, and proper sealing or piping techniques is paramount.
By applying the principles of moisture control, selecting appropriate fillings for your application method, and practicing precise handling, you can consistently create puff pastry delights that are beautifully crisp, flaky, and bursting with flavor. Don't hesitate to experiment with different sweet and savory combinations. With practice and attention to these expert filling techniques, you'll elevate your baking skills and impress everyone with your perfect puff pastry creations.
Frequently Asked Questions
What are the best practices for filling puff pastry before baking?
Filling puff pastry before baking requires using dry or semi-dry fillings to prevent sogginess. Ensure the pastry edges are properly sealed to avoid filling leakage during baking. Pre-baking is ideal for fillings that need cooking, like fruit or cheese.
What are some popular filling options for puff pastry after baking?
After baking, puff pastry can be filled with creamy or delicate fillings like pastry cream, whipped cream, or chocolate mousse. This method prevents the pastry from becoming soggy and allows for more intricate layering of flavors and textures. Be sure the pastry has cooled completely.
How can I prevent my puff pastry from becoming soggy when adding fillings?
To prevent sogginess, use thickened or stabilized fillings and avoid overly moist ingredients. For pre-baked fillings, ensure the pastry is completely cooled before adding. Consider using a thin layer of melted chocolate as a barrier against moisture.
What's the best way to seal puff pastry when filling it before baking?
The best way to seal puff pastry is by using a light egg wash along the edges. Press the edges firmly together with a fork or your fingers to create a secure and attractive seal. Ensure the seal is complete to prevent filling from escaping during baking.
Can I use the same filling techniques for both store-bought and homemade puff pastry?
While similar, consider the thickness and texture of the pastry. Store-bought pastry may be thinner, requiring adjustments to filling amounts. Homemade pastry often allows for greater control over flakiness and density, influencing the filling choice and application.
Final Reflection: Mastering the Flaky Art of Puff Pastry
The pursuit of the perfect puff pastry transcends mere culinary skill; it's a journey into precision, patience, and the rewarding alchemy of transforming simple ingredients into something truly magnificent. In today's fast-paced world, where convenience often trumps craftsmanship, taking the time to understand and master the nuances of puff pastry feels almost revolutionary. It's a testament to the enduring power of traditional techniques and the undeniable satisfaction of creating something beautiful and delicious from scratch.
The delicate dance between butter and dough, the chilling and rolling, the careful shaping – these are not just steps in a recipe, but a meditation on texture and temperature. The subtle differences in the final product, from the airy lightness of a perfectly layered pastry to the dense disappointment of a poorly executed one, speak volumes about the importance of attention to detail. As Julia Child once wisely said, Find something you're passionate about and keep tremendously interested in it.
For me, that something is the unwavering pursuit of the perfect puff pastry, and I hope this article has inspired you to embark on a similar journey.
Now, I invite you to consider your own approach to baking. Perhaps you've already mastered the art of puff pastry, and this article served as a helpful refresher. Or maybe you're just beginning your exploration, feeling slightly intimidated by the process. Regardless, I encourage you to embrace the challenge.
Don't be afraid to experiment, to make mistakes, and to learn from each attempt. The journey towards perfecting your puff pastry technique is a rewarding one, filled with delicious discoveries and the undeniable satisfaction of creating something truly special. So, gather your ingredients, roll up your sleeves, and let the flaky magic begin!
Unleash Your Inner Pastry Chef!
Thanks for taking the time to explore the art of puff pastry filling with us! We hope you now feel confident in creating delicious and visually stunning pastries. Ready to put your newfound skills to the test?
- Master the perfect filling: Experiment with different flavor combinations and textures, using your favorite fruits, creams, or savory ingredients. Don't be afraid to get creative!
- Share your creations: Show off your beautiful pastries on social media using #BakeWithEasePuffPastry – we'd love to see what you bake!
- Challenge yourself: Try a completely new filling technique from the article or even create your own! What innovative flavor profiles can you dream up?
What unique filling will you surprise your friends and family with next?