
How to Thaw Frozen Cookie Dough Without Impacting Quality

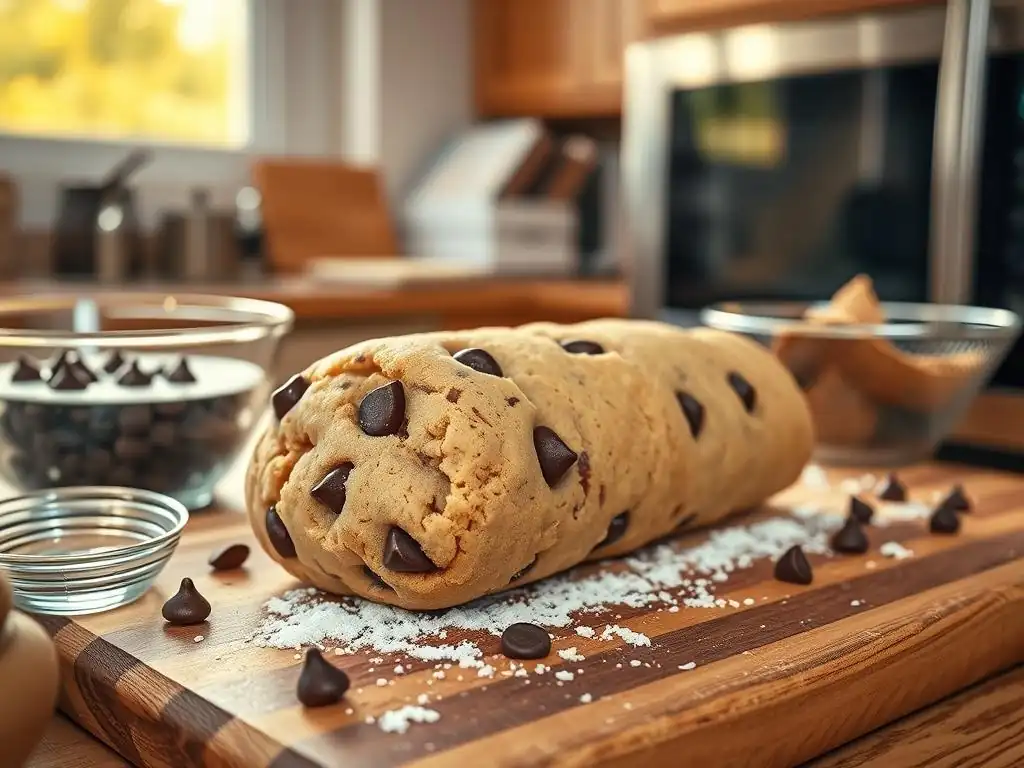
Welcome to BakeWithEase, your trusted companion in the world of baking! Ever found yourself craving freshly baked cookies but staring down a rock-solid block of frozen dough? This is where our Baking Tips & Hacks come in handy. Read on to discover the secrets to thaw frozen cookie dough fast without compromising on flavor or texture. Intrigued? Let's get baking!
- How to Thaw Frozen Cookie Dough Without Impacting Quality: BakeWithEase Guide
- Introduction: Preserving Cookie Dough Quality After Freezing
- Why Proper Thawing Matters for Frozen Cookie Dough
- Best Methods to Thaw Frozen Cookie Dough
- Thawing Different Types of Frozen Cookie Dough
- Troubleshooting: Common Thawing Issues and Solutions
- Tips for Baking with Thawed Cookie Dough
- Conclusion: Enjoying Perfectly Baked Cookies from Frozen Dough
-
Frequently Asked Questions
- How long can I safely store frozen cookie dough?
- What is the best method for thawing frozen cookie dough while preserving its texture?
- Can I bake frozen cookie dough directly without thawing it?
- What are some faster alternatives to thawing cookie dough in the refrigerator?
- How can I tell if my frozen cookie dough has gone bad?
- Final Reflection: The Art of Thawing for Perfect Cookies
- Ready to Bake Perfect Cookies Every Time?
Freezing cookie dough is a fantastic way to prepare for baking adventures in advance. Whether you're stocking up for unexpected guests or just want fresh cookies on demand, having frozen dough ready is a game-changer. But thawing it correctly is crucial to maintaining the taste and texture of your cookies. Improper thawing can lead to issues like uneven baking, tough centers, or overly spread cookies. This BakeWithEase guide will show you how to thaw frozen cookie dough fast without compromising its quality, ensuring delicious results every time.
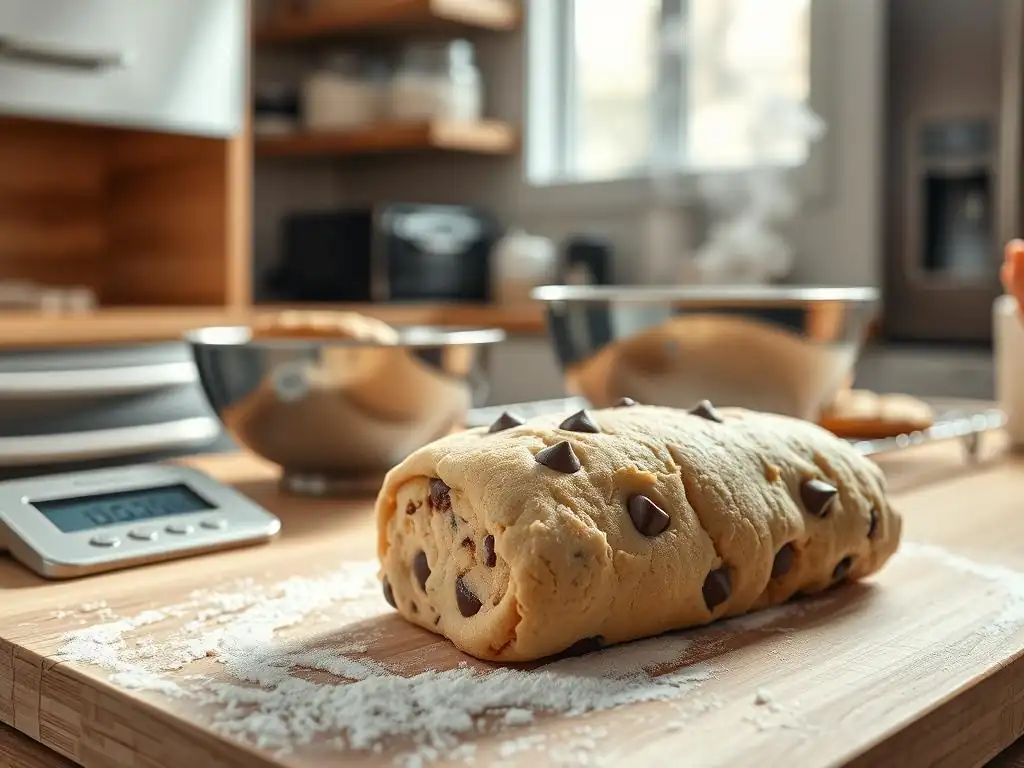
Incorrectly thawing frozen cookie dough can dramatically alter its final texture. If dough thaws too quickly, especially at warmer temperatures, the fat (like butter) can separate from the other ingredients. When baked, this separated fat can cause cookies to spread excessively thin and become greasy, lacking that desirable chewy or tender texture. Conversely, thawing too slowly in certain conditions or refreezing thawed dough can sometimes lead to a tougher cookie due to changes in gluten structure and ice crystal formation damaging cell walls.
Furthermore, uneven thawing is a common issue that directly impacts texture. If the outside of the dough thaws while the inside remains frozen, you'll end up with cookies that bake unevenly – burnt edges with raw centers, for example. A controlled and gentle thawing process allows the moisture and fat to reintegrate properly with the flour and sugar, maintaining the dough's intended structure and ensuring uniform baking for the perfect texture, whether you prefer soft and chewy or crisp and buttery cookies.
Temperature fluctuations are particularly detrimental to frozen cookie dough quality. When dough freezes, water turns into ice crystals. If the temperature rises and falls repeatedly (known as temperature cycling), these ice crystals grow larger. Larger ice crystals can damage the structure of the dough at a cellular level, leading to a less desirable texture once baked. This is why simply leaving dough on the counter in a warm kitchen for hours without monitoring is risky; the outer layers might warm up significantly while the core stays frozen, creating uneven thawing and potential for large ice crystal growth.
Moreover, allowing dough to become too warm during thawing can activate leavening agents prematurely or encourage bacterial growth if left in the "danger zone" (between 40°F and 140°F) for too long. Maintaining a consistent, cool temperature during thawing, especially for methods that aren't rapid, is key to preventing these issues. A gradual increase in temperature allows the ingredients, particularly the fats, to soften and become pliable without melting or separating, preserving the dough's integrity for successful baking.
Method 1: The Slow and Steady Refrigerator Thaw
The refrigerator thaw is widely considered the safest and best method for preserving cookie dough quality. It involves moving the frozen dough from the freezer to the refrigerator and allowing it to thaw gradually at a consistent cool temperature, typically around 35°F to 40°F. This slow process minimizes the risk of bacterial growth and prevents the fat from melting and separating from the other ingredients.
This method is particularly recommended for large blocks of dough or logs intended for slice-and-bake cookies, as it ensures even thawing from edge to center. While it requires planning ahead, the gentle nature of the refrigerator thaw results in dough that handles well and bakes up with consistent texture and flavor, making it the preferred approach for most bakers aiming for optimal results.
Benefits of Refrigerated Cookie Dough Thawing
- Safety: Thawing in the refrigerator keeps the dough at a safe temperature (
below 40°F), preventing rapid bacterial growth that can occur at room temperature. This is especially important if the dough contains eggs or dairy. - Quality Preservation: The slow, even thaw allows moisture and fats to redistribute within the dough, minimizing separation and ice crystal damage. This leads to better texture, less spread, and consistent results when baked.
- Ease: It requires minimal monitoring. Simply transfer the dough and wait.
Step-by-Step Guide: Thawing Cookie Dough in the Refrigerator
Here's a simple guide for using the fridge method:
- [ ] Remove frozen cookie dough from the freezer.
- [ ] If the dough is in a freezer-safe bag or wrapped tightly, you can place it directly in the refrigerator. For added safety against condensation drips, place the wrapped dough on a plate or in a container.
- [ ] Place the dough in the main compartment of the refrigerator, avoiding the door shelves where temperatures can fluctuate more.
- [ ] Allow the dough to thaw completely. Thawing time will vary based on the amount and thickness of the dough.
- [ ] Once thawed, the dough should be pliable but still cool to the touch. It should not feel warm or greasy.
How Long Does Cookie Dough Take to Thaw in the Fridge?
The time required to thaw frozen cookie dough in the refrigerator depends heavily on the quantity and form of the dough. A small batch of individual cookie dough balls (like chocolate chip cookies) might thaw in as little as 3-4 hours. A standard log of slice-and-bake dough (about 1-2 pounds) typically takes longer, often needing 12-24 hours to thaw completely through to the center.
A large, solid block of dough (e.g., a full batch of sugar cookie dough) can take even longer, potentially up to 24-48 hours. It's always best to err on the side of caution and allow ample time, checking for pliability rather than relying solely on a set time. The dough is ready when it's soft enough to portion or work with but still cool.
Method 2: The Quick Countertop Thaw (With Precautions)
Sometimes you need to thaw frozen cookie dough fast. While the refrigerator is ideal, a controlled countertop thaw can be used for speed, provided strict precautions are taken. This method involves leaving the dough at room temperature, which significantly reduces thawing time compared to the fridge. However, because dough enters the "danger zone" for bacterial growth ( 40°F to 140°F) relatively quickly, this method requires careful monitoring and should only be used for relatively small amounts of dough that will thaw rapidly.
This approach is best suited for individual cookie dough balls or small, flat portions that can thaw in under 1-2 hours. It is generally not recommended for large blocks or logs of dough, as the exterior will warm up too much before the interior thaws, increasing safety risks and potentially compromising quality.
When to Use the Countertop Thawing Method
Use the countertop method only when you need to thaw frozen cookie dough fast and you have individual portions or small, flat pieces of dough. This method is suitable for:
- Individual frozen cookie dough balls (e.g., pre-scooped and frozen drop cookies).
- Small, thin portions of dough that were frozen flat.
- Situations where the dough will thaw completely within 1-2 hours at room temperature (typically below
70-75°F).
Avoid this method for large logs, blocks, or if your kitchen is very warm, as it increases the risk of bacterial growth and poor dough quality.
Precautions to Take When Thawing Cookie Dough at Room Temperature
Thawing cookie dough at room temperature requires vigilance to ensure safety and quality.
- Keep it Wrapped: Always keep the dough wrapped or in a container to protect it from airborne contaminants.
- Monitor Time: Do not leave the dough on the counter for more than 1-2 hours, especially if the room is warm. If it's not fully thawed within this timeframe, it's safer to switch to the refrigerator method or discard it if it has been out too long.
- Check Temperature: If possible, use a food thermometer to check the internal temperature of the dough. It should ideally remain below
50°Fto minimize bacterial activity, though it will likely rise towards room temperature as it thaws. - Small Portions Only: As mentioned, this method is only safe and effective for small quantities that thaw quickly.
Monitoring Cookie Dough Temperature During Countertop Thawing
Monitoring the dough temperature is crucial when thawing on the countertop. While you might not need a thermometer for every quick thaw, understanding the principle is important. The goal is to get the dough pliable enough to bake without letting it sit in the bacterial "danger zone" ( 40°F to 140°F) for an extended period. For small cookie dough balls, they might go from frozen to pliable (around 40-50°F) in 30-60 minutes depending on room temperature. A good indicator is when the dough is soft enough to press slightly without crumbling but still feels cool to the touch. If it starts feeling warm or greasy, it's been out too long or the room is too warm, and quality will likely be compromised. It's better to slightly under-thaw and let the dough finish warming on the baking sheet than to over-thaw on the counter.
Method 3: Using the Oven for a Gentle Thaw (Advanced)
Using the oven to thaw cookie dough is an advanced technique that should be approached with caution and only if your oven has a specific low-temperature or proofing setting. This method aims to create a slightly warmer-than-room-temperature environment to speed up thawing without actually cooking the dough. It is significantly faster than the refrigerator but carries a higher risk of partially baking or melting the dough if not monitored extremely carefully.
This technique is generally not recommended for novice bakers or if your oven doesn't have precise low-temperature control. It's a method some experienced bakers might use for a quick thaw of small batches, but it requires constant attention.
Is Oven Thawing Cookie Dough a Good Idea?
Oven thawing is generally not the best or safest idea for most bakers, especially when compared to the refrigerator method. The primary risk is accidentally melting the butter or partially baking the dough, which will ruin the texture of the final cookies. Standard oven 'warm' settings are often too high ( 150-200°F). Only ovens with a dedicated "Proof" setting (typically around 80-90°F) or a very accurately calibrated low setting ( below 100°F) might be suitable.
Even with appropriate settings, the dough must be watched constantly. It's easy to forget about the dough, leading to a melted mess. For most people looking to thaw frozen cookie dough fast safely, the countertop method with precautions for small amounts is preferable to the risks associated with oven thawing.
Gentle Oven Thaw: A Step-by-Step Guide
If you have an oven with a reliable "Proof" setting (around 80-90°F) and decide to attempt this, here's how:
- [ ] Place the frozen cookie dough (preferably individual balls or small portions) on a baking sheet lined with parchment paper.
- [ ] Place the baking sheet in the cold oven.
- [ ] Select the "Proof" setting or the absolute lowest temperature setting your oven offers (ideally below
100°F). Do not use standard 'warm' settings. - [ ] Leave the oven door slightly ajar (using a wooden spoon can help) to prevent the temperature from getting too high.
- [ ] Monitor the dough constantly. Check every 5-10 minutes.
- [ ] Remove the dough as soon as it is pliable enough to work with. It should still feel cool, not warm or soft like it's melting. This might take anywhere from 20-40 minutes depending on the size and oven.
Monitoring Internal Dough Temperature during Oven Thawing
When using the oven method, monitoring the internal temperature is critical to avoid melting the fat. The goal is to bring the dough's internal temperature up to a workable state, similar to refrigerated dough, which is typically between 35°F and 45°F. You absolutely do not want the internal temperature to exceed 50-60°F, as butter starts to soften significantly around 60°F and melts around 85-90°F. Use an instant-read thermometer inserted into the thickest part of a dough piece to check. Remove the dough from the oven the moment it reaches a pliable consistency and its internal temperature is still well below the melting point of butter, ideally below 50°F. Remember, the residual warmth will continue to thaw it slightly after removal.
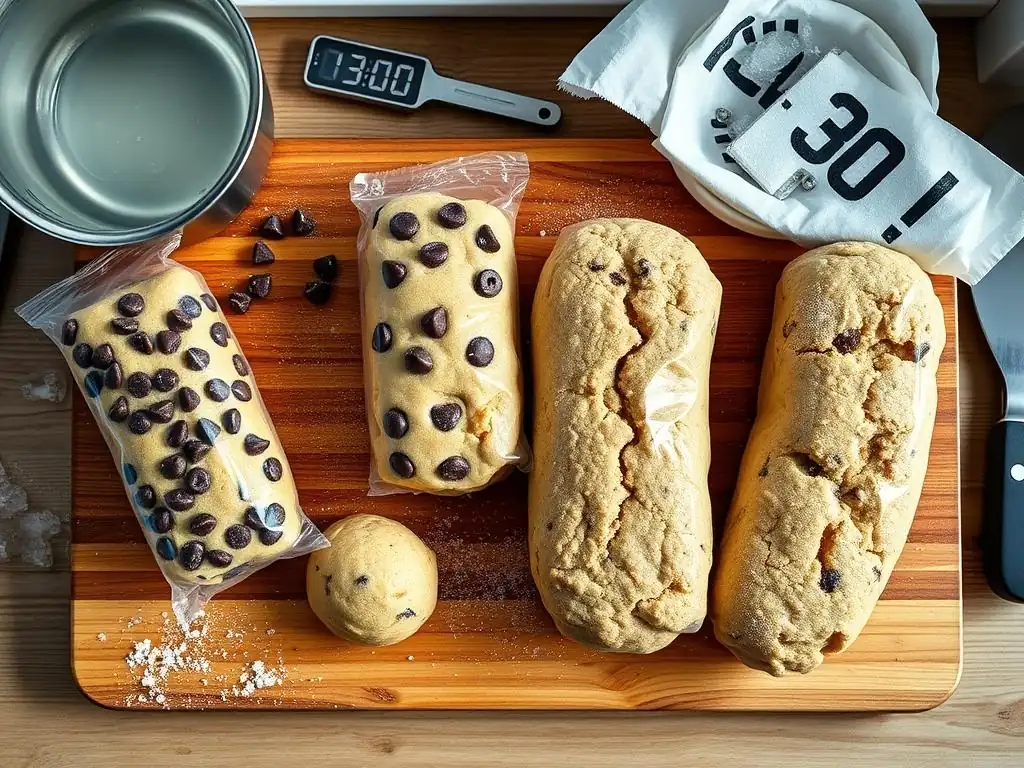
The best way to thaw frozen cookie dough fast or slowly depends somewhat on how the dough was frozen in the first place. Different forms of dough require slightly different handling during the thawing process to maintain their structure and ease of use. Understanding these nuances helps ensure a smooth transition from freezer to oven.
Drop cookie dough, like chocolate chip, oatmeal, or peanut butter cookies, is often frozen as individual scoops or balls on a baking sheet before being transferred to a freezer bag. This makes thawing these specific types of dough quite straightforward. The recommended method is the refrigerator thaw; simply place the frozen dough balls on a plate or in a container in the fridge overnight. They will typically be thawed and ready to bake in 3-4 hours, or overnight (about 8-12 hours).
If you need to thaw frozen cookie dough fast for drop cookies, the countertop method is suitable for these individual balls. Spread the frozen balls out on a baking sheet lined with parchment paper. Depending on room temperature, they should become pliable and ready to bake within 30-60 minutes. Remember to bake them as soon as they are thawed to a workable consistency to avoid excessive spread.
Rolled cookie dough, used for cut-out cookies like sugar cookies or gingerbread, is typically frozen as a flat disc or block, sometimes wrapped around a cardboard insert to keep it flat. Thawing this type of dough requires careful handling to ensure it becomes pliable enough to roll out again without becoming sticky or tough. The refrigerator thaw is the gold standard here. Transfer the frozen disc to the refrigerator and let it thaw for 24-48 hours, depending on its thickness. It should be firm but pliable enough to slightly indent with your finger when fully thawed.
Attempting to thaw frozen cookie dough fast for rolling on the countertop is risky for larger discs, as the edges will thaw and soften much faster than the center, making it impossible to roll evenly. If you must speed it up slightly, you could break the frozen disc into smaller pieces (if possible) and thaw those smaller pieces on the counter for a shorter time (perhaps 1-2 hours), constantly checking for pliability. However, the refrigerator method is strongly preferred for maintaining the best texture for rolling and cutting.
Slice-and-bake cookie dough is usually frozen as a cylindrical log. This form is relatively easy to thaw evenly, making both the refrigerator and, with care, the countertop methods viable options. For best results and quality preservation, thaw the log in the refrigerator overnight (about 12-24 hours). It should be firm enough to slice cleanly with a knife but not rock hard.
If you need to thaw frozen cookie dough fast in log form, you can use the countertop method. Leave the wrapped log on the counter, rotating it occasionally. Check for thaw progression by gently squeezing. A standard log might take 1-2 hours to become soft enough to slice. Again, do not leave it out for too long, and slice and bake as soon as it's ready to prevent the exterior from getting too soft while the interior is still firm, which can lead to misshapen cookies.
Troubleshooting: Common Thawing Issues and Solutions
Even with the best methods, sometimes issues arise when thawing frozen cookie dough. Knowing how to identify and fix these problems can save your batch and ensure your cookies turn out delicious. Common issues include dough that is too sticky, too hard, or unevenly thawed.
Sticky or soggy cookie dough after thawing is often a sign that the dough thawed too quickly at too high a temperature, causing the fat to melt and separate, or that condensation formed and was reabsorbed into the dough.
- Solution 1: Chill it Down: If the dough is just slightly too soft or sticky, try chilling it in the refrigerator for 30-60 minutes. This will firm up the fats and make the dough easier to handle.
- Solution 2: Add a Tablespoon of Flour: For dough that is significantly sticky, you can try kneading in just a tablespoon of flour at a time. Be cautious not to add too much, as excess flour can make cookies dry and tough. Only add enough to make the dough manageable.
- Solution 3: Reshape and Re-chill: If using individual dough balls that have become too soft and sticky, try reshaping them gently and placing them back in the fridge on a baking sheet for 30 minutes before baking.
Addressing Dough That is Too Hard to Work With
Dough that is still too hard after the estimated thawing time likely means it hasn't thawed completely, particularly in the center if it was a large block or log.
- Solution 1: More Time: The simplest solution is often more time. If using the refrigerator method, just leave it in the fridge longer. Check again in a few hours.
- Solution 2: Countertop Finish: If it's mostly thawed but still a bit too hard in the center, you can carefully transfer it to the countertop for a short period (30-60 minutes, monitored closely) to finish thawing. This can help thaw frozen cookie dough fast in a controlled manner if the majority of the thawing happened safely in the fridge.
- Solution 3: Gentle Kneading: Once slightly pliable, gentle kneading can help warm the dough slightly and make it more workable. Be careful not to overwork it, especially with dough types sensitive to gluten development like sugar cookies.
Uneven thawing, where parts of the dough are soft while others are still hard or frozen, usually happens with large, thick pieces or if the dough wasn't spread out for thawing.
- Solution 1: Break Apart: If possible (and appropriate for the dough type), break the partially thawed dough into smaller, more uniform pieces. Spread these pieces out on a plate or baking sheet to allow the harder sections to catch up in temperature.
- Solution 2: Rotate/Flip: If thawing a log or block, rotate or flip it periodically during the thawing process (especially on the countertop) to expose different sides to the ambient temperature, encouraging more even thawing.
- Solution 3: Re-chill and Re-thaw: In extreme cases, if the unevenness is significant and you have time, you could try chilling the dough back down in the refrigerator for a bit to firm up the thawed parts, then attempt a slower, more controlled thaw, perhaps breaking it into smaller pieces first.
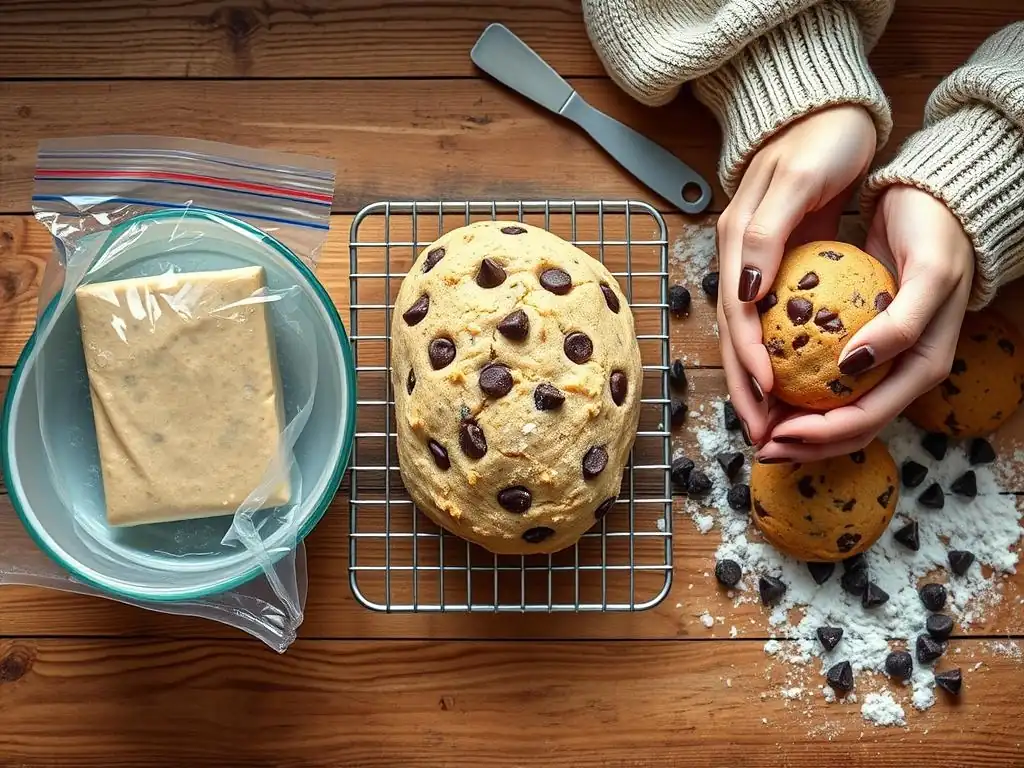
Once your frozen cookie dough is successfully thawed, there are a few final tips to keep in mind before it goes into the oven to ensure the best possible outcome.
Ensuring Even Baking with Thawed Dough
Thawed dough should bake similarly to fresh dough, but its temperature and consistency are key to even baking.
- Uniform Portions: Ensure all your cookie portions are the same size and thickness. Use a cookie scoop or weigh your dough balls for consistency.
- Proper Temperature: Thawed dough should ideally be cool when it goes into the oven, similar to refrigerated dough. Baking with overly warm or room-temperature dough can lead to excessive spread and uneven cooking. If your dough feels warm after thawing, chill it for 15-30 minutes before baking.
- Preheat Thoroughly: Always preheat your oven fully to the correct temperature. An oven that hasn't reached temperature will bake unevenly.
Generally, thawed cookie dough will bake for approximately the same amount of time as fresh dough. However, because the dough might be slightly colder or warmer depending on your thawing method, it's wise to start checking for doneness a minute or two before the recipe's minimum suggested baking time.
- Check Visually: Look for the standard signs of doneness for your cookie type – golden edges, set centers, etc.
- Slight Variations: Dough thawed from frozen might sometimes take a tiny bit longer to bake if it's particularly cold when it goes in, or potentially a minute less if it's on the warmer side after a quick thaw. Trust your visual cues more than the clock initially.
For some types of cookie dough, particularly those high in butter or those intended for rolling and cutting, a brief rest in the refrigerator after thawing but before baking can improve texture and reduce spread.
- Firming Up: If your dough feels very soft or slightly greasy after thawing (especially after a quicker method), chilling it on the baking sheet for 10-20 minutes before placing it in the hot oven can help firm up the butter. This leads to less spread and often a chewier center.
- For Rolled Dough: Rolled and cut-out shapes benefit greatly from being chilled on the baking sheet for at least 15 minutes before baking. This helps them hold their shape better in the oven.
Having frozen cookie dough is a fantastic shortcut to enjoying warm, homemade cookies anytime. By understanding the best practices for thawing, you can easily thaw frozen cookie dough fast or slowly while preserving its original quality. The refrigerator method is the safest and most reliable, ensuring optimal texture and flavor. When time is short, the countertop method can work for small portions with careful monitoring.
No matter which method you choose, paying attention to the dough's temperature and consistency throughout the thawing process is key. With these BakeWithEase tips, you're well-equipped to turn that frozen potential into perfectly baked, delicious cookies every single time. Happy baking!
Frequently Asked Questions
Frozen cookie dough can typically be stored for 2-3 months in the freezer without significant loss of quality. For best results, ensure it's properly wrapped to prevent freezer burn.
The refrigerator method is generally considered the best. This allows for a slow, even thaw, preventing the dough from becoming too soft or sticky. It typically takes several hours.
While possible, baking frozen cookie dough directly can lead to uneven baking. You may need to increase the baking time and adjust the temperature slightly. The cookie texture might be affected.
A faster method is placing the dough in a sealed bag and immersing it in cold water. Change the water every 30 minutes. Another option is using the microwave in very short bursts, but this requires extreme caution to avoid cooking the dough.
Look for signs of freezer burn, an off smell, or a significant change in color or texture. If you observe any of these, it's best to discard the dough, as its quality and taste will likely be compromised.
In our fast-paced world, the ability to quickly and effectively thaw frozen cookie dough is more relevant than ever. With the increasing demand for convenience without sacrificing quality, mastering this skill can elevate our baking experiences and bring joy to our kitchens. The simple act of thawing dough properly can transform a last-minute craving into a delightful reality, reminding us that good things come to those who wait—just not too long!
The process of thawing frozen cookie dough is not just a culinary technique; it reflects our evolving relationship with food and time. As we juggle busy lives, finding ways to enjoy homemade treats without extensive preparation is essential. The art of thawing allows us to indulge in nostalgia while embracing modern efficiency. Cooking is like love. It should be entered into with abandon or not at all.
—Harriet Van Horne. This quote resonates deeply as we navigate the balance between convenience and the love that goes into baking.
As you reflect on the lessons shared in this article, consider how you can incorporate these techniques into your own baking routine. Take a moment to appreciate the joy of baking and the memories it creates, whether you're preparing for a gathering or simply treating yourself. Embrace the art of thawing frozen cookie dough fast, and let it inspire you to explore new recipes, share with loved ones, and savor the delightful moments that come from your kitchen.
Thanks for taking the time to learn how to thaw frozen cookie dough without sacrificing deliciousness! You've now got the secrets to perfectly soft, chewy cookies, no matter how they start. Ready to put your newfound knowledge into action?
- Bake a batch of amazing cookies tonight! Use your favorite recipe and try our thawing method – you'll be surprised by the difference.
- Share your baking success (and any delicious cookie photos!) on social media using #BakeWithEase. Let's inspire others!
- Explore more of our helpful baking tips and tricks on BakeWithEase.com – we've got plenty more where that came from!
What creative cookie flavor combinations will you try first? Let us know in the comments!