
Quick Fixes When Your Dough Rises Too Fast


Welcome to BakeWithEase, where baking becomes a joy, not a chore! Ever experienced the unexpected speed of a dough that seems to have a mind of its own? This article dives deep into fast dough rising solutions, offering practical tips and tricks to regain control and salvage your baking masterpiece. Intrigued? Let's explore the secrets to managing runaway fermentation and unlock consistently perfect results.
- Troubleshooting Dough That Rises Too Fast: A Baker's Guide
- Understanding Accelerated Dough Rising: Identifying the Cause
- Immediate Solutions: Slowing Down or Re-Purposing the Dough
- Preventing Rapid Dough Rising: Proactive Measures
- Signs of Over-Proofed Dough: Recognizing the Problem
- Salvaging Over-Proofed Dough: Creative Solutions
- Mastering Dough Fermentation: Achieving Optimal Results
- Frequently Asked Questions
- Final Reflection: Mastering the Unexpected Rise
- Unlock Your Baking Potential: Master Dough Rising!
Troubleshooting Dough That Rises Too Fast: A Baker's Guide
Dealing with dough that's rising faster than expected can be frustrating, especially when you're aiming for that perfect loaf. A rapid rise can lead to issues like poor texture, reduced flavor development, and even a collapsed dough. Fortunately, there are several Fast dough rising solutions you can employ, both to fix the problem in the moment and to prevent it from happening in the future. This guide will walk you through identifying the causes and implementing effective strategies.
Understanding Accelerated Dough Rising: Identifying the Cause
Before you can fix dough that's rising too quickly, it's helpful to understand why it's happening. Yeast is the primary driver of dough fermentation and rise, producing carbon dioxide gas as it consumes sugars. Several factors can excessively speed up this process, leading to an undesirable outcome. Pinpointing the cause is the first step toward finding the right Fast dough rising solutions.
Common Causes: Excess Yeast, High Temperatures, and Over-Hydration
One of the most frequent culprits behind a speedy dough rise is simply using too much yeast relative to the amount of flour. While yeast quantities vary by recipe, a typical loaf might use around 1-2% instant dry yeast or 2-3% active dry yeast based on the flour weight. Exceeding these percentages significantly can supercharge fermentation. For instance, using 4% instant yeast in a standard bread recipe designed for 1.5% will inevitably result in a much faster rise than intended.
High ambient temperatures are another major factor. Yeast activity increases dramatically with warmth. While a warm spot (say, 80-85°F or 27-29°C) is often recommended for proofing, temperatures much higher than this – like 90°F (32°C) or above – can accelerate fermentation to an uncontrollable pace.
Similarly, dough hydration plays a role; very wet doughs (those with a high water-to-flour ratio, say 75% hydration or higher) can ferment faster than drier doughs because the yeast has easier access to the sugars dissolved in the water. Combining high hydration with slightly too much yeast in a warm environment is a recipe for rapid rise disaster.
The Impact of Temperature: Ideal Fermentation Ranges
Temperature is arguably the most critical environmental factor influencing yeast activity and, consequently, the speed of dough rising. Yeast thrives within a specific temperature range, typically becoming active around 50-60°F (10-15°C), optimally active between 75-85°F (24-29°C), and slowing down considerably below 50°F (10°C) or dying off above 140°F (60°C). When dough is left to proof in a warm kitchen, perhaps near a sunny window or a warm appliance, its internal temperature can quickly climb into the optimal or even supra-optimal range for yeast activity.
Maintaining dough temperature within the recommended fermentation range (often 75-85°F / 24-29°C for standard proofing) allows for a controlled rise, giving the dough time to develop flavor and structure. If your dough is rising much faster than the recipe indicates, check the ambient temperature. A kitchen that feels comfortably warm to you might be significantly warmer for a small mass of dough in a bowl.
For example, if a recipe calls for a 1-2 hour rise at room temperature (assumed around 70°F / 21°C), but your kitchen is 85°F (29°C), you might see the dough double in size in just 45 minutes. Understanding this relationship is key to implementing effective Fast dough rising solutions.
Yeast Activity: Fresh vs. Instant and Storage Conditions
The type and condition of your yeast also heavily influence the speed of fermentation. Active dry yeast typically needs to be proofed in warm water before being added to the dry ingredients, which activates it. Instant dry yeast, on the other hand, can usually be added directly to the dry ingredients and is generally more vigorous and faster-acting than active dry yeast. Using instant yeast in a recipe designed for active dry yeast without adjustment can sometimes lead to a quicker rise.
Furthermore, how yeast is stored impacts its potency. Yeast is a living organism, and its viability decreases over time, especially if exposed to air, moisture, or heat. Yeast stored improperly, such as an open packet left in a warm pantry, may lose some of its power.
Conversely, a very fresh packet of yeast, stored correctly in a cool, dry place (like the refrigerator or freezer), can be particularly active. If you've recently opened a new packet of yeast that was stored optimally, you might notice your dough rising faster than with an older packet, even if you use the same quantity. Being aware of your yeast's freshness and type helps anticipate its behavior and apply appropriate Fast dough rising solutions.
Immediate Solutions: Slowing Down or Re-Purposing the Dough
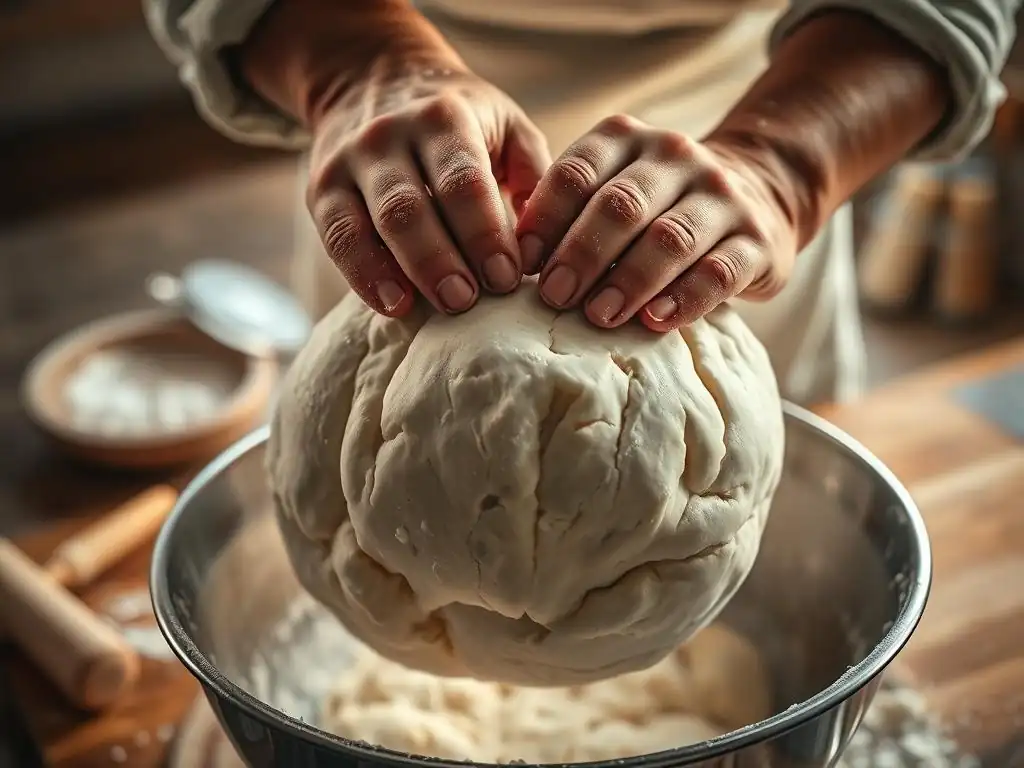
When you notice your dough is rising too fast, don't panic! There are several immediate actions you can take to either slow down the fermentation or salvage the dough for another purpose. These Fast dough rising solutions can save your bake and prevent a collapsed, over-proofed mess.
Option 1: Retarding the Dough (Cold Fermentation)
One of the most effective ways to slow down yeast activity is to lower the dough's temperature. Refrigeration significantly slows fermentation, allowing you to regain control over the rise and even improve flavor. This technique, known as cold fermentation or retarding, is a common practice in professional baking.
Refrigerating the Dough: Best Practices
To retard dough, simply cover the bowl tightly with plastic wrap or a lid to prevent a skin from forming, and place it in the refrigerator. The cold environment (typically 35-40°F or 2-4°C) will drastically slow the yeast. This is particularly useful if your dough has started rising too quickly but hasn't yet doubled in size. It essentially presses the "pause" button on fermentation. Ensure your refrigerator is cold enough; a temperature probe can help confirm.
How Long Can Dough Be Refrigerated? : 12-72 Hours
The beauty of cold fermentation is its flexibility. Dough can typically be refrigerated for a minimum of 12 hours and often up to 48-72 hours, depending on the recipe and yeast quantity. A longer cold fermentation allows enzymes in the dough to break down starches into sugars, which the yeast later consumes, producing more complex flavor compounds.
If your dough is rising too fast, transferring it to the fridge buys you time – potentially days – to bake it when you're ready. For example, a dough that might proof in 1 hour at room temperature could take 12-24 hours in the fridge to reach a similar state of development (in terms of volume, though flavor will be different).
Option 2: Punching Down and Re-shaping: When and How
If your dough has already risen too much and is showing signs of over-proofing (which we'll cover later), punching it down and re-shaping can sometimes help. This is a more reactive Fast dough rising solution.
When to Punch Down: Signs of Over-Proofing
Punching down is typically done after the first rise (bulk fermentation) to redistribute yeast, even out temperature, and expel some gas. If your dough has risen much faster than expected and looks overly puffy, perhaps even starting to sag or collapse slightly, it might be entering the over-proofed stage. A gentle punch down can redistribute the yeast and sugar, giving the dough a second chance, though it won't fully reverse over-proofing. It's a temporary fix to manage the rapid rise.
Risks of Over-Punching: Degassing and Tough Texture
While punching down can be a useful tool, doing it too vigorously or too often can harm the dough. Over-punching expels too much of the gas produced by the yeast, which is needed for the final rise and the open crumb structure in the baked bread. It can also overdevelop the gluten, potentially leading to a tough, dense texture in the final product. If you need to punch down because of a fast rise, do it gently – just enough to deflate the dough and bring it back to its original volume before shaping or refrigerating.
Option 3: Adjusting Baking Parameters: Salvaging the Bake
Sometimes, despite your best efforts, you might realize the dough is significantly over-proofed just before or during baking. Even in this situation, there are Fast dough rising solutions to salvage your bake to some extent.
Reducing Oven Temperature: Preventing Burning
Over-proofed dough often lacks the structural integrity to hold its shape in a hot oven and can brown very quickly due to the excessive sugar breakdown. If you suspect your dough is over-proofed, consider reducing your oven temperature slightly from the recipe's recommendation (e.g., by 25-50°F or 10-20°C). This slower bake can help the dough set more gently, giving it a better chance of holding its form, and prevent the crust from burning before the interior is cooked.
Monitoring Dough During Baking: Visual and Internal Temperature Cues
Whether you adjust the temperature or not, it's crucial to monitor over-proofed dough closely in the oven. Watch for excessive spreading or collapsing. Use visual cues like crust color and sound (tapping the bottom for hollowness) to gauge doneness. The most reliable method is checking the internal temperature with an instant-read thermometer. For most lean bread (no added fat or sugar), a finished internal temperature of 200-210°F (93-99°C) indicates it's fully baked. For enriched doughs, it's typically slightly lower, around 190-200°F (88-93°C). Don't rely solely on the clock, as the rapid rise might affect baking time.
Preventing Rapid Dough Rising: Proactive Measures
The best Fast dough rising solutions often involve preventing the problem in the first place. By controlling the variables that influence yeast activity, you can ensure a more predictable and controlled fermentation process, leading to better results.
Controlling Yeast Quantity: Precise Measurement is Key
One of the most straightforward ways to prevent dough from rising too quickly is to use the correct amount of yeast. Always measure your yeast precisely. Using a digital scale to weigh ingredients, including yeast, is far more accurate than using volume measurements (like teaspoons or tablespoons), as yeast density can vary. For example, a teaspoon of instant yeast might weigh anywhere from 2.5 to 4 grams depending on how compacted it is.
Weighing 3 grams ensures consistency. Consult your recipe carefully and consider the type of yeast specified. If substituting instant for active dry, you might use about 20-25% less instant yeast.
Accurate Measurement of Ingredients: Impact on Fermentation
Beyond yeast, accurate measurement of all ingredients impacts fermentation. The amount of flour determines the "food" available for the yeast relative to the yeast quantity. The amount of water (hydration) affects yeast access to sugars and dough temperature. Sugar in the recipe provides easily accessible food for the yeast, speeding things up; too much sugar can actually inhibit yeast activity due to osmotic pressure.
Salt, while essential for flavor and structure, also controls yeast activity, slowing it down. Using too little salt can lead to a very fast, uncontrolled rise. Weighing all ingredients, especially flour, water, yeast, and salt, provides the greatest control over the fermentation rate and is a key proactive measure for Fast dough rising solutions.
Maintaining Consistent Dough Temperature: Importance of Water Temperature
Controlling the dough's temperature throughout the mixing and proofing stages is paramount. The temperature of the water used to hydrate the dough is a significant factor here. Warm water (around 90-100°F or 32-38°C) is often recommended to kickstart yeast activity, especially with active dry yeast. However, using water that is too hot can kill the yeast, while using water that is too cold will significantly slow fermentation.
Using a Thermometer: Ensuring Accuracy
Invest in a simple kitchen thermometer to measure your water temperature accurately. Don't guess! Water that feels "warm" from the tap could be anywhere from 80°F to 120°F (27-49°C). Aim for the temperature recommended by your recipe, typically in the 90-105°F (32-40°C) range for active dry yeast or slightly cooler for instant yeast.
Adjusting Water Temperature: Considering Ambient Conditions
You can even adjust your water temperature slightly based on your kitchen's ambient temperature. If your kitchen is cool (below 70°F or 21°C), you might use slightly warmer water (closer to 100-105°F or 38-40°C) to bring the dough temperature up. If your kitchen is warm (above 75°F or 24°C), use cooler water (perhaps 80-90°F or 27-32°C) to prevent the dough from overheating during mixing and subsequent proofing. The goal is to achieve a final dough temperature that aligns with the desired fermentation speed.
Optimizing the Proofing Environment: Temperature and Humidity
Where you let your dough rise matters just as much as the initial dough temperature. A warm, draft-free environment is ideal for consistent proofing.
Avoiding Warm Drafts: Maintaining a Stable Environment
Avoid placing your dough bowl in direct sunlight, next to a hot oven, or over a heating vent. These spots create warm drafts or hot spots that can cause the dough to rise unevenly or too quickly. Aim for a location with a stable temperature. A common room temperature of 70-75°F (21-24°C) is often suitable for a slower, more controlled rise, while a slightly warmer spot (75-85°F or 24-29°C) will speed things up predictably if desired.
Creating a Controlled Proofing Box: Using the Oven or Microwave
Many bakers create a makeshift proofing box to ensure a consistent temperature. One simple method is to turn off your oven light (if it generates heat) or briefly warm the oven to its lowest setting (e.g., 150-170°F / 65-77°C) for just a minute, then turn it off completely. Place the covered dough inside the slightly warm, turned-off oven.
Another technique is to boil a cup of water, place it in the cold oven or microwave alongside the covered dough, and close the door. The steam creates a warm, humid environment perfect for rising. These controlled environments are excellent preventative Fast dough rising solutions.
Signs of Over-Proofed Dough: Recognizing the Problem
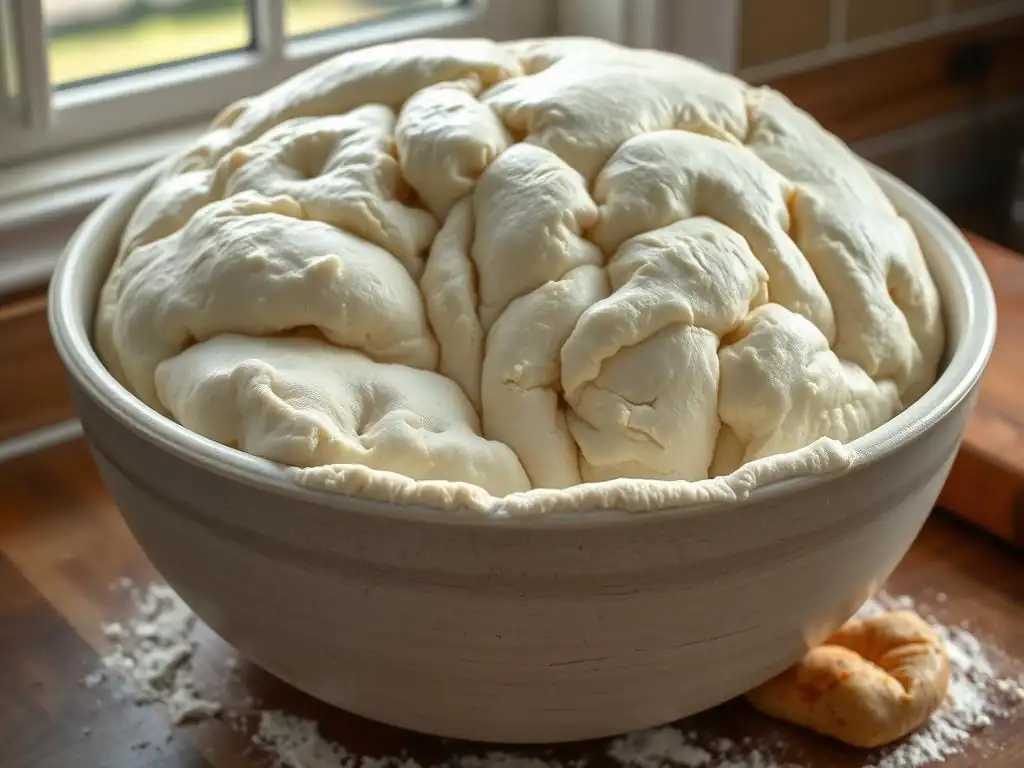
Even with preventative measures, sometimes dough rises too fast and becomes over-proofed. Knowing how to identify over-proofed dough is crucial for implementing appropriate Fast dough rising solutions or salvaging your efforts. Over-proofing occurs when the yeast has produced so much gas that the gluten structure can no longer contain it.
Visual Cues: Collapsed Structure, Large Bubbles
The most obvious sign of over-proofing is a dough that has risen significantly but then starts to sag or collapse in on itself. It might look like a balloon that's losing air. You might also see very large, irregular bubbles on the surface or sides of the dough, indicating that the gas is escaping. The dough will often look puffy and airy, but lack tension or structure compared to properly proofed dough.
The Poke Test: Lack of Elasticity
The "poke test" is a common method to check proofing. Gently press your floured finger into the dough about half an inch deep.
- Properly proofed dough: The indentation will spring back slowly, leaving a small indent.
- Under-proofed dough: The indentation springs back immediately.
- Over-proofed dough: The indentation remains fully or mostly indented and does not spring back at all. The dough feels slack and lifeless.
The Smell Test: Overly Sour or Alcoholic Aroma
As yeast ferments, it produces various compounds, including acids and alcohol, which contribute to the dough's flavor. In properly proofed dough, these flavors are balanced and pleasant. However, over-proofed dough will often develop a strong, overly sour, or even alcoholic smell. This indicates that the yeast has consumed too much sugar and produced excessive metabolic byproducts.
Salvaging Over-Proofed Dough: Creative Solutions
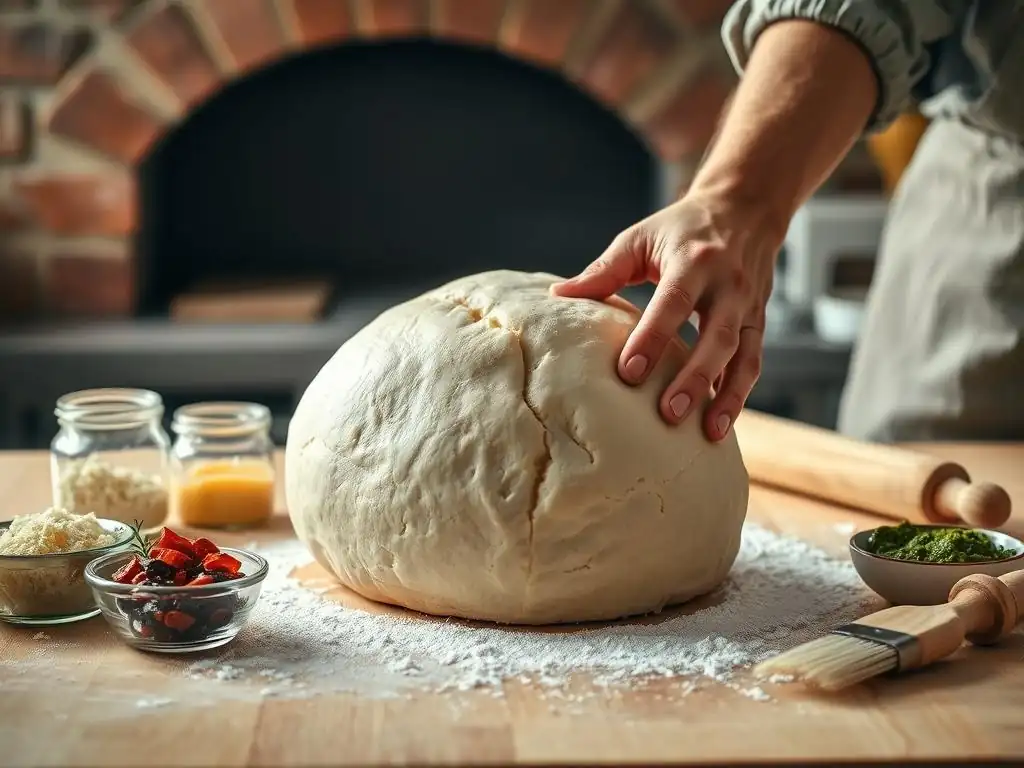
Even if your dough is significantly over-proofed, it doesn't always mean it's destined for the bin. While you might not achieve the perfect loaf you initially intended, there are creative Fast dough rising solutions to repurpose over-proofed dough.
Using Over-Proofed Dough for Other Recipes: Pizza, Focaccia, or Crumb Topping
Over-proofed dough, while lacking the strength for a lofty loaf, can still be excellent for flatter bread applications. The developed flavor from the long fermentation can be a bonus.
- Pizza Dough: Over-proofed dough is often perfect for pizza crust. The slack nature makes it easy to stretch thin, and the flavor is usually fantastic.
- Focaccia: Similar to pizza, focaccia doesn't require a huge oven spring. The flavorful, slightly acidic dough works wonderfully for a dimpled, olive oil-rich focaccia.
- Crumb Topping: If the dough is too far gone for even flatbreads, you can dry it out, crumble it, and use it as a flavorful breadcrumb topping for casseroles or gratins.
Creating a Poolish or Biga: Using a Portion for Flavor Development
If you're just starting a new batch of dough, you can sometimes incorporate a portion of your over-proofed dough into a new recipe as a "preferment" like a poolish or biga. While not a traditional method for using over-proofed dough, a small amount (say, 10-20% of the new dough's flour weight) added to the initial mix can sometimes contribute flavor complexity. This is a more advanced technique and depends on the state of the over-proofed dough, but it's a potential Fast dough rising solution that turns a mistake into an ingredient.
Mastering Dough Fermentation: Achieving Optimal Results
Understanding and controlling fermentation is fundamental to successful bread baking. While dealing with dough that rises too fast requires quick thinking and Fast dough rising solutions, consistent results come from mastering the process from the start.
Understanding the Stages of Dough Proofing: First Proof, Second Proof
Most bread recipes involve at least two distinct rising periods.
- First Proof (Bulk Fermentation): This is the initial rise after mixing and kneading. The dough is typically left as a large mass to double or even triple in size. This stage is crucial for developing flavor and strengthening the gluten network. Controlling temperature and time here is key to preventing a too fast rise.
- Second Proof (Final Proofing): This occurs after the dough has been shaped into its final form (loaves, rolls, etc.). It's a shorter rise, where the dough expands further and develops its final structure before baking. Over-proofing at this stage is particularly detrimental to oven spring.
Tips for Consistent Baking Results: Record Keeping and Observation
To avoid needing Fast dough rising solutions frequently, become a keen observer and keep notes. Pay attention to:
- Kitchen temperature.
- Water temperature used.
- Brand/type of yeast and its age.
- How the dough feels (temperature, elasticity).
- How quickly the dough is rising compared to the recipe's timeline.
- The dough's appearance and feel during the poke test at various stages.
Keeping a baking journal where you record these details for each bake can help you identify patterns and understand how different variables affect your dough's fermentation speed. For instance, you might note, "Kitchen 78°F, used 95°F water, dough doubled in 50 mins. Next time in warm weather, use 85°F water."
Troubleshooting Common Fermentation Problems: [Link to article on common fermentation issues]
Frequently Asked Questions
What are some common reasons why dough might rise too quickly?
Rapid dough rising is often caused by excessive yeast, warm temperatures, or too much sugar in the recipe. These factors accelerate fermentation.
How can I slow down dough that's rising too fast?
You can refrigerate the dough to drastically slow down the yeast activity. Another option is to gently punch down the dough to release some of the gases.
If my dough rises too fast, is it ruined?
Not necessarily! While it can affect the flavor and texture, you can usually salvage it. Punching it down and allowing it to rise again, but slower, can help.
What should I do if my dough has already over-proofed?
Gently deflate the dough and reshape it. While the texture might be slightly different, baking it is still possible. Consider adding a little extra flour during shaping if it's too sticky.
Can I prevent my dough from rising too fast in the first place?
Yes! Use the correct amount of yeast specified in the recipe, control the dough's temperature by proofing in a cooler environment, and avoid over-sweetening the dough.
Final Reflection: Mastering the Unexpected Rise
The unpredictable nature of yeast is a baker's constant companion, and a fast rise, while sometimes exciting, can often lead to disappointing results. Understanding how to manage this unexpected surge in dough activity is not just a matter of technical skill; it's about embracing the inherent variability of baking and learning to adapt. This knowledge empowers bakers to transform potential setbacks into opportunities for delicious creations.
The impact of a perfectly risen loaf extends far beyond the simple act of baking. It's a testament to patience, precision, and the understanding of natural processes. The subtle nuances of texture and flavor are directly linked to the careful management of the dough's rise. As the old adage goes, Baking is a labor of love, and the reward is a taste of heaven.
This sentiment rings especially true when we overcome challenges like a fast-rising dough, proving that even imperfections can lead to extraordinary results. The journey of learning to control the rise is a journey of mastering the art itself.
Now, consider your own baking experiences. Have you ever faced a rapidly rising dough? What adjustments did you make? More importantly, what did you learn from that experience? I encourage you to embrace the unexpected, to view challenges not as failures, but as opportunities for growth and refinement. The next time your dough decides to rise faster than anticipated, remember the techniques discussed in this article, and approach the situation with confidence and creativity. The result? A delicious loaf, and a deeper understanding of the beautiful, unpredictable world of baking.
Unlock Your Baking Potential: Master Dough Rising!
Thanks for joining us on this baking adventure! We hope you now feel more confident in handling those speedy dough rises. Ready to put your new knowledge to the test?
- Experiment with your next dough: Try adjusting your ingredients or proofing environment based on today's tips—you might be surprised by the results!
- Share your baking triumphs (and challenges!) with us in the comments below. We love hearing your stories and learning from your experiences.
- Consider trying a different type of bread recipe and see how this knowledge impacts your outcomes.
What unique techniques do you use to control your dough's rise? Let's chat!