
Using Malt in Pizza Dough: An Advanced Flavor and Color Boost

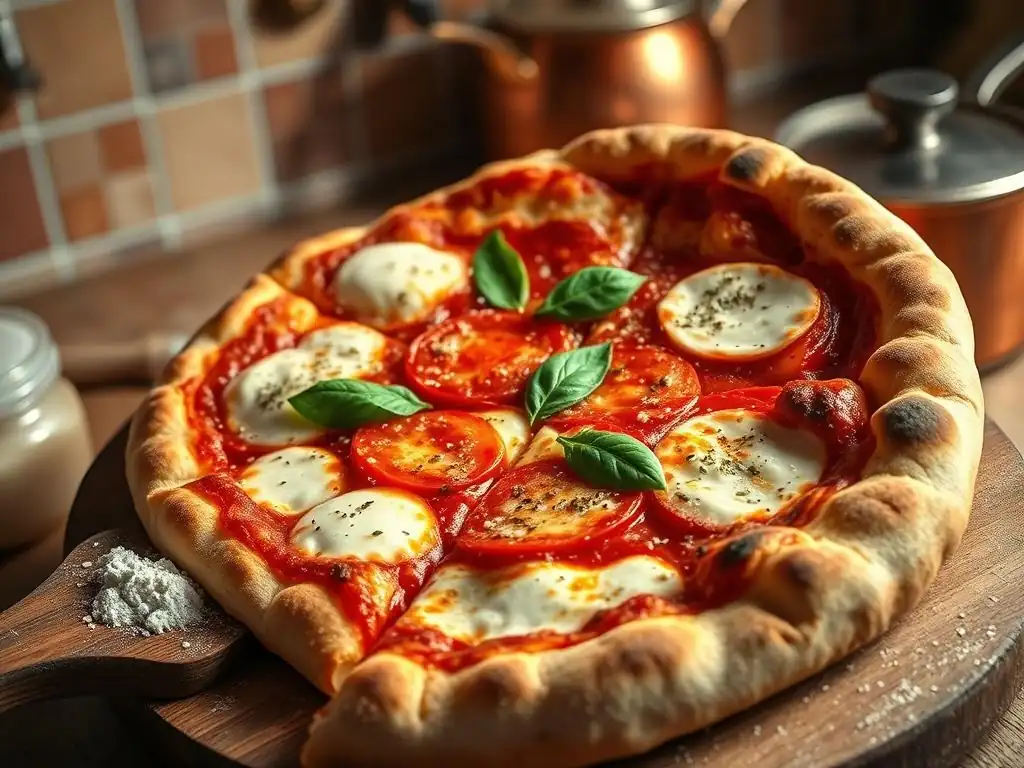
Welcome to BakeWithEase, your guide to unlocking the secrets of exceptional baking! Ready to elevate your pizza game? This week, we're diving into a fascinating technique that will transform your dough from ordinary to extraordinary. Discover how using malt unlocks a depth of flavor and color you never thought possible. Intrigued by the subtle sweetness and enhanced browning? Keep reading to learn all about the malt pizza dough flavor revolution!
- Understanding Malt's Role in Pizza Dough
- Types of Malt for Pizza Dough
- How to Incorporate Malt into Your Pizza Dough Recipe
- Mastering the Art of Baking with Malt Pizza Dough
- The Final Result: Savoring Your Malt-Enhanced Pizza
- Conclusion: Unlock Deeper Flavor with Malt in Your Pizza Dough
- Frequently Asked Questions
- Final Reflection: The Unexpected Symphony of Malt and Dough
- Unleash the Malt Magic in Your Pizza!
Understanding Malt's Role in Pizza Dough
What is Malt and Why Use it in Pizza Dough?
Malt is grain, most commonly barley, that has been germinated and then quickly dried. This process, called malting, activates natural enzymes within the grain. These enzymes are crucial because they begin breaking down starches into simpler sugars and proteins into amino acids.
For bakers, malt serves several purposes. Diastatic malt, specifically, contains active enzymes that continue to work during dough fermentation and baking, converting starches into food for the yeast and increasing the availability of sugars for the Maillard reaction and caramelization, which are key to crust color and flavor. Non-diastatic malt, on the other hand, has been heated to a temperature that deactivates these enzymes, so its primary contribution is flavor and color directly from the malt sugars and compounds present.
Incorporating malt into your pizza dough recipe is a technique used by artisan bakers to achieve a deeper, more complex flavor profile and a beautifully browned crust that's difficult to achieve with just flour, water, yeast, and salt. While seemingly a small addition, typically less than 2% of the flour weight, the impact on the final Malt pizza dough flavor and texture is significant.
It contributes to the subtle sweetness, nutty undertones, and rich aroma that elevate a simple pizza crust from good to exceptional. Understanding the type of malt you are using is essential, as diastatic and non-diastatic malts function differently in the dough development process, leading to varied outcomes in terms of rise, color, and the resulting Malt pizza dough flavor.
The Benefits of Adding Malt to Pizza Dough
Enhanced Flavor Profile
Adding malt, particularly non-diastatic malt or diastatic malt used correctly, significantly enhances the overall flavor profile of the pizza crust. The sugars and other compounds naturally present in malt contribute a subtle sweetness, often described as nutty or even slightly toasted, adding layers of complexity beyond the simple bready taste. During fermentation, the active enzymes in diastatic malt break down starches into fermentable sugars, which the yeast consumes, producing more flavorful byproducts. These sugars also participate in the Maillard reaction during baking, creating hundreds of new flavor compounds responsible for the desirable aroma and taste of a well-baked crust.
This boost in Malt pizza dough flavor is noticeable even with small quantities. For example, using just 0.5% to 1.5% diastatic malt powder relative to the flour weight can transform a standard crust into one with a more developed and appealing taste. Non-diastatic malt extract, used at slightly higher percentages (perhaps 1% to 3%), imparts a more direct malty sweetness and color without significantly affecting fermentation speed. The specific type and amount of malt used will fine-tune the resulting Malt pizza dough flavor, allowing bakers to customize their crust to complement various toppings.
Improved Crust Color and Appearance
One of the most visually striking benefits of using malt in pizza dough is the improvement in crust color. The increased availability of simple sugars (either from the malt itself or produced by diastatic enzymes) accelerates and deepens the Maillard reaction and caramelization during baking. This results in a crust that browns more evenly and develops rich golden to dark brown hues, rather than remaining pale or only browning inconsistently in spots. A darker crust often indicates a more flavorful crust due to the compounds created during the browning process.
Using malt helps achieve that coveted artisanal look with a beautiful, blistered surface and a deep, inviting color. For instance, baking a pizza at a high temperature like 500°F (260°C) or higher, a common practice for Neapolitan-style or New York-style pizza, benefits greatly from the presence of malt. The rapid transfer of heat quickly promotes browning.
Without sufficient available sugars, the crust might set before it achieves adequate color development. Malt ensures there are ample sugars present on the surface of the dough as it bakes, promoting rapid and even browning, contributing significantly to the aesthetic appeal and perceived quality of the final product and enhancing the Malt pizza dough flavor.
Better Dough Texture and Rise
Malt can also contribute positively to the texture and rise of pizza dough. Diastatic malt provides readily accessible food for the yeast throughout the fermentation process. This sustained energy source helps maintain yeast activity, leading to a more vigorous and consistent rise. The enzymes also slightly modify the gluten structure, potentially contributing to a softer, more extensible dough, which can make stretching easier and result in a more tender crumb structure in the baked crust.
Furthermore, the increased sugar content on the crust's surface leads to better caramelization, which creates a slightly crispier exterior crust while maintaining a soft interior crumb. This contrast in textures is highly desirable in pizza.
While excessive diastatic malt can lead to a sticky dough or overly rapid fermentation, using the correct percentage (typically below 2% of flour weight) helps balance yeast activity, dough handling, and the final baked texture, culminating in a superior Malt pizza dough flavor and eating experience. The impact on texture works hand-in-hand with the flavor and color benefits to create a truly exceptional pizza crust.
Types of Malt for Pizza Dough
Diastatic vs. Non-Diastatic Malt: Key Differences
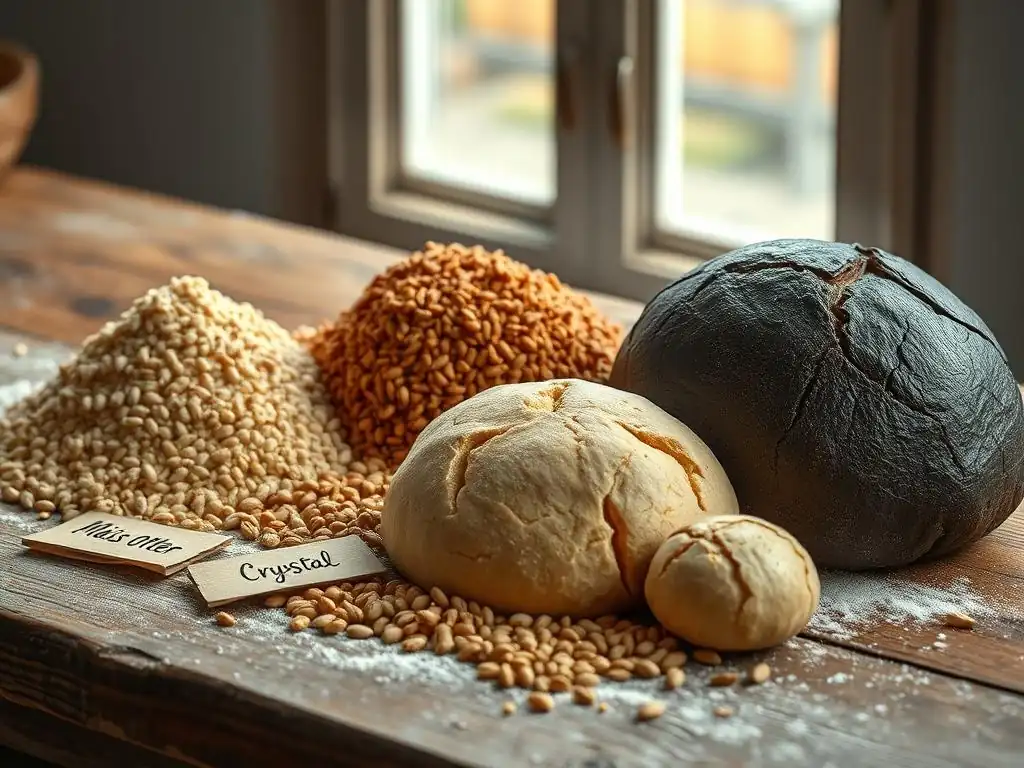
The primary difference between diastatic and non-diastatic malt lies in enzyme activity. Diastatic malt contains active enzymes, primarily amylase, which break down complex starches in flour into simple sugars like maltose. These sugars serve as food for yeast, boosting fermentation, and are also crucial for browning during baking. Diastatic malt is typically used in small quantities, usually between 0.5% and 1.5% of the total flour weight. Using too much diastatic malt can lead to excessive enzyme activity, resulting in a sticky dough that is difficult to handle, a gummy crumb, or a crust that browns too quickly or unevenly.
Non-diastatic malt, on the other hand, has been heated to a temperature high enough to deactivate the enzymes. It contains the sugars and flavor compounds from the malting process but does not actively convert starch into sugar during fermentation. Its primary purpose in baking is to add color and the distinctive malty flavor directly.
Non-diastatic malt can be used in larger quantities than diastatic malt, often ranging from 1% to 3% or more of the flour weight, depending on the desired intensity of color and Malt pizza dough flavor. It's important to know which type of malt you have, as substituting one for the other without adjusting the quantity and understanding their functions will lead to unpredictable results in your pizza dough.
Malted Barley Flour
Malted barley flour is simply barley that has been malted, dried, and then ground into a fine flour. It can be either diastatic or non-diastatic, depending on the processing temperature. When used in baking, it's typically a diastatic product, added to flour blends (like all-purpose flour which might have varying enzyme levels) to ensure consistent enzyme activity. This helps standardize dough performance, promoting consistent fermentation and browning across different batches of flour.
Adding a small percentage of malted barley flour (e.g., 0.5% to 1%) to your pizza dough recipe provides active enzymes to aid in starch conversion, contributing to a better rise and richer crust color. It integrates seamlessly with the main flour during mixing. Its fine texture means it disperses easily throughout the dough, ensuring the enzymes (if diastatic) are evenly distributed to work on the starches, ultimately enhancing the Malt pizza dough flavor and texture.
Malt Extract: Liquid and Dry Forms
Malt extract is a concentrated syrup or powder produced by cooking malted grain (usually barley) to extract the sugars and flavor compounds, then concentrating the liquid. Liquid malt extract is a thick, sticky syrup, while dry malt extract (DME) is the dehydrated, powdered version. Both forms can be either diastatic or non-diastatic, though non-diastatic is more common, especially for home bakers buying it for flavor and color.
Liquid malt extract is often used in bread and bagels for its rich color and flavor contributions. DME is easier to measure and handle than the sticky liquid form. Both forms dissolve readily in the dough's water.
When using malt extract, you are adding concentrated sugars and flavors directly to the dough. This provides immediate food for the yeast (if diastatic) and ensures plenty of sugars are available for browning. For enhancing Malt pizza dough flavor and color, non-diastatic malt extract (liquid or dry) is a popular choice, typically added at 1% to 3% of the flour weight, depending on the desired intensity.
How to Incorporate Malt into Your Pizza Dough Recipe
Malt Pizza Dough Recipe: A Step-by-Step Guide
Crafting a delicious malt pizza dough flavor starts with a solid recipe foundation and the correct application of malt. This guide provides a basic structure, but feel free to adjust hydration and fermentation times based on your environment and desired outcome. Remember that even small amounts of malt can significantly impact your dough.
Follow these steps to create a flavorful dough enhanced by malt, perfect for achieving a beautiful crust and rich Malt pizza dough flavor.
Ingredients for the Malt Pizza Dough
Here's a typical ingredient list for a malt-enhanced pizza dough, yielding two medium pizzas (approx. 12-14 inches each). This recipe uses a small amount of diastatic malt powder, which is common for improving dough performance and color.
- 500g (approx. 4 cups) Bread Flour (or Strong White Flour)
- 325g (approx. 1 1/3 cups) Lukewarm Water (around 90-100°F or 32-38°C) - this is 65% hydration
- 10g (approx. 2 tsp) Fine Sea Salt
- 2g (approx. 0.5 tsp) Instant Dry Yeast
- 5g (approx. 1 tsp) Diastatic Malt Powder (this is 1% of flour weight, a safe starting point)
Alternatively, if using non-diastatic malt extract (dry):
- Replace the 5g Diastatic Malt Powder with 10-15g (approx. 1-1.5 tbsp) Non-Diastatic Dry Malt Extract for color and flavor.
Preparing the Malt Pizza Dough: Mixing and Kneading
Combine the lukewarm water, yeast, and malt powder (or extract) in a large mixing bowl. Stir gently to dissolve the yeast and malt. Let stand for 5 minutes until slightly frothy if using active dry yeast (instant yeast may not froth much). Add the flour and salt to the bowl.
Mix with a wooden spoon or your hands until a shaggy dough forms and no dry flour remains. Turn the dough out onto a lightly floured surface and knead for 10-15 minutes by hand, or use a stand mixer with a dough hook for 8-10 minutes on medium speed, until the dough is smooth, elastic, and passes the windowpane test (a small piece can be stretched thin enough to see light through without tearing). The dough might feel slightly stickier than a dough without malt, especially if using diastatic malt, which is normal.
Fermenting and Proofing the Malt Pizza Dough
Place the kneaded dough in a lightly oiled bowl, turning to coat all sides. Cover the bowl tightly with plastic wrap or a damp cloth. Allow the dough to ferment at room temperature (around 70-75°F or 21-24°C) for 1.5 to 2 hours, or until it has roughly doubled in size. This initial warm fermentation helps develop flavor quickly.
For a more complex Malt pizza dough flavor, you can perform a cold fermentation after the initial rise. Divide the dough into your desired number of portions (e.g., two balls for medium pizzas). Shape each portion into a tight ball and place in individual lightly oiled containers with lids. Refrigerate for 12 to 48 hours. Cold fermentation significantly enhances the depth of flavor and improves dough handling. Before baking, let the cold dough balls sit at room temperature for 1-2 hours to relax and become easy to stretch.
Adjusting Your Existing Pizza Dough Recipe with Malt
Incorporating malt into a recipe you already know and love is straightforward, provided you understand the role of the malt you are adding. The key is to start with a small, conservative amount and adjust in subsequent batches based on the results. This approach allows you to fine-tune the impact on your specific recipe's fermentation time, handling, and the final Malt pizza dough flavor and appearance.
Consider the existing ingredients and hydration level of your base recipe. If your current dough ferments very slowly or doesn't achieve the desired browning, a small amount of diastatic malt might be beneficial. If you're happy with the rise but want a richer color and deeper malty flavor, non-diastatic malt is the way to go. Careful calculation of the malt percentage relative to your flour weight is crucial for successful integration.
Calculating the Optimal Malt Percentage
The optimal malt percentage depends heavily on the type of malt (diastatic vs. non-diastatic), its strength (for diastatic), the type of flour used, and your desired outcome. As a general guideline:
- Diastatic Malt Powder: Start with 0.5% to 1.5% of the total flour weight. For 1000g of flour, this would be 5g to 15g of diastatic malt. Using more than 2% can be risky, leading to gummy dough or excessive browning.
- Non-Diastatic Malt Extract (Dry): Start with 1% to 3% of the total flour weight. For 1000g of flour, this would be 10g to 30g of dry malt extract. You can use slightly higher amounts if you want a very pronounced malty flavor and dark color, as the enzymes are inactive.
- Non-Diastatic Malt Extract (Liquid): Use slightly more by weight than dry extract, perhaps 1.5% to 4% of the flour weight, as it contains water. For 1000g of flour, this would be 15g to 40g of liquid malt extract.
Always weigh your ingredients, including the malt, using a digital scale for accuracy. This precision is particularly important with potent ingredients like diastatic malt. Keep track of the percentage you use and the results (fermentation time, dough feel, color, Malt pizza dough flavor) so you can adjust for your next batch.
Tips for Successful Malt Integration
- Measure Accurately: Use a scale to weigh your malt, especially diastatic malt, as even a small excess can negatively affect the dough.
- Dissolve Malt First: If using malt powder or extract, dissolve it in the recipe's water before adding the flour. This ensures even distribution throughout the dough.
- Observe Your Dough: Pay attention to how the dough behaves during fermentation. Diastatic malt will likely speed things up. Adjust fermentation time accordingly.
- Start Small: If you're unsure, begin with the lowest recommended percentage (e.g., 0.5% diastatic or 1% non-diastatic) and increase gradually in future batches.
- Consider Your Flour: Some flours naturally contain higher levels of enzymes. Adding malt to a flour already high in enzymes might require a lower malt percentage.
- Note the Impact on Flavor: After baking, pay close attention to the Malt pizza dough flavor. Is it subtly enhanced, or is the malt too dominant? Use this feedback to adjust the percentage next time.
Mastering the Art of Baking with Malt Pizza Dough
Troubleshooting Common Issues with Malt Pizza Dough
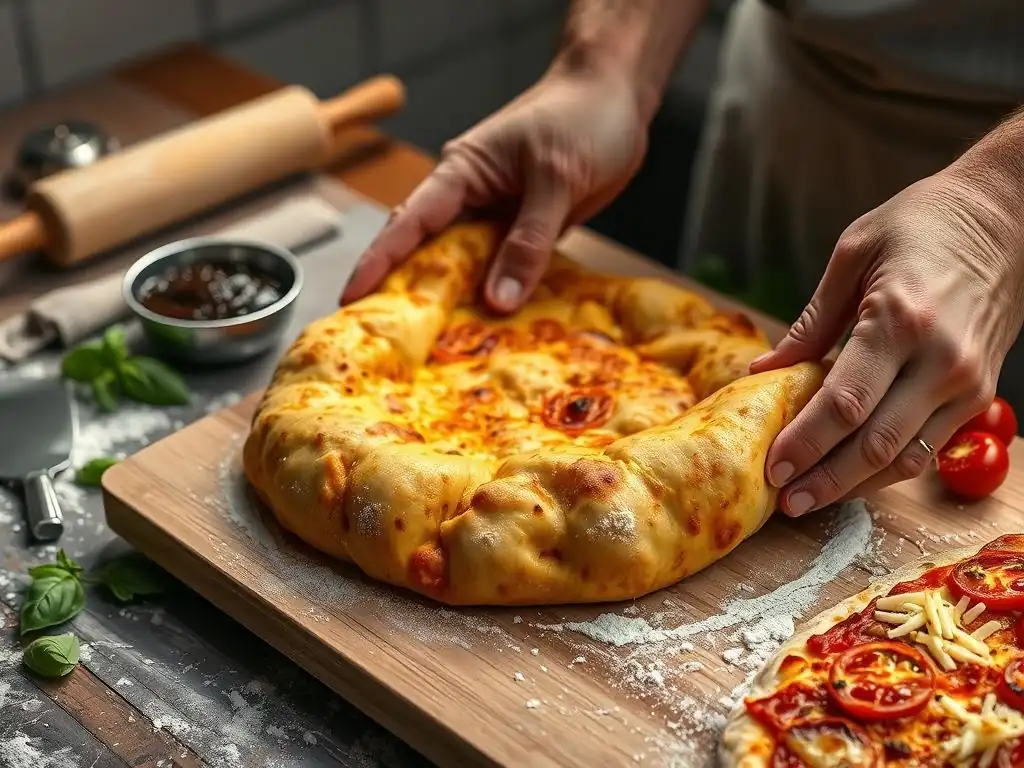
Even with careful measurement, working with malt can sometimes present challenges, especially when you're first experimenting. Recognizing common issues and knowing how to address them will help you master the art of baking with malt-enhanced dough and consistently achieve a great Malt pizza dough flavor and texture. Most problems stem from using the wrong type of malt, an incorrect quantity, or not adjusting other variables like hydration or fermentation time.
Approaching troubleshooting systematically, considering the type and amount of malt used alongside standard dough issues, will lead to better results. Keep notes on your process – the exact recipe, malt type and quantity, fermentation times and temperatures, and baking parameters – to help diagnose problems and refine your technique over time.
Dough Too Sticky or Dry
If your malt pizza dough feels excessively sticky and difficult to handle after kneading, especially if using diastatic malt, you might have added too much malt or your hydration level is too high for the amount of active enzymes present. Diastatic enzymes break down starches, which can affect the water absorption of the flour over time.
- Solution: If the dough is too sticky, try reducing the hydration slightly in your next batch, or decrease the percentage of diastatic malt. Ensure you are weighing your ingredients accurately. If using a very high percentage of diastatic malt (above 1.5%), try reducing it significantly. If the dough is too dry, it's likely unrelated to the malt itself, unless you've compensated for perceived stickiness by adding too much flour during kneading. Ensure your initial hydration is correct for your flour type.
Inconsistent Color Development
patchy or uneven browning on the crust, or a crust that browns too quickly (burning before the interior is cooked) or too slowly (remaining pale), can be linked to malt usage. Too much diastatic malt can cause rapid, sometimes uneven, browning due to excessive sugar production on the surface. Too little malt (especially non-diastatic, if color is the goal) might not provide enough sugars for adequate browning.
- Solution: If the crust is browning too fast, reduce the amount of diastatic malt. You might also need to lower your oven temperature slightly or shorten the baking time. If the crust is not browning enough, ensure you are using malt (diastatic for enzyme activity and sugar production, or non-diastatic for added sugars). Check your oven temperature with an oven thermometer to ensure it's accurate – insufficient heat is a common cause of pale crusts. Increasing the percentage of non-diastatic malt or adding a small amount of diastatic malt (0.5-1%) can help.
Lack of Flavor Improvement
If you've added malt but don't notice a significant improvement in the Malt pizza dough flavor, several factors could be at play. The type of malt might not be contributing the desired flavor, the quantity used might be too low, or the fermentation time wasn't long enough to allow flavor compounds to develop.
- Solution: Ensure you are using a malt known for its flavor contribution, such as non-diastatic malt extract or a flavorful diastatic malt powder. Increase the percentage of malt used within the recommended ranges (up to 1.5% for diastatic, 3% for non-diastatic extract). If using diastatic malt, consider extending the fermentation time, especially with a cold proof in the refrigerator (12-48 hours), which allows more time for enzymes to break down starches and for yeast to produce flavor compounds, leading to a more complex Malt pizza dough flavor.
Experimenting with Different Malts and Dough Hydration
Once you are comfortable with a basic malt pizza dough recipe, experimentation is key to finding your perfect crust. Different types and brands of malt will offer slightly different flavor profiles and enzymatic activity levels. Similarly, adjusting the dough hydration will significantly impact texture and handling, and how the malt behaves within the dough.
Consider trying a recipe with non-diastatic malt extract after mastering one with diastatic malt powder to compare the results on color and the direct Malt pizza dough flavor contribution. You might find you prefer the specific notes from one over the other. You can also try increasing or decreasing the hydration level (e.g., from 65% to 70% or down to 60%) while keeping the malt percentage constant.
Higher hydration often leads to a more open crumb and crispier crust edge, which can pair wonderfully with the enhanced Malt pizza dough flavor. Just be aware that higher hydration doughs are stickier and require practice to handle. Keep detailed notes on your experiments to track what works and what doesn't.
The Final Result: Savoring Your Malt-Enhanced Pizza
Baking Your Malt Pizza Dough to Perfection
Baking your malt-enhanced pizza dough is the final step in bringing out that incredible Malt pizza dough flavor and achieving the desired crust texture and color. Due to the added sugars from the malt, the dough will brown more readily than a standard dough. This means you might need to adjust your usual baking time or temperature slightly, especially if baking at very high temperatures typical for pizza.
Preheat your oven as high as it will go, ideally 500-550°F (260-290°C), with a pizza stone or steel inside for at least 45-60 minutes. This ensures the stone/steel is screaming hot, providing the intense heat needed for a quick bake and excellent crust development. Stretch your proofed dough ball gently, top with your favorite ingredients, and carefully transfer it onto the hot stone or steel.
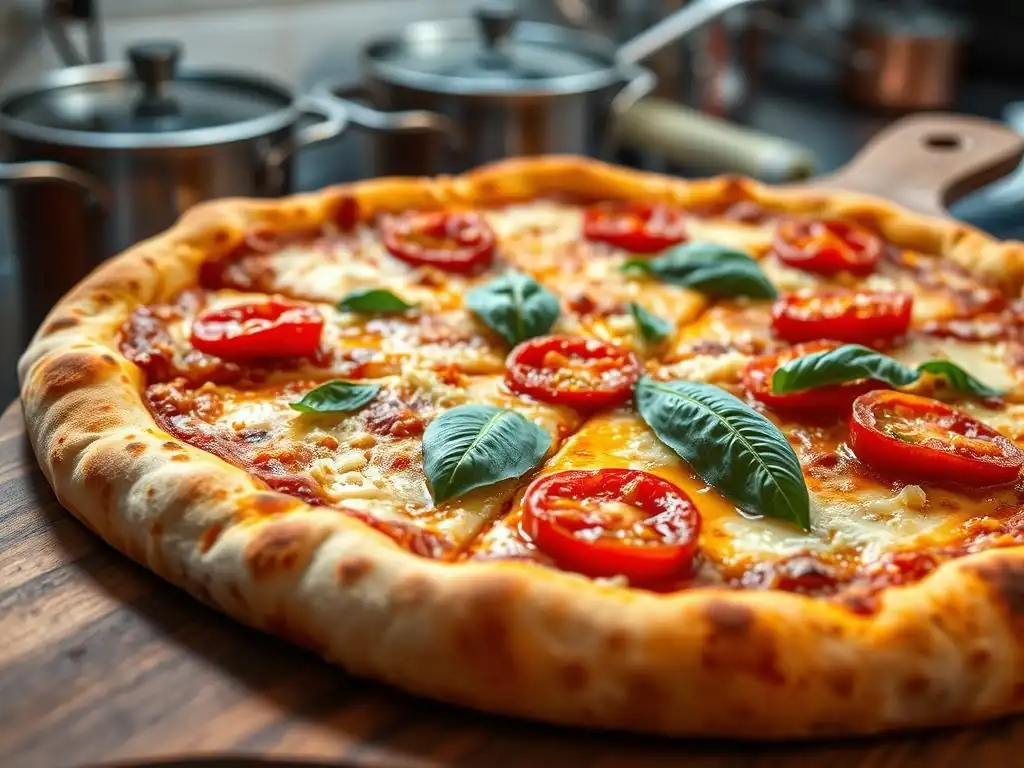
Bake for 6-12 minutes, depending on your oven and desired level of crispness and color. Watch the crust closely; it should puff up beautifully and develop a rich, deep golden-brown color with scattered darker blisters, a hallmark of successful malt inclusion and a key visual cue for the development of deep Malt pizza dough flavor.
Tasting Notes: The Unique Flavor of Malt Pizza Dough
When you pull your malt-enhanced pizza from the oven, take a moment to admire the beautiful, rich color of the crust. As you take your first bite, pay attention to the unique flavor profile. The Malt pizza dough flavor is typically more complex and nuanced than a crust made without malt. You should detect a subtle sweetness that isn't sugary, but rather a deeper, more integrated sweetness coming from the caramelized malt sugars.
Look for undertones that might remind you of toasted nuts, honey, or even light caramel. The aroma is also often richer and more inviting. The combination of the enhanced flavor compounds from the Maillard reaction and the inherent taste of the malt creates a truly satisfying crust that complements, rather than just supports, your toppings. This distinctive Malt pizza dough flavor is what sets artisan pizza apart and is a reward for your efforts in incorporating malt into your baking.
Conclusion: Unlock Deeper Flavor with Malt in Your Pizza Dough
Incorporating malt into your pizza dough is an advanced but highly rewarding technique for home bakers looking to elevate their pizza game. Whether you choose diastatic malt for its enzymatic power to boost fermentation and browning, or non-diastatic malt for its direct contribution to color and a rich, malty Malt pizza dough flavor, the impact is undeniable.
By carefully selecting the type and amount of malt and understanding how it interacts with your dough, you can achieve a crust with superior rise, a beautiful, deep golden-brown color, and a complex flavor profile that will impress anyone who tries it. Experimentation is key; start with small percentages, pay attention to how your dough behaves, and adjust as needed.
Mastering the use of malt will unlock a whole new dimension of flavor and texture in your homemade pizza, taking your crust from good to truly exceptional and delivering an unforgettable Malt pizza dough flavor experience.
Frequently Asked Questions
What is the primary benefit of adding malt to pizza dough?
The primary benefit is to enhance the flavor and color of the crust. Malt provides a subtle sweetness and depth of flavor, and aids in browning during baking.
How does malt affect the texture of pizza dough?
Malt helps with gluten development, leading to a more elastic and extensible dough. This results in a pizza crust that's both chewy and crispy.
What type of malt is best suited for pizza dough?
Typically, diastatic malt powder is preferred, as it contains enzymes that help break down starches. Non-diastatic malt can also be used, but primarily for flavor and color.
How much malt should I use in my pizza dough recipe?
A general guideline is to use about 1-2% of the flour weight in malt. Experimenting with small adjustments can help you find your preferred flavor profile.
Can I substitute malt with another ingredient in pizza dough?
While you can't perfectly replicate the flavor, you could try a small amount of honey or sugar to promote browning. However, these won't provide the same enzymatic benefits as malt.
Final Reflection: The Unexpected Symphony of Malt and Dough
The subtle, yet profound impact of malt in pizza dough extends far beyond a simple flavor enhancement; it represents a journey into the nuanced artistry of baking. This exploration into using malt in pizza crusts reveals a surprising depth of flavor profiles and textural possibilities, offering home bakers and professional pizzaiolos alike a powerful tool to elevate their craft. The current resurgence of interest in artisanal baking and the pursuit of unique flavor experiences makes this technique more relevant than ever.
The journey through malt's influence on pizza dough has been a fascinating one, highlighting not only the transformative power of this simple ingredient but also the interconnectedness of flavor, texture, and tradition. The subtle caramel notes and rich, malty undertones it imparts create a complexity that elevates the entire pizza experience. The best things in life are simple, but not easy.
This quote perfectly encapsulates the effort involved in mastering this technique, but also the rewarding simplicity of the resulting flavor. The subtle color enhancement adds another layer of visual appeal, creating a more inviting and appetizing crust.
Now, it's your turn to experiment. Don't be afraid to explore the different types of malt available, to adjust the quantities to your preference, and to discover the unique symphony of flavors that malt can bring to your pizza dough. Embrace the challenge, savor the process, and most importantly, enjoy the delicious results. The world of pizza-making is vast and ever-evolving; let malt be your guide to unlocking new levels of flavor and creativity.
Unleash the Malt Magic in Your Pizza!
Thanks for exploring the world of malt-enhanced pizza dough with us! We hope you now understand how this simple ingredient can dramatically elevate your pizza game. Ready to put your new knowledge into action?
- Bake a Malt-Infused Masterpiece: Try our recipe (linked in the article) and experience the difference malt makes in both flavor and crust texture. This is your chance to create truly exceptional pizza!
- Share Your Malt Marvels: Post a picture of your malt pizza on social media using #BakeWithEaseMaltPizza and tag us! We’d love to see your creations.
- Dive Deeper into Malt: Explore other ways to use malt in your baking. Check out our blog for more recipes and tips on incorporating this versatile ingredient.
What unique malt flavor profile will you create for your next pizza masterpiece?