
The Science Behind Dry vs. Wet Ingredient Measurement and Its Impact

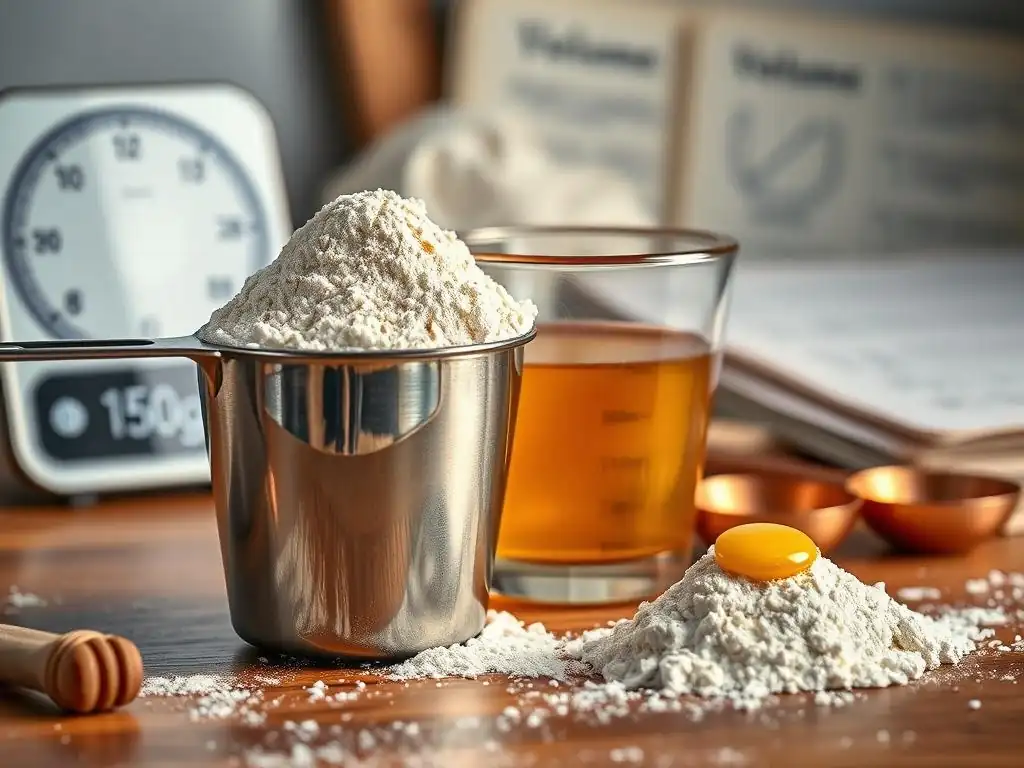
Welcome to BakeWithEase, your partner in creating delicious baked goods! Ever wondered if that slightly off measurement is the culprit behind your baking mishaps? This time, we're unlocking the secrets to achieving baking perfection by diving deep into the science of accurate dry wet ingredient ratios. Get ready to unravel the mystery and transform your baking game!
Welcome to BakeWithEase, where we demystify the baking process! Achieving consistently delicious results often hinges on a fundamental step: accurately measuring your ingredients. While it might seem straightforward, the difference between dry and wet ingredient measurement techniques can significantly impact the outcome of your baked goods. Understanding the science behind these methods is key to mastering your craft and ensuring your cakes rise beautifully, your cookies spread just right, and your bread has the perfect crumb.
This article dives deep into the world of accurate dry wet ingredient measurement, exploring why precision is paramount, the best techniques for handling different ingredients, and how density affects conversions. Let's unlock the secrets to perfect measurement and elevate your baking game!
- Why Accurate Dry and Wet Ingredient Measurement is Crucial for Baking Success
- Understanding Dry Ingredient Measurement Techniques
- Mastering Wet Ingredient Measurement for Consistent Results
- The Science Behind Volume vs. Weight: Density and Baking
- Dry vs. Wet: How Ingredient Properties Affect Measurement
- Practical Tips for Accurate Dry and Wet Ingredient Measurement
- Troubleshooting Common Measurement Errors in Baking
- Advanced Techniques for Precise Baking: Beyond Basic Measurements
- Conclusion: Achieving Baking Perfection Through Accurate Measurement
-
Frequently Asked Questions
- How does the method of measuring dry ingredients affect the final baked product?
- Why is it important to use separate measuring tools for dry and wet ingredients?
- What are some common mistakes people make when measuring dry ingredients?
- How can I accurately measure wet ingredients for optimal baking results?
- What are some consequences of not accurately measuring dry and wet ingredients?
- Final Reflection: The Precision Revolution in Baking
- Unlock Baking Success: Master the Art of Measurement!
Why Accurate Dry and Wet Ingredient Measurement is Crucial for Baking Success
In baking, unlike cooking where you can often adjust as you go, recipes are essentially chemical formulas. The ratios of flour to leavening agents, sugar to fat, and liquid to dry ingredients determine the structure, texture, and flavor of the final product. Even minor discrepancies in measuring dry or wet ingredients can throw off this delicate balance, leading to disappointing results.
The Foundation of Baking: Precision Matters
Precision is not just a buzzword in baking; it's the bedrock upon which successful recipes are built. Every ingredient plays a specific role, whether it's providing structure (flour), tenderness (fat), sweetness (sugar), moisture (liquids), or lift (leavening agents). The interactions between these components are highly sensitive to their relative proportions. For example, adding just a little too much flour can make cookies tough or cakes dense, while insufficient liquid can prevent dough from developing properly.
Consider a standard cookie recipe calling for 2 cups of flour and 1/2 cup of butter. If you inaccurately measure the flour by scooping it directly from the bag (which can pack it down), you might easily end up with 2.5 cups worth of flour by weight, even though it visually fills the 2-cup measure. This excess dry ingredient drastically alters the dry-to-wet ratio, resulting in cookies that are dry, crumbly, and don't spread out during baking. Achieving accurate dry wet ingredient measurement ensures that these critical ratios are maintained as intended by the recipe developer.
Impact of Inaccurate Measurements on Baking Outcomes
The consequences of inaccurate dry and wet ingredient measurements are wide-ranging and often frustrating for bakers. Beyond just textural issues like toughness or dryness, incorrect measurements can affect leavening, browning, and overall flavor balance. For instance, too much baking soda (a dry ingredient) can leave a soapy or metallic taste, while too little will result in a flat, heavy bake. Similarly, imprecise liquid measurement can make batters too thin (leading to poor structure) or too thick (preventing proper rising).
Imagine baking a loaf of bread where the recipe specifies a certain hydration level (the ratio of water to flour by weight). If you don't accurately measure both the flour and the water, you could end up with dough that is either too sticky to handle or too stiff to proof correctly. This directly impacts gluten development and fermentation, leading to a dense, brick-like loaf instead of one with an airy, open crumb. Ensuring accurate dry wet ingredient measurement from the start is the most reliable way to achieve consistent, high-quality baked goods batch after batch.
Understanding Dry Ingredient Measurement Techniques
Measuring dry ingredients like flour, sugar, baking powder, and salt requires different techniques than measuring liquids due to their varying densities and how easily they can be compressed or packed. Using the wrong method for dry ingredients is a common source of error, particularly when measuring flour. Mastering the correct techniques is fundamental to accurate dry wet ingredient measurement.
Spooning and Leveling: A Detailed Guide
The recommended method for measuring most dry ingredients, especially flour, is the spooning and leveling technique. This method minimizes the chance of compacting the ingredient, which would result in measuring more than the recipe intends by volume. To perform this method, gently spoon the dry ingredient from its container into your measuring cup until it overflows slightly. Do not scoop directly with the measuring cup, as this packs the ingredient.
Once the cup is overflowing, use a straight edge, like the back of a knife or a flat spatula, to level off the excess ingredient, sweeping it away without tapping or shaking the cup. This ensures the ingredient is loosely filled and level with the rim of the cup. For example, 1 cup of all-purpose flour measured correctly using this method typically weighs around 120-130 grams, whereas scooping directly can easily result in 150-160 grams or more – a significant difference that impacts accurate dry wet ingredient ratios in your recipe.
Weighing Dry Ingredients: The Gold Standard for Accuracy
For the most precise results in baking, especially for critical ingredients like flour, weighing is the superior method. Unlike volume measurements, which can vary based on how an ingredient is packed or its particle size, weight is an absolute measure. Using a kitchen scale eliminates the variability associated with volume measuring cups and techniques like spooning and leveling.
Professional bakers and serious hobbyists rely on scales because they provide unparalleled accuracy for dry ingredients. For instance, a recipe might call for 300 grams of flour instead of 2.5 cups. Measuring 300 grams on a scale is straightforward and consistent every time, regardless of whether the flour is packed or fluffy. This level of precision is crucial for recipes where ingredient ratios are particularly sensitive, like bread or delicate pastries, ensuring the most accurate dry wet ingredient balance. Many recipes today are moving towards providing weights alongside volume measurements for this very reason.
Common Mistakes When Measuring Flour, Sugar, and Baking Soda
Several common errors plague dry ingredient measurement, leading to inaccurate dry wet ingredient ratios. The most frequent mistake is scooping flour directly from the bag with the measuring cup, which compacts the flour and results in using significantly more than intended by volume. This single error can derail many baking projects.
Another common issue is failing to level off the ingredient properly after filling the cup, leading to either too much or too little depending on whether the ingredient is mounded or below the rim. For ingredients like baking powder or baking soda, which are potent leaveners used in small amounts, using the correct size measuring spoon and leveling it precisely is critical. Even a slight excess can cause rapid, uneven rising and a metallic taste, while too little results in a flat product. Always remember to level these potent dry ingredients carefully for accurate dry wet ingredient proportions.
Mastering Wet Ingredient Measurement for Consistent Results
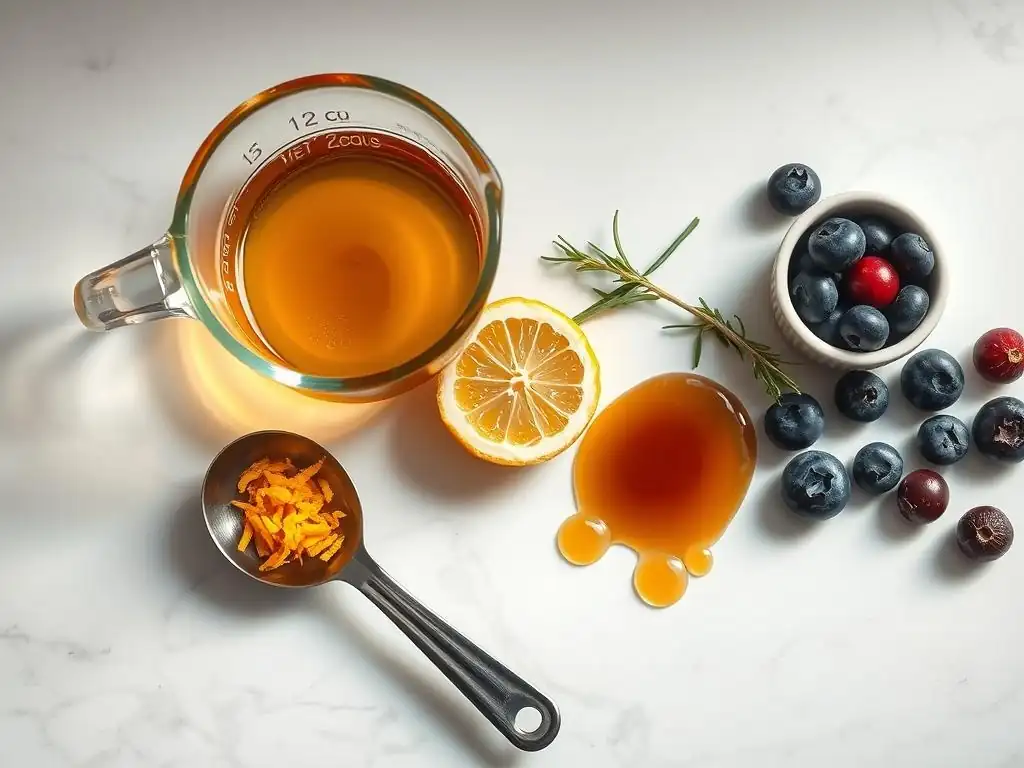
Measuring wet ingredients like milk, water, oil, extracts, and syrups requires a different approach than dry ingredients. Liquids settle flat and don't compress in the same way as solids. Using the correct tools and techniques is essential for achieving accurate dry wet ingredient ratios in your recipes.
Measuring Liquids in Cups vs. Using a Liquid Measuring Cup
While dry measuring cups are designed to be leveled off at the rim, liquid measuring cups have extra space above the highest measurement line and a spout for easy pouring. This design is crucial because liquids need to be measured at eye level on a flat surface to ensure accuracy. Using a dry measuring cup for liquids makes it difficult to get an accurate reading without spilling, and you can't properly check the level from the side.
A standard 1-cup liquid measuring cup typically holds 240 milliliters or approximately 8 fluid ounces. When measuring liquids for baking, always use a clear liquid measuring cup placed on a flat, stable surface. Pour the liquid into the cup until it reaches the desired mark. This setup allows you to easily verify the volume from the side, ensuring accurate dry wet ingredient proportions, especially when liquids are a significant component of the recipe.
The Importance of Eye-Level Reading for Liquid Volume
One of the most critical steps in accurately measuring liquids is reading the volume at eye level. Due to the phenomenon called the meniscus (the curve seen at the surface of a liquid), the liquid level will appear different if viewed from above or below the measuring line. For most common baking liquids like water or milk, the meniscus curves downward, so you should read the bottom of the curve at the desired measurement line.
To do this correctly, place the liquid measuring cup on a counter or table. Bend down so your eyes are level with the measurement line you are aiming for. Pour the liquid until the bottom of the meniscus aligns perfectly with that line. Reading from above or below can lead to inaccuracies of 10-20% or more, impacting the delicate balance of accurate dry wet ingredient ratios in your batter or dough. Making this a habit ensures consistent liquid measurement every time.
Measuring Viscous Liquids: Honey, Molasses, and Corn Syrup
Viscous liquids like honey, molasses, maple syrup, and corn syrup present their own unique measuring challenge: they are thick and sticky, making them difficult to pour and prone to sticking to the measuring cup. While you can measure them by volume in a liquid measuring cup, some techniques can make it easier and more accurate.
One helpful tip is to lightly grease the measuring cup with a neutral oil or cooking spray before adding the viscous liquid. This allows the thick liquid to slide out much more easily, ensuring you get the full amount into your mix and don't leave a significant portion clinging to the cup. Alternatively, for maximum accuracy with these sticky ingredients, weighing them on a kitchen scale is often the best method.
For example, 1 cup of honey weighs approximately 340 grams, while 1 cup of corn syrup is about 300 grams. Using weight ensures you add the exact amount required for accurate dry wet ingredient balance, contributing to the correct texture and sweetness.
The Science Behind Volume vs. Weight: Density and Baking
Understanding the difference between measuring by volume (using cups and spoons) and measuring by weight (using a scale) is fundamental to achieving accurate dry wet ingredient measurements. This difference boils down to the concept of density – how much mass is packed into a given volume.
Density Explained: How it Affects Ingredient Ratios
Density is defined as mass per unit volume (Density = Mass / Volume). Different ingredients have different densities. For example, a cup of flour weighs significantly less than a cup of sugar because flour is less dense – its particles are lighter and don't pack together as tightly. Similarly, a cup of water weighs more than a cup of oil because water is denser.
When a recipe calls for ingredients by volume (cups), it assumes a certain average density for that ingredient. However, the actual density of an ingredient can vary based on how it's stored, temperature, humidity, and how it's measured (e.g., scooped vs. spooned flour). This variability in density is why measuring by volume can be inconsistent. Measuring by weight eliminates this variability; a gram is always a gram, regardless of the ingredient's density or how it was handled. This makes weighing the most reliable method for achieving accurate dry wet ingredient ratios, especially in sensitive recipes.
Converting Volume Measurements to Weight for Precise Baking
Many recipes still list ingredients by volume, but converting these measurements to weight using reliable conversion charts can dramatically improve the accuracy of your baking. While standard conversion charts exist, it's important to remember that these are often averages. The weight of one cup of all-purpose flour, for instance, can range from 120g to 140g depending on the brand and how it's stored and measured.
However, using an average conversion is still far more accurate than inconsistent volume measuring techniques. For example, if a recipe calls for 2 cups of flour, converting this to approximately 240-260g and weighing it will be much more consistent than relying solely on the spoon-and-level method which can still have slight variations. Keeping a chart of common ingredient conversions (or finding one online from a reputable source) is a great step towards incorporating more accurate dry wet ingredient measurement by weight into your baking routine.
Common Conversions: Flour, Sugar, Milk, Oil
Here are some common approximate conversions for frequently used baking ingredients. Note that these are averages, and weights can vary by brand and type (e.g., bread flour weighs more than cake flour).
- All-Purpose Flour: 1 cup ≈ 120-130 grams
- Granulated Sugar: 1 cup ≈ 200-205 grams
- Brown Sugar (packed): 1 cup ≈ 220 grams
- Powdered Sugar (sifted): 1 cup ≈ 115-120 grams
- Milk/Water: 1 cup ≈ 237 grams (or milliliters)
- Vegetable Oil: 1 cup ≈ 220 grams
- Butter: 1 stick (1/2 cup) ≈ 113 grams
Using these approximate weights when you can measure on a scale, instead of relying solely on volume cups, is a powerful way to improve the accuracy of your dry wet ingredient measurements and ensure more consistent baking results.
Dry vs. Wet: How Ingredient Properties Affect Measurement
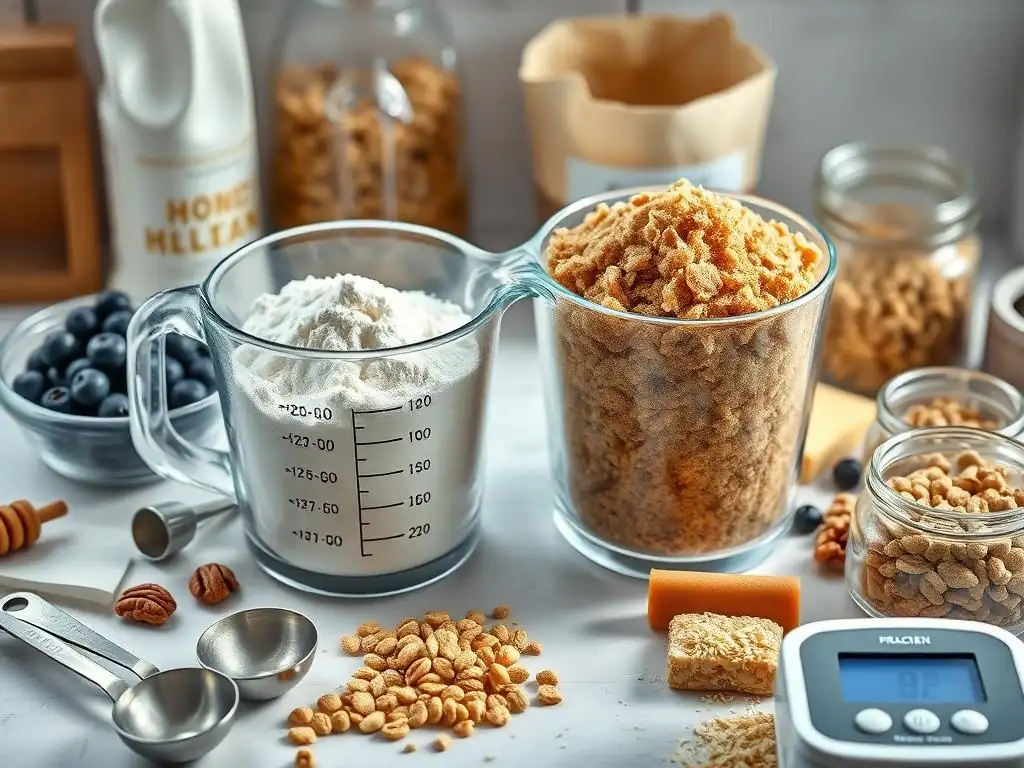
Beyond just being solid or liquid, the specific properties of individual dry and wet ingredients influence how they should be measured for optimal accuracy. Factors like particle size, absorption capabilities, and temperature play a significant role in achieving the correct proportions.
The Role of Gluten in Flour Measurement
Flour's unique properties, particularly its gluten content and ability to absorb moisture, make its accurate measurement crucial and somewhat tricky. Gluten is a protein that develops when flour is hydrated and mixed, providing structure to baked goods. Different types of flour have varying protein (and thus gluten) levels; for example, bread flour has a higher protein content than cake flour.
The way flour is measured by volume directly impacts the amount of gluten-forming protein added to the mix. Over-measuring flour (by scooping) adds too much protein and too little liquid relative to the flour, leading to tough textures because excessive gluten is developed with insufficient hydration. Conversely, under-measuring results in too little structure. This sensitivity highlights why weighing flour is the gold standard for accurate dry wet ingredient ratios, as it provides a consistent amount of flour mass regardless of its type or how it was handled before measuring.
The Impact of Temperature on Wet Ingredient Volume
The temperature of wet ingredients, especially fats like melted butter or liquids like milk and eggs, can affect their volume and how they interact with other ingredients. While the volume change of water with typical baking temperature variations is minimal, the viscosity and behavior of fats and dairy can change noticeably.
For instance, melted butter takes up slightly less volume than solid butter, but more importantly, its temperature affects how it emulsifies into batters. Similarly, cold milk or eggs behave differently in a batter than room-temperature ones, affecting mixing, gluten development, and even leavening. While volume measurement is standard for many liquids, ensuring they are at the temperature specified by the recipe is equally important for achieving accurate dry wet ingredient interactions and overall recipe success.
Measuring Butter, Chocolate, and Extracts
Some ingredients bridge the gap between dry and wet or have properties that require specific attention. Butter, for example, is often measured by weight (sticks are typically pre-marked with weight and volume) or by volume when melted. When recipes call for softened or melted butter, ensure it's measured after reaching that state if volume is specified, as the volume changes with temperature.
Chocolate, when melted, becomes a liquid but is measured as a solid (chips, chunks, or bars) by weight or volume before melting. Extracts, like vanilla, are potent liquids used in very small quantities. Using standard measuring spoons and ensuring they are level is critical for these powerful flavorings, as even a slight excess can overpower other flavors. Accurate dry wet ingredient measurement extends to these smaller, but no less important, components.
Practical Tips for Accurate Dry and Wet Ingredient Measurement
Beyond understanding the science and techniques, implementing practical habits and using the right tools can significantly improve your measurement accuracy. Small adjustments to your routine can make a big difference in the consistency of your baked goods.
Calibrating Your Kitchen Scales for Consistent Results
If you're using a digital kitchen scale for weighing ingredients (which is highly recommended for accurate dry wet ingredient measurement), it's essential to ensure it's calibrated correctly. Most digital scales have a tare function, allowing you to zero out the weight of your container before adding the ingredient. This ensures you are only measuring the weight of the ingredient itself.
To check if your scale is accurate, place an object of known weight on it, such as a new, unopened standard-size egg (approx. 50-60g), a coin (check online for specific coin weights), or precisely measured water (100ml of water should weigh very close to 100g). If the reading is off, consult your scale's manual for calibration instructions. Regularly checking your scale's accuracy helps maintain the integrity of your measurements over time.
Choosing the Right Measuring Tools for the Job
Using the correct type of measuring tool is just as important as using the right technique.
- Dry Measuring Cups: These are designed to be filled to the brim and leveled off. They typically come in nested sets (1/4, 1/3, 1/2, 1 cup). Use these for flour, sugar, baking powder, salt, etc.
- Liquid Measuring Cups: These are clear, have space above the highest mark, a spout, and markings on the side. Use these for water, milk, oil, syrups, etc., and always read at eye level.
- Measuring Spoons: Used for smaller quantities of both dry and wet ingredients like baking soda, salt, extracts, and spices. Ensure they are level for dry ingredients and filled to the brim (no meniscus to worry about in small spoons) for liquids.
Using the appropriate tool for accurate dry wet ingredient measurement prevents errors and makes the process smoother. Avoid using dinner spoons or cups as substitutes, as their volumes are inconsistent.
Storing Ingredients Properly to Maintain Accuracy
How you store your ingredients can impact their density and moisture content, which in turn affects measurement accuracy, especially for dry goods. Flour stored in a humid environment can absorb moisture and become denser. Sugar can clump. Baking powder and soda can lose potency if exposed to air and moisture.
Store dry ingredients in airtight containers in a cool, dry place. This helps maintain their intended texture and density, leading to more consistent volume measurements if you're not weighing. For liquids like oil, ensure they are stored at room temperature unless the recipe specifies otherwise, as temperature affects viscosity. Proper storage is a simple step that supports accurate dry wet ingredient measurement over the long term.
Troubleshooting Common Measurement Errors in Baking
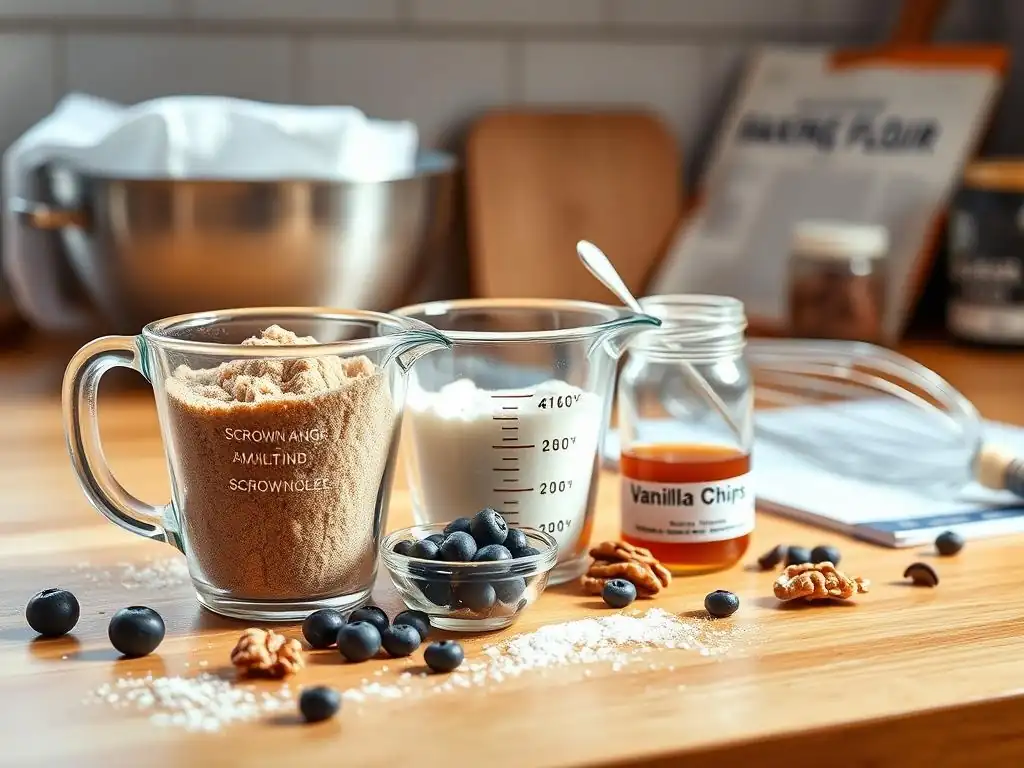
Even with the best techniques, measurement errors can happen. Knowing how to identify potential issues and make adjustments (or decide when to start over) is a valuable baking skill.
What to Do When You've Added Too Much Flour
If you suspect you've added too much flour (perhaps you scooped instead of spooned/weighed), the outcome depends on the type of bake. For doughs like bread or cookies, you might notice the dough is much stiffer and less pliable than expected.
- For cookie dough: If it's just slightly too much, you might try adding a tablespoon or two of milk or softened butter to the dough and mixing it in until the consistency seems closer to what it should be. Be cautious not to add too much liquid at once.
- For bread dough: If the dough is very stiff early in the mixing process, you might add a small amount (a tablespoon at a time) of the liquid ingredient specified in the recipe until the dough reaches the correct hydration and consistency.
- For cake batter: Adding liquid is riskier as it can affect the delicate balance. If the batter seems excessively thick, you might add a tablespoon of milk, but often, too much flour here leads to a denser cake that's hard to fully correct.
Prevention through accurate dry wet ingredient measurement is always better than trying to fix an error!
Adjusting Recipes Based on Measurement Discrepancies
Sometimes, you might realize after baking that a measurement was off (e.g., cookies didn't spread, cake is dense). While you can't fix that specific batch, you can learn from it.
- Analyze the outcome: Was the product dry? Too moist? Didn't rise? Spread too much/little? These clues can point to which measurement might have been off (e.g., dryness often indicates too much dry ingredient, especially flour or sugar).
- Review your process: Think back to how you measured. Did you scoop the flour? Did you read the liquid measure at eye level?
- Adjust for the next time: If you suspect you over-measured flour by volume, try weighing it next time using a reliable conversion (1 cup ≈ 120-130g). If liquids seemed off, double-check your eye-level reading.
Keeping notes on recipes and your measurement techniques can help you refine your approach and improve your accurate dry wet ingredient practices over time.
Dealing with Humidity and Altitude
Environmental factors like humidity and altitude can subtly affect ingredient behavior and thus the outcome of recipes, even with accurate dry wet ingredient measurements. High humidity can cause dry ingredients, particularly flour and sugar, to absorb moisture, making them heavier by volume. This means a cup of flour in humid conditions might weigh more than a cup measured in a dry climate.
At high altitudes, lower atmospheric pressure causes baked goods to rise faster and moisture to evaporate more quickly. High-altitude baking often requires adjustments to liquid, flour, and leavening. While basic accurate dry wet ingredient measurement techniques still apply, bakers in these conditions might need to slightly increase liquid or decrease leavening based on specific high-altitude baking guides. Awareness of these factors helps you understand why a perfectly measured recipe might still need slight tweaks.
Advanced Techniques for Precise Baking: Beyond Basic Measurements
For those looking to deepen their baking knowledge and achieve even greater control over their results, exploring advanced measurement concepts like baker's percentage and hydration ratios can be incredibly insightful.
Using Baker's Percentage for Scaling Recipes
Baker's percentage is a system used primarily in bread baking and professional settings to express the proportion of each ingredient relative to the weight of the flour, which is always represented as 100%. This system relies entirely on weight measurement, emphasizing the importance of accurate dry wet ingredient weighing.
For example, a simple bread recipe might be expressed as:
- Flour: 100%
- Water: 65%
- Salt: 2%
- Yeast: 1%
If you start with 500g of flour, you would then use 325g of water (500 * 0.65), 10g of salt (500 * 0.02), and 5g of yeast (500 * 0.01). This system makes it incredibly easy to scale recipes up or down accurately while maintaining the precise ratios, ensuring consistent results that are difficult to achieve with volume measurements alone. It's a powerful tool for those committed to accurate dry wet ingredient control.
Understanding Hydration Ratios in Bread Baking
Hydration ratio, a concept derived from baker's percentage, is the weight of water divided by the weight of flour in a bread recipe, expressed as a percentage. It is a critical factor determining dough consistency and the final crumb structure of bread. A hydration of 60% means the water weighs 60% of the flour's weight.
Different hydration levels lead to different doughs:
- Low hydration (55-60%): Stiff dough, easier to handle, yields dense bread (like bagels).
- Medium hydration (60-70%): Standard dough for many loaves, good balance of ease of handling and open crumb.
- High hydration (70%+): Wet, sticky dough, requires more technique but yields very open, airy crumbs (like ciabatta).
Precisely measuring the flour and water by weight is absolutely essential to hit the target hydration ratio. Even a small error in the accurate dry wet ingredient weights can significantly alter the dough's behavior and the final bread's texture.
Utilizing Dough Temperature for Fermentation Control
While not a direct measurement of ingredients, controlling dough temperature is an advanced technique that relies on accurate dry wet ingredient temperatures and environmental factors to manage fermentation speed. The temperature of your ingredients (especially water), the friction from mixing, and the ambient room temperature all contribute to the final dough temperature.
For example, many bread recipes aim for a final dough temperature around 75-78°F (24-26°C) for optimal yeast activity during the first rise. If your kitchen is cold, you might need to use warmer water (measured accurately!) to achieve this target temperature. Conversely, in a warm kitchen, using cooler water helps prevent the dough from over-fermenting too quickly. This level of control, while advanced, demonstrates how the properties and accurate measurement of ingredients (like water temperature) play a role in the broader baking process.
Conclusion: Achieving Baking Perfection Through Accurate Measurement
Mastering accurate dry wet ingredient measurement is arguably the most impactful step you can take to improve your baking consistency and success. While it requires attention to detail and the right tools, the payoff is significant: more reliable recipes, better textures, and delicious results every time you bake.
Recap of Key Principles for Dry and Wet Ingredient Measurement
We've covered crucial principles for accurate dry wet ingredient measurement:
- Use the spooning and leveling method for volume measurement of most dry ingredients like flour.
- Prioritize weighing dry ingredients on a scale for the highest accuracy (1 cup flour ≈ 120-130g).
- Always use a liquid measuring cup and read at eye level on a flat surface for wet ingredients.
- Understand that density differences between ingredients make weight measurement more reliable than volume.
- Be mindful of ingredient properties (like gluten in flour, temperature of liquids) and how they affect measurement and baking.
- Use the correct tools – dry cups for dry, liquid cups for wet, and leveling spoons for small amounts.
By applying these principles, you build a strong foundation for every recipe you attempt.
Encouragement to Practice and Refine Your Baking Skills
Baking is a journey of learning and refinement. Don't be discouraged if your first attempts aren't perfect. Focus on practicing accurate dry wet ingredient measurement with every recipe. Try weighing ingredients if you haven't before – it's a game-changer for many bakers. Pay attention to the texture and feel of your doughs and batters, comparing them to recipe descriptions or photos if available.
Each baking session is an opportunity to hone your skills. With consistent practice and a commitment to accurate dry wet ingredient measurement, you'll gain confidence and achieve increasingly impressive results. Happy baking!
Frequently Asked Questions
How does the method of measuring dry ingredients affect the final baked product?
The method significantly impacts the outcome. Scooping dry ingredients directly from the bag can lead to packed measurements and therefore, too much dry ingredient, altering the recipe's balance.
Why is it important to use separate measuring tools for dry and wet ingredients?
Using separate tools helps prevent cross-contamination and ensures accurate measurements. Wet ingredients can cling to dry ingredient tools, affecting the next measurement's accuracy and recipe consistency.
What are some common mistakes people make when measuring dry ingredients?
Common mistakes include leveling with the measuring cup itself (packing the ingredient) and not using a kitchen scale for precise measurements. Ignoring the recipe's instructions regarding sifting can also lead to inconsistencies.
How can I accurately measure wet ingredients for optimal baking results?
Using a liquid measuring cup placed on a level surface is key. Pour the liquid in and check the measurement at eye level to ensure accuracy, avoiding parallax errors and over or under measuring.
What are some consequences of not accurately measuring dry and wet ingredients?
Inaccurate measurements can lead to a variety of issues, including dry, dense cakes, flat cookies, or bread that doesn't rise properly. Ultimately, it affects the final texture and taste of your baked goods.
Final Reflection: The Precision Revolution in Baking
The quest for the perfect bake hinges on accuracy, and understanding the science behind measuring dry versus wet ingredients is no longer a niche pursuit; it's the cornerstone of consistent culinary success. Mastering this seemingly simple skill elevates baking from a haphazard endeavor to a precise art, transforming frustrating failures into consistently delicious triumphs. This precision isn't just about aesthetics; it's about understanding the fundamental chemical reactions that occur within the batter or dough, leading to optimal texture and flavor.
The impact of accurate measurement extends far beyond the individual kitchen. It's a fundamental skill that underpins professional baking, influencing everything from the texture of a perfectly risen loaf to the consistency of a delicate mousse. Baking is a science, and like any science, it requires precision and attention to detail.
This quote, while seemingly simple, encapsulates the profound truth that underlies the entire process. The rise of online baking communities and the increasing demand for high-quality baked goods further highlight the importance of understanding these fundamental principles. The pursuit of "accurate dry wet ingredient" measurement is, therefore, a pursuit of culinary excellence itself.
Consider the impact of even a slight deviation in your measurements. Will your cake rise properly? Will your cookies spread too thin or remain stubbornly dense? You hold the power to transform your baking experience by embracing the science behind accurate measurement.
Start by paying close attention to your measuring techniques, experimenting with different methods, and observing the results. Embrace the journey of learning and refinement, for the rewards – perfectly baked goods, time and again – are well worth the effort. The pursuit of accuracy is not just about following a recipe; it's about understanding the "why" behind each step, empowering you to create culinary magic in your own kitchen.
Unlock Baking Success: Master the Art of Measurement!
Thanks for diving into the science of baking measurements! We hope you now feel more confident about achieving consistently delicious results. Ready to put your newfound knowledge to the test?
- Try a recipe using both wet and dry measuring techniques, comparing the results! This hands-on approach will solidify your understanding and help you identify which method works best for different ingredients.
- Share your baking triumphs (and even your floury mishaps!) with our community in the comments below. Let's learn from each other's experiences.
- Explore our other articles on baking fundamentals—we've got tons of tips and tricks to elevate your skills!
What surprising differences did you notice when comparing wet and dry measuring methods in your baking?