
Stepping Up Your Pizza Dough: From Good to Great

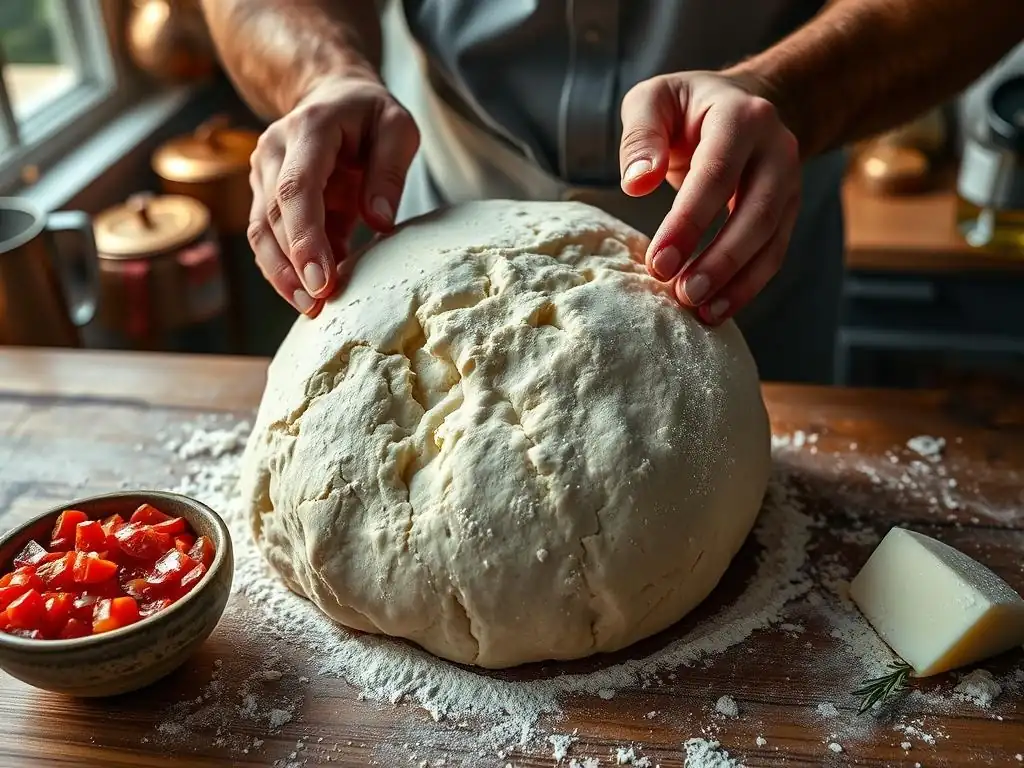
Welcome to BakeWithEase, your haven for baking brilliance! Are you ready to elevate your pizza game? This week, we're diving deep into the art of achieving that perfect, tangy crust with our easy sourdough pizza dough recipe. But what if we told you there's more to it than just mixing flour and water? Discover the secrets to unlocking an unforgettable sourdough experience, and prepare to impress with every slice. Let's begin!
- BakeWithEase' Guide to Elevating Your Pizza Dough
- Mastering the Basics: Essential Pizza Dough Ingredients and Techniques
- From Good to Great: Advanced Pizza Dough Techniques for Superior Flavor and Texture
- Easy Sourdough Pizza Dough Recipe: A Step-by-Step Guide
- Troubleshooting Common Pizza Dough Problems
- Beyond the Recipe: Customizing Your Pizza Dough
- Storing and Freezing Pizza Dough for Future Use
- Conclusion: Elevate Your Pizza Game with These Dough Techniques
- Frequently Asked Questions
- Final Reflection: The Unexpected Journey of a Simple Dough
- Unleash Your Inner Pizzaiolo: Craft the Perfect Dough!
BakeWithEase' Guide to Elevating Your Pizza Dough
Making pizza at home is a rewarding experience, and the foundation of any great pizza is the dough. While a basic recipe can yield a decent result, understanding the science and techniques behind dough creation can truly transform your homemade pies from good to absolutely spectacular. This guide from BakeWithEase delves into the nuances of pizza dough, exploring everything from fundamental ingredients to advanced fermentation methods, including how to make an easy sourdough pizza dough recipe. By mastering these steps, you'll unlock incredible flavors and textures that rival your favorite pizzeria.
We'll cover the essential building blocks, tackle common issues, and introduce you to techniques like cold fermentation and using a sourdough starter. Whether you're just starting your pizza-making journey or looking to refine your skills, these insights will help you elevate your dough game significantly. Get ready to knead, ferment, and bake your way to pizza perfection!
Mastering the Basics: Essential Pizza Dough Ingredients and Techniques
Before diving into advanced methods, it's crucial to have a solid understanding of the basic ingredients and how they interact. Flour, water, yeast, and salt are the four pillars of most pizza doughs, each playing a vital role in the final product's structure, flavor, and texture. Getting these fundamentals right is the first step towards stepping up your pizza dough.
Beyond the ingredients, the initial mixing and kneading process are equally important. Developing the gluten network provides the dough with structure and elasticity, allowing it to be stretched thinly without tearing and creating that desirable chewy crust. Understanding how these basic elements work together sets the stage for more complex techniques.
The Foundation: Choosing the Right Flour for Pizza Dough
The type of flour you choose significantly impacts the texture and structure of your pizza dough. All-purpose flour is a common starting point, typically having a protein content around 10-11%. This provides enough gluten for a decent crust, but might not give you the chewiness found in pizzeria-style dough.
For a more robust dough with better structure and chew, many bakers prefer bread flour. Bread flour boasts a higher protein content, often between 12-14%, which leads to stronger gluten development. Alternatively, Italian "Tipo 00" flour is a classic choice for Neapolitan-style pizza. Despite its relatively lower protein (sometimes 10-12.5%), its very fine grind allows for rapid hydration and a smooth, elastic dough that bakes up light and crispy with a soft interior. For an easy sourdough pizza dough recipe, using a blend of bread flour and Tipo 00 can offer a great balance.
Water Temperature: Crucial for Yeast Activation and Dough Hydration
Water plays a dual role: it hydrates the flour to allow gluten development and activates the yeast. The temperature of the water is critical, especially when using commercial yeast. Water that is too cold will slow down yeast activity, leading to a sluggish rise. Water that is too hot can kill the yeast entirely.
For active dry yeast, water typically needs to be warmed to about 105-115°F (40-46°C) to properly activate it before mixing with dry ingredients. Instant yeast is more forgiving and can often be mixed directly with the flour and salt, using water between 75-85°F (24-30°C), or even cooler tap water in warmer environments. When working on an easy sourdough pizza dough recipe, the water temperature is less about yeast activation (as the starter is already active) and more about controlling the overall dough temperature and fermentation speed; cooler water is often preferred for longer fermentation.
Salt's Role: Flavor Enhancer and Gluten Regulator in Pizza Dough
Salt is far more than just a flavor enhancer in pizza dough; it plays a vital structural role. It strengthens the gluten network, making the dough more manageable and elastic. Without salt, the dough can be sticky and difficult to handle.
Furthermore, salt helps regulate yeast activity, slowing down fermentation. This slower pace allows for more complex flavors to develop. Typically, salt is added at about 1.8% to 2.5% of the total flour weight. Adding salt too early directly to the yeast can inhibit its activity, so it's often mixed with the flour before the liquid is added, or added after the initial mixing phase. This is true for both commercial yeast and when making an easy sourdough pizza dough recipe.
Kneading Perfection: Achieving the Ideal Dough Texture
Kneading is the process that develops the gluten network in the dough. As you knead, the protein strands in the flour (glutenin and gliadin) combine and align, creating an elastic structure that can trap the gases produced by the yeast. Proper kneading results in a smooth, pliable dough that can be stretched thin without tearing.
You can knead by hand or using a stand mixer with a dough hook. Hand kneading typically takes 10-15 minutes, while a mixer might take 5-10 minutes on a low speed. The dough is ready when it passes the "windowpane test": gently stretch a small piece of dough between your fingers; if you can stretch it thin enough to see light through it without it tearing, the gluten is well-developed. Achieving this texture is key for a great crust, whether you're making a simple dough or an easy sourdough pizza dough recipe.
From Good to Great: Advanced Pizza Dough Techniques for Superior Flavor and Texture
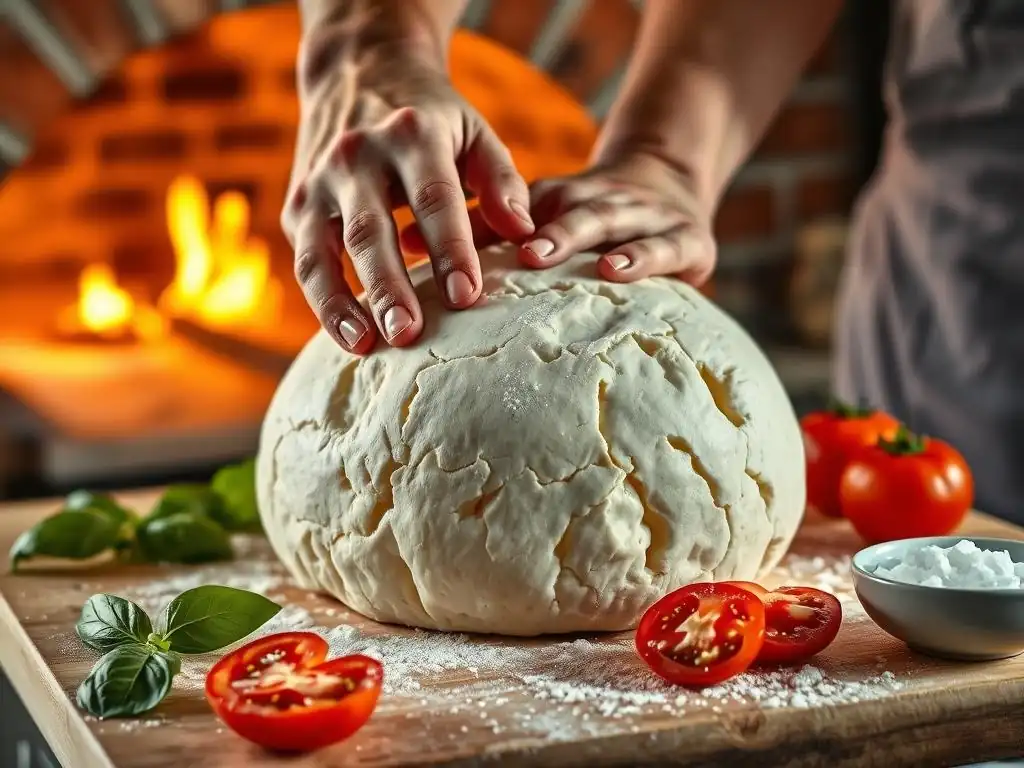
Once you've mastered the basics, several advanced techniques can significantly enhance the flavor and texture of your pizza dough. These methods often involve manipulating fermentation time and temperature, or incorporating pre-ferments, allowing for deeper flavor development and improved crust structure.
Incorporating a sourdough starter, using an autolyse period, or utilizing cold fermentation are just a few ways to take your dough to the next level. These techniques require a little more patience and planning but are well worth the effort for the superior results they deliver.
The Magic of Sourdough: Enhancing Pizza Dough with Natural Yeast
Sourdough adds incredible depth of flavor and a unique texture to pizza dough. Instead of commercial yeast, it relies on a live culture of wild yeasts and bacteria. This natural leavening not only makes the dough rise but also produces organic acids (lactic and acetic) during fermentation, contributing a subtle tang and complexity not achievable with commercial yeast alone.
Using sourdough results in a crust with a more open crumb structure and a chewy interior. The longer fermentation times typically associated with sourdough also help break down the flour, potentially making the dough easier to digest for some people. Learning to use a starter is essential for an easy sourdough pizza dough recipe.
Creating Your Own Sourdough Starter for Pizza Dough
Creating a sourdough starter is a simple process, requiring just flour, water, and patience. Begin by mixing equal parts flour and water (e.g., 50 grams of unbleached all-purpose or bread flour and 50 grams of lukewarm water) in a jar. Stir until well combined, cover loosely, and let it sit at room temperature.
Each day for the first week or two, discard half of the starter and feed it with fresh flour and water (e.g., 50g old starter, 50g flour, 50g water). You should start seeing bubbles and signs of activity within a few days. By day 7-14, your starter should be consistently doubling in size between feedings, indicating it's active and ready to use for baking, including your easy sourdough pizza dough recipe.
Maintaining a Healthy Sourdough Starter for Baking
Once your starter is active, regular feeding is necessary to keep it healthy and vigorous. If you bake frequently, you can keep your starter at room temperature and feed it daily or twice daily. For less frequent baking, storing it in the refrigerator is best; feed it once a week before returning it to the fridge.
Before using a refrigerated starter for an easy sourdough pizza dough recipe, take it out and give it a few feedings at room temperature until it becomes active and bubbly again, consistently doubling within 4-8 hours depending on the ambient temperature. A healthy starter is crucial for successful leavening and flavor development in your dough.
Autolyse: Unlocking Deeper Flavor and Improved Dough Structure
Autolyse is a simple technique where you mix just the flour and water for your dough and let it rest for 20-60 minutes before adding the salt and yeast (or starter). During this resting period, the flour absorbs the water fully, and enzymatic activity begins to break down starches into sugars, which later feed the yeast.
This process allows the gluten network to start forming naturally without the stress of kneading. When you later add the salt and yeast and begin kneading, the dough comes together much faster, requires less effort, and develops a smoother, more extensible texture. This technique is highly beneficial for any dough, including an easy sourdough pizza dough recipe, as it improves handling and crust structure.
Cold Fermentation: Slowing Down the Process for Complex Flavors
Cold fermentation involves refrigerating the dough for an extended period, typically 24 to 72 hours, or even longer. The cold temperature significantly slows down yeast activity but allows enzymatic processes to continue. This slow, deliberate fermentation is a game-changer for flavor.
During cold fermentation, enzymes break down complex carbohydrates into simpler sugars, which caramelize beautifully during baking, enhancing crust color and flavor. The slower fermentation also produces more complex organic acids and aromatic compounds, resulting in a richer, more nuanced taste profile compared to dough fermented quickly at room temperature. This is a cornerstone technique for achieving truly great pizza dough, especially with sourdough.
Benefits of Long Fermentation for Pizza Dough
The primary benefit of long, cold fermentation is the development of deeper, more complex flavors. The slow activity of yeast and bacteria (especially in sourdough) produces a range of metabolic byproducts that contribute to aroma and taste. Think of it like slow-cooking versus fast-cooking; time allows flavors to meld and intensify.
Beyond flavor, long fermentation improves the dough's structure and extensibility. The gluten network relaxes and becomes more pliable, making the dough easier to stretch thinly without snapping. This leads to a crust with a better crumb structure – often more open and airy – and a more satisfying chew. It's a key step in many professional easy sourdough pizza dough recipe variations.
Cold Fermentation Times and Temperatures
Typical cold fermentation occurs in a refrigerator set between 35-40°F (1-4°C). The duration can vary widely based on the recipe, desired flavor intensity, and dough hydration, but common times range from 24 hours up to 3 or even 5 days. Some recipes push it even longer.
For a first attempt at an easy sourdough pizza dough recipe using cold fermentation, starting with 24-48 hours is a good target. You'll notice the dough continues to rise slowly in the fridge and may even develop small bubbles on the surface. Ensure the dough is covered well to prevent drying out.
Using Poolish for Improved Pizza Dough Flavor and Texture
A poolish is a type of pre-ferment, essentially a wet, liquidy starter made with equal parts flour and water by weight, plus a small amount of commercial yeast (typically 0.5-1% of the flour weight in the poolish). It's usually left to ferment at room temperature for 8-12 hours until bubbly and active, or refrigerated for up to 24 hours.
Incorporating a poolish into your main dough adds complexity of flavor similar to sourdough, thanks to the pre-fermentation process. It also contributes to a lighter, airier crust structure. While not part of a traditional easy sourdough pizza dough recipe (as sourdough is the leavening), understanding pre-ferments like poolish highlights how manipulating fermentation time impacts the final product.
Easy Sourdough Pizza Dough Recipe: A Step-by-Step Guide
Ready to try making an easy sourdough pizza dough recipe? This recipe focuses on simplicity while leveraging the power of sourdough and cold fermentation for fantastic results. It's designed to be approachable for those new to sourdough pizza.
This guide breaks down the process into manageable steps, from mixing the ingredients to baking your delicious homemade sourdough pizza. Patience is key, as sourdough requires time for fermentation, but the hands-on work is minimal.
Ingredients for the Best Sourdough Pizza Dough
Here are the basic ingredients you'll need for this easy sourdough pizza dough recipe. Using a kitchen scale for accuracy is highly recommended.
- Active and bubbly sourdough starter (at peak activity): 100 grams
- Lukewarm water (around 75-80°F or 24-27°C): 300 grams
- Bread flour (or a blend of bread and Tipo 00 flour): 500 grams
- Fine sea salt: 10 grams (about 2% of flour weight)
- Olive oil (optional, for bowl): 1-2 teaspoons
This ratio provides about 60% hydration (water weight relative to flour weight), which is manageable for beginners and yields a great crust.
Step 1: Mixing the Dough – The Easy Sourdough Pizza Dough Process
In a large bowl, whisk together the active sourdough starter and the lukewarm water until the starter is mostly dissolved. Add the flour to the wet mixture.
Using your hands or a wooden spoon, mix everything together until no dry flour remains and a shaggy dough forms. At this stage, do not add the salt yet if you want to incorporate a short autolyse. Cover the bowl with a damp cloth or plastic wrap and let it rest for 20-30 minutes (autolyse). After the rest, sprinkle the salt over the dough.
Now, begin mixing and gently kneading in the bowl for 2-3 minutes until the salt is incorporated and the dough starts to come together slightly. It will still be rough. This initial mix is crucial for starting gluten development in this easy sourdough pizza dough recipe.
Step 2: Bulk Fermentation: Developing Flavor and Strength
After the initial mix and salt incorporation, transfer the dough to a lightly oiled clean bowl. This stage, known as bulk fermentation (or first rise), is where the magic happens. The dough needs time at room temperature to develop flavor and strength.
Over the next 2-4 hours (depending on your room temperature, warmer is faster), perform a series of "stretch and folds" every 30-45 minutes. To do a stretch and fold, wet your hand slightly, grab one side of the dough, stretch it up gently, and fold it over the center. Rotate the bowl and repeat 3-4 times.
This builds gluten structure without aggressive kneading. After the stretch and folds, cover the bowl and place the dough in the refrigerator for a cold fermentation period of 24-72 hours. This slow rest is key to enhancing the flavor of your easy sourdough pizza dough recipe.
Step 3: Shaping and Proofing Your Pizza Dough
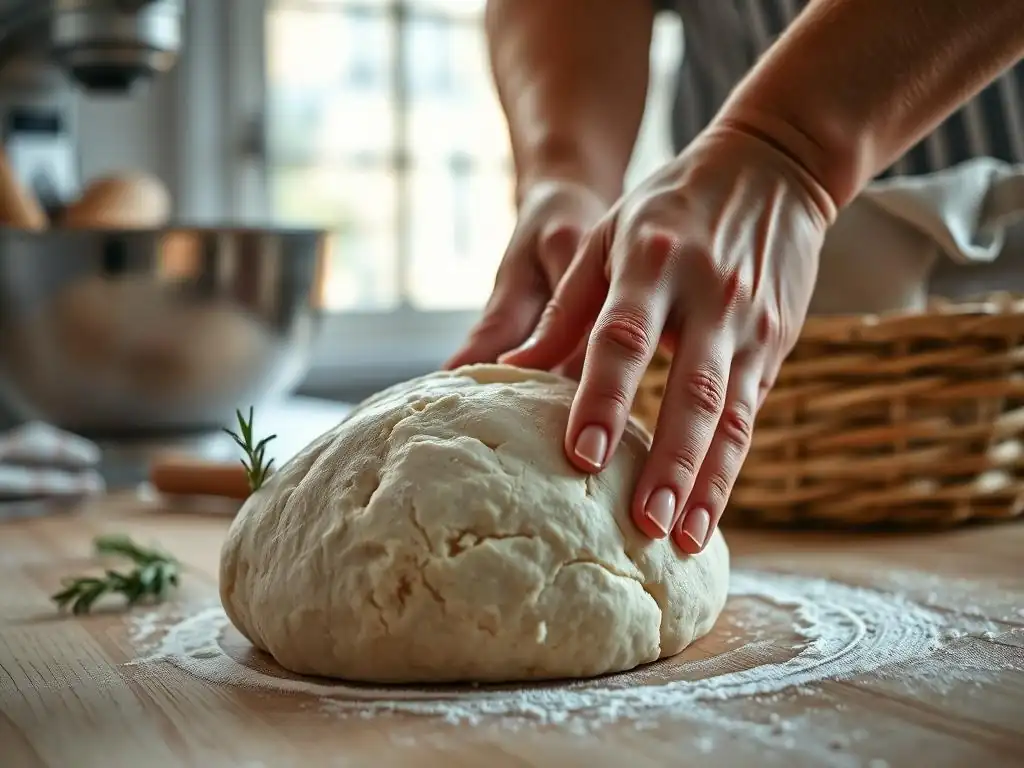
About 2-3 hours before you plan to bake, remove the cold dough from the refrigerator. Gently divide the dough into portions (this recipe yields about 2-3 medium pizzas, roughly 300-400g each). Shape each portion into a taut ball by tucking the edges underneath.
Place the dough balls on a lightly floured surface or in individual proofing containers. Cover them loosely with plastic wrap or a damp cloth to prevent a skin from forming. Let them rest at room temperature for 2-3 hours. This final rest, called proofing, allows the dough to relax and become easy to stretch while also warming up from the cold fermentation. The dough balls should look visibly relaxed and slightly puffed up.
Step 4: Baking Your Homemade Sourdough Pizza
Preheat your oven as high as it will go, ideally with a pizza stone or steel inside, for at least 45-60 minutes. A temperature of 500-550°F (260-290°C) is excellent for achieving a crispy crust.
Once the oven and stone are hot, gently stretch one dough ball into your desired pizza shape, leaving a rim for the crust. Be careful not to degas it too much. Top with your favorite sauce, cheese, and toppings. Carefully transfer the pizza to the hot stone or steel using a pizza peel. Bake for 8-15 minutes, depending on your oven and desired crust crispness. The crust should be golden brown and bubbly. Slide the finished pizza out and enjoy your delicious easy sourdough pizza dough recipe creation!
Troubleshooting Common Pizza Dough Problems
Even with a great recipe, sometimes dough doesn't behave as expected. Understanding common issues and how to fix them is part of becoming a confident baker. Don't get discouraged; troubleshooting is a normal part of the process!
Here are some typical problems you might encounter when making pizza dough, including an easy sourdough pizza dough recipe, and practical solutions to get you back on track.
Dough Too Sticky: Causes and Solutions
Sticky dough is a common frustration. It can be caused by high hydration (too much water relative to flour), insufficient kneading (gluten not developed enough), or not letting the dough rest adequately.
If your dough is too sticky to handle after the initial mix and rest, try adding a tablespoon of flour at a time and kneading it in until the dough becomes more manageable. Avoid adding too much flour at once, as this can make the dough tough. Ensure you've kneaded enough to develop gluten; the dough should eventually pull away from the sides of the bowl and your hands (when hand kneading). Allowing sufficient rest time after mixing and kneading also helps the dough become less sticky.
Dough Too Dry: Hydration Adjustments
Dough that is too dry will feel stiff, crumbly, and difficult to bring together. This usually means there wasn't enough water for the amount of flour used, or the flour itself was very dry.
If your dough feels too dry during mixing, add water a teaspoon at a time. Knead it in thoroughly before adding more. Be patient, as it takes time for the dough to absorb additional liquid. The ideal dough should be slightly tacky but not excessively sticky. Different flours absorb water differently, so you may need to slightly adjust the water amount based on the specific flour you are using for your easy sourdough pizza dough recipe.
Dough Not Rising: Yeast Issues and Fixes
Lack of rise is usually related to the leavening agent, whether it's commercial yeast or a sourdough starter. Causes include using inactive or dead yeast/starter, water that is too hot or too cold, or a room temperature that is too cold for fermentation.
Check the expiration date of your commercial yeast. If using a sourdough starter, ensure it is active and bubbly before you use it – it should ideally have doubled in size after a recent feeding. Make sure your water temperature is appropriate (lukewarm, not hot or cold). If your kitchen is cold, try placing the dough in a slightly warmer spot, like inside a turned-off oven with the light on, which provides gentle warmth (aim for 75-80°F or 24-27°C). Give it more time; sometimes fermentation is just slow.
Achieving a Crispy Crust: Baking Tips and Tricks
A crispy crust is often the goal of homemade pizza. Factors influencing crispness include dough hydration, fermentation, baking temperature, and the baking surface.
For a crispier crust, lower hydration doughs (around 60-65%) can help. Long, cold fermentation also contributes to better crust structure. Crucially, bake your pizza at the highest temperature your oven can reach (500-550°F or 260-290°C is ideal). Use a preheated pizza stone or steel, which conducts heat efficiently to the bottom of the crust, promoting rapid crisping. Baking directly on a cold baking sheet will result in a softer bottom crust. Ensuring your oven and stone are fully preheated for at least 45-60 minutes is vital.
Beyond the Recipe: Customizing Your Pizza Dough
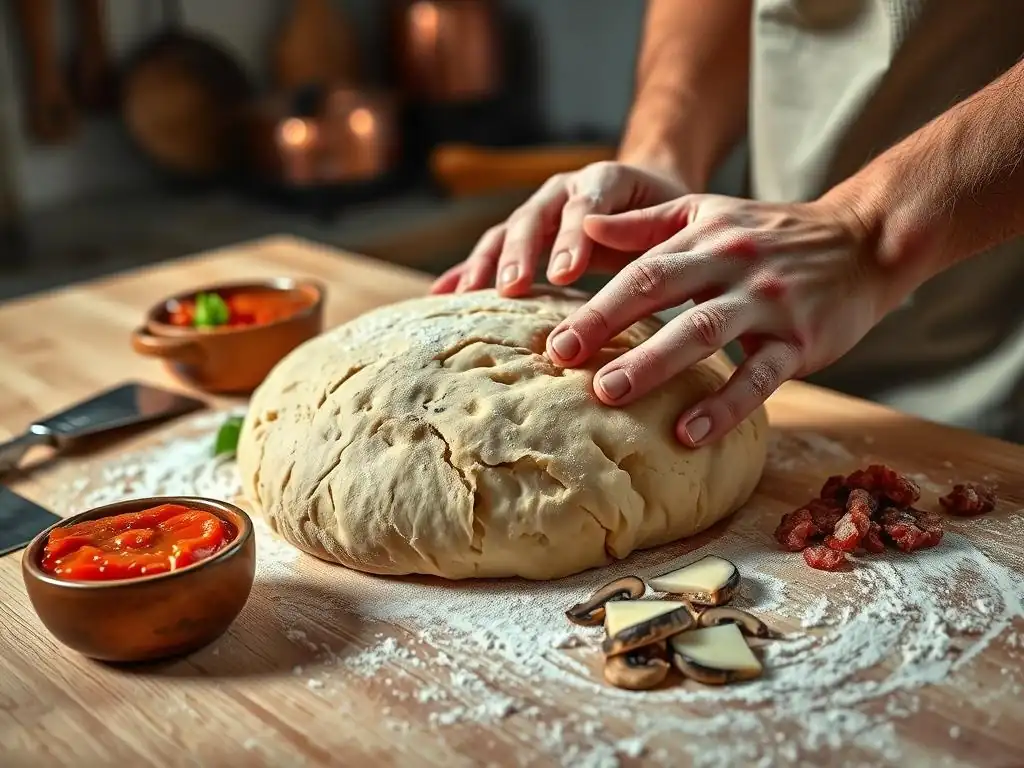
Once you're comfortable with a basic or easy sourdough pizza dough recipe, don't hesitate to experiment! Customizing your dough can add unique flavors and textures, tailoring your pizza exactly to your preferences.
Simple changes to flour types, adding herbs, or adjusting hydration levels can significantly alter the final outcome. Think of the recipe as a starting point and let your creativity guide you.
Exploring Different Flour Varieties for Unique Flavors
While bread flour and Tipo 00 are standard, incorporating other flours can add depth and character. Swapping out a small percentage (e.g., 10-20%) of the white flour for whole wheat or rye flour will introduce nutty, earthy notes and increase the fiber content.
Using specialty flours like spelt or durum flour can also change the texture and flavor profile. Spelt offers a slightly sweet, nutty taste and a tender crumb. Durum flour, often used in pasta, can contribute a rich, golden color and a distinct flavor. Just remember that substituting flours, especially those with different protein contents, may require adjustments to hydration levels.
Adding Herbs and Spices to Your Pizza Dough
Infusing your dough with herbs and spices is a simple way to add an extra layer of flavor directly into the crust. Dried herbs like oregano, basil, rosemary, or thyme can be mixed into the dry flour before adding the liquid.
Consider adding a teaspoon or two of dried herbs per 500 grams of flour. Red pepper flakes can add a subtle kick. Garlic powder or onion powder are also popular choices. Ensure the herbs and spices are well-distributed throughout the dough during mixing. This works wonderfully with an easy sourdough pizza dough recipe, complementing the tanginess.
Adjusting Hydration Levels for Different Pizza Styles
Hydration refers to the ratio of water to flour by weight. Higher hydration doughs (above 65%) are wetter and stickier but often result in a more open, airy crumb structure and a crispier crust because more water turns to steam during baking. Lower hydration doughs (60-65%) are easier to handle and shape, yielding a denser, chewier crust.
Experimenting with hydration allows you to tailor your dough to different pizza styles. A Roman-style pizza often uses high hydration for a light, airy base, while a classic Neapolitan might use slightly lower hydration for a chewier crust. For an easy sourdough pizza dough recipe, starting around 60-65% is recommended before trying higher hydration.
Storing and Freezing Pizza Dough for Future Use
Making a batch of pizza dough ahead of time is incredibly convenient. Proper storage ensures your dough maintains its quality and flavor, whether you plan to use it in a day or a month.
Both refrigeration and freezing are effective methods for preserving pizza dough, each with its own best practices to follow to maintain optimal texture and leavening power.
Best Practices for Refrigerating Pizza Dough
Refrigeration is ideal for short-term storage, typically for the cold fermentation period mentioned earlier, or up to 3-5 days after bulk fermentation. Place the dough in a lightly oiled bowl or container large enough to allow for some expansion.
Cover the container tightly with plastic wrap or a lid to prevent the dough from drying out and absorbing refrigerator odors. Dough stored in the fridge will continue to ferment slowly, developing more flavor. When ready to use, remove the dough from the fridge 2-3 hours before shaping and baking to allow it to warm up and relax.
Freezing Pizza Dough: Maintaining Quality and Flavor
Freezing is excellent for long-term storage, preserving dough for up to 2-3 months. After bulk fermentation and shaping into individual balls, lightly oil each dough ball.
Wrap each ball tightly in plastic wrap, ensuring no air pockets. Then, place the wrapped balls in a freezer-safe bag or container. This double-wrapping prevents freezer burn. To thaw, transfer the frozen dough ball to the refrigerator the night before you plan to use it. The next day, take it out of the fridge and let it sit at room temperature for 2-3 hours before shaping and baking, just as you would with refrigerated dough. Freezing works well with an easy sourdough pizza dough recipe, allowing you to have dough ready whenever a pizza craving strikes.
Conclusion: Elevate Your Pizza Game with These Dough Techniques
Moving from a good pizza dough to a truly great one is a journey that involves understanding the fundamentals, embracing patience, and experimenting with advanced techniques. By paying attention to ingredient quality, mastering kneading, and exploring methods like cold fermentation and using an easy sourdough pizza dough recipe, you can unlock incredible flavors and textures.
Remember that practice makes perfect. Each batch of dough is a learning opportunity. Don't be afraid to try new things, troubleshoot when needed, and enjoy the process of creating delicious, homemade pizza. With the tips and techniques outlined here, you're well on your way to stepping up your pizza dough and impressing yourself and your loved ones with your baking skills. Happy baking!
Frequently Asked Questions
How is this recipe different from other sourdough pizza dough recipes?
This recipe focuses on simplicity and easy-to-find ingredients while still delivering a complex sourdough flavor. It prioritizes a streamlined process for home bakers of all skill levels.
What if I don't have a sourdough starter?
A sourdough starter is essential for this recipe. You can find resources on BakeWithEase.com to learn how to create and maintain your own starter. Consider alternative dough recipes if you don't have one.
Can I substitute ingredients in this easy sourdough pizza dough recipe?
While substitutions are possible, they may affect the final texture and flavor. It's best to follow the recipe as closely as possible, especially when first trying it, to understand the intended outcome.
How long does the dough need to proof?
The dough requires a bulk fermentation (first rise) for optimal flavor development. This typically takes 8-12 hours at room temperature, but can be extended for up to 24 hours in the refrigerator for a tangier flavor profile.
What's the best way to bake the pizza?
For the best results, use a preheated pizza stone or baking steel in a very hot oven (500-550°F). This will ensure a crispy crust and properly cooked toppings. High heat is key to a delicious, restaurant-quality pizza.
Final Reflection: The Unexpected Journey of a Simple Dough
The pursuit of the perfect pizza dough is, surprisingly, a journey of self-discovery. It's not just about achieving a flawlessly crisp crust and airy interior; it's about understanding the nuances of fermentation, the patience required for a truly great result, and the unexpected joy found in the process. This seemingly simple recipe unlocks a world of culinary possibilities, far beyond just a delicious pizza.
The impact of sourdough, specifically in baking, has been a quiet revolution. It's a return to traditional methods, a celebration of slow food, and a testament to the power of simple ingredients transformed by time and care. The subtle tang, the complex flavors, the satisfying chew – these are not merely qualities of a good pizza dough, but reflections of a mindful approach to cooking. The best things in life are worth waiting for,
and this couldn't be truer when it comes to sourdough pizza. This sentiment resonates deeply with me, as I've found the process itself to be as rewarding as the final product.
Now, it's your turn. Don't just follow this recipe; experience it. Embrace the rise and fall of the dough, the subtle changes in aroma, the satisfaction of shaping your own creation. Let this be a starting point, an invitation to explore the world of sourdough baking, and discover the unexpected joy that awaits you in the kitchen. The journey to a great pizza begins with a single, perfectly risen dough.
Unleash Your Inner Pizzaiolo: Craft the Perfect Dough!
Thanks for taking the time to elevate your pizza-making skills! You've now unlocked the secrets to truly exceptional dough. Ready to put your new knowledge into practice?
- Bake your dream pizza tonight! Use the techniques you just learned to create a pizza dough that will impress even the most discerning pizza aficionado. This is your chance to shine!
- Share your pizza-making journey! Post a picture of your masterpiece on social media and tag us – we’d love to see your results.
- Explore variations: Try experimenting with different flours or adding unique herbs and spices to your dough. What amazing flavor combinations will you discover?
What unexpected ingredient will you add to your next pizza dough creation?