
Beyond Sprinkles: Easy Ways to Add Sparkle

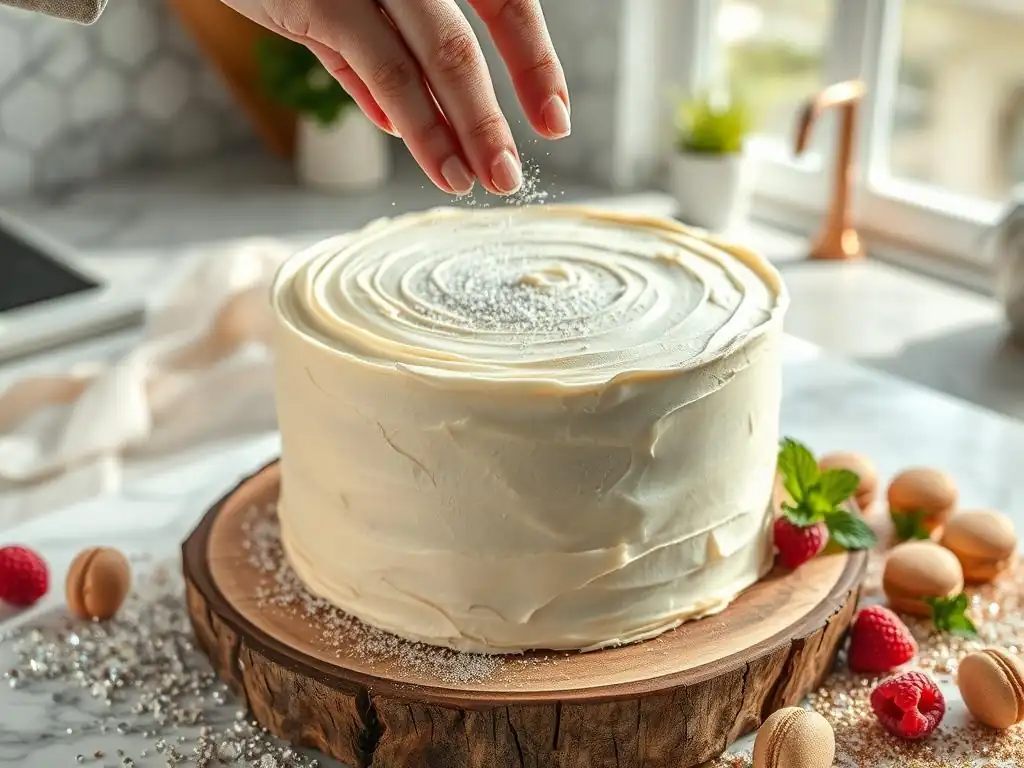
Welcome to BakeWithEase, your kitchen companion for all things baking! Tired of the same old cake? Unleash your inner artist and discover a world of easy cake decorating ideas that go far beyond simple sprinkles. We'll show you how to transform ordinary bakes into show-stopping masterpieces with techniques that are surprisingly simple to master. Ready to add sparkle to your next creation and impress everyone with your newfound skills? Let's get started!
- Beyond Sprinkles: Easy Ways to Add Sparkle to Your Cakes
- Introduction to Easy Cake Decorating Ideas for Home Bakers
- Mastering Easy Cake Decorating Ideas: A Step-by-Step Guide
- Advanced Easy Cake Decorating Ideas (But Still Beginner-Friendly!)
- Tips and Tricks for Easy Cake Decorating Success
- Conclusion: Unleash Your Creativity with These Easy Cake Decorating Ideas
-
Frequently Asked Questions
- How can I decorate a cake easily if I'm a beginner?
- What are some easy cake decorating ideas that don't involve fancy tools?
- What type of frosting is best for easy cake decorating?
- Where can I find inspiration for easy cake decorating ideas?
- How can I make my cake decorating look professional without a lot of effort?
- Final Reflection: The Enduring Allure of Simple Elegance
- Unleash Your Inner Baking Star!
Beyond Sprinkles: Easy Ways to Add Sparkle to Your Cakes
Introduction to Easy Cake Decorating Ideas for Home Bakers
Welcome to BakeWithEase, where we believe that baking delicious cakes should be accessible and fun for everyone. Once your cake is baked and cooled, the real magic begins with decoration! While sprinkles are a classic, there's a whole world of simple yet stunning techniques you can use to transform your homemade cakes into edible works of art. Exploring easy cake decorating ideas opens up endless possibilities, allowing you to add a personal touch to birthdays, holidays, or just a simple treat for yourself.
This guide is designed for home bakers of all levels looking to enhance their cake presentation without needing professional tools or years of experience. We'll walk you through straightforward methods that use common kitchen items or readily available ingredients. From achieving a smooth frosting finish to applying edible glitter and creating beautiful fruit arrangements, these easy cake decorating ideas will boost your confidence and impress your friends and family. Let's move beyond basic sprinkles and discover how simple steps can lead to spectacular results.
Elevating Your Cakes: Simple Decoration Techniques
Elevating your cakes doesn't require intricate piping skills or expensive equipment. Many effective and easy cake decorating ideas rely on simple techniques that anyone can master with a little practice. Think about using a palette knife to create rustic swirls on buttercream, pressing edible flowers gently into frosting, or arranging fresh berries in a visually appealing pattern. These methods add texture, color, and elegance with minimal effort.
Consider the impact of a simple chocolate drip or a dusting of cocoa powder through a stencil. These techniques are often quicker than traditional piping but yield impressive, professional-looking results. We'll explore how to achieve these effects, demonstrating that beautiful cake decoration is well within the reach of the home baker. The key is to focus on a few elements done well, rather than trying to do too much.
Why Go Beyond Sprinkles? Exploring Creative Cake Embellishments
While sprinkles are cheerful and convenient, relying solely on them can limit your creative expression and the overall sophistication of your cake design. Going beyond sprinkles allows you to explore different textures, flavors, and visual themes that better complement the cake itself or the occasion you're celebrating. It's about adding layers of interest that engage the eye and hint at the deliciousness within.
Exploring creative cake embellishments, such as fresh fruit, chocolate ganache, or edible glitters, provides opportunities to personalize your bakes. For instance, a lemon cake might be enhanced with candied lemon slices and fresh raspberries, while a rich chocolate cake could be adorned with chocolate shavings and a sprinkle of sea salt. These easy cake decorating ideas elevate the perceived value and artistry of your baking, turning a simple cake into a centerpiece.
Mastering Easy Cake Decorating Ideas: A Step-by-Step Guide
Step 1: The Foundation - Perfecting Your Cake Finish
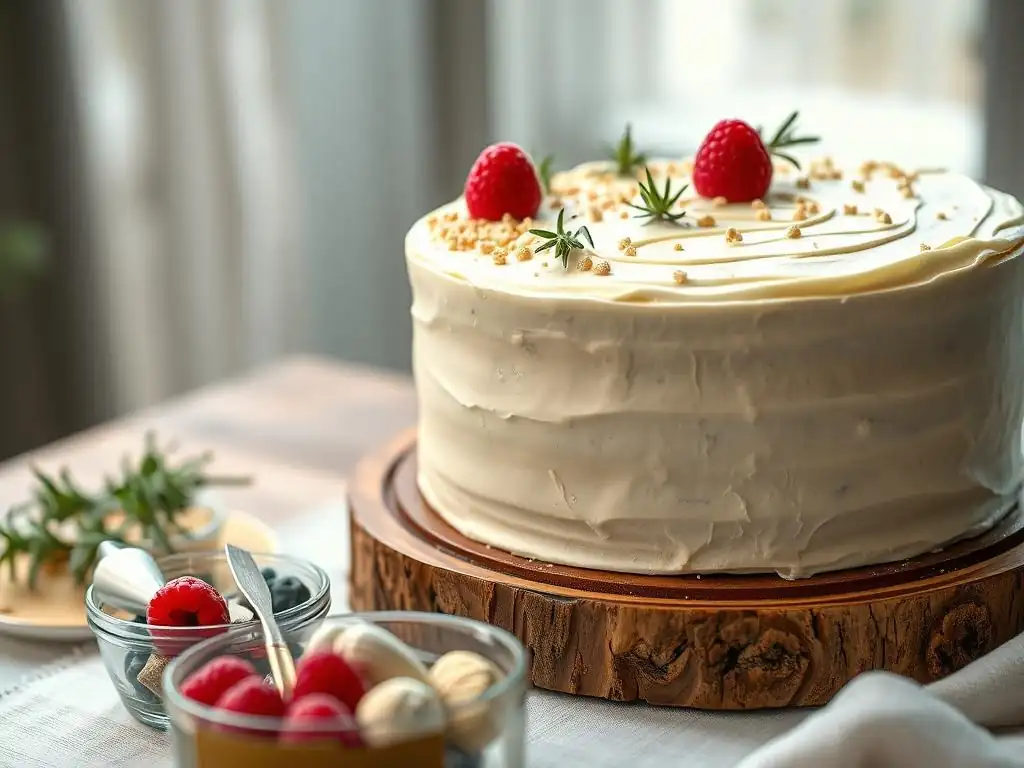
The base layer of frosting or ganache is crucial for any easy cake decorating ideas. A smooth, even surface provides a clean canvas for applying further decorations. Taking the time to get this right makes subsequent steps much easier and the final result significantly more polished.
Achieving a Smooth Buttercream Base for Easy Decoration
Achieving a smooth buttercream base starts with having buttercream of the right consistency – not too stiff, not too runny. After applying a crumb coat (a thin layer of frosting to trap loose crumbs), chill the cake for about 15-20 minutes. Then, apply a thicker layer of buttercream using an offset spatula.
For smoothing, you can use a bench scraper held at a 45-degree angle against the cake's side, rotating the cake on a turntable. Dip your spatula or scraper in hot water and wipe it dry for an extra smooth finish. Many home bakers find that a single pass with a warm scraper can drastically reduce the time spent smoothing, often taking less than 5 minutes for a standard 8-inch round cake.
Another popular technique for achieving a smooth finish is the "hot spatula" method. Apply buttercream generously, then use a metal spatula heated in hot water and wiped dry to melt and smooth the surface. This method works particularly well for American buttercream. For the top, simply use the warmed spatula to smooth from the center outwards. Some bakers even use a piece of parchment paper or Viva paper towel laid over the chilled buttercream, gently rubbing with their hand to buff out imperfections, which can take just a minute or two per side.
Working with Ganache: Creating a Professional Cake Surface
Ganache provides a sleek, rich finish that is surprisingly easy to work with. A common ratio for pourable ganache is 1 part chocolate to 1 part heavy cream by weight (e.g., 200g chocolate to 200g cream). Heat the cream until just simmering, pour it over finely chopped chocolate, let it sit for 5 minutes, then stir until smooth. Allow the ganache to cool slightly until it reaches the consistency of thick paint – this is usually between 80°F and 90°F (27°C and 32°C).
To apply ganache smoothly, ensure your cake is chilled. Place the cake on a wire rack set over a baking sheet to catch drips. Pour the ganache over the center of the cake, allowing it to flow down the sides naturally. Use an offset spatula to gently guide it if needed, but avoid overworking it.
The goal is a quick, even pour. For a 6-inch cake, approximately 250-300g of ganache is usually sufficient for a full pour, taking less than 30 seconds to cover the top and sides. Chill the cake again for 15-20 minutes to set the ganache before adding further easy cake decorating ideas.
Step 2: Edible Glitters and Dusts: Adding a Touch of Magic
Edible glitters and lustre dusts are fantastic components of easy cake decorating ideas, adding sparkle and shimmer without requiring any special skills. They catch the light beautifully and can transform a simple cake into something truly festive or elegant.
How to Apply Edible Glitter for a Sparkling Effect
Edible glitter comes in various forms, from fine dusts to larger flakes. For an all-over sparkle, you can gently tap glitter from a brush or shaker over a cake that has a slightly sticky surface, like freshly applied buttercream or a thin layer of edible glue (a mixture of edible gum powder and water). A small, soft brush (like a clean makeup brush dedicated to baking) works well for dusting specific areas or creating gradients.
For instance, applying fine silver glitter to the bottom half of a white buttercream cake can create a beautiful snowy effect. A typical 4-gram pot of fine edible glitter can generously cover two to three 8-inch cakes.
Alternatively, you can mix edible glitter directly into clear glazes or piping gel before applying them. This creates a suspended sparkle effect. For adding sparkle to specific elements like fondant cutouts or buttercream swirls, lightly dampen the area with a tiny brush dipped in water or clear alcohol (like vodka, which evaporates quickly) and then brush or tap the glitter onto the damp spot. This method ensures the glitter sticks precisely where you want it, using perhaps only 0.5 grams of glitter per decorated element.
Using Lustre Dusts to Enhance Cake Details
Lustre dusts are very fine, colored powders that add a pearlescent or metallic sheen. They are excellent for highlighting details in easy cake decorating ideas. You can apply lustre dust dry with a soft brush onto fondant, gum paste, or even crusted buttercream. For example, using a gold lustre dust brush on the edges of fondant leaves adds a touch of luxury. A small amount goes a long way; a 2-gram pot of dust can often highlight details on a dozen cupcakes or one large cake.
For a more intense, paint-like effect, mix lustre dust with a few drops of clear alcohol (like vodka or lemon extract) or edible glaze/oil to create a paint. This mixture can then be brushed onto dried fondant, chocolate, or ganache surfaces. Painting with metallic dusts is perfect for creating elegant brushstrokes or coloring specific fondant shapes, such as painting silver dust onto cut-out stars for a celestial theme. Using alcohol allows for quick drying, preventing smudging. Approximately 1/4 teaspoon of dust mixed with 1/2 teaspoon of alcohol is often enough to paint several small details.
Step 3: Fresh Fruit Arrangements: Natural Elegance
Using fresh fruit is one of the most beautiful and easy cake decorating ideas, offering vibrant colors, natural textures, and complementary flavors. It's a simple way to add freshness and visual appeal.
Selecting and Preparing Fruits for Cake Decoration
When selecting fruits for cake decoration, choose firm, ripe fruits that hold their shape well and won't brown quickly. Berries like strawberries, raspberries, blueberries, and blackberries are excellent choices. Citrus slices (candied or fresh), kiwi slices, and grapes also work well. Wash all fruit thoroughly and pat them completely dry with paper towels. For strawberries, hull them and slice if desired. Grapes can be left on small stems or separated. Citrus slices can be used fresh, or you can take the extra step to candy them for a longer shelf life and added sweetness.
To prevent cut fruits like apples or bananas from browning, dip them briefly in a solution of lemon juice and water (about 1 tablespoon lemon juice per cup of water) or a commercial fruit preserver. While this isn't necessary for berries or citrus, it's a good tip for other fruits. Prepare your fruit just before decorating the cake to ensure maximum freshness and vibrancy. A standard 8-inch cake might use one punnet (approx. 150-200g) of mixed berries for a generous topping.
Simple Fruit Placement Techniques for Stunning Visuals
Arranging fruit doesn't require artistic expertise; simple patterns can be incredibly effective. A common technique is to create a cluster of mixed berries in the center or slightly off-center of the cake top. You can also arrange slices (like strawberries or kiwis) in concentric circles or overlapping patterns. For a more rustic look, simply scatter berries artfully over the top and down the sides of a buttercream cake.
Another easy technique is to create a 'fruit crown' around the edge of the cake top. Alternate different types of berries or fruit slices for color contrast. For instance, placing halved strawberries interspersed with whole blueberries around the perimeter creates a lovely border. For tiered cakes, trailing fruit down the side from one tier to the next adds elegance. Secure heavier fruit with a tiny dab of buttercream if needed. A simple fruit arrangement can often be completed in under 10 minutes.
Step 4: Chocolate Shavings and Curls: Decadent Decorations
Chocolate decorations add richness and a touch of sophistication to any cake. Creating chocolate shavings and curls is one of the easiest ways to achieve a professional look with minimal effort, making them perfect easy cake decorating ideas.
Creating Chocolate Shavings with a Vegetable Peeler
Chocolate shavings are incredibly simple to make. Use a block of chocolate that is at room temperature or slightly cooler – not melted, but not straight from the fridge as it might crack. A standard bar of baking chocolate (around 100-150g) is ideal. Hold the chocolate block firmly and use a vegetable peeler to shave along one side. The pressure and angle will determine the size and thickness of your shavings. For delicate curls, use light pressure; for thicker shavings, use more pressure.
Let the shavings fall directly onto a piece of parchment paper or a clean surface. You can use dark, milk, or white chocolate, or even swirl them together for a marbled effect. Approximately 50-75g of chocolate will yield enough shavings to generously cover the top of an 8-inch cake. Once made, handle the shavings gently, preferably with an offset spatula or spoon, as they can melt from the warmth of your fingers.
Making Chocolate Curls for a Professional Look
Chocolate curls require a slightly different technique but are still very achievable for home bakers. You'll need a bar of chocolate and a metal spatula or bench scraper. Melt about 100-150g of chocolate gently (either in a double boiler or microwave on low power, stirring frequently). Spread the melted chocolate thinly and evenly onto the back of a baking sheet or a smooth surface like marble or granite. Let it set slightly at cool room temperature until it's firm but still pliable – not hard and brittle. This usually takes 10-20 minutes depending on the ambient temperature.
Once set, hold the spatula or scraper at a 45-degree angle against the chocolate surface and push forward firmly. The chocolate should curl up as you push. For larger curls, use a wide spatula and push along a longer strip of chocolate. For smaller curls, use a narrower tool or shorter strokes. Carefully pick up the curls using a toothpick or small spatula and place them on your cake. A single 150g bar of chocolate can produce dozens of beautiful curls, providing ample decoration for multiple easy cake decorating ideas.
Step 5: Simple Piping Techniques for Beginner Cake Decorators
Piping might sound intimidating, but several basic techniques are perfect for beginners and add a polished finish. Mastering just a few simple piping methods can significantly enhance your easy cake decorating ideas.
Mastering Basic Buttercream Rosettes
Rosettes are one of the easiest and most impressive piping techniques for beginners. You'll need a piping bag fitted with a star tip (like a 1M or 2D tip). Fill the bag with buttercream, ensuring it's not overfilled (about two-thirds full is good). Hold the bag perpendicular to the cake surface. Start piping from the center of where you want the rosette to be, applying even pressure as you pipe in a circular motion, moving outwards. Stop piping and lift the bag away quickly to create a clean finish.
Practice on a piece of parchment paper first to get a feel for the pressure and motion. You can pipe rosettes close together to cover the entire top of a cake, or space them out for a more minimalist look. A standard 1M tip will create rosettes approximately 1.5 to 2 inches in diameter. Piping a full top coverage of rosettes on an 8-inch cake might take around 15-20 minutes for a beginner, using roughly 2-3 cups of buttercream.
Easy Border Designs to Frame Your Cake
Adding a simple border around the base or top edge of your cake is a classic easy cake decorating idea that instantly makes the cake look finished. The shell border is a beginner-friendly option. Use a star tip (like 1M or 21). Hold the bag at a slight angle to the cake. Pipe a small blob, then pull the bag away slightly while decreasing pressure, creating a tail. For the next shell, start slightly overlapping the tail of the previous one and repeat the process. This creates a continuous, decorative edge.
Another easy border is the simple dot border. Use a round tip (like a #10 or #12). Hold the bag perpendicular to the cake and apply pressure to create a dot of desired size. Stop pressure and pull straight up. Repeat around the edge, spacing the dots evenly or close together. These borders are quick to execute; a shell border around an 8-inch cake takes roughly 5-10 minutes, using about 1 cup of buttercream.
Advanced Easy Cake Decorating Ideas (But Still Beginner-Friendly!)
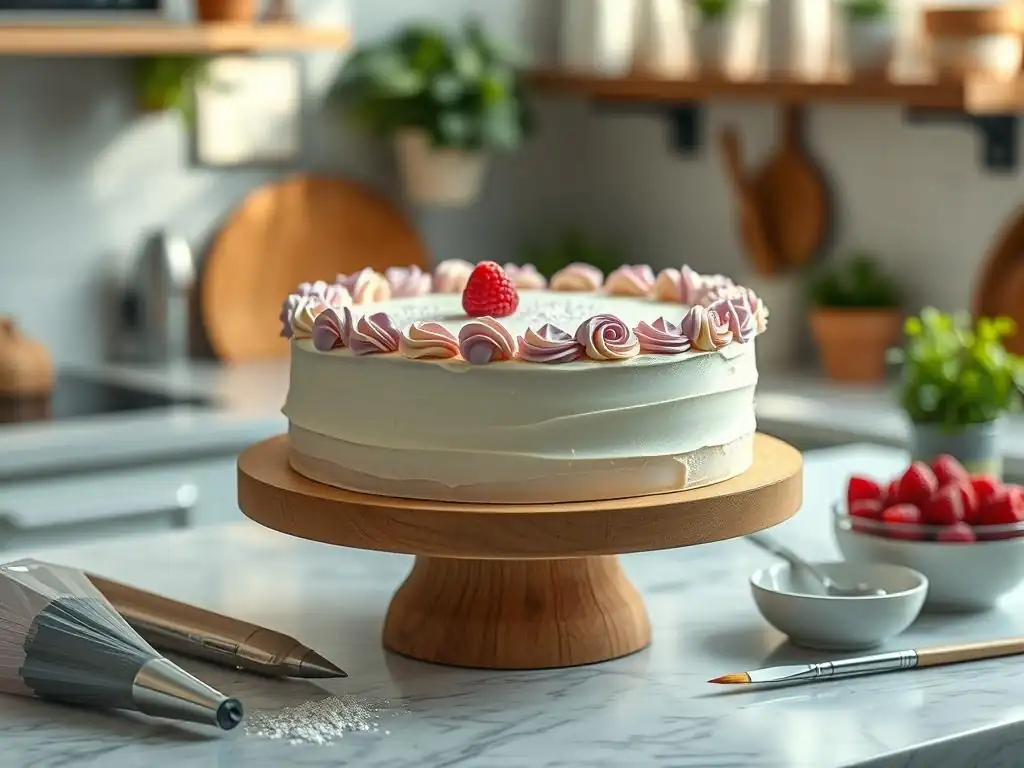
Even seemingly advanced techniques like stenciling or drip cakes can be broken down into easy steps, making them accessible for those looking to try slightly more complex easy cake decorating ideas without major difficulty.
Stenciling on Cakes: Creating Intricate Designs with Ease
Stenciling allows you to transfer intricate patterns onto your cake surface quickly and easily. This technique works best on cakes with a firm, smooth finish like chilled buttercream, ganache, or fondant.
Using Stencils with Icing Sugar or Cocoa Powder
For a simple stenciled effect on a dark surface (like chocolate ganache or dark buttercream), place a stencil gently but firmly against the cake surface. Use a fine-mesh sieve or sifter to lightly dust icing sugar over the stencil. Lift the stencil straight up carefully to reveal the pattern. For a light surface (like vanilla buttercream), use cocoa powder or colored edible dust. Ensure the cake surface is firm and dry to prevent the powder from sticking where it shouldn't. This technique is surprisingly fast; stenciling the top of an 8-inch cake can take less than 5 minutes.
To prevent the stencil from shifting, you can lightly secure it with a few pins if working on a fondant cake, or simply hold it firmly in place against a chilled buttercream cake. For side stenciling, it helps to have a flexible stencil and possibly an extra pair of hands, but it's achievable solo with practice. A 6-inch wide stencil can usually cover the side height of most single-tier cakes.
Airbrushing Techniques for Subtle Cake Decorations
Airbrushing offers a way to add gradients, subtle color washes, or stencil designs with edible airbrush colors. While it requires an airbrush machine (a small, relatively inexpensive investment for keen bakers), the technique itself is quite simple. Fill the airbrush cup with edible airbrush color. Test the spray pattern and pressure on a paper towel. Hold the airbrush a few inches away from the cake surface and move in smooth, even strokes.
For stenciling with an airbrush, secure the stencil firmly against the cake. Hold the airbrush perpendicular to the stencil and lightly spray the color through the openings. Use light coats to build up intensity and prevent color bleed under the stencil. Airbrushing is excellent for creating ombré effects on buttercream or adding metallic finishes with specialized airbrush colors. Airbrushing the top and sides of an 8-inch cake can take around 10-15 minutes, using only a few drops of edible color.
Drip Cakes: The Trendy and Easy Decoration
Drip cakes are visually striking and one of the most popular easy cake decorating ideas right now. The iconic drips look complicated but are straightforward to create.
Making the Perfect Chocolate Drip
The key to a perfect chocolate drip is the right consistency of the ganache or drip mixture and the temperature of the cake. A common drip recipe uses chocolate and cream, similar to ganache but often with a slightly higher cream ratio for fluidity (e.g., 1 part chocolate to 1.25 parts cream). Heat the cream, pour over chopped chocolate, let sit, then stir until smooth.
Let it cool to the correct dripping consistency – typically around 85-95°F (30-35°C). It should flow easily but not be too hot or too thin. Test the consistency by dripping a small amount off a spoon.
Ensure your cake is well-chilled (at least 30 minutes in the fridge or 10 minutes in the freezer) with a firm buttercream or ganache coating. This helps the drips set quickly and prevents them from running all the way down. Use a piping bag with a small snip off the end, a squeeze bottle, or a spoon. For controlled drips, pipe or spoon the mixture around the edge, letting it spill over naturally.
For covering the top, pour the remaining mixture onto the center and spread gently towards the edges. A 6-inch cake typically needs 150-200g of drip mixture. Creating the drips takes only a few minutes.
Variations on the Drip: Caramel, White Chocolate, and More
Beyond classic dark chocolate, you can create drips using white chocolate ganache (often needing a slightly different cream ratio, like 1 part white chocolate to 0.75 parts cream, as white chocolate is softer) or even homemade caramel sauce. White chocolate ganache can be colored using oil-based or powder food colors to match your cake theme. Simply melt the white chocolate, heat the cream, combine, stir, and cool.
Caramel drips add a different flavor dimension. A simple caramel sauce made from sugar, butter, and cream works well. Cook sugar until amber, whisk in butter, then warm cream. Let it cool to a pourable, slightly thickened consistency. Test the drip on a chilled glass before applying to the cake. These variations on the drip offer easy cake decorating ideas that add both visual appeal and unique taste profiles, expanding your creative options. A batch of caramel sauce using 1 cup of sugar yields enough drip for several cakes.
Edible Flowers: A Beautiful and Easy Cake Decorating Option
Using edible flowers is perhaps one of the simplest ways to add stunning, natural beauty to a cake. They provide color, elegance, and a touch of whimsy with minimal effort.
Selecting Safe and Beautiful Edible Flowers
It is absolutely crucial to use only flowers that are certified as edible and have not been treated with pesticides or chemicals. Do not use flowers from florists, garden centers, or most wild sources unless you are certain they are safe for consumption. Reliable sources include specialty food stores, farmers' markets that specifically sell edible flowers, or growing them yourself from organic seeds. Popular edible flowers include pansies, violas, roses (petals only, ensure they are culinary grade), calendula, borage, lavender, and nasturtiums.
Wash edible flowers gently in cool water and pat them dry on paper towels. Store them in the refrigerator in an airtight container lined with damp paper towel until ready to use. Fresh flowers are best used the day they are picked or purchased. A small punnet of mixed edible flowers (often costing around $5-$10) can provide enough decoration for one or two cakes, making it an affordable yet impactful easy cake decorating idea.
Arranging Edible Flowers on Your Cake
Arranging edible flowers is intuitive and forgiving. They work wonderfully pressed gently into buttercream, cream cheese frosting, or ganache. You can scatter them artfully over the top, create a cluster, form a border, or trail them down the side of the cake. For a minimalist look, place just one or two perfect blooms. For a romantic feel, cover the top densely.
Consider the colors and shapes of the flowers and how they complement your cake. Small violas look lovely scattered, while larger rose petals can be layered. Use tweezers or small tongs for precise placement. You can also secure flowers with a tiny dab of buttercream if needed, especially on surfaces like fondant. Arranging flowers is often one of the quickest easy cake decorating ideas, typically taking only 5-15 minutes depending on the complexity of the design.
Tips and Tricks for Easy Cake Decorating Success
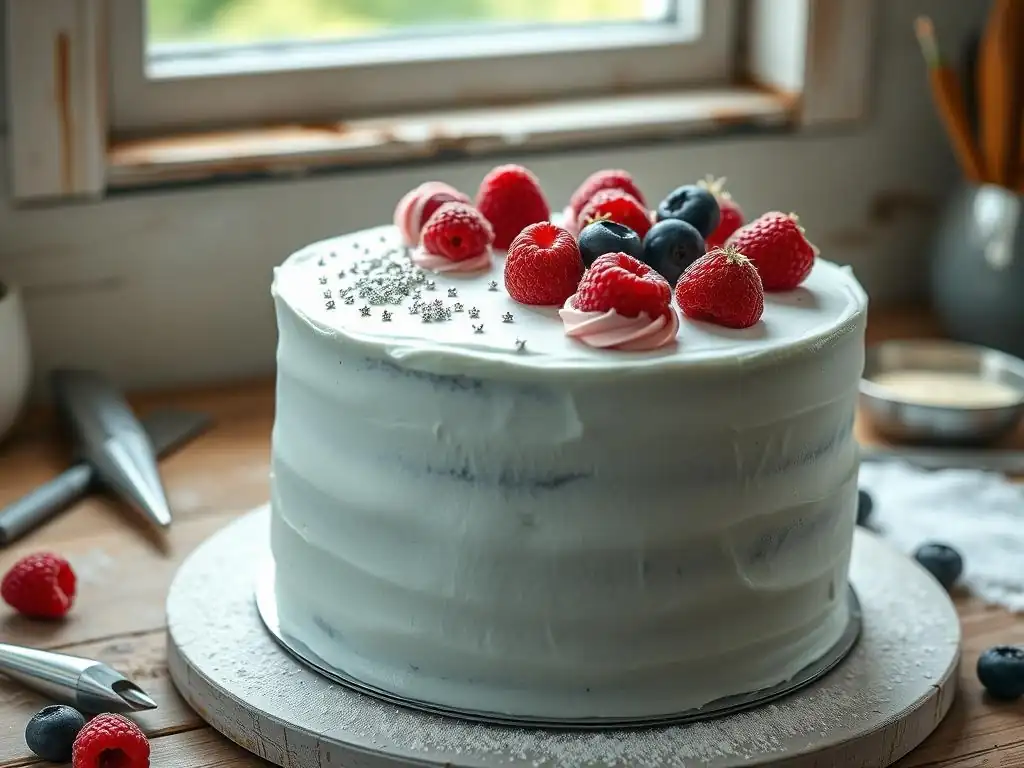
Successful cake decorating, even with easy techniques, benefits from a few helpful tips. Having the right tools and knowing how to store your creation can make a big difference.
Choosing the Right Tools for Easy Cake Decoration
You don't need a professional baker's arsenal for easy cake decorating ideas, but a few basic tools are very helpful. An offset spatula is essential for spreading frosting smoothly. A bench scraper is great for achieving smooth sides on buttercream. Piping bags (disposable or reusable) and a few basic piping tips (like a large star tip - 1M or 2D, and a round tip - #10 or #12) allow for simple borders and rosettes. A cake turntable makes frosting and decorating much easier.
For techniques like stenciling or applying dusts, a fine-mesh sieve or small brush is useful. If you plan on making chocolate decorations, a vegetable peeler and a metal spatula are key. While you can improvise some tools, having these basics makes executing easy cake decorating ideas significantly smoother and faster. A basic set of these tools can be purchased for under $30.
Storing Decorated Cakes to Maintain Freshness
Proper storage is vital to keep your decorated cake looking and tasting its best. Cakes covered in buttercream or ganache can typically be stored at cool room temperature (around 68-72°F or 20-22°C) in an airtight container for 2-3 days. Ensure the container is large enough that it doesn't smudge the decorations. If your kitchen is warm, refrigeration is necessary.
Cakes with fresh fruit or cream-based fillings/frostings (like cream cheese frosting or fresh cream) must be refrigerated. Store them in an airtight cake carrier or cover loosely with plastic wrap, being careful not to disturb the decorations. Let refrigerated cakes sit at room temperature for 20-30 minutes before serving for the best flavor and texture. Cakes decorated with edible flowers should ideally be served the same day, or refrigerated if necessary, as the flowers can wilt.
Troubleshooting Common Cake Decorating Problems
Even with easy cake decorating ideas, you might encounter small issues. If your buttercream is too soft and won't hold shape, chill it for 10-15 minutes. If it's too stiff, add a tiny amount (1/2 teaspoon at a time) of milk or cream and mix. If your ganache drip is running too fast, it's too warm or too thin; let it cool longer or stir in a few more chocolate chips. If it's too thick, warm it gently over a water bath or in the microwave for a few seconds.
Smudging decorations is common. If working with buttercream, you can often smooth over small smudges with a warm spatula or add a strategically placed decoration like a berry or sprinkle cluster to hide it. If a chocolate curl breaks, use the intact pieces or make a few more. Remember, minor imperfections are part of homemade charm! Don't strive for absolute perfection; focus on creating something beautiful and delicious.
Conclusion: Unleash Your Creativity with These Easy Cake Decorating Ideas
Recap of Simple Techniques for Stunning Cake Transformations
We've explored a variety of easy cake decorating ideas that can transform a plain cake into a stunning centerpiece. From achieving a smooth base with buttercream or ganache to adding sparkle with edible glitters and dusts, incorporating natural elegance with fresh fruit, creating decadent chocolate shavings and curls, and mastering simple piping techniques like rosettes and borders – there's a method for every baker and occasion. Even techniques like stenciling, drip cakes, and using edible flowers are accessible with a little guidance.
These techniques prove that beautiful cake decoration doesn't require years of practice or expensive equipment. By focusing on one or two of these simple methods, you can significantly elevate the visual appeal of your bakes, making them look as impressive as they taste. Remember that the foundation – a well-baked and well-frosted cake – is key, and the decorations are the delightful finishing touch.
Encouragement to Experiment and Develop Your Own Style at BakeWithEase
Now that you have a toolkit of easy cake decorating ideas, the most important step is to start experimenting! Don't be afraid to try a new technique on your next bake. Maybe combine a chocolate drip with some fresh berries, or pipe a simple border and add edible glitter. Practice makes perfect, but even your first attempts at these simple methods will yield beautiful results.
Visit BakeWithEase.com for more recipes, tips, and inspiration. Share your creations with us and the baking community! Developing your own style is part of the fun – perhaps you'll become known for your signature fruit arrangements or your perfectly executed chocolate drips. Embrace the process, have fun, and enjoy the rewarding experience of creating something both delicious and visually delightful. Happy decorating!
Frequently Asked Questions
How can I decorate a cake easily if I'm a beginner?
Start with simple techniques, such as using stencils, powdered sugar, or fruit arrangements. These methods require minimal skill and can create stunning visual effects.
What are some easy cake decorating ideas that don't involve fancy tools?
Consider using items you already have, like a fork for creating swirls in frosting or a knife to create textured patterns. Fresh flowers or decorative edible glitter are also excellent choices.
What type of frosting is best for easy cake decorating?
A stable and easy-to-work-with frosting like buttercream or cream cheese frosting is ideal for beginners. They hold their shape well and are forgiving to work with.
Where can I find inspiration for easy cake decorating ideas?
Websites like BakeWithEase.com and social media platforms offer a wealth of visual inspiration. Focus on tutorials that highlight simple techniques and readily available ingredients.
How can I make my cake decorating look professional without a lot of effort?
Focus on one key element and execute it well. For example, a perfectly smooth frosting base topped with a simple chocolate ganache drip can look incredibly elegant.
Final Reflection: The Enduring Allure of Simple Elegance
The art of cake decorating, once perceived as an exclusive skill, is now experiencing a delightful democratization. Anyone, regardless of experience, can transform a simple cake into a masterpiece with a few easy techniques. This accessibility not only empowers home bakers but also fosters a sense of creativity and personal expression in the kitchen.
The impact of readily available resources and the rise of online tutorials has fundamentally shifted the landscape of cake decorating. It's no longer about perfectly piped roses or intricate fondant sculptures; it's about finding joy in the process and celebrating the beauty of imperfection. This shift reflects a broader cultural trend towards embracing authenticity and self-expression, moving away from rigid perfectionism. The best things in life are not things.
– Unknown. This sentiment perfectly encapsulates the spirit of easy cake decorating – the focus is on the experience and the joy of sharing, not on achieving unattainable standards.
Now, I invite you to consider your own approach to baking and decorating. What simple additions can you incorporate to elevate your creations? Don't be afraid to experiment, to embrace the unexpected, and to find your own unique style. The next time you bake a cake, remember that the true sparkle comes not just from the sprinkles, but from the love and creativity you pour into it. Let your inner artist shine!
Unleash Your Inner Baking Star!
Thanks for taking the time to explore new ways to add that extra wow factor to your baking! We hope you're feeling inspired and ready to create something truly delicious. Now it's time to put those ideas into action:
- Try out one (or two!) of the sprinkle techniques we highlighted – you'll be amazed at the difference a little extra creativity can make! Pick your favorite and get baking.
- Share your sparkly creations on social media using #BakeWithEaseSparkle – we'd love to see your masterpieces!
- Challenge yourself to experiment with a new type of sprinkle or edible glitter you haven't used before. What unexpected combination will you discover?
Ready to sprinkle some magic into your next bake?