
The Secret to a Perfect Bread Crust: Harnessing the Maillard Reaction

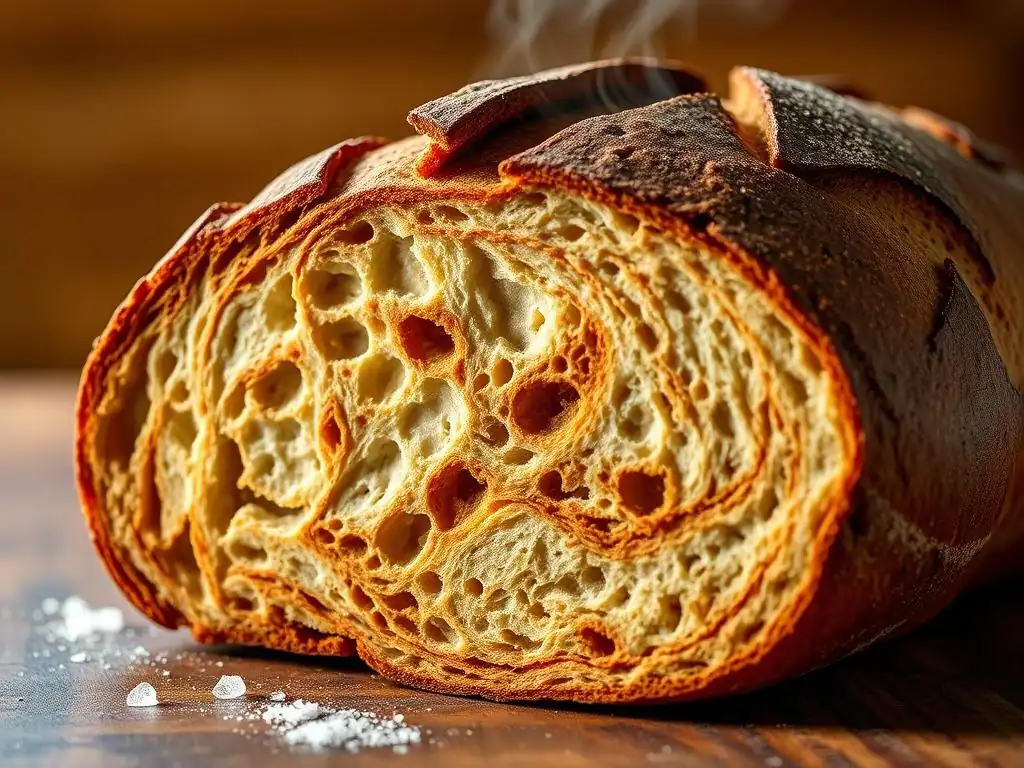
Welcome to BakeWithEase, your companion on the delicious journey of baking! Ever wondered how to achieve that coveted golden-brown, shatteringly crisp crust on your homemade bread? In this Baking Science Deep Dive, we're unlocking the secrets behind the Maillard reaction to present you with the perfect bread crust recipe. Prepare to elevate your baking and create loaves that are as beautiful as they are delicious - but what exactly are the key factors that contribute to the ultimate crust? Let's find out!
- The Secret to a Perfect Sourdough Crust: Harnessing the Maillard Reaction
- Understanding the Maillard Reaction for Baking a Perfect Sourdough Crust
- Key Factors for Achieving a Golden Brown Sourdough Crust
- Techniques for Enhancing Your Sourdough Crust
- Troubleshooting Common Sourdough Crust Problems
- Achieving the Perfect Sourdough Crust: A Step-by-Step Guide
- Mastering the Art of Sourdough Baking: Beyond the Perfect Crust
- Conclusion: Bake With Ease and Achieve Sourdough Crust Perfection
-
Frequently Asked Questions
- What is the Maillard Reaction, and why is it important for bread crust?
- How does steam contribute to a perfect bread crust?
- What type of flour is best for achieving a perfect bread crust?
- What temperature should I bake my bread at for the best crust?
- Are there any special techniques I can use to enhance my bread crust?
- Final Reflection: The Golden Crust and the Everlasting Quest for Perfection
- Unlock Your Crusty Bread Potential!
The Secret to a Perfect Sourdough Crust: Harnessing the Maillard Reaction
Achieving a truly perfect bread crust is a hallmark of successful baking, and for sourdough, it's particularly prized. That beautiful golden-brown hue, the delightful aroma, and the satisfying crunch are largely thanks to a complex chemical process known as the Maillard reaction. Understanding and controlling this reaction is key to elevating your sourdough from good to exceptional.
Understanding the Maillard Reaction for Baking a Perfect Sourdough Crust
The journey to a perfect bread crust recipe begins with understanding the science happening inside your oven. It's more than just heat; it's a fascinating interplay of compounds that transform your dough's surface.
What is the Maillard Reaction and Why Does it Matter for Sourdough?
The Maillard reaction is a complex series of chemical reactions that occur when amino acids and reducing sugars in food are heated. It's responsible for the browning and flavor development in countless cooked foods, from seared steaks to roasted coffee beans, and crucially, baked bread crusts. This reaction typically begins at temperatures around 140°C (284°F) and accelerates significantly at higher heats.
For sourdough, the Maillard reaction is vital because it develops the distinctive color, deep aromas, and complex flavors that are characteristic of a well-baked loaf. Without sufficient Maillard browning, your sourdough crust would remain pale, less flavorful, and lack that desirable crispness. It's the engine that drives the transformation of the pale dough surface into the rich, aromatic crust we all love in a perfect bread crust recipe.
The Science Behind Sourdough Crust Color and Flavor
At a molecular level, the Maillard reaction involves a cascade of reactions starting with the initial interaction between the carbonyl group of a sugar and the amino group of an amino acid. This leads to the formation of intermediate compounds, which then undergo further transformations, including fragmentation and polymerization. The final products include a vast array of flavor and aroma molecules (estimated in the hundreds), as well as large, brown pigments called melanoidins.
In sourdough, the long fermentation process breaks down complex starches into simpler reducing sugars and proteins into amino acids, providing ample reactants for the Maillard reaction. As the dough bakes at high temperatures, these compounds on the surface react, creating the rich, dark color from the melanoidins and the myriad of toasted, nutty, and slightly bitter notes that complement the sourdough's tang. This scientific magic is what defines a perfect bread crust recipe for sourdough.
Key Factors for Achieving a Golden Brown Sourdough Crust
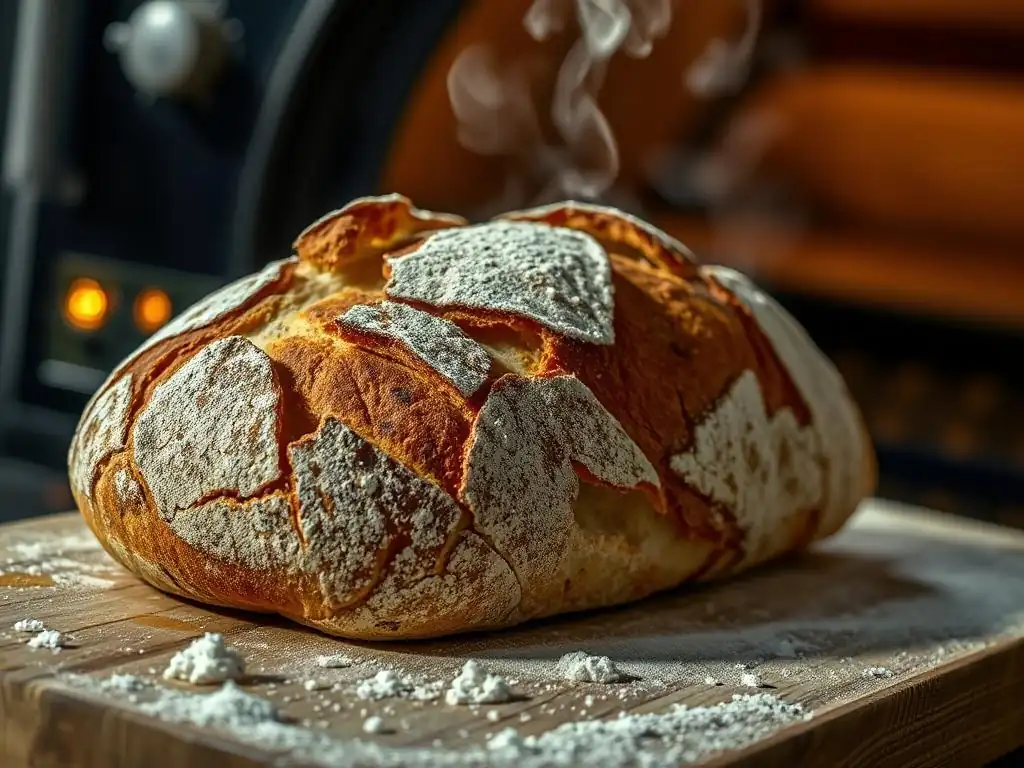
Several environmental and compositional factors play a critical role in how effectively the Maillard reaction proceeds during baking. Mastering these elements is essential for developing that coveted golden-brown hue and intense flavor.
The Importance of Oven Temperature for Crust Development
High oven temperature is perhaps the most critical factor for initiating and sustaining the Maillard reaction on your sourdough crust. The reaction requires significant heat, typically starting above 140°C (284°F) and accelerating rapidly as temperatures rise. Sourdough is often baked at temperatures between 230°C and 250°C (450°F and 480°F), particularly during the initial phase.
This intense heat quickly dries the surface of the dough once steam is removed, allowing the surface temperature to rise rapidly into the optimal range for the Maillard reaction and caramelization (the browning of sugars alone, which also occurs). Baking at too low a temperature, or for too short a time, will result in insufficient energy to drive these reactions, leading to a pale, underdeveloped crust lacking in flavor and texture. A truly perfect bread crust recipe demands high heat.
Controlling Humidity for Optimal Crust Formation
Humidity, in the form of steam, is counter-intuitively crucial for developing a perfect bread crust recipe. During the first 15-20 minutes of baking, steam keeps the surface of the dough moist and pliable. This prevents the crust from setting too early, allowing the loaf to achieve maximum oven spring – the final expansion before the structure solidifies.
Once the desired expansion is reached and the steam is vented or dissipates (e.g., by removing the lid of a Dutch oven), the now-thin and expanded surface dries out rapidly. With the moisture gone, the surface temperature can quickly climb past the boiling point of water (100°C or 212°F) and into the range required for the Maillard reaction and caramelization (140°C+ or 284°F+). Insufficient steam leads to a premature, thick crust that can inhibit oven spring, while too much steam for too long can delay browning.
The Role of Sugars and Proteins in the Maillard Reaction for Sourdough
The Maillard reaction is fundamentally a reaction between sugars and amino acids (from proteins). The sourdough fermentation process, driven by wild yeast and lactic acid bacteria, is particularly effective at breaking down complex carbohydrates (starches) into simpler reducing sugars like glucose and fructose, and proteins (gluten) into amino acids.
A well-fermented sourdough dough will therefore have a higher concentration of these reactive compounds available on the surface when it hits the hot oven. This increased availability directly contributes to more vigorous Maillard browning and a more complex flavor profile in the crust. Doughs that are under-fermented may lack sufficient simple sugars and amino acids on the surface, resulting in a paler crust even at high temperatures. This highlights why proper fermentation is integral to a perfect bread crust recipe.
Techniques for Enhancing Your Sourdough Crust
Beyond the fundamental science and environmental controls, specific techniques can be employed to further optimize the Maillard reaction and achieve a visually stunning and delicious sourdough crust.
Egg Washes: Adding Shine and Color (Considerations for Sourdough)
Egg washes, typically a mixture of beaten egg and water or milk, are commonly used in baking to add shine and promote browning on pastries, rolls, and some breads. The proteins and sugars in the egg mixture readily participate in the Maillard reaction and caramelization, leading to a darker, shinier crust.
However, egg washes are less traditional and often avoided for classic sourdough loaves where the goal is typically a rustic, matte-to-slightly-shiny crust achieved primarily through steam and high heat. Applying an egg wash to a sourdough can create a different aesthetic – a glossier, darker, almost pastry-like finish. While not part of a traditional perfect bread crust recipe for sourdough, experimenting with a light milk wash could offer a subtle color enhancement without the intense shine of egg.
Scoring Your Dough: Controlling Crust Expansion and Appearance
Scoring, the act of cutting the surface of the dough just before baking, is not merely decorative; it's a crucial technique for controlling oven spring and influencing crust development. As the dough heats up, the trapped gases expand. Scoring provides weak points where the dough can tear in a controlled manner, allowing for maximum expansion without the crust rupturing unpredictably (a "blowout").
These scored areas, as they open up during baking, expose fresh surface area directly to the intense heat and dry air (after the steam phase). This exposed surface browns more intensely due to the accelerated Maillard reaction and caramelization, creating beautiful blisters and color contrast against the rest of the crust. Proper scoring is fundamental to both the structure and the visual appeal of a perfect bread crust recipe.
Using Steam: Creating a Crispy, Shiny Crust
As previously discussed, steam is paramount in the initial phase of baking sourdough. It keeps the surface moist and flexible, allowing the dough to expand fully. Once the steam is gone, the surface dries rapidly and the temperature soars, enabling the Maillard reaction to occur efficiently.
The presence of steam also influences the final texture and appearance. It helps gelatinize the starch on the surface of the dough, contributing to a thin, crispy crust. Furthermore, it can help create a slightly shinier finish compared to baking in a dry environment from the start. Using a Dutch oven is one of the most effective home methods to trap sufficient steam for achieving a perfect bread crust recipe with excellent oven spring and crust development.
Troubleshooting Common Sourdough Crust Problems
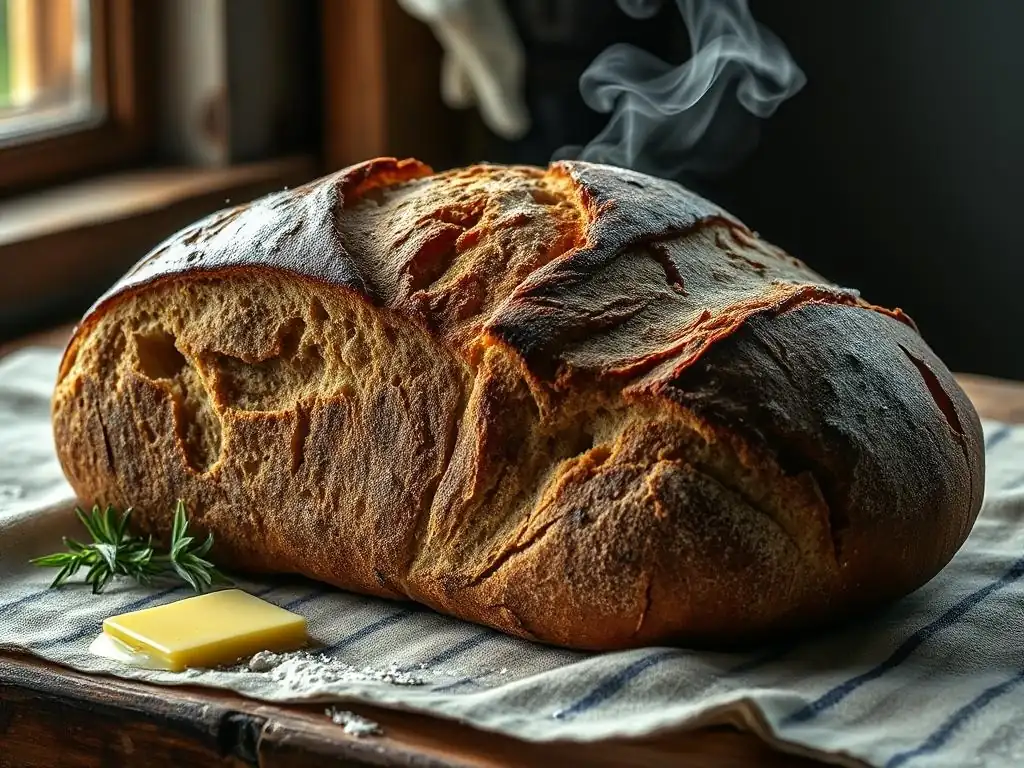
Even with careful attention, achieving a perfect bread crust recipe every time can be challenging. Here are some common issues and how to address them.
Pale Crust: Causes and Solutions
A pale sourdough crust indicates insufficient Maillard reaction and caramelization. Common causes include insufficient oven temperature (below 230°C/450°F), not enough baking time, removing the loaf from the oven too early, or too much steam for too long which prevents the surface from reaching the necessary high temperature. Under-fermented dough, lacking sufficient simple sugars and amino acids, can also contribute to paleness.
To solve a pale crust, ensure your oven is properly preheated to a high temperature, ideally using a baking stone or steel which retains heat effectively. Bake for the recommended time, checking for internal temperature (93-99°C or 200-210°F). If using steam, ensure it dissipates after the initial phase (e.g., remove the Dutch oven lid). Allow sufficient fermentation time for sugar and amino acid development.
Thick, Tough Crust: How to Avoid It
A thick, tough crust can be a result of several factors. Baking at too low a temperature for too long can dry out the crust excessively. Insufficient initial steam is a major culprit; without steam, the crust forms too quickly and thickly, inhibiting oven spring and resulting in a dense, tough outer layer. Over-handling the dough during shaping can also lead to a tighter, tougher crust.
To avoid a thick, tough crust, bake at a high initial temperature to set the crust quickly but thinly after the steam phase. Ensure adequate steam during the first 15-20 minutes of baking using a Dutch oven or other steaming method. Handle the dough gently during shaping to maintain an open structure. Ensure your dough is properly hydrated – a very dry dough can also contribute to a tough crust. Aiming for a perfect bread crust recipe involves balancing heat, steam, and handling.
Burnt Crust: Prevention and Recovery Tips
A burnt crust is the opposite problem from pale, indicating excessive Maillard reaction and caramelization, often combined with carbonization (burning). This usually happens if the oven is too hot, the loaf is baked for too long, the dough is placed too close to a heating element, or if there are too many residual sugars on the surface (e.g., from flouring).
Prevent a burnt crust by accurately monitoring your oven temperature (an external oven thermometer is useful) and adjusting baking time as needed. If baking on a stone or steel, ensure it's not positioned too close to the top heating element. If parts of the crust are browning too quickly, you can loosely tent the loaf with aluminum foil for the remainder of the baking time. If the crust is only slightly burnt, you might be able to carefully scrape off the carbonized bits after cooling.
Achieving the Perfect Sourdough Crust: A Step-by-Step Guide
Putting the science and techniques together leads to a reliable process for creating a perfect bread crust recipe for sourdough at home.
Ingredients for a Crusty Sourdough Loaf
A basic, yet effective, sourdough loaf for a great crust typically includes:
- Strong bread flour (high protein content, usually 12-14%)
- Water
- Active sourdough starter
- Salt
Optional additions like a small amount of whole wheat or rye flour can add complexity and sometimes contribute to browning due to higher sugar content.
Step 1: Preparing the Dough for Maximum Crust Development
Proper fermentation is paramount. Allow your dough sufficient time for bulk fermentation (at room temperature or in the fridge) and proofing. This develops flavor and structure, and critically, breaks down starches and proteins into the simple sugars and amino acids needed for the Maillard reaction.
- Mix ingredients and perform stretch and folds or kneading.
- Allow bulk fermentation until dough is airy and increased in volume (e.g., doubled).
- Shape the dough gently, creating surface tension.
- Proof the shaped dough in a banneton or bowl (usually cold proofing in the fridge for 8-24 hours is popular for flavor and easier handling).
- Preheat oven with Dutch oven or baking stone/steel to a high temperature (230-250°C/450-480°F) for at least 30-60 minutes.
- Score the dough just before transferring to the oven.
Step 2: Baking for the Perfect Crust: Time and Temperature
Baking in a high-heat environment with controlled steam is key. A common method for a perfect bread crust recipe is using a Dutch oven.
- Carefully transfer the scored dough into the preheated Dutch oven.
- Place the lid on the Dutch oven.
- Bake with the lid on at high temperature (e.g., 240°C/465°F) for 20-25 minutes. This traps steam for oven spring.
- Carefully remove the lid. The crust should be pale but expanded.
- Reduce the oven temperature slightly (e.g., to 230°C/450°F) and continue baking, uncovered, for another 20-30 minutes, or until the crust is a deep golden brown and the internal temperature reaches 93-99°C (200-210°F).
Step 3: Cooling and Storing Your Sourdough Bread
Once baked, immediately transfer the loaf to a wire cooling rack. This allows air to circulate around the entire crust, preventing condensation which can make the bottom soggy, and allowing the crust to set and become crispy.
Allow the bread to cool completely (at least 2-3 hours for a large loaf) before slicing. Slicing hot bread can damage the crumb structure and also prevent the crust from reaching its optimal crispness. Store cooled bread in a paper bag or bread box to help maintain crust texture longer than plastic, which traps moisture and softens the crust. This final step is vital for enjoying the results of your perfect bread crust recipe.
Mastering the Art of Sourdough Baking: Beyond the Perfect Crust
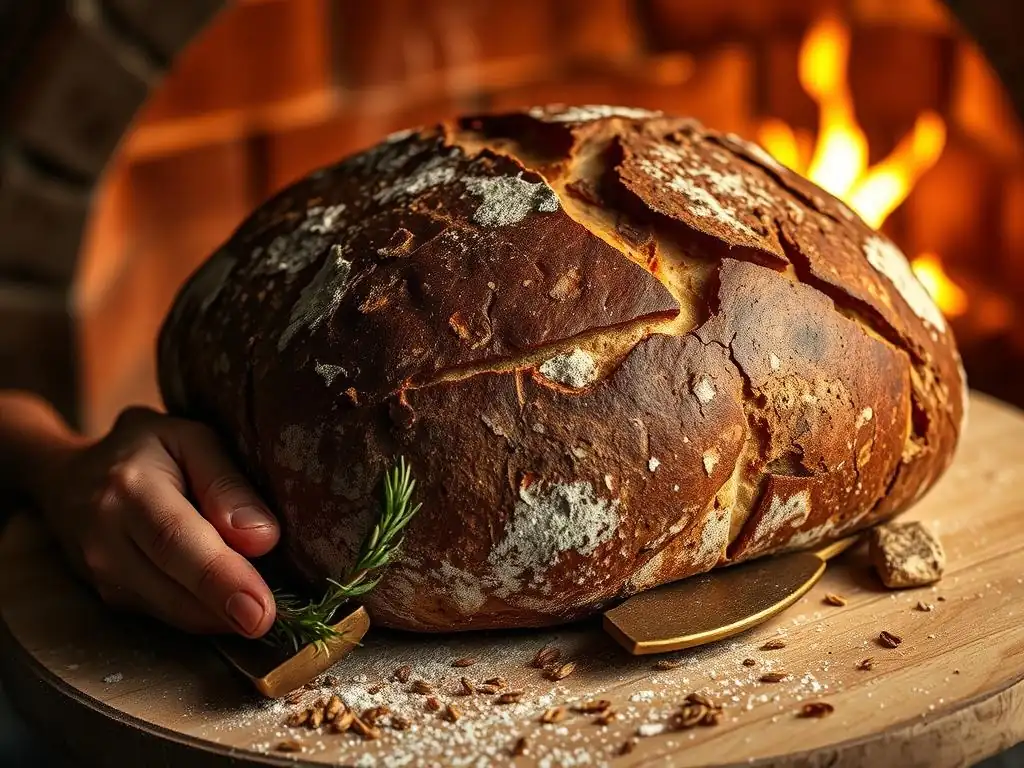
While the crust is a defining feature, it's part of a larger process. Understanding how other variables interact with crust development enhances your overall sourdough skills.
Exploring Different Flours and Their Impact on Crust
The type of flour significantly impacts the potential for Maillard browning. Flours vary in protein content (source of amino acids) and simple sugar levels. Bread flour, with its high protein (12-14%), provides ample amino acids. Whole wheat or rye flours often contain higher levels of simple sugars compared to refined white flour, which can lead to faster and darker browning.
For instance, a loaf made with 20% whole wheat flour will likely achieve a deeper crust color than a loaf made purely with white bread flour, assuming all other factors are equal. Experimenting with blends can alter the flavor profile and the crust's characteristics, adding another dimension to your perfect bread crust recipe journey.
The Influence of Fermentation on Sourdough Crust Flavor
Beyond providing the reactants for the Maillard reaction, fermentation itself contributes immensely to the final flavor of the crust (and crumb). The long, slow work of the sourdough culture breaks down starches and proteins, creating a wider spectrum of compounds.
These compounds interact during baking, leading to more complex and nuanced flavors in the crust than you would find in a quick yeasted bread. A longer, cooler fermentation (like a cold proof in the refrigerator) often results in a more flavorful crust because the enzymes have more time to act, producing more simple sugars and amino acids for the Maillard reaction, alongside the development of characteristic sourdough tang.
Baking with a Dutch Oven: Achieving Oven Spring and Crust
The Dutch oven has become a standard tool for home sourdough bakers aiming for a perfect bread crust recipe. Its heavy lid effectively traps the steam released by the dough during the initial baking phase, mimicking the steam-injected ovens used in professional bakeries.
This trapped steam allows the dough surface to remain moist and flexible, facilitating impressive oven spring. Once the lid is removed, the dry, superheated environment inside the Dutch oven promotes rapid drying of the surface and intense Maillard browning, resulting in a thin, exceptionally crispy, and beautifully colored crust that is hard to achieve in a standard home oven without added steam.
Conclusion: Bake With Ease and Achieve Sourdough Crust Perfection
Mastering the sourdough crust is a rewarding endeavor that combines the art and science of baking. By understanding the Maillard reaction – the chemical magic behind that golden-brown color, complex flavor, and irresistible aroma – you gain control over the most visible and arguably most delightful part of your loaf.
Focusing on key factors like using high oven temperatures, controlling humidity with steam, and ensuring proper fermentation provides the foundation for success. Employing techniques like precise scoring and utilizing tools like a Dutch oven further refines your ability to achieve a perfect bread crust recipe. Don't be discouraged by initial imperfections; each bake is a learning opportunity. With practice and attention to these principles, you'll be well on your way to consistently baking sourdough loaves with crusts that are the envy of any baker. Bake with ease, experiment, and enjoy the delicious results!
Frequently Asked Questions
What is the Maillard Reaction, and why is it important for bread crust?
The Maillard Reaction is a chemical reaction between amino acids and reducing sugars that occurs when heat is applied. It's crucial for bread crust because it creates the brown color and complex flavors.
How does steam contribute to a perfect bread crust?
Steam is vital in the initial baking stage. It keeps the crust moist, allowing it to expand fully before setting, leading to a thinner, crispier crust and a better oven spring.
What type of flour is best for achieving a perfect bread crust?
High-protein flour, such as bread flour, is generally recommended. It provides more gluten, which results in a stronger, chewier crust with a desirable texture.
What temperature should I bake my bread at for the best crust?
A high oven temperature is key, usually around 450-500°F (232-260°C). This promotes rapid Maillard Reaction and caramelization, leading to a deeply colored and flavorful crust.
Are there any special techniques I can use to enhance my bread crust?
Yes, you can try brushing the dough with an egg wash or milk wash before baking. This adds shine and promotes browning. Also, scoring the dough properly helps control expansion and prevents cracking.
Final Reflection: The Golden Crust and the Everlasting Quest for Perfection
The pursuit of the perfect bread crust is not merely a culinary quest; it's a testament to our enduring fascination with transforming simple ingredients into something truly extraordinary. The Maillard reaction, as explored throughout this article, is more than just a chemical process; it's the key that unlocks the rich, complex flavors and alluring textures we crave in a truly exceptional loaf. Understanding this reaction allows us to move beyond simple recipes and into the realm of mindful baking, where control and intentionality elevate the ordinary to the sublime.
The impact of this seemingly simple chemical reaction extends far beyond the confines of our kitchens. It speaks to our inherent desire for mastery, for understanding the fundamental processes that shape our world, and for the satisfaction derived from creating something beautiful and delicious. The best things in life are simple, but not easy.
This quote perfectly encapsulates the journey of perfecting a bread crust – it's a process that demands patience, attention to detail, and a deep appreciation for the alchemy of baking. The pursuit itself, with its trials and triumphs, is as rewarding as the final, golden-brown result.
Now, consider your own baking journey. What have you learned about the process of creating something truly exceptional? I encourage you to experiment, to embrace the imperfections, and to find joy in the journey of mastering the Maillard reaction and crafting your own perfect bread crust. Don't be afraid to adjust temperatures, experiment with different flours, and most importantly, to savor the process. The perfect crust awaits, not just in the recipe, but in the mindful creation of it.
Unlock Your Crusty Bread Potential!
Thanks for taking the time to explore the fascinating world of the Maillard reaction and its impact on bread baking! You've now got the knowledge to create truly exceptional crusts. Ready to put your new skills to the test?
- Bake a loaf today! Experiment with different flours, hydration levels, and baking times to see how the Maillard reaction affects your crust. This is your chance to create your masterpiece!
- Share your crusty creations with the BakeWithEase community! Post a picture on social media and tag us – we'd love to see your results.
- Explore our advanced baking techniques guide (available on the site) for even more tips and tricks on achieving bread perfection.
What unexpected flavor combinations will you try to enhance the Maillard reaction in your next loaf?