
Why Your Cake Layers Aren't Level (Beyond the Dome)

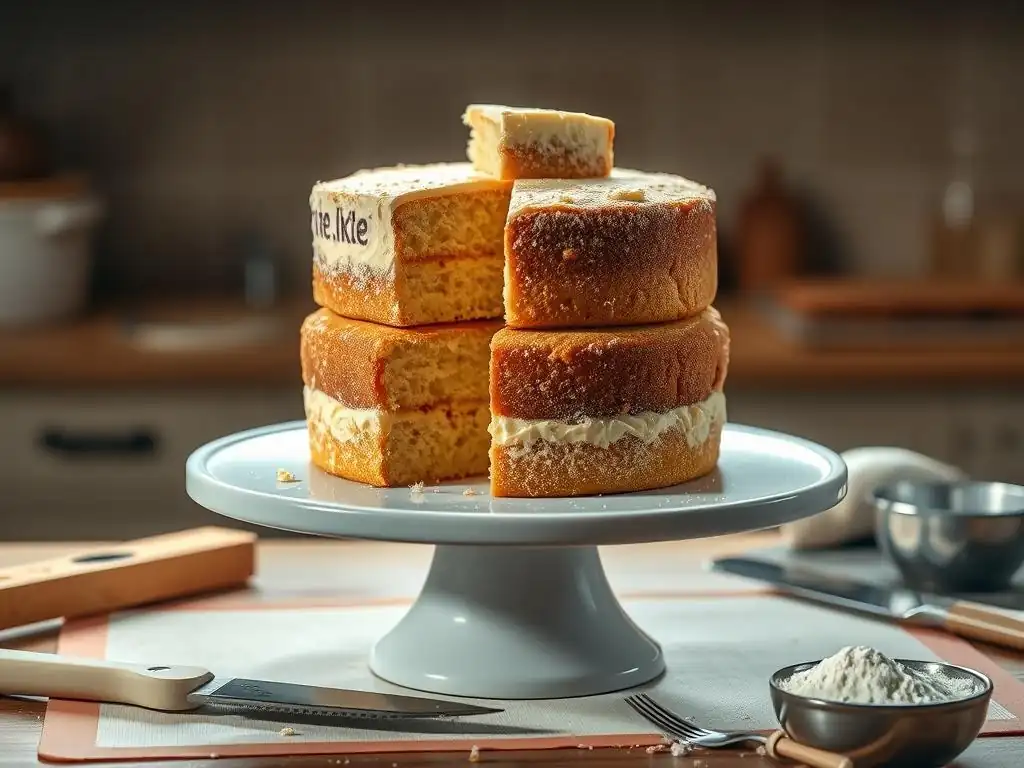
Welcome to BakeWithEase, your trusted guide to baking brilliance! Ever wondered why your cakes rise unevenly, even after you've tackled the dreaded dome? We're diving deep into the secrets of achieving perfectly level cake layers. Discover the surprising culprits behind those wobbly wonders and unlock our expert solutions for uneven cake layers. Get ready to elevate your baking game!
- Understanding the Common Causes of Uneven Cake Layers
- Mastering Even Baking: Addressing Temperature Issues
- Pan Preparation Perfection: Achieving Uniform Cake Layers
- Batter Distribution Techniques for Level Cakes
- The Importance of Rack Placement for Even Cake Baking
- Cooling Techniques for Preventing Cake Layer Distortion
- Uneven Cake Layers Solution: Summarizing Key Takeaways
- Advanced Leveling Techniques for Problem Cakes
-
Frequently Asked Questions
- Why is it important to have even cake layers when baking?
- What are some common causes of uneven cake layers besides the typical "dome" formation?
- How can I ensure my oven temperature is accurate for baking even layers?
- What are some techniques for evenly distributing batter into cake pans?
- If my cake layers are already baked unevenly, what are my options for fixing them?
- Final Reflection: The Pursuit of the Perfect Layer, and the Lessons Within
- Level Up Your Baking Game: Conquer Those Cake Layers!
Understanding the Common Causes of Uneven Cake Layers
The Obvious Culprit: Dealing with the Dome
Ah, the dreaded dome! It's perhaps the most common sign of uneven cake layers, and it happens when the edges of your cake set faster than the center. This is often due to the oven temperature being too high. The outside bakes and solidifies quickly, while the inside continues to rise, pushing upwards and creating that familiar hump in the middle. Addressing this initial issue is a key step in finding your uneven cake layers solution. A classic sign is a cake that has risen significantly higher in the center, sometimes cracking, while the edges remain relatively flat.
While a slight dome is normal for many cake recipes, an excessive dome indicates a significant temperature imbalance or potentially too much leavening. This uneven rise means that even if the cake is baked through, you'll need to level it before stacking, losing precious cake and potentially affecting the final texture distribution. Understanding why this dome forms – heat distribution, leavening reaction speed, and batter consistency – is fundamental to troubleshooting and preventing it from happening in the first place, moving you closer to baking perfectly level cakes.
Beyond the Dome: Exploring Less Obvious Reasons for Uneven Cake Layers
While the dome gets all the attention, uneven cake layers can also result from issues that don't necessarily produce a large dome. Sometimes, one side of the cake is significantly higher or denser than the other. This could be due to uneven heat distribution within the oven itself, with one side being hotter than the other.
Imagine baking a cake where the back of the oven is 10-15 degrees Fahrenheit hotter than the front; the batter on the hotter side will rise faster and set sooner, leading to a lopsided result. This often subtle unevenness is a significant contributor to the challenge of achieving uniform layers.
Other less obvious culprits include how the batter was prepared and poured. Overmixing can develop too much gluten, leading to a tougher texture and potentially uneven rising. Conversely, undermixing might leave pockets of leavening agents or unmixed ingredients. Simply pouring batter into the pan without ensuring it's evenly distributed can also cause issues. If the batter is slightly higher on one side before baking begins, it's likely to bake into an uneven layer. Identifying these subtle factors is crucial for a comprehensive uneven cake layers solution.
Mastering Even Baking: Addressing Temperature Issues
Oven Temperature Inconsistencies and Their Impact
Oven temperature is arguably the most critical factor in achieving even cake layers. An oven that runs too hot or too cool, or fluctuates significantly, will inevitably lead to baking problems. For instance, if your oven is set to 350°F (175°C) but actually heats up to 375°F (190°C), the cake edges will set too quickly, promoting a dome.
Conversely, an oven running too cool might result in a cake that takes too long to bake, potentially drying out the edges while the center struggles to set, leading to a sunken or uneven texture. Precise temperature control is paramount for an effective uneven cake layers solution.
Fluctuations in temperature can be just as problematic. Opening the oven door frequently or an oven with poor insulation can cause significant temperature drops, interrupting the baking process and affecting the rise. A difference of just 20-30°F can be the difference between a level cake and one with a noticeable slant or dome. Understanding your oven's true temperature and how it behaves is the first step in mitigating these issues.
Hot Spots: Identifying and Mitigating Uneven Baking in Your Oven
Most ovens have hot spots – areas that are consistently hotter than others. This uneven heat distribution is a primary cause of lopsided cakes. You might notice cakes browning faster on one side, or cookies on one part of a baking sheet being darker than others. These hot spots occur due to heating element placement, fan circulation (in convection ovens), and even insulation quality. Without addressing these hot spots, you'll consistently face challenges with uneven cake layers.
Identifying hot spots can be done using a simple test: arrange slices of white bread or shredded coconut evenly across a large baking sheet and bake at a moderate temperature (like 350°F / 175°C) until they start to brown. The areas that brown fastest are your hot spots. To mitigate their effect, you can try rotating your cake pans halfway through the baking time. Additionally, avoid placing pans directly against the oven walls, which are often hotter. For a robust uneven cake layers solution, understanding and working around your oven's quirks is essential.
Calibrating Your Oven: Ensuring Accurate Temperature Readings
Relying solely on your oven's built-in thermometer can be misleading, as they can be off by as much as 50°F (10°C) or more. An inexpensive oven thermometer placed inside the oven is a crucial tool for verifying the actual temperature. Place it near the center of the middle rack and check it after the oven has preheated for at least 15-20 minutes. Compare this reading to the oven's setting. If there's a significant discrepancy, you've found a major reason for potential uneven baking.
If your oven is consistently off, you can either adjust your recipes accordingly (e.g., if it reads 25°F hot, set your oven to 325°F for a recipe calling for 350°F) or, for a more permanent uneven cake layers solution, consider calibrating the oven. Many modern ovens have a calibration setting in their menu that allows you to adjust the thermostat. Consult your oven's manual for specific instructions. For older models or significant discrepancies, a service technician might be needed, but simply knowing the offset allows you to adapt and achieve more consistent results.
Pan Preparation Perfection: Achieving Uniform Cake Layers
The Importance of Properly Greasing and Flouring Cake Pans
Proper pan preparation is a foundational step often overlooked, yet it significantly impacts how a cake bakes and releases. Greasing and flouring (or using baking spray with flour) creates a barrier between the batter and the pan, preventing sticking. More importantly for evenness, it allows the cake to rise uniformly along the sides. If the cake sticks to the pan on one side, it can inhibit the rise in that area, leading to a lopsided layer. A thin, even coating is key; excess grease can cause the cake edges to become greasy or tough.
For a consistent uneven cake layers solution, consider lining the bottom of your pans with parchment paper after greasing. This guarantees the bottom won't stick and helps the cake release cleanly. Cut the parchment to fit the base perfectly. Then, grease the sides and flour them lightly, tapping out any excess flour. This meticulous preparation ensures the cake has the best possible environment to rise evenly from the bottom up and sides inward, contributing to a level top surface.
Choosing the Right Cake Pan Size and Material for Even Baking
The size and material of your cake pan play a significant role in heat distribution and thus, even baking. Using a pan that is too small for the amount of batter will cause it to overflow or bake into an excessively high dome. Using a pan that is too large can result in a thin, dry cake. Recipes are typically developed for specific pan sizes for a reason, ensuring the batter depth allows for proper heat penetration and rise. Standard round cake pans (like 8-inch or 9-inch) are common, and using the size specified in the recipe is crucial.
Pan material also matters. Light-colored aluminum pans are generally preferred for even baking because they reflect heat, allowing the cake to rise steadily and brown evenly. Darker pans, like non-stick or anodized aluminum, absorb more heat, which can lead to faster browning of the crust and potentially a more pronounced dome or uneven rise if not managed carefully (sometimes requiring a slight temperature reduction). Glass or ceramic pans also retain heat differently and can result in uneven baking compared to metal. For a reliable uneven cake layers solution, matching the pan to the recipe's intent is vital.
Weighing Batter for Consistent Cake Layers: A Pro Tip
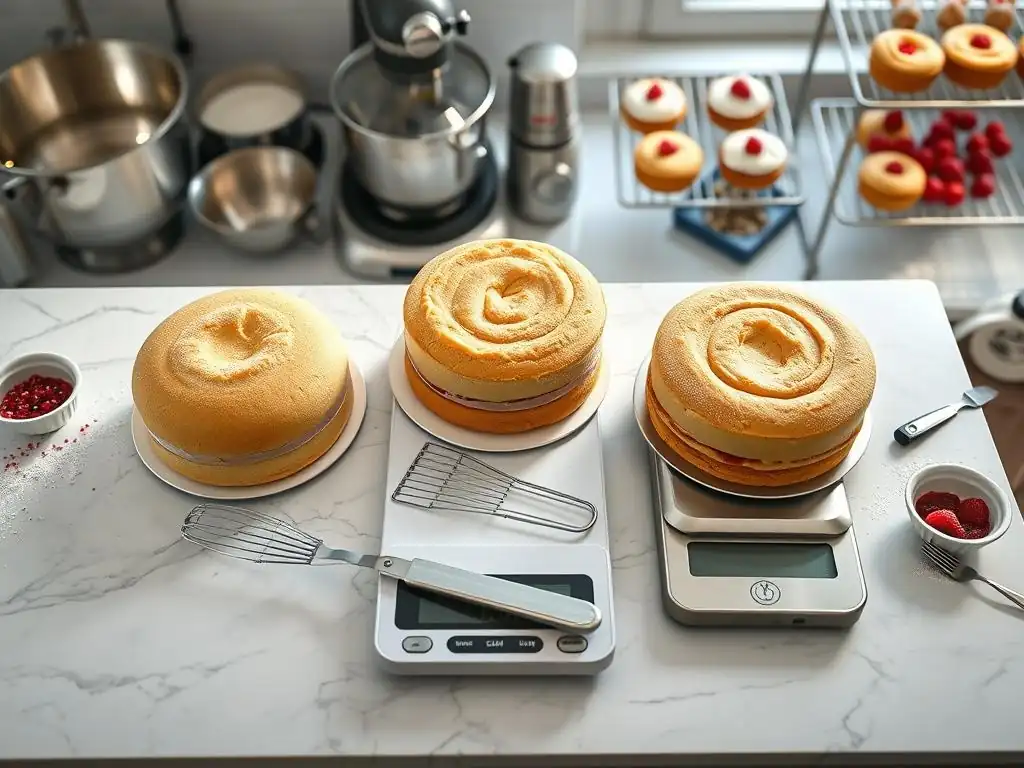
For truly uniform cake layers, especially when baking multiple layers of the same size, weighing the batter is a professional technique that home bakers can easily adopt. Instead of eyeballing or using measuring cups to divide batter among pans, place each empty pan on a kitchen scale, tare it to zero, and pour batter into it until you reach a specific weight. For example, if a recipe yields 48 ounces of batter for two 8-inch pans, aim for 24 ounces in each pan.
This method ensures that each layer starts with the exact same amount of batter, eliminating a significant variable that can lead to uneven height. Even a slight difference in batter volume between pans can result in one layer being noticeably thinner or thicker than another, making stacking and decorating more challenging. Weighing the batter is one of the most effective strategies for achieving consistent results and is a powerful component of an uneven cake layers solution.
Batter Distribution Techniques for Level Cakes
Avoiding Overmixing: The Key to a Stable Batter
Overmixing cake batter is a common mistake that can lead to tough, dense cakes and, yes, uneven layers. When you mix flour with liquid and activate the gluten, continued mixing develops strong gluten strands. While necessary for bread, too much gluten development in a cake can restrict the leavening agents' ability to lift the batter uniformly. The batter might become elastic and pull back from the sides of the pan, or parts of it might become denser than others, resulting in an uneven rise.
Mix cake batter only until the ingredients are just combined and no streaks of dry flour remain. For recipes using the creaming method, cream butter and sugar until light and fluffy, then alternate adding dry and wet ingredients, mixing on low speed just until incorporated. For recipes using the reverse creaming method, mix dry ingredients first, then add softened butter, and finally liquids, again mixing minimally. Gentle handling of the batter after the flour is added is key to a stable, even-rising mixture, contributing significantly to an uneven cake layers solution.
Evenly Distributing Batter: Methods for Achieving Uniform Height
Once your batter is mixed, how you get it into the pan matters. Simply dumping a large blob of batter into the center can result in it settling unevenly. The center will be thicker than the edges, potentially leading to a dome or lopsidedness as it bakes. For optimal evenness, pour or spoon the batter into the prepared pan, then gently spread it towards the edges with an offset spatula or the back of a spoon. Aim for the batter to be slightly higher around the edges than in the very center.
A common technique is to create a slight well in the center of the batter. The idea is that as the cake bakes and the center rises more than the edges (due to heat distribution), this initial slight depression helps counteract the natural doming tendency, encouraging a more level top. While not a guaranteed fix for severe issues, this simple step, combined with accurate batter measurement (ideally by weight), is a valuable technique in your uneven cake layers solution toolkit.
Using a Kitchen Scale for Precise Batter Measurement
As mentioned earlier, using a kitchen scale to divide batter is a game-changer for achieving level layers. This method eliminates the variability inherent in volume measurements (cups), which can be affected by how densely you pack ingredients or how much air is in the batter. By weight, you ensure each pan contains exactly the same quantity of cake batter, providing a perfectly uniform starting point for baking.
To implement this, place your empty cake pan on a scale and hit the "tare" button to zero it out. Pour or spoon batter into the pan until the scale reaches the target weight (total batter weight divided by the number of pans). Repeat for subsequent pans. This precision is invaluable when baking multiple layers that need to stack neatly for tiered cakes or even just for a standard two-layer cake. It's a simple yet highly effective uneven cake layers solution that professional bakers rely on.
The Importance of Rack Placement for Even Cake Baking
Optimizing Rack Position for Uniform Heat Distribution
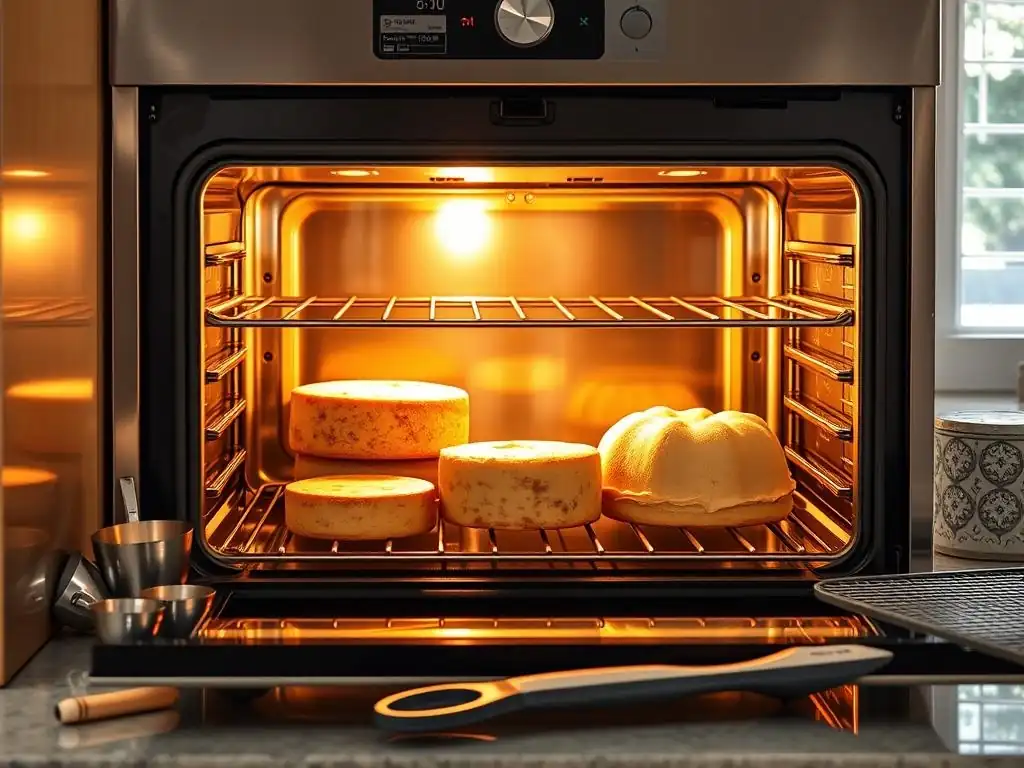
The position of your cake pan within the oven significantly affects how it bakes. For most cakes, the middle rack is considered the optimal position. This is because it allows the cake to be equidistant from the heating elements at the top and bottom of the oven, promoting more uniform heat distribution. Placing a cake too high might result in the top browning or setting too quickly while the bottom remains underbaked. Placing it too low can lead to a thick, dark bottom crust before the center is fully cooked.
When baking multiple cakes at once, avoid crowding the oven. Leave space between the pans and the oven walls for air circulation. If you must bake two cakes on one rack, ensure they are centered with adequate space around them. If using two racks, position them in the upper and lower thirds of the oven, staggering the pans rather than placing one directly above the other. Proper rack placement is a fundamental aspect of baking mechanics that directly impacts the evenness of your layers.
Rotating Pans During Baking: A Strategy for Even Browning and Leveling
Even in an oven with relatively good calibration and minimal hot spots, rotating your cake pans halfway through the baking time can help ensure more even heat exposure. This is especially helpful if you know your oven has minor temperature variations or if you are baking multiple cakes simultaneously. Rotating the pan 180 degrees allows the side that was facing the back of the oven (often hotter) to now face the front, and vice versa.
This simple action helps to counteract any subtle unevenness in heat distribution, promoting a more uniform rise and browning across the entire cake surface. It's a proactive step towards achieving perfectly level layers and is a recommended practice in many baking guides. However, avoid opening the oven door more than once or twice to check or rotate, as each time you open it, the temperature inside drops significantly, which can negatively impact the cake's rise and texture.
Cooling Techniques for Preventing Cake Layer Distortion
Allowing Cakes to Cool Completely in the Pan
The cooling process is just as critical as the baking process for achieving sturdy, level cake layers. Immediately removing a hot cake from its pan can cause it to collapse, crack, or slump, especially around the edges. The cake structure is still delicate and needs time to set as it cools slightly. Most recipes recommend letting the cake cool in the pan on a wire rack for 10-15 minutes. This allows the cake to firm up enough to handle without falling apart.
During this initial cooling period in the pan, residual heat continues to cook the cake gently and allows its internal structure to stabilize. Attempting to remove it too soon is a common cause of breakage and unevenness. The cake might stick, requiring force to remove, which can tear the edges or cause the center to sink. Patience during this cooling phase is a key component of your uneven cake layers solution.
Inverting Cakes Onto a Wire Rack: A Method for Leveling
After the initial cooling period in the pan (typically 10-15 minutes), inverting the cake onto a wire rack is crucial for complete cooling and can actually help level a slightly domed cake. Place a wire rack over the top of the cake pan, then, using oven mitts, carefully flip the pan and rack over together. The cake should release onto the rack. If it doesn't release easily, run a thin offset spatula or knife around the edges first.
Cooling the cake upside down allows gravity to gently press down on the dome, helping to flatten it slightly. This technique is particularly effective for cakes with a modest dome. Ensure the cake cools completely on the wire rack before attempting to handle it further, wrap it, or frost it. Placing a warm or hot cake on a flat surface can trap steam, making the bottom soggy, and a warm cake is much more prone to breakage and distortion when handled.
Troubleshooting Cooling Issues That Lead to Uneven Layers
Sometimes, issues arise during cooling that can lead to unevenness. If a cake cools in a drafty spot, one side might cool and contract faster than the other, causing a slight slant. Ensure cakes cool in a stable environment, away from open windows or vents. Another issue is leaving the cake in the pan for too long after the initial 10-15 minutes; trapped steam can make the bottom soggy and dense, potentially leading to a sunken area.
Improper handling of a warm cake is also a frequent cause of uneven layers. Picking up a cake layer before it's fully cooled can cause it to flex, crack, or break, making it difficult to stack evenly. Always wait until the cake is completely cool to the touch, usually at least 1-2 hours for an average layer, before moving it, wrapping it, or beginning any leveling or decorating steps. Addressing these cooling nuances is vital for a complete uneven cake layers solution.
Uneven Cake Layers Solution: Summarizing Key Takeaways
Checklist for Baking Perfectly Level Cake Layers
Achieving perfectly level cake layers consistently involves paying attention to multiple details throughout the baking process. Here is a summary checklist covering the key steps discussed:
- Verify oven temperature accuracy using an oven thermometer.
- Understand and mitigate your oven's hot spots (consider rotating pans).
- Use the correct size and material of cake pan as specified by the recipe.
- Properly grease and flour pans, considering parchment paper for the bottom.
- Weigh batter into pans for equal distribution between layers.
- Mix batter only until just combined; avoid overmixing.
- Evenly distribute batter in the pan, perhaps creating a slight well in the center.
- Position cake pans on the middle oven rack for optimal heat distribution.
- Cool cakes in the pan for 10-15 minutes on a wire rack.
- Invert cakes onto a wire rack to cool completely.
- Allow cakes to cool fully before handling or leveling.
Following this checklist significantly increases your chances of baking level cakes, providing a comprehensive uneven cake layers solution.
Troubleshooting Angel Food Cake: Addressing Unique Challenges
Angel food cake presents a unique challenge when it comes to even baking and cooling, largely due to its reliance on whipped egg whites for leavening and the absence of fat. These cakes are typically baked in an ungreased tube pan to allow the batter to cling to the sides and rise high. The cooling process is also different and crucial for maintaining its airy structure and achieving an even height.
Angel food cakes must be cooled upside down immediately after coming out of the oven. Most tube pans have "feet" or can be inverted onto the neck of a bottle to elevate the pan, allowing air circulation while gravity prevents the delicate structure from collapsing. Cooling right-side up will inevitably lead to a sunken cake.
If your angel food cake is uneven, it's often related to incomplete mixing of the egg whites (leading to unstable foam), oven temperature issues, or improper cooling technique. The uneven cake layers solution for angel food specifically focuses heavily on the whipping of the whites and the post-bake inversion.
Advanced Leveling Techniques for Problem Cakes
Torting and Filling: Masking Minor Imperfections
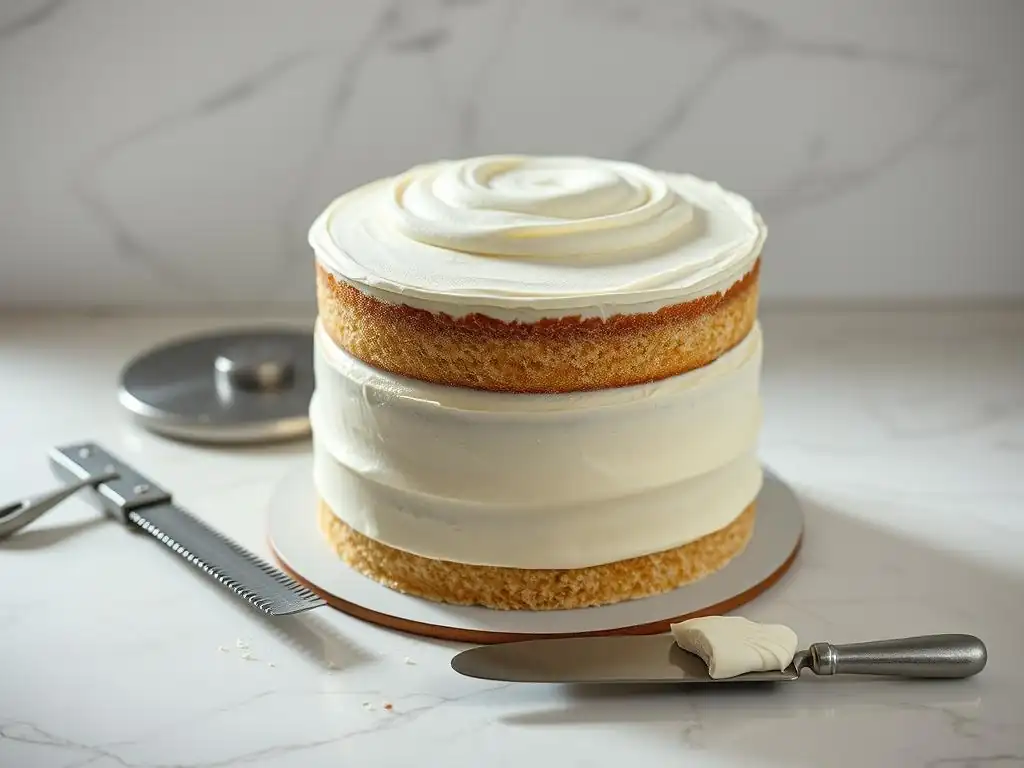
Even with the best practices, sometimes a cake layer isn't perfectly level. This is where advanced techniques like torting and filling come in handy. Torting involves slicing a cake layer horizontally into two or more thinner layers. If the original layer had a slight dome or slant, you can use a long serrated knife or a cake leveler to carefully slice off the top to make it flat before torting further.
Once you have flat layers, you can fill them with frosting, ganache, or fruit fillings. The filling not only adds flavor and moisture but also helps to visually (and structurally) correct minor unevenness. By adding more filling to a slightly lower spot, you can create the illusion of a perfectly level stacked cake. This technique is a standard part of cake decorating and is a practical uneven cake layers solution for layers that are almost perfect.
Using a Cake Leveler for Precision Cutting
For consistent and accurate cake layer slicing, a cake leveler is an invaluable tool. This adjustable wire saw allows you to set the desired height and slice through a cake layer horizontally with much more precision than a hand-held knife. It ensures that each torted layer is of uniform thickness, which is essential for a professional-looking stacked cake.
To use a cake leveler, place your cooled cake layer on a flat surface. Adjust the wire(s) on the leveler to the desired height. Hold the cake gently with one hand and saw back and forth through the cake with the leveler, keeping the feet of the leveler flat on the work surface. This provides a much cleaner, straighter cut than freehand slicing and is particularly useful for tackling persistent domes or creating multiple thin layers from a single cake, offering a precise uneven cake layers solution via correction.
Crumble Cake Transformation: Salvaging Severely Uneven Cakes
What about those cakes that are severely uneven, maybe even sunken or broken? Don't despair! These layers are perfect candidates for transformation into crumble cakes, cake pops, or trifles. A severely uneven cake layer doesn't have to be thrown away; it can be repurposed into delicious desserts where perfect shape isn't required.
Simply crumble the cake into a bowl. You can then mix it with frosting or binding agents to create cake pops or cake balls. Alternatively, layer the crumbled cake with whipped cream, pudding, and fruit in a glass dish for a beautiful trifle. This is the ultimate uneven cake layers solution when prevention and minor correction aren't enough – it turns a baking mishap into a completely new, delightful dessert.
Frequently Asked Questions
Why is it important to have even cake layers when baking?
Even cake layers are crucial for a professional-looking and structurally sound cake. They ensure even frosting distribution and prevent the cake from being lopsided. A flat top also provides a good surface for decoration.
What are some common causes of uneven cake layers besides the typical "dome" formation?
Beyond doming, common causes include an uneven oven temperature, improperly mixed batter (air pockets), and unevenly distributed batter in the pans. All of these can cause one side to rise more than the other.
How can I ensure my oven temperature is accurate for baking even layers?
Use an oven thermometer to verify your oven's temperature. Preheating is also essential. You might need to adjust the temperature slightly to achieve consistent baking.
What are some techniques for evenly distributing batter into cake pans?
Use a kitchen scale to weigh the batter into each pan or visually divide it as evenly as possible. Gently spread the batter to the edges of the pan for even distribution using an offset spatula.
If my cake layers are already baked unevenly, what are my options for fixing them?
You can use a serrated knife to level the layers after baking. Gently trim off the excess to create a level surface. Alternatively, you can use frosting to compensate for slight imperfections, but this is not ideal for very uneven layers.
Final Reflection: The Pursuit of the Perfect Layer, and the Lessons Within
The quest for perfectly level cake layers isn't just about aesthetics; it's a microcosm of the larger pursuit of precision and mastery in any craft. A wonky cake layer, while seemingly insignificant, can symbolize frustration, imperfection, and the challenges inherent in achieving our goals. But understanding the why behind uneven layers—from batter inconsistencies to oven temperature fluctuations—empowers us to overcome these challenges and achieve a more satisfying outcome.
The journey to baking the perfect cake, much like life itself, is rarely a straight line. There will be uneven layers, cracked tops, and moments of utter baking despair. The only way to do great work is to love what you do.
- Steve Jobs. This quote resonates deeply because the passion for baking, the dedication to understanding the process, is what ultimately allows us to learn from our mistakes and improve. The uneven layers become stepping stones, teaching us patience, attention to detail, and the importance of consistent practice.
Now, consider your own "uneven layers"—those areas in your life where things don't quite align with your expectations. What are the underlying causes? Can you identify the "oven temperature" or "batter consistency" issues that are preventing you from achieving your goals? Take the lessons learned from leveling cake layers—meticulous preparation, careful execution, and a willingness to adapt—and apply them to your own life. Embrace the imperfections, learn from the setbacks, and strive for a more balanced and fulfilling outcome. You might be surprised at what you achieve.
Level Up Your Baking Game: Conquer Those Cake Layers!
Thanks for diving into the world of perfectly level cakes! You now have the knowledge to tackle those frustratingly uneven layers. Ready to put your new skills into action?
- Bake a show-stopping layered cake this weekend! Use your newfound knowledge to create the perfectly level base for your masterpiece. Challenge yourself with a new flavor combination!
- Share your baking triumphs (and even your flops!) on social media using #BakeWithEaseLevelUp. Let's build a community of bakers supporting each other.
- Try experimenting with different pans and techniques to discover what works best for you. Document your process and share your tips!
What surprising technique will you try first to achieve flawlessly level cake layers?