
How to Prevent Crumbly GlutenFree Bakes with Smart Swaps

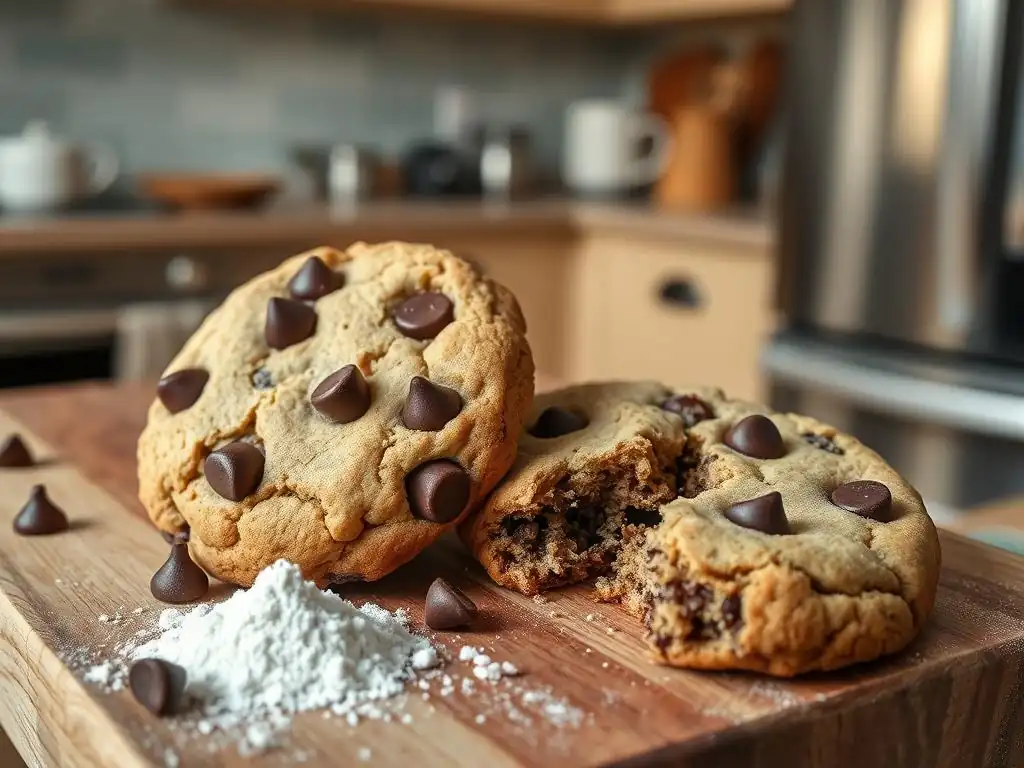
Welcome to BakeWithEase, where we unravel the secrets to flawless baking! Ever struggled with crumbly gluten-free creations? You're not alone! Our latest article dives deep into glutenfree crumbly bake fixes, offering smart ingredient swaps and techniques to transform your baking experience. Discover the secrets to achieving perfect texture and taste – your next delicious masterpiece awaits!
- Understanding the Challenges of Gluten-Free Baking for Better Results
- Smart Gluten-Free Flour Swaps for Improved Texture
- Binding Agents: Your Secret Weapon Against Crumbly Gluten-Free Bakes
- Moisture Management: Keeping Your Gluten-Free Bakes Hydrated
- Mixing Techniques for Avoiding Crumbly Gluten-Free Results
- Testing and Adjusting Your Gluten-Free Recipes
- Advanced Techniques for Perfect Gluten-Free Baking
- BakeWithEase: Mastering Gluten-Free Baking One Swap at a Time
-
Frequently Asked Questions
- How can I prevent my gluten-free baked goods from being too crumbly?
- What are some common reasons for crumbly gluten-free bakes?
- What kind of flour swaps can help improve the texture of gluten-free bakes?
- How important is xanthan gum in gluten-free baking, and what's a good amount to use?
- Besides flour and binders, what other tips can prevent crumbly gluten-free bakes?
- Final Reflection: Baking Beyond the Gluten-Free Limitations
- Unlock Perfectly Moist Gluten-Free Baking!
Understanding the Challenges of Gluten-Free Baking for Better Results
Why Gluten-Free Bakes Tend to Crumble: The Science Behind It
Gluten, a protein network formed when wheat flour is mixed with liquid, provides structure and elasticity to traditional baked goods. It acts like a binder, holding everything together and allowing doughs to stretch and trap gases, leading to a light, airy texture. When you remove gluten, you remove this primary structural support. Gluten-free flours lack this inherent binding ability, making doughs and batters more fragile and prone to falling apart. This is the fundamental reason why many gluten-free bakes end up with that frustratingly crumbly texture, requiring specific gluten-free crumbly bake fixes to achieve success.
Without the cohesive gluten network, gluten-free ingredients don't readily stick to each other. This results in a structure that's less resilient and more brittle once baked. Think of wheat dough as a stretchy balloon and gluten-free dough as a pile of sand – the sand won't hold its shape or trap air in the same way. The challenge in gluten-free baking is to replicate some of the functions of gluten using alternative ingredients and techniques to create a structure that is stable, moist, and holds together, effectively preventing those unwanted gluten-free crumbly bake results.
Key Differences Between Gluten Flour and Gluten-Free Flour Blends
Traditional wheat flour contains proteins (glutenin and gliadin) that form gluten upon hydration and mixing. A typical all-purpose wheat flour might contain around 10-12% protein, a significant portion of which contributes to gluten development. Gluten-free flour blends, on the other hand, are typically a mix of different flours made from grains like rice, sorghum, millet, starches like tapioca and potato, and sometimes nut or legume flours. Each component brings different properties – some contribute structure, others moisture absorption, and some merely bulk or flavor.
The key difference lies in the absence of the gluten-forming proteins and often a different starch composition. While gluten-free flours contain starches that can absorb liquid, they don't create the same interconnected, elastic network as gluten. This means gluten-free blends absorb liquids differently and require additional help from binding agents to mimic gluten's ability to provide chewiness, structure, and prevent crumbling. Understanding these inherent differences is the first step in mastering gluten-free baking and implementing effective gluten-free crumbly bake fixes.
Smart Gluten-Free Flour Swaps for Improved Texture
The Role of Different Gluten-Free Flours in Binding
Not all gluten-free flours are created equal when it comes to binding and structure. Some, like brown rice flour or sorghum flour, provide a good base and some structural integrity but can be dense. Others, like tapioca starch or potato starch, are primarily used for thickening and creating a lighter texture, but offer little structural support on their own. A well-balanced gluten-free flour blend is crucial, typically combining a 'grain' flour with a 'starch' flour. For instance, a common ratio might be around 60-70% grain flour (like rice or sorghum) to 30-40% starch (like tapioca or potato).
The specific flours chosen significantly impact the final texture and how well the bake holds together. Using too much of a 'gritty' flour like brown rice flour without sufficient starch or binder can lead to a dry, crumbly result. Conversely, relying too heavily on starches without enough structural flour can result in a gummy texture that still crumbles easily once cooled. Experimenting with different blends and understanding the properties of each flour is vital for achieving cohesive, non-crumbly gluten-free bakes.
Using Brown Rice Flour for Enhanced Structure
Brown rice flour is a staple in many gluten-free blends and contributes valuable structure and a slightly nutty flavor. Its fine texture helps to build the body of the baked good. Compared to white rice flour, brown rice flour retains more of the grain's natural fiber and nutrients, which can also affect how it absorbs liquid. It provides a good base for cakes, muffins, and cookies.
However, brown rice flour on its own can lead to dryness and a gritty texture if used in large quantities without balancing ingredients. It doesn't absorb liquid as readily or create the same cohesive structure as wheat flour. Therefore, it's almost always combined with other flours and starches, typically making up a significant portion (e.g., 40-60%) of a gluten-free blend designed for preventing gluten-free crumbly bake issues.
Incorporating Tapioca Starch for Added Moisture
Tapioca starch (or tapioca flour) is derived from the cassava root and is an essential component in many gluten-free blends. It's a fine, white powder that becomes slightly gummy and elastic when heated, which helps to improve the texture and binding in gluten-free baked goods. It contributes to a chewier texture and a crisp crust, helping to prevent the brittleness that leads to crumbling.
Adding tapioca starch to a blend helps lighten the overall texture and provides some much-needed elasticity that grain flours lack. It works particularly well in recipes aiming for a slightly chewy or soft interior, such as cookies or certain bread recipes. A typical gluten-free blend might contain 20-30% tapioca starch to balance out the grain flours and starches like potato starch, acting as a glue to hold ingredients together and combat gluten-free crumbly bake problems.
Binding Agents: Your Secret Weapon Against Crumbly Gluten-Free Bakes
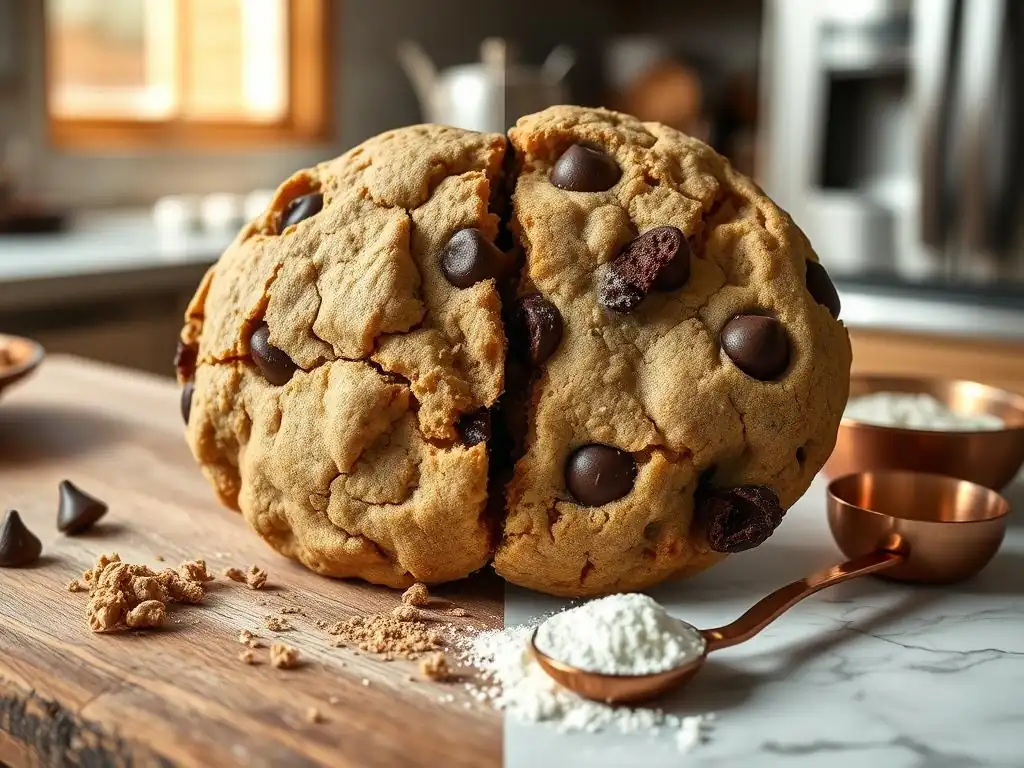
Understanding the Power of Binding Agents in Gluten-Free Recipes
Binding agents are crucial in gluten-free baking because they perform some of the vital functions that gluten provides in traditional recipes – primarily holding ingredients together and providing structure. Without gluten, batters and doughs lack the natural stickiness and elasticity needed to prevent them from crumbling apart during mixing, baking, and even after cooling. These agents absorb moisture and create a gel-like or sticky substance that effectively glues the dry ingredients together.
Incorporating the right binding agent, in the correct proportion, is one of the most effective gluten-free crumbly bake fixes. Common binders include xanthan gum, guar gum, psyllium husk, and sometimes ingredients like ground flaxseed or chia seeds. They work by absorbing liquid and forming a viscous texture that helps to trap air bubbles and provide the necessary cohesion for a stable structure, ensuring your gluten-free creations don't fall apart.
Xanthan Gum: A Gluten Replacement Guide for Beginners
Xanthan gum is a popular and effective binding agent in gluten-free baking. It's a polysaccharide produced by the fermentation of sugar by a bacterium, Xanthomonas campestris. When added to liquid, it forms a gel-like substance that mimics the elasticity and stickiness of gluten, helping to hold ingredients together and provide structure. It's widely available and relatively easy to use, though a little goes a long way.
For beginners, a general guideline for using xanthan gum is to add it directly to your dry ingredients. The amount needed varies depending on the type of bake: for cakes and muffins, you might use about 1/4 to 1/2 teaspoon per cup of gluten-free flour blend. For cookies and quick breads, maybe 1/2 to 3/4 teaspoon per cup.
For yeast breads, which require more structure, you might need 1 to 1 1/2 teaspoons per cup. Using too much can result in a gummy or slimy texture, so it's best to start with the recommended amounts and adjust as needed to prevent gluten-free crumbly bake issues.
Guar Gum: When and How to Use It for Optimal Results
Guar gum is another common binding agent derived from guar beans. Like xanthan gum, it forms a gel when mixed with liquid and helps to bind gluten-free ingredients. Some bakers prefer guar gum for certain applications, finding it works particularly well in recipes with a lot of moisture or those baked at lower temperatures. It can sometimes provide a slightly softer texture than xanthan gum.
The usage ratio for guar gum is generally similar to xanthan gum, though some sources suggest using slightly more guar gum than xanthan gum (e.g., 3/4 to 1 teaspoon per cup of flour for cakes, 1 to 1 1/2 teaspoons for bread). It's often used interchangeably with xanthan gum, but some recipes might specify one over the other. Experimenting with both can help you discover which works best for your specific recipe and desired texture, offering another tool in your arsenal for gluten-free crumbly bake fixes.
Psyllium Husk: A Natural Binder for Gluten-Free Baking
Psyllium husk, derived from the seeds of the Plantago ovata plant, is a natural, fiber-rich binder that is becoming increasingly popular in gluten-free baking, especially for breads. When mixed with liquid, it forms a very thick, gel-like consistency that provides excellent structure and elasticity, closely mimicking the properties of gluten in yeast-leavened doughs. It also adds fiber and moisture to the bake.
Psyllium husk is particularly effective in preventing the crumbly texture often seen in gluten-free bread. It helps create a dough that is more pliable and easier to handle, and it contributes to a chewier crust and a less dense crumb.
Usage typically involves adding about 1 to 2 tablespoons of whole psyllium husk or 1 to 1.5 tablespoons of psyllium husk powder per cup of gluten-free flour blend, often mixed with the liquid ingredients first to allow it to gel before combining with the dry ingredients. This powerful binder is a key player in many successful gluten-free crumbly bake fixes for bread.
Egg Replacers: Considerations for Vegan Gluten-Free Baking
For those following a vegan diet, eggs, which also act as binders in traditional baking, are not an option. This adds another layer of complexity to preventing gluten-free crumbly bakes. Fortunately, several effective egg replacers can provide binding and moisture in vegan gluten-free recipes. Common options include flax eggs (ground flaxseed mixed with water), chia eggs (chia seeds mixed with water), mashed banana, applesauce, or commercial egg replacers.
Flax and chia eggs work by forming a gel that helps hold ingredients together. For example, 1 tablespoon of ground flaxseed mixed with 3 tablespoons of water and left to sit for 5-10 minutes can replace one egg. Applesauce and mashed banana add moisture and some binding due to their pectin content, but they also impart flavor and color.
Commercial egg replacers often use a blend of starches and leavening agents to mimic egg function. When using egg replacers in gluten-free vegan baking, you may need to slightly increase the amount of other binders (like xanthan or guar gum) or adjust liquid ratios to achieve the desired non-crumbly texture.
Moisture Management: Keeping Your Gluten-Free Bakes Hydrated
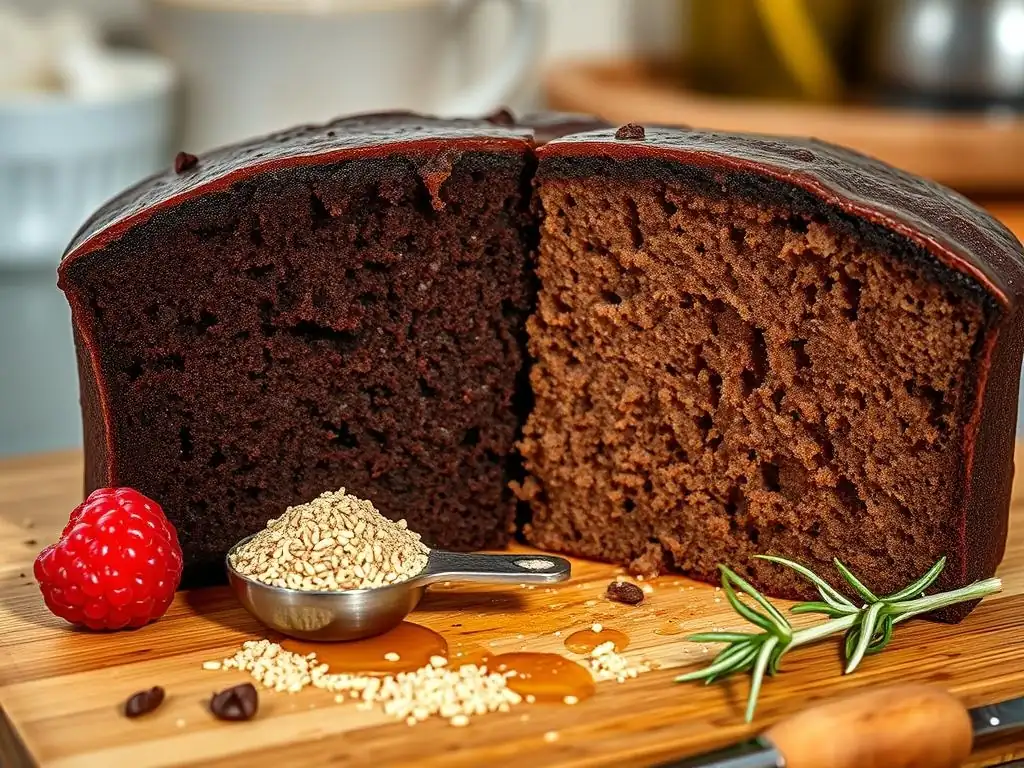
The Importance of Liquid Ratios in Gluten-Free Recipes
Proper hydration is absolutely critical in preventing gluten-free crumbly bakes. Gluten-free flours often absorb liquids differently and more slowly than wheat flour. If a recipe doesn't contain enough moisture, the final product will be dry and prone to crumbling because the ingredients haven't been adequately hydrated and bound together. Conversely, too much liquid can lead to a gummy texture. Finding the right balance is key, and gluten-free recipes often require slightly more liquid than their wheat counterparts.
The ideal liquid ratio depends heavily on the specific blend of gluten-free flours used, as each flour and starch has different absorption rates. For instance, rice flours tend to absorb less liquid than sorghum or oat flour. Starches like tapioca and potato absorb less initially but swell significantly when heated. This variability is why following a tested gluten-free recipe is often recommended, as the liquid ratios have been specifically formulated for the flour blend used. Adjusting liquid based on the batter or dough consistency is a crucial skill for achieving successful gluten-free crumbly bake fixes.
Incorporating Moist Ingredients: Applesauce, Yogurt, and More
Beyond the basic liquid (water, milk, plant-based milk), incorporating ingredients that add inherent moisture can significantly improve the texture of gluten-free bakes and help prevent dryness and crumbling. Ingredients like unsweetened applesauce, mashed banana, pumpkin puree, yogurt (dairy or non-dairy), sour cream, or even melted butter or oil contribute fat and moisture that keep the crumb tender and cohesive.
These ingredients not only add moisture but can also contribute to binding (like the pectin in applesauce or banana) and richness. Using a portion of applesauce in muffins or adding yogurt to a cake batter can make a noticeable difference in the final texture, resulting in a moister, less crumbly outcome. For example, swapping out some of the oil for applesauce in a cake recipe can add moisture without excess fat, a great technique for gluten-free crumbly bake fixes.
Preventing Dryness: Tips for Adding Moisture to Gluten-Free Doughs
Gluten-free doughs, especially yeast doughs, can be notoriously dry and difficult to handle. One common issue is insufficient hydration. Unlike wheat dough, which becomes less sticky with kneading, gluten-free doughs often start very wet or sticky and firm up as the flours absorb the liquid. Don't be afraid if your gluten-free dough seems wetter than you'd expect for a wheat dough; this is often necessary for adequate hydration.
Allowing the dough to rest is another vital tip for preventing dryness. Giving the dough 10-20 minutes (or even longer for yeast doughs) after mixing allows the gluten-free flours and binders time to fully absorb the liquid. This resting period improves the texture, making the dough less crumbly and easier to shape. Adding a little extra liquid (a tablespoon or two at a time) if the dough seems too stiff after the initial mix can also help ensure proper hydration and combat potential gluten-free crumbly bake issues.
Mixing Techniques for Avoiding Crumbly Gluten-Free Results
The Gentle Approach: Avoiding Overmixing Gluten-Free Dough
While wheat dough benefits from kneading to develop gluten, gluten-free doughs do not. Overmixing gluten-free batters or doughs can actually have negative consequences, leading to a tough or dense texture that can still be prone to crumbling. Since there's no gluten network to develop, aggressive mixing is unnecessary and can simply overwork the starches and binders, potentially disrupting the fragile structure they are trying to create.
For most gluten-free recipes, mixing until just combined is sufficient. For cakes and muffins, mix the wet and dry ingredients until no streaks of dry flour remain. For cookie or scone doughs, mix until the dough just comes together. Yeast doughs require mixing to distribute ingredients and activate the binder, but they don't need the vigorous kneading of wheat dough. A gentle mixing approach helps ensure a tender crumb and prevents the development of a tough texture that could lead to gluten-free crumbly bake problems.
Proper Hydration: Ensuring Adequate Water Absorption
Ensuring adequate water absorption goes hand-in-hand with proper mixing and resting. Gluten-free flours absorb water more slowly than wheat flour. If you mix too quickly or don't allow sufficient resting time, the flours won't fully hydrate, leaving dry spots in your bake and contributing to a crumbly texture. The liquid needs time to penetrate the starch granules and fibers in the gluten-free blend.
Visually checking the consistency of your batter or dough is important. For batters (like cakes or muffins), it should typically be pourable but thick. For doughs (like cookies or bread), it should be moist and cohesive, not dry and crumbly. If it seems too dry, gradually add a little more liquid (a teaspoon or tablespoon at a time) until the desired consistency is reached. This careful attention to hydration is a fundamental gluten-free crumbly bake fix.
Letting the Dough Rest: Allowing Time for Hydration and Binding
Resting the dough is a simple yet incredibly effective technique for improving the texture of gluten-free baked goods and preventing crumbling. After mixing, cover the dough and let it sit at room temperature for 10-30 minutes before shaping or baking. This allows the flours and starches to fully absorb the liquid and gives the binders (like xanthan gum or psyllium husk) time to hydrate and form their gel-like structure.
For yeast-leavened gluten-free bread doughs, the resting time is even more critical. Allowing the dough to rest after the initial mix and possibly again after shaping helps the binders strengthen, making the dough easier to handle and contributing to a better rise and a less crumbly final loaf. This patience in allowing sufficient rest time is a key step in achieving successful gluten-free crumbly bake fixes.
Testing and Adjusting Your Gluten-Free Recipes
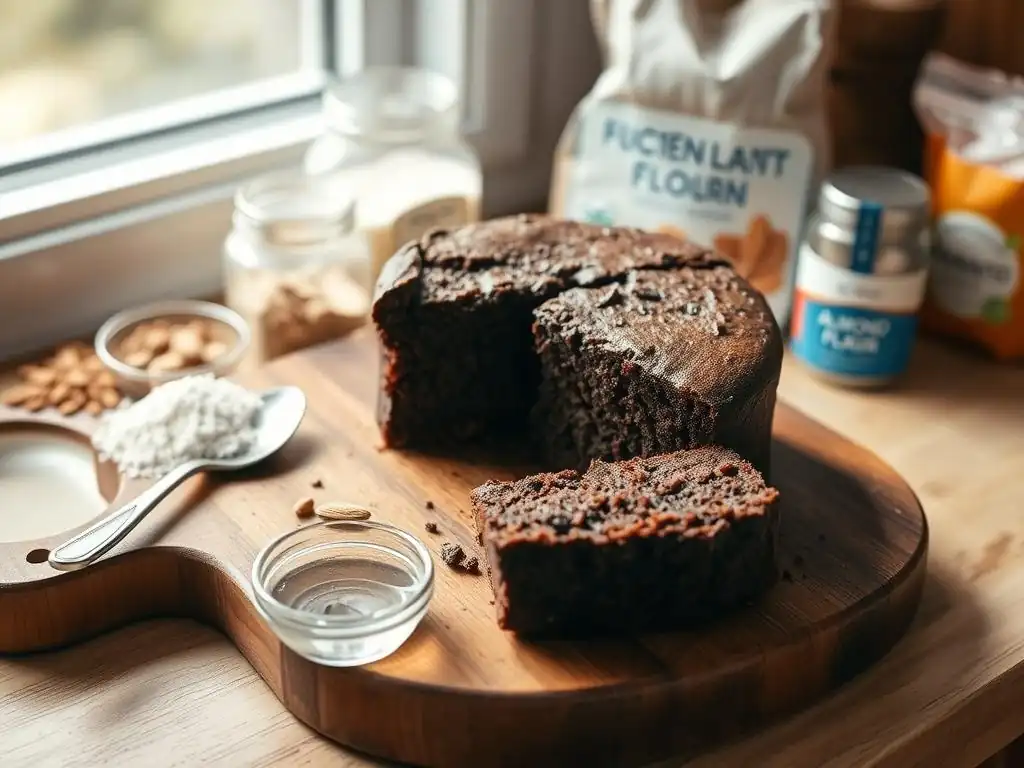
Evaluating the Texture: Signs of a Crumbly Bake in Progress
Recognizing the signs of a potentially crumbly bake early on can save you frustration. During mixing, a gluten-free batter or dough that looks excessively dry, doesn't come together easily, or appears sandy is likely heading towards a crumbly outcome. Unlike wheat dough which develops elasticity, a gluten-free dough that feels stiff and breaks apart easily when squeezed indicates a lack of sufficient moisture or binder.
After baking, visual cues include cracks on the surface (especially in muffins or cakes baked in pans), edges that appear overly dry or hard, or a product that falls apart excessively when sliced or handled. When you break a piece, a crumbly bake will disintegrate into many small pieces rather than holding together with a soft, cohesive crumb. Learning to identify these signs helps you understand where your recipe might need gluten-free crumbly bake fixes in future attempts.
Troubleshooting: How to Fix a Crumbly Gluten-Free Dough
If you're working with a gluten-free dough that feels too dry and crumbly before baking, there are often ways to salvage it. The simplest fix is to gradually add more liquid (water, milk, or even a bit of oil or melted butter) a teaspoon or tablespoon at a time, mixing gently until the dough becomes more cohesive and less crumbly. Be careful not to add too much, as this can make it gummy.
Alternatively, you can try adding a small amount of an additional binder, like a pinch of xanthan gum or psyllium husk powder mixed with a tiny bit of water to form a gel before incorporating it into the dough. For recipes like cookies or scones, you might also incorporate a tablespoon or two of applesauce or yogurt to boost moisture and binding. These simple additions can often transform a crumbly dough into one that bakes up successfully, acting as immediate gluten-free crumbly bake fixes.
Experimenting with Flour Combinations: Finding Your Perfect Blend
Since pre-made gluten-free flour blends vary widely in their composition and performance, experimenting to find the blend or combination of flours that works best for your specific needs and recipes is invaluable. Some bakers find success by creating their own blends tailored for different types of bakes – a blend for cakes might have more starch, while a bread blend needs more structural flours and binders.
Keep a baking journal to note which blends you use, the hydration levels, the binders added, and the resulting texture. Did a blend heavy on white rice flour result in a gritty, crumbly cookie? Try swapping some of it for sorghum flour or adding more tapioca starch next time. Did your bread crumble? Increase the psyllium husk. This process of trial and error, combined with understanding the role of different ingredients, is key to mastering gluten-free baking and reliably achieving gluten-free crumbly bake fixes.
Advanced Techniques for Perfect Gluten-Free Baking
The Tangzhong Method: A Japanese Secret for Softer Gluten-Free Bread
The Tangzhong method, a technique originating in Asia, involves cooking a small portion of the flour with liquid (usually milk or water) to form a thick paste before adding it to the main dough. This paste, known as a roux or tangzhong, gelatinizes the starches in the flour, allowing them to absorb and retain significantly more liquid. This technique is particularly effective in gluten-free bread baking.
Using Tangzhong in gluten-free bread dough dramatically increases the dough's hydration capacity without making it excessively wet or sticky. The pre-gelatinized starches hold onto moisture throughout the baking process, resulting in incredibly soft, moist, and tender bread that stays fresh longer and is far less prone to drying out and crumbling. Typically, 5-10% of the total flour weight is used in the Tangzhong, mixed with 5-10 times its weight in liquid and cooked until thick. This is a powerful advanced gluten-free crumbly bake fix for bread.
Using Gelatin or Agar-Agar for Enhanced Structure
Beyond common binders like xanthan and guar gum, ingredients like gelatin (for non-vegans) and agar-agar (a vegan alternative derived from seaweed) can also be used to enhance structure and prevent crumbling, particularly in recipes that are chilled or set, like tarts, cheesecakes, or certain types of bars. These ingredients form a gel when cooled, providing a firm structure that holds ingredients together.
While not typically used in standard cakes or cookies baked at high temperatures, gelatin or agar-agar can be valuable in recipes where a set or firm texture is desired. For example, using a small amount of agar-agar in a gluten-free no-bake crust mixture can help it bind and prevent it from crumbling when sliced. This is a more specialized approach to gluten-free crumbly bake fixes, applicable to specific dessert types.
The Importance of Resting Time in Gluten-Free Baking
Reiterating the importance of resting time is crucial because it's often underestimated. Allowing gluten-free batters and doughs to rest gives the flours and starches adequate time to hydrate properly with the liquid. This process is not instantaneous; it takes time for the water molecules to penetrate the dry ingredients. Resting allows the binders to fully activate and develop their gel-like properties, which are essential for holding the final baked good together.
For batters, even a 10-15 minute rest can improve texture. For doughs, especially yeast doughs, resting for 20-30 minutes or longer before shaping makes a significant difference in handleability and the final crumb structure. This patience pays off by reducing the likelihood of a dry, crumbly result and is a fundamental technique for achieving successful gluten-free crumbly bake fixes.
BakeWithEase: Mastering Gluten-Free Baking One Swap at a Time
Explore BakeWithEase's Gluten-Free Recipe Collection for More Baking Tips
Mastering gluten-free baking takes practice, patience, and a willingness to learn about the unique properties of gluten-free ingredients. Understanding why gluten-free bakes tend to crumble and how to counteract this with smart flour choices, effective binding agents, proper hydration, and gentle techniques is key to success. While challenges exist, they are certainly overcome with the right knowledge and approach.
Finding reliable recipes tailored specifically for gluten-free ingredients makes the journey much smoother. These recipes have already done the work of balancing flours, liquids, and binders to minimize the risk of crumbling and maximize texture. By following tested methods and understanding the principles behind gluten-free crumbly bake fixes, you can confidently create delicious, perfectly textured baked goods that everyone can enjoy, free from frustrating crumbling.
Frequently Asked Questions
How can I prevent my gluten-free baked goods from being too crumbly?
The key is to use the right gluten-free flour blend and add binders like xanthan gum to mimic gluten's elasticity. Also, ensure proper hydration.
What are some common reasons for crumbly gluten-free bakes?
Often, it's due to insufficient binding agents or using a poor-quality gluten-free flour blend. Another culprit can be over-baking, which dries them out.
What kind of flour swaps can help improve the texture of gluten-free bakes?
Try incorporating high-starch flours like tapioca starch or potato starch. Adding a small amount of almond flour can also improve moisture and texture.
How important is xanthan gum in gluten-free baking, and what's a good amount to use?
Xanthan gum is crucial for providing structure and binding in gluten-free recipes. Usually, 1/4 to 1/2 teaspoon per cup of flour is sufficient.
Besides flour and binders, what other tips can prevent crumbly gluten-free bakes?
Don't overmix the batter, as this can lead to a tough texture. Also, consider adding moistening agents like applesauce or yogurt to the recipe.
Final Reflection: Baking Beyond the Gluten-Free Limitations
The struggle with crumbly gluten-free bakes is far from over, but understanding the why behind the crumbles is the first step towards achieving consistently delicious, moist results. This article has explored several key ingredient swaps and techniques that can significantly improve the texture of your gluten-free creations, moving beyond the frustrating experience of dry, crumbling cakes and pastries. The solutions presented are not just fixes; they are pathways to unlocking the full potential of gluten-free baking.
The journey to mastering gluten-free baking is a personal one, filled with experimentation and the occasional (okay, frequent!) mishap. It's a testament to the ingenuity and resilience of bakers everywhere who refuse to let the absence of gluten dictate the quality of their treats. The impact of this quest extends beyond individual kitchens; it's about expanding access to delicious baked goods for those with dietary restrictions. The best things in life are worth fighting for, and a perfectly moist gluten-free cake is definitely one of them.
– (A quote you could add, perhaps referencing a baker or your own experience).
Now, it's your turn. Don't let the fear of crumbly disasters hold you back. Experiment with the techniques and ingredient swaps discussed in this article. Embrace the learning process, celebrate your successes, and learn from your "crumbly" moments. The reward? The joy of creating and sharing delicious, satisfying gluten-free baked goods that will impress even the most discerning palates. You have the power to transform your gluten-free baking experience – start baking today!
Unlock Perfectly Moist Gluten-Free Baking!
Thanks for diving into the world of delicious, crumb-free gluten-free baking! We hope you've gained valuable insights and are ready to transform your baking game. Now it's time to put your new knowledge into action!
- Try our recommended flour blend today: Experiment with the ratios we discussed to find your perfect balance of texture and flavor. Don't be afraid to get creative!
- Share your gluten-free baking triumphs (or challenges!) on our social media channels using #BakeWithEaseGlutenFree. We love seeing your creations!
- Leave a comment below and share your favorite gluten-free baking tip—let's build a supportive community together!
What innovative gluten-free swap are you most excited to try in your next bake?