
Your Chocolate Questions Answered: Troubleshooting Guide

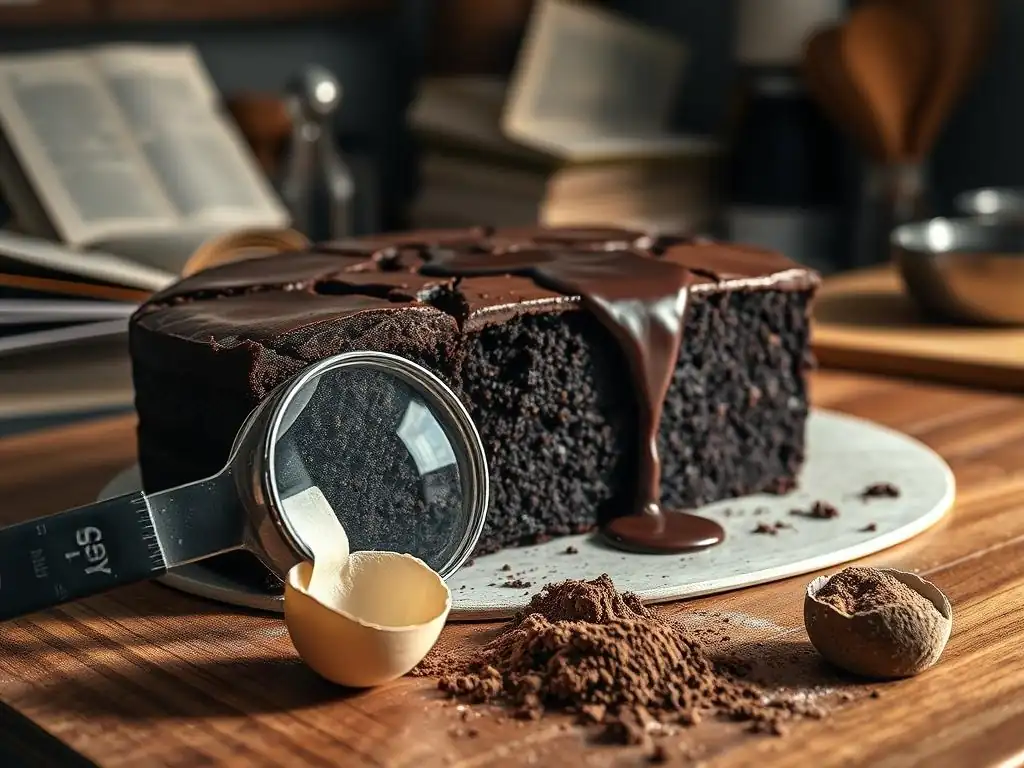
Welcome to BakeWithEase, your companion in the wonderful world of baking! Ever wondered why your chocolate cake doesn't rise quite right, or always ends up a little dry? This is where the magic begins. We're diving deep into chocolate cake troubleshooting tips to help you bake the perfect cake, every single time. Ready to unlock the secrets to a flawless, decadent chocolate creation? Let's get baking!
- Chocolate Cake Troubleshooting Tips for Perfect Bakes
- Understanding Chocolate Cake Issues: A Baker's Guide
- Solving Specific Chocolate Cake Problems: From Crumbly to Dense
- Mastering Chocolate Cake Baking: Ingredient and Technique Troubleshooting
- Advanced Chocolate Cake Troubleshooting: Dealing with Complex Issues
- Preventative Measures: Avoiding Common Chocolate Cake Mistakes
- Conclusion: BakeWithEase's Guide to Perfect Chocolate Cakes
-
Frequently Asked Questions
- What are some common reasons why my chocolate cake might be dry?
- My chocolate cake sank in the middle. What did I do wrong?
- How can I prevent my chocolate cake from sticking to the pan?
- Why is my chocolate cake dense and heavy instead of light and fluffy?
- What can I do if my chocolate cake tastes bitter?
- Final Reflection: The Sweet Science of Troubleshooting Chocolate Cake
- Unlock Your Chocolate Secrets!
Chocolate Cake Troubleshooting Tips for Perfect Bakes
Introduction: Common Chocolate Cake Problems and Solutions
Baking a chocolate cake should be a joyous experience, filled with the rich aroma of cocoa and the anticipation of a decadent treat. However, sometimes things don't go exactly as planned. From a cake that refuses to rise to one that crumbles at the touch, various issues can arise.
This guide is designed to offer practical chocolate cake troubleshooting tips, helping you understand why problems occur and how to fix them, ensuring your next bake is a resounding success. We'll cover everything from sunken middles and dry textures to crumbly structures and dense results, providing actionable advice to elevate your baking skills.
Understanding the common pitfalls is the first step in mastering chocolate cake baking. Many problems stem from seemingly small errors in measurement, temperature, or technique. For instance, a slightly off oven temperature can dramatically affect the cake's rise and texture. Similarly, using the wrong type of chocolate or cocoa powder can lead to unexpected results. Our goal is to demystify these challenges, offering clear explanations and simple adjustments you can make. Whether you're a beginner or looking to refine your technique, these chocolate cake troubleshooting tips will equip you with the knowledge to tackle any baking challenge head-on.
Understanding Chocolate Cake Issues: A Baker's Guide
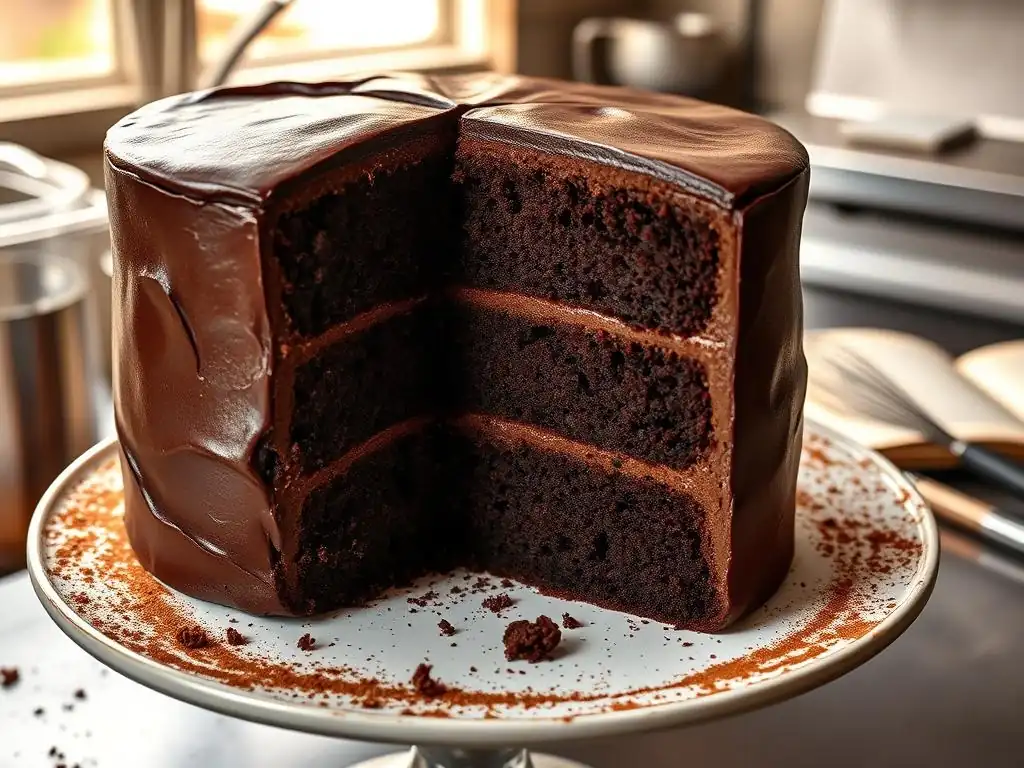
Why Did My Chocolate Cake Sink in the Middle?
A sunken chocolate cake is a common frustration for bakers. This issue typically manifests as a noticeable dip or crater in the center of the baked cake, while the edges appear cooked and firm. It often indicates that the cake didn't finish baking properly in the middle or that something disrupted its structure during the cooling process. Identifying the specific cause is key to preventing it from happening again and is a crucial part of effective chocolate cake troubleshooting tips.
Several factors can contribute to a sunken middle. Opening the oven door too early, especially within the first 75% of the baking time, is a frequent culprit. This causes a sudden drop in temperature, which can collapse the delicate structure formed by the leavening agents. Additionally, using too much leavening (baking soda or baking powder), not measuring ingredients accurately (particularly wet ingredients like milk or oil), or baking at too low an oven temperature can also result in the center failing to set before the edges overcook.
Common Causes of Sunken Chocolate Cake
- Opening the oven door too soon during baking.
- Incorrect oven temperature (often too low).
- Using too much leavening agent (baking soda or baking powder).
- Over-mixing the batter, developing too much gluten.
- Ingredient measurement errors, especially too much liquid.
- Baking pan too small for the amount of batter.
- Cake cooled in a drafty area.
These points represent the primary reasons why a chocolate cake might sink. For example, if your recipe calls for 1 teaspoon of baking powder and you accidentally use 2 teaspoons, the cake will rise too quickly and then collapse because the structure isn't strong enough to support the rapid expansion. Similarly, if your oven thermostat is off by 25°F (about 14°C) and is cooler than indicated, the cake will bake too slowly, increasing the risk of the center sinking before it's fully cooked. Accurate measurements and oven calibration are vital chocolate cake troubleshooting tips.
How to Prevent a Sunken Chocolate Cake
Preventing a sunken middle requires attention to detail and patience. Firstly, ensure your oven is accurately preheated to the temperature specified in the recipe. An oven thermometer can help verify this. Avoid opening the oven door unnecessarily during baking. Wait until the cake appears set around the edges and the specified baking time is nearly complete before checking for doneness with a toothpick – it should come out with moist crumbs, not wet batter.
Secondly, measure your ingredients precisely, ideally using a kitchen scale for flour and sugar. Use level scoops for leavening agents. Avoid over-mixing the batter; mix only until the dry ingredients are just combined with the wet.
Ensure you are using the correct size pan specified by the recipe, as an overflowing pan can also lead to issues. Finally, allow the cake to cool in the pan on a wire rack for the time specified in the recipe (usually 10-15 minutes) before attempting to remove it, and avoid placing it in a cold or drafty spot immediately after baking. These steps are essential chocolate cake troubleshooting tips for a perfectly level cake.
Why is My Chocolate Cake Dry?
A dry chocolate cake is perhaps one of the most disappointing outcomes for a baker. Instead of a moist, tender crumb, you end up with something that feels dense, crumbly, or even tough. This issue is frustrating because it directly impacts the enjoyment of the cake. Understanding the common causes of dryness is a key part of effective chocolate cake troubleshooting tips, allowing you to adjust your technique or recipe for better results in the future.
Dryness in a chocolate cake often stems from a lack of moisture or an over-development of gluten. Over-baking is a primary culprit; leaving the cake in the oven for too long or baking at too high a temperature can evaporate essential moisture. Using too much flour relative to the wet ingredients, insufficient fat (butter, oil), or not enough liquid (milk, buttermilk, coffee) can also result in a dry texture. The type of cocoa powder used can also play a role; natural cocoa can be more drying than Dutch-processed cocoa due to its acidity.
Identifying the Reasons for a Dry Chocolate Cake
Consider the recipe you used and your process. Did you substitute ingredients? For example, swapping oil for applesauce might reduce fat and moisture. Did you measure your flour correctly? Scooping flour directly from the bag can result in up to 25% more flour than spooning it lightly into the measuring cup. Was the cake in the oven longer than the recipe suggested, or did it brown very quickly? These are indicators of potential over-baking or high oven temperature.
Think about the balance of ingredients. A standard cake recipe often has a specific ratio of flour, sugar, fat, eggs, and liquid. Deviating significantly from these ratios, such as drastically reducing sugar (which holds moisture) or fat, can lead to dryness. Even using cold ingredients straight from the refrigerator can affect the emulsion of fats and liquids, potentially impacting the final texture. Pinpointing which step or ingredient might be the cause is vital for successful chocolate cake troubleshooting tips.
Tips for Moist Chocolate Cakes Every Time
To ensure a moist chocolate cake, start by measuring ingredients accurately, especially flour. Use the spoon-and-level method or a kitchen scale for best results. Do not over-mix the batter; stop mixing as soon as the dry ingredients are just incorporated. Pay close attention to baking time and temperature. Use an oven thermometer to verify your oven's accuracy. Bake only until a toothpick inserted into the center comes out with moist crumbs, not completely clean.
Consider adding ingredients known for enhancing moisture. Buttermilk, sour cream, yogurt, or even brewed coffee can add richness and moisture. Using oil instead of butter (or a combination) can also contribute to a moister cake, as oil remains liquid at room temperature while butter solidifies. If your recipe uses natural cocoa, consider using hot liquid (like hot water or coffee) to bloom the cocoa powder; this intensifies the chocolate flavor and helps distribute the cocoa evenly, potentially leading to a moister crumb. These adjustments are key chocolate cake troubleshooting tips for a consistently moist cake.
Solving Specific Chocolate Cake Problems: From Crumbly to Dense
Troubleshooting a Crumbly Chocolate Cake
A crumbly chocolate cake is frustrating because it makes slicing and frosting difficult. Instead of neat slices, you get a heap of delicious but messy crumbs. This issue relates closely to the cake's structure and moisture content. When a cake is too crumbly, it often indicates that the internal structure is weak or that it lacks sufficient binding agents or moisture. Addressing this requires looking at the ingredients and mixing technique, forming essential chocolate cake troubleshooting tips.
Understanding why a cake crumbles involves examining the balance of ingredients and how they were combined. Too much dry ingredient (like flour or cocoa powder) relative to wet ingredients is a common cause. Insufficient fat or eggs can also lead to a weak structure that falls apart easily. Over-mixing can develop too much gluten, resulting in a tough, dry crumb that crumbles. Conversely, under-mixing can leave pockets of dry ingredients, also contributing to crumbling.
What Makes a Chocolate Cake Crumbly?
- Too much flour or cocoa powder.
- Insufficient fat (butter, oil) or eggs.
- Over-mixing the batter.
- Under-mixing, leaving dry pockets.
- Baking at too high a temperature.
- Cooling the cake improperly.
- Using ingredients that are too cold.
For example, if a recipe calls for 1 cup of butter and you only use 1/2 cup, the reduced fat will lessen the tenderness and binding, making the cake more likely to crumble. Similarly, if your eggs were significantly smaller than large eggs specified in the recipe, the reduced protein and fat would weaken the structure. Over-mixing incorporates too much air and develops gluten excessively, leading to a tough crumb that breaks apart instead of slicing cleanly. Recognizing these potential issues is crucial for effective chocolate cake troubleshooting tips.
Techniques to Improve Chocolate Cake Crumb Structure
To achieve a tender, less crumbly chocolate cake, focus on accurate ingredient measurements, especially for dry ingredients. Use the spoon-and-level method or a kitchen scale. Ensure your fat and eggs are at room temperature unless the recipe specifically states otherwise; room temperature ingredients emulsify better, creating a smoother batter and finer crumb. Avoid over-mixing; mix just until the ingredients are combined.
Consider the fat content of your recipe. Cakes made with oil are often moister and less crumbly than those made solely with butter, as oil coats the flour particles more effectively, inhibiting gluten development. Adding ingredients like sour cream or yogurt can also improve moisture and tenderness. Ensure the cake is cooled properly on a wire rack; attempting to move or slice a hot cake can cause it to break apart. Allowing it to cool completely before frosting is often best for structure. Implementing these techniques provides valuable chocolate cake troubleshooting tips for a sturdy yet tender cake.
My Chocolate Cake is Too Dense: What Went Wrong?
A dense chocolate cake feels heavy and lacks the light, airy texture characteristic of a well-baked cake. Instead of a delicate crumb, you get something solid and often gummy or tough. This is another common issue that requires specific chocolate cake troubleshooting tips to correct. Density usually points to problems with leavening, mixing, or ingredient balance.
Density can result from several factors. Not enough leavening agent (baking soda or baking powder), expired leavening, or incorrectly activated leavening will prevent the cake from rising properly, leaving it heavy. Over-mixing is a major culprit; developing too much gluten creates a tough, dense texture, similar to bread dough. Using too much liquid, too little flour, or incorrect sugar ratios can also throw off the balance needed for a light crumb.
Reasons for a Dense, Heavy Chocolate Cake
- Insufficient or expired leavening agents.
- Over-mixing the batter.
- Using too much liquid.
- Too little flour.
- Oven temperature too low.
- Ingredients were too cold.
- Over-measuring wet ingredients.
Consider the leavening agents: Baking soda requires an acid (like buttermilk, vinegar, or cocoa powder in some cases) to activate and produce carbon dioxide gas, which helps the cake rise. Baking powder contains both acid and base and is activated by liquid and heat.
If your baking soda isn't reacting (check freshness by mixing a little with vinegar – it should fizz vigorously) or if your recipe lacks the necessary acid, your cake won't rise adequately. Similarly, if your baking powder is old (check by mixing a little with hot water – it should fizz), it won't provide the lift needed.
Lightening Up Your Chocolate Cake: Techniques and Ingredients
To avoid a dense chocolate cake, first check the freshness of your leavening agents. Ensure you are using the correct amount specified in the recipe. Mix the batter gently and only until the dry ingredients are just incorporated; avoid using a high-speed mixer for this step. Make sure your oven is accurately preheated to the correct temperature; a low oven temperature won't provide the necessary heat to set the cake structure as it rises.
Using ingredients at room temperature helps them combine smoothly, creating a better emulsion and a lighter batter. Sifting dry ingredients can also help introduce air and prevent clumps, contributing to a lighter texture. Some recipes benefit from separating eggs and whipping the egg whites to soft or stiff peaks before gently folding them into the batter; this incorporates significant air, resulting in a much lighter cake. These techniques are valuable chocolate cake troubleshooting tips for achieving a fluffy texture.
Mastering Chocolate Cake Baking: Ingredient and Technique Troubleshooting
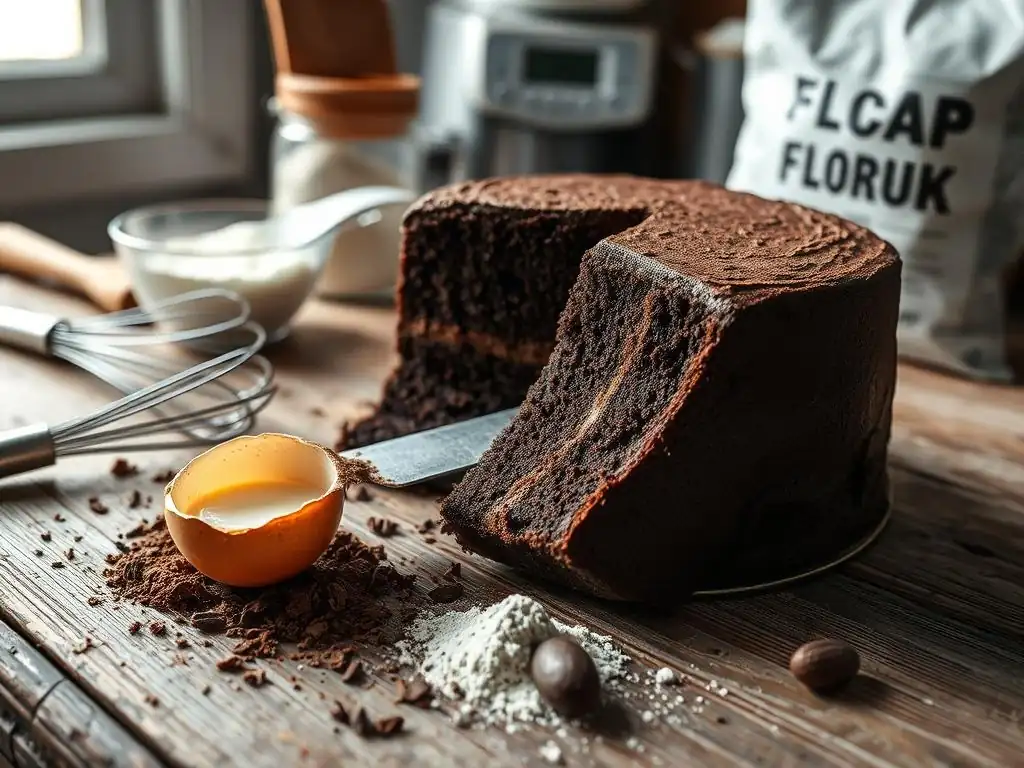
Chocolate Quality Matters: Troubleshooting Ingredient Issues
The quality and type of chocolate or cocoa powder you use can profoundly impact the flavor, texture, and overall success of your chocolate cake. Using a poor-quality chocolate or substituting types without understanding the difference can lead to unexpected issues, from a lack of flavor depth to problems with the cake's structure or appearance. Addressing ingredient choices is a fundamental part of effective chocolate cake troubleshooting tips.
For example, using chocolate chips instead of baking chocolate might seem like a simple substitution, but chocolate chips contain stabilizers that prevent them from melting smoothly, which can affect the cake's texture. Similarly, there are two main types of unsweetened cocoa powder: natural and Dutch-processed. Natural cocoa is acidic, while Dutch-processed cocoa is treated to be neutral. Recipes are often specifically formulated for one or the other, particularly regarding the type and amount of leavening used. Using the wrong type can disrupt the chemical reaction needed for proper leavening.
Choosing the Right Chocolate for Your Cake
Recipes typically specify the type of chocolate or cocoa powder required. For intense chocolate flavor and smooth melting, baking bars or fèves are often preferred over chocolate chips. When a recipe calls for unsweetened cocoa powder, check if it specifies "natural" or "Dutch-processed." If it doesn't specify but uses baking soda as the primary leavener, natural cocoa is likely intended due to its acidity. If it uses primarily baking powder, Dutch-processed cocoa is probably suitable.
The percentage of cocoa solids in baking chocolate also matters. A higher percentage means less sugar and fat. Using a chocolate with a significantly different cocoa percentage than specified can alter the sweetness and fat content of the batter, requiring adjustments. For instance, swapping a 70% cacao chocolate for a 50% cacao chocolate will add less sugar and more cocoa solids, affecting both flavor and texture. Choosing the correct type and quality is a vital step in proactive chocolate cake troubleshooting tips.
Troubleshooting Chocolate Blooming
Chocolate bloom is the appearance of grayish streaks or spots on the surface of chocolate. There are two types: fat bloom (caused by fat separation and recrystallization) and sugar bloom (caused by moisture drawing sugar to the surface). While visually unappealing, bloomed chocolate is still safe to eat and usually fine to use in baking where it will be melted and incorporated into the batter or frosting. The heat of baking will typically resolve the textural issues caused by the bloom.
However, if you are melting chocolate for a ganache or frosting and notice it's bloomed, it might melt differently than unbloomed chocolate. Fat bloom can sometimes make melted chocolate appear greasy or grainy. To minimize issues, melt bloomed chocolate gently, ideally over a double boiler or in the microwave on low power, stirring frequently. Ensure no water comes into contact with the melting chocolate, as this can cause it to seize. While bloom doesn't usually ruin a cake batter, understanding it is a helpful part of comprehensive chocolate cake troubleshooting tips.
Oven Temperature and Baking Time: Avoiding Baking Errors
Incorrect oven temperature and baking time are incredibly common culprits behind many chocolate cake woes, including dryness, sinking, and uneven texture. An oven that runs too hot can cause the cake to set too quickly on the outside while remaining raw inside, or result in a tough, dry crust. An oven that runs too cool can lead to a sunken middle or a cake that is dense and gummy because the structure doesn't set properly as it rises. Proper oven management is crucial for successful chocolate cake troubleshooting tips.
Baking time is directly linked to oven temperature and the specific recipe. Over-baking, even by just a few minutes, can dry out a chocolate cake quickly due to the way cocoa solids absorb moisture. Under-baking can result in a cake that sinks upon cooling or has a wet, uncooked center. Relying solely on the clock is risky; testing for doneness is always the best approach.
Understanding Oven Temperature for Chocolate Cakes
Most chocolate cake recipes call for baking temperatures between 325°F (160°C) and 375°F (190°C). Darker pans absorb more heat than lighter pans, potentially requiring a slight reduction in temperature (often by 25°F or about 14°C) or baking time to prevent over-baking the edges and bottom. Using an oven thermometer is highly recommended to verify your oven's actual temperature. Many home ovens can be off by as much as 50°F (about 28°C).
If your oven consistently runs hot, you'll need to reduce the temperature called for in the recipe and check for doneness earlier. If it runs cool, you'll need to increase the temperature or extend the baking time. Knowing your oven's quirks is one of the most valuable chocolate cake troubleshooting tips you can acquire. Uneven heating within the oven can also cause problems; rotating the cake halfway through the baking time can help ensure even cooking.
Adjusting Baking Time for Different Chocolate Cake Recipes
Baking time is a guideline, not a strict rule. The actual time required can vary based on the specific oven, the pan material and size, the exact moisture content of the batter, and even altitude. Always start checking for doneness at the minimum time specified in the recipe. Use a toothpick or cake tester inserted into the center of the cake (avoiding any visible chocolate chips).
For most chocolate cakes, the toothpick should come out with moist crumbs attached, not wet batter. A completely clean toothpick might indicate the cake is already slightly over-baked. If the toothpick comes out wet, continue baking and check again in 2-5 minute intervals. Over-baking chocolate cakes is particularly easy due to the cocoa, so vigilance in checking for doneness is a critical part of successful chocolate cake troubleshooting tips.
Advanced Chocolate Cake Troubleshooting: Dealing with Complex Issues
Troubleshooting Uneven Layers in Chocolate Cake
Achieving perfectly flat, even layers is the goal for many layer cakes, especially chocolate ones destined for stacking and frosting. When layers dome excessively in the center or bake up significantly uneven, it complicates assembly and can be frustrating. While a slight dome is often natural, an extreme one or a noticeably lopsided cake requires specific chocolate cake troubleshooting tips to address the underlying cause.
Uneven layers can result from several factors, often related to heat distribution and batter preparation. Hot spots in the oven are a common cause, making one side or the center bake faster and rise higher. Improperly prepared pans (uneven greasing/flouring) can cause the cake to stick and pull during baking. Uneven distribution of batter in the pans or batter that isn't level before baking will also result in lopsided layers.
Achieving Even Layers in Chocolate Cake
Start by ensuring your oven heats evenly. An oven thermometer placed in different spots can help identify hot spots. If your oven has significant hot spots, rotating the pans halfway through baking can help. Prepare your pans meticulously, greasing and flouring (or using parchment paper) evenly to prevent sticking. Measure the batter volume or weight for each pan precisely to ensure they contain the same amount.
Pour the batter evenly into the prepared pans and gently spread the top with an offset spatula to level it. Avoid tapping the pans too forcefully, as this can remove air bubbles needed for lift. Some bakers use cake strips (fabric strips soaked in water and wrapped around the outside of the pan) to help insulate the edges, causing the cake to bake more evenly across the surface and reduce doming. These preventative steps are valuable chocolate cake troubleshooting tips.
Solutions for Uneven Chocolate Cake Layers
If you end up with domed or uneven chocolate cake layers despite your best efforts, don't despair! This is where post-baking chocolate cake troubleshooting tips come into play. The most common solution is to level the layers using a serrated knife or a cake leveler. Place the cake on a flat surface and carefully slice off the domed top to create a flat surface. These trimmings are delicious and can be used for cake pops or snacking.
If the layers are significantly lopsided, you may need to trim more aggressively or accept slightly thinner layers. For very uneven layers, consider making an extra layer or using a different technique like creating a "crumb coat" of frosting to help build up uneven areas before applying the final layer of frosting. With careful trimming and frosting, you can often salvage uneven layers and create a beautiful finished cake.
Troubleshooting Chocolate Cake Frosting and Decoration Problems
Even if the chocolate cake itself bakes perfectly, issues can arise when it comes to frosting and decorating. Frosting that is too thin, too thick, grainy, or prone to melting can ruin the presentation and texture. Dealing with these frosting challenges requires understanding the ingredients and techniques involved, adding another layer to comprehensive chocolate cake troubleshooting tips.
Common frosting problems include buttercream that won't emulsify, ganache that is too runny or too hard, or frosting that tears the cake crumb. These issues are often related to temperature, ingredient ratios, or mixing methods. Getting the right consistency is paramount for easy spreading and decorating.
Achieving Perfect Chocolate Frosting Consistency
The ideal frosting consistency depends on the type (buttercream, ganache, cream cheese frosting, etc.) and its intended use (filling, crumb coat, final layer, piping). For American buttercream, achieving the right texture often involves adjusting the amount of liquid (milk, cream, water, or coffee) and powdered sugar. If it's too thick, add liquid a tablespoon at a time, mixing until smooth. If it's too thin, add more powdered sugar a quarter cup at a time. Ensure your butter is at the correct temperature (softened but not melted).
For chocolate ganache, consistency is determined by the ratio of chocolate to cream and the temperature. A 1:1 ratio (by weight) of chocolate to hot cream typically yields a pourable ganache, while a 2:1 or 3:1 ratio creates a firmer ganache suitable for frosting once cooled and whipped. If ganache is too runny, chill it slightly. If it's too hard, gently warm it slightly. Patience and gradual adjustments are key chocolate cake troubleshooting tips for frosting.
Preventing Chocolate Frosting Problems
Prevent frosting problems by starting with ingredients at the correct temperature as specified by the recipe (usually room temperature for butter and cream cheese, hot for cream used in ganache). Measure ingredients accurately. For buttercream, ensure your powdered sugar is sifted to prevent graininess. When adding liquid, do so gradually.
To prevent tearing the cake crumb while frosting, first apply a thin "crumb coat" layer of frosting. This layer traps loose crumbs. Chill the cake in the refrigerator for 15-30 minutes until the crumb coat is firm before applying the final layer of frosting. This technique, along with ensuring your frosting is the correct consistency, are vital chocolate cake troubleshooting tips for a smooth, professional finish.
Preventative Measures: Avoiding Common Chocolate Cake Mistakes
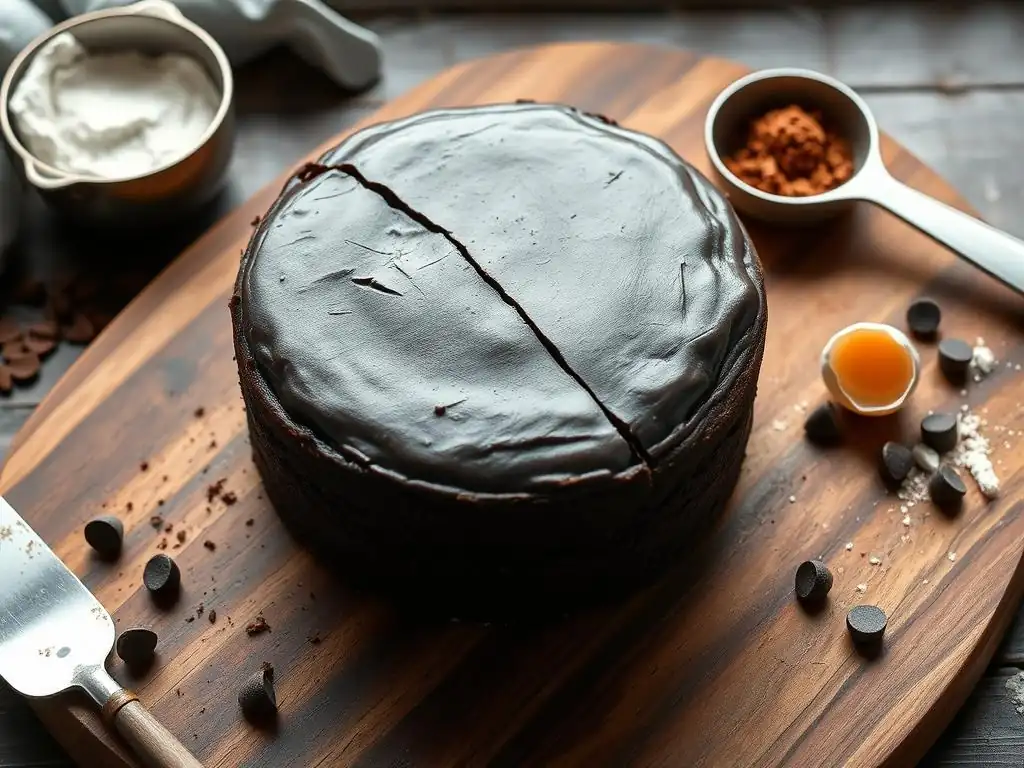
Essential Tips for Perfect Chocolate Cakes
Beyond troubleshooting specific issues, adopting good baking practices is the most effective way to avoid problems in the first place. Consistency and attention to detail are the baker's best friends. These preventative chocolate cake troubleshooting tips focus on foundational techniques that contribute to reliable results every time you bake.
- Read the recipe thoroughly before starting.
- Measure ingredients accurately, ideally by weight.
- Ensure ingredients are at the correct temperature (usually room temperature).
- Preheat your oven properly and use an oven thermometer.
- Prepare your pans correctly (grease and flour/parchment).
- Do not over-mix the batter.
- Avoid opening the oven door during baking.
- Test for doneness correctly.
- Allow the cake to cool properly before handling or frosting.
Following these steps minimizes the chances of common errors. For instance, using cold butter in a recipe calling for softened butter will result in a lumpy batter and potentially a dense cake. An oven that isn't fully preheated means the cake won't get the initial heat boost it needs to rise properly. Each step in the baking process plays a role, and understanding their importance is key to applying these essential chocolate cake troubleshooting tips.
The Importance of Accurate Measurements in Chocolate Cake Baking
Accurate ingredient measurement is perhaps the single most critical factor in preventing chocolate cake problems. Baking is a science, and recipes are formulated with specific ratios in mind. Even slight deviations can throw off the delicate balance required for proper chemical reactions (leavening), structure (gluten development), and texture (moisture and fat distribution). This makes accurate measurement a cornerstone of all effective chocolate cake troubleshooting tips.
Using a kitchen scale to weigh ingredients like flour, sugar, and chocolate is significantly more accurate than using volume measurements (cups). Volume measurements can vary widely depending on how ingredients are scooped or packed. For example, a cup of flour can weigh anywhere from 4 to 6 ounces (about 115-170 grams) depending on how it's measured. This variation can drastically affect the dry-to-wet ingredient ratio, leading to dryness, crumbliness, or density.
For liquids, use liquid measuring cups on a flat surface. For leavening agents, use dry measuring spoons and level them off. Precision in this step is invaluable for consistent results.
Conclusion: BakeWithEase's Guide to Perfect Chocolate Cakes
Baking a perfect chocolate cake is a skill that develops with practice and understanding. While encountering issues like a sunken middle, dry texture, or crumbly layers can be discouraging, they are also learning opportunities. By understanding the common causes behind these problems and applying the chocolate cake troubleshooting tips discussed in this guide, you can improve your technique and achieve better results.
Remember that baking is about both science and art. Pay attention to the details – ingredient measurements, temperatures, and timing – but also learn to read your batter and your oven. Don't be afraid to experiment slightly once you understand the fundamentals. With these comprehensive chocolate cake troubleshooting tips from BakeWithEase, you're well-equipped to tackle any challenge and bake delicious, moist, and perfectly textured chocolate cakes every time. Happy baking!
Frequently Asked Questions
What are some common reasons why my chocolate cake might be dry?
A dry chocolate cake is often caused by overbaking, using too much flour, or not having enough liquid ingredients. Be sure to measure carefully and check for doneness using a toothpick.
My chocolate cake sank in the middle. What did I do wrong?
A sunken cake usually indicates undercooking, or using too much leavening agent (baking soda or powder). Also, avoid opening the oven door frequently during baking.
How can I prevent my chocolate cake from sticking to the pan?
Properly preparing your pan is crucial. Grease and flour your pan thoroughly, or use baking spray with flour. You can also line the bottom with parchment paper.
Why is my chocolate cake dense and heavy instead of light and fluffy?
A dense cake can be the result of overmixing the batter after adding the flour, which develops too much gluten. Also consider using cake flour, which has a lower protein content.
What can I do if my chocolate cake tastes bitter?
Bitterness can sometimes come from using low-quality cocoa powder, or too much baking soda. Try using a Dutch-processed cocoa powder for a milder flavor.
Final Reflection: The Sweet Science of Troubleshooting Chocolate Cake
The perfect chocolate cake remains an elusive dream for many bakers, but understanding the science behind its creation transforms frustration into triumph. A seemingly simple dessert, the chocolate cake reveals a complex interplay of ingredients and techniques, each demanding precision for a flawless result. This guide has explored common pitfalls, from dry crumbles to cracked tops, offering solutions backed by culinary understanding.
The quest for the ideal chocolate cake transcends mere baking; it's a reflection of our desire for perfection and the satisfaction of creating something beautiful and delicious. The process itself, fraught with potential challenges, mirrors life's own unpredictable journey. The best things in life are worth fighting for,
and a truly magnificent chocolate cake is a testament to that enduring truth. The journey, with its successes and failures, is as important as the final product, teaching patience, adaptability, and the rewarding feeling of mastering a craft.
Now, armed with this knowledge, I invite you to embark on your own chocolate cake adventures. Don't be afraid to experiment, to embrace the occasional mishap, and to learn from each attempt. The next time you face a baking challenge, remember the principles outlined here – and remember the joy of creating something truly special, something that satisfies not just the palate, but also the soul. The perfect chocolate cake awaits – go forth and bake!
Unlock Your Chocolate Secrets!
Thanks for taking the time to explore the world of chocolate troubleshooting with us! We hope you now feel more confident in tackling those tricky chocolate challenges. Ready to put your new knowledge into practice?
- Master your next chocolate creation: Try out one of the techniques we discussed – perhaps that tempering method you've always wanted to perfect!
- Share your chocolate triumphs (and disasters!): Let's build a community of bakers! Tell us about your experiences in the comments below.
- Challenge yourself: Pick a new chocolate recipe and see if you can troubleshoot any potential issues before they arise.
So, what chocolate adventure will you embark on next?