
Common Chocolate Baking Mistakes and How to Avoid Them

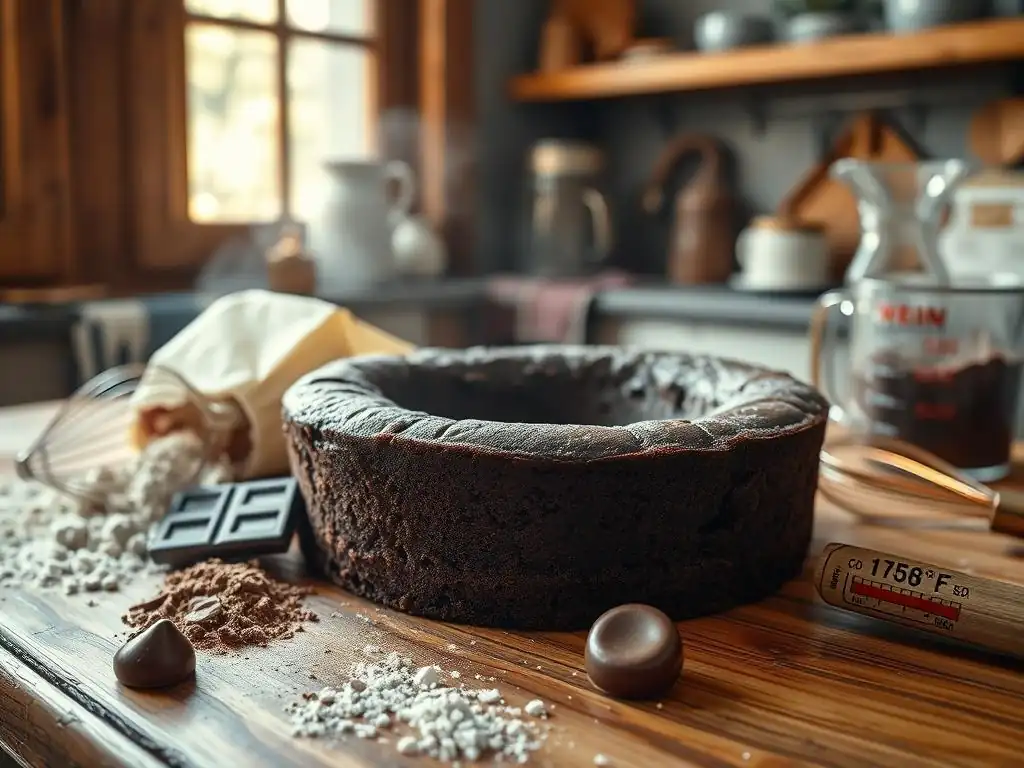
Welcome to BakeWithEase, your trusted guide to baking bliss! Ever wonder why your chocolate masterpieces aren't quite perfect? Dive into our comprehensive guide on chocolate baking common mistakes and unlock the secrets to rich, decadent desserts. Discover the simple tweaks that can transform your baking from good to extraordinary, and say goodbye to common pitfalls. Ready to elevate your chocolate creations? Let's get baking!
- Introduction: Mastering Baking – Avoiding Common Pitfalls
- Mistake #1: Overmixing Batter
- Mistake #2: Incorrect Oven Temperature and Baking Time
- Mistake #3: Not Properly Measuring Ingredients
- Mistake #4: Using Expired Ingredients
- Mistake #5: Substituting Ingredients Without Understanding the Impact
- Mistake #6: Insufficiently Greasing and Flouring Pans
- Mistake #7: Opening the Oven Door Frequently During Baking
- Mistake #8: Failing to Cool Baked Goods Properly
- Conclusion: Baking with Confidence - Avoiding Common Mistakes
-
Frequently Asked Questions
- What is the most common mistake beginners make when baking with chocolate?
- Why does my chocolate cake sometimes turn out dry?
- How can I prevent my chocolate cookies from spreading too thin?
- What's the best type of chocolate to use for baking brownies?
- What can I do if my chocolate ganache separates?
- Final Reflection: The Sweet Science of Avoiding Chocolate Baking Disasters
- Unlock Your Inner Chocolatier: Perfect Chocolate Baking Awaits!
Introduction: Mastering Baking – Avoiding Common Pitfalls
Welcome to Baking Bliss: A Guide to Error-Free Baking
Welcome, fellow baking enthusiasts! There's a unique joy in pulling a perfectly golden cake or a batch of gooey brownies from the oven. But let's be honest, the path to baking bliss isn't always smooth.
We've all had those moments where something just didn't turn out right – a cake that sunk, cookies that spread too much, or bread that was too dense. Baking is often described as a science, and like any science, precision and understanding the reactions at play are key to success. This guide is designed to help you navigate the common pitfalls, transforming potential failures into consistent successes, especially when you're dealing with the delightful world of chocolate baking.
Understanding the common chocolate baking common mistakes and how to correct them is the first step toward elevating your skills. Whether you're whipping up a simple chocolate chip cookie dough or tackling a complex chocolate mousse cake, being aware of where things can go wrong allows you to take preventative measures. We'll walk through some of the most frequent errors bakers encounter and provide practical, easy-to-follow tips to ensure your baked goods turn out beautifully every time, making your baking journey more enjoyable and rewarding.
Why Baking Can Be Tricky: Understanding the Challenges
Baking involves a delicate balance of ingredients and processes. Unlike cooking, where you can often adjust seasonings or cooking times on the fly, baking recipes rely on precise chemical reactions. For example, the leavening agents – baking soda and baking powder – react with acids and liquids to create carbon dioxide bubbles, which give cakes and muffins their light texture.
If the proportions are off, or if the ingredients aren't fresh, this reaction won't occur correctly, leading to flat or dense results. Temperature also plays a critical role; the heat of the oven sets the structure created by these reactions, browns the crust through the Maillard reaction, and caramelizes sugars, contributing to flavor and texture.
Furthermore, the state of your ingredients matters significantly. Butter temperature, whether it's cold, softened, or melted, drastically affects the outcome of doughs and batters. The protein content of flour influences gluten development, which is crucial for the structure of bread but can lead to toughness in cakes if overdeveloped. Humidity can even impact how ingredients behave and how long baked goods take to bake. Recognizing these variables and understanding their impact is fundamental to avoiding common errors and achieving consistent, delicious results in all your baking endeavors, including those rich chocolate creations that require particular care.
Mistake #1: Overmixing Batter
The Impact of Mixing on Texture: Achieving the Perfect Consistency
Overmixing is one of the most common chocolate baking common mistakes, particularly when working with cakes, muffins, and quick breads. The act of mixing develops gluten, a protein network formed when water interacts with proteins in flour (glutenin and gliadin). While gluten development is essential for the structure of bread, it can lead to a tough, chewy texture in baked goods where a tender crumb is desired. Think of a rubbery muffin versus a light, airy one – the difference often lies in how much the batter was mixed after the flour was added.
For delicate items like chocolate cakes or cocoa-based muffins, achieving a tender crumb is paramount. Overmixing develops too much gluten, which tightens the structure and prevents the baked good from being soft and moist. Instead of a melt-in-your-mouth texture, you end up with something heavy and dense. The goal is usually to mix just until the dry ingredients are incorporated, leaving a few small lumps often being preferable to a perfectly smooth, but overmixed, batter.
Understanding Gluten Development in Baked Goods
Gluten development begins the moment flour is combined with liquid and agitated. The more you mix or knead, the stronger and more elastic the gluten network becomes. In bread baking, this elasticity is necessary to trap the gases produced by yeast, allowing the dough to rise and create that characteristic chewy texture. However, in items like chocolate brownies or cupcakes, excessive gluten development is detrimental.
Consider a typical chocolate cake recipe. You cream butter and sugar, add eggs and vanilla, then alternate adding dry ingredients (flour, cocoa powder, leavening, salt) and wet ingredients (milk, buttermilk). The key is to mix only until the dry ingredients are just combined into the wet mixture. At this stage, the gluten has started to form but hasn't been overworked into a tough network. For instance, a standard chocolate cupcake batter mixed for more than 60-90 seconds after adding flour can start to show signs of toughness compared to one mixed for only 30-45 seconds.
Tips for Proper Mixing: Avoiding Tough Results
To avoid overmixing and ensure tender baked goods, follow these tips:
- Read the Recipe Carefully: Recipes often specify mixing times or cues like "mix until just combined." Pay close attention to these instructions.
- Use the Right Speed: For most batters (cakes, muffins, quick breads), use a low speed on your mixer once the flour is added. High speeds develop gluten faster.
- Mix by Hand When Appropriate: For delicate batters, finishing the mixing by hand with a spatula or whisk ensures you don't accidentally overmix. This is particularly useful for incorporating the last bits of flour.
- Look for Visual Cues: Stop mixing as soon as you no longer see streaks of dry flour. A few small lumps in quick bread or muffin batter are completely fine and often desirable. For example, a chocolate chip cookie dough should look shaggy and just come together, not be a smooth, uniform mass.
- Understand Ingredient Roles: Know that adding flour is the point where you need to be most cautious about mixing time and speed.
Mistake #2: Incorrect Oven Temperature and Baking Time
The Science of Baking: How Temperature Affects Baked Goods
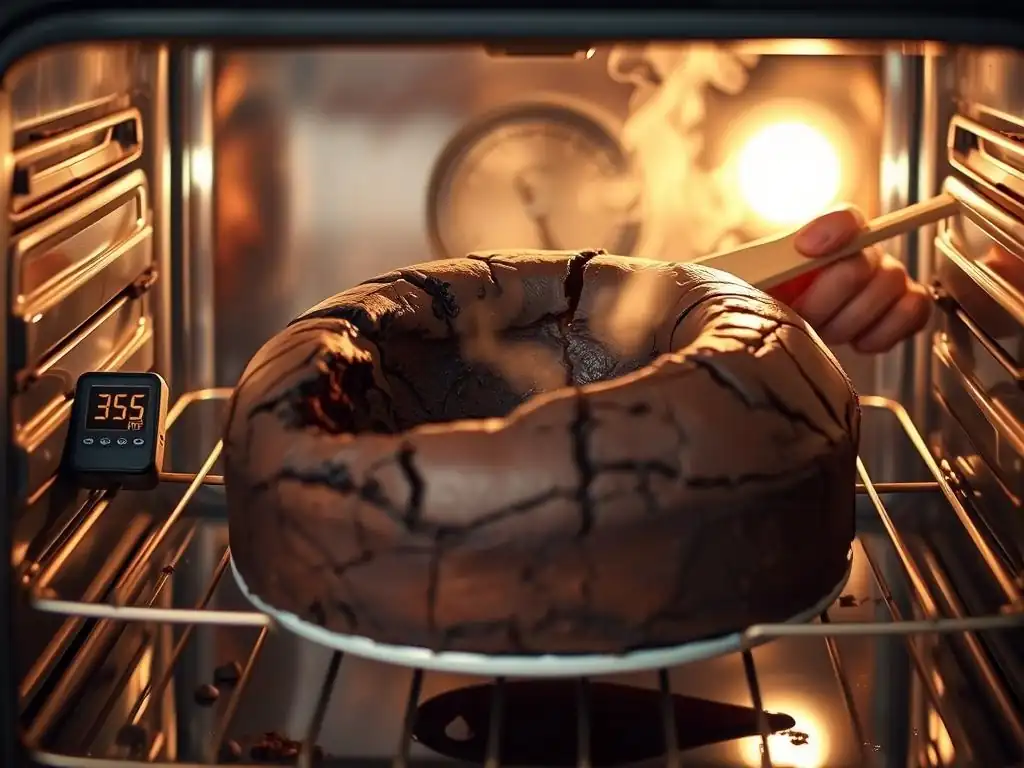
Oven temperature is arguably one of the most critical factors in baking success, especially when dealing with delicate ingredients like chocolate. The heat initiates chemical reactions: leavening agents produce gas, proteins coagulate to set the structure, starches gelatinize, and sugars caramelize. Baking at too high a temperature can cause the outside of your chocolate cake or cookies to brown and set too quickly, before the inside has a chance to cook through. This often results in a burnt exterior and a raw or doughy interior.
Conversely, baking at too low a temperature can lead to baked goods that spread too much before setting (like flat chocolate cookies) or take too long to bake, resulting in dry, dense textures. For instance, a chocolate lava cake requires a specific high temperature to set the outside quickly while leaving the center molten. Baking it at too low a temperature would likely result in a fully cooked cake with no lava center. The correct temperature ensures even heat distribution and allows the chemical processes to occur at the intended rate.
Common Baking Temperature Errors: Identifying and Correcting Them
One of the most common baking temperature errors is relying solely on the oven's dial or digital display. Many home ovens have thermostats that are inaccurate, sometimes by as much as 25-50°F (approx. 15-30°C). An oven set to 350°F (approx. 175°C) might actually be operating at 325°F (approx. 160°C) or 375°F (approx. 190°C). This variance can completely derail a recipe. For example, baking delicate chocolate meringues requires a precise low temperature (often 200-225°F or approx. 95-105°C) for a long time; a significant temperature deviation will either burn them or prevent them from drying out properly.
To identify and correct this, an inexpensive oven thermometer is an essential tool. Place it in your oven to see the actual temperature inside. If your oven consistently runs hot or cold, you can adjust the temperature setting accordingly. For example, if your oven runs 25°F hot, set it to 325°F (approx. 160°C) when the recipe calls for 350°F (approx. 175°C). Also, be aware that opening the oven door drops the internal temperature significantly, which brings us to another common mistake.
How to Test for Doneness: Avoiding Overbaked or Underbaked Creations
Baking time is a guideline, not a rule set in stone. Ovens vary, pan materials conduct heat differently, and even the temperature of your ingredients can affect baking time. Relying solely on the timer without checking for doneness is another frequent error. Underbaked goods can be gooey (in a bad way) or collapse upon cooling, while overbaked items are often dry and crumbly. For chocolate baked goods, overbaking can also dull the vibrant chocolate flavor.
Methods for testing doneness vary depending on the type of baked good:
- Cakes and Muffins: Insert a toothpick or cake tester into the center. It should come out clean or with just a few moist crumbs (for fudgy chocolate cakes or brownies, a few moist crumbs or a slight smudge is perfect; a totally clean toothpick might mean it's overbaked).
- Cookies: Look for visual cues like edges turning golden brown (or slightly darker for chocolate cookies) and centers looking set, not wet or shiny. They will continue to cook slightly on the hot baking sheet after being removed from the oven.
- Bread: Tap the bottom crust; it should sound hollow. An instant-read thermometer inserted into the center should register an internal temperature appropriate for the type of bread (often around 190-210°F or approx. 88-99°C).
Always start checking for doneness at the minimum time specified in the recipe and add baking time in small increments (e.g., 2-5 minutes) until the desired doneness is reached.
Mistake #3: Not Properly Measuring Ingredients
The Importance of Accurate Measurements in Baking: Consistency is Key
Baking is often called a science because the ratios of ingredients are crucial for chemical reactions and structural integrity. Unlike cooking, where you can often add "a pinch of salt" or "a splash of milk" and adjust as you go, baking requires precision. Using too much flour can lead to a dry, dense cake, while too little can result in one that collapses.
Incorrectly measuring sugar can affect not only sweetness but also moisture, browning, and spread (in cookies). This is especially true in delicate chocolate recipes, where the interaction between cocoa powder (which can be drying) and fats/sugars is finely balanced.
Consider a chocolate chip cookie recipe. If you scoop your flour directly from the bag with your measuring cup (a common mistake! ), you can pack in significantly more flour than intended – sometimes up to 25% more by weight. This excess flour absorbs more moisture, leading to dry, thick cookies instead of the chewy or crispy ones desired. Accurate measurement is the foundation of consistent baking results, ensuring that your favorite double chocolate brownie recipe turns out perfectly every single time.
Common Measuring Mistakes: Avoiding Errors for Perfect Results
Several common measuring mistakes lead to inaccurate ingredient amounts:
- Scooping Flour Directly: As mentioned, this compacts the flour, resulting in too much.
- Not Leveling Ingredients: Measuring cups or spoons should be leveled off with a straight edge (like a knife or spatula) to remove excess.
- Using Wet Measuring Cups for Dry Ingredients (and vice versa): Liquid measuring cups (with a spout and markings up the side) are designed to be read at eye level on a flat surface. Dry measuring cups (designed to be filled and leveled) are not accurate for liquids.
- Eyeballing Amounts: Guessing quantities is a recipe for inconsistency.
These errors are frequent chocolate baking common mistakes because they directly impact the final texture and flavor. For instance, adding too much cocoa powder due to improper measurement can make chocolate cakes or cookies bitter and dry.
Tips for Precise Measuring: Using Scales and Measuring Cups Correctly
The most accurate way to measure dry ingredients, especially flour and cocoa powder, is by weight using a digital kitchen scale. This eliminates the variability of volume measurements. For example, 1 cup of all-purpose flour is approximately 120-130 grams, depending on how it's measured by volume, but 125 grams is always 125 grams. Many professional recipes and increasingly, home baking recipes, provide measurements by weight for this reason.
If using volume measurements (cups and spoons), follow these best practices:
- For Flour and Cocoa Powder: Gently spoon the ingredient into the dry measuring cup until it overflows, then level off the excess with a straight edge without tapping or shaking the cup. This is known as the "spoon and level" method.
- For Granulated Sugar: Scoop directly into the dry measuring cup and level off. Sugar doesn't compact like flour.
- For Brown Sugar: Pack it firmly into the dry measuring cup so that it holds its shape when inverted.
- For Liquids: Use a liquid measuring cup placed on a flat surface and read the measurement at eye level.
- For Small Amounts: Use standard measuring spoons and level off dry ingredients.
Investing in a digital scale and using proper volume techniques will dramatically improve the consistency and quality of your baked goods.
Mistake #4: Using Expired Ingredients
The Impact of Ingredient Freshness on Flavor and Texture
The freshness of your baking ingredients has a significant impact on the flavor, texture, and even the success of your baked goods. While some ingredients seem non-perishable, they can degrade over time. Flour can absorb odors and moisture from the air, and whole wheat flour, containing oils, can go rancid. Sugar, while stable, can clump if exposed to moisture, affecting how it incorporates into batters. Fats like butter and oil can also go rancid, imparting off-flavors.
For chocolate baking, the freshness of cocoa powder and chocolate itself is crucial. Cocoa powder can lose its potency and depth of flavor over time, resulting in less intensely chocolatey baked goods. Old chocolate can develop bloom (white streaks caused by sugar or fat separating), which affects texture and appearance, though it's usually still safe to eat. However, very old chocolate can taste stale or waxy. Using fresh, vibrant ingredients ensures your chocolate creations have the best possible flavor profile.
Checking Expiration Dates: Ensuring Quality
While not all baking ingredients have strict "expiration dates" in the sense of becoming unsafe, they often have "best by" or "use by" dates which indicate when their quality is at its peak. Leavening agents like baking powder and baking soda are particularly sensitive. Baking powder loses its effectiveness over time as it reacts with moisture in the air. Using expired baking powder is a common chocolate baking common mistake that leads to cakes, muffins, and cookies that don't rise properly, resulting in dense, heavy textures.
- Baking Powder/Soda: Check the date on the container. A simple test for baking powder: mix a teaspoon with a few tablespoons of hot water; it should fizz vigorously. For baking soda: mix a teaspoon with a few tablespoons of vinegar; it should also fizz vigorously. If the reaction is weak, it's time for a new box.
- Flour: Check the "best by" date. If stored properly, it can last beyond this, but check for off-smells (musty or rancid) before using.
- Fats (Butter, Oil): Check dates. Butter can last a few weeks in the fridge and months in the freezer. Oils have varying shelf lives; sniff them – they should not smell like crayons or metal.
- Chocolate/Cocoa Powder: While shelf-stable, check "best by" dates for optimal flavor. Store away from light, heat, and strong odors.
Proper Storage Techniques: Maintaining Ingredient Integrity
Proper storage is key to extending the life and maintaining the quality of your baking ingredients. Air, moisture, light, and heat are the enemies of freshness.
- Flour and Cocoa Powder: Store in airtight containers in a cool, dark pantry. For longer storage or in warm climates, the freezer is an excellent option.
- Sugars: Store in airtight containers to prevent clumping from moisture.
- Leavening Agents: Keep tightly sealed in their original packaging or transfer to a small, airtight container. Store in a cool, dry place.
- Fats: Butter should be wrapped tightly and refrigerated or frozen. Oils should be kept in tightly sealed bottles away from heat and light.
- Chocolate: Store chocolate bars, chips, or cocoa powder in a cool, dark, and dry place, ideally between 60-70°F (approx. 15-21°C). Avoid refrigeration unless you live in a very hot, humid climate, as temperature fluctuations can cause bloom.
By taking these steps, you ensure that the ingredients you use contribute positively to the flavor and texture of your baked goods, helping you avoid common chocolate baking common mistakes related to ingredient quality.
Mistake #5: Substituting Ingredients Without Understanding the Impact
The Risks of Ingredient Substitutions: Maintaining Recipe Integrity
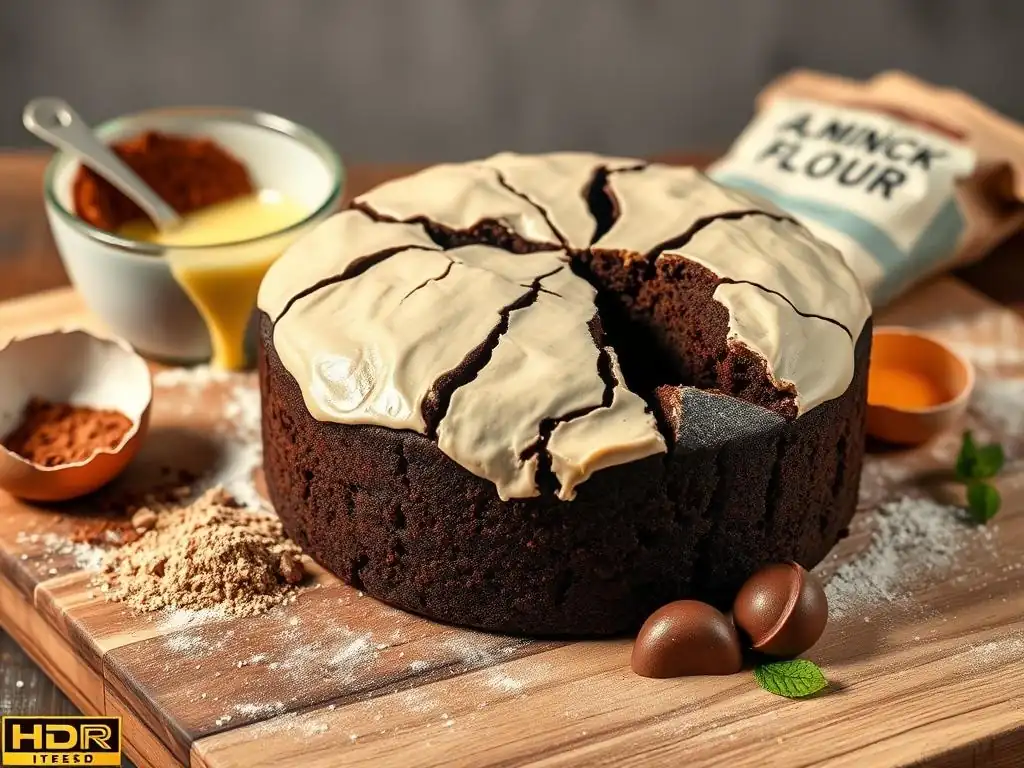
Baking recipes are carefully formulated chemical equations. Each ingredient serves a specific purpose – or often multiple purposes. Substituting ingredients without understanding how they function in the recipe is a frequent cause of baking failures. For example, substituting all-purpose flour with almond flour might seem simple, but almond flour behaves very differently; it lacks gluten, is higher in fat, and absorbs liquid differently, requiring significant adjustments to other ingredients and baking time/temperature.
Substituting fats is another area where mistakes happen. Butter provides flavor, tenderness, and contributes to leavening through creaming. Oil, while making things moist, doesn't cream and can result in a denser product. Swapping granulated sugar for brown sugar changes moisture content and adds molasses flavor. For chocolate baking, substituting different types of chocolate (e.g., unsweetened for semi-sweet) without adjusting sugar is a common error that drastically affects sweetness and flavor balance.
Safe Ingredient Substitutions: Examples of Acceptable Substitutions
While caution is advised, some substitutions are generally safe if done with care and understanding:
- Milk: Whole milk can often be substituted with 2% or even skim milk in many recipes, though it might slightly reduce richness. Non-dairy milks can also work, but their fat content and acidity should be considered.
- Buttermilk: If a recipe calls for buttermilk and you don't have it, you can make a reasonable substitute by stirring 1 tablespoon of white vinegar or lemon juice into 1 cup of milk and letting it sit for 5-10 minutes until it curdles. This mimics the acidity needed for some leavening agents.
- Leavening Agents: Substituting baking soda for baking powder (or vice versa) is usually not a one-to-one swap and depends entirely on the recipe's acidic ingredients. Baking powder contains both acid and base, while baking soda is just a base and needs an acid in the recipe to react.
- Chocolate: Substituting chocolate requires careful consideration of its cocoa percentage and sweetness. If a recipe calls for 60% bittersweet chocolate, substituting unsweetened (100% cocoa) would require adding significant sugar to compensate. Semi-sweet (around 50% cocoa) might work but would result in a sweeter, less intensely chocolatey product. Look for substitution guides specific to chocolate types.
Understanding the Role of Each Ingredient: Adapting Recipes with Confidence
Becoming a confident baker who can make smart substitutions comes from understanding the function of each ingredient:
- Flour: Provides structure (gluten). Different types have varying protein levels.
- Sugar: Provides sweetness, tenderness, moisture, aids in browning, and helps with creaming fat.
- Fats (Butter, Oil, Shortening): Tenderize, add moisture and richness, contribute flavor, and aid in leavening (creaming).
- Eggs: Bind ingredients, provide structure, contribute to leavening, add richness and moisture.
- Liquids (Milk, Water, Buttermilk): Dissolve sugar and salt, activate leavening agents, develop gluten, provide moisture.
- Leavening Agents (Baking Soda, Baking Powder, Yeast): Produce gas to make baked goods rise and become light.
- Salt: Enhances flavor and balances sweetness.
- Chocolate/Cocoa Powder: Provides flavor and color; cocoa powder also absorbs liquid and can be drying, impacting texture.
Before making a substitution, ask yourself what the original ingredient is doing in the recipe and how the substitute might behave differently. For significant changes, seek out tested recipes that already incorporate the ingredient you wish to use. Avoiding arbitrary substitutions is key to bypassing a common chocolate baking common mistake that frustrates many home bakers.
Mistake #6: Insufficiently Greasing and Flouring Pans
The Importance of Proper Pan Preparation: Preventing Sticking
Few things are as disheartening in baking as a beautiful cake or batch of brownies that refuses to come out of the pan. Insufficiently greasing and flouring (or using an alternative release agent) is a very common mistake, leading to broken baked goods and frustrating cleanup. Proper pan preparation creates a barrier between the pan surface and the batter, ensuring a clean release once the item is baked and cooled slightly.
This step is particularly crucial for cakes, muffins, and quick breads, where the structure is relatively delicate when hot. Items like fudgy chocolate brownies might stick due to their high sugar content if the pan isn't adequately prepared. A well-prepped pan allows the baked good to shrink away from the sides slightly as it cools, making inversion simple and preserving the appearance you worked hard to achieve.
Greasing and Flouring Techniques: Achieving a Clean Release
The classic method for preparing cake pans is greasing and flouring.
- Greasing: Use softened butter, shortening, or a non-stick baking spray. Apply a thin, even layer covering the entire interior surface of the pan, including corners and up the sides. Make sure there are no bare spots. Softened butter or shortening applied with your fingers or a paper towel gives good coverage.
- Flouring: Add a tablespoon or two of flour (or cocoa powder for chocolate cakes to avoid white marks) to the greased pan. Tilt and tap the pan to distribute the flour evenly over the greased surface, coating everything. Once fully coated, invert the pan and tap out any excess flour.
For chocolate cakes, using cocoa powder instead of flour is a great tip to prevent the finished cake from having white, powdery spots on its crust. Simply grease the pan as usual, then "flour" it with cocoa powder, tapping out the excess. This ensures a beautiful, uniformly colored exterior.
Alternatives to Greasing and Flouring: Parchment Paper and Baking Sprays
While greasing and flouring is effective, other methods offer even easier release:
- Parchment Paper: Lining the bottom of cake pans with parchment paper is an excellent way to guarantee the bottom won't stick. Simply trace the bottom of the pan on parchment, cut it out, grease the pan, insert the parchment circle, and then grease the parchment. For loaves or brownies, you can create a parchment sling by cutting a strip wide enough to fit the bottom and long enough to hang over the sides, allowing you to lift the baked good out easily.
- Non-Stick Baking Sprays: Sprays specifically designed for baking often contain flour or a similar release agent mixed with oil. These can be very effective but require a thorough, even coating. Be sure to use a spray labeled "baking spray" or one that explicitly mentions preventing sticking in pans, as regular cooking spray might not be sufficient for all baked goods, particularly delicate cakes or sticky chocolate treats.
Combining methods, such as greasing the sides and lining the bottom with parchment, provides maximum insurance against sticking. Choosing the right method depends on the recipe and pan type, but always preparing your pan adequately is a fundamental step to avoiding common chocolate baking common mistakes.
Mistake #7: Opening the Oven Door Frequently During Baking
The Impact of Temperature Fluctuations: Preventing Collapsing
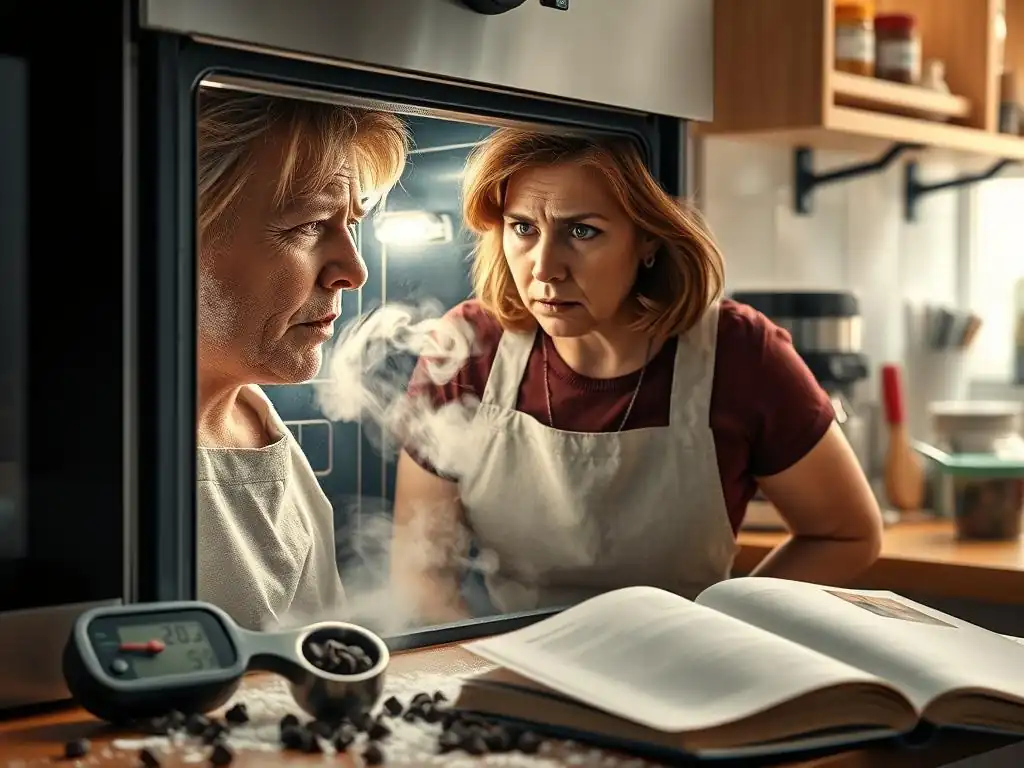
One of the most tempting habits for a baker is peeking into the oven to check on their creation. However, frequently opening the oven door, especially during the early stages of baking, is a significant cause of failure, particularly for items that rely heavily on leavening for structure like soufflés, cheesecakes, or delicate cakes. Each time the oven door is opened, the internal temperature can drop by 25-50°F (approx. 15-30°C) or even more. This sudden drop in temperature can shock the baked good.
When a cake or soufflé is baking, its structure is being set by the heat coagulating proteins and the leavening agents creating air pockets. If the temperature drops too drastically before the structure is stable, the gases inside can contract, and the delicate structure can collapse, resulting in a sunken center. This is a frequent issue encountered when baking airy chocolate sponge cakes or chocolate soufflés, which are particularly sensitive to temperature changes while they rise.
Minimizing Oven Door Openings: Monitoring Progress Visually
The best way to avoid this common chocolate baking common mistake is to resist the urge to open the oven door unnecessarily. Most modern ovens have a light and a window, allowing you to check on the progress visually without releasing heat.
- Use the Oven Light: Turn on the oven light and look through the door window to observe how your baked good is rising, browning, and setting.
- Trust the Timing (Initially): Rely on the recipe's suggested baking time as a guide. Avoid opening the oven door in the first two-thirds of the baking time. For example, if a chocolate cake recipe calls for 30-35 minutes, don't open the door for at least the first 20-25 minutes.
- Only Open to Test for Doneness: Once the minimum baking time is approaching and you think the item might be done, open the door briefly to perform a doneness test (like the toothpick test for cakes). Do it quickly to minimize heat loss.
Adjusting Baking Time for Oven Variations
While minimizing door openings is key, it's also important to remember that ovens vary. Even if you use an oven thermometer, factors like how full the oven is, the material of your pans, and even ambient kitchen temperature can affect baking time.
- Know Your Oven's Hot Spots: Some ovens bake unevenly. Rotating your baked goods halfway through can help ensure even baking, but only do this if necessary and after the structure is mostly set (past the initial rising phase).
- Adjust for Pan Material: Dark metal pans absorb and radiate heat more quickly than shiny metal, glass, or ceramic, potentially reducing baking time or requiring a slightly lower temperature. For instance, a chocolate loaf cake might bake faster in a dark metal pan than a glass one.
- Use Visual and Physical Cues: Learn to recognize the signs of doneness mentioned earlier (browning, pulling away from sides, toothpick test) rather than relying solely on the timer.
By being patient and using your oven window, you can significantly reduce temperature fluctuations and improve the outcome of your baked goods, especially delicate ones like chocolate angel food cake or Genoise.
Mistake #8: Failing to Cool Baked Goods Properly
The Importance of Cooling: Preventing Crumbling and Sticking
The baking process doesn't end the moment you pull an item from the oven. Proper cooling is a critical step that allows the structure to set completely and prevents sticking or crumbling. Hot baked goods are fragile. The internal structure is still somewhat soft, and the steam trapped inside needs to dissipate. Attempting to remove a cake or bread from its pan too soon can cause it to break apart or stick firmly to the pan because the structure hasn't fully set and it hasn't had a chance to shrink away from the sides slightly.
For items like chocolate chip cookies or brownies, cooling on the baking sheet for a few minutes is necessary to allow them to firm up before transferring them to a wire rack. Removing them immediately would likely result in misshapen or broken treats. For cakes, letting them cool in the pan for a specific amount of time allows the structure to stabilize before the stress of inversion. Skipping or rushing the cooling process is a common chocolate baking common mistake that ruins the final presentation and texture.
Cooling Techniques for Different Baked Goods: Examples
Cooling techniques vary depending on the type of baked good:
- Cakes (Layer Cakes, Loaf Cakes): Most cakes should cool in the pan on a wire rack for 10-20 minutes after coming out of the oven. This allows them to firm up enough to handle. After this initial cooling period, invert the cake onto the wire rack to cool completely. Cooling on a wire rack allows air circulation, preventing the bottom from becoming soggy from trapped steam. An example is a chocolate bundt cake; cooling it in the pan for too long can make it difficult to release, while removing it too soon will cause it to break.
- Muffins and Cupcakes: Let them cool in the muffin tin for 5-10 minutes before transferring them to a wire rack to cool completely.
- Cookies: Leave cookies on the hot baking sheet for 2-5 minutes after baking to let them set before carefully transferring them to a wire rack with a spatula.
- Brownies and Bar Cookies: Often, these are best cooled completely in the pan before cutting. This is especially true for fudgy chocolate brownies, which need time to set properly. Cutting them warm can result in a gooey, crumbly mess.
Always cool baked goods completely on a wire rack before frosting or storing them. Frosting a warm cake will cause the frosting to melt.
How to Store Baked Goods: Maintaining Freshness and Flavor
Once your baked goods are completely cool, proper storage is essential to maintain their freshness, texture, and flavor.
- Cakes: Store unfrosted cakes wrapped tightly in plastic wrap at room temperature for 1-2 days. Frosted cakes can be stored loosely covered (to protect the frosting) at room temperature for 2-3 days, or in the refrigerator if they contain perishable fillings or frostings (like cream cheese or whipped cream).
- Cookies: Store cooled cookies in an airtight container at room temperature. Different types of cookies can soften or harden each other, so storing crisp and chewy cookies separately is ideal. Adding a slice of bread to a container of hard cookies can help soften them.
- Brownies and Bars: Store cooled brownies in a single layer or separated by parchment paper in an airtight container at room temperature for 3-4 days.
- Bread: Store cooled bread at room temperature in a bread box, paper bag (for crusty bread), or plastic bag (for soft bread) for 2-3 days. Avoid refrigeration, which can make bread stale quickly.
Proper cooling and storage techniques are the final steps in successful baking, ensuring that your delicious chocolate creations are enjoyed at their best.
Conclusion: Baking with Confidence - Avoiding Common Mistakes
Recap of Common Baking Errors and Solutions
We've explored some of the most common chocolate baking common mistakes that can trip up even experienced bakers. From the delicate balance of mixing to the crucial importance of oven temperature, precise measurement, ingredient freshness, and proper cooling, each step in the baking process holds potential pitfalls.
We've seen how overmixing can lead to tough textures, incorrect oven temps can burn exteriors while leaving centers raw, inaccurate measurements throw off crucial ratios, expired ingredients fail to perform their roles, arbitrary substitutions disrupt recipe chemistry, poorly prepped pans cause sticking, frequent oven peeking leads to collapses, and improper cooling results in structural issues.
By understanding the 'why' behind these errors and implementing the suggested solutions – using proper mixing techniques, verifying oven temperature, measuring accurately, checking ingredient freshness, understanding ingredient functions before substituting, adequately preparing pans, minimizing oven door openings, and allowing for proper cooling – you can significantly improve your baking success rate. These fundamental techniques are the building blocks for consistently achieving delicious results, whether you're baking a simple batch of chocolate chip cookies or an elaborate multi-layer chocolate cake.
Further Resources for Improving Your Baking Skills
Mastering baking is a continuous journey of learning and practice. Don't be discouraged by mistakes; view them as opportunities to learn and refine your technique. Every failed cake or batch of flat cookies teaches you something valuable about ingredient interactions, oven behavior, or the importance of following instructions precisely.
To continue improving your baking skills and avoiding common chocolate baking common mistakes, consider exploring reliable resources:
- Consult reputable baking cookbooks from trusted authors.
- Follow baking blogs and websites known for tested recipes and detailed tutorials.
- Look for guides specifically on ingredient functions and how they behave in different types of baked goods.
- Practice, practice, practice! The more you bake, the more intuitive these techniques will become.
Remember, baking should be a joyful and rewarding experience. By being mindful of these common errors and applying the tips we've discussed, you'll be well on your way to baking with greater confidence and creating delicious treats every time. Happy Baking!
Frequently Asked Questions
What is the most common mistake beginners make when baking with chocolate?
The most common mistake is overheating the chocolate during melting. This can cause it to seize and become grainy, ruining the texture of your final product. Use a double boiler or microwave in short intervals with stirring.
Why does my chocolate cake sometimes turn out dry?
Dryness in chocolate cake is often due to overbaking or using too much flour. Ensure you're using the correct measurements and checking for doneness with a toothpick.
Preventing cookie spread involves chilling the dough and ensuring your butter is not too soft. Also, avoid greasing the baking sheet too heavily.
What's the best type of chocolate to use for baking brownies?
The best chocolate for brownies depends on your desired flavor profile. Unsweetened chocolate provides a rich, intense flavor, while semi-sweet chocolate offers a balance of sweetness and bitterness.
What can I do if my chocolate ganache separates?
If your ganache separates, it means the emulsion has broken. Gently warm the mixture over low heat and whisk vigorously until it comes back together. Adding a tiny bit of liquid (like cream or water) can also help.
Final Reflection: The Sweet Science of Avoiding Chocolate Baking Disasters
The pursuit of the perfect chocolate baked good is a universal desire, yet the path is often paved with pitfalls. From gummy centers to cracked surfaces, even the most experienced bakers encounter challenges when working with chocolate. This article has highlighted some of the most common mistakes, offering practical solutions to help you achieve consistently delicious results.
The impact of mastering chocolate baking extends beyond simply creating delectable treats; it's about understanding the delicate balance of ingredients and techniques. It's about embracing the scientific process behind baking, appreciating the nuances of chocolate itself, and finding joy in the transformation from raw ingredients to a beautiful, flavorful creation. The best things in life are simple, but not easy.
This holds particularly true for baking, where seemingly small details can make all the difference.
Now, it's your turn. Consider the mistakes you've made in your own baking journey. What lessons have you learned? What new techniques will you try based on the information presented here? Don't be afraid to experiment, to embrace the occasional mishap, and to learn from each experience. The path to chocolate baking mastery is a delicious journey, and the rewards are well worth the effort. So, grab your apron, gather your ingredients, and embark on your next chocolate baking adventure – armed with the knowledge to avoid those common pitfalls and create truly unforgettable treats.
Unlock Your Inner Chocolatier: Perfect Chocolate Baking Awaits!
Thanks for joining us on this delicious journey into the world of chocolate baking! You've now got the knowledge to avoid common pitfalls and create truly decadent treats. Ready to put your new skills to the test?
- Whip up your dream chocolate creation today! Experiment with a new recipe using what you've learned, focusing on mastering one technique at a time.
- Share your baking triumphs (and even your flops!) with our community on social media using #BakeWithEaseChocolate. Let's inspire each other!
- Consider exploring our other baking guides for even more tips and tricks to elevate your skills.
What’s the first chocolate recipe you'll tackle now that you know how to avoid those pesky mistakes? Let us know in the comments!