
Common Measurement Mistakes and How to Fix Them Before Baking

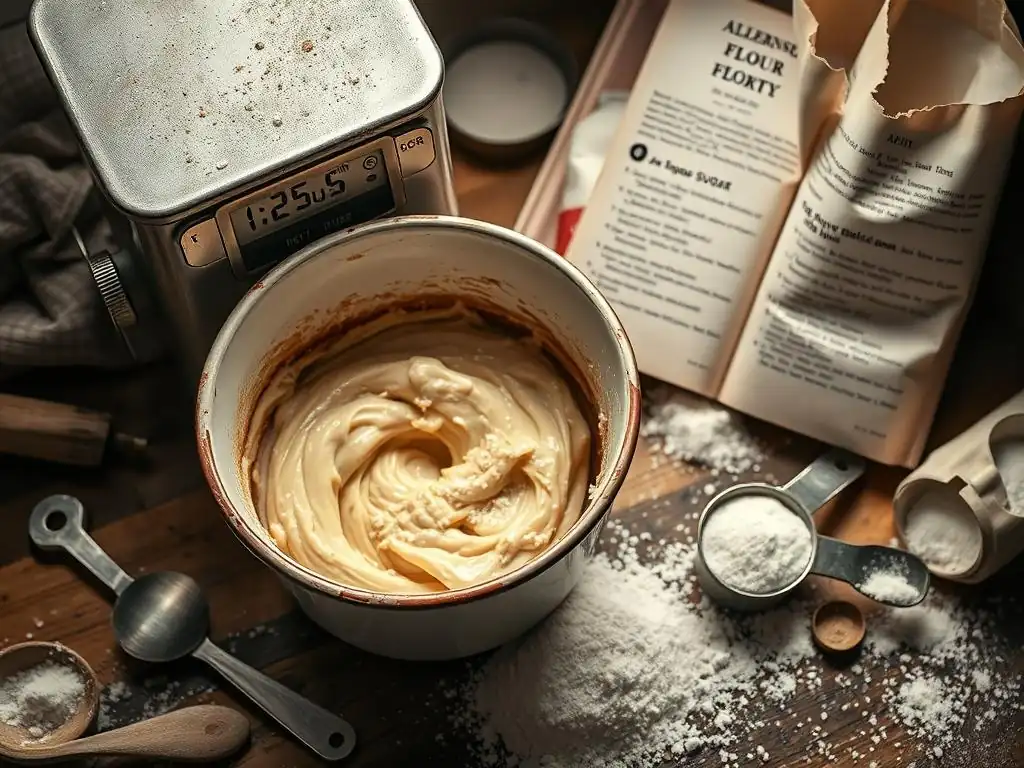
Welcome to BakeWithEase, where baking becomes a joy, not a chore! Ever wonder why your cookies spread too thin or your cake falls flat? You're not alone. Dive into our guide on baking measurement mistakes explained and uncover the secrets to consistent, delectable results. Avoid common pitfalls and elevate your baking game – your perfect bake starts here!
- BakeRight: Mastering Accurate Baking Measurements
- Identifying Common Baking Measurement Mistakes
- Fixing Baking Measurement Mistakes: A Step-by-Step Guide
- Best Practices for Accurate Baking Measurements
- The Importance of a Kitchen Scale for Precise Baking
- Advanced Baking Measurement Techniques
- Troubleshooting Baking Problems Related to Measurement Errors
-
Frequently Asked Questions
- What is the most common baking measurement mistake made by beginners?
- Why is it important to level off dry ingredients when measuring?
- How can I accurately measure liquids for baking?
- What's the best way to measure sticky ingredients like honey or molasses?
- What impact does using the wrong measuring tools have on baking outcomes?
- Final Reflection: The Sweet Science of Accurate Measurement
- Unlock Baking Success: Conquer Measurement Mistakes Today!
BakeRight: Mastering Accurate Baking Measurements
Why Accurate Measurements are Crucial for Baking Success
Baking is often described as a science, and like any scientific endeavor, precision is paramount. Unlike cooking, where a pinch of this or a dash of that can often be adjusted to taste, baking relies on chemical reactions between ingredients. The ratios of flour to leavening agents, fat to sugar, and liquid to dry ingredients are carefully balanced to achieve the desired texture, rise, flavor, and appearance.
Even small deviations in measuring can throw off these delicate balances, leading to unexpected and often disappointing results. Understanding common baking measurement mistakes explained is the first step towards consistently delicious baked goods.
Imagine baking a batch of classic chocolate chip cookies. If you accidentally add too much flour, the cookies might turn out dry and crumbly instead of chewy and soft. Conversely, too little flour could cause them to spread excessively thin on the baking sheet. Similarly, an incorrect amount of baking soda or powder can result in flat cakes or dense muffins because the leavening isn't providing the intended lift. Mastering accurate measuring techniques is fundamental to replicating recipes successfully and avoiding these common pitfalls, transforming potential baking disasters into consistent triumphs.
Identifying Common Baking Measurement Mistakes
Mistake #1: Using the Wrong Measuring Tools
Differentiating Liquid and Dry Measuring Cups for Accurate Baking
A common source of baking measurement mistakes explained is the misuse of measuring cups. Dry measuring cups – typically nested cups with a flat rim designed to be leveled off – are intended for ingredients like flour, sugar, and oats. Liquid measuring cups, on the other hand, are usually made of clear glass or plastic, have a spout for easy pouring, and feature measurement lines up the side.
The space above the top line in a liquid measuring cup is crucial; it allows you to fill the liquid and read the measurement at eye level without spillage. Using a dry measuring cup for liquids can easily lead to over- or under-measuring, as you can't accurately check the volume at eye level.
Conversely, using a liquid measuring cup for dry ingredients makes leveling off difficult and can result in packing the ingredient unevenly. For instance, attempting to measure flour in a liquid cup means you can't sweep off the excess, leading to too much flour being added – potentially several tablespoons more than intended for a cup measurement. This seemingly small error is a significant factor in many baking measurement mistakes explained and can drastically alter the texture of your baked goods, making them dense or dry. Always use the tool designed for the ingredient type for the most accurate results.
The Importance of Using Measuring Spoons Correctly
Measuring spoons are designed for smaller volumes, typically from 1/4 teaspoon up to 1 tablespoon. They are used for ingredients like leavening agents (baking powder, baking soda), spices, extracts, and salt. Accuracy with these small quantities is critical because they often contain potent ingredients that significantly impact flavor or structure. For example, adding too much salt can make your baked goods inedibly savory, while too little baking powder can prevent a cake from rising.
To use measuring spoons correctly, gently spoon the ingredient into the spoon until it's overflowing slightly, then use a straight edge (like the back of a knife or a small spatula) to level off the excess, ensuring the ingredient is flush with the rim of the spoon. For liquid extracts or vanilla, fill the spoon carefully to the top without letting it overflow.
Avoid scooping directly from a container with the measuring spoon, especially for dry ingredients like flour or cocoa powder, as this can compact the ingredient into the spoon, leading to inaccurate measurement – another key point when discussing baking measurement mistakes explained.
Mistake #2: Incorrect Leveling Techniques
How to Properly Level Dry Ingredients for Precise Baking
Properly leveling dry ingredients is essential to avoid common baking measurement mistakes explained. After gently spooning a dry ingredient like flour or powdered sugar into a dry measuring cup until it's overflowing, the next step is to level it off without packing the ingredient down. Use the straight edge of a knife or a bench scraper to sweep across the top of the cup, pushing the excess ingredient back into its container. This ensures that the ingredient is measured at the correct volume.
Avoid tapping the cup on the counter or shaking it, as this will cause the ingredient to settle and compact, resulting in too much of the ingredient being measured. For example, one cup of all-purpose flour, properly measured and leveled, should weigh approximately 120-130 grams, depending on the brand and how it's stored. If you scoop directly from the bag or tap the cup down, that same "cup" of flour could easily weigh 150 grams or more, leading to a significantly drier dough or batter.
The "Spoon and Sweep" Method Explained
The "spoon and sweep" method is the standard technique recommended for measuring dry ingredients like flour, especially when using volume measurements. Instead of scooping the measuring cup directly into the flour bag (which compacts the flour), you use a spoon to gently scoop the flour from the bag and lightly sprinkle it into your dry measuring cup. Continue spooning the flour into the cup until it is overflowing.
Once the cup is overfilled, use a straight edge (like the back of a butter knife or a small offset spatula) to sweep across the top of the measuring cup, removing the excess flour and creating a level surface. This method results in a more accurate volume measurement compared to scooping, minimizing the chance of adding too much flour due to compaction – a common source of baking measurement mistakes explained. Following this method helps ensure your baked goods have the intended texture.
Mistake #3: Ignoring Ingredient Density
Understanding How Ingredient Density Affects Baking Outcomes
Different ingredients have different densities, meaning a cup of one ingredient will weigh differently than a cup of another. For instance, a cup of all-purpose flour weighs significantly less than a cup of granulated sugar, which weighs less than a cup of honey. Ignoring this density difference is a major contributor to baking measurement mistakes explained when substituting ingredients or relying solely on volume for dense substances like syrups or solid fats. The volume measurement of a dense ingredient is far more susceptible to error based on how it's packed or handled.
Consider peanut butter or shortening. If melted and measured in a liquid cup, they will occupy a different volume compared to scooping them solid into a dry measuring cup. This density variation is why professional bakers and serious home bakers often prefer weighing ingredients, especially flour, sugar, and fats, as weight is a much more consistent measure of quantity regardless of density or how compact the ingredient is. A gram is always a gram, whether it's flour or sugar.
Converting Between Volume and Weight Measurements in Baking
Converting between volume and weight measurements can be tricky due to ingredient density variations and is a frequent area for baking measurement mistakes explained. While online converters exist, they often provide approximations and don't account for factors like humidity or how an ingredient was measured by volume in the first place (e.g., scooped vs. spooned flour). A standard conversion might list 1 cup of flour as 120 grams, but this is based on the "spoon and sweep" method. Scooped flour could be 140-150 grams per cup.
For best results, especially with recipes that originate from different sources or countries (where volume measurements like cups are less common than weight), it's ideal to find reliable conversion charts specifically for baking ingredients or, even better, to use a kitchen scale and follow recipes that provide measurements by weight. Many recipes today, especially from reputable baking sites and cookbooks, include weight measurements specifically to minimize these measurement errors.
Mistake #4: Not Sifting Flour When Required
The Impact of Sifting on Flour Volume and Baking Texture
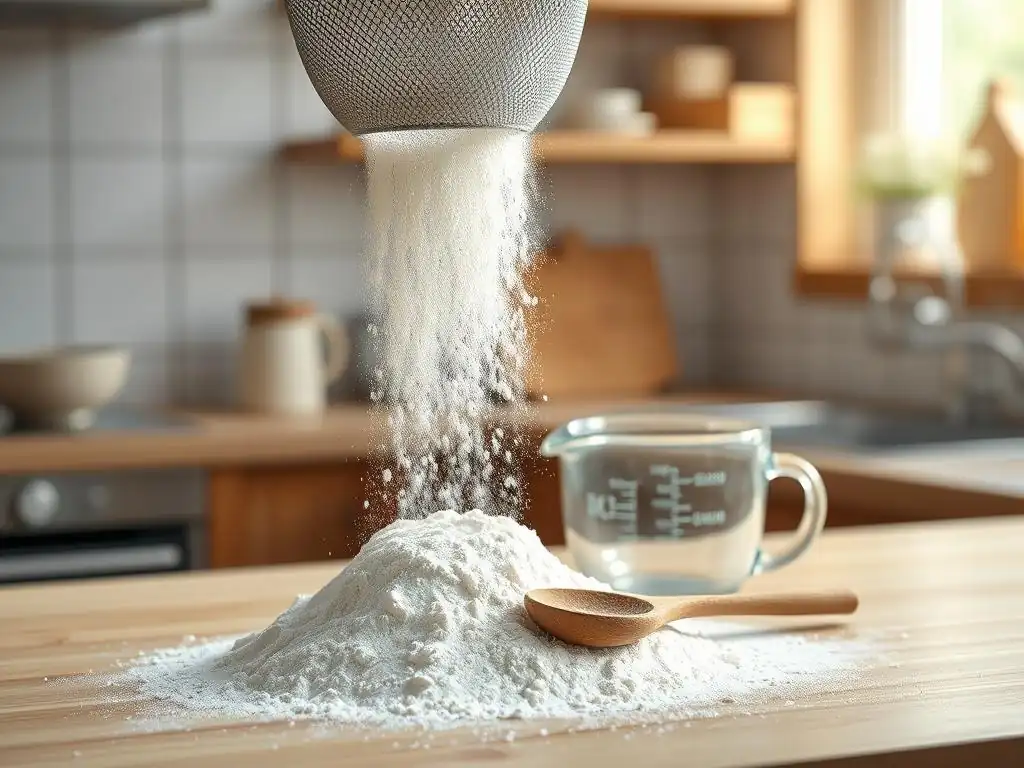
Sifting flour involves passing it through a fine-mesh sieve or sifter. This process aerates the flour, breaks up clumps, and removes any foreign particles. Sifting significantly impacts the volume of flour; sifted flour takes up more space per unit of weight because it's less dense.
Measuring flour after sifting will result in a different quantity than sifting it before measuring. Recipes typically specify whether to measure the flour before or after sifting (e.g., "1 cup sifted flour" or "1 cup flour, sifted"). Failing to follow this instruction leads to inaccurate quantities and is a common source of baking measurement mistakes explained.
Adding too much unsifted flour when the recipe calls for sifted can make cakes or muffins heavy and dense. Conversely, sifting when the recipe doesn't specify it can lead to a batter or dough that is too wet, affecting the structure and rise. Sifting also contributes to a finer, more tender texture in baked goods, which is particularly important for delicate cakes, pastries, and some cookies.
When to Sift and When Not To: A Baking Guide
Whether or not to sift flour depends entirely on the specific recipe instructions.
- Sift when the recipe says "X cups sifted flour": Sift the flour first, then gently spoon it into your measuring cup and level it off.
- Sift when the recipe says "X cups flour, sifted": Measure the flour using the spoon and sweep method first, and then sift the measured amount into your bowl.
- Do not sift when the recipe just says "X cups flour": Assume the recipe intends for the flour to be measured using the spoon and sweep method without sifting, unless the flour is very lumpy.
If your flour is particularly clumpy due to humidity, you can quickly whisk it in the bag or bowl before measuring to break up clumps, even if the recipe doesn't call for sifting. This helps ensure a more consistent measure. Ignoring these specific instructions is a frequent cause of baking measurement mistakes explained and can significantly alter the outcome of your recipe.
Mistake #5: Packing Dry Ingredients
Why Packing Brown Sugar, Flour, or Other Dry Ingredients Leads to Errors
Packing dry ingredients, especially those prone to clumping like brown sugar or powdered sugar, or even flour when scooping directly from the bag, is a primary reason for inaccurate volume measurements. When you pack an ingredient into a measuring cup, you're fitting more of that ingredient into the same volume than intended by the recipe developer. This adds excess dry matter to your recipe, throwing off the delicate balance of wet and dry ingredients. It's one of the most common baking measurement mistakes explained to new bakers.
For instance, if a recipe calls for 1 cup of light brown sugar, it almost always assumes that sugar is packed into the cup. This is because brown sugar contains molasses and is naturally moist and clumpy. However, if you apply the same packing method to flour or granulated sugar (which should be measured using the spoon and sweep method or simply scooped and leveled), you will add a significant amount of extra ingredient. A cup of flour scooped and packed can contain 20-30% more flour by weight than a cup that was spooned and leveled.
Proper Techniques for Measuring Packable Ingredients
Some dry ingredients are meant to be packed for accurate volume measurement. Brown sugar is the most common example. To measure brown sugar correctly, spoon the sugar into the dry measuring cup and press it down firmly with the back of the spoon or your fingers. Continue adding and packing until the sugar fills the cup completely and holds its shape when inverted. This is the standard method for brown sugar unless the recipe specifically states otherwise (which is rare).
Other ingredients that might be packed (though less commonly specified than brown sugar) include shortening or solid fats when measured by volume. For flour, granulated sugar, powdered sugar (unless it's very lumpy and needs sifting first), oats, and similar dry goods, the spoon and sweep method (or gentle scooping and leveling for granulated sugar) is the correct technique. Always refer to the recipe's specific instructions, but understanding which ingredients are typically packed versus leveled is key to avoiding common baking measurement mistakes explained.
Fixing Baking Measurement Mistakes: A Step-by-Step Guide
Correcting Measurement Errors Before Baking
Catching a measurement error before your ingredients hit the mixing bowl is the best-case scenario for fixing baking measurement mistakes explained. If you realize you've mismeasured an ingredient while you're still adding things to the bowl, you can often correct it. For example, if you accidentally added too much flour, you can remove the excess carefully using a spoon before mixing. If you added too little, add the correct remaining amount.
If you've added too much of a potent ingredient like salt or baking soda, it might be harder to remove precisely. In such cases, if the quantity is significantly off, it might be better to discard that portion of the ingredients and start over to ensure the final product isn't ruined.
For minor overages of less critical ingredients like sugar or butter, you might proceed, acknowledging the potential slight variation in the final result. Always pause and double-check your measurements against the recipe before combining ingredients, as this simple step prevents many baking measurement mistakes explained from impacting your bake.
Adjusting Recipes to Compensate for Minor Measurement Inaccuracies
Sometimes, you might not realize a measurement error until ingredients are already combined, or you might notice a slight inconsistency in your batter or dough (e.g., it feels a little too dry or too wet). While major errors are hard to fix at this stage, minor ones can sometimes be compensated for.
If your dough feels too dry due to slightly too much flour, you might carefully add a very small amount of extra liquid (like milk, water, or a bit more melted butter, depending on the recipe) a teaspoon at a time, mixing gently until the desired consistency is reached. Be cautious, as adding too much liquid can also ruin the texture.
Conversely, if a batter seems too wet, you could potentially add a tiny bit more dry ingredient, but this is risky, especially if it's flour containing gluten, as overmixing after adding more flour can lead to toughness. This type of adjustment is more art than science and is generally not recommended for beginners. The best approach to fixing baking measurement mistakes explained is prevention through accurate measuring from the start. If you're unsure, it might be safer to accept a slightly imperfect result or, for significant errors, consider it a learning experience and try again.
Best Practices for Accurate Baking Measurements
Tips for Consistent Baking Results Every Time
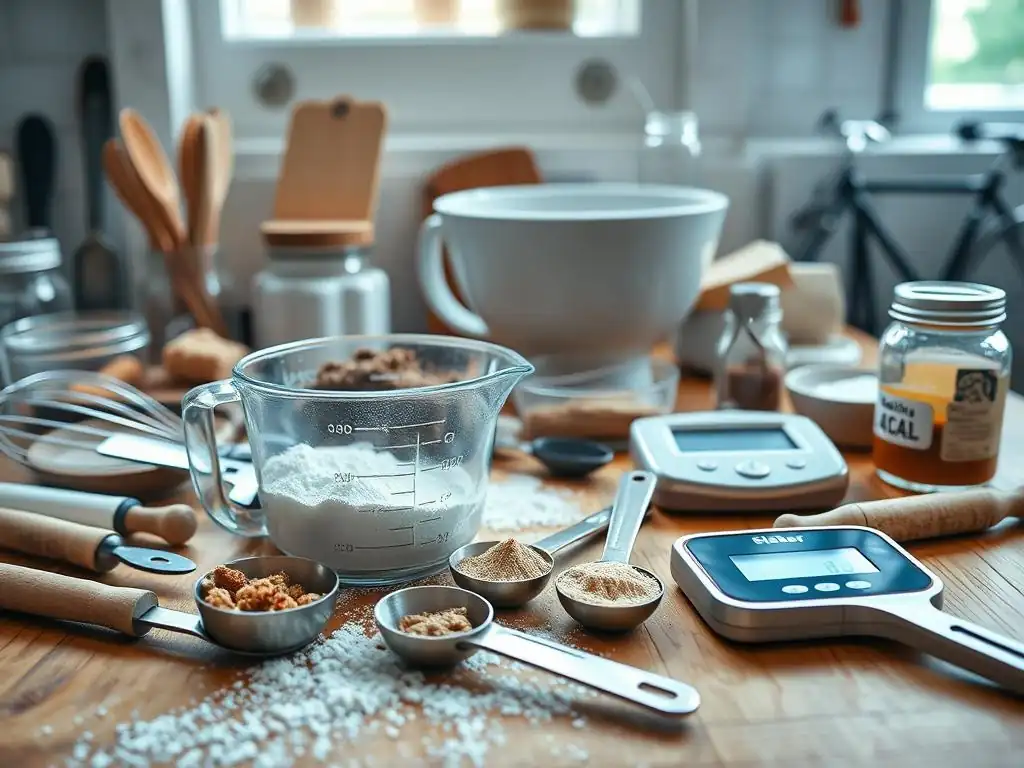
Achieving consistent baking results relies heavily on accurate measurements. Beyond using the right tools and techniques, several practices can help minimize baking measurement mistakes explained. Always set out all your ingredients before you start measuring (mise en place). This allows you to double-check that you have everything and that ingredients are at the correct temperature (e.g., softened butter, room temperature eggs). Store dry ingredients properly in airtight containers to prevent clumping or moisture absorption, which can affect volume.
- Read the recipe thoroughly before you begin measuring or mixing.
- Use standard measuring cups and spoons.
- Measure liquids in liquid measuring cups at eye level on a flat surface.
- Measure dry ingredients using the spoon and sweep method (or scooping and leveling for granulated sugar) in dry measuring cups.
- Pack brown sugar firmly when specified.
- Measure potent ingredients like salt and leavening agents carefully using leveled measuring spoons.
- Consider using a kitchen scale for greater accuracy, especially for flour and sugar.
Creating a Baking Measurement Checklist
Developing a simple checklist or routine can help prevent common baking measurement mistakes explained. Before starting, quickly review the ingredients and their required forms (e.g., "flour, sifted," "butter, softened," "brown sugar, packed"). As you measure each ingredient, mentally (or physically) check it off the list.
Here's a simple task list you could adapt:
- [ ] Read recipe completely.
- [ ] Gather all ingredients.
- [ ] Ensure ingredients are at correct temperature (if applicable).
- [ ] Measure Ingredient 1 (e.g., Flour - spoon & sweep).
- [ ] Measure Ingredient 2 (e.g., Sugar - scoop & level or weigh).
- [ ] Measure Ingredient 3 (e.g., Brown Sugar - packed).
- [ ] Measure Ingredient 4 (e.g., Baking Soda - level spoon).
- [ ] Measure Ingredient 5 (e.g., Liquid - eye level).
- [ ] Double-check all measurements before combining.
This systematic approach reduces the chance of missing an ingredient or mismeasuring, directly addressing many common baking measurement mistakes explained.
The Importance of a Kitchen Scale for Precise Baking
Using a Kitchen Scale for Accurate Ingredient Weighing
One of the most effective ways to eliminate baking measurement mistakes explained is to switch from volume measurements (cups, spoons) to weight measurements (grams, ounces) using a digital kitchen scale. Weighing ingredients is inherently more accurate because weight is a fixed property, unlike volume, which can vary based on density, compaction, and measuring technique. To weigh an ingredient, simply place your mixing bowl or a container on the scale, tare the scale to zero, and add the ingredient until the desired weight is reached.
For example, a recipe might call for 200 grams of flour. You place your bowl on the scale, zero it out, and add flour until the display reads 200g. It doesn't matter if the flour is sifted, compacted, or loosely scooped; 200 grams is always 200 grams. This eliminates the variability associated with volume measurements like the difference between scooped and spooned flour, which can be significant.
Benefits of Baking by Weight vs. Volume
Baking by weight offers numerous advantages that help avoid baking measurement mistakes explained and lead to more consistent results.
- Accuracy: Weight is a more precise measure than volume, reducing variability between batches.
- Consistency: Recipes measured by weight are more likely to turn out the same way every time, regardless of who is doing the measuring.
- Easier Scaling: Scaling recipes up or down is often simpler with weight measurements.
- Fewer Dishes: You can often measure multiple dry ingredients directly into the same bowl by taring the scale between additions, reducing cleanup.
- Universal: Weight measurements (grams) are standard in many parts of the world and commonly used by professional bakers, making it easier to use a wider range of recipes.
While converting all your recipes to weight might take time, gradually incorporating a scale, especially for key ingredients like flour, sugar, and fats, is a powerful step towards mastering accurate baking and minimizing those frustrating baking measurement mistakes explained.
Advanced Baking Measurement Techniques
Baker's Percentage Explained: A More Precise Approach
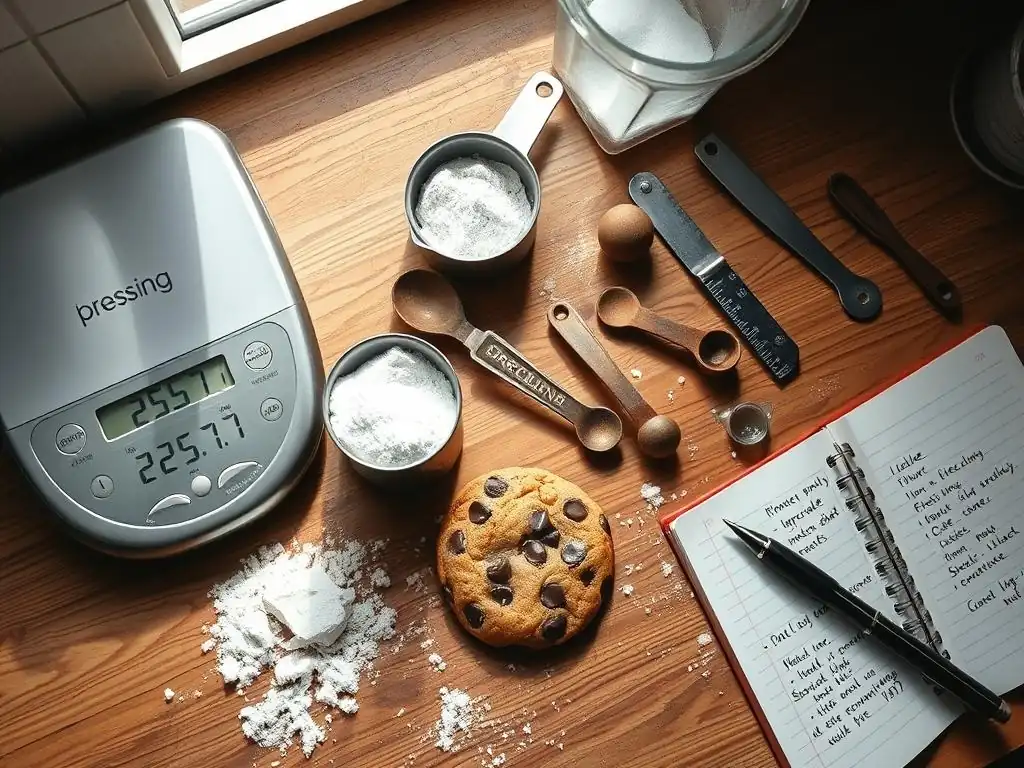
Baker's percentage is an advanced measurement technique widely used in professional baking, particularly for bread making. It's a formula where each ingredient's weight is expressed as a percentage of the total flour weight, which is always considered 100%. This method provides a clearer understanding of the ratio between ingredients, especially hydration (the amount of liquid relative to flour).
For example, a simple bread recipe might be 100% flour, 60% water, 2% salt, and 1% yeast. If you use 500 grams of flour, you'd use 300 grams of water (500 * 0.60), 10 grams of salt (500 * 0.02), and 5 grams of yeast (500 * 0.01).
This method allows bakers to easily scale recipes and understand how changing one ingredient impacts the overall formula. It moves beyond simply avoiding baking measurement mistakes explained by volume and provides a foundational structure for recipe development and modification based on precise ratios. While not necessary for every home baker, understanding baker's percentage can deepen your understanding of recipe structure and ingredient interactions.
Understanding and Using Hydration Ratios in Baking
Hydration refers specifically to the amount of water (or other liquids) relative to the amount of flour in a dough or batter, typically expressed as a percentage of the flour weight. This is a key concept in bread baking, where hydration levels significantly impact the dough's handling characteristics and the final bread's texture and crumb structure. A hydration of 60% is relatively low, resulting in a stiff dough, while 80% hydration yields a very wet, slack dough often used for artisan breads.
Calculating hydration is simple using weight measurements: (Weight of Liquid / Weight of Flour) * 100%. For example, 300g water and 500g flour give (300/500)*100% = 60% hydration. Understanding hydration helps bakers troubleshoot issues like dough consistency and predict the outcome. It's a practical application of precise weight measurements, moving beyond basic baking measurement mistakes explained to a more nuanced control over your baking process.
Identifying Measurement Errors as the Cause of Baking Failures
When a baked good doesn't turn out as expected, measurement errors are often the culprit. Learning to recognize the signs can help you diagnose what went wrong and avoid repeating the same baking measurement mistakes explained. Common indicators of measurement issues include:
- Cakes or muffins that are dense or don't rise: Often too much flour or too little leavening.
- Cookies that spread too much or too little: Can be too much butter (spreads) or too much flour (doesn't spread).
- Bread that is tough or heavy: Likely too much flour or improper hydration.
- Baked goods that are too dry: Usually too much flour or not enough liquid/fat.
- Baked goods that are too sweet or not sweet enough: Incorrect sugar measurement.
- Unpleasant aftertaste: Too much baking soda or baking powder.
By carefully observing the texture, rise, and flavor of your failed bake and comparing it to the expected outcome, you can often deduce which measurement error likely occurred.
Let's look at two specific examples of baking problems often caused by measurement errors:
- Problem: Dry Cake. A cake that is crumbly, dense, and lacks moisture is frequently the result of adding too much flour. This common baking measurement mistake explained occurs when flour is scooped and packed into the measuring cup instead of being spooned and leveled or weighed.
- Solution: Ensure you are using the spoon and sweep method for flour, or better yet, measure flour by weight using a kitchen scale. Make sure other dry ingredients like cocoa powder or leavening are also measured accurately.
- Problem: Tough Bread. Bread that is dense, heavy, and has a chewy, unpleasant texture can be caused by too much flour relative to the liquid (low hydration). This makes the dough stiff and difficult to knead properly, leading to overdevelopment of gluten without enough moisture to keep it tender.
- Solution: Accurately weigh both your flour and water (or other liquids) using a kitchen scale. Pay attention to the recipe's hydration level. If using volume, ensure flour is measured correctly (spoon and sweep) and liquid is measured at eye level. Small adjustments in hydration can significantly impact bread texture.
By understanding the relationship between ingredient quantities and final texture, you can effectively troubleshoot and correct baking measurement mistakes explained in recipes, leading to more successful baking adventures.
Frequently Asked Questions
What is the most common baking measurement mistake made by beginners?
The most common mistake is using volume measurements for dry ingredients like flour, instead of weight measurements. This leads to inconsistencies in recipes.
Why is it important to level off dry ingredients when measuring?
Leveling ensures accuracy in your measurements. Scooping directly from a container can pack ingredients differently, leading to varied results in your baked goods.
How can I accurately measure liquids for baking?
Use liquid measuring cups and check the level at eye level on a flat surface. Avoid using dry measuring cups for liquids, as they aren't as precise.
What's the best way to measure sticky ingredients like honey or molasses?
Lightly grease your measuring cup or spoon with cooking spray before measuring. This helps the ingredient slide out easily and ensures you get the correct amount.
What impact does using the wrong measuring tools have on baking outcomes?
Using the wrong tools, like dry measuring cups for liquids, can lead to inaccurate proportions and affect the final texture, rise, and overall quality of your baked goods.
Final Reflection: The Sweet Science of Accurate Measurement
The pursuit of the perfect bake hinges on precision, and even seemingly minor measurement mistakes can dramatically alter the final product. A slightly off teaspoon of baking powder can mean the difference between a fluffy cake and a dense brick; a miscalculated ounce of flour can transform a crisp cookie into a chewy disappointment. This isn't just about following recipes; it's about understanding the fundamental chemistry of baking.
The impact of accurate measurement extends beyond the individual kitchen; it speaks to a broader appreciation for detail and the importance of understanding the processes we engage in. As we strive for perfection in our baking, we are also cultivating a deeper understanding of the scientific principles at play. This meticulous approach can translate to other aspects of life, fostering a greater attention to detail and a more mindful approach to tasks. The difference between ordinary and extraordinary is that little extra.
– Jimmy Johnson. This quote perfectly encapsulates the impact of seemingly small details, like precise measurements, on the overall outcome.
So, the next time you're reaching for your measuring cups and spoons, remember the power of precision. Don't just follow the recipe; understand it. Take the time to learn the nuances of different measuring techniques, and embrace the challenge of achieving accuracy. The reward? Not just delicious baked goods, but a deeper appreciation for the science and art of baking, and perhaps, a newfound attention to detail in other areas of your life. Embrace the journey to baking perfection – one accurate measurement at a time.
Unlock Baking Success: Conquer Measurement Mistakes Today!
Thanks for taking the time to level up your baking game! You've now got the knowledge to avoid those pesky measurement mishaps that can ruin a perfect bake. Ready to put your new skills to the test?
- Bake your dream recipe: Choose a recipe you’ve always wanted to try (or revisit an old favorite! ), and focus on precise measuring using the techniques we discussed. This is your chance to shine!
- Share your baking triumphs (or challenges!): Post a picture of your creation on social media and tag #BakeWithEase – let's inspire each other!
- Explore our other baking guides: Discover more tips and tricks to help you master the art of baking.
What delicious creation will you tackle first? Let us know in the comments!