
The Dough Didn't Rise? Your Yeast Troubleshooting Guide

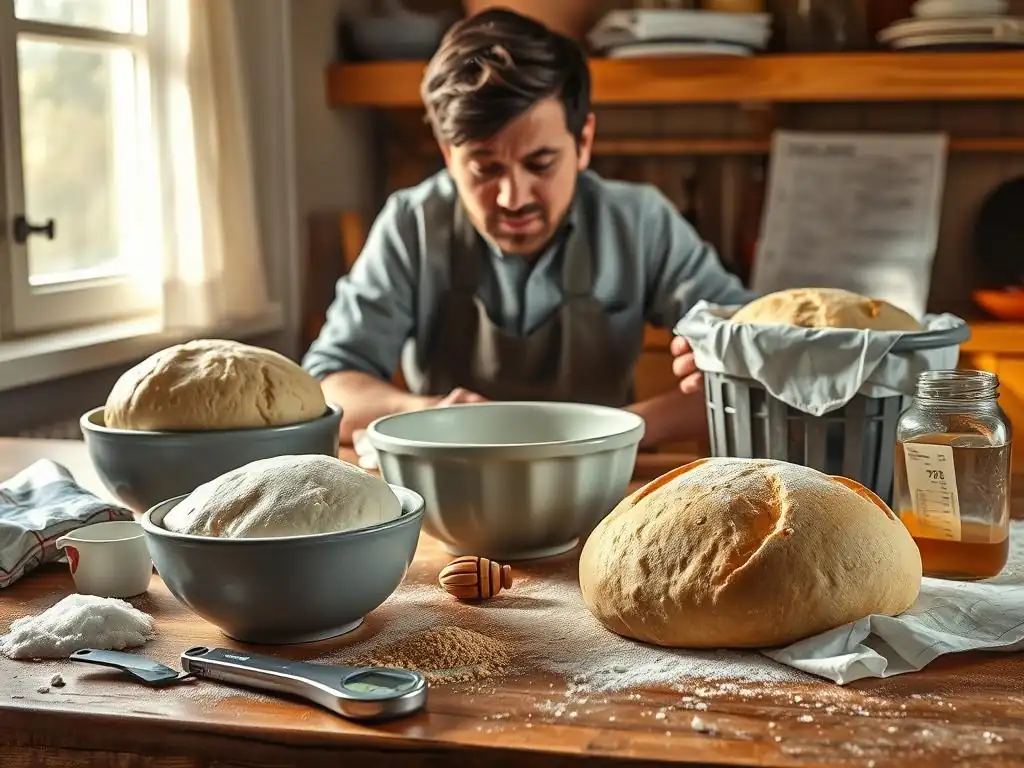
Welcome to BakeWithEase, your trusted companion in the delightful world of baking! Ever faced the frustrating moment when your dough just won't rise? Don't despair! We're diving deep into yeast troubleshooting tips baking to unravel the mysteries behind this common baking dilemma. Discover the secrets to ensuring perfectly proofed dough every time and unlock the full potential of your baking creations. Ready to transform your baking fails into fantastic successes? Let's get started!
- Introduction to Yeast Troubleshooting for Baking Success
- Identifying the Problem: Why Your Yeast Isn't Working
- Yeast Troubleshooting Tips: Step-by-Step Solutions
- Different Types of Yeast and Their Specific Troubleshooting Needs
- Advanced Yeast Troubleshooting: Complex Baking Scenarios
- Preventing Future Yeast Problems: Best Practices for Baking
- Conclusion: Mastering Yeast Baking with BakeWithEase
-
Frequently Asked Questions
- What are the most common reasons why my yeast might not activate when baking?
- How do I test if my yeast is still good before starting a baking recipe?
- My recipe calls for "instant yeast," but I only have "active dry yeast." Can I substitute them, and if so, how?
- What should I do if I suspect my dough didn't rise because of bad yeast, but I've already mixed all the ingredients?
- How can I store yeast properly to ensure it stays fresh and active for longer?
- Final Reflection: The Humble Yeast and the Baker's Journey
- Unleash Your Inner Baker: Troubleshooting Yeast Troubles!
Introduction to Yeast Troubleshooting for Baking Success
Welcome to BakeWithEase, where we help you master the art of baking! There are few things more disheartening in the kitchen than eagerly checking on your dough, only to find it hasn't risen. Yeast is a magical ingredient, but it can sometimes be finicky. Understanding how yeast works and what can go wrong is the first step to successful bread baking. This guide is packed with practical yeast troubleshooting tips baking enthusiasts need to conquer common rising issues and achieve that perfect, airy loaf.
Why is My Dough Not Rising? Understanding Yeast's Role in Baking
Yeast is a living organism, specifically a single-celled fungus, essential for leavening most breads. When yeast is activated in a warm, moist environment with food (sugar or carbohydrates from flour), it begins to ferment. This fermentation process produces carbon dioxide gas and alcohol. The gas gets trapped within the gluten network of the dough, causing it to expand and rise.
Without active yeast producing gas, your dough will remain dense and flat. Common problems like using dead yeast, incorrect temperatures, or improper ingredient ratios can halt this vital process, leading to a dough that simply won't rise. Mastering yeast troubleshooting tips baking becomes crucial when these issues pop up.
Successfully troubleshooting yeast issues requires understanding its basic needs: warmth, moisture, and food. Imagine yeast as tiny workers needing the right conditions to do their job. If the water is too hot, they die; too cold, they stay dormant. If there's no sugar or flour starch to consume, they can't produce gas.
Too much salt or sugar can dehydrate or kill them. Environmental factors like cold drafts also play a role. By addressing these potential roadblocks, you can significantly improve your chances of a successful rise and avoid flat, heavy bread. These yeast troubleshooting tips baking professionals and home bakers rely on are key to consistent results.
BakeWithEase's Guide to Solving Common Yeast Problems
At BakeWithEase, we believe that baking should be enjoyable, not frustrating. That's why we've compiled this comprehensive guide to help you identify and fix the most frequent issues that prevent dough from rising. We'll walk you through checking your yeast's viability, understanding the impact of temperature and ingredients, and providing step-by-step solutions to revive your dough. Whether you're a beginner or looking to refine your skills, these practical yeast troubleshooting tips baking advice will equip you to handle dormant dough with confidence.
Our guide covers everything from the basics of yeast storage to more advanced scenarios like working with sourdough or whole wheat flour. We'll provide clear explanations and actionable steps you can take right in your kitchen. Don't let a flat dough discourage you; often, the problem is easily fixable with a few simple adjustments. By the end of this article, you'll have a solid understanding of yeast behavior and a toolkit of yeast troubleshooting tips baking perfect loaves every time.
Identifying the Problem: Why Your Yeast Isn't Working
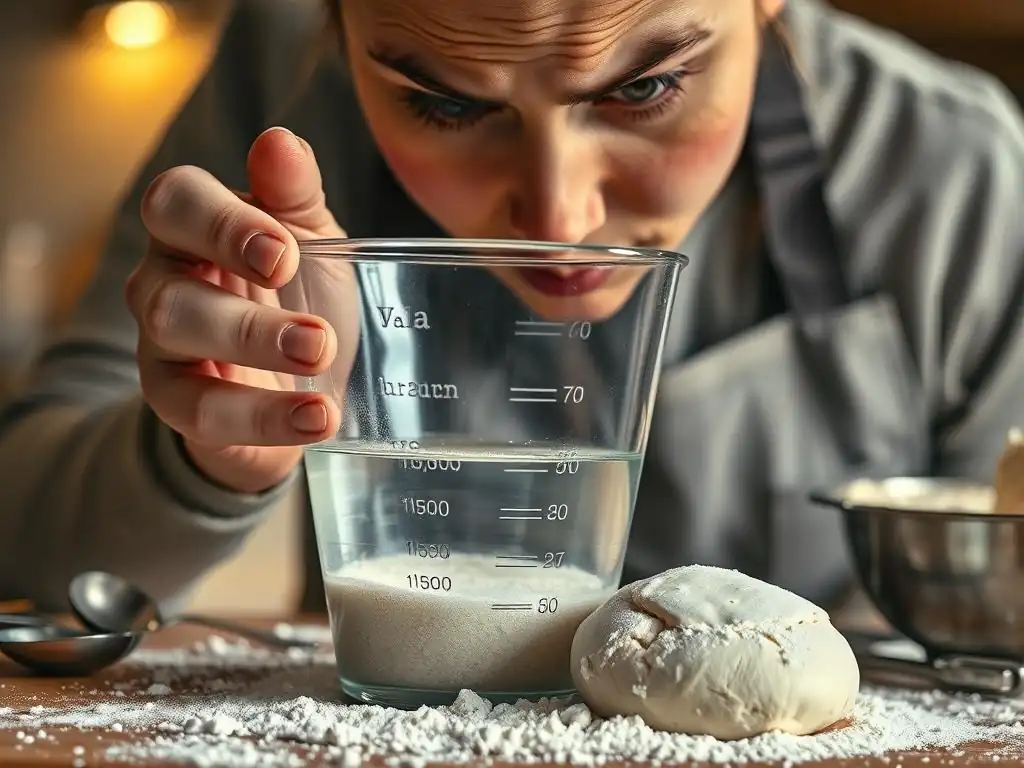
When your dough fails to rise, the first step is figuring out why. Several factors can inhibit yeast activity, from the freshness of the yeast itself to the temperature of your ingredients and environment. Pinpointing the specific issue allows you to apply the correct fix. This section delves into the most common culprits behind inactive yeast, providing essential yeast troubleshooting tips baking beginners and experienced bakers alike can use.
Understanding these potential problems is crucial for effective yeast troubleshooting tips baking success depends on. We'll explore how to test your yeast, the importance of proper water temperature, and the delicate balance required for sugar and salt in your dough. By systematically checking these elements, you can quickly diagnose why your dough isn't rising and take steps to correct it, saving your batch and improving your baking skills.
Expired Yeast: Checking the Expiration Date and Viability
Yeast, being a living organism, has a shelf life. While packaged yeast often lasts for a year or two unopened, once the package is opened, its potency begins to decline. Active dry yeast, for instance, is typically best used within 4-6 months of opening if stored properly in an airtight container in the refrigerator or freezer. Using yeast that is past its prime or has been stored improperly is a very common reason dough doesn't rise.
Always check the expiration date on the package. Even if it's not expired, if the package has been open for a long time, its viability might be compromised. This is a fundamental step in yeast troubleshooting tips baking requires.
To definitively check if your yeast is still alive and active, perform a simple proofing test. This test is invaluable for yeast troubleshooting tips baking relies on for confirming ingredient freshness. If your yeast is expired or has been sitting around for too long, skip the test and get a fresh packet. A small investment in new yeast can save you the frustration of wasted ingredients and time spent on dough that won't rise. Remember, yeast activity is key to leavening, and old yeast simply won't perform its job effectively.
Inactive Yeast: Testing Yeast Activity Before Baking
The best way to avoid the disappointment of a flat dough is to test your yeast before mixing it into your flour. This is known as "proofing" the yeast, and it's a critical yeast troubleshooting tips baking technique, especially when using active dry yeast or if you suspect your yeast might be old. The process is simple: dissolve the yeast in a small amount of warm water (check the temperature in the next section!) with a pinch of sugar. The sugar provides food for the yeast to quickly become active.
After about 5 to 10 minutes, the mixture should become foamy and bubbly, potentially doubling in volume. This foam indicates that the yeast is alive and actively producing carbon dioxide. If your mixture shows little to no activity after 10-15 minutes, your yeast is likely dead or inactive and will not leaven your dough. Do not proceed with this yeast; get a new packet and test again. This simple test is one of the most effective yeast troubleshooting tips baking offers to prevent problems before they start.
Incorrect Water Temperature: The Impact on Yeast Activation
Water temperature is perhaps the most critical factor in activating yeast. Yeast thrives within a specific temperature range, and temperatures outside this range can either kill it or keep it dormant. For active dry yeast, the ideal water temperature for proofing is typically between 105°F and 115°F (40°C to 46°C).
This range is warm enough to wake up the yeast quickly without harming it. If the water is too cold, say below 90°F (32°C), the yeast will activate very slowly or not at all, leading to a sluggish or non-existent rise. This is a common area for yeast troubleshooting tips baking often overlooks.
Conversely, water that is too hot will kill the yeast. Temperatures above 130°F (54°C) can be lethal to active dry yeast, and temperatures above 140°F (60°C) will kill instant yeast as well. Imagine putting the tiny yeast organisms into boiling water – they wouldn't survive! Using a thermometer is highly recommended to ensure your water is within the optimal range. Eyeballing it can be risky; what feels "warm" to your hand might be too hot or too cold for the yeast. Getting the water temperature right is a fundamental yeast troubleshooting tips baking success hinges upon.
Sugar and Salt Imbalance: How They Affect Yeast Growth
Both sugar and salt are common ingredients in bread recipes, and while they are necessary for flavor and structure, using too much of either can inhibit or kill yeast activity. Sugar provides food for the yeast, helping to kickstart fermentation, especially in the initial proofing stage. However, high concentrations of sugar (common in enriched doughs like brioche or cinnamon rolls) can draw water out of the yeast cells through osmosis, effectively dehydrating and killing them.
Recipes with high sugar content often require more yeast or a longer rising time. This is a specific area for yeast troubleshooting tips baking richer doughs.
Salt, while essential for flavor and controlling the rate of fermentation (preventing the dough from rising too quickly), also affects yeast. Salt competes with yeast for water. Like sugar, too much salt will dehydrate the yeast cells, slowing down or stopping fermentation entirely. It's crucial to measure salt accurately and avoid placing salt directly on top of the yeast when adding ingredients to your mixing bowl. Mixing salt into the flour before adding liquids and yeast helps distribute it evenly. Proper measurement of salt is a vital part of yeast troubleshooting tips baking requires for balanced results.
Yeast Troubleshooting Tips: Step-by-Step Solutions
Once you've identified why your dough isn't rising – perhaps the yeast was old, the water was too cold, or the recipe had too much salt – it's time to take action. Not all doughs can be saved, but often, you can intervene to encourage fermentation and get that rise you're looking for. These step-by-step yeast troubleshooting tips baking advice can help revive a sluggish dough and salvage your baking project.
Applying the right fix depends on the problem you identified. If the issue was inactive yeast due to temperature or lack of initial food, you might try techniques to encourage it. If the dough consistency is off, adjustments can be made. Environmental factors also play a significant role. Let's explore some specific yeast troubleshooting tips baking techniques to get your dough moving.
Reviving Dormant Yeast: Techniques for Reactivation
If you suspect your yeast is merely dormant (e.g., used water that was too cold, or didn't proof it initially) rather than dead, you might be able to reactivate it. This is a common scenario where yeast troubleshooting tips baking can save your dough. One effective method is to gently warm the dough and provide the yeast with readily available food.
Adding Sugar to Warm Water: The Classic Yeast Proofing Method
If you didn't proof your active dry yeast initially, or if your dough seems very sluggish, you can try activating a fresh batch of yeast separately and adding it to the dough. Dissolve 1-2 teaspoons of sugar in 1/4 cup of warm water (105-115°F or 40-46°C). Sprinkle 1-2 teaspoons of active dry yeast over the water, stir gently, and let it sit for 5-10 minutes. Once it's foamy, gently knead this activated yeast mixture into your dough.
This provides a boost of active yeast and necessary moisture. Be patient; it might take longer for the dough to start rising after this intervention. This is a key technique in yeast troubleshooting tips baking when the initial rise fails.
Using a Thermometer: Ensuring Optimal Water Temperature for Yeast
As mentioned earlier, precise water temperature is crucial. If your dough is not rising and you suspect the water was too cold, you can try gently warming the dough mass slightly. Do not overheat it, as this will kill the yeast. You can place the dough bowl in a slightly warmer spot, perhaps on top of a warm (not hot) appliance or in a turned-off oven with just the light on.
The goal is to bring the dough temperature up to the ideal range for yeast activity, around 75-85°F (24-29°C). Using a thermometer to check the dough's internal temperature can be helpful. Achieving the correct temperature is a vital yeast troubleshooting tips baking emphasizes.
Correcting Dough Consistency: Adjusting Liquid and Flour Levels
Sometimes, the dough consistency itself can hinder rising. Dough that is too dry or too wet can impact gluten development and yeast activity. An overly stiff dough makes it harder for the yeast to expand the gluten network with gas. An overly wet dough might spread rather than rise upwards effectively, and the yeast might struggle in the very slack structure. Adjusting the hydration can be a useful yeast troubleshooting tips baking technique.
Too Much Liquid: Adding Flour Gradually to Achieve the Right Texture
If your dough is too sticky and slack, making it difficult to handle and shape, it likely has too much liquid. This consistency can impede a good rise. To fix this, gradually knead in small amounts of flour, perhaps a tablespoon at a time, until the dough reaches the desired consistency – elastic, slightly tacky, but not excessively sticky. Be careful not to add too much flour, as this will result in a dense loaf. Proper hydration is key to successful yeast troubleshooting tips baking requires.
Not Enough Liquid: Incorporating Water Slowly for a Moist Dough
A dough that is too stiff and dry will be difficult to knead and the yeast will struggle to expand it during fermentation. If your dough feels dense and crumbly, it might need more hydration. Slowly knead in small amounts of warm water (again, 105-115°F or 40-46°C), perhaps a teaspoon at a time, until the dough becomes more pliable and smooth. This can help activate the yeast further and allow for better gluten development and gas expansion. Adjusting hydration is a core yeast troubleshooting tips baking involves in perfecting dough.
Addressing Environmental Factors: Temperature and Humidity Control
Yeast fermentation is highly sensitive to environmental conditions, particularly temperature and humidity. A cold environment will significantly slow down yeast activity, leading to a very long, potentially incomplete rise. A warm, humid environment is generally ideal for yeast. Controlling these factors is essential for consistent results and is a key part of yeast troubleshooting tips baking requires.
Creating a Warm Environment: Ideal Conditions for Yeast Fermentation
Yeast thrives in warmth. The ideal temperature for dough to rise is typically between 75°F and 85°F (24°C to 29°C). If your kitchen is cold, find a warmer spot. Options include placing the covered dough bowl in a turned-off oven with the light on (which usually provides enough gentle warmth), in a microwave (turned off), or in a warm, draft-free spot. Some bakers even use a proofing box or their oven's proofing setting if available. Providing this warmth is one of the most effective yeast troubleshooting tips baking offers to encourage a rise.
Protecting Dough from Drafts: Maintaining Consistent Temperature
Drafts can cause the dough's surface to cool unevenly, inhibiting yeast activity and potentially forming a dry skin. Always cover your dough while it's rising to protect it from drafts and prevent it from drying out. Use plastic wrap (lightly oiled to prevent sticking), a damp tea towel, or a tight-fitting lid. Ensuring a consistent, warm, draft-free environment is crucial for yeast fermentation and a fundamental aspect of yeast troubleshooting tips baking relies on.
Different Types of Yeast and Their Specific Troubleshooting Needs
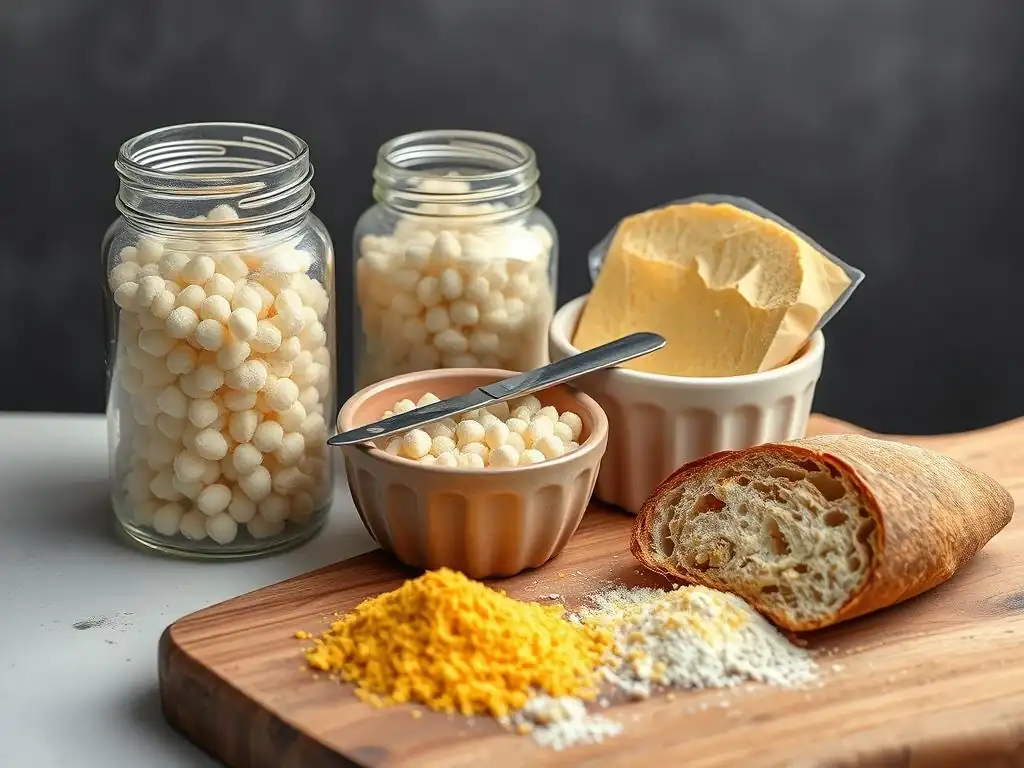
Not all yeast is created equal! Different types of yeast behave slightly differently and may have unique characteristics or common issues. Understanding the specific type you are using is important for successful baking and targeted yeast troubleshooting tips baking with different varieties.
While the fundamental principles of yeast activity (warmth, food, moisture) apply to all, their processing and recommended usage vary. This section provides quick yeast troubleshooting tips baking with the most common types of commercial yeast you'll encounter.
Active Dry Yeast Troubleshooting: Common Issues and Solutions
Active dry yeast is the most widely available type for home bakers. It consists of dormant yeast cells enclosed in a thick cell wall. The most common issue is insufficient activation. It must be proofed in warm water (105-115°F or 40-46°C) with a pinch of sugar before being added to dry ingredients. Adding it directly to flour without proofing it first will often result in a poor or no rise, as the yeast cells need time and moisture to rehydrate and become active. This is a frequent area for yeast troubleshooting tips baking with active dry yeast.
If your active dry yeast isn't foaming when proofed, it's likely dead (expired or improperly stored) or the water temperature was wrong. Solutions include checking the expiration date, ensuring the water is in the correct temperature range using a thermometer, and getting a fresh packet of yeast if necessary. Remember, patience is key; allow the full 5-10 minutes for proofing before determining if it's inactive. Correctly proofing active dry yeast is a primary yeast troubleshooting tips baking teaches early on.
Instant Yeast Troubleshooting: Quick Tips for Baking Success
Instant yeast is processed differently than active dry yeast, allowing it to be added directly to dry ingredients without prior proofing. Its smaller granules and higher activity make it faster-acting, hence "instant." Common issues often relate to recipe hydration or temperature. While it doesn't require proofing, if you're unsure if it's still good, you can proof it in slightly warmer water (120-130°F or 49-54°C) without sugar, just to check for activity. If it doesn't bubble, replace it.
Because instant yeast is mixed directly, ensuring the total liquid temperature in your recipe is within the optimal range (warm, but not hot enough to kill) is crucial. If your dough isn't rising with instant yeast, double-check your liquid temperature and the overall dough temperature during rising. Instant yeast is generally more robust than active dry, but it can still be killed by excessive heat or inhibited by too much salt or cold temperatures. Applying general yeast troubleshooting tips baking knowledge helps here too.
Fresh Yeast Troubleshooting: Handling and Storage Advice
Fresh yeast, also known as cake yeast, is highly perishable and requires refrigeration. It has a shorter shelf life (typically 1-2 weeks) compared to dry yeasts and should be soft, moist, and have a creamy color and fresh smell. Common issues with fresh yeast are using it past its prime or improper storage, leading to a loss of activity. If it's hard, dry, or has dark spots, it's likely no longer viable.
Fresh yeast is typically crumbled and dissolved in a small amount of warm liquid from the recipe before being added to the other ingredients. If your fresh yeast mixture doesn't become creamy or bubbly after a few minutes, it's probably inactive and needs to be replaced. Always store fresh yeast wrapped tightly in the refrigerator. Using fresh yeast correctly is a nuanced yeast troubleshooting tips baking with this type requires.
Advanced Yeast Troubleshooting: Complex Baking Scenarios
While many yeast problems stem from basic issues, sometimes the challenge is more complex, involving specific types of dough or environmental conditions. Advanced yeast troubleshooting tips baking for these scenarios requires a deeper understanding of how yeast interacts with different ingredients and environments.
This section addresses some less common but significant challenges, such as maintaining a sourdough starter, adjusting to high-altitude baking, and working with dense flours like whole wheat. These situations often require modified techniques and expectations compared to standard white bread recipes.
Troubleshooting Sourdough Starter: Maintaining a Healthy Culture
Sourdough relies on a 'starter,' a living culture of wild yeast and bacteria, rather than commercial yeast. Troubleshooting sourdough involves ensuring the starter itself is healthy and active. Signs of a healthy starter include consistent bubbling, doubling or tripling in size after feeding (typically within 4-12 hours depending on temperature), and a pleasant, tangy aroma. If your starter is sluggish, shows little activity, or smells strongly of acetone or alcohol, it might be stressed or hungry.
Common sourdough troubleshooting tips baking with starters include adjusting the feeding ratio (equal parts starter, flour, and water by weight is common), using the correct water temperature (lukewarm is usually best), and feeding it consistently. If your starter isn't rising well, try feeding it more frequently for a few days or keeping it in a warmer spot (75-80°F or 24-27°C) to encourage activity. Discarding a portion before feeding is also crucial to maintain a balanced culture. Patient observation and consistent feeding are key yeast troubleshooting tips baking sourdough.
Dealing with High-Altitude Baking: Adjusting Yeast and Rising Times
High-altitude environments present unique baking challenges due to lower atmospheric pressure. This lower pressure means dough rises faster, but also risks over-proofing, where the gluten structure collapses before baking. Additionally, moisture evaporates more quickly. Yeast troubleshooting tips baking at high altitudes often involve adjusting the amount of yeast and rising times.
At high altitudes (generally above 3,000 feet or 900 meters), recipes may recommend slightly reducing the amount of yeast used or shortening the rising time. For example, a recipe calling for 2 teaspoons of yeast at sea level might use 1.5 teaspoons at high altitude. Dough will likely double in size faster, perhaps in 45-60 minutes instead of 90 minutes.
It's important to watch the dough, not the clock, for signs of readiness (like the poke test - if an indentation slowly springs back halfway, it's ready). Adjusting based on observation is a critical yeast troubleshooting tips baking in these conditions.
Working with Whole Wheat Flour: Addressing Density and Rising Challenges
Whole wheat flour contains the bran and germ of the wheat kernel, unlike refined white flour. These components are nutritious but can interfere with gluten development, resulting in a denser dough that rises less dramatically than white bread. Troubleshooting whole wheat dough often involves accommodating this difference.
Yeast troubleshooting tips baking with whole wheat flour include ensuring adequate hydration (whole wheat absorbs more liquid), potentially adding a little more yeast (maybe 10-20% more than a white flour recipe), and allowing for longer rising times. Some bakers also use a technique called autolyse (mixing flour and water and letting it rest before adding yeast and salt) to help hydrate the bran and improve gluten development. Expect a whole wheat loaf to be slightly denser and not rise quite as high as a white loaf, but with proper technique, you can still achieve a good rise and texture.
Preventing Future Yeast Problems: Best Practices for Baking

Prevention is often the best approach when it comes to baking with yeast. By adopting best practices for storing yeast, measuring ingredients, and understanding dough development, you can significantly reduce the likelihood of encountering rising issues. These proactive yeast troubleshooting tips baking habits contribute to consistent success in the kitchen.
Establishing good habits from the start saves time and frustration down the line. Proper storage, accurate measurements, and attention to detail during mixing and kneading are fundamental. Let's look at some key practices to prevent common yeast problems.
Proper Yeast Storage: Extending Shelf Life and Maintaining Potency
Storing your yeast correctly is vital for maintaining its activity over time. Active dry yeast and instant yeast should be stored in an airtight container away from heat and moisture. The refrigerator or freezer are excellent places to store opened packages of dry yeast. Storing them in the freezer can extend their shelf life considerably – potentially up to a year or even longer for active dry yeast once opened. Always bring frozen yeast to room temperature before using it.
Fresh yeast, being highly perishable, must be stored in the refrigerator and used within its short expiration window, typically within two weeks of purchase. Do not freeze fresh yeast as it can damage the cells. Regardless of the type, always ensure the container is sealed tightly after each use to protect the yeast from air and moisture, which degrade its potency. Implementing these storage tips is a simple yet effective yeast troubleshooting tips baking relies on.
Accurate Measurements: Ensuring Consistent Baking Results
Baking is a science, and accurate measurement of ingredients, especially yeast, salt, and liquid, is crucial for consistent results. Using too much or too little of any key ingredient can throw off the delicate balance required for proper yeast activity and dough development. For example, using too much salt can kill the yeast, while using too little liquid can create a stiff dough that's hard for the yeast to leaven. Precision is a core principle of yeast troubleshooting tips baking emphasizes.
Weighing your ingredients, particularly flour and liquids, is far more accurate than using volume measurements (cups). A digital kitchen scale provides the greatest accuracy. For smaller quantities like yeast and salt, use proper measuring spoons and level them off. Consistent, accurate measurements are fundamental yeast troubleshooting tips baking relies on for predictable outcomes.
Understanding Dough Development: Gluten Formation and Yeast Activity
Yeast activity and gluten development are interconnected. Yeast produces gas, and the elastic gluten network traps this gas, causing the dough to rise. Proper kneading develops the gluten, creating a strong, extensible network capable of holding the gas produced by the yeast. If the dough is not kneaded enough, the gluten structure will be weak, and the dough won't hold the gas effectively, resulting in a poor rise and dense texture.
Understanding how your dough should feel at different stages – after mixing, after kneading, and after rising – is essential. Kneading until the dough is smooth and passes the "windowpane test" (stretching a small piece thinly without tearing) indicates good gluten development. Observing the dough during its rise (does it look airy, has it doubled?) provides clues about yeast activity. Combining knowledge of gluten development with yeast troubleshooting tips baking techniques helps achieve optimal results.
Conclusion: Mastering Yeast Baking with BakeWithEase
Facing a dough that didn't rise can be frustrating, but with the right knowledge and techniques, it's a problem you can overcome. Yeast troubleshooting tips baking success often involves understanding the fundamental needs of yeast – warmth, moisture, and food – and systematically checking for common issues like expired yeast, incorrect temperatures, or ingredient imbalances. Don't be discouraged by setbacks; each flat loaf is a learning opportunity!
By following the advice in this guide, from proofing your yeast correctly to controlling your environment and adjusting your dough consistency, you'll be well-equipped to handle most rising problems. Remember that practice makes perfect, and experimenting with different yeast troubleshooting tips baking techniques will build your confidence.
Recap of Yeast Troubleshooting Tips for Perfect Dough Every Time
Here's a quick recap of the key yeast troubleshooting tips baking enthusiasts should keep in mind:
- Check Yeast Viability: Always confirm your yeast is active, especially active dry yeast, by proofing it in warm water with a pinch of sugar.
- Mind the Temperature: Ensure your water and dough are within the optimal temperature range for yeast activity (e.g., 105-115°F for active dry proofing, 75-85°F for rising). Use a thermometer.
- Balance Ingredients: Measure sugar and salt accurately and be mindful of their impact on yeast in high concentrations.
- Adjust Hydration: Correct dough consistency by adding small amounts of flour to wet dough or warm water to dry dough.
- Control Environment: Provide a warm, draft-free place for your dough to rise.
- Store Yeast Properly: Keep opened yeast airtight in the refrigerator or freezer.
- Be Patient: Sometimes dough just needs more time, especially in cooler conditions.
- Know Your Yeast Type: Understand the specific requirements of active dry, instant, or fresh yeast.
### Further Resources for Baking Success on BakeWithEase.com
For more detailed recipes, technique guides, and troubleshooting articles, explore the rest of BakeWithEase.com. We have resources covering everything from beginner bread recipes to advanced sourdough techniques. Keep baking, keep learning, and enjoy the delicious rewards of perfectly risen dough!
Frequently Asked Questions
What are the most common reasons why my yeast might not activate when baking?
The most common reasons include using expired yeast, water that's too hot or too cold, or a high sugar/salt concentration directly contacting the yeast.
How do I test if my yeast is still good before starting a baking recipe?
You can proof your yeast by mixing it with warm water and a pinch of sugar. If it foams up within 5-10 minutes, it's likely still active and usable for baking.
My recipe calls for "instant yeast," but I only have "active dry yeast." Can I substitute them, and if so, how?
Yes, you can substitute active dry yeast for instant yeast. However, active dry yeast needs to be proofed in warm water before adding it to the dry ingredients, whereas instant yeast can be added directly.
What should I do if I suspect my dough didn't rise because of bad yeast, but I've already mixed all the ingredients?
Unfortunately, if you suspect the yeast is the problem after mixing, the best option is often to start over with fresh yeast. Trying to revive the dough at this stage is usually not successful.
How can I store yeast properly to ensure it stays fresh and active for longer?
Store your yeast in an airtight container in the refrigerator or freezer. This helps to protect it from moisture and heat, which can degrade its effectiveness.
Final Reflection: The Humble Yeast and the Baker's Journey
The seemingly simple act of baking bread is, in reality, a delicate dance with nature, and yeast is our most crucial partner. A single failed rise can derail an entire baking project, leaving even experienced bakers feeling frustrated. This guide has explored the common pitfalls of yeast activation and fermentation, offering solutions to help you navigate those frustrating moments and achieve consistently delicious results.
The impact of a perfectly risen loaf extends far beyond the simple satisfaction of a culinary achievement. It's a connection to generations of bakers, a testament to the power of simple ingredients transformed by time and care. Bread is the staff of life,
a phrase often repeated, speaks to its fundamental role in human sustenance and culture. Understanding the nuances of yeast allows us to appreciate this process more deeply, to connect with the history and artistry embedded within each loaf.
So, the next time your dough refuses to cooperate, remember the lessons learned here. Don't be discouraged! Instead, use this guide as a roadmap to troubleshoot the issue, to understand the science behind the rise, and to ultimately, achieve baking success. Embrace the challenge, experiment with different techniques, and savor the journey – the perfectly risen loaf is a reward well earned, a testament to your patience and dedication. Now, go forth and bake!
Unleash Your Inner Baker: Troubleshooting Yeast Troubles!
Thanks for taking the time to learn about yeast – we hope you now feel more confident in tackling those doughy dilemmas! Ready to put your newfound knowledge to the test?
- Bake your best bread yet! Try out a new recipe, focusing on the techniques you just learned. This is your chance to perfect that sourdough or finally master those croissants.
- Share your baking journey! Post a picture of your latest creation on social media and tag us – we'd love to see your success (and even your hilarious fails! ).
- Explore our other articles on yeast and baking fundamentals. Discover more tips and tricks to become a truly confident baker.
So, what delicious creation will you tackle first? Let us know in the comments!