
Dough Hydration Ratios: Calculating Water Levels for Perfect Sourdough Crust

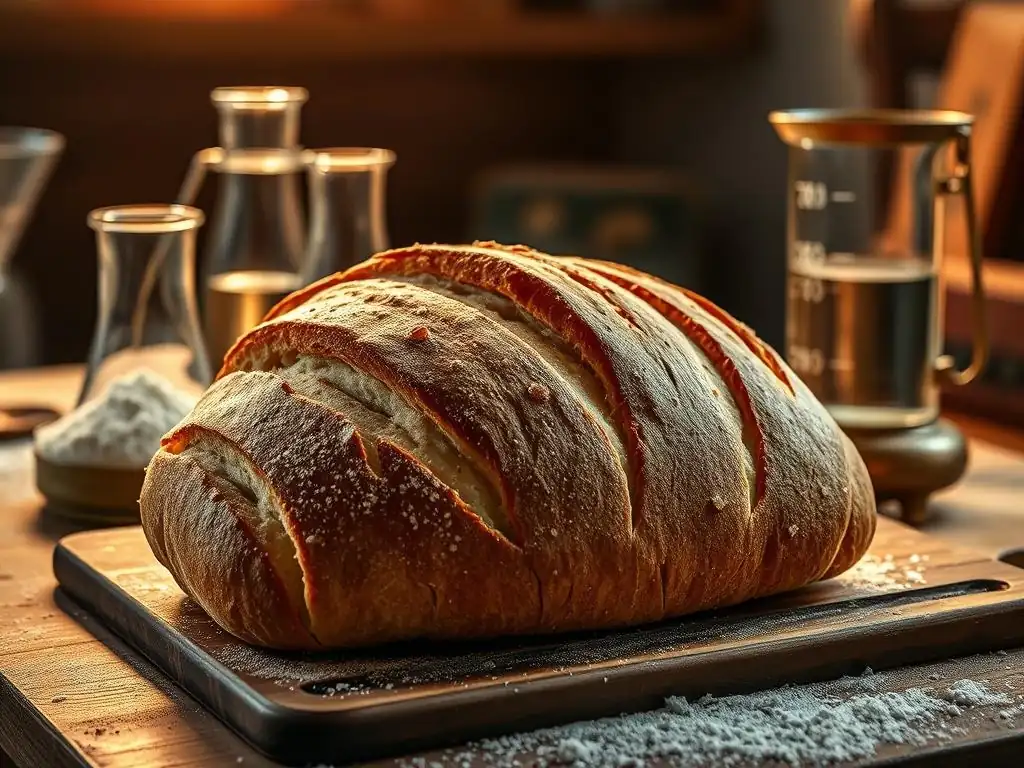
Welcome to BakeWithEase, where baking becomes a joy, not a chore! Ever wondered how a seemingly simple tweak to your sourdough recipe can unlock a world of difference in your crust and crumb? Dive in and discover the secrets to mastering sourdough hydration ratios, explained in detail. Understanding these ratios is the key to achieving that perfect, airy loaf you've always dreamed of. Ready to unlock the full potential of your starter? Let's get baking!
- Understanding Sourdough Hydration: The Key to a Perfect Crust
- Sourdough Hydration Ratios Explained: A Baker's Guide
- Calculating Dough Hydration: A Step-by-Step Approach
- Mastering Sourdough Water Content: Tips and Techniques
- Troubleshooting Sourdough Hydration Issues
- Achieving Your Ideal Sourdough Crust: Hydration and Beyond
- Advanced Sourdough Hydration Techniques
- Conclusion: Perfecting Your Sourdough with Precise Hydration
-
Frequently Asked Questions
- What is sourdough hydration and why is it important?
- How do I calculate the hydration ratio for my sourdough recipe?
- What is considered a low, medium, and high hydration sourdough dough?
- How does the hydration ratio affect the final sourdough crust?
- Can I adjust the hydration ratio in a recipe, and what happens if I do?
- Final Reflection: The Alchemy of Hydration: Unveiling the Secrets of Sourdough
- Unlock Your Perfect Crust: Master Dough Hydration Now!
Understanding Sourdough Hydration: The Key to a Perfect Crust
What is Dough Hydration and Why Does it Matter?
Dough hydration refers to the amount of water used in a dough recipe relative to the amount of flour, typically expressed as a percentage. It's a fundamental concept in baking, especially when working with sourdough. Understanding dough hydration is crucial because water plays a vital role in activating the gluten network in the flour, which provides the structure and elasticity needed for the dough to rise and hold its shape. Without sufficient water, gluten development is inhibited, resulting in a dense, heavy loaf.
Furthermore, hydration impacts the workability of the dough. A higher hydration dough will be stickier and looser, requiring different handling techniques compared to a lower hydration dough, which is stiffer and easier to manage. The hydration level also significantly affects the fermentation process, the final texture of the crumb, and the characteristics of the crust. For anyone looking to master their sourdough baking, grasping the concept of sourdough hydration ratios explained is a non-negotiable step.
How Hydration Affects Sourdough Crust and Crumb
The hydration level of your sourdough dough has a direct impact on the final characteristics of your baked loaf, particularly the crust and the interior crumb structure. Higher hydration doughs tend to produce a more open, airy crumb with larger, irregular holes, often desired in artisanal sourdough loaves. This is because the increased water allows for more steam production during baking, which helps the dough expand and creates those desirable voids.
Conversely, lower hydration doughs generally result in a tighter, more uniform crumb structure. Regarding the crust, higher hydration often leads to a thinner, crispier crust that can develop beautiful blisters. The extra moisture allows the dough to stay pliable longer in the oven, promoting better oven spring and thus a more developed, often darker crust. Understanding these effects helps bakers intentionally choose a hydration level to achieve their desired outcome for their sourdough.
Sourdough Hydration Ratios Explained: A Baker's Guide
Defining the Sourdough Hydration Percentage
The sourdough hydration percentage is calculated by dividing the weight of the water by the weight of the flour and then multiplying by 100. This percentage provides a standardized way to compare different dough recipes, regardless of the total batch size. For example, a recipe using 500 grams of flour and 350 grams of water has a hydration of (350 / 500) * 100 = 70%. This simple formula is the cornerstone of understanding sourdough hydration ratios explained clearly.
It's important to note that in sourdough baking, the water and flour content in your starter also contribute to the overall hydration of the dough. While some bakers calculate hydration based only on the 'new' flour and water added, a more accurate method for evaluating the final dough consistency considers the starter's contribution. For simplicity and consistency when first learning, many recipes provide hydration based solely on the main flour and water additions, but advanced bakers account for the starter's hydration as well.
Common Hydration Levels in Sourdough Baking
Sourdough hydration levels typically fall within a range, each offering distinct characteristics in terms of dough handling, fermentation, and the final loaf structure. Bakers often experiment within these ranges to find what works best with their specific flour, starter activity, environment, and desired outcome. Understanding these common levels is key to mastering sourdough hydration ratios explained for different bread types.
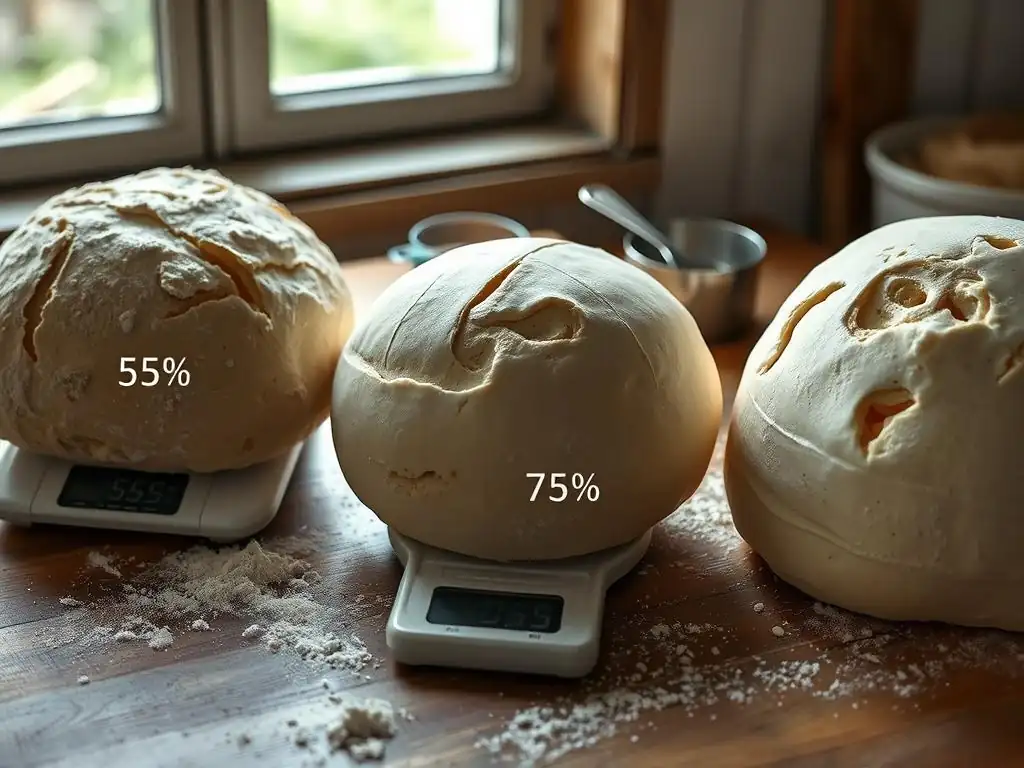
The range generally spans from relatively low hydration (around 50-65%) for stiffer doughs, through medium hydration (65-75%) which is a common sweet spot for many home bakers, up to high hydration (75-85% or even higher) for very wet, challenging doughs designed for an open crumb. Each level presents its own set of challenges and rewards, influencing everything from the ease of shaping to the texture of the crust and crumb.
Low Hydration Sourdough (50-65%): Characteristics and Uses
Low hydration sourdough doughs, typically ranging from 50% to 65% hydration, are relatively stiff and easy to handle. They are less sticky than higher hydration doughs, making them ideal for beginners or for recipes that require extensive shaping, such as bagels, pretzels, or certain types of enriched bread. A 60% hydration dough made with 1000g flour would use 600g of water, resulting in a manageable, firm consistency.
These lower hydration levels generally produce a loaf with a tighter, more uniform crumb structure. The crust tends to be less blistered but can still be wonderfully crisp. While they might not achieve the dramatic open crumb of very wet doughs, they offer reliable structure and are less prone to collapsing during baking. For instance, a traditional lean sourdough baguette might use a hydration level closer to the higher end of this range (63-65%) to balance workability with a decent crumb.
Medium Hydration Sourdough (65-75%): The Sweet Spot
Medium hydration sourdough doughs, typically between 65% and 75%, represent a versatile sweet spot for many sourdough bakers. Doughs in this range are more pliable and slightly stickier than low hydration doughs but are still quite manageable with practice. A common country loaf recipe might call for 70% hydration, using 700g of water for 1000g of flour, yielding a dough that holds its shape reasonably well but allows for good gluten development.
This range offers a balance between ease of handling and achieving desirable sourdough characteristics. Loaves baked from medium hydration doughs often exhibit a pleasant, moderately open crumb and a well-developed, crisp crust. It's a popular starting point for many classic sourdough recipes and provides a good foundation for learning how sourdough hydration ratios explained translate into practical baking results.
High Hydration Sourdough (75-85%+): Achieving Open Crumb
High hydration sourdough doughs, ranging from 75% up to 85% or even higher, are significantly wetter and stickier. These doughs require more careful handling, often relying on techniques like stretch and folds or coil folds performed directly in the proofing container rather than traditional kneading on a surface. A dough at 80% hydration made with 1000g flour would incorporate 800g of water, feeling very loose and extensible.
The primary goal of working with high hydration is often to achieve a very open, airy crumb structure with large, irregular holes, characteristic of many modern artisanal loaves. The increased water content also contributes to a thinner, crispier crust with prominent blistering. While challenging to work with, mastering high hydration dough can be incredibly rewarding, allowing bakers to push the boundaries of sourdough texture.
Calculating Dough Hydration: A Step-by-Step Approach
The Sourdough Hydration Formula: A Simple Calculation
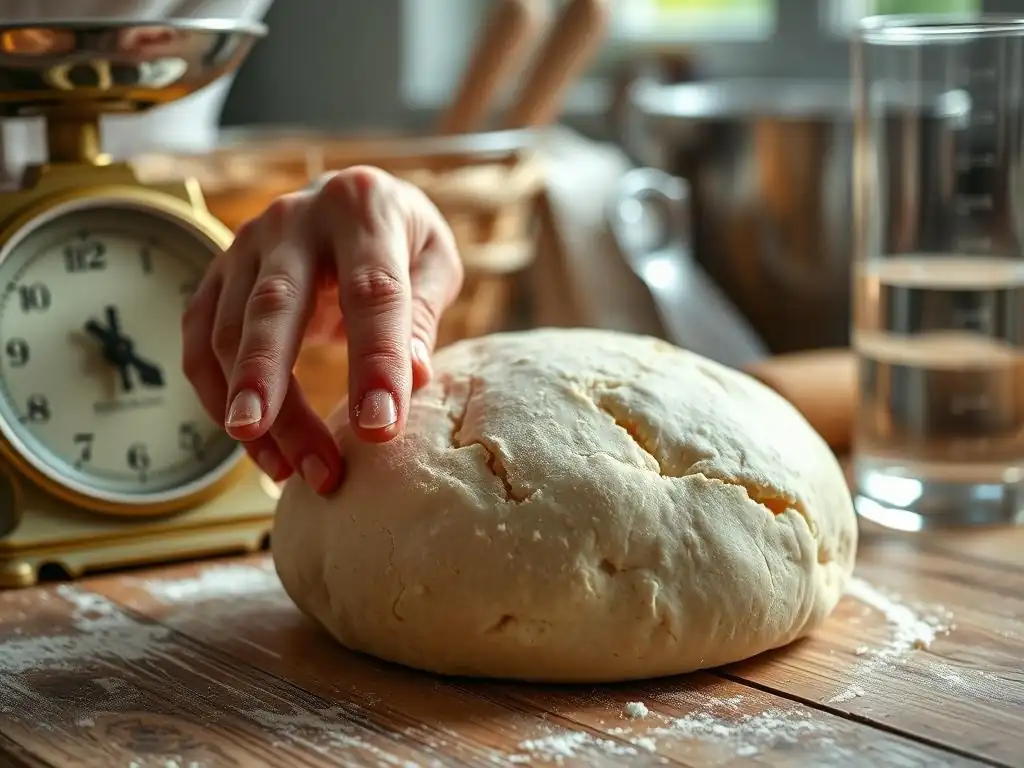
Calculating sourdough hydration is straightforward using a simple formula. The most common way is to calculate it based on the total weight of flour and the total weight of water in the recipe, excluding the starter for simplicity in many basic calculations. The formula is:
Hydration Percentage = (Total Weight of Water / Total Weight of Flour) * 100
For example, if your recipe calls for 500g of bread flour and 375g of water, the hydration is (375g / 500g) * 100 = 75%. This percentage helps you understand the relative wetness of the dough and how it compares to other recipes or hydration levels you've worked with.
It's important to weigh your ingredients accurately using a digital scale, as volume measurements (like cups) can vary significantly and lead to inaccurate hydration levels. Consistent weighing is fundamental to consistently achieving your desired sourdough hydration ratios explained in recipes.
Example: Calculating Hydration for a Country Loaf Sourdough
Let's walk through an example for a typical country loaf sourdough recipe. Suppose the recipe calls for:
- 500g Strong Bread Flour
- 100g Whole Wheat Flour
- 400g Water
- 100g Sourdough Starter (which itself is typically 100% hydration, meaning 50g flour and 50g water)
- 10g Salt
To calculate the hydration based on the added flour and water:
- Total Flour (added): 500g + 100g = 600g
- Total Water (added): 400g
- Hydration = (400g / 600g) * 100 = 66.7%
If you want to be more precise and include the starter's contribution (assuming a 100% hydration starter):
- Total Flour (recipe + starter): 600g (added) + 50g (from starter) = 650g
- Total Water (recipe + starter): 400g (added) + 50g (from starter) = 450g
- Overall Hydration = (450g / 650g) * 100 = 69.2%
As you can see, including the starter slightly increases the overall hydration percentage. Most home bakers use the first method (calculating based on added flour and water) unless specified otherwise, as it simplifies comparing recipes that use varying amounts of starter.
Using a Dough Hydration Calculator: Simplifying the Process
While the formula is simple, calculating hydration can become slightly more complex when accounting for different flour types with varying absorption rates, or when you want to scale a recipe up or down while maintaining the same hydration. This is where a dough hydration calculator can be incredibly helpful.
Many online baking resources and apps offer hydration calculators. You simply input the weights of your flour(s) and water, and the calculator provides the hydration percentage. Some advanced calculators also allow you to input starter weight and hydration to get a more precise overall dough hydration. Using such tools ensures accuracy and saves time, making it easier to experiment with and understand sourdough hydration ratios explained in various contexts.
Mastering Sourdough Water Content: Tips and Techniques
Adjusting Hydration Based on Flour Type
Different types of flour absorb water differently. Whole wheat flour, for instance, typically requires more water than white bread flour due to the presence of the bran and germ, which are very absorbent. Rye flour also absorbs a significant amount of water but behaves differently due to lower gluten content.
When substituting flours or using a blend, you often need to adjust the water content to achieve a similar dough consistency and hydration feel. If a recipe calls for 70% hydration using all white bread flour and you substitute 20% of that with whole wheat, you might need to increase the water slightly, perhaps by 1-3%, to compensate for the whole wheat's higher absorption. Understanding flour characteristics is key to successfully manipulating sourdough hydration ratios explained across different recipes.
Considering Ambient Temperature and Humidity
Environmental factors like ambient temperature and humidity can significantly impact how your dough feels and ferments, and they should influence how you approach hydration. In a warm, humid environment, flour may absorb moisture from the air, and your dough might feel wetter than expected even at a standard hydration level. Fermentation will also proceed faster.
Conversely, in a cold, dry environment, flour might be drier, and your dough could feel stiffer. Fermentation will be slower. Experienced bakers often make slight adjustments to their water quantity based on the weather conditions to ensure their dough handles consistently. For example, on a very humid day, you might reduce the water by a small amount (eyster 1-2%) from your usual target hydration.
Autolyse: Enhancing Hydration Absorption
Autolyse is a technique where you mix just the flour and water from your recipe and let it rest for 20 minutes up to several hours before adding the starter and salt. This resting period allows the flour to fully hydrate and the gluten proteins to start aligning and developing without the interference of salt or the vigorous activity of the starter.
Performing an autolyse can make the dough feel more extensible and easier to work with, even at higher hydration levels. It improves the dough's ability to absorb water evenly and can contribute to a more open crumb structure. For doughs with high sourdough hydration ratios explained as challenging to handle, an autolyse can make a significant difference in manageability and final loaf quality.
Kneading Techniques for Different Hydration Levels
The best kneading or dough development technique depends largely on the dough's hydration level. Low hydration doughs (50-65%) can be kneaded vigorously on a surface using traditional methods like the push-and-fold or French knead. Their stiffness allows them to hold up to this manipulation.
Medium hydration doughs (65-75%) often benefit from a combination of kneading and stretch and folds. You might start with a brief period of kneading and then transition to a series of stretch and folds performed during the bulk fermentation. High hydration doughs (75%+) are often too sticky for traditional kneading. They are best developed using gentle techniques like stretch and folds, coil folds, or slap and folds performed in the bowl or container. These methods build strength in the dough without incorporating excessive flour, which would lower the hydration.
Troubleshooting Sourdough Hydration Issues
Dough Too Wet: Causes and Solutions
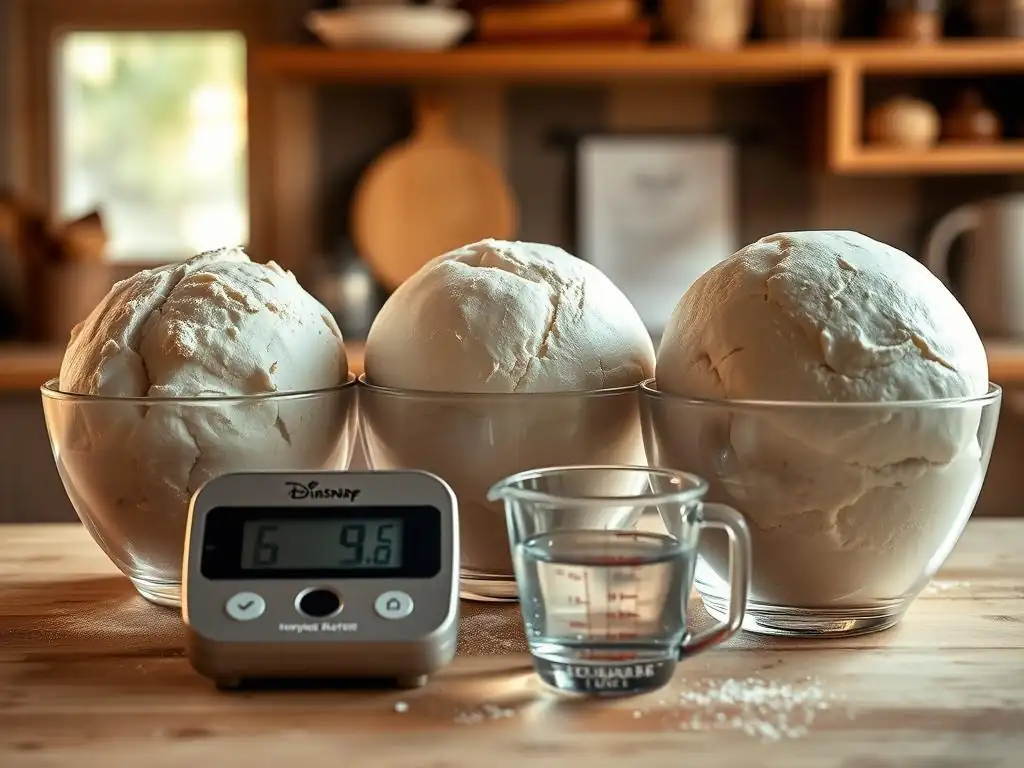
If your sourdough dough feels excessively wet and unmanageable, there are several potential causes. It could be a simple miscalculation of the sourdough hydration ratios explained in the recipe, inaccurate weighing of water or flour, or using a flour with lower absorption than expected. Environmental humidity can also play a role.
If you catch it early in the mixing process, you can carefully add a small amount of flour (a tablespoon or two at a time), incorporating it fully before adding more. Be cautious not to add too much, as this will lower the hydration significantly and potentially affect the final outcome. If the dough is already well into fermentation, focus on using techniques like wet-hand handling, liberal use of bench flour during shaping (though sparingly to avoid toughening the crust), and shaping techniques that build maximum surface tension. Proofing in a well-floured banneton can also help prevent sticking.
Dough that is too dry can result from inaccurate measurements, using flour with higher absorption than anticipated, or very dry environmental conditions. Dry dough will feel stiff, resist stretching, and may tear easily during kneading or shaping. It will also likely produce a dense crumb.
If you notice the dough is too dry during mixing, gradually add small amounts of water (a teaspoon at a time) and work it in until the desired consistency is reached. This can be tricky once the dough is partially developed. If the dough is already proofing, you might try a technique called bassinage, which involves gradually incorporating extra water into the dough during the early stages of bulk fermentation, though this is an advanced technique. Ensuring accurate measurement from the start is the best prevention for overly dry dough.
Identifying Over-Hydrated Dough: Signs and Remedies
Over-hydrated dough, particularly dough pushed to very high sourdough hydration ratios explained without proper technique, will appear overly slack, spread rapidly on the counter, and lack the ability to hold any shape during folding or shaping. It will feel like a liquid mass rather than a cohesive dough. It might also tear easily when stretched.
Remedies depend on when you identify the issue. If early, adding a little flour is an option, as mentioned before. If later, focus on building maximum strength through gentle coil folds or stretch and folds during bulk fermentation. Use minimal handling during shaping, relying on surface tension. Proofing in a very well-floured banneton and baking in a Dutch oven can provide the necessary support to prevent it from spreading completely flat in the oven.
Under-hydrated dough will feel stiff, dense, and potentially crumbly. It will be difficult to stretch without tearing and will not become smooth or elastic even after significant kneading. It might feel tough or tight. During fermentation, it may not show much activity or increase in volume compared to a properly hydrated dough.
The best remedy is prevention through accurate weighing. If you realize the dough is under-hydrated during the initial mixing, gradually add small amounts of water until the dough reaches the desired consistency. Once the dough has developed gluten and started fermenting, adding water is much harder. You might try incorporating water via bassinage, but it's challenging. Often, an under-hydrated dough will result in a denser loaf, but it will still be edible. Ensure you use a scale for future bakes to avoid this issue.
Achieving Your Ideal Sourdough Crust: Hydration and Beyond
The Relationship Between Hydration, Baking Time, and Crust Color
Dough hydration significantly influences the final crust characteristics, but it works in conjunction with baking time and temperature. Higher hydration doughs, having more water, stay moist longer in the oven. This extended moisture keeps the crust pliable initially, allowing for maximum oven spring and contributing to a thinner, crispier crust that is prone to developing beautiful blisters.
Because they contain more water that needs to evaporate, high hydration loaves often require slightly longer baking times or higher initial temperatures (especially in a Dutch oven) to ensure they are fully cooked through and the crust develops properly. A longer bake at the right temperature allows the Maillard reaction and caramelization to occur, giving the crust its rich brown color and complex flavors. Lower hydration doughs may bake faster and produce a thicker, less blistered crust.
Experimenting with Hydration to Perfect Your Sourdough Recipe
Finding your ideal sourdough hydration ratios explained for your specific flour, starter, climate, and desired loaf characteristics is a journey of experimentation. Don't be afraid to start with a well-tested recipe at a common hydration level (like 68-72%) and then make small adjustments in subsequent bakes.
Try increasing or decreasing the water by just 2-3% in your next batch. Note how the dough feels to mix, stretch, and shape. Observe how it ferments and how the final loaf looks, especially the crumb structure and crust. Keep detailed notes on your experiments – the hydration percentage, flour type, environmental conditions, and the outcome. This systematic approach will help you understand how hydration affects your baking and refine your recipe over time.
Monitoring Dough Consistency and Adjusting Accordingly
While recipes provide a starting point for sourdough hydration ratios explained, experienced bakers learn to read the dough itself. Flour absorption can vary between brands and even batches, and environmental factors are always at play. Therefore, it's crucial to monitor the dough's consistency as you mix.
Does it feel too stiff or too slack compared to how it should feel at the target hydration? Does it absorb the water readily? If the dough feels significantly different from what you expect, you can make small adjustments to the water or flour during the initial mixing. Adding a little more water if it's too dry, or holding back a tiny bit if it seems too wet, based on feel, is a skill that develops with practice and leads to more consistent results than blindly following a percentage.
Advanced Sourdough Hydration Techniques
Using Different Liquids to Adjust Hydration: Milk, Beer, and Whey
While water is the standard liquid for sourdough hydration, incorporating other liquids can alter the flavor, texture, and handling of the dough. Milk, for instance, adds richness and softness to the crumb, and its sugars contribute to browning of the crust. Beer can add complex malty notes and sometimes aid fermentation due to residual yeast and enzymes. Whey, a byproduct of cheese or yogurt making, adds protein and can tenderize the crumb while contributing a subtle tang.
When substituting other liquids for water, consider their composition. Milk contains fats and sugars, which affect dough behavior. Whey contains proteins and acids. While they contribute to the total liquid weight for hydration calculation, they interact with the flour differently than pure water. Experimenting with these liquids allows for creative variations on classic sourdough hydration ratios explained.
The Importance of Baker's Percentage in Sourdough Hydration
Baker's percentage is a standard notation in baking that expresses the weight of each ingredient as a percentage of the total flour weight. Flour is always set at 100%. Water, salt, starter, and other ingredients are then listed as a percentage of the flour weight. This system makes it incredibly easy to scale recipes up or down and is the most common way sourdough hydration ratios explained are presented in professional contexts.
For example, a recipe might be listed as:
- Flour: 100%
- Water: 70%
- Starter (100% hydration): 20%
- Salt: 2%
Using this system, if you wanted to make a loaf with 750g of flour, you would calculate: Water = 750g * 0.70 = 525g, Starter = 750g * 0.20 = 150g, Salt = 750g * 0.02 = 15g. The baker's percentage system provides a clear and scalable way to manage sourdough hydration and other ingredient ratios.
Advanced Hydration Techniques: Soakers and Sponges
Beyond simply mixing flour and water, advanced techniques like using soakers or sponges can influence hydration and dough development. A soaker involves soaking grains, seeds, or even a portion of the flour in water (or other liquid) for several hours or overnight before incorporating them into the final dough. This ensures full hydration of these components, which can otherwise absorb moisture from the dough during fermentation, effectively lowering the dough's hydration.
A sponge (or poolish or preferment) is a portion of the flour and water (and often starter or commercial yeast) mixed into a wet preferment and allowed to ferment for a period before being added to the final dough mix. While primarily used for flavor development and fermentation control, the water and flour in the sponge contribute to the overall dough hydration and can affect the dough's extensibility and handling. Both techniques are ways to manage water absorption and fermentation, refining the application of sourdough hydration ratios explained.
Conclusion: Perfecting Your Sourdough with Precise Hydration
Frequently Asked Questions
What is sourdough hydration and why is it important?
Sourdough hydration refers to the percentage of water relative to the amount of flour in your dough. It's crucial because it significantly impacts the texture and crust of your final sourdough loaf.
How do I calculate the hydration ratio for my sourdough recipe?
Divide the total weight of the water by the total weight of the flour, then multiply by 100. This gives you the hydration percentage, indicating the water-to-flour ratio.
What is considered a low, medium, and high hydration sourdough dough?
Generally, low hydration is below 65%, resulting in a denser crumb. Medium hydration is 65-75%, providing a balance. High hydration is above 75%, leading to a more open crumb and often a crispier crust.
How does the hydration ratio affect the final sourdough crust?
Higher hydration generally leads to a thicker and crispier crust. This is because more water evaporates during baking, creating a steamier environment within the loaf.
Can I adjust the hydration ratio in a recipe, and what happens if I do?
Yes, you can, but be cautious. Changing the hydration impacts the dough's handling and final result. Reducing hydration makes the dough easier to handle, while increasing it can lead to a more open crumb but also a stickier dough.
Final Reflection: The Alchemy of Hydration: Unveiling the Secrets of Sourdough
Understanding sourdough hydration ratios is not merely a technical exercise; it's the key to unlocking the full potential of this ancient craft. Mastering this seemingly simple calculation transforms the baking process from a gamble into a precise art, yielding loaves with textures and flavors previously unimaginable. The impact of even a few percentage points on the final product is profound, highlighting the delicate balance at the heart of sourdough baking.
The journey of exploring hydration ratios has been a deeply rewarding one, revealing the intricate relationship between water, flour, and the resulting dough's character. It's a journey that continues to unfold with each bake, each experiment, each subtle adjustment. The pursuit of the perfect crumb, the ideal chew, the satisfying crust – these are all reflections of the careful attention paid to hydration. The baker is a sculptor of flour, water, and time.
– This unspoken truth resonates deeply as I reflect on the transformative power of understanding hydration.
Now, it's your turn to embark on this fascinating journey. Don't be afraid to experiment, to adjust, to fail, and to learn from each loaf. The path to mastering sourdough hydration is not a straight line, but the rewards – the satisfaction of creating a truly exceptional loaf of bread from scratch – are immeasurable. Embrace the process, trust your intuition, and savor the delicious results. The perfect sourdough awaits your touch.
Unlock Your Perfect Crust: Master Dough Hydration Now!
Thanks for diving into the world of sourdough hydration! You've just gained the knowledge to create truly exceptional loaves. Ready to put your new skills to the test?
- Bake your dream sourdough: Try experimenting with different hydration levels based on your flour and desired texture. Note your results – you'll be amazed by the differences!
- Share your baking journey: Post a picture of your perfectly hydrated sourdough on social media and tag #BakeWithEaseHydration – let's inspire each other!
- Explore our other sourdough recipes: Discover even more tips and techniques to elevate your baking game on BakeWithEase.com (This could be removed if external links are not allowed).
What unique flour will you experiment with next to achieve your perfect sourdough crust?