
Flour 101: Everything Beginners Need to Know

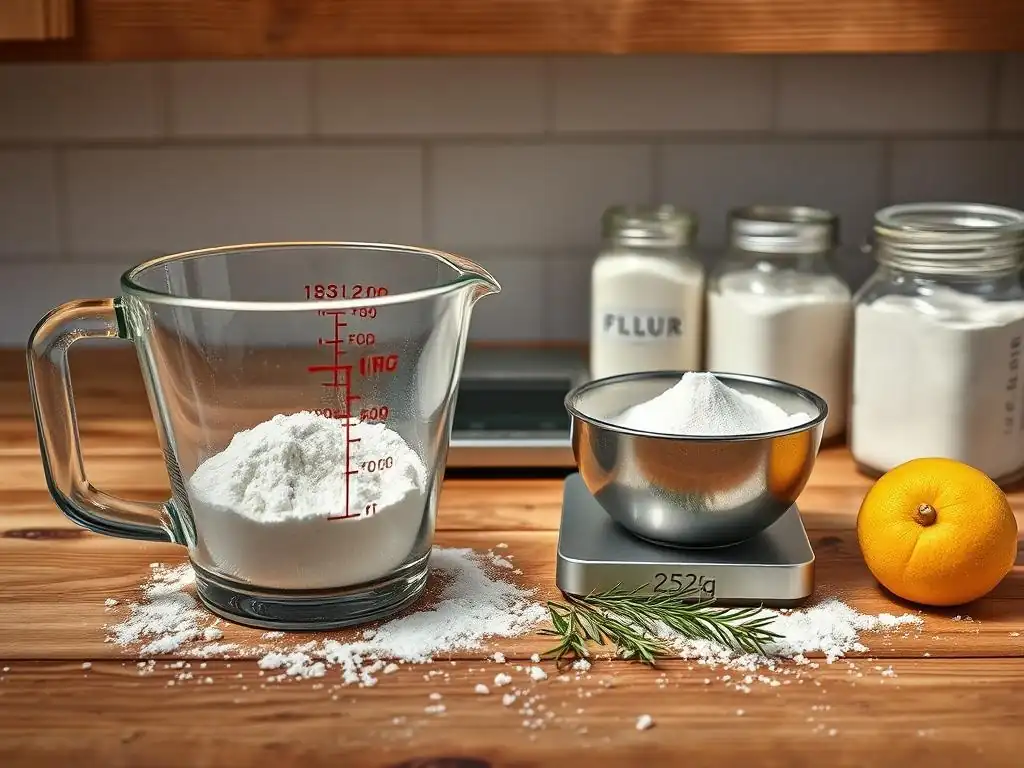
Welcome to BakeWithEase, your trusted companion on your baking journey! Ever wondered if you're really getting the most out of your flour? Our guide, "Flour 101: Everything Beginners Need to Know," starts with the very foundation: easy flour measuring techniques. But there's more than meets the eye – mastering this simple skill unlocks a world of consistent and delicious results. Prepare to unlock the secrets to perfect baking, one precise measurement at a time. Ready to bake with confidence?
- Baking with Flour: A Comprehensive Guide
- Understanding Flour: A Baker's Essential
- Exploring Different Flour Types for Baking
- Accurate Flour Measurement Techniques for Consistent Results
- Proper Flour Storage for Optimal Freshness
- Troubleshooting Common Baking Issues Related to Flour
- Flour Substitution Guide for Dietary Needs and Flavor Profiles
- Expanding Your Flour Knowledge
- Key Takeaways: Mastering Baking with Flour
-
Frequently Asked Questions
- What are the most common easy flour measuring techniques for baking?
- Why is accurate flour measurement so important in baking?
- Which easy flour measuring technique is recommended for beginners at BakeWithEase.com?
- Can I use different types of flour interchangeably when following a recipe?
- Where can I find more easy flour measuring techniques and baking tips on BakeWithEase.com?
- Final Reflection: Mastering the Humble Flour, One Measurement at a Time
- Unleash Your Inner Baker: Flour Power Awaits!
Baking with Flour: A Comprehensive Guide
Understanding Flour: A Baker's Essential
Flour is the backbone of countless baked goods, from a simple loaf of bread to delicate pastries and fluffy cakes. It's more than just powdered grain; it provides structure, texture, and sometimes flavor to your creations. Understanding the role of flour is the first step towards mastering baking.
At its core, flour, typically made from ground wheat, contains protein, starch, and moisture. When combined with liquid and often agitated (like kneading), the proteins, primarily glutenin and gliadin, form gluten. This elastic network traps gases produced by leavening agents (like yeast or baking powder), causing dough or batter to rise and giving baked goods their characteristic structure and chewiness. The type and amount of protein in different flours significantly impact the final result.
Exploring Different Flour Types for Baking
Different flours offer unique properties, making them suitable for specific baking tasks. Choosing the right flour is crucial for achieving the desired outcome, whether it's a light, airy cake or a dense, chewy bread.
All-Purpose Flour: Versatility in Baking
All-purpose flour is a staple in most kitchens for a reason – it's incredibly versatile. Milled from a blend of hard and soft wheat, it typically has a moderate protein content, usually ranging from 10% to 12%. This moderate protein level allows it to develop enough gluten for sturdy breads and pastries while remaining tender enough for cakes, cookies, and muffins.
Its balanced composition makes it suitable for a wide array of recipes, living up to its name. You can use it for everything from thickening sauces and coating foods to baking biscuits, pie crusts, and most standard cookie recipes. While it may not yield the absolute best results for highly specialized baked goods compared to flours designed specifically for those tasks, it's a reliable workhorse that performs adequately across the board, making it an excellent starting point for beginners.
Bread Flour: High-Protein Flour for Chewy Breads
Bread flour is specifically milled from hard wheat varieties, resulting in a higher protein content than all-purpose flour, typically between 12% and 14%. This higher protein level means it can develop a stronger, more elastic gluten network when kneaded, which is essential for creating the structure needed in yeast-leavened breads.
The robust gluten development in bread flour allows dough to trap more gas during fermentation and baking, resulting in a higher rise and a chewier texture characteristic of artisan loaves, bagels, and pizza crusts. If you're aiming for that satisfying chew and sturdy crumb in your homemade bread, bread flour is the ideal choice. It provides the necessary strength to support the dough's structure throughout the proofing and baking process.
Cake Flour: Low-Protein Flour for Tender Cakes
Cake flour is milled from soft wheat and is known for its significantly lower protein content, typically ranging from 7% to 9%. It is also often bleached, which further weakens the protein bonds and alters the starch structure, allowing it to absorb more liquid and sugar than other flours.
This low protein content is key to achieving the delicate, tender, and fine crumb desired in cakes, cupcakes, and some types of biscuits. Less protein means less gluten development, resulting in a softer texture that melts in your mouth. Using cake flour in recipes where tenderness is paramount ensures a light, airy result that simply isn't possible with higher-protein flours.
Pastry Flour: Ideal for Flaky Pastries
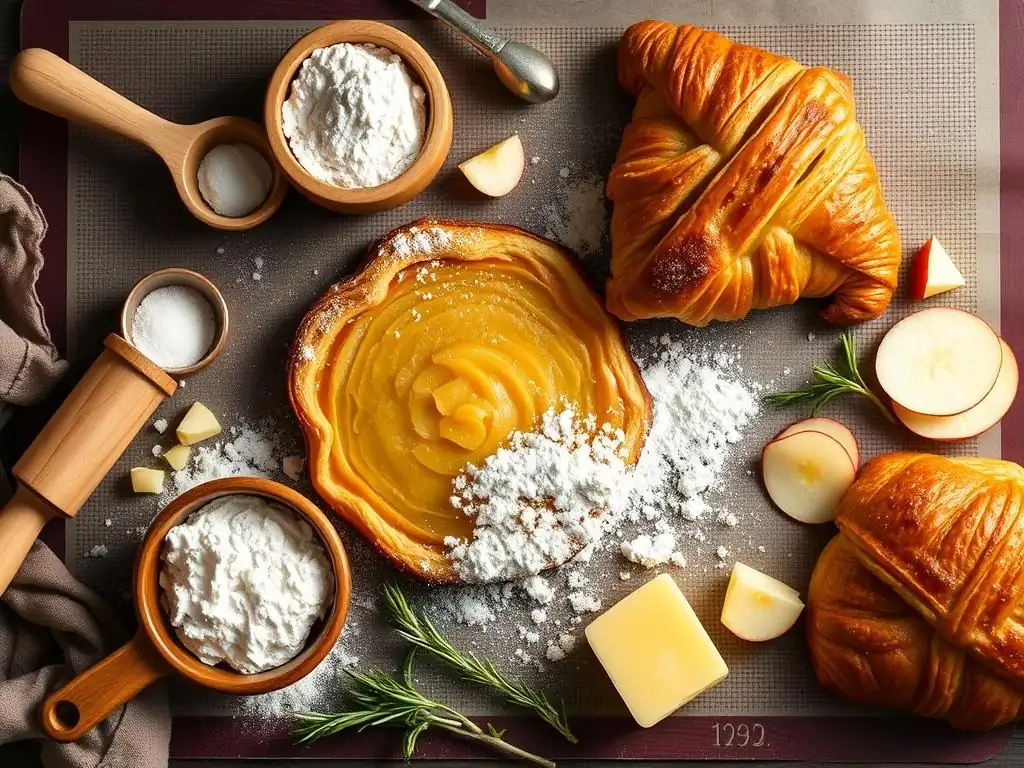
Pastry flour falls between cake flour and all-purpose flour in terms of protein content, typically ranging from 8% to 10%. Like cake flour, it's milled from soft wheat, but it retains slightly more protein. This balance makes it perfect for creating flaky textures without being too tough or too crumbly.
It's the flour of choice for pie crusts, tarts, scones, and some cookies where you want a delicate, tender crumb combined with flakiness. The moderate gluten development provides just enough structure to hold layers together while still allowing them to separate easily when baked, creating that desirable flaky effect.
Whole Wheat Flour: Nutty Flavor and Added Fiber
Whole wheat flour is produced by grinding the entire wheat kernel, including the bran, germ, and endosperm. This inclusion of all parts of the kernel gives it a higher nutritional profile compared to refined white flours, adding fiber, vitamins, and minerals. It also has a distinct, nutty flavor and a slightly coarser texture.
The presence of bran and germ can interfere with gluten development, often resulting in denser baked goods. Whole wheat flour typically has a protein content similar to or slightly higher than all-purpose flour (around 13-14%), but the bran cuts the gluten strands, reducing elasticity. It's often used in combination with white flour to achieve a lighter texture while still incorporating the health benefits and flavor of the whole grain.
Rye Flour: Distinct Flavor for Breads and Crackers
Rye flour is milled from rye grain and is known for its unique, tangy, and sometimes slightly sour flavor profile. Unlike wheat flour, rye contains gluten, but the protein structure is different, forming a weaker, less elastic network. This is why breads made with a high percentage of rye flour are typically denser and do not rise as high as wheat breads.
Rye flour is popular in many European bread traditions, used for creating hearty loaves like pumpernickel and sourdough rye. It also lends itself well to crackers and certain types of pastries. Its distinct flavor adds depth and complexity to baked goods, making it a favorite for those seeking something beyond standard wheat loaves.
Accurate Flour Measurement Techniques for Consistent Results
Achieving consistent baking results hinges significantly on accurate ingredient measurements, and flour is perhaps the most critical ingredient to measure correctly. Even slight variations can drastically alter the outcome of your recipe. Mastering easy flour measuring techniques ensures your baked goods turn out perfectly every time.
Understanding different methods and their potential pitfalls is key. Whether you're using a scale for precision or measuring cups for convenience, knowing the proper technique is essential. Inconsistent measuring is one of the most common reasons why recipes don't turn out as expected, especially for beginners.
Weighing Flour: The Most Accurate Method
Using a digital kitchen scale to weigh your flour is widely considered the most accurate method. Recipes that list flour in grams or ounces are designed for this approach. A standard cup of all-purpose flour, when properly measured by weight, is typically cited as weighing around 120-130 grams (or 4.25-4.5 ounces), though this can vary slightly depending on the flour type and how finely it's milled.
To weigh flour, simply place your mixing bowl or a container on the scale, tare it (set it to zero), and spoon or scoop the flour directly into the container until the desired weight is reached. This method eliminates the variability caused by how tightly flour is packed into a measuring cup, providing consistent amounts every time. For reliable results, especially in recipes where precision is critical like delicate cakes or artisan breads, weighing is the gold standard and an easy flour measuring technique once you get used to it.
Measuring Flour by Volume: Best Practices
Measuring flour by volume using standard measuring cups is a very common and relatively easy flour measuring technique, but it requires attention to detail to avoid inconsistencies. The most common error is scooping the measuring cup directly into the flour bag or container, which compacts the flour and results in significantly more flour than intended.
The best practice for measuring flour by volume is the "spoon and level" method. Gently spoon the flour into the measuring cup until it overflows slightly. Do not scoop directly from the bag and do not tap the cup to settle the flour.
Once the cup is overflowing, use a straight edge (like the back of a knife or a leveler) to gently sweep off the excess flour, ensuring the top is level. This method minimizes compaction and provides a more accurate volume measurement compared to scooping directly. While less precise than weighing, using the spoon and level method is an easy flour measuring technique that yields reasonably consistent results for many recipes.
Understanding Density Variations in Flour
The density of flour can vary based on several factors, including the type of grain, how it was milled, its moisture content, and how it's stored. For example, whole wheat flour, with the bran and germ included, is typically denser than finely sifted cake flour. Even the same type of flour can vary slightly between brands.
These density variations are why measuring by weight (grams or ounces) is more accurate than by volume (cups). A cup is a measure of volume, but the weight of flour that fits into that volume can change. One cup of cake flour might weigh less than one cup of all-purpose flour, which might weigh less than one cup of whole wheat flour, even when measured using the same technique. Understanding this helps explain why weighing is preferred for precision baking, though the spoon and level method remains an easy flour measuring technique suitable for many everyday recipes.
Proper Flour Storage for Optimal Freshness
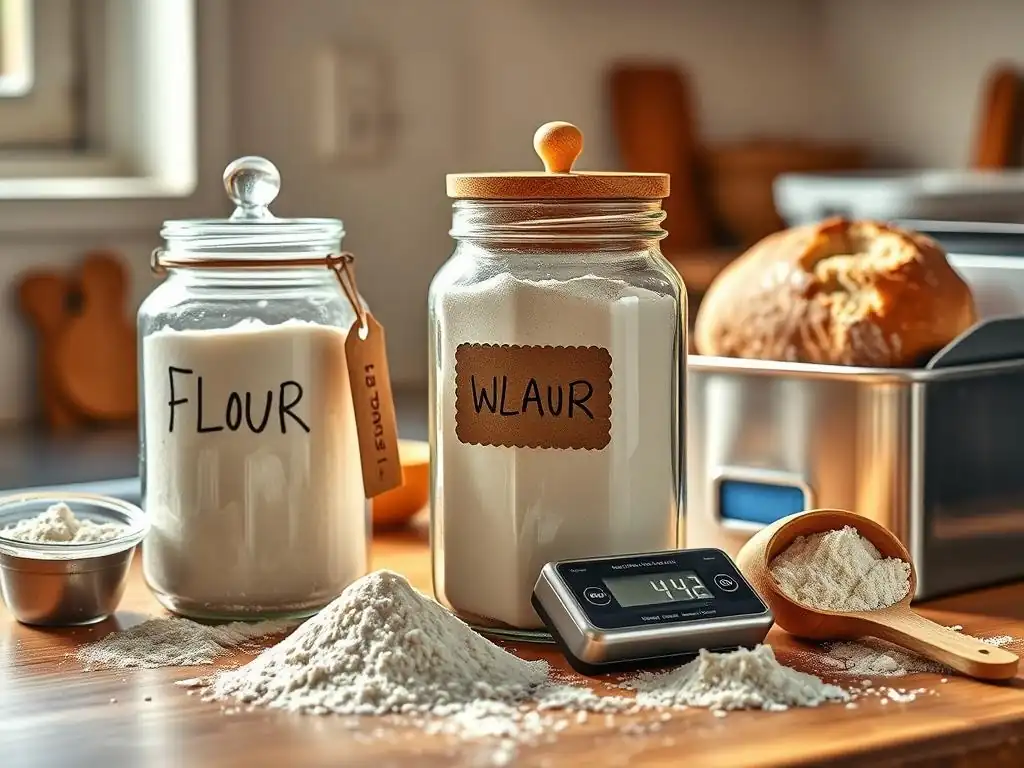
Proper storage is essential for maintaining the quality and freshness of your flour. Flour is a pantry staple, but like other food products, it can degrade over time if not stored correctly. Protecting it from moisture, pests, and off-odors ensures your baked goods taste their best.
Improper storage can lead to rancidity (especially in whole grain flours due to the oils in the germ), absorption of unpleasant smells, or spoilage from moisture or insect infestation. Taking a few simple steps to store your flour properly will extend its shelf life and protect your investment in quality ingredients.
Airtight Containers: Protecting Flour from Moisture and Pests
The most crucial step in storing flour is to transfer it from its original paper bag into a clean, airtight container. Plastic, glass, or metal containers with tight-fitting lids are ideal. The original paper bags are permeable and offer little protection against moisture, pantry pests (like weevils), or environmental odors.
An airtight seal prevents moisture from entering, which can cause clumping or mold growth. It also keeps out common pantry invaders like flour beetles and moths. Furthermore, flour can absorb odors from its surroundings, so a sealed container prevents it from picking up unwanted smells from other pantry items like spices or onions.
Cool, Dark Place: Ideal Storage Conditions
Once in an airtight container, store flour in a cool, dark place. Consistent, cool temperatures help slow down the oxidation process, especially important for whole grain flours which contain oils that can go rancid. A pantry cupboard away from direct sunlight and heat sources like ovens or stoves is perfect.
Storing flour in a dark environment also helps preserve its quality. While not as critical as temperature or airtightness, light can contribute to the degradation of some nutrients and flavor compounds over time. Avoiding warm, humid conditions is paramount, as these environments are breeding grounds for mold and pests.
Shelf Life: Knowing When to Replace Flour
The shelf life of flour varies depending on the type. Refined white flours (like all-purpose, bread, cake, and pastry flour) have a longer shelf life than whole grain flours. White flour can typically last for 6-12 months when stored properly, sometimes longer if kept in the refrigerator or freezer.
Whole grain flours (like whole wheat or rye) contain the germ, which is rich in oils. These oils can oxidize and become rancid over time, giving the flour an unpleasant odor and taste. Due to this, whole grain flours generally have a shorter shelf life, typically around 3-6 months, even when stored correctly. It's always a good idea to check the "best by" date on the package and use the sniff test – if the flour smells stale, musty, or like old crayons, it's best to discard it.
Flour plays a central role in the structure and texture of baked goods, and many common baking problems can be traced back to the type of flour used or how it was handled. Understanding these connections can help you diagnose and fix issues in your baking.
From dense cakes to crumbly cookies, the way flour interacts with other ingredients, especially liquids and leavening agents, is key. Pinpointing whether the issue stems from gluten development, hydration, or another factor related to the flour will guide you toward a solution.
Dense or Heavy Baked Goods: Gluten Development and Flour Type
If your cakes are heavy or your bread is dense and brick-like, it could relate to gluten development or using the wrong flour type. Too much gluten development in a cake (perhaps from using bread flour instead of cake flour or overmixing) creates a tough, chewy texture instead of a tender one. Conversely, insufficient gluten development in bread (maybe using cake flour or not kneading enough) means the structure isn't strong enough to support the rise, resulting in a dense loaf.
Ensure you are using the appropriate flour for the recipe (low protein for tender goods, high protein for chewy ones) and avoid overmixing batters where gluten development is undesirable. For yeast breads, ensure you knead sufficiently to develop a strong gluten network that can trap gases and create a light, airy crumb.
Dry or Crumbly Dough: Hydration and Flour Absorption
A dough that is dry, stiff, and crumbles easily often indicates insufficient hydration relative to the flour used. Different flours absorb liquid differently. Whole wheat flour, with its added bran and germ, is typically more absorbent than white flour. If a recipe calls for all-purpose flour and you substitute whole wheat flour cup-for-cup without adjusting the liquid, the dough will likely be too dry.
Ensure you measure your flour accurately (using easy flour measuring techniques like spoon and level or weighing) and add liquids gradually as needed, especially when substituting flours. Pay attention to the dough's consistency described in the recipe. If it seems too dry, add a little more liquid (water, milk, etc.) one tablespoon at a time until the desired consistency is reached.
Flat or Under-Developed Baked Goods: Flour-Yeast Interaction
When yeast-leavened doughs don't rise properly, or baked goods are flat, the issue might involve the interaction between the flour, yeast, and conditions. While yeast activity itself is paramount, the flour's ability to form a strong gluten network is what allows the dough to hold the gas produced by the yeast. Using a low-protein flour like cake flour in a yeast bread recipe will result in poor rise and a flat loaf because the gluten structure isn't strong enough to support the volume increase.
Also, flour quality can impact yeast activity. Very old flour or flour stored improperly might affect fermentation. Ensure you're using the correct flour type (bread flour is best for most yeast breads) and that your yeast is active. Knead the dough sufficiently to develop gluten, and allow adequate proofing time in a warm environment so the yeast can produce enough gas for a good rise.
Flour Substitution Guide for Dietary Needs and Flavor Profiles
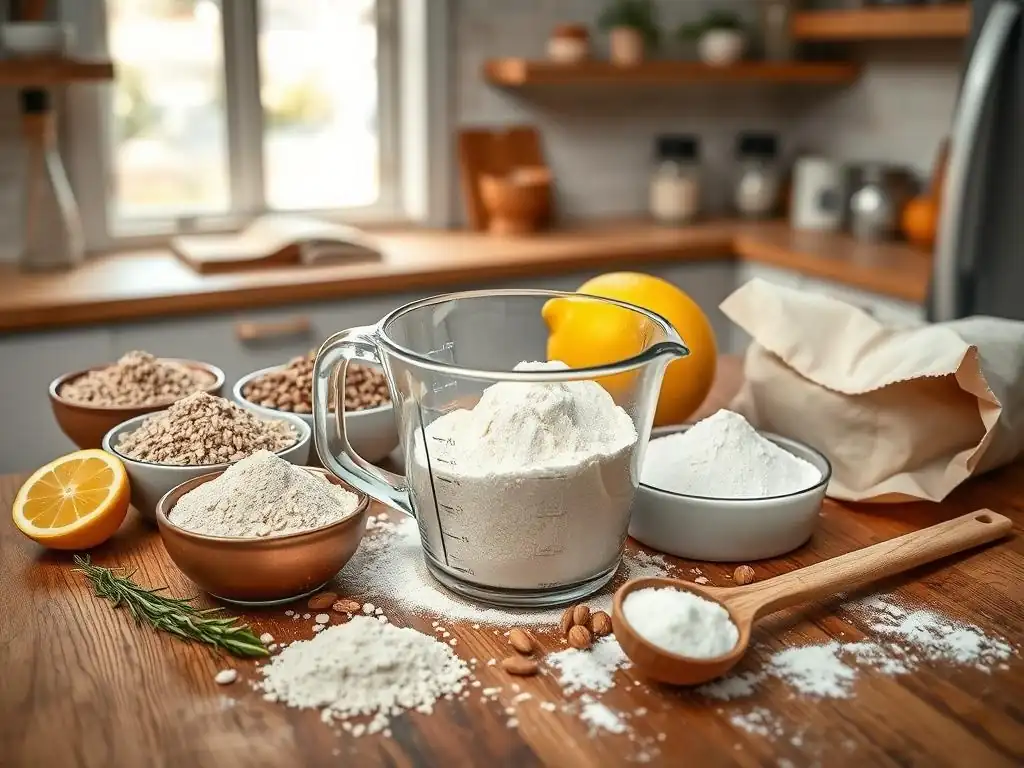
Sometimes you need to substitute flour due to dietary restrictions (like gluten intolerance) or to introduce different flavors and textures. Substituting flours isn't always a simple 1:1 swap, as different flours behave very differently in recipes.
Understanding the properties of alternative flours is key to successful substitution. Whether you're exploring gluten-free options or adding nutty flavors with nut flours, knowing how they affect structure, moisture, and binding will help you adjust your recipes accordingly.
Substituting Gluten-Free Flours: Ratios and Considerations
Substituting gluten-containing wheat flour with gluten-free alternatives requires understanding that these flours lack the gluten structure essential for many baked goods. Single gluten-free flours (like rice flour, almond flour, or oat flour) often don't perform well on their own in recipes designed for wheat flour. They typically need to be used in blends.
Many gluten-free recipes use a combination of different flours (e.g., rice, tapioca, potato starch) along with binders like xanthan gum or psyllium husk to mimic the structure gluten provides. Pre-made gluten-free all-purpose blends are available, but results can vary between brands. When substituting, it's often best to use recipes specifically developed for gluten-free flours or follow substitution ratios provided by reliable sources, as a simple cup-for-cup swap of a single gluten-free flour for wheat flour usually won't work.
Using Nut Flours: Adjusting for Moisture and Fat Content
Nut flours, such as almond flour or pecan flour, are popular gluten-free alternatives that add distinct flavor and texture. They are made from ground nuts and are higher in fat and lower in carbohydrates than wheat flour. This higher fat content means they behave differently in recipes, often resulting in more moist and tender baked goods, but they lack the binding properties of gluten.
When substituting nut flours for wheat flour, you often need to adjust the amount of liquid and fat in the recipe. Because they absorb less liquid than wheat flour, you might need to reduce wet ingredients. Additionally, the higher fat content of nut flours can sometimes make baked goods spread more or become overly dense if not balanced with other ingredients or binders. They are often used in cakes, cookies, and quick breads where a tender, slightly crumbly texture is desired, and recipes are typically developed specifically for their unique properties.
Expanding Your Flour Knowledge
Beyond the basic types, the world of flour offers even more to explore. Understanding concepts like sourdough starters and different milling processes can deepen your appreciation for how flour impacts baking and open doors to new techniques and flavors.
These advanced topics build upon the foundational knowledge of flour types and properties, allowing you to experiment with more complex baking projects and understand the nuances that contribute to the final product.
Sourdough Starter: Cultivating Wild Yeast and Bacteria
A sourdough starter is a living culture of wild yeast and beneficial bacteria (primarily lactobacilli) that is used as a leavening agent in baking, particularly for bread. It's typically made from just flour and water, which are fed regularly to keep the microorganisms active. The wild yeast produces carbon dioxide gas, causing the dough to rise, while the bacteria produce lactic and acetic acids, giving sourdough its characteristic tangy flavor.
Cultivating and maintaining a sourdough starter requires understanding how different flours can affect its activity and flavor. While all-purpose or bread flour are common bases, using rye or whole wheat flour can boost the starter's activity due to the higher nutrient content in those flours. Baking with sourdough involves longer fermentation times and different handling techniques compared to commercial yeast, offering a rewarding way to explore complex flavors and textures in your bread.
Different Milling Processes: Affecting Flour Characteristics
How flour is milled significantly impacts its characteristics, including texture, nutrient content, and baking performance. The most common milling process for white flour involves separating the endosperm from the bran and germ and then grinding the endosperm into a fine powder. This results in a consistent, shelf-stable flour but removes much of the fiber and nutrients found in the whole grain.
Stone milling, an older method, grinds the entire kernel between two stones. This process often leaves more of the bran and germ in the flour, even in flours labeled "white" stone-ground flour, and it can generate heat that affects the flour's proteins. Roller milling, the modern standard, uses steel rollers to break down the grain in stages, allowing for precise separation of the different parts. Understanding the milling process can help explain variations in flour behavior and nutritional profiles between different types and brands.
Key Takeaways: Mastering Baking with Flour
- Choosing the right flour type (protein content) is fundamental to successful baking.
- Accuracy in flour measurement is crucial for consistent results. Weighing is most accurate, while the spoon and level method is an easy flour measuring technique for volume.
- Properly storing flour in airtight containers in a cool, dark place extends its freshness and prevents spoilage.
- Many baking issues can be resolved by understanding how flour type, hydration, and gluten development affect the outcome.
- Substituting flours, especially gluten-free or nut flours, requires understanding their unique properties and often adjusting recipes.
- Exploring concepts like sourdough and milling processes can deepen your baking knowledge and skills.
Mastering baking with flour is a journey of understanding how this essential ingredient works. By paying attention to flour types, practicing easy flour measuring techniques, storing it correctly, and troubleshooting common issues, you'll be well on your way to consistently delicious results.
Frequently Asked Questions
What are the most common easy flour measuring techniques for baking?
The most common techniques include the spoon and level method and the weighing method. The spoon and level avoids packing the flour, while weighing provides the most accurate and consistent results.
Why is accurate flour measurement so important in baking?
Accurate flour measurement is crucial because it directly impacts the texture and consistency of your baked goods. Too much flour results in a dry and dense product, while too little can lead to a flat or overly moist outcome.
Which easy flour measuring technique is recommended for beginners at BakeWithEase.com?
For beginners, BakeWithEase.com recommends the spoon and level method. It's a simple and relatively easy flour measuring technique to grasp, making it a good starting point for consistent baking.
Can I use different types of flour interchangeably when following a recipe?
While some substitutions are possible, it's generally not recommended to use flours interchangeably without understanding their properties. Different flours have varying protein contents and gluten development, which affect the final product significantly.
Where can I find more easy flour measuring techniques and baking tips on BakeWithEase.com?
BakeWithEase.com offers a wealth of resources, including detailed articles, step-by-step guides, and video tutorials. Look for content under sections like "Baking Basics," "Techniques," or search specifically for "flour measurement guides" to enhance your baking skills.
Final Reflection: Mastering the Humble Flour, One Measurement at a Time
The seemingly simple act of measuring flour is far more crucial to baking success than many beginners realize. A precise measurement can be the difference between a perfectly risen loaf and a dense, disappointing brick. This article explored the nuances of flour measurement, highlighting the pitfalls of inaccurate techniques and offering practical, easy-to-follow solutions for achieving consistent results. This knowledge, while seemingly basic, is the cornerstone of confident baking.
The impact of mastering flour measurement extends far beyond the kitchen. It's a gateway to unlocking creativity and confidence in the culinary arts. The satisfaction of producing a perfectly textured cake or bread, knowing you've precisely controlled every ingredient, is deeply rewarding. As Julia Child famously said, Find something you're passionate about and keep tremendously interested in it.
For many, that passion begins with the simple act of measuring flour accurately, and blossoms into a lifelong love of baking.
Now, it's your turn. Consider the seemingly small details in your own life – the seemingly insignificant steps that build towards larger achievements. Take the time to master those details, to refine your technique, and to find joy in the precision and control they offer. Don't be afraid to experiment, to learn from your mistakes, and to embrace the journey of mastering the art of baking, one perfectly measured cup of flour at a time. The delicious rewards are well worth the effort.
Unleash Your Inner Baker: Flour Power Awaits!
Thanks for taking the time to explore the wonderful world of flour with us! We hope you now feel more confident tackling any baking project. Ready to put your newfound knowledge into action?
- Bake your dream recipe: Choose a recipe you’ve always wanted to try (maybe those croissants you’ve been eyeing?) and give it a go! This is your chance to experiment and truly master flour’s potential.
- Share your baking journey: Post a picture of your creation on social media and tag us – we'd love to see your flour-powered masterpieces! #BakeWithEase #FlourPower
- Discover a new flour variety: Explore a type of flour you haven't used before – maybe rye, spelt, or even a unique blend. What exciting flavors will you uncover?
So, what delicious adventure will your flour take you on next?