
Tips to Prevent Burnt Edges When Baking on Lower Racks

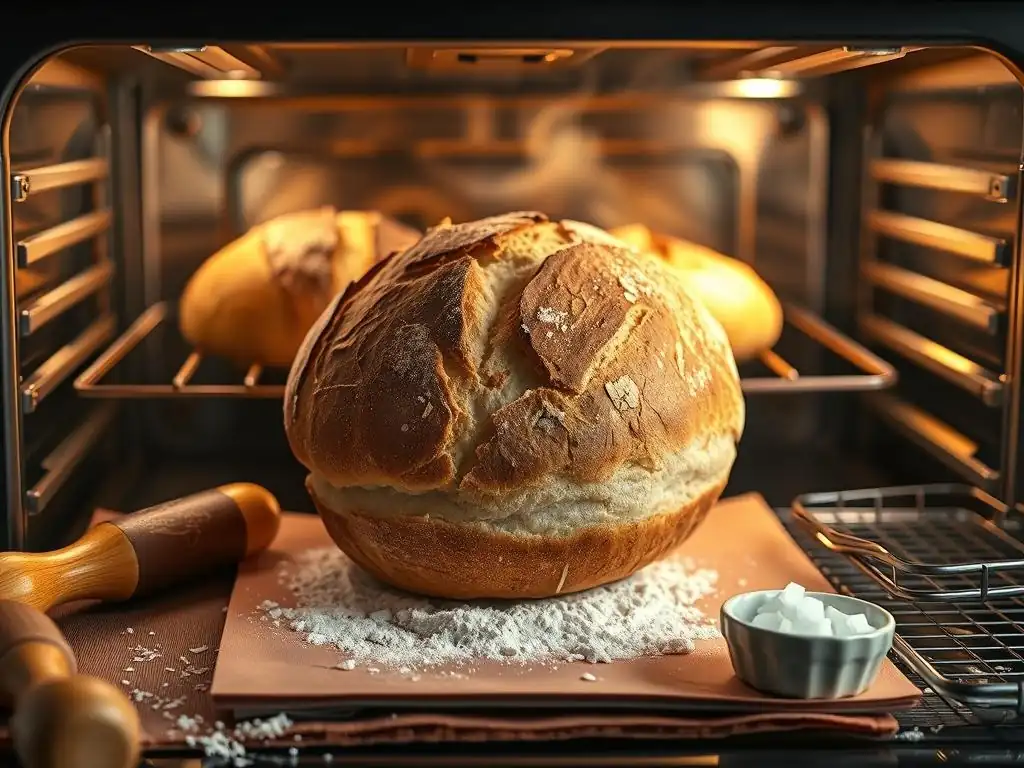
Welcome to BakeWithEase, where baking becomes a joy, not a chore! Tired of unevenly baked goods? Ever wonder why your cookies always end up with burnt edges when baking on lower racks? We've all been there! Dive into our latest article for practical tips and tricks to prevent burnt edges baking racks and unlock the secrets to perfectly golden-brown creations, every single time. Let's get baking!
- Preventing Burnt Edges When Baking
- Understanding Burnt Edges
- Strategies for Avoiding Burnt Edges
- Troubleshooting Specific Cookies
- Advanced Baking Techniques
- Summary: Preventing Burnt Edges
-
Frequently Asked Questions
- How can using a lower rack contribute to burnt edges in baking?
- What's the "oven temperature trick" BakeWithEase recommends to prevent burnt edges?
- Does the type of baking pan affect the likelihood of burnt edges?
- How does using a baking rack specifically prevent burnt edges?
- What other techniques besides temperature adjustment can BakeWithEase suggest to prevent burnt edges?
- Final Reflection: Embracing the Art of Baking Without Burnt Edges
- Unlock Perfectly Even Baking: No More Burnt Edges!
Preventing Burnt Edges When Baking
Understanding Burnt Edges
Causes of Burnt Edges
Burnt edges on baked goods, especially cookies, often stem from uneven heat distribution within the oven. Ovens typically have heating elements on the bottom, and sometimes the top, causing the temperature to be hottest closest to these sources.
When baking racks are placed too low, particularly on the bottom rack, the direct radiant heat from the lower element is significantly more intense, leading to the edges of cookies, which are thinner and more exposed, cooking and browning much faster than the centers. This proximity to the primary heat source is a major culprit when you're trying to prevent burnt edges baking racks positioned incorrectly.
Furthermore, hot spots within the oven chamber contribute significantly to this issue. No home oven heats perfectly evenly; variations of 25-50°F (around 14-28°C) are common in different areas of the oven. A cookie sheet placed in a hot spot, especially one near the back or sides where heat might pool, will experience accelerated cooking and burning on the edges facing that spot. Understanding these inherent oven quirks is the first step in developing strategies to prevent burnt edges baking racks and overall heat management.
Contributing Factors
Beyond oven mechanics, the composition and shape of the cookie itself play a large role in edge burning. Cookies with high sugar content, like many sugar cookies or shortbreads, caramelize faster when exposed to heat, making their edges particularly susceptible to burning before the rest of the cookie is done. Similarly, thinner cookies will cook through much quicker than thicker ones, meaning their edges reach the burning point rapidly while the center might still be doughy if not monitored carefully.
The type of baking sheet used also impacts how quickly heat transfers to the cookie dough. Dark-colored, thin metal baking sheets absorb and transfer heat more efficiently than lighter, thicker ones, accelerating bottom and edge browning. Using a sheet like this on a lower oven rack almost guarantees burnt edges. Additionally, overcrowding the baking sheet can lead to uneven cooking and potential burning, as airflow around each cookie is restricted, creating microclimates of uneven heat exposure.
Strategies for Avoiding Burnt Edges
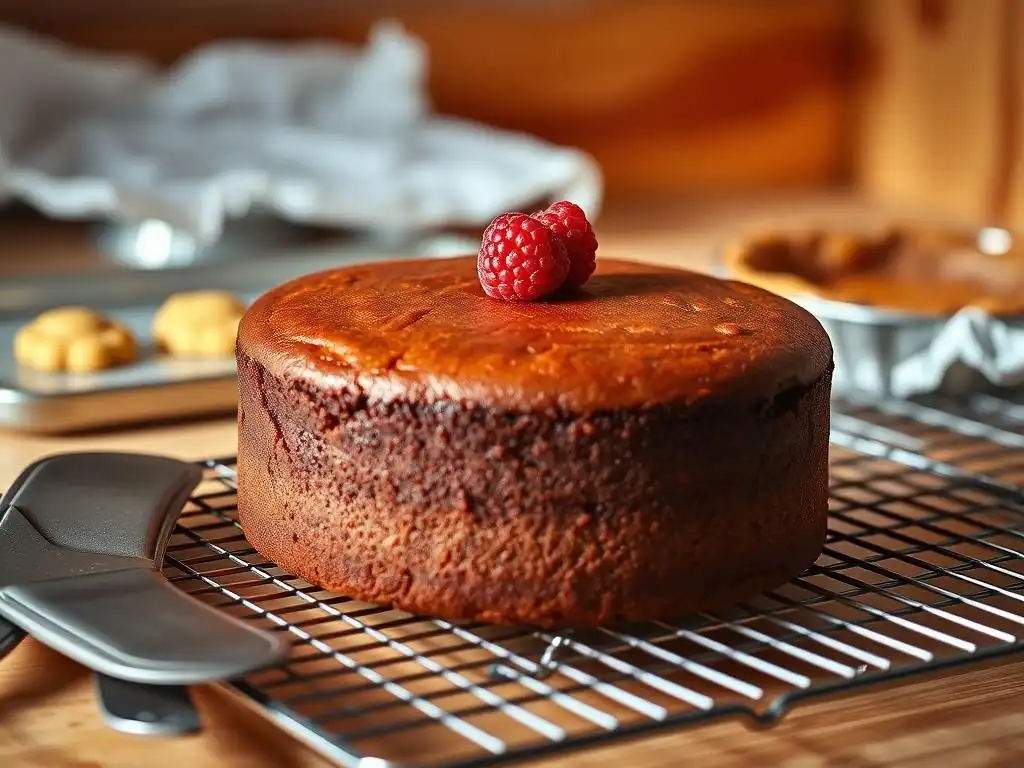
Oven Temperature Management
Oven Calibration
Ensuring your oven's thermostat is accurate is a fundamental step in preventing burnt edges baking racks or any rack. Many home ovens are not perfectly calibrated and can be off by as much as 50°F (about 28°C) from the temperature displayed on the dial. If your oven runs hot, it will significantly increase the risk of edges burning before the interior is cooked. While professional calibration is an option, a simple oven thermometer can help you understand the discrepancy.
Knowing your oven's true temperature allows you to make necessary adjustments. If your oven consistently reads 25°F (about 14°C) hotter than the set temperature, you should set the oven 25°F lower than the recipe calls for. This minor adjustment can make a significant difference in achieving even baking and avoiding the scorching heat that leads to burnt edges, especially when dealing with variable heat distribution on different baking racks.
Oven Thermometer Use
An inexpensive oven thermometer placed inside your oven is the most reliable way to know the actual temperature your baked goods are experiencing. Don't trust the oven's built-in display alone; these can be inaccurate due to age, wear, or manufacturing tolerances. Simply hang or place the thermometer in a visible spot, ideally not directly on a rack but where you can easily read it.
Check the thermometer's reading after the oven has preheated for at least 15-20 minutes to get a stable reading. Compare it to the temperature you set. This comparison will tell you if your oven runs hot or cool. For example, if you set the oven to 350°F (175°C) but the thermometer reads 375°F (190°C), you know to adjust your set temperature downwards for future baking to match the recipe's intended temperature and help prevent burnt edges baking racks from overheating your cookies.
Rack Placement Optimization
Middle Rack Benefits
For most baking, the middle oven rack is the ideal position to ensure even heat distribution from both the top and bottom heating elements. Placing your baking sheet on the middle rack positions it roughly equidistant from the primary heat sources, allowing for more balanced cooking and browning. This is the go-to placement to prevent burnt edges baking racks placed too low would typically cause.
Using the middle rack helps mitigate the intensity of direct radiant heat from the bottom element, which is the main culprit for burnt bottoms and edges when baking on lower racks. While oven hot spots can still exist on the middle rack, the overall heat environment is much more stable and less prone to extremes, leading to more consistent results across your entire batch of cookies.
Upper Rack Considerations
While the middle rack is generally best, the upper rack can be useful in specific situations, though it requires careful monitoring. Placing items on the upper rack is beneficial when you want to achieve more browning on the top surface, such as for gratins or certain types of bread crusts. However, for cookies, the upper rack can lead to the tops browning too quickly before the centers are cooked through, or the edges becoming crisp before the middle sets.
Using the upper rack for cookies is generally not recommended if your primary concern is preventing burnt edges, as the top heating element can cause rapid surface browning. If you must use the upper rack (e.g., baking multiple sheets), be extra vigilant and consider shielding the edges or rotating the pan more frequently. It's a trade-off, and for consistent cookie baking without burnt edges, the middle rack is usually the superior choice.
Baking Sheet Selection
Baking Sheet Materials
The material your baking sheet is made from significantly impacts heat transfer. Dark metal sheets, especially those with a non-stick coating, absorb radiant heat more readily than light-colored, reflective aluminum sheets. This increased absorption means dark sheets can lead to faster, more intense browning on the bottom and edges of your cookies, making them more prone to burning, particularly on a lower rack.
Light-colored, heavy-gauge aluminum baking sheets (often called "half sheet pans") are generally preferred for cookies because they reflect heat, leading to gentler, more even baking. While they might not produce as dark a bottom crust as a dark sheet, they drastically reduce the risk of burnt edges. If you frequently battle burnt bottoms, switching to a lighter-colored, thicker aluminum pan can be a simple yet effective solution.
Insulated Baking Sheets
Insulated baking sheets are designed with two layers of metal separated by a layer of air. This air pocket acts as an insulator, creating a barrier that slows down heat transfer from the oven rack and heating element to the bottom of the cookie. This significantly reduces the risk of burnt bottoms and edges, even if your oven has intense bottom heat or you are using a lower rack position.
While insulated sheets prevent burning effectively, they also result in less browning on the bottom of the cookie. If you prefer a deeply golden or crispy bottom, an insulated sheet might not be your first choice. However, if your main struggle is consistently burnt edges and bottoms, an insulated baking sheet is a highly effective tool to add to your arsenal, ensuring more evenly baked cookies.
Baking Sheet Preparation
Properly preparing your baking sheet adds another layer of defense against burnt edges. Lining your baking sheet with parchment paper or a silicone baking mat creates a physical barrier between the hot metal surface and the cookie dough. This barrier helps diffuse the direct heat transfer from the pan, promoting more even cooking and preventing the bottoms and edges from scorching.
Parchment paper is a single-use option that also aids in easy cleanup. Silicone baking mats are reusable and offer excellent non-stick properties in addition to heat diffusion. Both methods are highly effective at preventing cookies from sticking and acting as a buffer against excessive bottom heat, which is particularly important when trying to prevent burnt edges baking racks might be positioned too close to the heat source.
Baking Time Adjustment
Temperature and Time Modification
If you consistently get burnt edges before the cookies are fully baked, adjusting your oven temperature and baking time is a crucial strategy. Lowering the oven temperature, typically by 25°F (about 14°C), and increasing the baking time allows the cookies to cook through more gently and evenly. For example, if a recipe calls for 375°F (190°C) for 10-12 minutes, try baking at 350°F (175°C) for 12-15 minutes instead.
This lower-and-slower approach gives the center of the cookie more time to set and cook before the edges become overly browned or burnt. It requires a bit of experimentation as exact times will vary based on your oven and the specific cookie recipe, but it's a widely recommended technique to achieve perfectly baked cookies without the dreaded burnt edges, especially when dealing with variable heat on different baking racks.
Visual Doneness Indicators
Relying solely on the timer can lead to burnt edges, as ovens and cookies vary. Learning to recognize visual cues is essential for perfectly baked cookies. Look for the edges to be lightly golden brown and set. The center should still appear slightly soft or underdone, as cookies continue to cook from residual heat after they are removed from the oven.
Different cookie types have different doneness indicators. Chocolate chip cookies, for instance, might look slightly puffy and set around the edges with a softer, sometimes still glossy center. Sugar cookies should be lightly golden around the perimeter. Trust your eyes more than the clock, especially when experimenting with temperature adjustments or dealing with ovens that cause burnt edges baking racks or hot spots are a problem.
Edge Shielding Techniques
Parchment Paper/Silicone Mats
As mentioned earlier, lining your baking sheet with parchment paper or a silicone baking mat is a primary line of defense against burnt edges. This barrier prevents direct contact between the cookie dough and the hot metal of the pan, which is exacerbated by radiant heat, particularly on lower baking racks.
Beyond just covering the pan, you can also use strips of parchment paper or foil to create a shield specifically around the edges of the cookies if they start browning too quickly. While more involved, this targeted shielding provides extra protection to the most vulnerable parts of the cookie, helping to prevent burnt edges baking racks or oven hot spots might cause.
Aluminum Foil Shield
For cookies that are particularly prone to edge burning, or if you notice the edges browning significantly faster than the centers during baking, you can create a simple aluminum foil shield. About halfway through the baking time, or when the edges start to look golden, carefully remove the baking sheet from the oven.
Gently tent strips of aluminum foil around the perimeter of the baking sheet, covering just the edges of the cookies. Return the sheet to the oven to finish baking. The foil reflects the radiant heat away from the edges, allowing the centers to catch up and finish baking without the edges becoming overcooked or burnt. This technique is especially useful when trying to prevent burnt edges baking racks positioned lower might cause.
Baking Sheet Rotation
Even with optimal rack placement, most ovens have hot spots. Rotating your baking sheet halfway through the baking time helps ensure that all the cookies on the sheet are exposed to similar heat levels. This simple step compensates for uneven heating within the oven cavity and prevents one side or corner of the sheet from burning while the rest of the cookies are still pale.
If you are baking multiple sheets of cookies at once on different racks, rotating them also involves switching their positions (e.g., move the top sheet to the bottom rack and the bottom sheet to the top rack) if your recipe and oven allow for multi-rack baking. Consistent rotation is a key habit for achieving evenly baked cookies and is crucial when trying to prevent burnt edges baking racks or oven inconsistencies might otherwise cause.
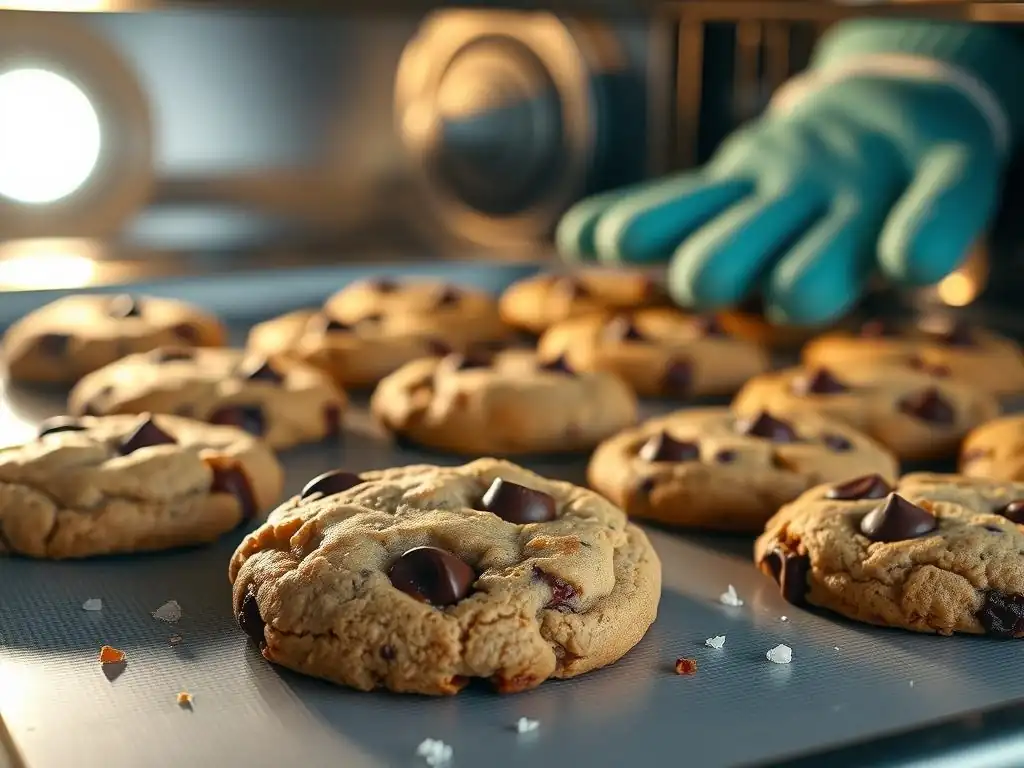
Chocolate chip cookies are notorious for developing burnt edges while the centers remain soft and gooey. This is partly due to their sugar and fat content, which promotes rapid browning and caramelization. The irregular shape and thickness of dropped cookies also mean the thinner edges are more exposed to heat.
To prevent burnt edges on chocolate chip cookies, ensure your dough balls are relatively uniform in size and thickness. Using a light-colored or insulated baking sheet is highly recommended. Baking on the middle rack at a slightly lower temperature (e.g., 325-350°F or 160-175°C) for a longer time often yields better results. If edges still brown too fast, employ the aluminum foil shield technique halfway through baking to protect them.
Thin, rolled-out sugar cookies are particularly susceptible to burnt edges because of their high sugar content and minimal thickness. Their delicate nature means they cook very quickly, and the edges can go from perfectly golden to burnt in a matter of seconds, especially when exposed to intense heat from lower baking racks.
For sugar cookies, using parchment paper or a silicone mat is almost non-negotiable to prevent sticking and provide a heat buffer. Bake them on the middle rack and watch them like a hawk starting around the minimum baking time specified in the recipe. Look for just a hint of golden color around the very edge. If using cookie cutters, ensure the thickness is uniform across the sheet.
Oatmeal cookies often have a chewier texture, and the goal is usually a soft center with slightly crispy edges. However, the edges can easily become too hard or burnt. The texture provided by the oats can sometimes lead to less uniform heat absorption compared to smoother doughs.
Ensure your oatmeal cookie dough is portioned evenly. Using a light-colored or insulated baking sheet is beneficial. If you want slightly crispier edges but fear burning, consider baking on the middle rack and using parchment paper. Monitor closely and remove the cookies when the edges look set and lightly golden, even if the center still looks quite soft, as they will firm up upon cooling.
Advanced Baking Techniques
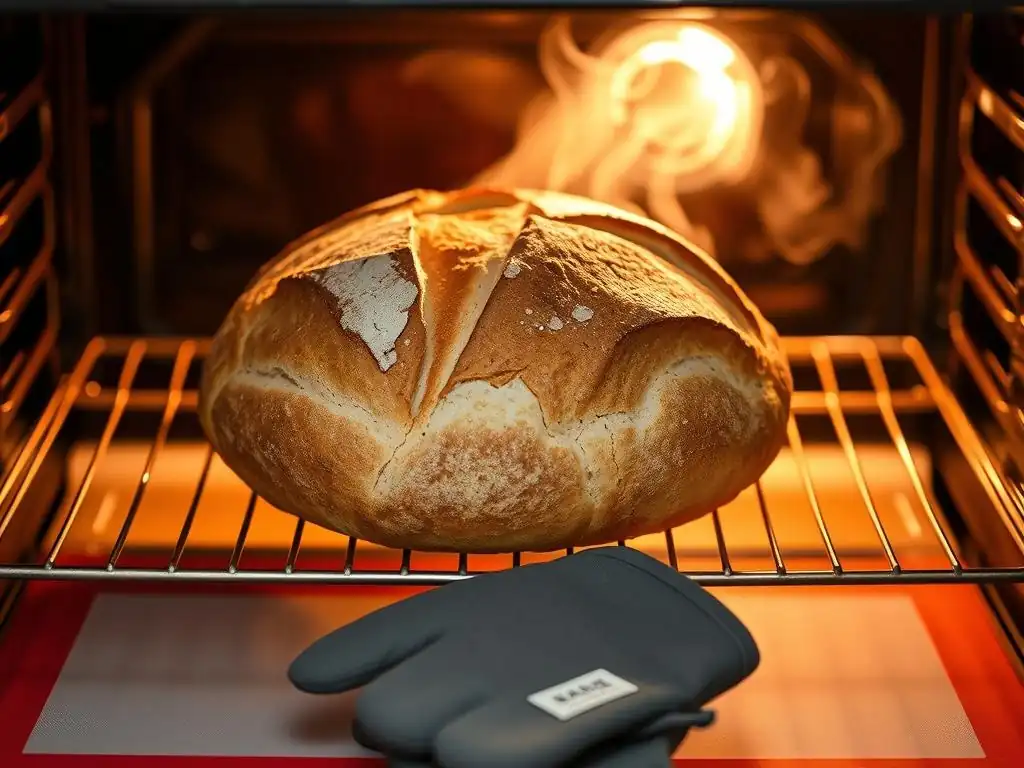
Convection Baking Adjustments
Convection ovens use a fan to circulate hot air, resulting in more even heat distribution and faster cooking times compared to conventional ovens. While this can be great for baking multiple sheets at once, the circulating hot air can sometimes intensify browning on the edges of cookies.
When using convection for cookies, it's generally recommended to lower the oven temperature by about 25°F (about 14°C) and/or reduce the baking time by 15-20%. For example, if a recipe calls for 350°F (175°C) conventional, you might try 325°F (160°C) convection. Always start checking for doneness earlier than the conventional recipe suggests. Convection can help prevent burnt edges baking racks might otherwise cause by providing more uniform heat, but the increased airflow requires temperature and time adjustments.
Dutch Oven Baking
Dutch oven baking is primarily associated with baking bread, where the heavy cast iron pot creates a steamy environment and helps manage heat distribution for a perfect crust and rise. It is not a typical method for baking cookies.
While the principle of using a heavy vessel to regulate heat could theoretically apply, the size, shape, and goals of cookie baking are fundamentally different from bread. Cookies are baked on flat sheets to spread and crisp, whereas a Dutch oven is a contained pot. Therefore, Dutch oven baking is not a relevant technique for preventing burnt edges on cookies.
Summary: Preventing Burnt Edges
Achieving Baking Success
Preventing burnt edges baking racks, oven hot spots, and cookie types can cause requires a multi-faceted approach. Understanding your oven's quirks, particularly its true temperature and how heat distributes on different racks, is fundamental. Utilizing the middle rack position whenever possible is a primary strategy to avoid the intense radiant heat from the bottom element.
Beyond rack placement, selecting the right baking sheet (light-colored, heavy-gauge, or insulated), properly preparing it with parchment paper or a silicone mat, and adjusting oven temperature and baking time downwards can significantly reduce the risk of scorching. Learning to read visual cues for doneness is paramount, and techniques like rotating the pan or using aluminum foil shields provide targeted protection. By combining these strategies, you can master the art of preventing burnt edges baking racks and other factors might otherwise spoil, leading to consistently delicious, perfectly baked cookies every time.
Frequently Asked Questions
How can using a lower rack contribute to burnt edges in baking?
Baking on a lower rack places your baked goods closer to the heating element, leading to excessive bottom heat that can cause edges to burn before the center is cooked.
What's the "oven temperature trick" BakeWithEase recommends to prevent burnt edges?
Lowering your oven temperature by 25 degrees Fahrenheit helps to ensure the entire baked good cooks evenly, reducing the risk of burnt edges on the bottom.
Does the type of baking pan affect the likelihood of burnt edges?
Yes! Dark metal pans absorb more heat than lighter ones, increasing the chance of burning. BakeWithEase suggests using lighter-colored pans or glass for even baking.
How does using a baking rack specifically prevent burnt edges?
While the article focuses on lower rack placement, using a baking rack in the middle of the oven promotes better air circulation around the baked goods, helping to prevent uneven heating and burning.
What other techniques besides temperature adjustment can BakeWithEase suggest to prevent burnt edges?
BakeWithEase recommends using parchment paper to create a barrier between the pan and the baked good, or employing a heat shield to deflect direct heat from the bottom of the oven.
Final Reflection: Embracing the Art of Baking Without Burnt Edges
In the world of baking, the delicate balance between achieving the perfect texture and avoiding burnt edges is a challenge that resonates with both novice and seasoned bakers alike. Today, as more people turn to baking as a source of joy and creativity, understanding how to prevent burnt edges on lower racks becomes increasingly relevant. The art of baking is not just about following a recipe; it’s about mastering the nuances that lead to delightful outcomes.
The journey of baking is a reflection of our personal growth and resilience, where every burnt edge teaches us a lesson in patience and precision. As we navigate through the complexities of baking, we find ourselves not only honing our culinary skills but also fostering a deeper connection with the process. Baking is both an art and a science; it requires patience, precision, and a willingness to learn from mistakes.
This ongoing influence of baking in our lives encourages us to embrace imperfections and strive for improvement, reminding us that every setback can lead to a sweeter success.
As you step into your kitchen, I invite you to reflect on your own baking experiences and the lessons they impart. Consider how you can apply these tips to prevent burnt edges and elevate your baking game. Let each bake be an opportunity to explore, experiment, and enjoy the process, transforming your kitchen into a space of creativity and discovery. Remember, the journey is just as important as the destination, and with each loaf, cake, or cookie, you are crafting not just food, but memories and moments of joy.
Unlock Perfectly Even Baking: No More Burnt Edges!
Thanks for taking the time to learn how to conquer those pesky burnt edges! You're now equipped with the knowledge to bake flawlessly, even on lower oven racks. Ready to put your new skills to the test?
- Bake a masterpiece today! Try your favorite recipe again, focusing on the rack placement and temperature adjustments we discussed. Notice the difference!
- Share your baking triumph! Snap a photo of your perfectly baked creation and show us your results on social media using #BakeWithEaseNoBurn.
- Explore our other baking tips—we've got plenty more tricks up our sleeves to help you become a baking pro!
What creative baking adventure will you embark on next?