
Frozen Dough Rescue: Tweaking Bake Times and Temps for ReadyMade Treats

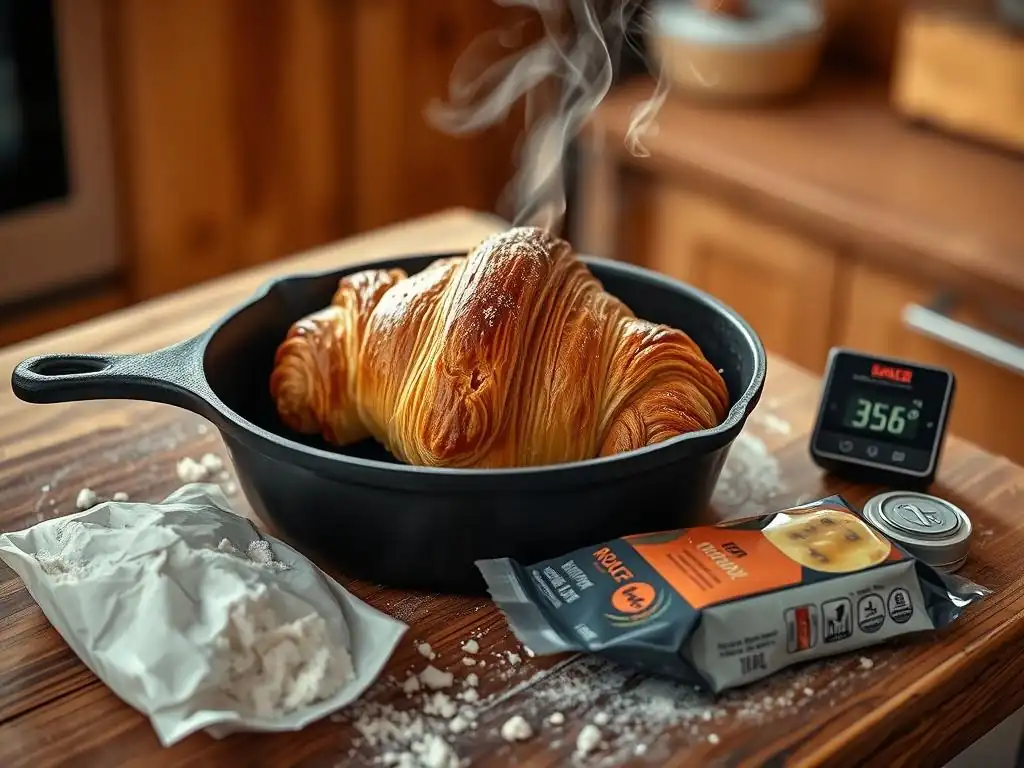
Welcome to BakeWithEase, your kitchen companion for unlocking delicious possibilities! Ever wondered if you're truly getting the most out of that convenient frozen dough in your freezer? This week, we're diving into the often-mysterious world of frozen dough baking times. Discover how to tweak your oven settings and baking durations to achieve perfectly golden, bakery-worthy results, even when starting with pre-made dough. Get ready to transform convenience into culinary confidence!
Welcome, fellow bakers! We all love the convenience of frozen dough. It's a fantastic shortcut to delicious homemade goodies without the hassle of mixing, kneading, or proofing from scratch. But sometimes, pulling that perfectly golden loaf or batch of cookies from the oven feels like a gamble. The key to success often lies in understanding and adjusting the frozen dough baking times and temperatures. Let's dive in and unlock the secrets to perfectly baked frozen treats!
- Understanding Frozen Dough Baking Times and Temperatures
- Troubleshooting Common Frozen Dough Baking Problems
- Optimizing Baking Temperatures for Different Frozen Dough Types
- Tips for Perfecting Your Frozen Dough Baking Technique
- Mastering Frozen Dough: Temperature and Time Chart for Common Baked Goods
- Advanced Techniques for Baking Frozen Dough
- Beyond Baking Time: Other Factors for Successful Frozen Dough
- Conclusion: Confidently Bake with Frozen Dough
- Frequently Asked Questions
- Final Reflection: Unlocking the Potential of Frozen Dough
- Unleash the Power of Your Frozen Dough!
Understanding Frozen Dough Baking Times and Temperatures
Using dough that has been frozen and then thawed (or sometimes baked directly from frozen) introduces unique challenges compared to baking fresh dough. The ice crystals formed during freezing and the lower starting temperature of the dough significantly impact how heat transfers and how the dough behaves in the oven. Ignoring these factors can lead to disappointing results.
Why Frozen Dough Needs Special Baking Considerations
Frozen dough requires special attention primarily because of its temperature and moisture content. When dough freezes, water within the dough forms ice crystals. Even after thawing, the structure can be slightly altered, and the dough is significantly colder than fresh dough when it enters the oven. This lower starting temperature means the dough needs more time to reach the point where leavening agents activate and the structure sets. Standard recipes designed for fresh dough won't account for this thermal lag, often resulting in underbaked centers or uneven cooking if not adjusted.
Furthermore, the rate at which frozen dough thaws and heats up affects gluten development and yeast activity (if it's a yeast-leavened dough). A slower, more controlled bake is often necessary to allow the center to catch up to the edges and surface.
For example, a typical fresh bread dough might bake at 400-450°F (200-230°C) for 20-30 minutes, but frozen bread dough might require a slightly lower temperature, perhaps 375-400°F (190-200°C), and a longer baking time, maybe 35-50 minutes, especially if starting from fully thawed or partially frozen. Understanding these nuances is crucial for predicting and adjusting frozen dough baking times.
Factors Affecting Frozen Dough Baking Time
Several factors influence the precise frozen dough baking times needed for a successful outcome. The most significant is whether the dough is baked from fully frozen, partially thawed, or fully thawed. Baking from frozen requires a much longer time and often a lower initial temperature to prevent the outside from burning before the inside cooks. Partially or fully thawed doughs will bake faster but still typically need more time than fresh dough.
The type and size of the dough product also play a major role. A large loaf of bread will require significantly longer frozen dough baking times than a small biscuit or cookie. The thickness of the dough is critical; thicker items take longer for heat to penetrate to the center. Additionally, the specific ingredients in the dough (e.g., high sugar content can cause faster browning) and the efficiency and accuracy of your oven can all alter the optimal baking schedule. Always consider these variables when estimating the necessary frozen dough baking times.
Troubleshooting Common Frozen Dough Baking Problems
Even with careful planning, you might encounter issues when working with frozen dough. Knowing how to diagnose and fix common problems is key to achieving consistently good results.
My Frozen Dough is Still Doughy Inside
This is a very common problem, especially with thicker items like bread loaves or rolls. It almost always indicates that the heat hasn't fully penetrated the center of the dough by the time the exterior looks done. The outer crust forms and browns, but the internal temperature hasn't reached the point required to cook the dough through and set the structure. This often happens when the oven temperature is too high, causing the outside to cook too quickly, or when the frozen dough baking time wasn't long enough.
The consequence of underbaked dough isn't just an unpleasant texture; it can also mean the yeast hasn't been killed off (in yeast doughs) or the chemical leaveners haven't fully reacted. The center will be dense, wet, and heavy. To avoid this, you need to ensure enough heat reaches the core of the dough without overcooking the exterior. This requires careful adjustment of both temperature and time, specifically tailored to the characteristics of frozen dough.
Adjusting Oven Temperature for Underbaked Frozen Dough
If you consistently find your frozen dough is underbaked inside while the outside looks perfect, your oven temperature might be too high. A common starting recommendation for many frozen doughs (especially if partially or fully thawed) is around 375°F (190°C). If you were baking at 400°F (200°C) or higher, try reducing the temperature by 25°F (15°C) in your next attempt.
Lowering the oven temperature allows the heat to penetrate the dough more gradually. This gives the center more time to cook thoroughly before the outside becomes too dark or dry. While this adjustment will naturally increase the overall frozen dough baking time, it helps ensure even cooking from edge to center. Monitor the baking progress closely, especially towards the end, to find the sweet spot for your specific oven and dough product.
Increasing Baking Time for Frozen Dough: A Gradual Approach
If lowering the temperature isn't enough, or if the outside isn't burning but the inside is still raw, you simply need to increase the frozen dough baking time. Don't just guess; add time in small increments, perhaps 5-10 minutes at a time, especially for larger items. For smaller items like rolls or cookies, even 2-3 extra minutes can make a difference.
When adding extra baking time, it's crucial to keep an eye on the dough's appearance. If the top is browning too quickly, you might need to shield it (see below). The goal is to continue baking until the internal temperature reaches the appropriate level for doneness (e.g., around 190-200°F / 88-93°C for most breads). This iterative process of adding time and checking doneness is the most reliable way to perfect the frozen dough baking times for your specific product.
The Top of My Frozen Dough is Burning
Burning tops are often a sign that the surface of the dough is exposed to too much radiant heat, usually because the oven temperature is too high or the dough is placed too close to the top heating element. While the inside may still be cooking, the exterior browns excessively and can become dry or even charred. This is particularly common with items that have a high sugar content or are baked in conventional ovens without convection.
Preventing the top from burning is essential for both appearance and texture. A burnt crust can impart bitter flavors and ruin the overall eating experience. It requires shielding the top from direct heat once it has achieved the desired level of browning, allowing the rest of the dough to finish cooking.
Reducing Oven Temperature to Prevent Burning
As mentioned when addressing underbaking, oven temperature is a critical factor. If the top of your frozen dough is burning before the inside is done, your initial temperature might be too high. For instance, if you're baking frozen cookies at 375°F (190°C) and they're burning on top after 10 minutes but still seem soft inside, try reducing the temperature to 350°F (175°C). This will increase the overall frozen dough baking time slightly but will allow the cookies to bake through more evenly before the tops become too dark.
A lower temperature slows down the rate of crust formation and browning on the surface, giving the interior more time to cook. This adjustment is particularly effective for delicate pastries or items with lots of exposed surface area. Experimenting with a 15-25°F (10-15°C) reduction is a good starting point when troubleshooting burnt tops related to frozen dough baking times.
Using Foil to Protect the Crust
A simple and effective technique to prevent the top of your frozen dough from burning is to loosely cover it with aluminum foil once it has reached the desired color. This is usually done partway through the baking process. For example, if you're baking a loaf of frozen bread that typically takes 45 minutes, you might cover it with foil after 25-30 minutes, once the crust has developed a nice golden brown hue.
The foil acts as a shield, reflecting radiant heat away from the surface. This allows the dough to continue baking and cooking through without the top getting any darker. Ensure the foil is tented slightly so it doesn't touch the dough surface, which can cause sticking or steaming. This method is invaluable for achieving perfect frozen dough baking times while maintaining a beautiful crust.
Frozen Dough Isn't Rising Properly
Poor rise in yeast-leavened frozen dough can be frustrating. It often results in dense, heavy baked goods. Several factors can contribute to this, including issues with the yeast's viability after freezing, improper thawing, or incorrect baking conditions that kill the yeast too quickly or don't allow sufficient oven spring.
Understanding the role of yeast and temperature is key to getting a good rise from frozen dough. Yeast is a living organism, and while it survives freezing, some cells may die. More importantly, yeast needs warmth and moisture to become active and produce the gas that makes dough rise.
Ensuring Proper Thawing for Optimal Rise
For most yeast-leavened frozen doughs, proper thawing and proofing are absolutely critical for a good rise. Baking directly from frozen often results in minimal rise, as the dough is too cold for the yeast to become active quickly enough to produce significant gas before the structure sets in the heat of the oven. Most manufacturers recommend thawing frozen dough in the refrigerator overnight (typically 8-12 hours) or at room temperature for a few hours until it's pliable.
After thawing, the dough usually needs a period of proofing (rising) in a warm, humid place (around 75-85°F / 24-30°C) until it has doubled in size. This allows the yeast to wake up and produce carbon dioxide. Skipping or rushing this step will severely limit the final volume of your baked product, regardless of the frozen dough baking times used. Ensure your dough is fully thawed and adequately proofed according to package instructions before it ever sees the inside of the oven.
Adjusting Baking Temperature for a Better Rise
While thawing and proofing are paramount, the initial oven temperature can also impact oven spring (the final burst of rising that occurs in the first few minutes of baking). If the oven temperature is too low, the crust can set prematurely, preventing the dough from expanding fully. If it's too high, the yeast can be killed too quickly, limiting the final rise.
A common technique for achieving good oven spring with yeast doughs, including frozen varieties, is to start with a relatively high temperature for the first 10-15 minutes (e.g., 400-425°F / 200-220°C) before reducing it to the temperature required for the remainder of the frozen dough baking time. This initial high heat provides a strong burst of energy that encourages rapid expansion before the crust hardens. However, this needs to be balanced with the risk of burning the top, so careful monitoring is essential.
Optimizing Baking Temperatures for Different Frozen Dough Types
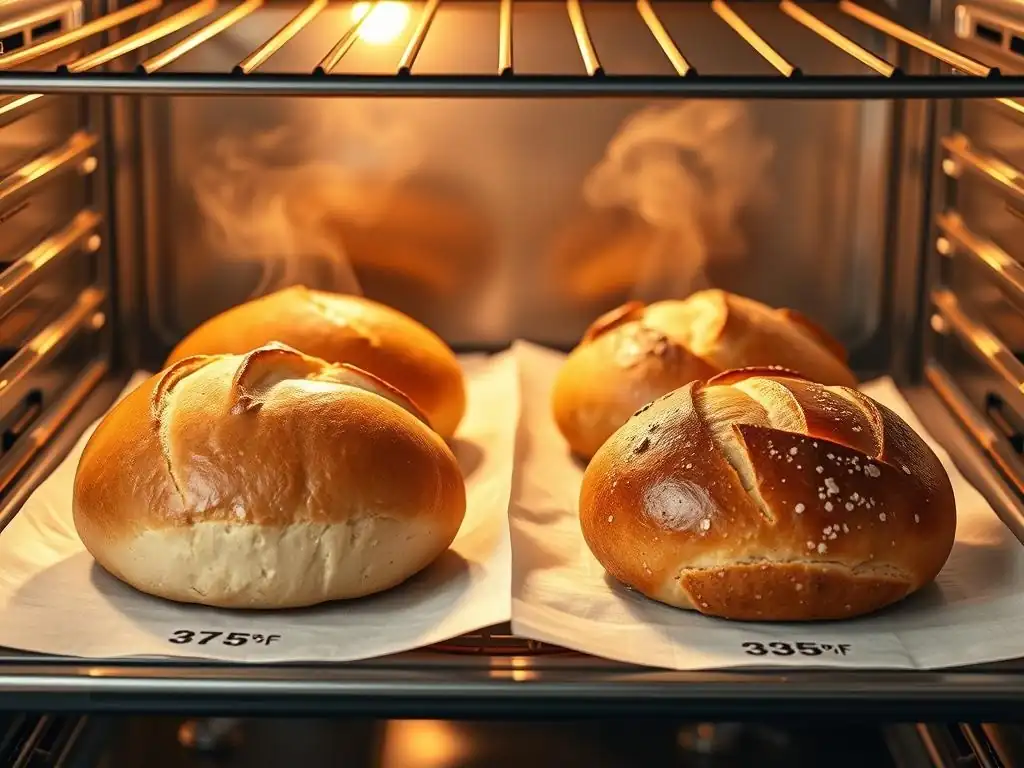
Not all frozen doughs are created equal, and their ideal baking temperatures and frozen dough baking times vary significantly based on their composition and intended use.
Baking Frozen Bread Dough: Time and Temperature Guide
Frozen bread dough, whether for loaves, rolls, or pizza crust, typically requires a moderate oven temperature and a relatively long frozen dough baking time. Assuming the dough is fully thawed and proofed, a common temperature range is 375-400°F (190-200°C). Baking time will vary dramatically by size. Small rolls might take 20-30 minutes, while a standard 1-pound loaf could require 35-50 minutes.
For baking frozen bread dough directly from frozen (less common but possible for some types), you might start at a lower temperature, perhaps 325-350°F (160-175°C), for the first 20-30 minutes to allow the center to thaw and warm up, then increase the temperature to 375-400°F (190-200°C) to finish baking and develop the crust. Total frozen dough baking time from frozen can easily exceed 60-75 minutes for a loaf. Always bake until the internal temperature reaches 190-200°F (88-93°C) for a fully cooked loaf.
Baking Frozen Pizza Dough: Achieving a Crispy Crust
Frozen pizza dough is often baked at higher temperatures than bread loaves to achieve a crispy crust quickly. If fully thawed, you can often bake frozen pizza dough at temperatures ranging from 400°F (200°C) up to 500°F (260°C) or even higher if using a pizza stone or steel in a very hot oven. The frozen dough baking time for pizza is typically much shorter, often just 10-20 minutes, depending on the thickness of the crust and the amount of toppings.
For baking frozen pizza dough directly from frozen, it's best to par-bake the crust first. Bake the frozen crust on a preheated pizza stone or baking sheet at around 400°F (200°C) for 8-12 minutes, or until it's lightly golden and firm. Then add toppings and return it to the oven to finish baking for another 10-15 minutes. This two-step process ensures the center is cooked through before the toppings burn, giving you optimal frozen dough baking times for a crispy result.
Frozen cookie dough is usually baked directly from frozen, which helps prevent excessive spreading. Cookies typically bake at moderate temperatures, commonly 350-375°F (175-190°C). The frozen dough baking time is relatively short, often 10-15 minutes, depending on the size and thickness of the cookies and your desired level of doneness (chewy vs. crispy).
Because frozen cookies start colder, they might require 2-4 minutes longer than the same dough baked from chilled. It's crucial to watch them closely, especially towards the end of the frozen dough baking time. Cookies can go from perfectly golden to burnt very quickly. Look for the edges to be set and lightly browned, while the centers may still appear slightly soft. They will continue to set as they cool on the baking sheet for a few minutes after coming out of the oven.
Baking Frozen Pastry Dough: Ensuring Flaky Perfection
Frozen pastry dough, such as puff pastry, pie crusts, or phyllo, relies on layers of butter or fat to create flakiness. These doughs are typically baked at relatively high temperatures to create steam quickly, which forces the layers apart. Common temperatures range from 375-425°F (190-220°C). The frozen dough baking time varies greatly depending on the application – a pie crust might take 15-20 minutes for a blind bake or 35-50 minutes filled, while small puff pastry appetizers might only need 15-25 minutes.
For best results with frozen pastry dough, it's usually baked from either fully thawed and chilled or sometimes directly from frozen for certain applications like strudels. Ensure the oven is fully preheated. Baking at too low a temperature will cause the fat to melt out before the structure sets, resulting in a greasy, heavy pastry instead of a light, flaky one. Pay close attention to the frozen dough baking time to ensure the layers are fully cooked and crispy, not dense or doughy.
Tips for Perfecting Your Frozen Dough Baking Technique
Achieving perfect results with frozen dough goes beyond just setting the right temperature and time. A few key techniques can significantly improve your success rate.
The Importance of Accurate Oven Temperature
One of the most overlooked factors in baking success, especially with frozen dough baking times, is the accuracy of your oven's thermostat. Many home ovens can be off by as much as 25-50°F (15-30°C) from the set temperature. If your oven runs hot, your dough might burn before it's cooked through. If it runs cool, you'll likely end up with underbaked results or significantly longer frozen dough baking times than expected.
- Consider purchasing an inexpensive oven thermometer to verify your oven's actual temperature.
- Preheat your oven for at least 20-30 minutes to ensure it reaches and stabilizes at the desired temperature, especially when working with frozen dough.
Using a Baking Stone or Baking Sheet for Even Heat Distribution
The surface you bake on significantly impacts heat transfer to the bottom of your frozen dough.
- Baking Stones/Steels: These are excellent for items like bread and pizza, providing intense, even heat from below. Preheating a stone or steel in the oven for 30-60 minutes before placing the dough on it helps achieve a crisp bottom crust and good oven spring. This consistent heat source can help standardize frozen dough baking times.
- Baking Sheets: Standard metal baking sheets are versatile but can sometimes lead to uneven browning, especially if they are dark or warped. Using parchment paper or a silicone baking mat on the sheet can help prevent sticking and promote more even heat distribution. For frozen cookies or pastries, a reliable baking sheet is usually sufficient.
Monitoring Internal Temperature for Doneness
For items like bread or thicker pastries, relying solely on visual cues can be misleading. The outside might look done, but the inside could still be underbaked. The most accurate way to determine if dough is fully cooked is to check its internal temperature using an instant-read thermometer.
- For most yeast breads, the internal temperature should reach 190-200°F (88-93°C).
- For enriched breads (with eggs, butter, sugar), it might be slightly higher, around 200-210°F (93-99°C).
- For items like muffins or cakes made from frozen batter (a type of frozen dough product), a toothpick inserted into the center should come out clean.
Knowing the target internal temperature takes the guesswork out of determining the precise frozen dough baking times.
Mastering Frozen Dough: Temperature and Time Chart for Common Baked Goods
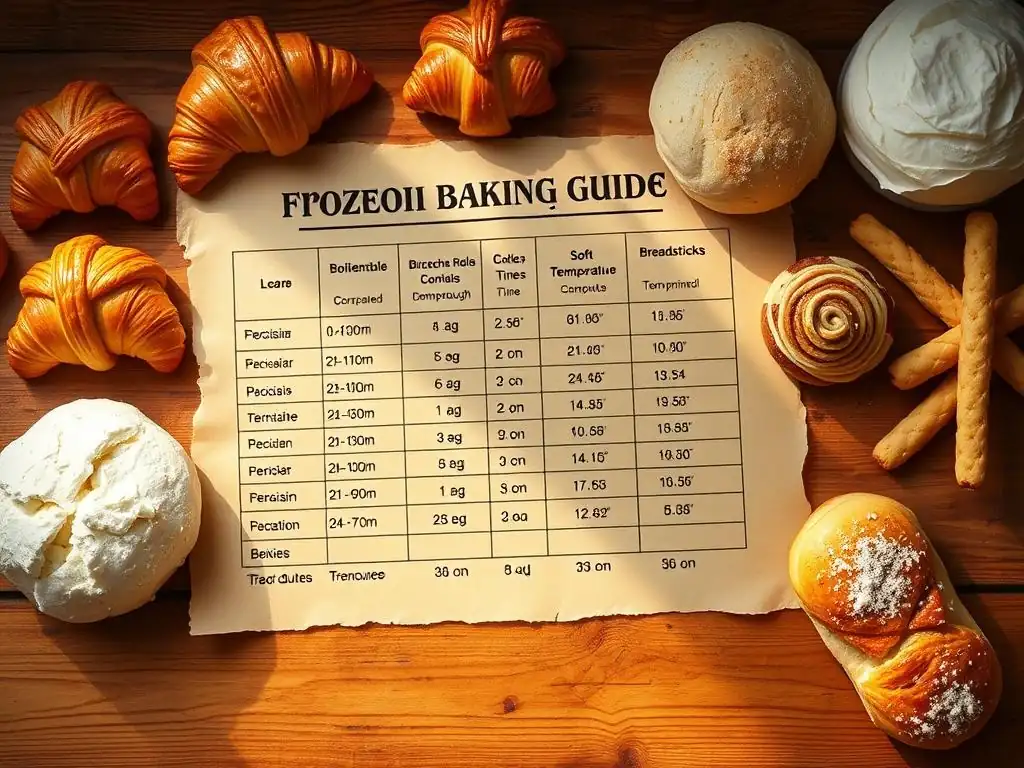
Here are some approximate starting points for frozen dough baking times and temperatures for common types of frozen dough. Remember, these are guidelines; actual times may vary based on your oven, the specific product, and whether the dough is thawed or frozen.
Frozen Bread Dough Baking Chart
(Assumes standard loaf or roll size, fully thawed and proofed unless noted)
- Small Rolls (approx. 2-3 oz):
- Temp: 375-400°F (190-200°C)
- Time: 20-30 minutes
- Internal Temp: 190-200°F (88-93°C)
- Standard Loaf (approx. 1 lb):
- Temp: 375-400°F (190-200°C)
- Time: 35-50 minutes
- Internal Temp: 190-200°F (88-93°C)
- Loaf (Baked from Frozen):
- Temp: Start at 325-350°F (160-175°C) for 20-30 min, then increase to 375-400°F (190-200°C)
- Time: 60-75+ minutes total
- Internal Temp: 190-200°F (88-93°C)
Frozen Pizza Dough Baking Chart
(Assumes standard crust thickness, fully thawed unless noted)
- Thin Crust:
- Temp: 450-500°F (230-260°C)
- Time: 10-15 minutes
- Result: Crispy crust
- Regular Crust:
- Temp: 400-450°F (200-230°C)
- Time: 15-20 minutes
- Result: Golden, cooked crust
- Baked from Frozen (Par-bake method):
- Par-bake: 400°F (200°C) for 8-12 minutes
- With Toppings: 400°F (200°C) for another 10-15 minutes
- Result: Cooked through crust before toppings burn
(Assumes standard drop cookie size, baked from frozen)
- Standard Cookies:
- Temp: 350-375°F (175-190°C)
- Time: 10-15 minutes
- Doneness: Edges set, centers may look soft
Frozen Pastry Dough Baking Chart
(Assumes dough is fully thawed and chilled unless noted)
- Pie Crust (Blind Bake):
- Temp: 375-400°F (190-200°C)
- Time: 15-20 minutes (with weights), then 10-15 minutes (without weights)
- Result: Golden, flaky crust
- Pie Crust (Filled):
- Temp: 375-425°F (190-220°C) (often start higher, then reduce)
- Time: 35-50 minutes
- Result: Crust golden, filling cooked (check specific recipe)
- Puff Pastry Appetizers:
- Temp: 400-425°F (200-220°C)
- Time: 15-25 minutes
- Result: Puffed, golden, flaky layers
Advanced Techniques for Baking Frozen Dough
For those looking to take their frozen dough game to the next level, a few advanced techniques can yield even better results, particularly with bread.
The "Cold Start" Method for Certain Frozen Doughs
While often counter-intuitive for baking, a "cold start" can work for certain types of frozen dough, particularly some rustic breads or pastries baked directly from frozen. In this method, the frozen dough is placed in a cold oven, and then the oven is turned on to the desired temperature.
The idea behind the cold start is that as the oven gradually heats up, the dough also thaws and warms up slowly. This can help prevent the outside from cooking too quickly while the inside is still frozen solid. It can sometimes result in a more even bake. However, this method significantly increases the overall frozen dough baking time and may not be suitable for all types of frozen dough, especially those requiring rapid oven spring. It's best to research if this method is recommended for the specific frozen product you are using.
Using a Dutch Oven for Frozen Bread Baking
Baking bread, including frozen loaves (after proper thawing and proofing), in a preheated Dutch oven is a popular technique that mimics professional bakery ovens. The sealed environment traps steam released from the dough as it bakes.
- Preheat the Dutch oven with the lid on in your oven at the target temperature (e.g., 425-450°F / 220-230°C) for 30-60 minutes.
- Carefully place the thawed and proofed frozen bread dough inside the hot Dutch oven. Score the top if desired.
- Bake with the lid on for the first 20-30 minutes. This traps steam, promoting excellent oven spring and a thin, crispy crust.
- Remove the lid and continue baking for another 20-30 minutes, or until the crust is deeply golden brown and the internal temperature reaches 190-200°F (88-93°C).
This method helps regulate the environment around the dough, leading to more consistent results and often superior crust development, even when working with variable frozen dough baking times.
Adding Steam for a Crustier Loaf from Frozen
Creating a steamy environment in your oven during the initial phase of baking is crucial for developing a beautiful, crisp crust on yeast breads, including those made from frozen dough. Steam keeps the surface of the dough moist and elastic longer, allowing it to expand fully during oven spring before the crust sets.
Besides the Dutch oven method, you can create steam by:
- Placing a cast iron pan or oven-safe container on the bottom rack of your oven while it preheats. Just before putting the dough in, carefully pour about a cup of hot water into the hot pan (be cautious of the steam! ).
- Using a spray bottle to spritz the walls of the oven with water a few times during the first 10 minutes of baking.
This technique, combined with careful attention to frozen dough baking times and temperatures, helps transform thawed frozen bread dough into bakery-quality loaves with impressive crusts.
Beyond Baking Time: Other Factors for Successful Frozen Dough
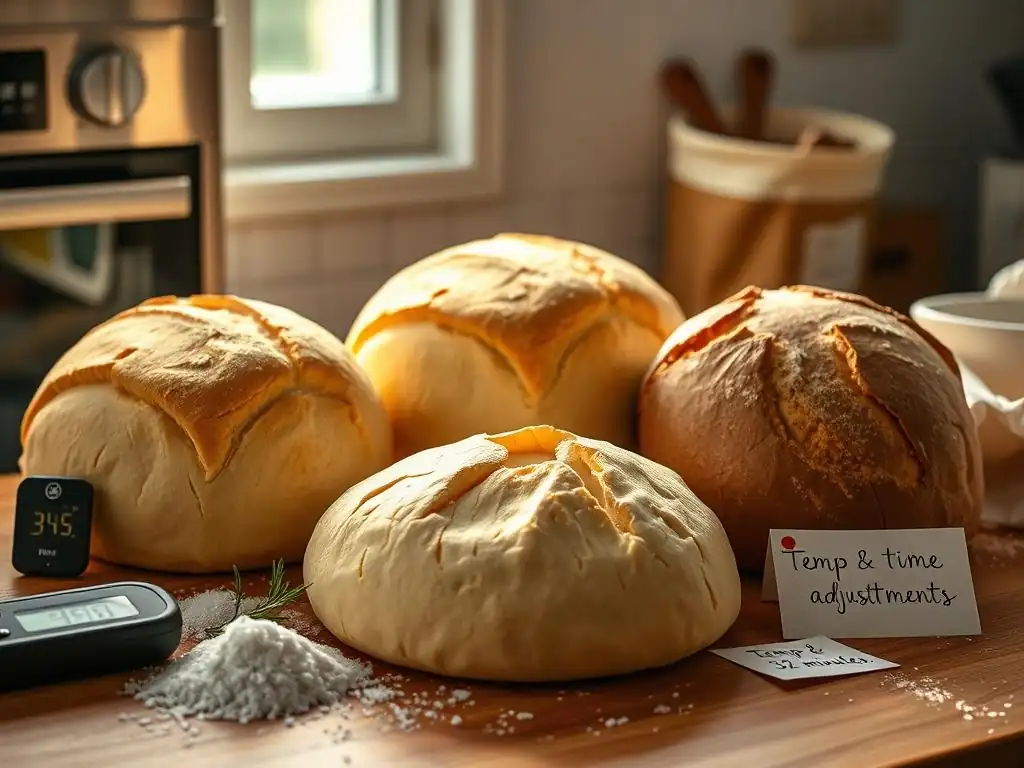
While temperature and frozen dough baking times are central, other aspects of handling frozen dough are equally important for a successful bake.
The Critical Role of Proper Thawing Methods
As highlighted earlier, how you thaw your frozen dough significantly impacts its performance in the oven, especially for yeast doughs. Improper or rushed thawing can damage the dough structure and yeast cells, leading to poor rise and a dense texture.
- Refrigerator Thawing: This is the recommended method for most yeast doughs. It's slow and gentle (8-12 hours or overnight for a loaf), preserving the dough's quality and yeast viability. After thawing, the dough will likely need a period of proofing at room temperature.
- Room Temperature Thawing: Faster (2-4 hours), but carries a higher risk if the room is too warm, potentially leading to over-proofing or uneven thawing. Monitor closely.
- Microwave Thawing: Generally NOT recommended for dough, as it can partially cook the dough or create hot spots, damaging the gluten structure and killing the yeast.
Always follow the manufacturer's instructions for thawing, as it's a foundational step that affects everything, including the required frozen dough baking times.
Choosing the Right Frozen Dough for Your Baking Needs
The quality and type of frozen dough you start with will set the baseline for your results. Different brands and types of frozen dough are formulated for specific applications.
- Some frozen doughs are designed to be baked directly from frozen (like many cookie doughs or some pastries).
- Others explicitly require thawing and proofing (like most frozen bread doughs).
Read the packaging carefully. Choosing a dough appropriate for your intended use and following its specific instructions will simplify the process and make finding the optimal frozen dough baking times much easier.
Storing Baked Goods Made from Frozen Dough Properly
Once you've successfully baked your frozen dough creation, proper storage is key to maintaining its freshness and texture.
- Bread: Allow loaves or rolls to cool completely on a wire rack before storing. Store at room temperature in a bread box, paper bag, or loosely wrapped in plastic or cloth. Avoid refrigerating bread, as it can make it stale faster. It typically stays fresh for 2-4 days.
- Cookies: Store cooled cookies in an airtight container at room temperature. They usually stay fresh for 3-5 days. For longer storage, freeze baked cookies in a single layer before transferring to a freezer bag or container.
- Pastries: Storage depends on the type. Croissants or danishes are best eaten the day they are baked for maximum flakiness. Others, like turnovers or hand pies, can be stored at room temperature in an airtight container for a day or two, or refrigerated if they have moist fillings.
Knowing how to store your delicious results ensures you can enjoy the fruits of your labor, perfected through careful attention to frozen dough baking times and techniques.
Conclusion: Confidently Bake with Frozen Dough
Mastering frozen dough baking times and temperatures is an achievable skill that opens up a world of convenient baking possibilities. By understanding the unique properties of frozen dough, troubleshooting common issues with smart adjustments, and employing effective techniques, you can consistently produce delicious baked goods from ready-made dough. Don't be afraid to experiment slightly based on your oven and the specific product – baking is often about learning through practice. With these tips and guidelines, you're well-equipped to rescue that frozen dough and turn it into a perfectly baked treat!
Frequently Asked Questions
How do I adjust baking times when using frozen dough?
Frozen dough generally requires longer baking times than fresh dough. Typically, you'll need to add approximately 10-20% more time. Always check for a golden-brown color and an internal temperature that matches the recipe's instructions.
Can I bake frozen dough directly from the freezer?
Yes, most frozen dough can be baked directly from the freezer. However, it's crucial to follow recipe instructions regarding whether to proof the dough before baking. Some require proofing, while others don't.
What temperature should I use when baking frozen dough?
Follow the original recipe's temperature, but monitor closely. Since the dough starts frozen, it may take longer to reach the internal temperature, potentially leading to uneven browning. Adjust accordingly if needed.
How do I know when frozen dough is fully baked?
Use a thermometer to check the internal temperature. For breads, aim for 190-210°F (88-99°C). Also, look for a golden-brown crust and a firm texture when tapped.
What are some common mistakes to avoid when baking frozen dough?
Avoid over-browning the outside while the inside remains doughy. Ensure the dough is fully thawed (if the recipe requires it) and adjust baking times carefully. Also, resist the urge to open the oven frequently, as this can affect baking temperature.
Final Reflection: Unlocking the Potential of Frozen Dough
The quest for perfectly baked goods from frozen dough is far more than just a matter of convenience; it's a testament to our ability to adapt and overcome culinary challenges. Mastering the art of adjusting bake times and temperatures allows us to enjoy delicious, homemade treats without sacrificing precious time, proving that even seemingly simple recipes hold a wealth of hidden potential.
The impact of readily available frozen dough on our modern lifestyles is undeniable. It has democratized baking, making it accessible to those with limited time or experience. Baking should be a joy, not a chore,
a sentiment echoed by countless home bakers. This accessibility, however, comes with its own set of hurdles, primarily the need to understand how pre-frozen ingredients react differently to heat. This article aimed to bridge that gap, empowering readers to confidently navigate the nuances of frozen dough baking and achieve consistently excellent results.
Now, it's your turn. Consider the frozen dough you have in your freezer – those croissants, pizza crusts, or even cookie dough waiting for their moment to shine. Don't let the fear of imperfect results hold you back. Experiment with the techniques outlined in this article, adjust the baking times and temperatures based on your oven and the specific product, and embrace the journey of transforming frozen potential into delicious reality. The reward? The satisfaction of a perfectly baked treat, made with your own hands, and the newfound confidence to tackle any baking challenge that comes your way.
Unleash the Power of Your Frozen Dough!
Thanks for taking the time to learn how to perfect those frozen dough treats! You've now got the know-how to transform store-bought dough into delicious, homemade goodness. Ready to put your new skills to the test?
- Bake a batch today! Experiment with your favorite frozen dough and see how adjusting the bake time and temperature impacts the final result. Note your findings – you might discover your new signature recipe!
- Share your baking triumphs (and challenges!) Let us know in the comments how your frozen dough experiment went. We love to hear from our BakeWithEase community!
- Consider trying a completely new type of frozen dough – maybe that croissant dough you've been eyeing? This is your chance to step outside your comfort zone!
What unexpected flavor combination will you try with your perfectly baked frozen dough creation?