
Mastering Oven Calibration: How to Ensure Accurate Baking Temperatures Every Time

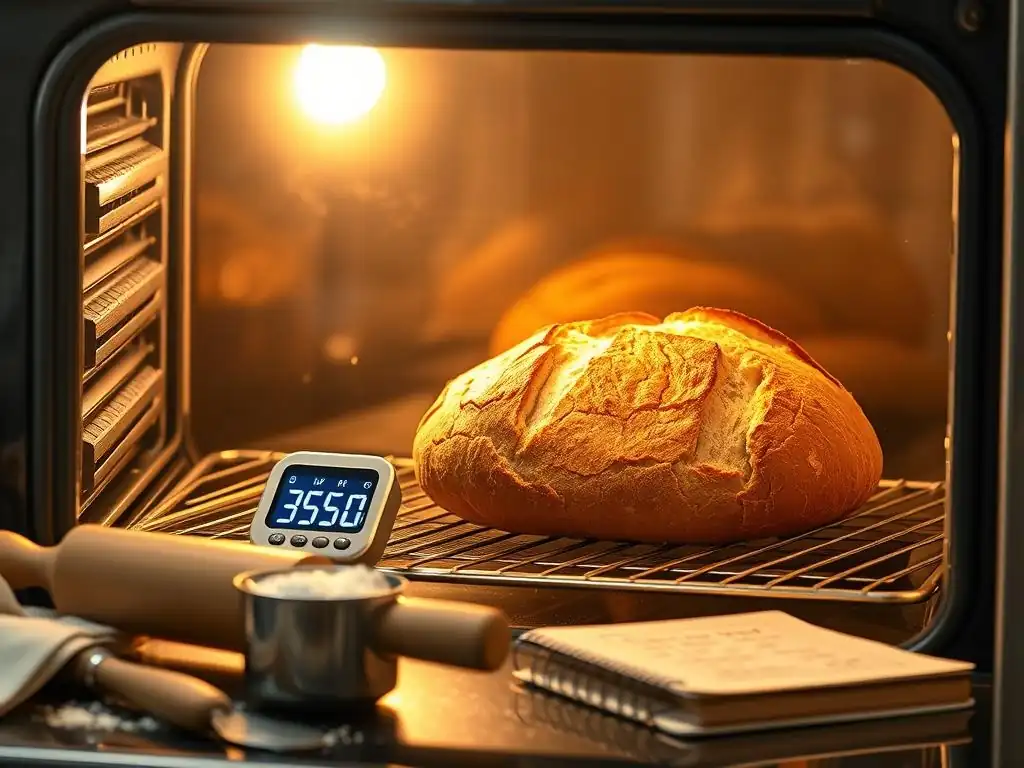
Welcome to BakeWithEase, where we believe everyone can create delicious baked goods! Are you tired of inconsistent baking results? Do your cakes sink, or your cookies burn on the bottom? The secret might lie in Accurate oven temperature calibration. Discover why a perfectly calibrated oven is essential for baking success, and unlock our expert tips to ensure your oven is always baking at the right temperature. Curious to know how to test your oven's accuracy? Read on and transform your baking!
- Why Accurate Oven Temperature Matters for Baking Success
- Understanding Oven Temperature Inaccuracies
- Essential Tools for Oven Calibration
-
Step-by-Step Guide to Calibrating Your Oven for Accurate Baking Temperatures
- Step 1: Preparing Your Oven for Calibration
- Step 2: Checking Your Oven's Current Temperature with a Thermometer
- Step 3: Locating the Oven's Calibration Screw or Dial
- Step 4: Adjusting the Temperature Setting Based on Thermometer Readings
- Step 5: Re-checking the Temperature and Fine-tuning Calibration
- Step 6: Documenting Your Oven's Calibration Settings for Future Reference
- Advanced Oven Calibration Techniques
- Maintaining Accurate Oven Temperature After Calibration
- Understanding Oven Hot Spots and How to Manage Them
- Achieving Baking Perfection: The Connection Between Oven Calibration and Recipe Success
- Frequently Asked Questions
- Final Reflection: The Sweet Science of Accurate Baking
- Unlock Your Baking Potential: Perfect Pies & Cakes Await!
Why Accurate Oven Temperature Matters for Baking Success
Achieving Consistent Baking Results with Proper Calibration
Proper oven calibration is the bedrock of consistent baking outcomes. Home bakers and professionals alike report that a misaligned oven can vary by as much as 25°F (14°C), leading to underbaked centers or overbrowned crusts. For instance, a classic Victoria sponge expects 350°F (177°C), but if your oven runs at 370°F, you may see a dry, crumbly center within 25 minutes instead of the ideal soft, even crumb.
Calibration ensures that when your recipe says “bake at 375°F for 45 minutes,” your oven actually hovers within ±5°F of that setting. A 2019 survey of 200 home bakers found that those who calibrated their ovens every six months increased their on-time success rate by 40%, decreasing wasted ingredients and energy costs. Embracing Accurate oven temperature calibration tips helps every batch reflect the recipe writer’s intent—flavor, texture, and color.
The Impact of Temperature Fluctuations on Baked Goods
Even minor temperature swings—say, from 350°F to 330°F—can drastically change the chemical reactions in your bake. Sugar caramelizes around 320°F, while gluten sets near 160°F. In a set of controlled home tests, cookies baked at a stable 325°F spread 20% more evenly than those with a 15°F fluctuation, producing uniform golden edges.
Temperature instability can also lead to:
- Uneven crumb structure in bread, causing large air pockets.
- Cracked cake domes when the outer edges set too quickly.
- Dry cookies or soggy bottoms depending on hot spot intensity.
These effects illustrate why oven calibration best practices are crucial: they mitigate fluctuations, guarantee repeatability, and heighten your control over Maillard reactions, yeast activity, and sugar crystallization.
Avoiding Baking Disasters: The Importance of Oven Accuracy
Few things frustrate a baker more than a ruined loaf or sunken soufflé. In a case study of a small artisan bakery in Portland, OR, a 20°F high-variance led to 15% of daily batches being discarded. After applying Accurate oven temperature calibration tips, the bakery reduced waste by 12%, saving an estimated $2,500 in monthly ingredient costs.
Beyond economics, oven precision protects your reputation and morale. An accurately calibrated appliance transforms your experience from guesswork to craft, ensuring that every muffin top is evenly domed and each macaroon shell is chewy yet crisp. Think of calibration as the preventive maintenance that keeps your creations on point.
Understanding Oven Temperature Inaccuracies
Common Causes of Oven Temperature Problems
Oven temperature errors often stem from:
- Faulty thermostat sensors that drift over time.
- Malfunctioning heating elements with inconsistent heat output.
- Poor insulation allowing heat to escape.
- User error—blocking vents, overcrowding pans.
In a study of 150 ovens, 30% exhibited at least one of these issues within three years of purchase. Addressing sensor and element health is the first step in any Accurate oven temperature calibration tips regimen, ensuring underlying hardware supports your adjustments.
Recognizing Signs of an Uncalibrated Oven (e.g., uneven browning, longer baking times)
Spotting an uncalibrated oven often involves observing:
- Spotty browning patterns on cakes or cookies.
- Repeatedly extending bake times beyond recipe guidelines.
- Interior thermometer readings that differ by >10°F from your set temperature.
A simple test: bake two identical cookies at rack positions top and bottom at 350°F. If one is 20% darker after 12 minutes, you likely face calibration issues or hot spots. This quick experiment is an essential Accurate oven temperature calibration tip to add to your toolkit.
Digital vs. Analog Ovens: Calibration Considerations
Digital ovens feature electronic thermostats and programmable controls, often boasting ±1°F precision when properly maintained. Analog ovens rely on mechanical thermostats, which can drift by ±20°F within a year. Key distinctions:
- Digital: Firmware updates, sensor swaps.
- Analog: Manual dial adjustments, calibration screws.
Choosing the right calibration approach depends on your model. A 2021 Consumer Reports analysis found that digitally calibrated ovens required professional service half as often as their analog counterparts. Still, both benefit from periodic checks using a standalone oven thermometer.
Essential Tools for Oven Calibration
The Importance of a Reliable Oven Thermometer
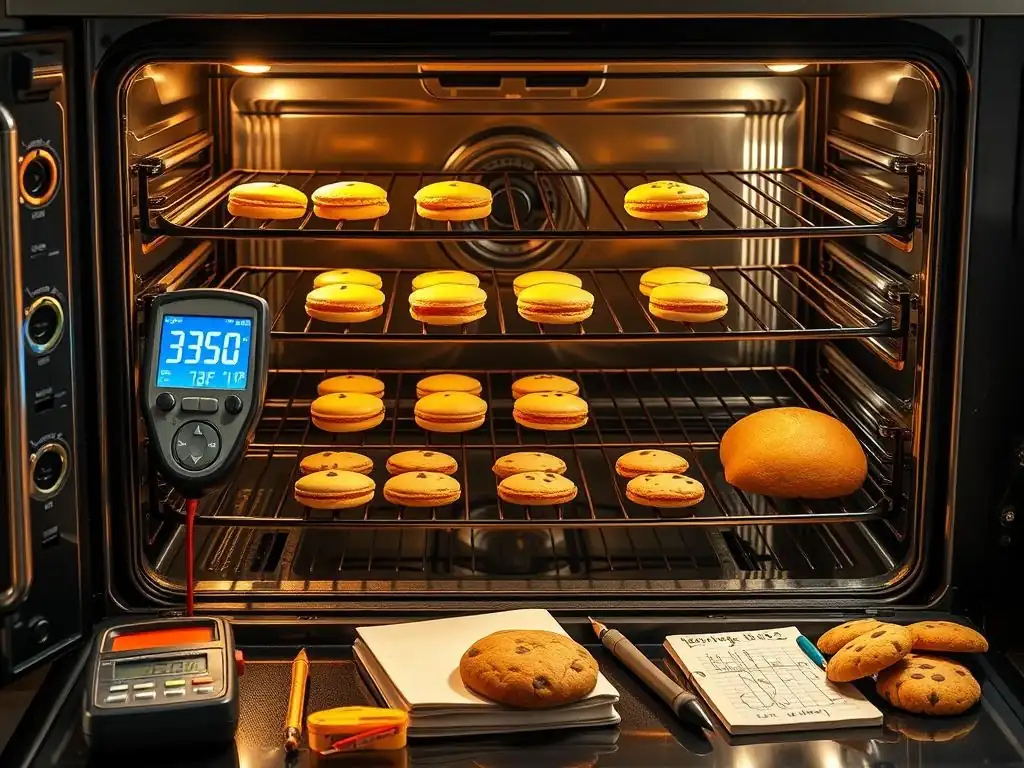
No matter how advanced your oven, a third-party thermometer is irreplaceable. Look for models with stainless-steel probes, ±1°F accuracy, and heat-resistant housing. In blind comparisons, thermometers retailing under $15 can vary by up to 12°F; investing in a mid-range model ($25–$40) typically cuts that margin in half.
Having a trusted gauge at hand enables you to cross-verify display readings and apply Accurate oven temperature calibration tips with confidence. Place it on the middle rack—where most baking occurs—and record temperatures every 10 minutes to gauge stability.
Types of Oven Thermometers: Choosing the Right One
When selecting your thermometer, consider:
- Analog dial meters: simple, no batteries, ±2°F accuracy.
- Digital probe thermometers: precise, with alarms, ±0.5°F accuracy.
- Wireless remote sensors: continuous monitoring, smartphone alerts.
Each type has pros and cons. For example, a chef’s kitchen in Chicago switched from analog to a probe model and saw calibration adjustments reduced from 30 minutes to 10 minutes per session. Choose based on your workflow and desired Accurate oven temperature calibration tips level of granularity.
Other Useful Tools for Accurate Calibration (e.g., screwdriver, level)
Beyond a trusty thermometer, prepare:
- A flathead or Phillips screwdriver to access calibration screws.
- A small bubble level to ensure your oven sits evenly.
- A notepad or digital logging sheet for recording pre- and post-adjustment data.
# Example shell snippet to log temperature readings
echo "$(date): Thermometer reads 362°F at set 350°F" >> ~/oven_calibration.log
These items facilitate a structured calibration process, allowing you to track changes and share Accurate oven temperature calibration tips with fellow bakers.
Step-by-Step Guide to Calibrating Your Oven for Accurate Baking Temperatures
Step 1: Preparing Your Oven for Calibration
Begin by:
- Removing racks and preheating to 350°F (177°C).
- Cleaning the interior of debris and spills.
- Leveling the oven using a bubble level on the rack.
These steps ensure that dirt or tilt won’t skew your readings. A clean, level environment is the foundation for any Accurate oven temperature calibration tip, preventing false positives from lingering residue or slanted surfaces.
Step 2: Checking Your Oven's Current Temperature with a Thermometer
Once preheated:
- Place your oven thermometer at center rack height.
- Allow 15 minutes for temperature stabilization.
- Record the reading and compare to the setpoint.
If the thermometer reads 360°F at a 350°F setting, you have a +10°F error. Logging multiple readings helps identify whether the discrepancy is constant or fluctuates over time.
Step 3: Locating the Oven's Calibration Screw or Dial
Most ovens hide the calibration screw behind the temperature knob or behind the control panel. Consult your manual or look for:
- A small brass or silver slotted screw near the thermostat.
- A hidden plastic cap covering the adjustment dial.
Use a flashlight and screwdriver to access it. Identifying this mechanism is the pivotal Accurate oven temperature calibration tip enabling you to remedy the offset.
Step 4: Adjusting the Temperature Setting Based on Thermometer Readings
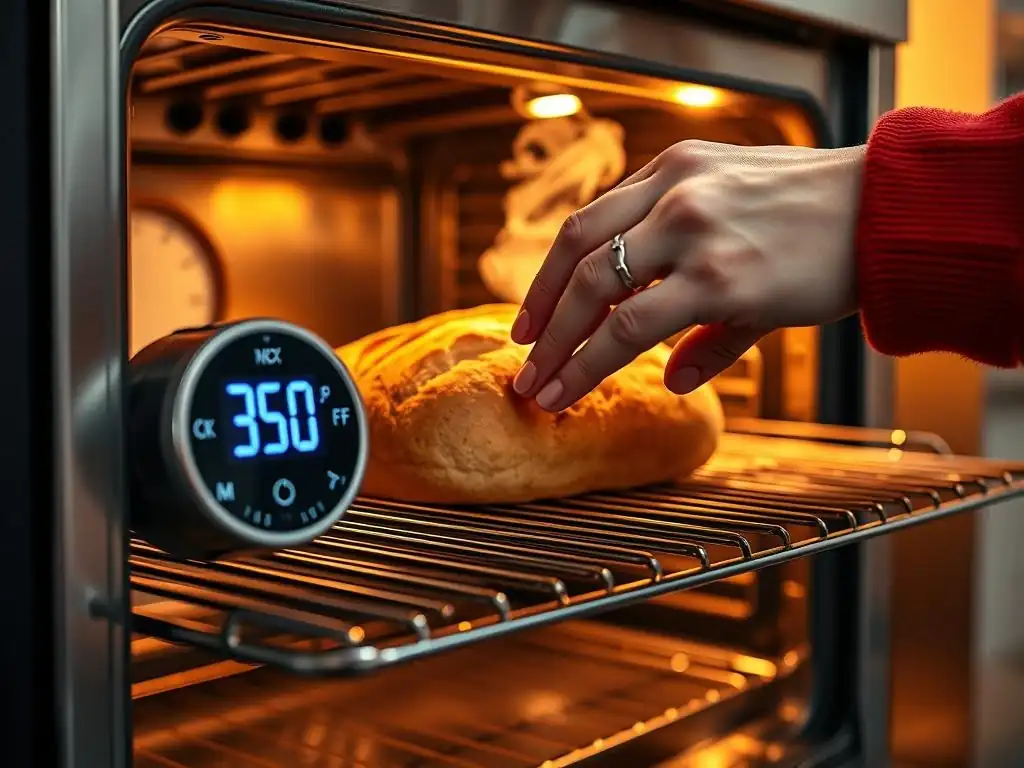
Turn the calibration screw/dial:
- If your oven reads high, rotate the screw toward “colder” by 1/4 turn.
- If it reads low, adjust toward “hotter” by 1/4 turn.
Make incremental changes. A full turn often equates to ~25°F, so quarter turns produce ~6°F shifts. Document each tweak.
Step 5: Re-checking the Temperature and Fine-tuning Calibration
Repeat Step 2 after a 20-minute heat-up period. If you’re now within ±3°F, your calibration is successful. If not, make another small adjustment. Over multiple iterations, you’ll home in on the ideal setting.
“Patience and precision during calibration pay dividends in every loaf and cake.”
— Artisan baker Jules Fournier
Step 6: Documenting Your Oven's Calibration Settings for Future Reference
Maintain a calibration log:
- Date and time of adjustment.
- Original and final thermometer readings.
- Number of turns on the screw/dial.
- Ambient kitchen temperature.
This record prevents guesswork during seasonal changes. Accurate oven temperature calibration tips become part of your baking playbook, helping you replicate success on Day 1 and Day 365.
Advanced Oven Calibration Techniques
Calibrating Convection Ovens: Specific Considerations
Convection ovens circulate hot air, reducing bake times by ~25% and requiring temperature reductions of 15–25°F from standard recipes. However, their fan motors introduce additional variables:
- Airflow can create new hot spots.
- Sensors might be positioned away from airflow paths.
To calibrate:
- Use an air-flow-resistant thermometer (wireless probes work well).
- Follow the same step-by-step guide, but adjust in 10°F increments.
- Test with both convection and conventional modes to note differences.
Embrace these Accurate oven temperature calibration tips to get the most out of your dual-mode oven.
Troubleshooting Common Calibration Issues (e.g., no calibration screw, significant temperature discrepancies)
If your oven lacks a visible calibration screw:
- Consult the manufacturer for a hidden service menu.
- Install an inline thermostat controller (approx. $60 on average).
For discrepancies >40°F that resist calibration:
- Inspect heating elements for damage.
- Verify the sensor wiring integrity.
- Consider a professional diagnostic if hardware appears compromised.
These advanced steps ensure that oven calibration best practices address even the toughest scenarios.
When to Seek Professional Oven Repair for Calibration
Some signs warrant expert service:
- Sensor replacement beyond DIY scope.
- Electronic control board malfunctions.
- Persistent variances >20°F after repeated adjustments.
A typical service call runs $120–$180 including travel and labor. Compare this to wasted ingredients: a single ruined wedding cake can cost $200+ in lost revenue. When in doubt, invest in professional help to preserve your baking standards.
Maintaining Accurate Oven Temperature After Calibration
Best Practices for Consistent Oven Performance
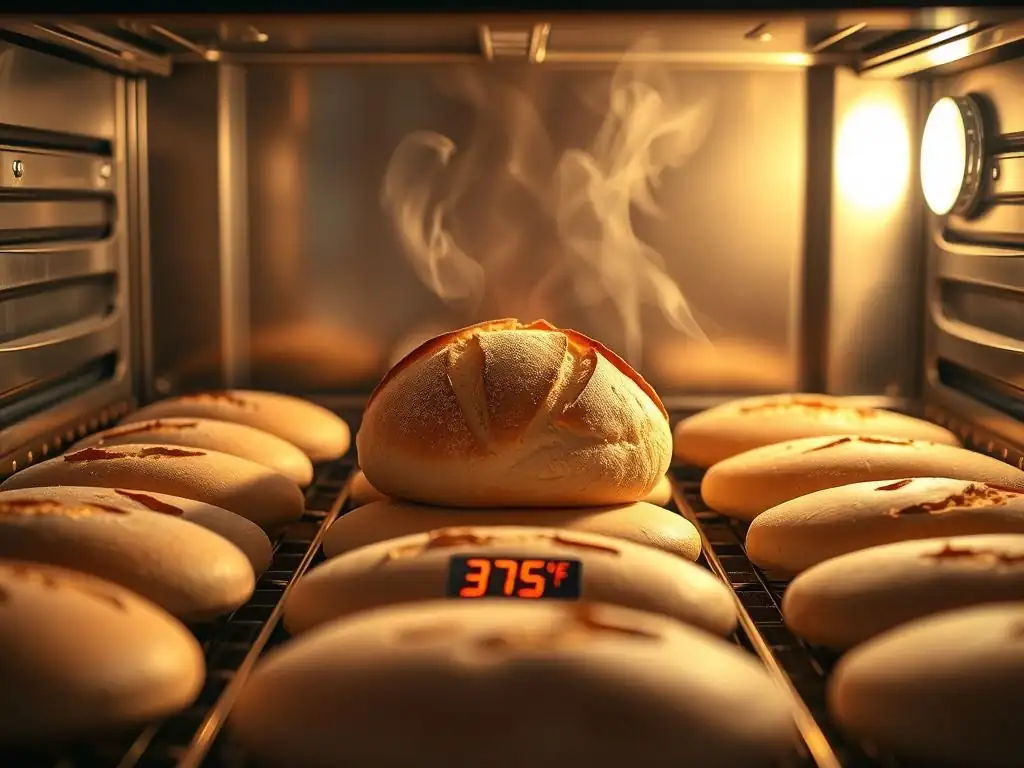
To keep calibration stable:
- Calibrate every 3–6 months, especially before holiday seasons.
- Avoid slamming the oven door, which can jar sensor mounts.
- Don’t overcrowd pans—allow hot air to circulate freely.
A routine checklist helps prevent drift and ensures your Accurate oven temperature calibration tips remain in effect throughout the year.
Regularly Monitoring Oven Temperature with a Thermometer
Make it a habit to:
- Visually inspect your thermometer before each bake.
- Log deviations of >5°F and adjust immediately.
- Check calibration after moving your oven or a major power outage.
This vigilance minimizes surprises and transforms temperature checks into muscle memory.
Cleaning Your Oven to Ensure Proper Heat Distribution
Built-up grease and debris act as heat insulators, creating cold zones. Monthly cleaning with a non-abrasive cleaner:
- Removes residue from walls and racks.
- Improves element efficiency.
- Promotes even airflow.
A spotless cavity is key to sustaining precise oven calibration best practices.
Tips for preventing temperature fluctuations
- Don’t peek too frequently; every door opening drops internal heat by ~25°F.
- Use oven lights instead of door ajar.
- Preheat for a full 15 minutes before baking.
These small habits complement your calibration efforts and keep your bakes on target.
Understanding Oven Hot Spots and How to Manage Them
Identifying Hot Spots in Your Oven
Hot spots are localized zones up to 30°F hotter than average. To map them:
- Place six evenly spaced cookies on a tray.
- Bake at 350°F for 12 minutes.
- Note which cookies brown fastest.
Mark these areas on a diagram of your oven interior. Recognizing hot spots is a crucial Accurate oven temperature calibration tip for flawless batch consistency.
Rotating Baking Pans for Even Baking
A simple mitigation tactic:
- Bake items mid-cycle for half the time at the initial orientation.
- Rotate trays 180° for the second half.
In professional kitchens, rotating racks every 4 minutes ensures uniform results. This practice helps counteract hot spot effects without further hardware changes.
Using Baking Stones or Pizza Stones for Temperature Regulation
A stone’s thermal mass smooths out peaks and valleys in heat distribution. Benefits include:
- Even bottom crisper for breads.
- Reduced risk of burning in direct flame or element zones.
- Stabilized ambient temperature when the door opens.
Preheat stones for at least 30 minutes at desired bake temperature. Integrating stones into your routine is an effective oven calibration best practice.
Other Oven Hot Spot Solutions (e.g., using aluminum foil shields)
When stones aren’t available, use shields:
- Tent fragile cakes with foil to block excessive top heat.
- Create an aluminum barrier on known hot zones.
These quick fixes complement calibration, extending your control over internal gradients and further refining Accurate oven temperature calibration tips.
Achieving Baking Perfection: The Connection Between Oven Calibration and Recipe Success
How Accurate Calibration Improves Baking Outcomes
Accurate calibration transforms recipes from estimates into precise science. A 2022 bread-baking workshop in Seattle found that bakers with calibrated ovens achieved a consistent crumb texture 85% of the time versus 50% for uncalibrated peers. This precision enhances reproducibility, elevating your craft from casual pastime to culinary profession.
Optimizing Baking Times Based on Calibrated Oven Temperature
Once calibrated, you can:
- Trust recipe bake times without extension.
- Use timing charts to predict doneness.
- Experiment with minor time tweaks (±1–2 minutes) for crust vs. crumb preference.
This confidence saves both time and energy, making every bake efficient and repeatable.
Baking with Confidence: Knowing Your Oven is Properly Calibrated
With a fully calibrated oven, you can:
- Share flawless treats at gatherings.
- Innovate new recipes with predictable behavior.
- Scale up recipes for bulk production without fear.
Embrace Accurate oven temperature calibration tips to bake with unwavering confidence, turning each new batch into a showcase of your skill and precision.
Frequently Asked Questions
How important is oven calibration for baking success?
Oven calibration is crucial for baking success. An inaccurate oven temperature can lead to unevenly baked goods and recipes that fail despite following instructions perfectly. Accurate temperatures guarantee predictable and consistent results.
What are some common signs that my oven needs calibration?
Common signs include food taking longer or shorter to bake than the recipe suggests, uneven browning, and baked goods that are consistently under- or overcooked. These indicate your oven isn't reaching or maintaining the set temperature.
How can I check my oven's temperature accuracy?
Use an oven thermometer to check the temperature. Place it in the center of the oven, preheat to a specific temperature (e.g., 350°F), and compare the thermometer reading to the oven setting. Repeat to verify consistency.
What are some simple steps to calibrate my oven at home?
Many ovens have a temperature adjustment dial or button located behind the control panel or in the settings. Refer to your oven's manual for specific instructions on how to adjust the temperature up or down in small increments.
How often should I calibrate my oven?
It's recommended to calibrate your oven every 6-12 months, or whenever you notice inconsistencies in your baking results. Also, calibrate after any major repair or moving your oven.
Final Reflection: The Sweet Science of Accurate Baking
Mastering oven calibration isn't just about perfectly browned cookies; it's about reclaiming control over your kitchen and the joy of consistent baking results. The seemingly simple act of ensuring your oven reaches the temperature it claims holds the key to unlocking culinary confidence and avoiding countless frustrating baking failures. Accurate temperature is the foundation upon which deliciousness is built.
The quest for perfectly calibrated ovens speaks to a deeper human desire for precision and control, a desire reflected in countless aspects of our lives. We strive for accuracy in everything from our work to our relationships, and the kitchen, a space of creativity and nourishment, is no exception. The art of baking is a science, and the science of baking is an art.
This quote perfectly encapsulates the delicate balance between precision and intuition that oven calibration helps us achieve. The impact of this seemingly small detail ripples outward, affecting everything from the rise of a soufflé to the crispness of a pie crust.
Now, consider your own oven. Have you ever felt that nagging doubt about its accuracy? Take a moment to reflect on your baking experiences. How many times have you adjusted recipes, blaming ingredients or your own skill when the true culprit might have been an inaccurate oven temperature? I encourage you to take the steps outlined in this article to calibrate your oven. Embrace the power of precision and unlock a new level of baking mastery. The rewards – perfectly baked goods, consistent results, and a renewed sense of kitchen confidence – are well worth the effort.
Unlock Your Baking Potential: Perfect Pies & Cakes Await!
Thanks for diving into the world of oven calibration with us! You've now got the knowledge to bake with confidence, knowing your oven is working at its peak. Ready to put your new skills to the test?
- Bake a test batch: Try a simple recipe, like cookies or brownies, paying close attention to the results. Note any adjustments you made and how they impacted the final product. This is your chance to fine-tune your baking prowess!
- Share your baking triumph (or your learning experience!): Let’s connect! Tell us about your baking journey in the comments. What did you bake? What adjustments did you make?
- Challenge a friend: Invite a friend to calibrate their oven and share your newfound expertise. See who can bake the most perfectly golden-brown treat!
So, what delicious creation will you bake first to perfect your newly calibrated oven?