
Hydrating Your Flour: Tips for Perfect Dough Consistency

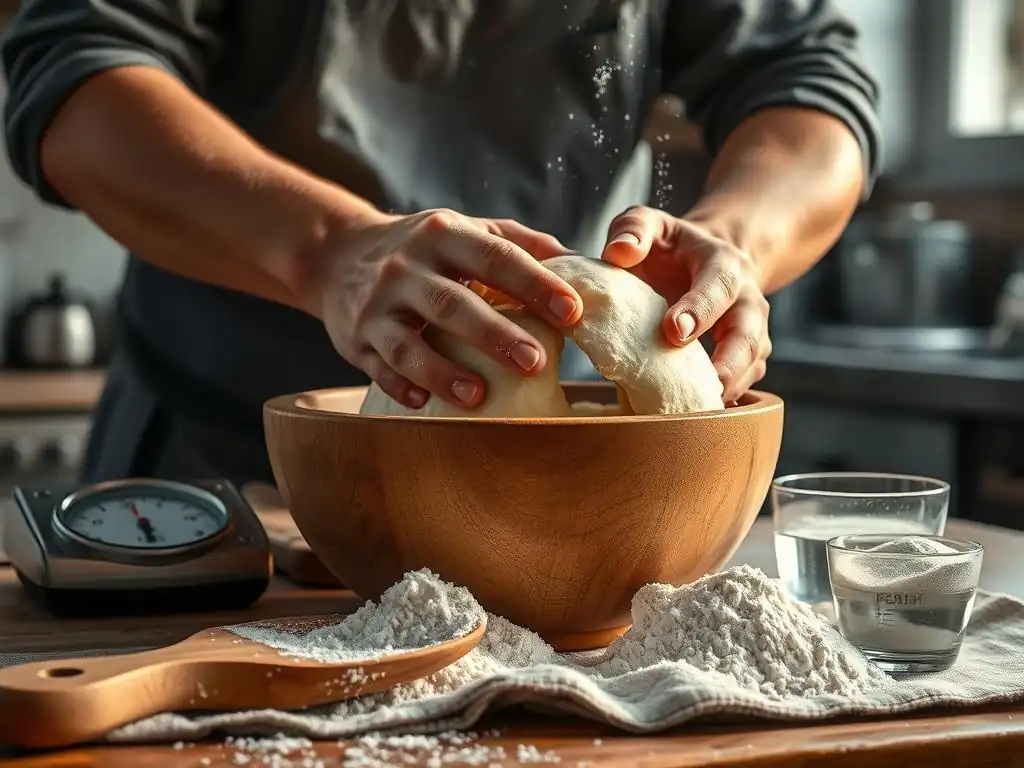
Welcome to BakeWithEase, your haven for effortless baking mastery! Ever wondered why your dough isn't quite right? Unlock the secret to perfectly hydrated flour and transform your baking. Dive in to discover essential flour hydration tips baking that will revolutionize your breads, pastries, and everything in between. Ready to achieve that coveted consistency? Let's get started!
- Mastering Dough Hydration: Techniques for Optimal Baking Results
- Understanding Dough Hydration
- Advanced Hydration Techniques
- Hydration Ratios for Different Baked Goods
- Troubleshooting Hydration Issues
- Advanced Hydration Strategies
- Perfecting Dough Hydration
-
Frequently Asked Questions
- What is flour hydration and why is it important in baking?
- How does flour hydration affect the consistency of my dough?
- What are some factors that influence how much water my flour needs?
- How can I tell if my flour is properly hydrated?
- What are some "Flour hydration tips baking" for beginners using BakeWithEase recipes?
- Final Reflection: The Transformative Power of Hydration in Baking
- Unlock Your Baking Potential: Flour Power Unleashed!
Mastering Dough Hydration: Techniques for Optimal Baking Results
Understanding Dough Hydration
Importance of Hydration in Baking
Hydration, in the context of baking, refers to the ratio of water (or other liquids like milk, eggs, etc.) to flour in a dough recipe. This ratio is typically expressed as a percentage of the flour's weight.
For example, a dough with 500g of flour and 300g of water has a hydration of 60% (300/500 * 100). Getting the hydration right is one of the most crucial flour hydration tips baking enthusiasts should master, as it profoundly impacts the dough's behavior during mixing, kneading, rising, and even the final baked product's texture and structure. Correct hydration allows the flour proteins (glutenin and gliadin) to absorb water, which is essential for gluten development, the network that gives bread and other baked goods their structure and elasticity.
Beyond gluten development, proper hydration ensures the dough is neither too stiff nor too slack, making it manageable to work with. It influences how well the yeast or other leavening agents perform, as they require moisture to activate and thrive. Hydration also affects the dough's temperature, which in turn influences fermentation speed.
A slightly higher hydration can sometimes lead to a more open crumb structure and a more moist final product, while lower hydration might result in a denser crumb and a drier crust. Understanding and controlling this ratio is a fundamental skill for achieving perfect dough consistency and elevating your baking results.
Impact of Hydration on Dough Texture and Structure
The amount of water absorbed by the flour directly dictates the dough's texture and, consequently, the final baked good's internal structure, or crumb. A dough with lower hydration (say, 55-60%) will feel stiff, be easier to handle, and typically produce a tighter, more uniform crumb, common in many traditional loaves and pastries. As hydration increases (65-75% or higher), the dough becomes stickier and more challenging to work with initially, but with proper technique and gluten development, it can yield a more open, irregular crumb with larger air pockets, characteristic of artisanal breads like ciabatta or pain de campagne.
Higher hydration levels also affect the crust, often leading to a crispier texture because the increased moisture allows for more steam production during baking, which expands the dough before the crust sets. Conversely, lower hydration tends to result in a thicker, chewier crust.
The rate at which the dough hydrates also plays a role; allowing flour to absorb water gradually can lead to better gluten development and a smoother dough texture. Mastering these flour hydration tips baking involves practice and observation, understanding how different hydration levels feel and behave, and how they translate into the desired outcome for specific recipes.
Advanced Hydration Techniques
Autolyse: Enhancing Flavor and Gluten Development
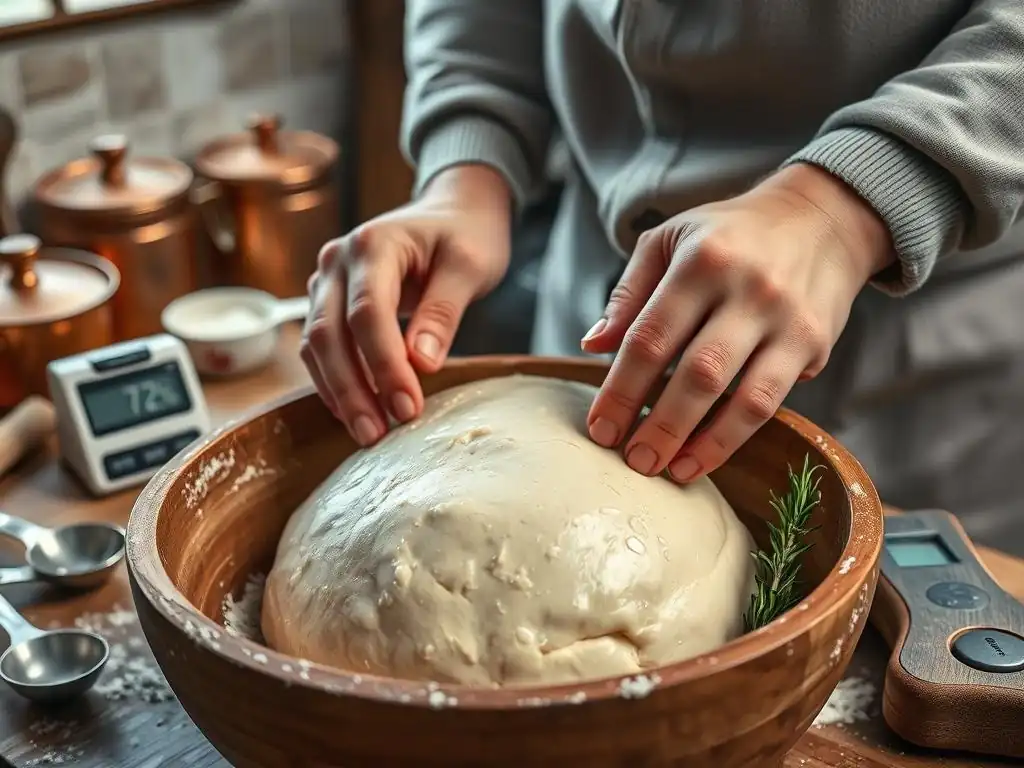
The autolyse technique is a simple yet powerful method involving mixing only the flour and water from a recipe and letting the mixture rest for a period, typically 20 minutes to an hour, before adding other ingredients like salt and yeast. This resting period allows the flour to fully hydrate and enzyme activity to begin breaking down starches and proteins.
This initial hydration without the presence of salt (which can tighten gluten) allows gluten development to occur more easily and efficiently, leading to a smoother, more extensible dough that requires less kneading. It's an excellent flour hydration tip for bakers seeking to improve dough handling and structure.
During the autolyse, enzymes naturally present in the flour, proteases and amylases, start their work. Proteases help relax the dough by breaking down some protein bonds, making it more pliable. Amylases begin converting starches into sugars, which provides food for the yeast later and contributes to better crust browning and flavor development.
For whole wheat or rye flours, which contain more bran and germ that can interfere with gluten, autolyse is particularly beneficial, allowing the water to penetrate these components and soften them, resulting in a less dense crumb. A typical autolyse might involve 100% of the flour and 50-65% of the total water for 30-60 minutes at room temperature.
Autolyse Techniques for Various Flours
The optimal autolyse duration and hydration percentage can vary depending on the type of flour used. For strong bread flours with high protein content (around 12-14%), a longer autolyse of 30-60 minutes with about 60-70% hydration is often effective in developing a strong gluten network. The dough will become noticeably smoother and more elastic during this rest period. This is a key flour hydration tip baking enthusiasts use for achieving high-volume loaves.
Softer flours like pastry or cake flour (8-10% protein) require less time, perhaps just 20-30 minutes, and lower hydration, as their gluten potential is lower. Whole wheat and rye flours benefit significantly from autolyse; the rest period helps soften the bran, making the dough easier to handle and improving crumb structure. For these flours, a longer autolyse (up to an hour or more) at slightly higher hydration (65-80%, depending on the recipe's final hydration) can be very advantageous. Observe the dough; it should become smoother and less shaggy over time, indicating proper hydration and the start of enzymatic activity.
Preferments: Poolish and Biga for Complex Flavors
Preferments, such as poolish and biga, are mixtures of flour, water, and a small amount of yeast that are prepared hours or even days before the main dough is mixed. They undergo a long, slow fermentation, which develops complex flavors and aromas that are difficult to achieve with direct mixing. Incorporating a preferment also adds pre-hydrated flour to the final dough, which can influence hydration and gluten development. A poolish is a liquid preferment with equal parts flour and water by weight (100% hydration), while a biga is a stiffer preferment with a lower hydration, typically 50-60%.
Using preferments is an excellent flour hydration tip baking technique for enhancing both flavor and texture. The acidity developed during the preferment's fermentation helps strengthen the gluten network, leading to better volume and an improved crumb structure in the final bread. The pre-fermented flour also brings enzymes that continue to work in the main dough, breaking down starches into sugars, which boosts flavor and crust color. While adding a preferment slightly complicates the process, the resulting depth of flavor and superior texture are often well worth the extra planning, especially for artisan breads and pizzas.
Benefits of Preferments in Hydration
Beyond flavor, preferments contribute significantly to the hydration and overall structure of the final dough. Since the flour in the preferment is already fully hydrated and has undergone enzymatic changes, it integrates into the main dough more readily and contributes to a smoother consistency. For instance, using a poolish (100% hydration) effectively increases the overall hydration of the final dough compared to a direct mix, while also providing pre-developed acidity that strengthens the gluten. This allows bakers to handle higher overall hydration levels more easily.
A biga (50-60% hydration), being stiffer, contributes less free water but adds structure and chewiness. The pre-fermented flour in both types of preferments has a head start on gluten development and enzymatic activity, leading to a more extensible and less sticky dough, even at high hydration levels. This pre-hydration and enzymatic action means the final dough requires less intensive kneading to reach optimal development. Using preferments is a sophisticated flour hydration tip baking method that leverages time and biology to achieve superior results.
Hydration Ratios for Different Baked Goods
Bread Dough Hydration: Achieving Desired Crumb
Bread dough hydration varies widely depending on the desired outcome, ranging from low-hydration doughs (around 55-60%) for dense, close-crumbed loaves like bagels or some ryes, to medium hydration (65-70%) for standard sandwich loaves and everyday artisan breads, and high hydration (75% and above) for open-crumbed breads like ciabatta or rustic country loaves. A typical baguette might use around 70-75% hydration for a crisp crust and open interior, while a basic white sandwich bread often uses 60-65% for ease of handling and a soft, even crumb.
Achieving the desired crumb depends heavily on controlling hydration alongside proper kneading and fermentation. Higher hydration generally encourages a more open crumb because there's more water to convert to steam during baking, which expands the air pockets before the gluten structure sets. However, working with high-hydration dough requires specific techniques like stretch and folds rather than traditional kneading to develop gluten without adding excessive flour. Experimenting with different hydration levels for your favorite bread recipes is a practical flour hydration tip baking exercise to see how the texture changes.
Pizza Dough Hydration: Optimizing for Stretch and Crispness
Pizza dough hydration is key to achieving the perfect balance of stretchiness for shaping and crispness in the final crust. Hydration levels for pizza dough typically range from 55% to 70% or even higher for certain styles. Lower hydration (55-60%) results in a dough that is very easy to handle and shape, producing a crispier, cracker-like crust, often favored for thin-crust or New York-style pizzas. This dough is less prone to sticking and requires less flour on the work surface.
Medium to higher hydration (60-70%+) is often used for Neapolitan-style pizza, yielding a dough that is stickier but develops a wonderfully airy and chewy crust with characteristic large bubbles (cornicione) when baked at high temperatures. This dough requires a gentler handling technique, often involving stretching by hand rather than rolling. Achieving optimal pizza dough hydration is a specific application of flour hydration tips baking knowledge, tailoring the water content to the desired crust texture and baking method.
Pastry Dough Hydration: Balancing Flakiness and Tenderness
Pastry doughs, such as pie crusts, biscuits, or scones, typically have much lower hydration levels compared to bread doughs, often ranging from 40% to 55%. The goal here is not extensive gluten development but rather to create a tender and flaky texture. Low hydration ensures that gluten formation is minimized. The fat (butter, shortening, etc.) is cut into the flour, and the limited amount of cold water added serves just to bring the mixture together into a cohesive dough.
The hydration level in pastry dough is critical for achieving the desired structure. Too little water, and the dough will be dry and crumbly, difficult to roll out, and result in a tough crust. Too much water, and gluten will develop excessively, leading to a tough, less flaky pastry. The cold temperature of the water is also important; it prevents the fat from melting and helps control gluten development. Mastering the precise, low hydration for pastry is a fundamental flour hydration tip baking skill for achieving that coveted flaky result.
Troubleshooting Hydration Issues
Dry Dough: Causes and Solutions
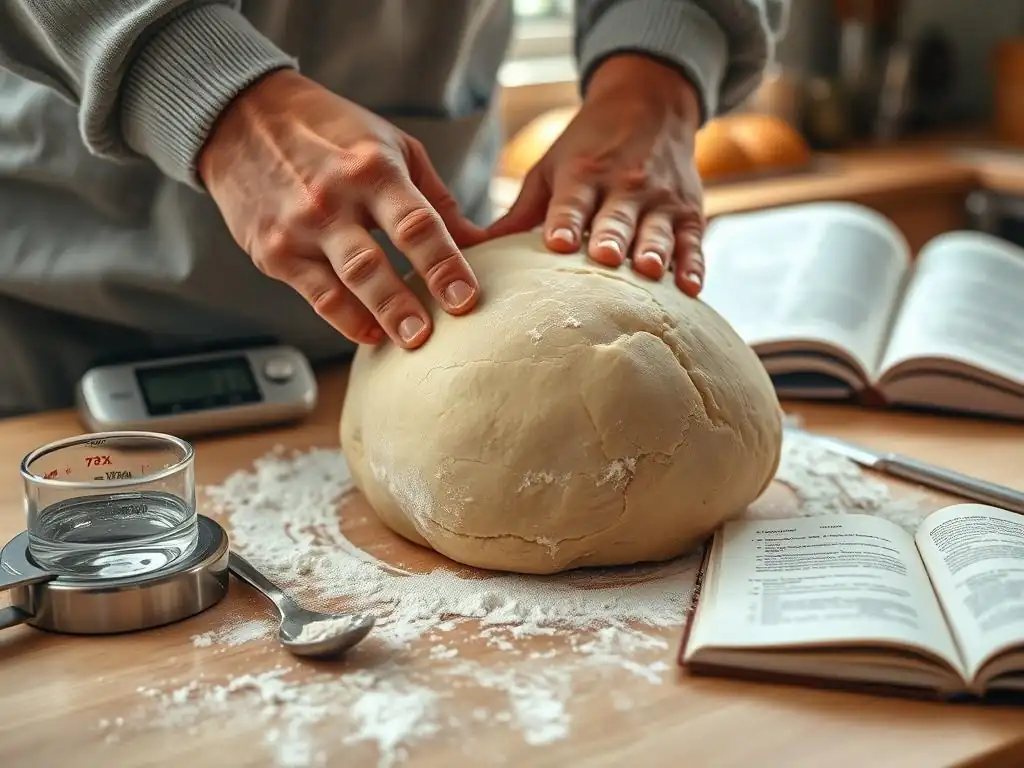
A dry dough is often the result of insufficient water relative to the flour, or the flour being particularly dry or absorbent. It feels stiff, may look shaggy with unincorporated dry bits, and is difficult to knead smoothly. Causes include inaccurate measurement of water or flour, using flour with lower absorption properties than expected, or environmental factors like very low humidity. This issue prevents proper gluten development and can lead to a dense, crumbly final product.
To fix a dry dough, you need to add more water gradually. Start by wetting your hands with water and kneading it into the dough, repeating as necessary until the dough reaches the desired consistency – smooth, elastic, and slightly tacky. Alternatively, you can add a tablespoon of water at a time, kneading it in fully before adding more. Be patient; it takes time for the dough to absorb additional liquid. This adjustment is a practical flour hydration tip baking intervention when the initial mix is off.
Sticky Dough: Causes and Solutions
A sticky dough is usually caused by too much water or insufficient gluten development. It clings excessively to hands, the work surface, and the bowl, making it challenging to handle and knead. While some doughs (like high-hydration bread doughs) are naturally sticky, excessive stickiness in a dough intended to be less hydrated indicates an issue. Causes include inaccurate measurements, using flour with lower absorption, or not developing the gluten sufficiently to handle the hydration level.
To address overly sticky dough, the most common solution is to add a small amount of flour, a tablespoon at a time, kneading it in until the dough becomes manageable. Avoid adding too much flour at once, as this can quickly make the dough too stiff. Alternatively, if the issue is insufficient gluten development, extending the kneading time (or incorporating stretch and folds for high-hydration doughs) can help the gluten network strengthen and better absorb the water.
Letting the dough rest briefly (5-10 minutes) can also help the flour finish absorbing water. Proper flour hydration tips baking involve recognizing when stickiness is normal and when it indicates a problem.
Adjusting Hydration for Environmental Factors
Environmental conditions, particularly humidity and temperature, significantly impact how flour absorbs water and how dough behaves. In high humidity, flour absorbs moisture from the air, meaning you might need slightly less water than specified in a recipe written for a drier climate. Conversely, in low humidity, flour can be drier, requiring a little more water to achieve the correct dough consistency. Temperature also affects hydration; warmer temperatures can cause flour to absorb water faster, while colder temperatures slow absorption.
Baking in different seasons or climates requires paying attention to these factors and being prepared to adjust the water slightly. A good rule of thumb is to withhold a small amount of the recipe's water initially (perhaps 5-10%) and add it gradually only if the dough feels too dry. Conversely, have a small amount of extra flour on hand if the dough feels too wet in humid conditions. Developing a feel for the correct dough consistency, rather than relying solely on the recipe's measurements, is a crucial flour hydration tip baking skill gained through experience.
Impact of Humidity and Temperature
Humidity directly affects the moisture content of flour. In a humid environment (e.g., 70%+ relative humidity), flour can hold more inherent moisture, potentially reducing the amount of added water needed by a few percentage points. If a recipe calls for 65% hydration and you're baking in high humidity, you might find that 63-64% feels right.
In a dry environment (e.g., 30% relative humidity), the opposite is true; the flour will be drier and may require an extra percentage point or two of water to reach the target hydration. This is why simply following a recipe's hydration percentage without considering your environment can lead to inconsistencies.
Temperature impacts the rate of hydration and fermentation. Warmer water hydrates flour faster and speeds up yeast activity. A warmer ambient temperature also increases the dough's temperature. While not a direct change to the ratio of water to flour, temperature influences how quickly the dough reaches its desired state and how it feels. A dough that feels correct at 75°F might feel slightly different at 65°F, even with the same hydration percentage, due to the speed of absorption and gluten development. Being mindful of these factors is a hallmark of applying effective flour hydration tips baking.
Advanced Hydration Strategies
Water Temperature and its Effect on Dough
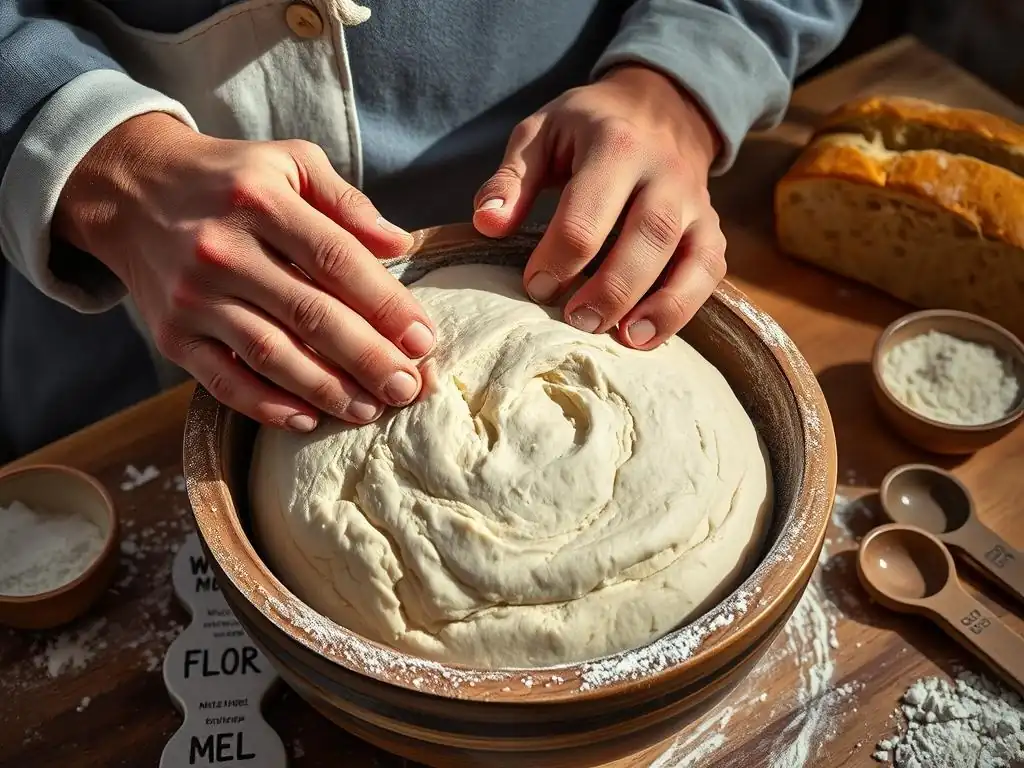
The temperature of the water used to hydrate flour has a significant impact on the initial dough temperature, which in turn affects the rate of yeast activity and fermentation. Warmer water (around 90-100°F / 32-38°C) activates yeast quickly and promotes faster rising, often used in recipes requiring a shorter bulk fermentation or proofing time. It also helps the flour hydrate more quickly. However, very hot water can kill yeast.
Colder water (around 40-55°F / 4-13°C) slows down yeast activity significantly, resulting in a longer, slower fermentation. This is often preferred for doughs that benefit from extended fermentation periods, such as sourdough or overnight no-knead breads, as slower fermentation develops more complex flavors. Colder water also allows more time for the flour to fully hydrate and for gluten to develop gradually, which can lead to a stronger dough structure. Controlling water temperature is an important flour hydration tip baking technique for managing fermentation speed and flavor development.
Impact of Fats and Sugars on Hydration
Ingredients like fats (butter, oil, eggs) and sugars (granulated sugar, honey, molasses) significantly influence how flour hydrates and the overall dough consistency. Fats coat the flour particles, inhibiting their ability to absorb water and interfering with gluten development. This is why enriched doughs (like brioche or challah), which contain high amounts of fat and sugar, tend to be softer, less elastic, and require longer kneading to develop sufficient strength. They also often have lower effective hydration because the fat occupies space where water would otherwise be absorbed.
Sugars are hygroscopic, meaning they attract and hold onto water. In dough, sugar competes with flour for available water, effectively reducing the amount of water available for gluten development. High sugar content can result in a dough that feels stickier than its hydration percentage might suggest, as the sugar is holding onto the water. However, sugar also tenderizes the crumb and aids in crust browning. Understanding how these common ingredients interact with water and flour is crucial for accurate flour hydration tips baking complex recipes.
Precise Measurement for Consistent Hydration
Achieving consistent hydration relies fundamentally on precise measurement of both flour and water. The most accurate way to measure ingredients for baking, especially for hydration-sensitive recipes like bread, is by weight using a digital scale. Measuring flour by volume (using cups) is notoriously inaccurate because flour can be compacted differently depending on how it's scooped and stored, leading to significant variations in weight and thus hydration. A cup of all-purpose flour can weigh anywhere from 120g to 150g or more.
Using a scale ensures that the ratio of water to flour is exactly as intended in the recipe, providing a reliable starting point. For example, if a recipe calls for 500g of flour and 325g of water, you know the hydration is precisely 65%. This level of precision allows you to make informed adjustments based on the dough's feel and environmental factors, rather than guessing. Consistent measurement is the bedrock of applying any flour hydration tips baking effectively and reproducing successful results.
Perfecting Dough Hydration
Hands-On Practice for Building Hydration Skills
Reading about hydration is helpful, but developing an intuitive feel for different hydration levels comes only with hands-on practice. Start with a basic recipe, perhaps a simple white bread dough at 60-65% hydration. Observe how it feels during mixing, kneading, rising, and shaping. Then, try the same recipe at a slightly higher hydration, maybe 68-70%. Notice the difference in stickiness, elasticity, and how it handles. Gradually increase the hydration in subsequent batches, paying close attention to the dough's behavior.
Experimenting with recipes specifically designed for different hydration levels (e.g., a 60% hydration sandwich loaf vs. a 75% hydration ciabatta) will further broaden your understanding. Don't be afraid to get your hands sticky! Learning to work with wetter doughs using techniques like wet-hand kneading or stretch and folds is a key part of mastering hydration. This experiential learning is arguably the most valuable of all flour hydration tips baking can offer.
Sourdough Bread: Demonstrating High Hydration
Sourdough bread often exemplifies the successful use of high hydration levels, commonly ranging from 70% to over 80%. The long fermentation process and the acidic environment created by the sourdough starter help strengthen the gluten network sufficiently to support such high water content. While a 75% hydration dough might seem unmanageably sticky initially, techniques like a proper autolyse, multiple sets of stretch and folds during bulk fermentation, and adequate resting time allow the gluten to develop into a strong, elastic structure capable of trapping gases and creating a beautiful open crumb.
A typical high-hydration sourdough recipe might involve mixing flour and water for an autolyse, adding the mature starter and salt later, and then performing 3-5 sets of stretch and folds over 2-3 hours. This process builds tension and strength in the dough. The resulting dough will still be wet but should feel cohesive and elastic. Baking high-hydration sourdough requires careful handling during shaping and often baking in a Dutch oven or with steam to support the dough before the crust sets. It's a fantastic case study in applying advanced flour hydration tips baking techniques.
Neapolitan Pizza: Achieving Optimal Dough Hydration
Authentic Neapolitan pizza dough is a classic example of achieving optimal hydration for a specific result: a light, airy, and chewy crust with a pronounced edge (cornicione) and a slightly soft center. Traditional recipes often use a relatively low hydration by bread standards, typically around 58-62%, but combined with a simple ingredient list (flour, water, salt, yeast) and a long, slow fermentation (often 24+ hours at cool temperatures). This specific hydration, along with the long fermentation, allows for good gluten development while keeping the dough manageable for stretching into very thin rounds by hand without tearing.
When baked at extremely high temperatures (800-950°F / 425-510°C) in a wood-fired or specialized pizza oven, the water in the dough rapidly turns to steam, puffing up the edges and creating characteristic blisters and charring. The relatively lower hydration compared to some bread doughs prevents the center from becoming too wet or dense at these high temperatures. Mastering the specific hydration and handling for Neapolitan pizza is a focused application of flour hydration tips baking knowledge aimed at replicating a regional classic.
Frequently Asked Questions
What is flour hydration and why is it important in baking?
Flour hydration is the process of absorbing water into flour. It's crucial because it develops gluten and affects the texture and structure of baked goods.
How does flour hydration affect the consistency of my dough?
Proper flour hydration leads to a smoother, more elastic dough. Insufficient hydration results in dry, crumbly dough, while over-hydration causes sticky, unmanageable dough.
What are some factors that influence how much water my flour needs?
Factors include the type of flour (bread flour needs more), the humidity in your environment, and the specific recipe.
How can I tell if my flour is properly hydrated?
The dough should feel smooth and elastic, pulling away cleanly from the sides of the bowl. A windowpane test, where you gently stretch a small piece of dough thin enough to see light through, can also help.
What are some "Flour hydration tips baking" for beginners using BakeWithEase recipes?
Start by adding most of the water, but hold back a small amount to adjust as needed. Use room temperature water and allow the dough to rest (autolyse) after mixing for better hydration.
Final Reflection: The Transformative Power of Hydration in Baking
Understanding flour hydration is not just about achieving the right consistency; it's the key to unlocking the full potential of your baked goods. A seemingly small adjustment in the water-to-flour ratio can dramatically impact texture, flavor, and overall success, transforming a dense, dry loaf into a light and airy masterpiece. This understanding is more relevant than ever in a world increasingly focused on artisanal baking and the pursuit of perfect texture.
The journey of mastering flour hydration is a continuous one, a testament to the artistry and science intertwined in baking. It's a process of learning to read the dough, to understand its subtle cues, and to respond with intuition and precision. This intimate connection with the ingredients fosters a deeper appreciation for the craft itself. Baking is at once a science and an art; it requires precision and creativity.
This quote perfectly encapsulates the delicate balance between technical knowledge and intuitive understanding that hydration mastery demands.
Now, consider your own baking journey. What have you learned about the nuances of hydration? What experiments will you undertake next? Don't be afraid to deviate from recipes, to adjust the water content slightly, and to observe the results. Embrace the process of experimentation, for it is through trial and error that true mastery is achieved. The next time you mix a batch of dough, remember the transformative power of water, and let your understanding of hydration guide you towards baking perfection.
Unlock Your Baking Potential: Flour Power Unleashed!
Thanks for diving into the world of perfectly hydrated dough! You’ve just learned how a simple adjustment can elevate your baking game. Now it's time to put your new knowledge into practice.
Here's how to take the next step:
- Bake a test loaf! Try the hydration technique with your favorite recipe and experience the difference firsthand. Pay close attention to the dough’s texture and the final outcome.
- Experiment with different flour types. See how hydration needs vary between bread flour, all-purpose, and whole wheat. Note the changes in texture and flavor.
- Share your baking triumphs (and challenges!) with our community on social media using #BakeWithEaseHydration. Let's learn together!
What surprising texture differences did you discover while experimenting with different hydration levels?