
Is Your Bread Crust Too Hard? Discover the Simple Reason

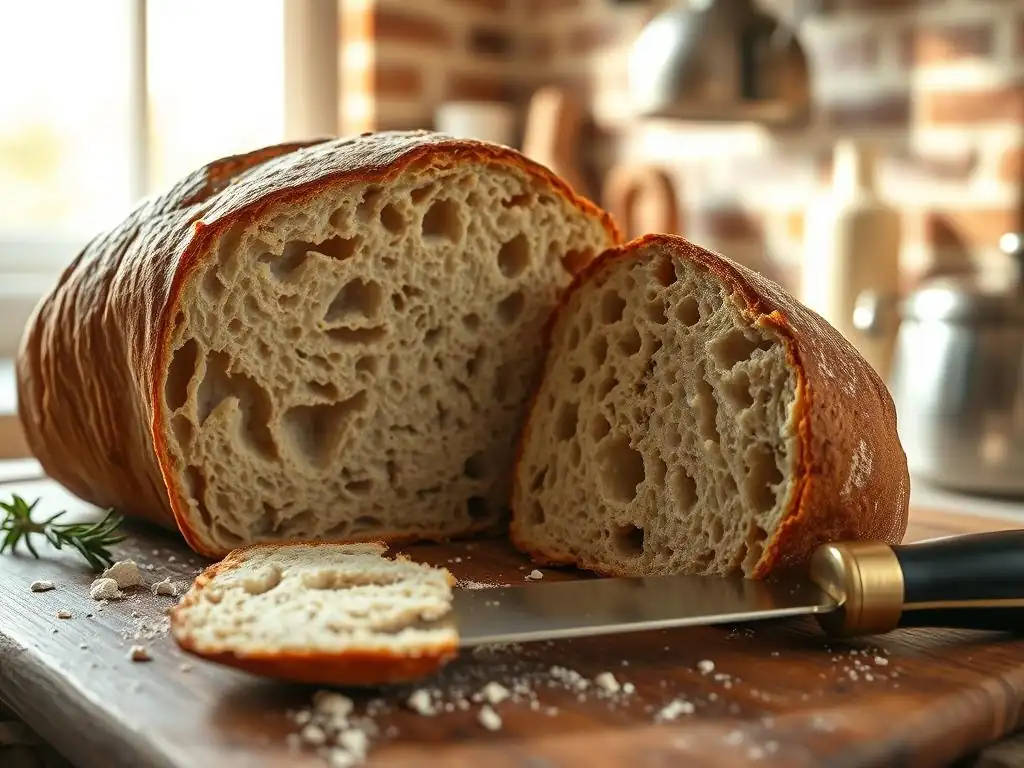
Welcome to BakeWithEase, your trusted guide to baking bliss! Ever wondered why your homemade bread sometimes comes out with a crust that could break a tooth? You're not alone! In this article, we'll dive into the secrets behind achieving that perfectly crisp, yet tender crust, finally revealing the simple hard bread crust solution you've been searching for. Get ready to transform your baking and say goodbye to rock-hard loaves forever!
- Understanding Hard Bread Crust: A Common Baking Problem
- The Science Behind Bread Crust Hardness: Factors at Play
- Hard Bread Crust Solution: Simple Fixes for Perfect Texture
- Preventing Hard Crusts: Proactive Baking Strategies
- Storing Bread to Maintain Crust Softness
- BakeWithEase's Top Tips for a Perfectly Soft Bread Crust Every Time
- Frequently Asked Questions
- Final Reflection: The Crumbs of Knowledge and the Quest for the Perfect Crust
- Unlock Your Perfect Crust: Bake Bread Like a Pro!
Understanding Hard Bread Crust: A Common Baking Problem
Why Does Bread Crust Harden After Baking? Identifying the Root Cause
When you pull a freshly baked loaf from the oven and notice the crust feels like a brick, it’s usually due to excessive moisture loss during baking and cooling. As the internal temperature of the bread peaks above 99 °C (210 °F), water inside the crumb rapidly evaporates, migrating outward and eventually leaving the crust overly dry. Without sufficient humidity or steam during those critical first 10–15 minutes, the outer layer cannot form a flexible, tender shell.
Another frequent culprit is over-baking. Leaving a loaf in the oven for just 5–10 minutes too long can reduce its internal moisture by an additional 3–5 %, turning a crust that should be pleasantly crisp into one that’s excessively hard. Even small variations—like opening the oven door too often—can drop humidity, accelerating moisture loss and promoting a rock-hard crust.
Recognizing the Signs of an Overly Hard Bread Crust
An overly hard crust often reveals itself through visual cues and tactile feedback. You might see deep, dark fissures in the crust, sometimes accompanied by a slight sheen of oil if the crust is so baked it has begun to oxidize. A crust darker than golden-brown (above a color reading of 6 on the Maillard scale) can signal that sugars have caramelized excessively, contributing to hardness.
Tactilely, a hard crust will feel dense and rigid when you press it, often making a sharp “crack” sound rather than a gentle “snap.” When slicing, the knife may skid or leave crumbs rather than cleanly cutting through. These signs indicate that your loaf is experiencing the very problem your search for a hard bread crust solution aims to conquer.
The Science Behind Bread Crust Hardness: Factors at Play
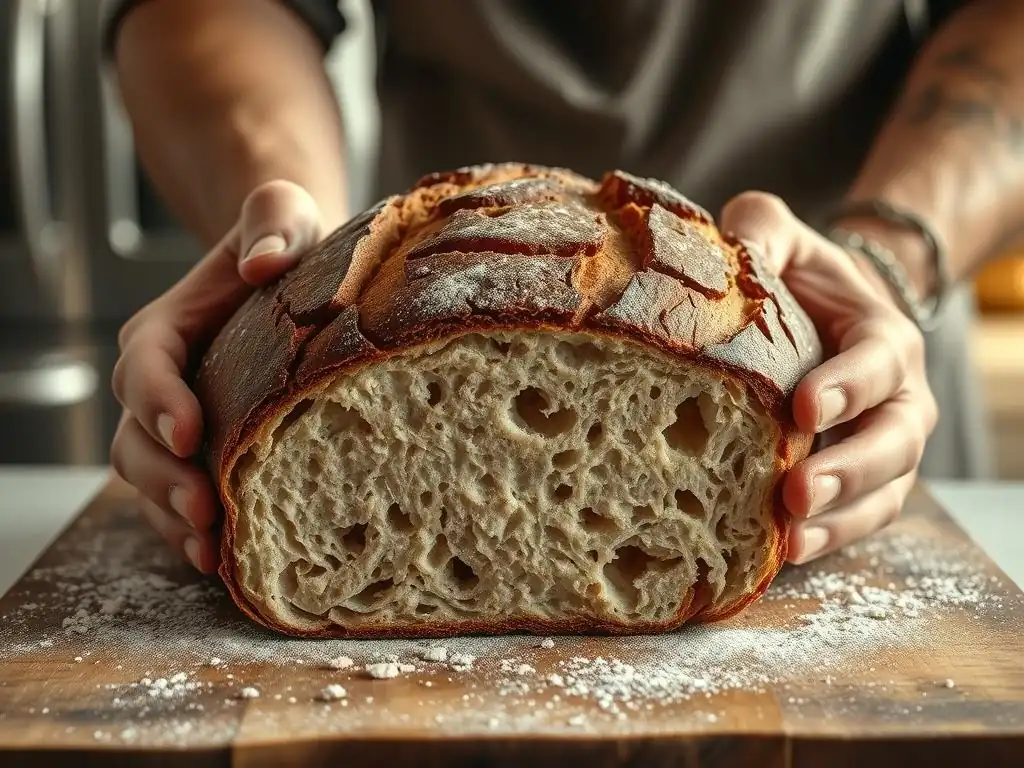
Moisture Loss: The Primary Culprit in Hardening Bread Crusts
Moisture content in the crust drops from roughly 20 % at the moment of oven spring to under 10 % after cooling. This shift happens because the high heat forces steam out, which then escapes through pores in the crust. Without a barrier of humidity, the crust dries rapidly. In fact, a study of artisan sourdough loaves showed a 12 % moisture reduction in the first hour post-bake when left in ambient air.
To illustrate, imagine a loaf weighing 800 g at removal having 160 g of water in total. If it loses 12 % of its moisture (19.2 g) as evaporated steam, that lost water disproportionately affects the 100–150 g crust layer, leaving it brittle. That’s why controlling moisture through steam injection or proper cooling is central to the hard bread crust solution.
Starch Retrogradation: How Bread Ages and Dries Out
After baking and during cooling, starch molecules re-associate in a process called retrogradation. This realignment expels water from the starch granules, making them firmer and less elastic. Retrogradation begins within 2–4 hours of baking and accelerates at temperatures between 0 °C and 10 °C—right where many people store bread in the fridge.
Retrogradation is why a day-old loaf feels stale, even if it looks fine. The remedy is to slow down retrogradation by maintaining a slightly higher ambient temperature or by briefly reheating the loaf before serving, which re-gelatinizes the starch and restores moisture.
Gluten Development: The Impact on Crust Texture
Gluten networks provide structure to bread, but overdeveloping gluten can lead to a crust that resists moisture retention. Strong gluten strands tighten the crumb, pushing water toward the surface. Bakers who knead beyond the windowpane test (thin, translucent gluten membrane) often find their crust is tougher because the denser network has forced more internal moisture outward.
Conversely, under-kneaded dough with weak gluten can also yield a hard crust, because the loaf fails to hold gas evenly and overexpands in certain areas, thinly stretching crust sections that bake into rigid patches. Achieving balanced kneading—enough to pass the windowpane but not so much you’re grinding the dough—contributes to an ideal crust softness.
Hard Bread Crust Solution: Simple Fixes for Perfect Texture
Adjusting Your Baking Technique for a Softer Crust
Adjusting bake times and methods can offer a straightforward hard bread crust solution. Start by reducing total bake time by 5–10 % and keep an eye on internal temperature: aim for 95–98 °C (203–208 °F) rather than the typical 100 °C (212 °F). A loaf pulled out at 95 °C will hold more internal moisture, translating into a tender crumb and softer crust.
Additionally, experiment with lowering the final baking temperature by 10–15 °C. For instance, if your recipe calls for 230 °C (450 °F), try finishing the last 10 minutes at 215 °C (420 °F) to avoid over-browning and hardening.
- [ ] Preheat oven thoroughly
- [ ] Add steam in the first 10 minutes
- [ ] Monitor internal temperature with a probe
The Importance of Steam in Bread Baking
Steam plays a dual role: it delays crust set so the loaf can expand fully (maximizing oven spring) and creates a gelatinized surface that becomes crisp yet tender when baked off. Without steam, the crust becomes rigid almost immediately, sealing moisture in the crumb too late and leaving the early crust layer parched.
Professional bakers introduce 200–300 ml of steam during the first 5 minutes of a 40-minute bake. That humidity spike keeps the crust supple, allowing moisture to re-enter the outer layer before gelatinizing upon contact with the hot metal of the oven floor.
“Switching to a steam-injected oven transformed my crust from a tough shell to a delicately crisp finish. It’s a game-changer.”
— Jonathan, artisan baker
How to Create Steam in Your Home Oven: Using a Dutch Oven, Adding Ice Cubes to a Hot Pan
Home bakers can mimic professional steam ovens by using a Dutch oven. Preheat the lidded cast-iron pot to 260 °C (500 °F), place your dough inside, then bake with the lid on for the first 20 minutes. The trapped steam from the dough’s moisture keeps the crust soft. Remove the lid for the final 15–20 minutes to develop color.
Alternatively, slide a pan of ice cubes onto the rack beneath your loaf just before loading. As the ice melts on the hot surface, it releases steam steadily for 5–8 minutes. Aim for at least 200 g of ice to maintain a good humidity spike.
Controlling Oven Temperature: Finding the Sweet Spot
A cooking thermometer often reveals that your oven’s top rack might be 10–20 °C hotter than indicated. If you consistently see crust darkening too fast, move the rack down or reduce temperature by ~15 °C.
# Example: Adjusting your oven bake
BAKE_TEMP=230   # original temp in °C
ADJUST_TEMP=$((BAKE_TEMP - 15))
echo "Set oven to ${ADJUST_TEMP}°C for a milder crust."
By fine-tuning the balance between temperature and time, you strike the perfect chord between crisp exterior and soft interior.
Mastering Dough Hydration: The Key to a Tender Crust
Dough hydration (the ratio of water weight to flour weight) directly impacts crust softness. A 65–75 % hydration dough typically yields a more tender crust because the extra water evaporates into steam during baking, creating that delicate gelatinized layer. Lower hydration doughs (50–60 %) bake into crusts that crack and harden quickly.
While upping hydration, bakers might fear a sloppy dough. The trick is to develop gluten gradually through stretch-and-folds rather than aggressive kneading. This approach strengthens gluten over time, allowing the dough to hold additional water without collapsing.
Understanding Dough Hydration Levels
- 50–60 % hydration:stiff dough, easy to shape, produces a thicker, harder crust
- 60–65 % hydration:moderate dough, balanced crumb, average crust hardness
- 65–75 % hydration:wet dough, open crumb, softer, thinner crust
Tracking these percentages with a digital scale ensures consistency across batches, giving you control over crust texture.
Tips for Increasing Dough Hydration Without Compromising Structure
- Autolyse: Mix flour and water first, let rest 20–40 minutes.
- Strengthens gluten naturally
- Improves extensibility
- Stretch-and-fold: Perform 3–4 sets at 30-minute intervals during bulk fermentation.
- Builds structure without over-kneading
- Use high-protein flour: It can absorb 2–3 % more water before weakening.
# Hydration calculation
flour_weight = 500  # grams
desired_hydration = 0.70
water_weight = flour_weight * desired_hydration
print(f"Add {water_weight}g of water for 70% hydration.")
The Role of Flour in Bread Crust Texture
The type of flour you choose has a profound effect on crust softness. Bread flour (12–14 % protein) forms robust gluten, trapping moisture inland while letting the crust crisp up. By contrast, all-purpose flour (10–12 % protein) yields a softer crust but may lack the structure for lofty loaves.
Moreover, flours with higher ash content—like whole wheat or rye—absorb more water and produce crusts with deeper color and more complex flavor. However, they can also dry out faster due to bran particles wicking moisture to the surface.
Choosing the Right Flour for Soft Crust Bread
-
All-purpose flour:
Pros: Softer crust, milder flavor
Cons: Less rise, denser crumb -
Bread flour:
Pros: Strong gluten, good oven spring
Cons: Crisper crust, requires more hydration -
Whole-grain blend (80% white, 20% whole):
Pros: Balanced flavor, moderate crust texture
How Different Flours Affect Crust Development
- Rye flour: Tends to create a darker, slightly tougher crust due to pentosans
- Spelt flour: Produces a more fragile gluten network, so the crust is thin and tender
- Gluten-free blends: Often need additional binders (xanthan gum) and fats to mimic a soft crust
Preventing Hard Crusts: Proactive Baking Strategies
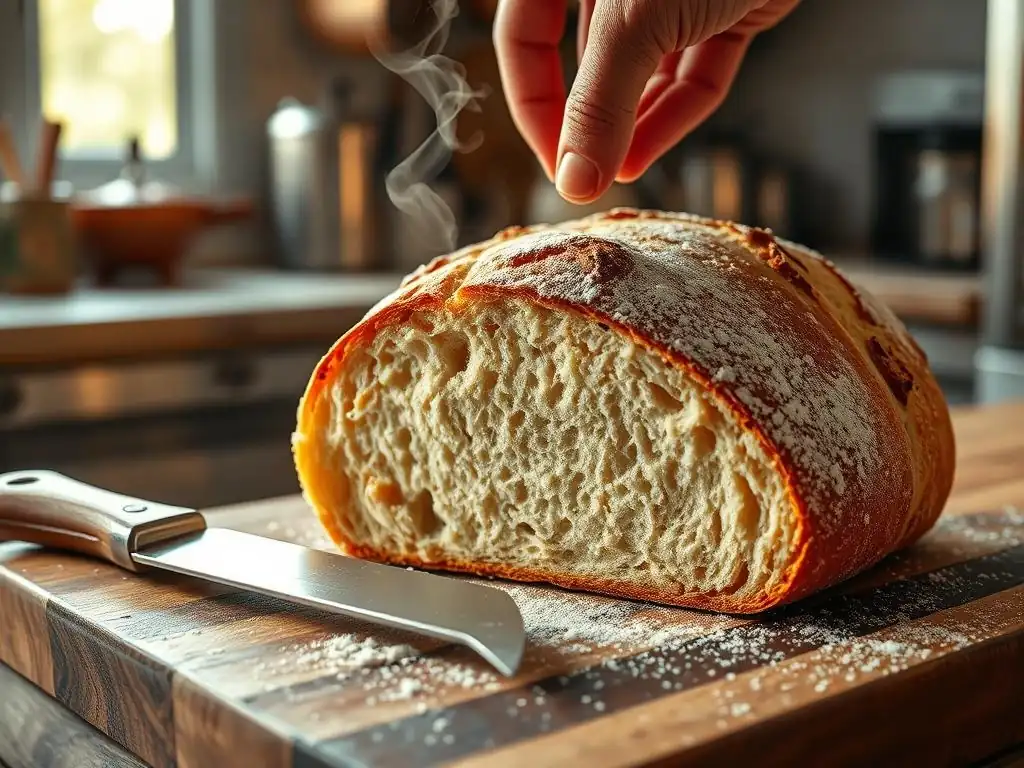
Proofing Techniques for Optimal Crust Development
Proper proofing ensures even gas distribution and an elastic crust. Under-proofed loaves burst unpredictably, creating jagged, rigid crust shards. Over-proofed loaves collapse slightly, thinning the crust and making it overly crisp. Aim for a 70–80 % rise during bulk fermentation and a final proof at 75 °F (24 °C) for 45–60 minutes.
Use the poke test: gently press your finger into the dough. If the indentation springs back slowly and partially remains, it’s ready. A rapid rebound signals under-proofing; no rebound indicates over-proofing.
Scoring Bread Correctly: Releasing Steam and Preventing Cracking
Scoring creates controlled expansion valleys. A shallow 3–5 mm cut at 30° angle allows steam to escape steadily, avoiding random tears that harden sharply. For large batards or boules, make 2–3 diagonal slashes 1 cm deep, spaced 2–3 cm apart.
Incorrect scoring leads to sudden pressure release, causing steam to puff out explosively and leaving the crust brittle around the tears. Precision in scoring results in a softer, more aesthetically pleasing crust.
Cooling Bread Properly: Avoiding Moisture Loss
Many home bakers make the mistake of wrapping bread immediately after baking. Doing so traps residual heat, creating condensation that wets the crust, which then re-dries and hardens as it cools. Instead, cool loaves uncovered on a wire rack for at least 1 hour, allowing steam to dissipate evenly.
If you must store bread right away, wait until internal temperature is below 40 °C (104 °F). This practice reduces moisture migration from the crumb to the crust, preserving softness.
Storing Bread to Maintain Crust Softness
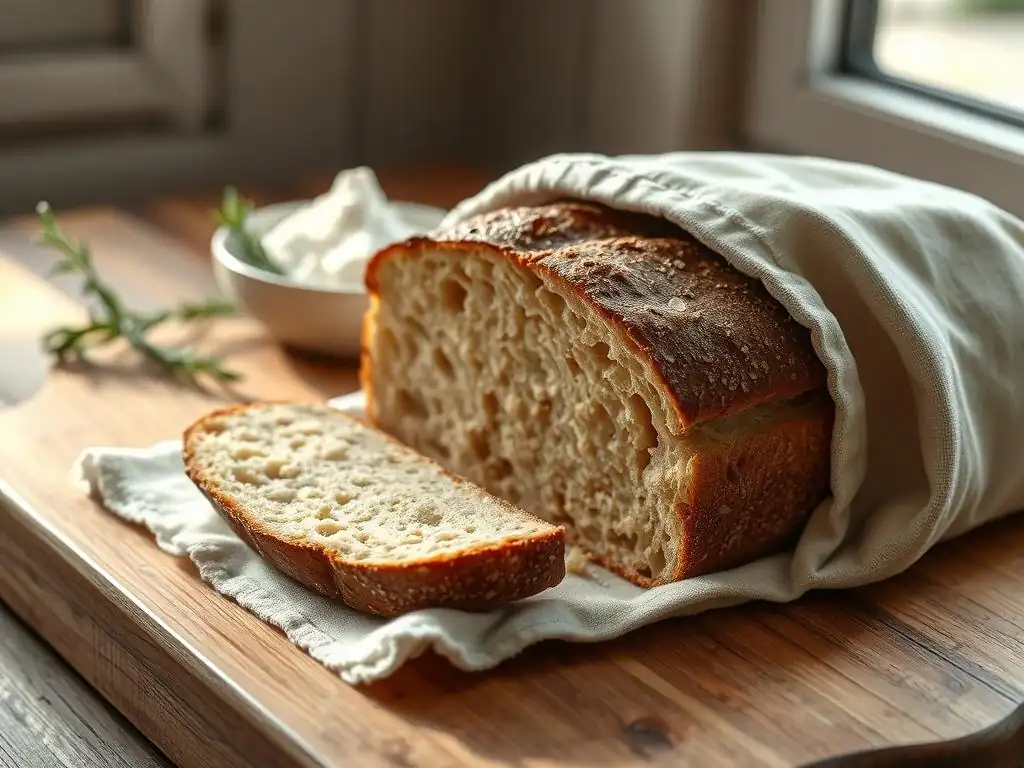
Best Practices for Bread Storage: Using a Bread Box, Wrapping in Linen
- Use a bread box that provides minimal airflow (40–50 % humidity environment) to slow moisture loss.
- Wrap loaves in a clean linen cloth or cotton bag to absorb excess moisture without sealing in steam.
- Prevents
soggy crustand forces slower evaporation
- Prevents
- For medium-term storage (2–3 days), keep at room temperature (18–22 °C) away from direct sunlight.
Nested details:
- Bread Box Maintenance
- Clean monthly to prevent mold
- Place on a ventilated shelf
- Linen Bag Care
- Machine wash weekly
- Avoid fabric softeners
How to Revive a Hard Bread Crust: Sprinkling with Water and Reheating
If your loaf has already hardened, you can restore softness in two simple steps:
- Lightly mist or sprinkle water over the crust—aim for 10–15 ml total.
- Reheat in a 180 °C (356 °F) oven for 5–8 minutes on a wire rack.
Just like a fresh bake, the added moisture re-gelatinizes the starches, and the gentle heat crisps without hardening. It’s a quick home hack almost every baker loves.
BakeWithEase's Top Tips for a Perfectly Soft Bread Crust Every Time
Quick Recap: Achieving the Ideal Crust Texture
Achieving your ultimate hard bread crust solution comes down to balancing moisture, steam, and structure. Remember to:
- Preheat thoroughly and introduce steam early
- Adjust bake temperature and time by small increments
- Master dough hydration (aim for 65–75 %)
- Choose flours suited to your texture goals
- Proof, score, and cool with precision
By integrating these steps into your routine, you’ll consistently produce loaves with a delicate, slightly crisp exterior and a moist, tender crumb.
[Link to a sourdough bread recipe on BakeWithEase.com]
Ready to put these tips into practice? Check out our detailed sourdough recipe and start baking with confidence!
Frequently Asked Questions
Why is my bread crust so hard?
The most common reason for a hard bread crust is a lack of moisture during baking. This could be due to a low oven temperature or insufficient steam.
How can I create steam in my oven?
You can create steam by placing a pan of hot water in the oven during the initial baking period. Alternatively, you can spritz the bread with water before placing it in the oven.
Does the type of flour affect the crust hardness?
Yes, certain flours, like high-protein bread flour, can contribute to a chewier, harder crust. Experimenting with different flour types can influence the final texture.
What temperature should I bake bread at for a softer crust?
While temperature depends on the specific recipe, generally baking at a slightly lower temperature (e.g., 350°F/175°C instead of 375°F/190°C) can result in a softer crust.
Can over-baking cause a hard crust?
Absolutely! Over-baking removes too much moisture from the bread, leading to a dry, hard crust. Use a thermometer to ensure the bread is cooked through but not overdone.
Final Reflection: The Crumbs of Knowledge and the Quest for the Perfect Crust
The seemingly simple question of a hard bread crust reveals a surprisingly complex interplay of baking science and personal preference. It's more than just a culinary annoyance; it's a gateway to understanding the delicate balance of ingredients, techniques, and even the very essence of home baking. The perfect crust, after all, is a symbol of mastery and satisfaction.
This exploration into the science of bread baking has highlighted for me the profound connection between seemingly mundane tasks and a deeper understanding of the world around us. The quest for a soft crust isn't just about achieving a palatable texture; it's about appreciating the artistry involved in transforming simple flour, water, and yeast into something nourishing and delightful. Baking is at once a science and an art; it requires precision and creativity.
This quote perfectly encapsulates the journey we've undertaken, from understanding hydration levels to the importance of oven temperature.
Now, I invite you to consider your own baking experiences. Have you ever wrestled with a stubbornly hard crust? What adjustments did you make? More importantly, what have you learned about the process, about yourself, and about the simple pleasures of creating something delicious with your own hands? Take the knowledge gained here, experiment with your own recipes, and embrace the journey towards that perfect, golden-brown, satisfyingly soft crust. The reward is far more than just a delicious loaf; it's the satisfaction of mastering a craft and the joy of sharing your creations with others.
Unlock Your Perfect Crust: Bake Bread Like a Pro!
Thanks for taking the time to learn about achieving that perfectly crisp crust! We hope you now understand the key factors influencing your bread's texture. Ready to put your new knowledge into practice?
- Bake a test loaf today! Experiment with different flours, hydration levels, or baking times based on what you’ve learned. See the difference firsthand!
- Share your baking triumphs (and challenges!) with our community in the comments below. Let's learn from each other!
- Consider keeping a baking journal – track your recipes, adjustments, and results to become a bread-baking master.
What small change will you make to your next loaf to achieve that perfect crust?