
Mechanical Leavening 101: Trapping Air for Fluffy Cakes and Muffins

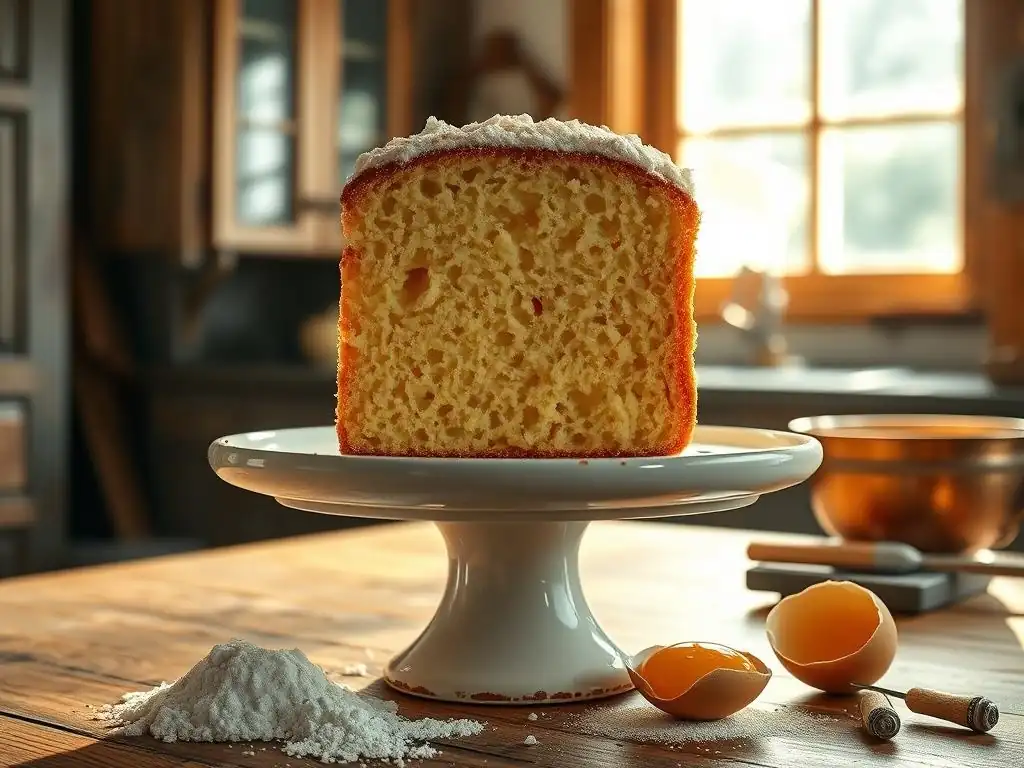
Welcome to BakeWithEase, your guide to unlocking baking brilliance! Ever wondered about the secret to achieving that perfectly airy and light texture in your cakes? This is where we delve into the fascinating world of mechanical leavening. Get ready to discover the secrets of how to trap air in cakes, transforming your baked goods from dense to delightfully fluffy. Let's unlock the magic together...
- Understanding Mechanical Leavening: The BakeWithEase Guide to Fluffy Baked Goods
- Key Mechanical Leavening Techniques for Baking Success
- Tools and Equipment for Effective Mechanical Leavening
- Recipes that Showcase Mechanical Leavening
- Troubleshooting Mechanical Leavening: Common Issues and Solutions
- Mastering Air Incorporation: Elevate Your Baking with BakeWithEase
-
Frequently Asked Questions
- How does mechanically trapping air contribute to a cake's texture?
- What are the key techniques involved in mechanically trapping air in cake batter?
- Why is it important to use room temperature ingredients when creaming butter and sugar?
- Can I over-mix my cake batter after adding flour and other dry ingredients?
- Are there any specific tools that are beneficial for mechanically trapping air when baking cakes?
- Final Reflection: The Art and Science of Airy Delights
- Unlock Your Baking Potential: Fluffy Cakes Await!
Understanding Mechanical Leavening: The BakeWithEase Guide to Fluffy Baked Goods
What is Mechanical Leavening and Why Does it Matter?
Mechanical leavening is a fundamental baking technique that relies on physically incorporating air into batters and doughs to create lift and structure. Unlike chemical leavening agents like baking soda or baking powder, which produce gas through chemical reactions, mechanical leavening uses physical action such as beating, whipping, or creaming to trap air bubbles. These trapped air bubbles expand when heated in the oven, causing the baked good to rise and develop a light, airy texture. It's a crucial step in mastering how to trap air cakes and other baked goods, ensuring they aren't dense or heavy.
This process is essential for achieving the desired texture in a wide range of baked goods, from delicate sponge cakes and airy meringues to tender muffins and flaky pastries. Understanding how to effectively incorporate and retain air through mechanical means is a cornerstone of successful baking. It significantly impacts the crumb structure, volume, and overall appeal of your creations. Without effective mechanical leavening, even the best ingredients and recipes can result in disappointing, flat, or overly dense results, highlighting the importance of mastering these techniques.
The Importance of Air in Baking: Achieving Light and Airy Textures
Air is a vital ingredient in baking, even though you don't measure it in cups or grams. When air is incorporated into batter or dough, it creates tiny pockets that expand during baking due to the heat. This expansion is what causes cakes to rise, meringues to puff up, and bread doughs to become light and voluminous (in conjunction with other leavening methods). These air pockets also contribute to the final texture, creating a tender, open crumb rather than a compact, heavy one. Learning how to trap air cakes effectively is key to achieving that coveted light-as-a-feather result.
Beyond just providing lift, the air bubbles trapped during mechanical leavening also serve as nucleation points for the gases produced by chemical leaveners or yeast, if present. This synergistic effect leads to even greater expansion and a more consistent, fine crumb structure. A well-aerated batter or dough results in baked goods that are not only taller but also have a more pleasant mouthfeel, dissolving delicately rather than feeling heavy or gummy. It's the difference between a light, fluffy muffin and a dense, hockey puck-like one.
Key Mechanical Leavening Techniques for Baking Success
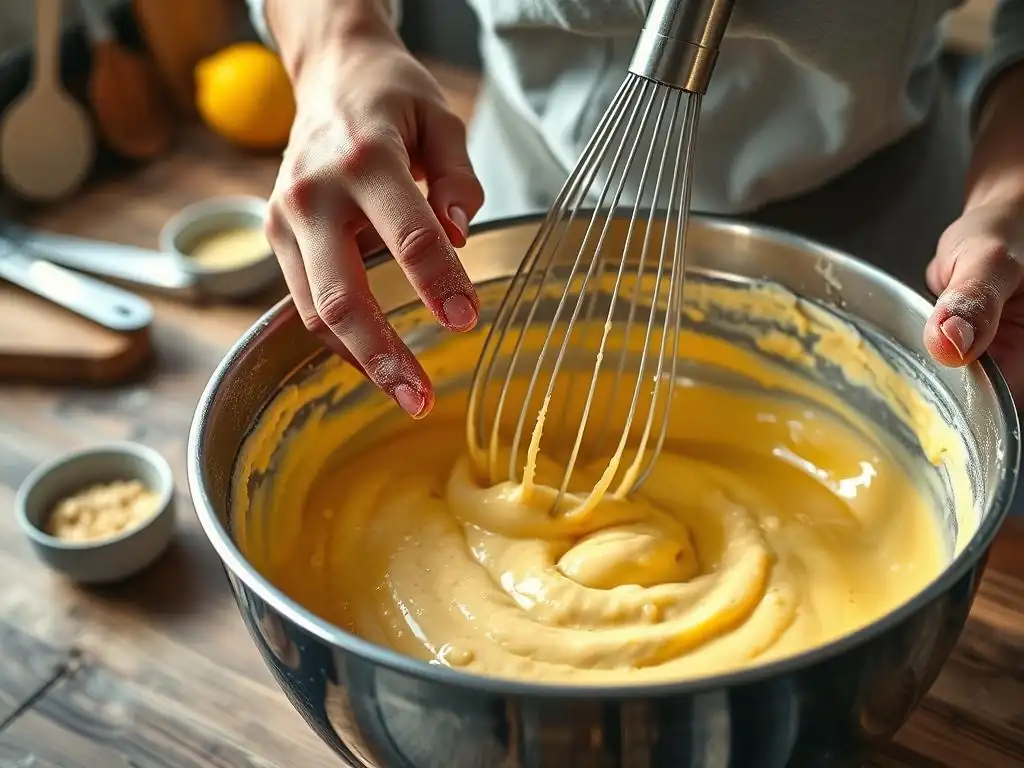
Creaming: The Foundation for Air Incorporation in Cakes
Creaming is a technique primarily used when working with solid fats, most commonly butter, and sugar. The process involves beating softened butter with granulated or caster sugar until the mixture becomes light, pale, and fluffy. As the sugar crystals are beaten against the softened butter, they create tiny air pockets within the fat. This mechanical action is one of the primary ways how to trap air cakes, particularly those based on the butter cake method. The sharper edges of sugar crystals are particularly effective at this, literally cutting into the fat and creating space for air.
The success of creaming depends heavily on the temperature of the butter. It should be soft enough to indent easily when pressed gently, but not melted or greasy. Typically, this is around 65-68°F (18-20°C). If the butter is too cold, it won't incorporate enough air; if it's too warm, the air bubbles will collapse. Proper creaming significantly increases the volume of the butter-sugar mixture, often doubling or even tripling it, providing a substantial portion of the lift needed for many cakes and cookies.
Mastering the Creaming Method: Sugar and Butter Dynamics
The interaction between sugar and butter is fascinating. Granulated sugar crystals are relatively sharp and rigid. When beaten with softened butter, these crystals physically cut into the fat, creating numerous small cavities. Air is simultaneously incorporated into these cavities as the mixture is agitated. As the creaming continues, the sugar begins to dissolve slightly into the fat, and the mixture transforms from granular and yellow to smooth, pale yellow, and significantly increased in volume. This transformation is a visual indicator that sufficient air has been incorporated.
The type of sugar used can also affect the creaming process. Finer sugars like caster sugar (superfine sugar) dissolve more readily and can create a smoother texture, while granulated sugar is often preferred for its ability to create more air pockets due to its sharper edges. The ratio of sugar to butter also plays a role; higher sugar content generally leads to more effective air incorporation during creaming, contributing significantly to the final rise and texture when learning how to trap air cakes using this method.
Tips for Perfect Creaming: Avoiding Over-Creaming and Temperature Issues
Achieving perfect creaming requires attention to detail. Always start with softened butter at the correct temperature, as mentioned earlier. Cut the butter into smaller pieces to help it soften evenly. Use a mixer (stand or hand) fitted with the paddle attachment.
Begin on low speed to combine the butter and sugar, then increase to medium speed. Scrape down the sides and bottom of the bowl frequently with a spatula to ensure even mixing and air incorporation. The process typically takes 3 to 7 minutes, depending on the amount and mixer speed, until the mixture is visibly lighter, fluffier, and paler.
Be mindful of not over-creaming, especially in recipes where a very fine crumb is desired. While creaming incorporates air, excessive beating can sometimes develop gluten in the flour prematurely once it's added, leading to a tougher texture. Also, be cautious of temperature; if your kitchen is warm, the mixture might become too soft. If this happens, briefly refrigerate the bowl for a few minutes before continuing. Conversely, if the butter feels too cold, let it sit out for a few more minutes. Patience and observation are key to mastering this fundamental step in how to trap air cakes.
Whipping: Creating Volume and Airiness in Batters
Whipping is another powerful mechanical leavening technique, primarily used with eggs, cream, or sometimes thin batters. This process involves beating with a whisk (by hand or mixer) at high speed to force air into a liquid, creating a foam of tiny bubbles. The proteins in the liquid (like albumin in egg whites or proteins in cream) stretch and stabilize these air bubbles, allowing the mixture to expand dramatically in volume. This technique is central to creating light textures in sponge cakes, meringues, mousses, and whipped cream.
The most common application of whipping for leavening is with egg whites, which can increase in volume by 6 to 10 times when whipped to stiff peaks. Whole eggs and egg yolks can also be whipped, though they achieve less volume than whites alone due to the presence of fat (which inhibits foaming). Whipping creates a delicate structure that provides significant lift during baking, making it a key method in how to trap air cakes, particularly those known for their lightness, like genoise or angel food cake.
Egg Whites: The Secret to Light and Airy Meringues and Cakes
Whipping egg whites is perhaps the most dramatic demonstration of mechanical leavening. When egg whites are beaten, their protein structure unfolds and rearranges around the air bubbles being incorporated. This creates a stable foam. Factors like temperature (room temperature egg whites whip up to greater volume), cleanliness of equipment (fat residue inhibits whipping), and the addition of stabilizers like cream of tartar (which strengthens the protein structure) significantly impact the result.
The stages of whipping egg whites are typically described as soft peaks (tips curl over), firm peaks (tips hold their shape but curl slightly), and stiff peaks (tips stand straight up). For meringues and many light cakes, whipping to stiff peaks is necessary to provide maximum lift and stability. Sugar is often added gradually during whipping, which helps stabilize the foam and adds glossiness. Mastering this technique is vital for recipes that rely heavily on egg white foam for their structure and lightness, teaching bakers how to trap air cakes with unparalleled airiness.
Whole Eggs: Incorporating Air for Sponge Cakes and More
While egg whites yield the greatest volume, whipping whole eggs or egg yolks can also incorporate significant air, especially when warmed. The classic genoise sponge cake relies almost entirely on the air whipped into whole eggs and sugar. The mixture is often warmed gently over a double boiler while whisking to around 110-115°F (43-46°C). This warming helps the sugar dissolve and makes the eggs more receptive to aeration.
After warming, the mixture is whipped at high speed until it is thick, pale yellow, and has tripled or quadrupled in volume. When the whisk is lifted, the mixture should fall back in a ribbon-like trail that holds its shape briefly on the surface. This indicates that sufficient air has been incorporated to build the cake's structure. This method of how to trap air cakes results in a cake with a fine, uniform crumb that is often lighter than butter-based cakes, making it ideal for soaking with syrups or layering with delicate fillings.
Folding: Gently Preserving Air Bubbles in Your Batter
Once air has been incorporated into ingredients like whipped egg whites, whipped cream, or creamed butter and sugar, it's crucial to combine these aerated components with other ingredients (like flour) without deflating the precious air bubbles. This is where the technique of folding comes in. Folding involves gently combining ingredients using a spatula or large spoon with a specific motion: cutting down through the center of the mixture, sliding under the bottom, and bringing the material from the bottom up and over the top, rotating the bowl as you go.
The goal of folding is to mix ingredients just until they are combined, distributing the heavier ingredients evenly through the lighter, aerated mixture without breaking the air bubbles. This gentle approach is essential for maintaining the volume achieved through creaming or whipping and is critical in recipes like soufflés, mousses, and light cakes where a delicate, airy structure is paramount. Proper folding ensures that the effort spent learning how to trap air cakes through whipping or creaming isn't undone in the final mixing stages.
The Art of Folding: Preventing Deflation and Maintaining Volume
Folding is more an art than a science, requiring a light touch and careful observation. Over-mixing during folding is a common mistake that leads to deflated batters and dense baked goods. Each fold should incorporate some of the heavier mixture into the lighter one while disturbing the air bubbles as little as possible. The motion should be fluid and deliberate, not vigorous stirring or beating. It's often recommended to add dry ingredients in stages (e.g., thirds) to make incorporation easier and minimize the need for excessive folding.
Incorporating a small amount of the heavier mixture (like flour) into a portion of the lighter mixture (like whipped egg whites) first can sometimes make the rest of the folding process easier and less likely to deflate the main volume. This "sacrificial" step helps loosen the heavier mixture. Understanding when to stop folding is also key – the batter should be just combined, with no visible streaks of unincorporated ingredients. A few gentle folds too many can collapse the delicate foam structure, negating the effort put into how to trap air cakes effectively.
Folding Techniques: Step-by-Step Instructions for Success
Here’s a basic approach to folding:
- Prepare the mixtures: Have your aerated mixture (e.g., whipped egg whites) and the heavier mixture (e.g., flour mixture or egg yolks) ready.
- Add a portion: Gently add about one-third of the heavier mixture to the aerated mixture.
- Perform the fold: Hold the spatula vertically, cut down through the center of the bowl to the bottom.
- Scoop and lift: Slide the spatula along the bottom of the bowl towards the side closest to you.
- Bring over: Gently lift the mixture from the bottom and fold it over the top of the rest of the mixture.
- Rotate: Give the bowl a quarter turn.
- Repeat: Continue this cutting-under-and-over motion, rotating the bowl, until the added portion is almost incorporated.
- Add next portion: Add the next third of the heavier mixture and repeat the folding process until almost incorporated.
- Final incorporation: Add the final portion and fold just until no streaks of the heavier mixture remain. Stop as soon as everything is combined.
Using a large, flexible rubber spatula is ideal for folding, as it allows you to scrape the sides and bottom of the bowl effectively without being too rigid and forceful. This step-by-step technique is fundamental to preserving the air you worked so hard to incorporate, ensuring your efforts in how to trap air cakes result in a light and airy crumb.
Tools and Equipment for Effective Mechanical Leavening
Stand Mixers: The Baker's Best Friend for Creaming and Whipping
A stand mixer is an invaluable tool for mechanical leavening, especially for tasks like creaming butter and sugar or whipping large quantities of egg whites or cream. Its powerful motor and consistent speed allow for efficient and thorough air incorporation. The paddle attachment is ideal for creaming, providing the necessary force to beat sugar into butter and create those essential air pockets. The whisk attachment is designed specifically for whipping, providing maximum aeration for eggs and liquids.
Using a stand mixer frees up your hands, allowing you to add ingredients gradually while the machine works. This is particularly useful when adding sugar to whipping egg whites. While a good quality stand mixer represents a significant investment, its ability to consistently and effectively perform the labor-intensive steps of creaming and whipping makes it a favorite among serious bakers looking to consistently master how to trap air cakes and other recipes requiring significant aeration.
Hand Mixers: Affordable and Versatile Air Incorporation
For bakers who don't have space or budget for a stand mixer, a hand mixer is a fantastic alternative for mechanical leavening. While they may require a bit more effort and time than a stand mixer, a good hand mixer with whisk and beaters attachments can effectively cream butter and sugar and whip eggs and cream. They are particularly useful for smaller batches or when working directly in the mixing bowl you plan to use for the final batter.
Hand mixers offer portability and are easier to store. When creaming with a hand mixer, you'll need to move the mixer around the bowl to ensure even contact with the butter and sugar and scrape down the sides frequently. For whipping, ensure the bowl is deep enough to prevent splashing. While they might take a few minutes longer to achieve the same volume as a stand mixer, hand mixers are perfectly capable of performing the key mechanical leavening tasks necessary for learning how to trap air cakes successfully.
Whisks: Achieving Lightness by Hand
Before the advent of electric mixers, all creaming and whipping were done by hand using a whisk. While more labor-intensive, hand whisking is still a perfectly viable method, especially for smaller tasks or when you want precise control. A balloon whisk, with its many wires, is designed to incorporate air efficiently into liquids like egg whites or cream. A sturdier whisk can also be used for smaller amounts of creaming, though it requires significant arm strength.
Hand whisking allows the baker to feel the texture and resistance of the mixture, offering a more intimate connection to the process. While whipping egg whites to stiff peaks by hand can take 10-15 minutes or more, it's a rewarding skill to develop. Hand tools are also essential for the folding step, where a gentle spatula or large spoon is needed to combine ingredients without deflating the incorporated air. Mastering hand techniques provides a deeper understanding of how to trap air cakes and the physical transformations involved.
Recipes that Showcase Mechanical Leavening
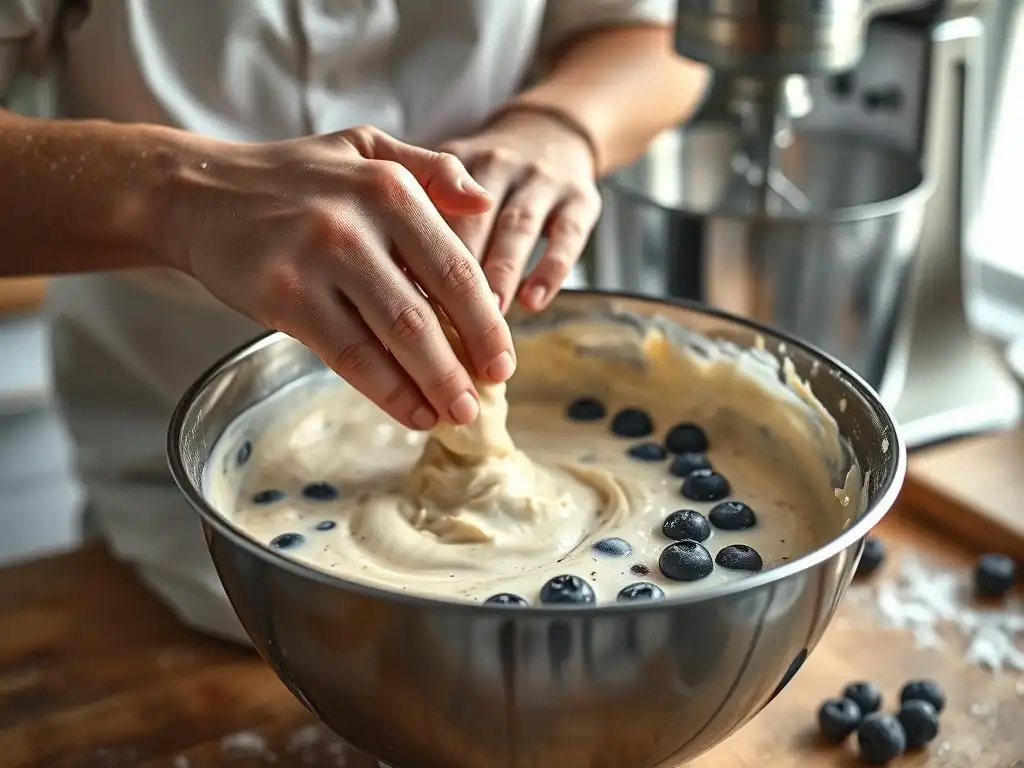
Classic Sponge Cake Recipe: A Masterclass in Whipped Eggs
A classic sponge cake, like a genoise, is a prime example of a recipe that relies almost entirely on the mechanical leavening achieved by whipping whole eggs with sugar. Typically, a recipe might call for whipping 4-6 large eggs with 1 cup of granulated sugar until the mixture is thick, pale, and ribbons when the whisk is lifted. This process alone can increase the volume of the egg mixture by 3 to 4 times.
The dry ingredients (usually just flour, sometimes with a touch of cornstarch) are then very carefully folded into the whipped egg mixture. Melted butter, often clarified, is also folded in gently towards the end. Because there are no chemical leaveners, the cake's entire rise and light texture depend on the volume of air incorporated during the whipping stage and how well that air is preserved during folding. It's a true test of a baker's skill in how to trap air cakes using the whipping method.
Butter Cake Perfection: Creaming for a Tender Crumb
Butter cakes, like the classic pound cake or yellow cake, primarily use the creaming method for mechanical leavening. A typical recipe might involve creaming 1 cup of softened butter with 2 cups of granulated sugar until the mixture is light and fluffy, which could take 5-7 minutes in a stand mixer. This step incorporates a significant amount of air, laying the foundation for the cake's structure and helping to trap air cakes effectively.
Eggs are then added one at a time, beating after each addition to incorporate them thoroughly while maintaining the emulsion and the trapped air. Dry ingredients (flour, chemical leavener like baking powder or soda, salt) and liquid ingredients (milk, buttermilk, etc.) are usually added alternately, beginning and ending with the dry ingredients. The chemical leaveners contribute additional lift, but the initial air incorporated during creaming is crucial for the cake's final volume and tender crumb structure.
Angel Food Cake: The Power of Whipped Egg Whites
Angel food cake is the ultimate showcase for mechanical leavening using whipped egg whites. A standard recipe might call for whipping 10-12 egg whites until stiff peaks form, often with the gradual addition of 1.5 to 2 cups of sugar. This process creates a massive volume of stable foam, increasing the initial volume of the egg whites by 8-10 times.
Cake flour, which is lower in protein and very fine, is then very carefully folded into the whipped egg white and sugar mixture. There is no fat in angel food cake, as fat would inhibit the whipping of the egg whites. The cake bakes in an ungreased tube pan, allowing the batter to cling to the sides and rise to its maximum potential. The entire structure and incredible lightness of angel food cake come from the air incorporated into the egg whites, demonstrating the power of mastering how to trap air cakes purely through whipping.
Troubleshooting Mechanical Leavening: Common Issues and Solutions
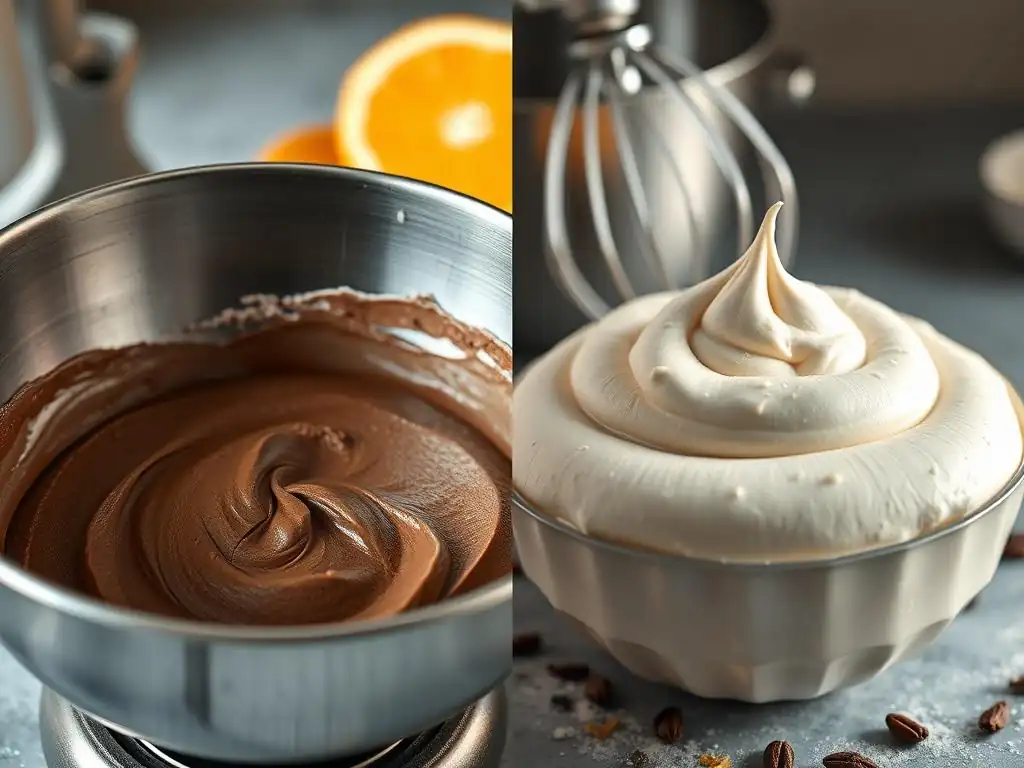
Flat Cakes: Identifying and Correcting Air Incorporation Problems
One of the most frustrating outcomes in baking is a flat cake. This is often a direct result of insufficient mechanical leavening or the loss of incorporated air. If your butter cake is flat, you might not have creamed the butter and sugar long enough or used butter that was too cold. The mixture should be significantly lighter in color and fluffier before adding eggs. If your sponge cake is flat, the eggs might not have been whipped to sufficient volume and thickness, or perhaps they weren't warmed properly beforehand.
Another common culprit for flat cakes is overmixing once the flour is added. Vigorous stirring or beating after the dry ingredients are introduced can deflate the air bubbles you worked hard to create during creaming or whipping.
To correct this, ensure your butter is at the correct temperature for creaming (around 65-68°F), whip eggs until they reach the specified stage (e.g., ribbon stage for whole eggs, stiff peaks for whites), and always use a gentle folding technique when combining dry and wet ingredients. Pay close attention to the visual cues described for each technique to confirm sufficient air has been incorporated, improving your success in how to trap air cakes.
Dense Muffins: Addressing Overmixing and Deflation
While muffins often rely more heavily on chemical leaveners, mechanical leavening (through mixing wet and dry ingredients) still plays a role, and overmixing is a frequent cause of density. Muffins use the muffin method, which involves combining wet and dry ingredients separately, then quickly mixing them together just until combined. Overmixing develops gluten, leading to a tough, dense texture. It also works the batter too much, potentially collapsing some of the smaller air pockets incorporated during the initial mixing of wet ingredients or through the action of chemical leaveners reacting prematurely.
To avoid dense muffins, mix the wet ingredients together, and mix the dry ingredients together in a separate bowl. Create a well in the dry ingredients, pour the wet ingredients in, and mix with a spoon or spatula only until the dry ingredients are just moistened. The batter should look lumpy; a few streaks of flour are acceptable. Gentle handling is key to preserving the slight aeration achieved and allowing the chemical leaveners to do their work effectively during baking, helping you learn how to trap air cakes (and muffins!) for a lighter crumb.
Rubbery Meringue: Over-whipping and Sugar Issues
Meringues, which rely entirely on whipped egg whites for their structure, can become rubbery or weep if the egg whites are over-whipped or if the sugar is not incorporated correctly. Over-whipping egg whites past the stiff peak stage can cause the protein structure to break down, leading to a grainy or rubbery texture. Adding sugar too quickly or too early can also inhibit volume and stability, sometimes leading to weeping (syrup separating from the meringue).
To achieve a stable, non-rubbery meringue, start with clean equipment and room-temperature egg whites. Add a pinch of cream of tartar or a few drops of lemon juice to help stabilize the foam. Begin whipping on medium speed until soft peaks form, then gradually add the sugar, one or two tablespoons at a time, while continuing to whip.
Increase the speed to high and whip until stiff, glossy peaks form and the sugar is completely dissolved (you shouldn't feel grit when rubbing a bit of meringue between your fingers). Proper technique ensures the protein structure is strong and the sugar is fully integrated, resulting in a stable, airy meringue.
Mastering Air Incorporation: Elevate Your Baking with BakeWithEase
Tips for Consistently Fluffy Cakes and Muffins
Achieving consistently fluffy results requires attention to detail in your mechanical leavening techniques. Here are some key tips:
- Temperature Matters: Ensure butter is properly softened for creaming (65-68°F / 18-20°C) and egg whites are at room temperature for whipping.
- Cleanliness is Crucial: Any trace of fat (even a tiny bit of yolk) on your equipment will prevent egg whites from whipping properly.
- Scrape the Bowl: Regularly scrape down the sides and bottom of your mixing bowl during creaming and whipping to ensure even air incorporation.
- Don't Overmix: Once flour is added, mix only until just combined, using a gentle folding motion where necessary. Overmixing develops gluten and deflates air.
- Understand Peak Stages: Learn to recognize soft, firm, and stiff peaks when whipping egg whites; whipping to the correct stage is vital for success.
- Gentle Folding: Use a large, flexible spatula and a gentle under-and-over motion to combine ingredients without deflating the batter.
- Use Fresh Ingredients: While not directly related to technique, fresh eggs and properly stored butter perform better.
By focusing on these simple yet critical steps, you can significantly improve your ability to mechanically leaven batters and doughs, leading to reliably fluffy results every time you bake. These tips are fundamental to mastering how to trap air cakes effectively.
Advanced Mechanical Leavening Techniques
While creaming, whipping, and folding are the core techniques, some advanced methods further leverage mechanical aeration. Lamination, used in pastries like croissants and puff pastry, involves repeatedly folding butter into dough. As the dough bakes, the butter melts and creates steam, but the layers also trap air, contributing to the incredible lift and flakiness. While not strictly incorporating air initially like whipping, the layering process mechanically creates spaces that fill with steam and air during baking.
Another technique involves using high-ratio shortening or emulsified fats in cakes. These fats contain emulsifiers that allow them to hold more liquid and sugar, and crucially, they can incorporate and hold more air during the creaming process than butter alone. This contributes to a finer, more even crumb structure and a higher volume, showcasing a different way of how to trap air cakes using specialized ingredients. Exploring these techniques can open up new possibilities for texture and structure in your baking.
Conclusion: Unlock the Secrets to Light and Airy Baked Goods
Mastering mechanical leavening is a cornerstone skill for any baker aiming to achieve light, fluffy, and tender baked goods. Techniques like creaming butter and sugar, whipping eggs or cream, and gently folding ingredients together are not just steps in a recipe; they are fundamental processes that physically build structure and volume into your batters and doughs. Understanding how to trap air cakes and other treats through these methods provides a deep insight into the science behind successful baking.
By paying close attention to ingredient temperatures, mixing times, and gentle handling, you can significantly improve the outcome of your cakes, muffins, meringues, and more. Practice makes perfect, so don't be discouraged by initial results. Keep experimenting with these techniques, observe the changes in your batter, and enjoy the process of creating beautifully light and airy baked goods. With the knowledge gained from this BakeWithEase guide, you are well on your way to unlocking the secrets of mechanical leavening and elevating your baking to new heights.
Frequently Asked Questions
How does mechanically trapping air contribute to a cake's texture?
Mechanically trapping air, like through creaming butter and sugar or whipping egg whites, creates tiny air bubbles within the batter. These air bubbles expand during baking, resulting in a light and airy texture. This is a crucial element for achieving a fluffy cake.
What are the key techniques involved in mechanically trapping air in cake batter?
The primary techniques are creaming butter and sugar together until light and fluffy, and whipping egg whites to stiff peaks. These methods incorporate air that is then stabilized within the batter's structure.
Why is it important to use room temperature ingredients when creaming butter and sugar?
Room temperature butter is soft enough to incorporate air effectively when creamed with sugar. Cold butter won't cream properly, and melted butter will result in a dense cake due to insufficient air incorporation.
Can I over-mix my cake batter after adding flour and other dry ingredients?
Yes, over-mixing after adding flour can develop the gluten, leading to a tough and dense cake. Mix only until the dry ingredients are just combined to prevent overdevelopment of gluten.
Are there any specific tools that are beneficial for mechanically trapping air when baking cakes?
A stand mixer or hand mixer is highly recommended for creaming butter and sugar and whipping egg whites. These tools provide the necessary power and speed to effectively incorporate air into the ingredients.
Final Reflection: The Art and Science of Airy Delights
The pursuit of the perfect, light-as-air cake is a timeless culinary quest, and understanding the mechanics of trapping air is the key to unlocking its secrets. This journey through mechanical leavening has revealed not just the "how," but also the "why" behind those fluffy textures we crave. From the delicate rise of whipped egg whites to the powerful expansion of baking soda and powder, each method contributes to a symphony of texture and flavor.
The impact of understanding mechanical leavening extends far beyond the kitchen; it's a testament to the power of scientific principles applied to everyday creativity. It's a reminder that even the simplest acts of baking are underpinned by complex chemical reactions. As the great culinary innovator Julia Child once said, Find something you're passionate about and keep tremendously interested in it.
For me, that passion lies in understanding the science behind the seemingly magical transformation of simple ingredients into delectable treats. This exploration has deepened my appreciation for the precision and artistry involved in baking, and the satisfaction of a perfectly risen cake is a reward in itself.
Now, it's your turn. Consider the next time you bake: Take a moment to appreciate the science behind the fluffiness, the subtle nuances of each leavening agent, and the delicate balance required to achieve that perfect texture. Don't just follow a recipe; understand it. Experiment, explore, and discover the joy of mastering the art of trapping air, creating cakes and muffins that are not only delicious but also a testament to your understanding and skill. The journey of culinary exploration is a lifelong adventure, and the perfect cake is just one delicious step along the way.
Unlock Your Baking Potential: Fluffy Cakes Await!
Thanks for diving into the world of mechanical leavening! We hope you now feel confident in understanding how air creates those wonderfully light and airy cakes and muffins. Ready to put your newfound knowledge into practice?
- Bake your dream cake: Grab your ingredients and try out one of your favorite recipes, paying close attention to the techniques we discussed. See how much fluffier your results are!
- Share your baking triumph: Post a picture of your creation on social media and tag #BakeWithEase – let's inspire others!
- Experiment with different flours: Explore how different types of flour affect the final texture. What surprising results will you discover?
What unique flour blend will you try next to achieve the ultimate fluffy texture?