
Why Resting Dough Matters & Fixes Common Problems

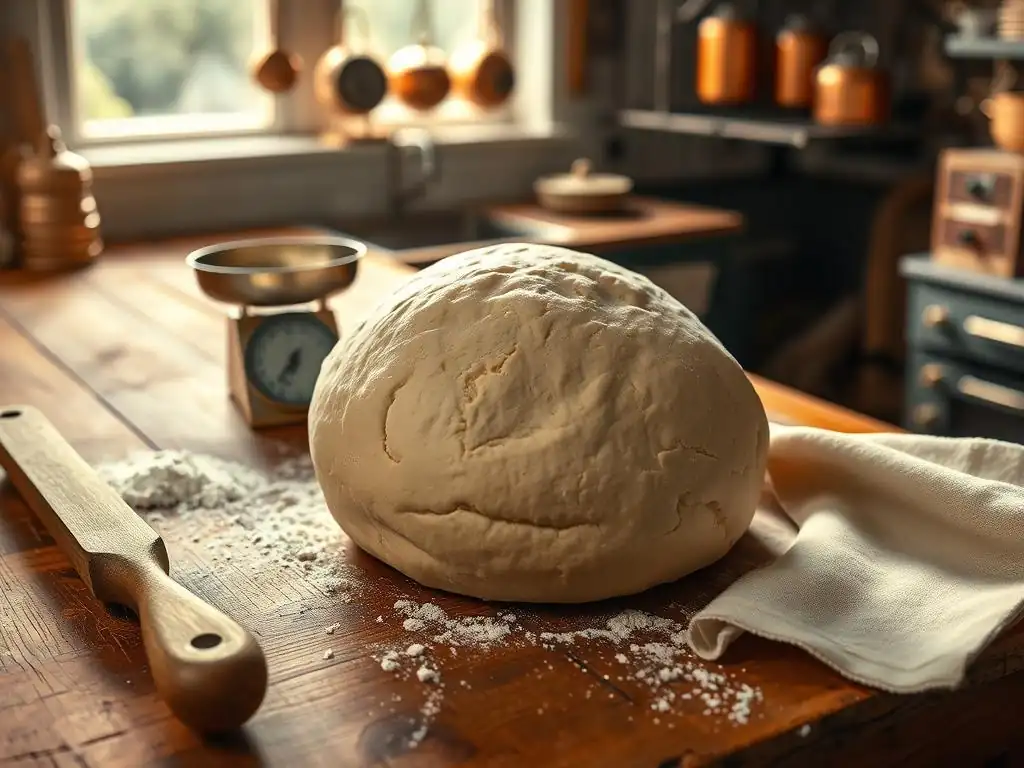
Welcome to BakeWithEase, where baking becomes a delightful journey!
Ever wondered if the secret to bakery-quality results lies beyond the ingredients? It does! Unlock the potential of your baked goods by understanding the pivotal role of resting dough. This often overlooked step can be the difference between a tough, dense bake and a light, airy masterpiece. Dive into our article to discover why resting dough matters, and how it fixes common baking problems, transforming you into a confident and successful baker. Curious to learn more? Let's get baking!
- The Importance of Dough Resting & Troubleshooting Common Problems: A Baker's Guide
- Dough Resting: A Key to Baking Success
- The Science of Dough Resting: Understanding the Fundamentals
- Baking Problems Solved by Dough Resting
- Dough Resting Techniques
- Optimal Resting Times for Different Doughs
- Troubleshooting Dough Resting Issues
- Tips for Maximizing Flavor and Texture Through Resting
- Frequently Asked Questions
- Final Reflection: The Transformative Power of Patience in Baking
- Revitalize Your Baking Skills Today!
The Importance of Dough Resting & Troubleshooting Common Problems: A Baker's Guide
Dough Resting: A Key to Baking Success
Achieving that perfect loaf of bread or flaky pastry isn't just about mixing ingredients; it's fundamentally about understanding the dough itself. One of the most crucial, yet often overlooked, steps in the baking process is allowing your dough to rest. This seemingly simple pause is where magic happens, transforming a shaggy mass into a smooth, pliable, and flavorful foundation for your baked goods. Proper resting dough for baking is not just a recommendation; it's a vital technique that influences everything from the texture and volume of your final product to its depth of flavor and ease of handling.
Whether you're crafting a rustic sourdough, a delicate croissant, or a simple pizza base, the resting period allows complex biochemical reactions to unfold. It gives the gluten structure time to develop and relax, hydrates the flour more fully, and allows enzymes to work on starches and proteins, contributing significantly to the aroma and taste.
Skipping or shortening this essential step can lead to a host of common baking frustrations, such as dense crumbs, tough textures, or dough that fights you every step of the way. Mastering the art of dough resting for baking is a game-changer for bakers of all levels, elevating results from good to truly exceptional.
The Science of Dough Resting: Understanding the Fundamentals
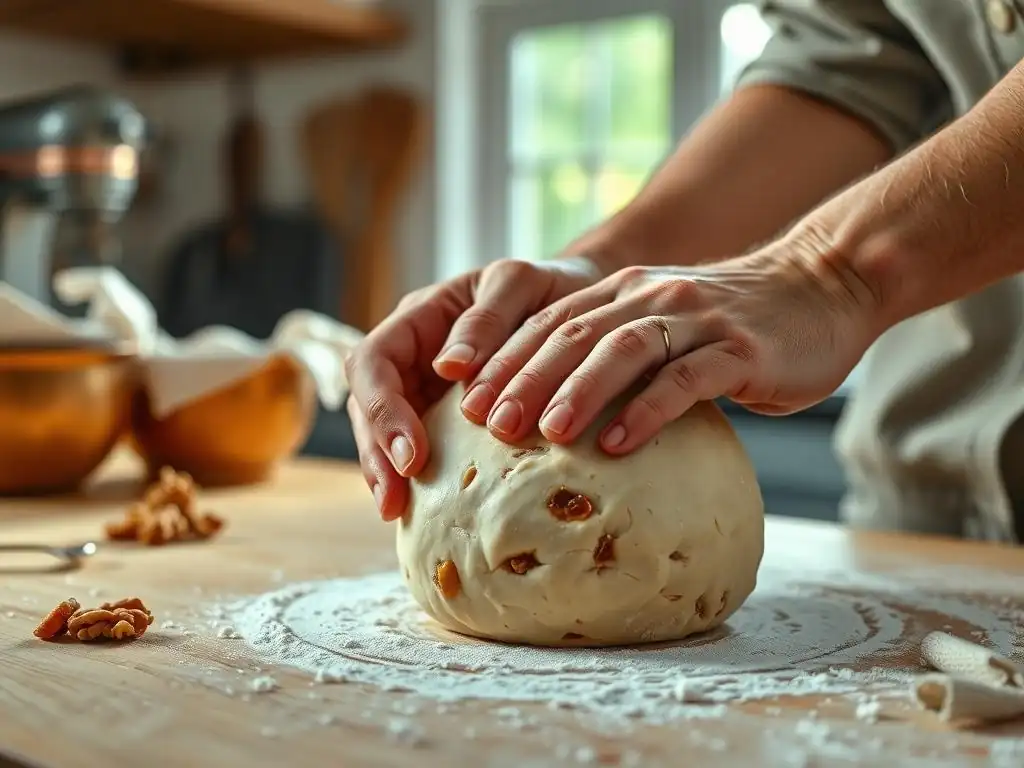
Beyond simply letting the dough sit, the resting period is a dynamic phase driven by fascinating scientific processes. Understanding these fundamentals provides insight into why resting is so important and how it impacts the final bake. It's during this time that the flour, water, and yeast (if used) interact on a molecular level, setting the stage for successful fermentation and structure development. This phase is critical whether you're working with yeast-leavened bread or even some types of unleavened doughs, as hydration and gluten relaxation are universal benefits.
The environment in which the dough rests – particularly temperature and humidity – plays a significant role in the speed and outcome of these reactions. A warmer environment accelerates enzyme activity and fermentation, while a colder one slows them down, often leading to more complex flavors. Controlling these conditions allows bakers to manipulate the resting dough for baking process to achieve specific results, from a quick rise for a same-day bake to a long, slow fermentation for maximum flavor development.
Gluten Development and Dough Resting
When flour and water are combined and mixed, two proteins present in wheat flour, glutenin and gliadin, begin to bond and form a network known as gluten. This network provides the structure and elasticity necessary for dough to trap the gases produced by yeast or other leaveners, allowing it to rise and hold its shape. Initially, after mixing or kneading, this gluten network is tight and tense, making the dough difficult to stretch without tearing.
Allowing the dough to rest provides the gluten strands time to relax and realign. Think of it like stretching a rubber band repeatedly – it becomes more pliable the more you stretch it. During resting, the gluten network undergoes a similar relaxation, becoming more extensible and elastic. This relaxation is crucial; it makes the dough easier to handle, shape, and stretch without tearing, which is essential for techniques like shaping baguettes or stretching pizza dough. A well-rested dough, thanks to proper gluten development and relaxation, will have a smoother surface and a less resistant feel when handled.
Hydration and Dough Relaxation During Resting
Proper hydration is fundamental to good baking, and the resting period allows water to fully penetrate and hydrate the flour particles. When flour is first mixed with water, some parts of the flour absorb moisture more quickly than others. Initial mixing might leave some dry pockets or uneven hydration throughout the dough.
During resting, water continues to distribute itself evenly throughout the flour particles through a process called osmosis. This allows the proteins and starches to absorb water more completely. Full hydration is essential for the gluten network to form correctly and for enzymes to function optimally. A dough that has rested properly will feel less sticky and more homogenous, as the moisture has had time to equalize throughout the mass. This improved hydration also contributes to a softer crumb structure in the final baked product.
Enzyme Activity and Flavor Development During Resting
Flour contains naturally occurring enzymes, primarily amylase and protease, which become active when water is added to the dough. During the resting period, these enzymes get to work, breaking down complex molecules into simpler ones. Amylase breaks down starches into sugars, which serve as food for yeast (if present) and contribute to crust browning and sweetness during baking. Protease enzymes work on the proteins, including gluten, helping to soften the dough and increase its extensibility.
This enzymatic activity is also crucial for flavor development. The breakdown of starches and proteins releases flavor compounds. In longer resting periods, especially cold fermentation, these enzymatic processes occur more slowly, allowing for a greater accumulation of complex flavor precursors. This is why a slow-fermented sourdough or a pizza dough that has rested overnight often has a more nuanced and developed taste compared to a quickly made dough. The resting dough for baking isn't just about structure; it's a critical step in building delicious flavor.
Baking Problems Solved by Dough Resting
Many common frustrations encountered in baking can be directly linked to insufficient or improper dough resting. Recognizing these problems and understanding how resting provides the solution can dramatically improve your baking results. From handling sticky dough to achieving the desired crumb structure and flavor, allowing your dough adequate rest is a powerful corrective tool.
Addressing these issues through proper resting techniques is a fundamental skill for any baker. It transforms the baking process from a struggle with uncooperative dough into a smooth execution, leading to consistently better outcomes in your kitchen. The time invested in resting dough for baking pays dividends in quality and enjoyment.
Problem: Dense and Chewy Bread
One of the most frequent complaints about homemade bread is a dense, heavy texture with a tough chew. This often occurs when the gluten network is too tight and hasn't had sufficient time to relax. Dough that hasn't rested properly is difficult to shape gently, leading to degassing and a poor ability to expand during baking.
Solution: Gluten Relaxation Through Proper Resting
Allowing the dough to rest, particularly during the initial bulk fermentation and subsequent proofing stages, gives the gluten network time to relax. This relaxation makes the dough more extensible and less resistant to stretching. When the dough is properly relaxed, it can be shaped without tearing the gluten strands, allowing it to hold onto the gases produced by the yeast more effectively.
This leads to a lighter, more open crumb structure and a tender chew, solving the problem of dense bread. For instance, a simple white loaf dough might need an initial rest of 60-90 minutes at room temperature to allow sufficient gluten relaxation before shaping.
Problem: Sticky and Unmanageable Dough
Working with dough that is excessively sticky and resists shaping can be incredibly frustrating. While hydration level plays a role, dough that hasn't rested sufficiently often feels stickier than it should, even if the hydration is correct. This is because the flour hasn't fully absorbed the water, and the gluten network hasn't developed enough structure to manage the moisture.
Solution: Improving Dough Elasticity with Adequate Resting
Resting allows time for the flour to fully hydrate and for the gluten network to develop strength. As the gluten develops and the water distributes evenly, the dough becomes less sticky and more elastic and manageable. It develops a smooth surface and a pleasant, slightly tacky feel rather than a wet, glue-like stickiness.
For a dough with a hydration of around 70%, a rest period of just 20-30 minutes after initial mixing can significantly improve its handleability compared to trying to knead or shape it immediately. This is a key benefit of resting dough for baking even for short periods.
Problem: Bread with Large, Irregular Air Pockets
While some large air pockets are desirable in certain breads (like ciabatta), a loaf with uneven, large holes mixed with dense areas often indicates poor gas distribution during fermentation. This can happen when the dough structure is inconsistent, or when the dough hasn't been allowed to ferment uniformly.
Solution: Uniform Fermentation Achieved Through Resting
Proper resting allows for consistent gas production and distribution throughout the dough. During bulk fermentation, the yeast produces carbon dioxide, which is trapped by the developing gluten network. If the dough rests properly, this gas production occurs relatively evenly, and the gluten network is strong enough to hold the gas bubbles in a uniform manner. Subsequent gentle handling and shaping after resting help to redistribute some of the larger bubbles while maintaining overall structure, leading to a more consistent and desirable crumb structure with evenly distributed air pockets, rather than chaotic, irregular ones.
Problem: Bland and Flavorless Baked Goods
Baked goods that lack depth and complexity of flavor often haven't had sufficient time for enzymatic activity and fermentation to produce flavor compounds. Quick recipes that rush the process sacrifice the opportunity for flavor development.
Solution: Flavor Enhancement Through Extended Resting
Extended resting periods, particularly cold fermentation in the refrigerator, significantly enhance flavor. As mentioned earlier, enzymes break down starches into sugars and proteins into amino acids, which contribute to taste and aroma. Yeast and other microbes in the dough also produce organic acids and other compounds as byproducts of fermentation.
These processes happen more slowly and over a longer duration during extended rests, allowing a greater concentration of flavor compounds to build up. For example, a pizza dough cold-fermented for 24-48 hours will have a far more complex, slightly tangy flavor than one rested for only an hour at room temperature, showcasing the power of resting dough for baking for flavor.
Dough Resting Techniques
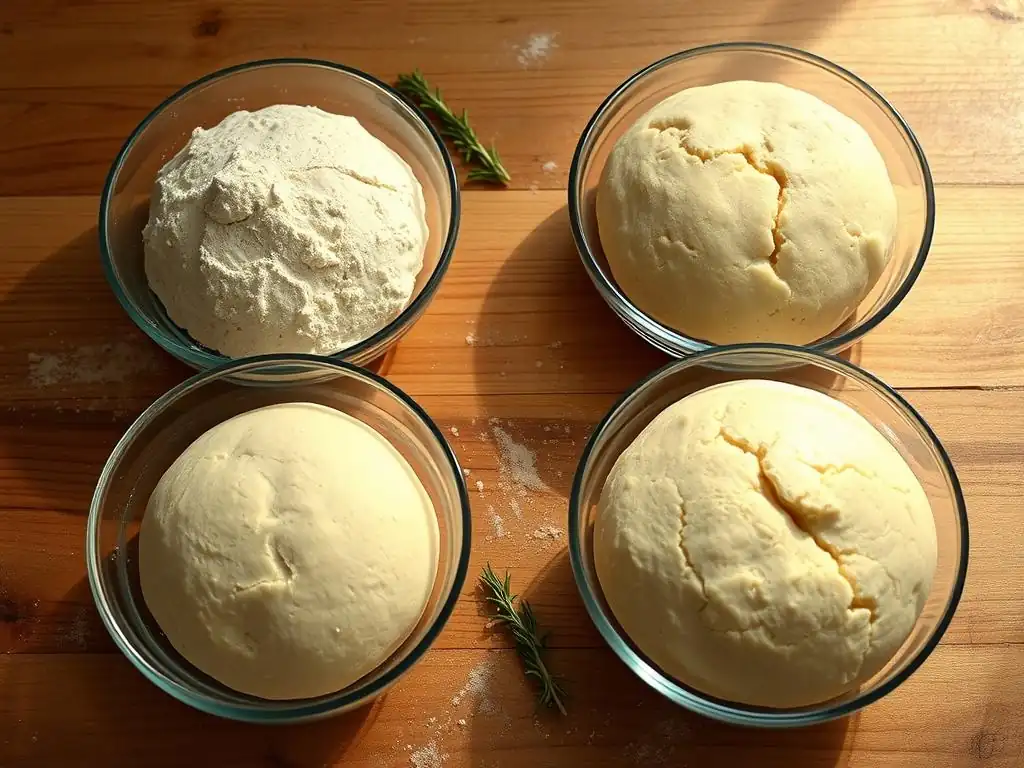
Different baking goals call for different resting techniques. Understanding these methods allows bakers to choose the approach that best suits the recipe, desired outcome, and timeline. Each technique leverages the science of dough development in a specific way, contributing unique qualities to the final product.
Employing the correct dough resting for baking technique is as important as getting the ingredient ratios right. It's a fundamental skill that provides control over the dough's structure, texture, and flavor profile.
Bulk Fermentation: The First Rise
Bulk fermentation, also known as the first rise, is the initial resting period after the dough has been mixed and kneaded (or autolysed). This is typically the longest resting phase at room temperature. During bulk fermentation, the dough doubles or triples in size as yeast produces carbon dioxide gas, expanding the gluten network.
This phase is crucial for developing both structure and initial flavor. It allows the gluten to fully relax and become extensible, making the dough easier to shape later. It also allows enzymes and yeast to begin their work, breaking down starches and developing foundational flavors. The duration varies greatly depending on the recipe, yeast amount, and temperature, but can range from 1 to 4 hours or even longer for slow-fermented doughs at room temperature.
Proofing: The Final Rise Before Baking
Proofing, or the final rise, is the resting period after the dough has been shaped and placed in its final baking vessel (like a loaf pan or on a baking sheet). This is a shorter rest than bulk fermentation and occurs just before the dough goes into the oven. During proofing, the shaped dough undergoes a final expansion as yeast continues to produce gas.
The goal of proofing is to achieve the optimal volume and aeration before baking. Over-proofing can lead to collapsed or dense bread, while under-proofing results in a tight crumb and poor oven spring. Proofing times are highly variable, influenced by dough type, ambient temperature, and the dough's activity level. It can range from 30 minutes to several hours at room temperature, or much longer if proofed in a cold environment.
Autolyse: Pre-Mixing for Improved Dough Hydration
Autolyse is a specific resting dough for baking technique where flour and water are mixed together and allowed to rest before adding salt and yeast (or sourdough starter). This rest period, typically 20 minutes to an hour, allows the flour to fully hydrate without the interference of salt (which tightens gluten) or yeast activity.
The primary benefits of autolyse are improved hydration and easier gluten development. The enzymes in the flour (protease) begin to break down proteins during this rest, making the dough more extensible and requiring less kneading to develop gluten. This technique is particularly useful for high-hydration doughs or doughs made with whole wheat flour, which needs more time to absorb water.
Cold Fermentation: Slowing Down Fermentation for Flavor Development
Cold fermentation involves resting the dough in a refrigerator (typically 35-40°F or 2-4°C) for an extended period, often 12 to 72 hours or even longer. The cold temperature dramatically slows down yeast activity, but enzymatic activity continues, albeit at a slower pace.
This slow, cold rest is a powerful technique for developing complex flavors and improving dough structure. The extended time allows for more comprehensive breakdown of starches and proteins, leading to a more nuanced taste. It also strengthens the gluten network over time without rapid expansion, resulting in dough that is easier to handle and shape after it warms up slightly. Cold fermentation is a popular technique for sourdough, pizza dough, and artisanal breads where deep flavor is desired.
Optimal Resting Times for Different Doughs
Determining the exact optimal resting time for dough is more art than strict science, as it depends on numerous factors including ingredients, hydration, yeast or starter activity, and ambient temperature. However, general guidelines exist for different types of dough, providing a starting point for successful resting dough for baking.
Understanding these typical ranges helps you know what to expect and how to adjust based on your specific conditions. It's crucial to learn to read the dough itself – observing its size, feel, and texture – rather than relying solely on a timer.
Resting Times for Bread Doughs
Standard lean bread doughs (flour, water, salt, yeast) typically require a bulk fermentation of 1 to 2 hours at a warm room temperature (around 75°F or 24°C), allowing the dough to roughly double in size. This is followed by shaping and a proofing period of another 45 to 75 minutes, or until the dough is visibly puffy and passes the "poke test" (gently pressing the dough leaves a slow indentation).
For sourdough bread, bulk fermentation can be much longer, often 4 to 6 hours or more at room temperature, depending on the starter's activity and ambient temperature. Sourdough proofing also varies but is often shorter than the bulk rise. Cold fermentation for bread doughs can extend the bulk or proofing stage to 12-48 hours in the refrigerator, significantly impacting flavor.
Resting Times for Pastry Doughs
Pastry doughs like puff pastry, croissant dough, or pie crust often rely on cold resting periods between folds or before baking. These rests are less about fermentation (though some may have minimal leavening) and more about relaxing the gluten and firming up the fat (butter).
For puff pastry, multiple cold rests of 30-60 minutes between each turn or fold are essential to keep the butter solid and the dough pliable. Pie crust dough typically rests for at least 30 minutes (and up to 2 days) in the refrigerator before rolling to relax the gluten and make it easier to handle, preventing shrinkage during baking. These cold rests are critical for achieving the desired flaky texture in pastries.
Resting Times for Pizza Doughs
Pizza dough benefits greatly from generous resting, particularly cold fermentation. A basic same-day pizza dough might rest for 1-2 hours at room temperature for a quick rise after mixing, followed by a short rest (15-30 minutes) after shaping before topping and baking.
However, for superior flavor and texture, resting dough for baking pizza is often extended. Cold fermentation for pizza dough in the refrigerator is highly recommended, lasting anywhere from 24 hours to 72 hours. This long, slow rest develops complex flavors and results in a dough that is incredibly easy to stretch thin without tearing, producing a crust with a delightful chew and often more pronounced blistering during baking.
Troubleshooting Dough Resting Issues
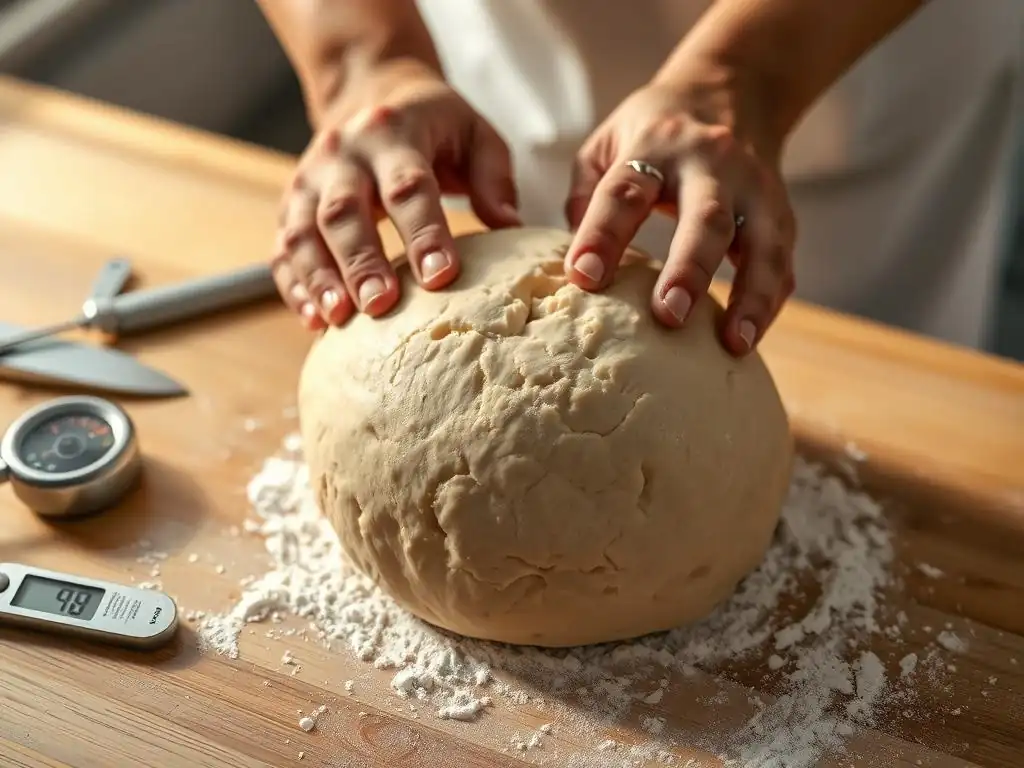
Even with the best intentions, things can sometimes go wrong during the dough resting phase. Recognizing the signs of common problems like over-proofing or under-proofing and knowing how to adjust is key to rescuing your bake or improving for next time. Temperature fluctuations are often the culprit behind unexpected results.
Learning to troubleshoot the resting dough for baking process is a skill developed through practice and observation. It's about understanding how temperature, time, and dough activity interact.
Over-Proofing: Identifying and Rectifying Over-Fermented Dough
Over-proofed dough has rested for too long, allowing the yeast to produce too much gas and potentially consume all available sugars needed for oven spring and crust browning. Signs include the dough looking excessively large, potentially starting to collapse, smelling strongly of alcohol or yeast, and feeling very delicate and fragile. The poke test will result in the indentation remaining completely without springing back at all.
If a dough is slightly over-proofed but hasn't collapsed, you might gently reshape it and give it a very short second proof (15-20 minutes), or even bake it immediately if it's significantly over-proofed. The resulting bread may have less volume and a weaker crust, but it's often still salvageable. If it has collapsed, you can sometimes punch it down, reshape, and give it a shorter, careful proof, but the texture will likely be compromised.
Under-Proofing: Recognizing and Correcting Insufficiently Proofed Dough
Under-proofed dough hasn't rested long enough for sufficient gas production and gluten relaxation. Signs include the dough looking dense and not significantly increased in size, feeling tight and resistant when handled, and the poke test resulting in the indentation springing back immediately. Baked bread from under-proofed dough will be dense, heavy, with a tight crumb and potentially burst crust (called a "blowout") where trapped gas escaped violently.
The solution for under-proofed dough is simple: give it more time to rest! If you notice it before baking, let it continue proofing until it looks adequately expanded and the poke test is appropriate. If you've already baked it, there's no fixing the crumb structure, but you've learned for next time. Adjusting the resting dough for baking time based on temperature and dough activity is crucial to avoid this.
Adjusting Resting Times Based on Ambient Conditions
Temperature is the single biggest variable affecting resting times. Warmer temperatures (e.g., 80°F / 27°C) significantly speed up yeast activity and fermentation, while cooler temperatures (e.g., 65°F / 18°C) slow it down. Humidity also plays a role; higher humidity can slightly accelerate activity and keep the dough surface from drying out.
Always treat recommended resting times in recipes as guidelines. Observe your dough and its environment. If your kitchen is warm, your dough will likely rise faster than the recipe states, so check it sooner. If it's cold, it will take longer. Learning to gauge the dough's readiness by feel and appearance (like doubling in size for bulk fermentation or the poke test for proofing) is more reliable than strictly following a clock. This flexibility in resting dough for baking is key to consistent results.
Tips for Maximizing Flavor and Texture Through Resting
Beyond just letting the dough sit, several factors can be controlled during the resting period to further enhance the flavor and texture of your baked goods. These tips involve conscious choices about ingredients and environment to optimize the results of resting dough for baking.
Paying attention to these details can take your baking from good to exceptional, unlocking deeper flavors and achieving ideal textures.
Selecting Flour Types for Optimal Dough Resting
The type of flour used significantly impacts how dough behaves during resting. High-protein bread flours (12-14% protein) develop strong gluten networks that benefit greatly from adequate resting to relax and become extensible. These flours are ideal for long fermentation periods, including cold fermentation, as the robust gluten can withstand the extended time.
Lower-protein flours like all-purpose (10-12%) or pastry flour (8-10%) develop less gluten and require shorter, gentler resting periods. Over-resting dough made with low-protein flour can lead to the gluten breaking down. Whole wheat and other whole grain flours often benefit from longer rests, including autolyse, because the bran particles absorb water slowly and can interfere with gluten development if not given sufficient time and hydration during the rest.
Maintaining Consistent Temperatures During Dough Resting
Consistency in temperature during resting is vital for predictable results. Wild temperature swings can lead to uneven fermentation. For room temperature rests, aim for a stable environment, ideally between 70-75°F (21-24°C). Avoid placing dough directly in drafts or sunny spots that will cause rapid temperature changes.
Using a proofing box, oven with the light on (creating a slightly warm environment), or simply covering the dough and placing it in a consistent spot in your kitchen can help maintain temperature. For cold fermentation, ensure your refrigerator is consistently between 35-40°F (2-4°C). Consistent temperature control allows for the controlled resting dough for baking needed to achieve desired outcomes.
Fine-Tuning Resting Times for Desired Results
Ultimately, the "perfect" resting time is subjective and depends on the characteristics you want in your final bake. A shorter, warmer rest will yield a quicker rise and milder flavor, suitable for some quick breads or rolls. A longer, colder rest will develop more complex flavors and a more extensible dough, ideal for artisanal loaves or pizza crusts.
Experimenting with different resting times and temperatures for your favorite recipes is the best way to understand their impact. Keep notes on how the dough looks, feels, and smells after different resting periods, and how the final baked good turns out. This process of observation and adjustment is key to mastering the art of resting dough for baking and consistently achieving your desired flavor and texture profiles.
Frequently Asked Questions
Why is resting dough important in baking?
Resting dough allows the gluten to relax, making the dough more manageable and easier to shape. This process also enhances the flavor development.
How long should I rest my dough for baking?
The resting time varies depending on the recipe and type of dough. Generally, a rest of 15-30 minutes is sufficient for most doughs, but some may require longer resting periods, even overnight.
What happens if I don't rest my dough?
Skipping the resting phase can result in a tough, difficult-to-shape dough that springs back and is prone to tearing. The final product may also have a less desirable texture.
Can I over-rest my dough?
Yes, over-resting can lead to a dough that becomes too slack and difficult to handle. It can also result in a flat or dense final product, especially with yeasted doughs.
What problems can resting the dough solve in baking?
Resting dough can fix problems like excessive elasticity, difficulty shaping, and uneven baking. It also improves the final product's texture and flavor, leading to a better overall baking experience.
Final Reflection: The Transformative Power of Patience in Baking
The simple act of resting dough is far more than a pause in the baking process; it's the key to unlocking superior texture, flavor, and overall baking success. Ignoring this crucial step often leads to dense, tough loaves and frustrating results, highlighting the importance of understanding the science behind this seemingly simple technique. This knowledge empowers bakers of all levels to elevate their creations.
The impact of understanding dough resting extends beyond the individual baker, influencing the entire culinary landscape. From artisan bread shops to home kitchens, the appreciation for this fundamental technique is growing, leading to a wider appreciation for the nuances of baking. This shift reflects a broader cultural trend towards mindful craftsmanship and a deeper connection with the ingredients and processes involved in food production. Patience is a virtue, and in baking, it's the secret ingredient.
This simple quote encapsulates the essence of what we've explored – that the time invested in resting dough yields immeasurable rewards.
Now, consider your own baking journey. What adjustments can you make to incorporate longer resting times into your recipes? Will you experiment with different resting methods to see how they affect the final product? Remember, the next time you're preparing dough, don't rush the process. Embrace the pause, appreciate the transformation, and savor the delicious results that patience brings. The journey of baking is as important as the destination, and resting your dough is a crucial step in that journey.
Revitalize Your Baking Skills Today!
Thank you for taking the time to explore the importance of resting dough! You've uncovered how this simple step can elevate your baking and resolve those pesky issues like tough textures and uneven rises. Now that you're armed with valuable insights, it’s time to put that knowledge into action.
Here’s how you can get started:
- Implement a Resting Routine: Try resting your dough for at least 30 minutes before shaping. Feel the difference in texture and flavor!
- Experiment with Different Flours: Discover how varying your flour choice affects the dough's hydration and elasticity. It’s a fun way to personalize your baking!
- Share Your Baking Journey: Connect with fellow bakers by sharing your dough resting experiences. Join online forums or social media groups dedicated to baking!
What other baking techniques have transformed your recipes? Share your thoughts and let’s inspire each other!