
Advanced Dough Handling: Techniques Tailored for Different Pizza Styles

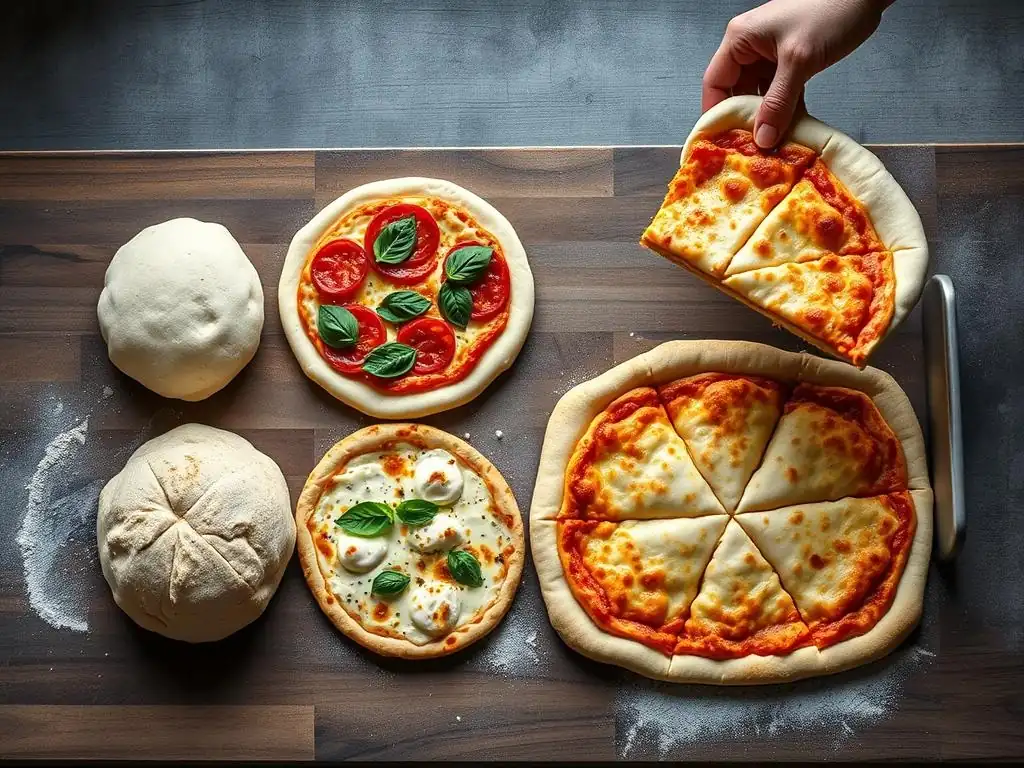
Welcome to BakeWithEase, your trusted companion on your baking journey! Ever wondered how to achieve that perfectly airy crust or master the secrets behind authentic Neapolitan pizza? Dive into our latest article, " Advanced Dough Handling: Techniques Tailored for Different Pizza Styles," where we unravel the mysteries of perfecting pizza dough techniques. Discover how subtle adjustments in handling can dramatically impact your final bake. Are you ready to unlock the secrets to truly exceptional pizza? Let's get baking!
- Mastering Pizza Dough: An Advanced Guide
- Understanding Dough Hydration for Different Pizza Styles
- Advanced Kneading Techniques for Pizza Dough Perfection
- Shaping Pizza Dough: Techniques for Different Crust Styles
- Proofing Pizza Dough: Optimizing Flavor and Texture
- Baking Techniques for Different Pizza Styles
- Troubleshooting Common Pizza Dough Problems
- Elevate Your Pizza Game: Expert Tips for Consistent Results
-
Frequently Asked Questions
- How does dough hydration affect the final pizza crust?
- What are the key differences in handling dough for Neapolitan vs. New York-style pizza?
- Why is cold fermentation important for pizza dough?
- What are some common mistakes to avoid when working with pizza dough?
- How can I adjust my pizza dough recipe for different oven types?
- Final Reflection: The Alchemy of Dough: Mastering the Art of Pizza
- Unleash Your Inner Pizzaiolo: Master Dough & Craft Your Perfect Pie!
Mastering Pizza Dough: An Advanced Guide
Perfecting pizza dough techniques is a journey that goes beyond simply mixing flour and water. It involves a deep understanding of ingredients, precise handling, and a keen awareness of how different methods impact the final crust. Whether you're aiming for the airy, slightly charred edge of a Neapolitan pizza or the crispy, substantial base of a Roman-style slice, the way you handle your dough is paramount. This guide delves into advanced techniques, tailored specifically for achieving distinct pizza styles.
To truly master pizza dough, you need to consider factors like hydration levels, kneading methods, and fermentation times. Each step, from the initial mix to the final proof, plays a crucial role in developing the gluten structure and flavor profile that defines your pizza. By understanding and applying these advanced techniques, you can elevate your homemade pizzas from good to truly exceptional, consistently achieving the desired texture and taste for your preferred style.
Understanding Dough Hydration for Different Pizza Styles
Dough hydration, defined as the ratio of water to flour by weight, is a fundamental concept in baking, especially when perfecting pizza dough techniques. It profoundly impacts the dough's texture, how it handles, and the final crust characteristics. Higher hydration results in a wetter, stickier dough that can yield a more open crumb structure, while lower hydration creates a stiffer dough that is easier to handle and often results in a crispier crust.
Choosing the right hydration level is the first step in tailoring your dough for a specific pizza style. A Neapolitan dough, for instance, requires a significantly different hydration than a Roman-style dough. This choice influences not only the texture of the crust but also the fermentation process and the handling techniques required, making hydration a critical factor in perfecting pizza dough techniques specific to your desired outcome.
High Hydration Dough: Achieving Open Crumb Structure in Neapolitan Pizza
High hydration doughs typically fall within the 65% to 75% hydration range, sometimes even higher, relative to the flour weight. For example, a dough made with 1 kilogram of flour and 700 grams of water would have 70% hydration. This high water content promotes greater enzymatic activity during fermentation and allows for a more open and irregular crumb structure, which is characteristic of authentic Neapolitan pizza. Handling such a wet dough requires practice; techniques like the 'stretch and fold' method performed over several intervals are often used to develop gluten without excessive kneading.
The benefit of high hydration for Neapolitan pizza is the incredibly light and airy cornicione (crust edge) with beautiful internal air pockets. When baked at very high temperatures (around 450-500°C or 850-930°F), the water in the dough rapidly turns to steam, causing the crust to puff up dramatically and creating the signature leopard spotting. While stickier and potentially more challenging to work with initially compared to lower hydration doughs, mastering high hydration is essential for perfecting pizza dough techniques for this classic style.
Low Hydration Dough: Creating a Crispy Roman-Style Pizza Base
Low hydration doughs typically range from 50% to 60% hydration. Using the same example, 1 kilogram of flour with 550 grams of water yields 55% hydration. This lower water content results in a much stiffer, less sticky dough that is considerably easier to handle and shape, often allowing for rolling or pressing into pans. Roman-style pizza, particularly Pizza alla Romana (often baked in rectangular pans), is a prime example where lower hydration excels, producing a thin, incredibly crispy crust that holds its shape well even with generous toppings.
The reduced water content leads to a denser dough with less aggressive oven spring compared to high hydration doughs. When baked, this structure contributes to the dough drying out more evenly and becoming exceptionally crisp. While it lacks the dramatic airy pockets of Neapolitan crust, the uniform crispness achieved with lower hydration is the defining characteristic of a great Roman-style base. Perfecting pizza dough techniques for this style means embracing a firmer dough that prioritizes crunch.
Advanced Kneading Techniques for Pizza Dough Perfection
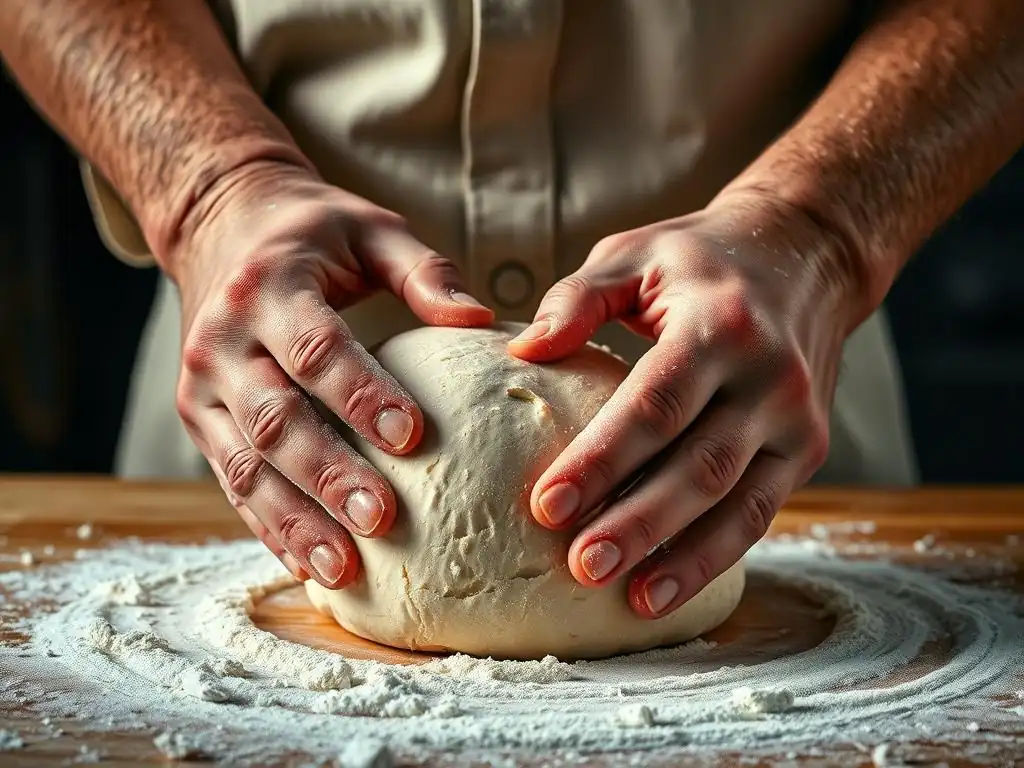
Beyond the basic mixing of ingredients, advanced kneading techniques are crucial for developing the gluten network necessary for optimal dough structure and texture. Gluten, formed by the proteins gliadin and glutenin when hydrated and worked, provides the dough with elasticity and extensibility, allowing it to trap gases produced during fermentation and rise. Different techniques can influence how this network develops, impacting the final crumb and crust.
Techniques such as autolyse and methods for assessing gluten development like the windowpane test are key components in perfecting pizza dough techniques at an advanced level. These methods help ensure that the gluten is properly developed – not under- or over-worked – leading to dough that is both strong enough to hold its shape and elastic enough to stretch without tearing, setting the stage for successful shaping and baking.
Autolyse: The Key to Enhanced Dough Development
Autolyse is a simple yet powerful technique involving mixing just the flour and water from your recipe and letting it rest before adding the salt and yeast. A typical autolyse period can range from 20 minutes to an hour, or sometimes even longer. During this resting phase, enzymes naturally present in the flour begin to break down starches and proteins. This process allows the flour to fully hydrate and kickstarts gluten development without any mechanical effort, making the subsequent kneading process significantly easier and more effective.
Implementing autolyse helps in perfecting pizza dough techniques by promoting a smoother, more extensible dough. The gluten network starts forming in a relaxed state, resulting in dough that is less sticky and easier to handle after kneading. It also contributes to a more open crumb structure and improved flavor. For example, an autolyse of 30-40 minutes can dramatically reduce the required kneading time while improving the dough's overall strength and handling characteristics.
The Windowpane Test: Ensuring Optimal Gluten Development
The windowpane test is a classic method used by bakers to determine if gluten has been sufficiently developed. To perform the test, take a small piece of dough, gently stretch it between your fingers. If the dough can be stretched thinly enough to see light through it without tearing, creating a translucent "windowpane," then the gluten network is well-developed. If it tears quickly, it needs more kneading or resting time to allow the gluten to relax and strengthen.
This test is invaluable for perfecting pizza dough techniques because it provides a tangible way to assess the dough's readiness. Achieving the right level of gluten development ensures the dough will be elastic enough to stretch into a thin base without snapping back excessively or tearing during shaping. It's a visual cue that the dough has the structural integrity needed to trap fermentation gases and produce a well-risen, airy crust.
Bulk Fermentation: Developing Flavor and Texture in Pizza Dough
Bulk fermentation, or the first rise, is the period after kneading where the entire mass of dough is left to ferment before dividing and shaping. This is a critical phase for both flavor development and creating the airy texture. During bulk fermentation, yeast produces carbon dioxide gas, which causes the dough to rise, and also produces organic acids and alcohols that contribute significantly to the dough's flavor profile.
The duration and temperature of bulk fermentation greatly impact the final result. A typical room temperature bulk fermentation (around 22-26°C or 72-79°F) might last 2-4 hours, doubling the dough in size. However, a longer, slower fermentation, such as cold fermentation in a refrigerator (more on this later), allows for more complex flavors to develop. Monitoring the dough's increase in volume and its feel (it should be airy and slightly rounded) is key to knowing when bulk fermentation is complete, essential for perfecting pizza dough techniques.
Shaping Pizza Dough: Techniques for Different Crust Styles
Once the dough has completed its bulk fermentation and is divided into individual portions, the shaping process begins. This stage is where the desired crust style starts to take its final form. Different pizza styles require specific shaping techniques to achieve their characteristic thickness, texture, and edge. Improper shaping can deflate the dough, damage the gluten structure, or result in an uneven crust.
Mastering the shaping technique appropriate for your chosen pizza style is just as important as perfecting pizza dough techniques during mixing and fermentation. Whether you're gently coaxing a Neapolitan dough or rolling out a New York-style base, the method you use will directly impact the final bake and the enjoyment of your pizza.
Hand-Stretching Neapolitan Pizza Dough: Achieving a Thin and Airy Crust
Hand-stretching is the traditional and preferred method for Neapolitan pizza dough. The goal is to gently work the dough from the center outwards, preserving the air bubbles that accumulated during fermentation, especially in the outer rim (cornicione). Start with a well-proofed dough ball, press the center flat while leaving the outer edge untouched, then gently stretch, rotate, and repeat, allowing gravity to assist, until you reach a diameter of roughly 12-14 inches. Avoid using a rolling pin, as this would push out the precious air.
This technique is fundamental to perfecting pizza dough techniques for Neapolitan style. It requires a delicate touch to stretch the dough thin in the middle while encouraging the rim to remain airy and puff up dramatically in the high-temperature oven. The resulting crust is light, with a contrast between the thin base and the puffy, often blistered cornicione.
Rolling Out New York-Style Pizza Dough: Consistency and Even Thickness
Unlike Neapolitan, New York-style pizza often utilizes a rolling pin to achieve a large, thin, and consistently even base, typically 16-18 inches in diameter and about 1/8 to 1/4 inch thick. While rolling pushes out some air, the dough is usually less hydrated than Neapolitan and designed to produce a crust that is sturdy enough to hold a fold (the classic NY slice fold) yet still has a satisfying chew and crispness on the bottom.
Starting with a proofed dough ball, gently flatten it, then use a rolling pin, working from the center outwards and rotating the dough to maintain a circular shape. This method ensures uniform thickness across the base, which is key for even baking and achieving the characteristic New York crust texture – a balance of crispy bottom and chewy edge. Perfecting pizza dough techniques for this style involves mastering the rolling pin for consistent results.
Pan Pizza Dough Handling: Creating a Light and Fluffy Crust
Pan pizza styles, such as Detroit or Sicilian, involve pressing the dough into an oiled pan rather than stretching or rolling it freely. The dough, often moderately hydrated, is typically proofed directly in the pan. This method encourages the dough to rise upwards and outwards within the confines of the pan, creating a thicker, often rectangular crust.
To handle pan pizza dough, after its initial proof, gently transfer it to a generously oiled pan and press it out towards the edges. You might need to let it rest for 10-15 minutes if it springs back, then continue pressing. The oil in the pan helps create a golden-brown, crispy bottom crust, while the thickness results in a soft, fluffy interior. Perfecting pizza dough techniques for pan pizza focuses on achieving even coverage in the pan and allowing sufficient in-pan proofing.
Proofing Pizza Dough: Optimizing Flavor and Texture
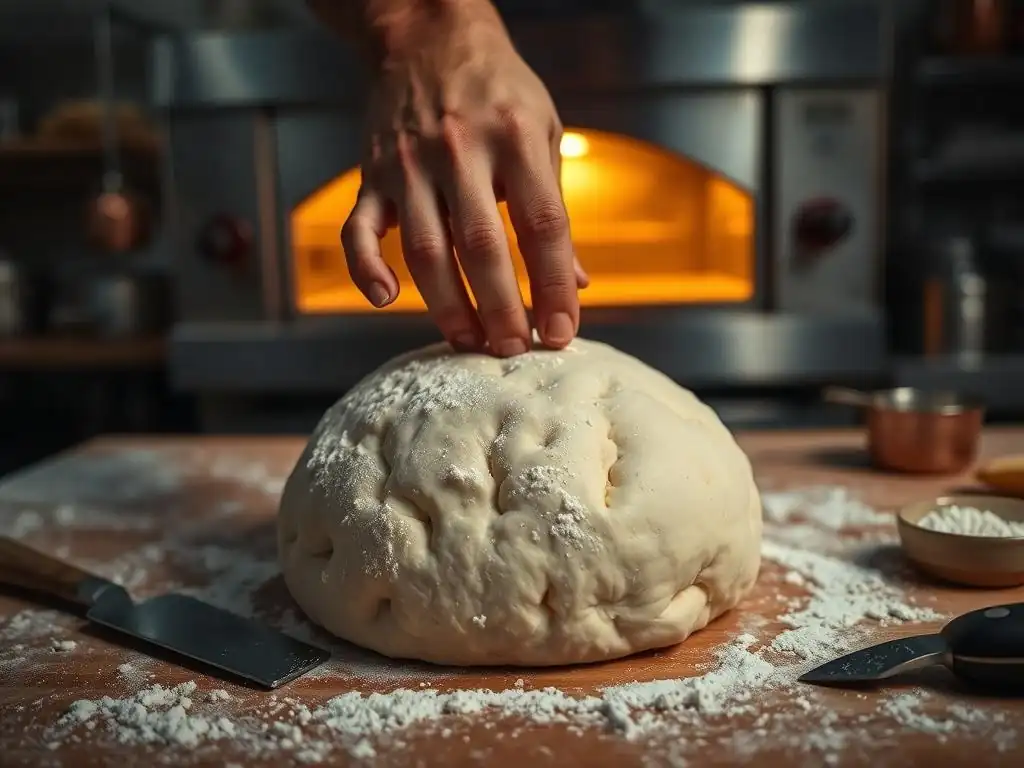
Proofing, the final rise of the dough before baking, is a critical stage where the dough develops much of its final flavor and texture. It's during proofing that yeast continues to produce gas, causing the dough to expand, and enzymes continue to break down starches into sugars, contributing to crust browning and flavor complexity. The temperature and duration of proofing have a profound impact on the final outcome.
Understanding and controlling the proofing process is essential for perfecting pizza dough techniques. Whether opting for a slow, cold fermentation or a quicker warm proof, the goal is to achieve a dough that is adequately risen, airy, and flavorful, ready to transform into a delicious pizza crust in the oven.
Cold Fermentation: Developing Complex Flavors in Pizza Dough
Cold fermentation involves proofing the dough in a refrigerator at temperatures typically between 3-5°C (37-41°F). At these low temperatures, yeast activity is significantly slowed down, but enzymatic activity continues. This extended, slow process, often lasting 24 to 72 hours (or even up to 5 days), allows for the development of more complex flavors and aromas in the dough.
Beyond flavor, cold fermentation also changes the dough's physical properties, making it easier to handle and stretch. The gluten relaxes over time, resulting in a more extensible dough that is less prone to tearing. Perfecting pizza dough techniques often includes incorporating cold fermentation for its dual benefits of enhanced flavor and improved handling.
Warm Proofing: Speeding Up the Dough Development Process
Warm proofing involves letting the dough rise at room temperature (around 22-26°C or 72-79°F) or in a slightly warmer environment (like a proofing box around 27-30°C or 80-86°F). This method significantly speeds up yeast activity compared to cold fermentation, allowing the dough to double in size relatively quickly, typically within 1 to 4 hours depending on the exact temperature and yeast amount.
While warm proofing doesn't develop the same depth of complex flavors as cold fermentation, it is a perfectly viable method for achieving a well-risen, airy crust, especially when time is a constraint. It's important to monitor the dough closely during warm proofing to avoid over-proofing, which can lead to a dense crust and less oven spring. Perfecting pizza dough techniques using warm proofing means finding the right balance of time and temperature for optimal rise.
Understanding the Impact of Temperature on Proofing Time
Temperature is the single most significant factor influencing proofing time. Yeast activity is directly related to temperature; it is sluggish at cold temperatures, becomes very active in the mid-range (20-30°C or 68-86°F), and is killed at high temperatures (above 60°C or 140°F). A difference of just a few degrees can significantly alter how quickly your dough proofs. For example, a dough that takes 3 hours to proof at 22°C (72°F) might take only 1.5 hours at 26°C (79°F).
Understanding this relationship is crucial for perfecting pizza dough techniques and managing your baking schedule. If your kitchen is cooler, proofing will take longer; if it's warmer, it will be faster. You can use this to your advantage, opting for a warm spot to speed things up or refrigerating the dough to slow it down for convenience or flavor development. Always judge readiness by the dough's appearance and feel rather than strictly by time.
Baking Techniques for Different Pizza Styles
The final stage in perfecting pizza dough techniques is the bake itself. The oven type, temperature, and bake time are tailored to the specific dough hydration and desired crust style. Baking transforms the dough from a raw mass into a delicious, edible crust, setting the structure, developing color through caramelization and the Maillard reaction, and creating the final texture.
Different pizza styles require vastly different baking environments to achieve their signature characteristics. A super-hot, quick bake is essential for Neapolitan, while a slightly cooler, longer bake suits New York style, and baking in a pan creates a unique bottom crust.
Baking Neapolitan Pizza in a Wood-Fired Oven: Achieving Leopard Spotting
Authentic Neapolitan pizza is baked in a wood-fired oven at extremely high temperatures, typically between 450°C and 500°C (850°F and 930°F). At these temperatures, the pizza cooks incredibly fast, often in just 60 to 90 seconds. The intense heat causes the crust to puff up rapidly and develop characteristic dark spots or blisters known as "leopard spotting," a hallmark of this style.
The high heat and short bake time are crucial for achieving the Neapolitan crust's unique texture: a very thin base in the center with a tall, airy, and slightly charred rim. Perfecting pizza dough techniques for Neapolitan pizza culminates in this rapid, high-temperature bake that requires transferring the pizza quickly and managing the intense heat.
Baking New York-Style Pizza in a Deck Oven: The Perfect Balance of Crispness and Chew
New York-style pizza is traditionally baked in a deck oven, often on a stone or steel surface, at temperatures ranging from 260°C to 315°C (500°F to 600°F). The bake time is longer than Neapolitan, typically between 8 and 12 minutes, allowing the crust to develop a balance of crispness on the bottom and a satisfying chewiness in the edge.
Baking on a hot stone or steel provides the necessary thermal mass to create a crispy bottom crust. The moderate temperature range ensures the pizza cooks through evenly without the extreme charring seen in Neapolitan. Perfecting pizza dough techniques for New York style involves achieving this balance during the bake, resulting in a slice sturdy enough to fold.
Baking Pan Pizza in a Home Oven: Achieving a Golden-Brown Crust
Pan pizzas are baked directly in a pan, which influences how the bottom crust develops. They are often baked in a standard home oven at temperatures around 220-230°C (425-450°F) for a longer duration, typically 15 to 25 minutes, depending on thickness. The oil or butter in the pan helps fry the bottom of the dough, creating a distinctively crispy, golden-brown crust, while the interior remains soft and tender.
Baking pan pizza effectively involves ensuring the heat penetrates the thicker dough evenly. Sometimes, pan pizzas are started on a lower rack to crisp the bottom and then moved higher to finish cooking the top and edges. Perfecting pizza dough techniques for pan pizza means understanding how the pan and bake time contribute to the unique texture of the crust.
Troubleshooting Common Pizza Dough Problems
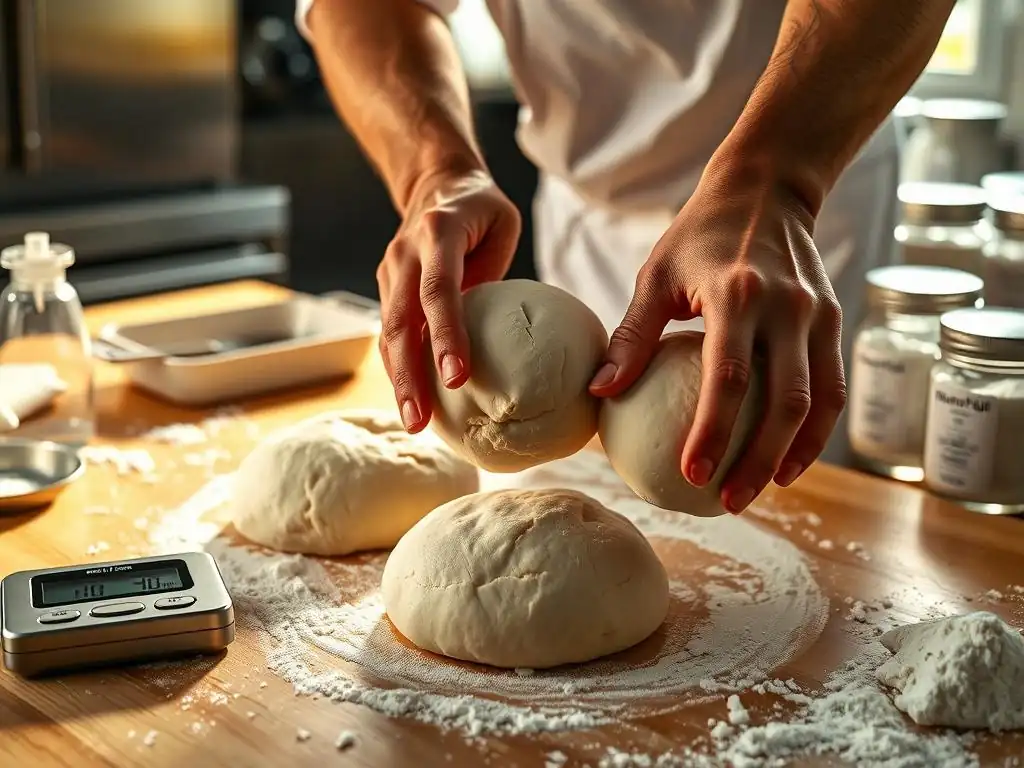
Even with careful attention to detail, perfecting pizza dough techniques can present challenges. Dough can behave unexpectedly due to variations in flour, temperature, humidity, or handling. Recognizing common problems and knowing how to address them is a key part of mastering pizza making.
Encountering issues like overly sticky or tough dough, or uneven baking, is part of the learning process. Fortunately, most common problems have straightforward solutions or adjustments that can be made either during the current bake or in future batches to improve your results.
Dough Too Sticky: Adjusting Hydration and Flour Ratios
A dough that is excessively sticky, making it difficult to handle, usually indicates high hydration or insufficient gluten development. If the dough is intentionally high hydration (like for Neapolitan), use techniques like wet hands, a bench scraper, or lightly oiling your hands and work surface instead of adding excessive flour, which can alter the hydration balance. For doughs that shouldn't be sticky, you might need to knead it longer to develop gluten or, in subsequent batches, slightly reduce the water amount (e.g., by 1-2%) or increase the flour amount.
Remember that different flours absorb water differently. A high-protein bread flour will absorb more water than an all-purpose flour. Perfecting pizza dough techniques involves understanding your flour and its absorption rate, making small adjustments to hydration as needed for consistency.
Dough Too Tough: Over-Kneading and Gluten Development Issues
Dough that is tough, resists stretching, and snaps back excessively is often a sign of over-kneading or insufficient resting time after kneading or shaping. Over-kneading can create a very tight gluten network. If your dough is tough after initial kneading, give it a rest for 15-30 minutes (autolyse helps prevent this). If it's tough during shaping, it needs more time to relax; cover it and let it rest for another 10-20 minutes before trying to stretch it again.
While proper gluten development is crucial, over-development or insufficient relaxation results in tough dough. Perfecting pizza dough techniques includes learning to recognize when the dough is properly developed and allowing it adequate rest periods, especially before shaping.
Uneven Baking: Oven Temperature and Dough Thickness Considerations
Uneven baking, where one part of the crust is burnt while another is pale, can be caused by several factors, including oven hot spots, inconsistent dough thickness, or insufficient preheating of your baking surface (stone or steel). Home ovens often have hot spots; rotating the pizza halfway through the bake can help ensure even cooking.
Ensure your dough is stretched or rolled to a consistent thickness across the base (except for the desired rim). Thicker areas will cook slower than thinner areas. Crucially, make sure your pizza stone or steel is fully preheated for at least 30-60 minutes at the target temperature before launching the pizza. This provides the necessary heat transfer to the bottom crust for even cooking and crisping, essential for perfecting pizza dough techniques in any oven.
Elevate Your Pizza Game: Expert Tips for Consistent Results
Consistently producing great pizza involves more than just following a recipe; it requires attention to detail and implementing best practices learned through experience. By incorporating expert tips into your routine, you can significantly improve the reliability and quality of your homemade pizzas, truly perfecting pizza dough techniques.
From utilizing the right equipment to understanding the impact of ingredients, these tips provide the finishing touches that can take your pizza from good to outstanding, batch after batch.
Using a Pizza Stone or Steel for Optimal Heat Retention
One of the most effective ways to improve home pizza baking is by using a pizza stone or steel. These surfaces absorb and retain heat much better than a standard baking sheet. When the pizza is placed on a preheated stone or steel, the immediate transfer of intense heat to the bottom of the dough causes the crust to set and crisp up rapidly, mimicking the effect of a professional pizza oven.
A pizza steel generally conducts heat more efficiently than a stone, often resulting in a crispier bottom crust faster. Preheating your stone or steel for at least 30-60 minutes at your oven's highest temperature (or your target baking temperature) is crucial for them to store enough energy to properly bake the crust. This step is fundamental for perfecting pizza dough techniques in a home oven.
Preheating Your Oven for a Crispy Crust
Beyond just preheating the stone or steel, ensuring your entire oven is thoroughly preheated to the correct temperature is vital. Ovens cycle on and off to maintain temperature, and giving it ample time (typically 20-30 minutes after it signals it's reached temperature) allows the heat to saturate the oven walls and baking surface. This creates a more consistent and radiant heat environment.
Baking pizza in a sufficiently preheated oven, especially at higher temperatures (230°C/450°F and above), is key to achieving a crispy crust and good oven spring. If the oven isn't hot enough, the dough will cook slowly, resulting in a pale, potentially dense, or soggy crust instead of a light, airy, and crispy one. This simple step is non-negotiable when perfecting pizza dough techniques.
The Importance of Quality Ingredients for Pizza Dough Success
Finally, the quality of your ingredients significantly impacts the final pizza dough. Using good quality flour with the appropriate protein content for your desired style (e.g., high-protein bread flour for a chewy crust, or finely milled '00' flour for a tender Neapolitan crust) is essential. Fresh yeast is also important for reliable leavening.
Even seemingly minor ingredients like salt and water play a role. Non-iodized salt is often preferred as iodine can potentially affect yeast activity, and filtered water is best if your tap water is heavily chlorinated. Using high-quality ingredients provides the best foundation for perfecting pizza dough techniques and building delicious flavor from the inside out.
Frequently Asked Questions
How does dough hydration affect the final pizza crust?
Higher hydration doughs result in a lighter, airier, and chewier crust, while lower hydration doughs create a crisper and denser texture. Hydration significantly impacts the gluten development and oven spring.
What are the key differences in handling dough for Neapolitan vs. New York-style pizza?
Neapolitan dough requires gentle stretching to maintain air pockets, while New York-style dough benefits from more aggressive stretching for a thinner, crisper base. The gluten development is also key.
Why is cold fermentation important for pizza dough?
Cold fermentation allows for better flavor development, improved gluten structure, and easier dough handling. It also creates a more digestible pizza.
What are some common mistakes to avoid when working with pizza dough?
Over-kneading leads to a tough crust, using incorrect flour types can affect texture, and inadequate proofing results in a dense, flavorless pizza. Temperature control is crucial.
How can I adjust my pizza dough recipe for different oven types?
Adjust baking time and temperature based on your oven's heat output, and consider using a pizza stone or steel for better heat retention and even cooking. Experimentation is key to finding what works best.
Final Reflection: The Alchemy of Dough: Mastering the Art of Pizza
The pursuit of the perfect pizza begins, and ultimately resides, in the masterful handling of its dough. This isn't simply about following a recipe; it's about understanding the fundamental interplay of flour, water, and time, and how these elements transform into a canvas for culinary creativity. The techniques explored in this article – from the gentle kneading required for Neapolitan pizza to the robust stretching needed for New York-style – are not merely steps in a process, but keys to unlocking the unique character of each pizza style.
The journey of perfecting pizza dough techniques is a deeply personal one. It's a testament to the enduring power of tradition, yet also a constant invitation to innovation and experimentation. The best pizza is the one you make with love.
This simple statement encapsulates the essence of what we've discussed. It's not just about achieving technical perfection, but about the passion and care infused into each step, from the initial mixing to the final bake. The subtle nuances in dough handling, the feeling of the dough in your hands, the way it responds to your touch – these are the elements that elevate pizza making from a task to an art form.
Now, consider your own pizza-making journey. What techniques resonate most with you? What challenges have you faced, and how have you overcome them? The information presented here is a starting point, a foundation upon which you can build your own expertise. Don't be afraid to experiment, to push boundaries, and to discover your own unique approach to crafting the perfect pizza dough. The alchemy of dough awaits your touch – embrace the process, and savor the results.
Unleash Your Inner Pizzaiolo: Master Dough & Craft Your Perfect Pie!
Thanks for taking the time to explore the world of advanced dough handling! You've now unlocked the secrets to crafting truly exceptional pizzas, tailored to your favorite styles. Ready to put your newfound knowledge into practice?
- Bake your masterpiece! Experiment with the techniques you've learned today – try a new pizza style or perfect your existing go-to recipe. This is where the real magic happens.
- Share your pizza journey! Snap a photo of your creation and tell us about your experience on social media using #BakeWithEasePizza. We love seeing your results!
- Explore further dough adventures: Dive deeper into the world of pizza-making by checking out our other articles on sourdough starters, unique flour blends, or advanced oven techniques.
What unique flavor combination or pizza style are you eager to try next? Let's hear it in the comments!