
Perfecting Proofing for Light & Fluffy Vegan Bread

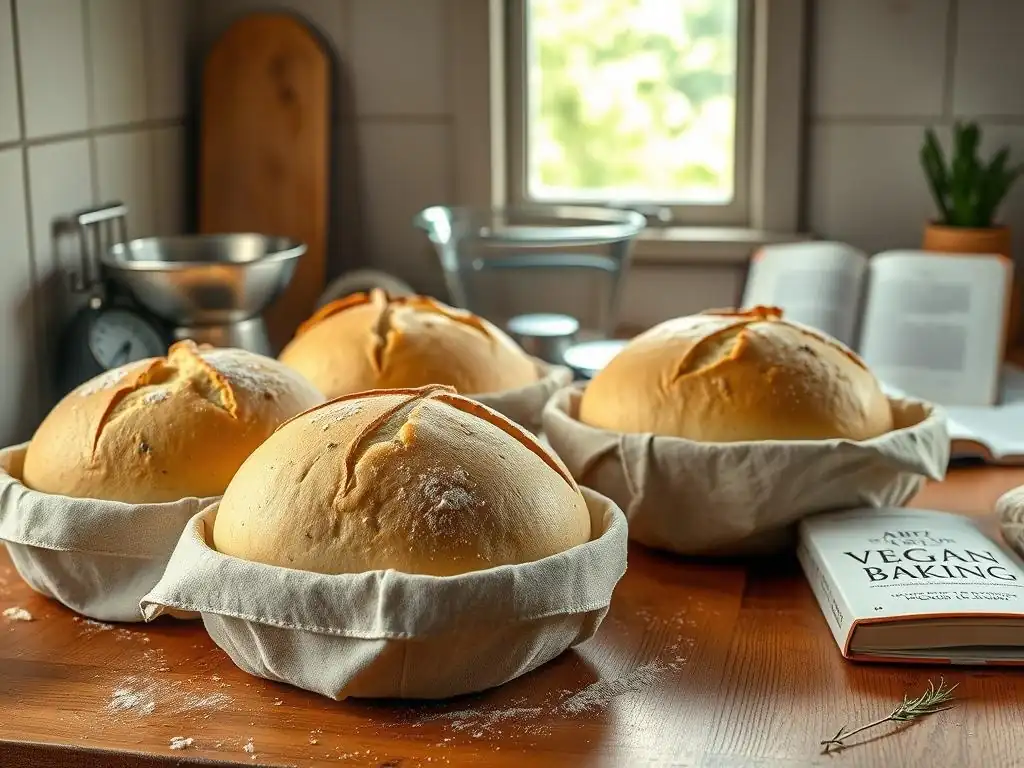
Welcome to BakeWithEase, your trusted guide to baking bliss! Ever wondered how to achieve that perfect rise in your vegan bread? Look no further! This article unravels the secrets to successful vegan bread proofing, offering a comprehensive guide to help you create light, fluffy, and utterly delicious loaves. Intrigued? Let's dive in and unlock the secrets to bakery-worthy vegan bread, right in your own kitchen!
- Perfecting Proofing for Sourdough Bread: A BakeWithEase Guide
- Introduction to Sourdough Bread Proofing
- Understanding Sourdough Bread Dough
- The Ultimate Sourdough Bread Proofing Guide: Step-by-Step
- Troubleshooting Common Sourdough Bread Proofing Issues
- Advanced Sourdough Bread Proofing Techniques
- Baking Your Perfectly Proofed Sourdough Bread
- Conclusion: Mastering the Art of Sourdough Bread Proofing
-
Frequently Asked Questions
- How does vegan bread proofing differ from traditional bread proofing?
- What are some common mistakes to avoid when proofing vegan bread?
- What's the ideal temperature for proofing vegan bread dough?
- Can I use a proofing box for vegan bread?
- What are some visual cues to look for when determining if my vegan bread is properly proofed?
- Final Reflection: The Art and Science of Vegan Bread Proofing
- Unlock Your Light & Fluffy Vegan Bread Baking Skills!
Perfecting Proofing for Sourdough Bread: A BakeWithEase Guide
Introduction to Sourdough Bread Proofing
Proofing is arguably the most critical stage in achieving that coveted light, airy texture and complex flavor profile in sourdough bread. It's the period where the magic happens: the wild yeast and bacteria in your starter get to work, fermenting the sugars in the dough and producing gases that cause it to rise. Mastering this step is essential for anyone following a vegan bread proofing guide focused on sourdough, as the process relies entirely on natural leavening without any animal products.
This guide will walk you through the nuances of proofing sourdough dough, from understanding the science to executing each step flawlessly. Whether you're aiming for a classic boule or a rustic batard, proper proofing is the key to preventing dense, gummy loaves and unlocking the full potential of your vegan sourdough bread. Pay close attention to the signs your dough gives you; it speaks volumes about its readiness.
Why Proofing is Crucial for Sourdough Bread Texture
Proofing allows the gluten network developed during mixing and kneading to expand and trap the carbon dioxide gas produced by fermentation. This trapped gas is what gives bread its open, airy crumb structure. Without adequate proofing, the dough won't develop sufficient gas, resulting in a dense, heavy loaf that lacks volume and tenderness.
Furthermore, proofing contributes significantly to the flavor of sourdough bread. The long fermentation process allows complex organic acids, like lactic and acetic acid, to develop. These acids are responsible for the characteristic tangy flavor sourdough is known for. A well-proofed dough balances gas production with acid development, creating a bread that is both texturally pleasing and rich in flavor, a hallmark of great vegan bread.
The Science Behind Proofing Sourdough Dough
Sourdough proofing relies on the symbiotic activity of wild yeasts and lactic acid bacteria (LAB) present in the starter. The yeasts primarily consume simple sugars, producing ethanol and carbon dioxide (CO2) gas, which leavens the dough. Simultaneously, LAB ferment sugars into lactic acid and acetic acid, contributing to the sourdough's unique flavor and slightly lower pH.
This acidic environment strengthens the gluten network, allowing it to hold more gas and contributing to a better rise and crumb structure. The temperature and duration of proofing directly impact the activity of both yeasts and bacteria, influencing the rate of gas production and acid development. For instance, warmer temperatures (around 75-80°F or 24-27°C) accelerate fermentation, while cooler temperatures slow it down, favoring acid production and deeper flavor development, a principle leveraged in cold proofing techniques.
Understanding Sourdough Bread Dough
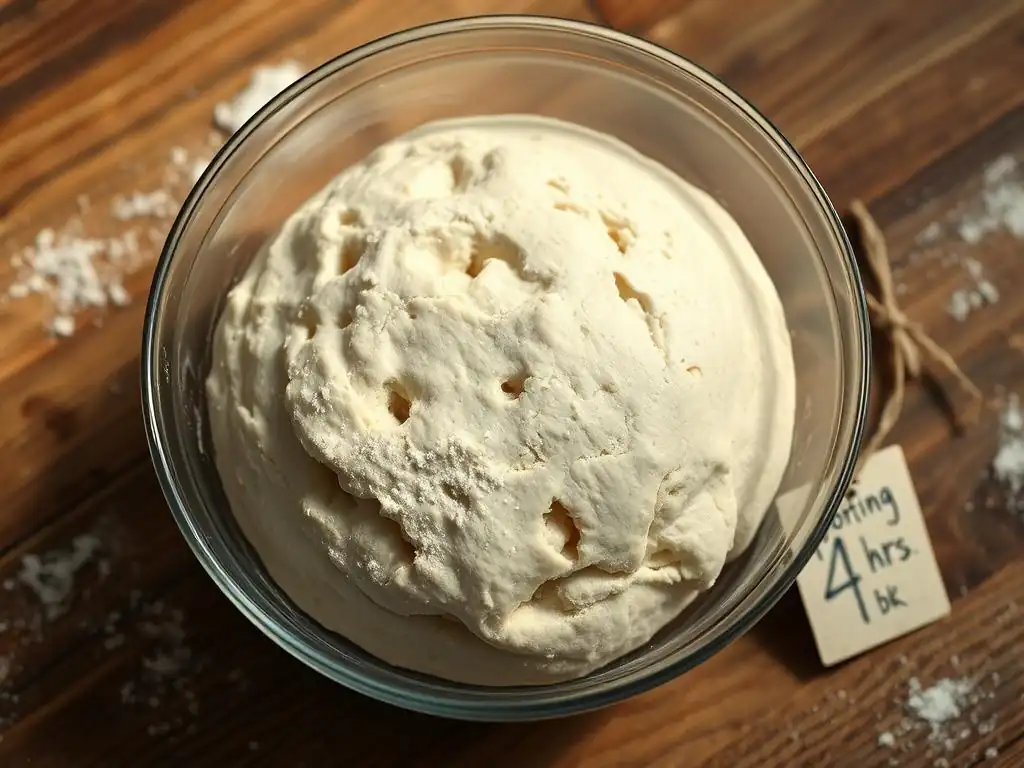
Working with sourdough dough requires a different approach than commercial yeast doughs. Its behavior is influenced by the activity of the starter, the hydration level, and the development of gluten. Understanding these factors is fundamental to successful vegan bread proofing when making sourdough.
Unlike doughs leavened with commercial yeast, which provides a predictable and rapid rise, sourdough fermentation is slower and more variable, depending on the starter's health and ambient conditions. This variability means bakers must learn to read their dough rather than strictly adhering to time guidelines. Observing changes in volume, texture, and feel is paramount for mastering this part of the vegan bread proofing guide for sourdough.
Key Ingredients in Sourdough Bread Making
The fundamental ingredients in sourdough bread are simple and inherently vegan: flour, water, salt, and active sourdough starter. The type of flour significantly impacts the dough's hydration capacity and gluten potential. High-protein bread flour is often preferred for its strong gluten network, which is crucial for trapping gas during proofing.
Water hydrates the flour and activates the gluten and microbial activity in the starter. The quality of salt affects flavor and can also influence fermentation rate; it's typically added after an initial autolyse period (flour and water rest) or mixed in with the starter. Ensuring your starter is active and healthy is perhaps the most critical ingredient factor, as it is the sole leavening agent in vegan sourdough bread. A bubbly, active starter that has recently peaked and is ready to be used is key.
Hydration Levels and Their Impact on Proofing
Hydration refers to the ratio of water to flour by weight in the dough, typically expressed as a percentage (e.g., 70% hydration means 700g water per 1000g flour). Higher hydration doughs (e.g., 75-85% or more) are stickier and harder to handle but often result in a more open, airy crumb. Lower hydration doughs (e.g., 60-70%) are easier to work with and produce a tighter crumb.
The hydration level directly impacts the proofing process. Higher hydration doughs ferment faster because the yeast and bacteria have easier access to the sugars in the flour. They also tend to spread more during proofing if not properly supported (like in a banneton). Conversely, lower hydration doughs ferment more slowly. Adjusting proofing times based on your dough's hydration is a key skill in effective vegan bread proofing.
Gluten Development in Sourdough Bread Dough
Gluten is a protein network formed when glutenin and gliadin proteins in flour combine with water and are worked through mixing or kneading. This network provides the structure and elasticity needed to trap the gases produced during fermentation. Without sufficient gluten development, the dough will lack the strength to hold its shape or achieve significant volume during proofing and baking.
Techniques like autolyse (resting flour and water before adding salt and starter), stretching and folding, and traditional kneading are used to develop gluten. For sourdough, stretch and folds performed during the initial hours of bulk fermentation are particularly effective. Aim for a dough that is extensible (stretches without tearing) and elastic (springs back slowly when poked), indicating a well-developed gluten structure ready to support a good rise during proofing.
The Ultimate Sourdough Bread Proofing Guide: Step-by-Step
Mastering the proofing stages is fundamental to creating delicious, light, and fluffy vegan sourdough bread. This step-by-step guide breaks down the process into manageable phases.
Each stage requires careful observation and understanding of your dough's behavior. Remember that times are approximate; the dough's activity is the best indicator of readiness. This comprehensive approach forms a key part of any successful vegan bread proofing guide.
Step 1: Preparing Your Sourdough Dough for Proofing
The proofing journey begins the moment your ingredients are mixed. Proper mixing and initial gluten development set the stage for a successful rise.
Starting with a strong foundation ensures the dough has the structure needed to hold the gases produced during fermentation, which is vital for achieving a good crumb in vegan sourdough.
Choosing the Right Sourdough Bread Recipe
Select a recipe that matches your skill level and desired outcome. For beginners, a simple recipe with a moderate hydration level (around 70-75%) is often recommended as it's easier to handle. Ensure the recipe uses only vegan ingredients – flour, water, salt, and starter are standard and fit this requirement.
Look for recipes that provide clear instructions on mixing, initial rest periods (like autolyse), and the timing of stretch and folds. A good recipe is the blueprint for your vegan bread proofing adventure. Many excellent basic sourdough recipes are naturally vegan and serve as a perfect starting point.
Mixing and Kneading Techniques for Optimal Gluten Development
Initial mixing combines ingredients. An autolyse phase (resting flour and water for 20-60 minutes) helps gluten start forming without mechanical work. After adding the starter and salt, techniques like slap and fold on the counter or stretch and folds in the bowl develop the gluten network.
Perform 3-5 sets of stretch and folds during the first 2-3 hours of bulk fermentation, resting 20-30 minutes between sets. You'll notice the dough becoming smoother, more elastic, and stronger with each set. This development is crucial for trapping the CO2 gas later in the vegan bread proofing process.
Step 2: First Proofing (Bulk Fermentation)
Bulk fermentation, or the first proof, is the longest stage of proofing. It's where the dough develops significant volume and flavor.
This phase allows the starter to work throughout the entire dough mass, building strength and complexity before shaping. It's a critical period for any vegan bread proofing guide.
Setting Up the Ideal Proofing Environment (Temperature and Humidity)
An ideal temperature for bulk fermentation is typically between 75-80°F (24-27°C). This range encourages active fermentation. Temperatures significantly cooler will slow the process, while much warmer temperatures can accelerate it too much, potentially leading to over-proofing.
Place your dough in a clear container (so you can monitor the rise) and cover it to prevent a skin from forming and maintain humidity. If your kitchen is cool, find a warmer spot – near a warm appliance, in a turned-off oven with the light on, or using a proofing box if you have one. Maintaining consistent temperature and humidity is key to predictable vegan bread proofing.
Recognizing Signs of a Properly Proofed Dough (Volume Increase, Texture)
During bulk fermentation, the dough should increase in volume by approximately 50-100%, depending on the recipe, temperature, and desired outcome. Look for visual cues: the dough should appear noticeably larger, puffier, and often have small bubbles visible on the surface.
The texture should feel airy and slightly jiggly when the container is gently shaken. A common test is the "windowpane test" (though less critical during bulk fermentation than after initial kneading) and observing how easily the dough releases from the sides of the container. A properly proofed bulk fermentation is essential before moving to shaping in your vegan bread proofing process.
Addressing Common Problems During First Proof: Inconsistent Rise, Weak Dough
An inconsistent rise often points to uneven temperature or insufficient initial mixing. Ensure the dough is in a consistent temperature environment. A weak dough that doesn't hold its shape or develop bubbles might indicate an inactive starter, insufficient gluten development, or too low a temperature.
If the dough feels weak early on, you might try an extra set of gentle stretch and folds. If the starter seems sluggish, increasing the ambient temperature can help. If the dough rises too quickly and seems ready much sooner than expected, the environment might be too warm; consider moving it to a cooler spot. Troubleshooting is part of mastering the vegan bread proofing guide.
Step 3: Shaping Your Sourdough Bread Loaf
Shaping transforms the proofed dough into its final form, creating tension on the surface that helps the loaf hold its shape and encourages oven spring.
This step requires a balance of creating surface tension without degassing the dough excessively. It prepares the loaf for the final proof and subsequent bake.
Gentle Handling Techniques to Preserve Air
After bulk fermentation, gently turn the dough out onto a lightly floured surface. Avoid aggressive punching down. The goal is to preserve as much of the accumulated gas as possible while still creating structure.
Pre-shaping involves gently forming the dough into a rough ball or log and letting it rest for 15-20 minutes (bench rest). This allows the gluten to relax before the final shaping. Using a bench scraper can help manage sticky dough without adding too much flour, which can toughen the crust of your vegan sourdough.
Shaping Methods for Different Types of Sourdough Bread (Boules, Batards, etc.)
For a boule (round loaf), gently cup the dough with your hands and rotate it on the counter to create surface tension. For a batard (oval loaf), fold the dough onto itself in layers and then roll it to create a taut surface.
Place the shaped loaf seam-side up into a floured banneton (proofing basket) or a bowl lined with a floured cloth. The banneton provides support during the final proof, helping the loaf maintain its shape, crucial for achieving the desired look and structure in baked vegan bread.
Step 4: Second Proofing (Final Proof)
The final proof, or retardation, is the last rise before baking. It can be done at room temperature or, more commonly for sourdough, in the refrigerator (cold proof).
This stage completes the proofing process, allowing the dough to fully relax and gain the final volume and structure needed for a successful bake.
Monitoring the Dough's Rise During the Final Proof
If proofing at room temperature (e.g., 1-3 hours at 70-75°F / 21-24°C), monitor the dough closely as it will rise relatively quickly. Look for a noticeable increase in volume, though it won't double again. The surface should appear smooth and slightly puffy.
If cold proofing in the refrigerator (e.g., 8-48 hours at 38-40°F / 3-4°C), the rise will be very slow. The dough will increase slightly in volume but primarily develops flavor and becomes easier to handle and score. The dough will feel firm and cold when ready to bake. Monitoring is key in this part of the vegan bread proofing guide.
The Poke Test: Determining Readiness for Baking
The poke test is the most reliable way to tell if your sourdough is ready for baking, especially when proofing at room temperature. Gently press your floured finger into the dough about half an inch deep.
If the indentation springs back immediately, the dough is under-proofed. If it springs back slowly and only partially, it's likely perfectly proofed. If the indentation stays completely or mostly put, the dough is likely over-proofed. For cold-proofed dough, the poke test is less indicative; visual cues and the duration of the cold proof are often better indicators.
Adjusting Proofing Time Based on Room Temperature
Room temperature significantly impacts final proofing time. At 70°F (21°C), a final proof might take 2-3 hours. At 75°F (24°C), it could be closer to 1.5-2.5 hours. Warmer kitchens require shorter proofing times to prevent over-proofing.
Conversely, cooler rooms (e.g., 65°F / 18°C) will require longer proofing times, potentially 3-4 hours or more. Learning to adjust based on your environment is crucial for consistent results and a key step in mastering the vegan bread proofing guide. Using a thermometer to check your room temperature is helpful.
Troubleshooting Common Sourdough Bread Proofing Issues
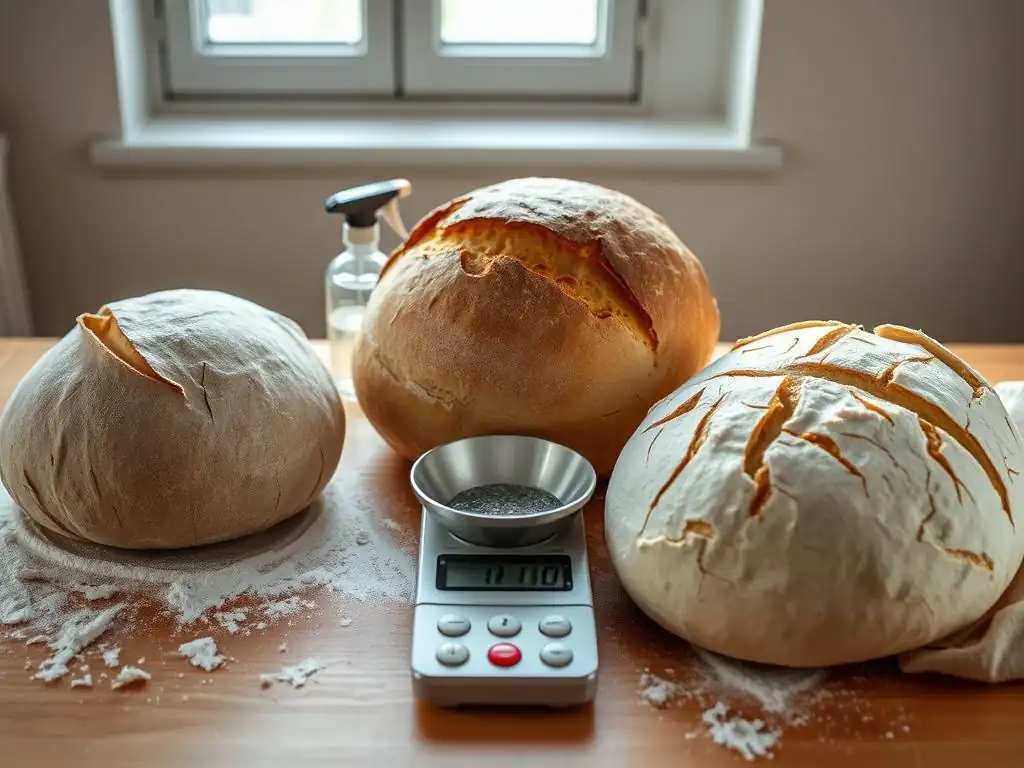
Even experienced bakers encounter proofing challenges. Knowing how to identify and address common problems can save your loaf.
Understanding what went wrong helps you learn and improve for your next bake. These troubleshooting tips are vital additions to any vegan bread proofing guide.
Over-Proofing Sourdough Bread Dough: Causes and Solutions
Over-proofing occurs when the dough proofs for too long or at too warm a temperature, exhausting the yeast's food supply and weakening the gluten structure. Signs include the dough collapsing, becoming overly sticky, or failing the poke test (indentation stays).
An over-proofed loaf will have poor oven spring, potentially resulting in a dense crumb and pale crust. If caught early, you might be able to gently reshape the dough and give it a very short final proof. If severely over-proofed, it can sometimes be salvaged by shaping into flatbreads or pizza crusts, which don't require significant oven spring.
Under-Proofing Sourdough Bread Dough: Identifying and Correcting
Under-proofing means the dough hasn't developed enough gas or flavor. Signs include a dense, tight crumb, significant and uncontrolled bursting in the oven (often splitting along the sides rather than the score), and a loaf that feels heavy for its size.
If you realize the dough is under-proofed before baking (poke test springs back immediately), you can extend the final proofing time. If it's already in the oven, there's little you can do for that particular loaf, but recognizing the signs helps you adjust the proofing time for your next batch. This is a common issue addressed in a comprehensive vegan bread proofing guide.
Dealing with Sticky Sourdough Dough During Proofing
Sourdough dough, especially at higher hydration levels, can be sticky. Excessive stickiness can make shaping difficult and might indicate insufficient gluten development or over-proofing.
Ensure you are not adding too much water relative to the flour type. Use a light dusting of flour on your work surface and hands, or keep your hands slightly wet when handling the dough. A bench scraper is invaluable for managing sticky dough. Sometimes, slightly reducing hydration in your next batch can make handling easier while you refine your vegan bread proofing techniques.
Tips for Proofing Sourdough Bread in Different Climates
Climate significantly impacts proofing speed. In warm, humid climates (like parts of the Southern US or tropical regions), dough will proof much faster than in cool, dry climates (like mountainous regions or during winter).
Monitor dough activity closely and be prepared to shorten proofing times in warm conditions or lengthen them in cool conditions. Using temperature-controlled methods like a proofing box or cold proofing in the refrigerator becomes even more beneficial for consistency across different climates. For example, a bulk fermentation that takes 4 hours at 75°F might take only 2.5 hours at 85°F (29°C) in a humid climate.
Advanced Sourdough Bread Proofing Techniques
Once you've mastered the basics, you can explore advanced techniques that enhance flavor and provide scheduling flexibility.
These methods allow for greater control over the fermentation process and can significantly improve the final quality of your vegan sourdough bread.
Retarding Sourdough Dough for Enhanced Flavor
Retarding, or cold proofing, involves placing the shaped dough in the refrigerator for an extended period, typically 8 to 48 hours, at temperatures between 38-40°F (3-4°C). The cold temperature dramatically slows yeast activity but allows the bacteria to continue producing flavorful organic acids.
This slow fermentation develops more complex, nuanced flavors and aroma in the bread. It also firms up the dough, making it easier to score and handle straight from the fridge, often resulting in better oven spring compared to room-temperature proofed dough. It's a highly recommended technique in any detailed vegan bread proofing guide for sourdough.
Cold Proofing Sourdough Bread: A Detailed Explanation
Cold proofing serves multiple purposes: it develops flavor, improves crust development, and makes baking more convenient by allowing you to bake straight from the fridge on your schedule. The dough is shaped and placed in a banneton, then covered tightly and refrigerated.
The duration of the cold proof can vary. A shorter cold proof (8-12 hours) develops some flavor and structure benefits, while a longer one (24-48 hours) leads to a more pronounced tangy flavor and often a more robust crust. Experimentation is key to finding the duration that suits your taste and schedule when following a vegan bread proofing guide.
Using a Proofing Box or Oven for Consistent Results
A proofing box or using your oven with the light on (or a bowl of hot water) creates a controlled, warm environment for proofing. This eliminates variability caused by fluctuating room temperatures.
Using a proofing box set to a specific temperature (e.g., 78°F / 26°C) ensures consistent proofing times batch after batch. If using your oven, place the dough inside with the light on (which usually creates a temperature around 75-85°F / 24-29°C) or with a pan of hot water for added humidity and warmth. These tools are invaluable for achieving reliable results in your vegan bread proofing efforts.
Baking Your Perfectly Proofed Sourdough Bread
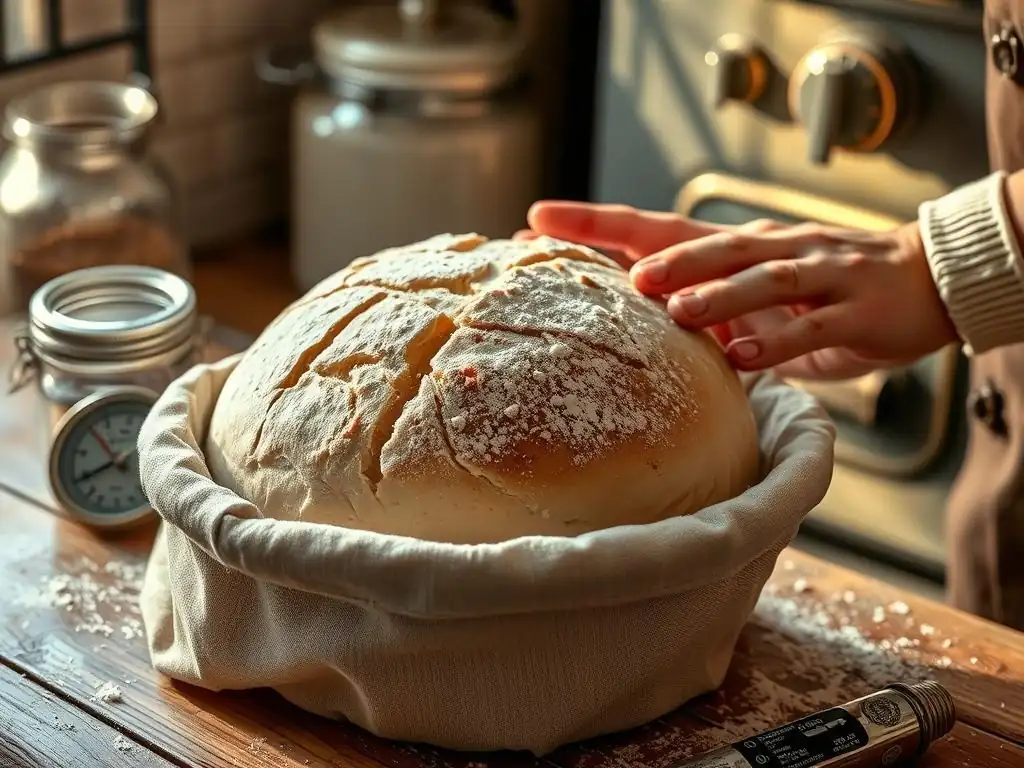
The final step is baking, where the proofed dough transforms into a loaf with a beautiful crust and airy interior.
Proper baking techniques maximize the results of your careful proofing. This stage is the culmination of your vegan bread proofing guide efforts.
Scoring the Loaf for Optimal Oven Spring
Scoring involves making cuts on the surface of the dough just before baking. These cuts are weak points that allow the dough to expand in a controlled manner during the initial burst of heat in the oven, known as oven spring.
Without scoring, the loaf might burst unpredictably along its weakest point, often resulting in a less attractive shape and potentially a denser area around the burst. Use a sharp razor blade (lame) or knife and make swift, confident cuts. The depth and pattern of scoring can also influence the final shape and appearance of your vegan sourdough loaf.
Baking Temperatures and Times for Different Sourdough Bread Types
Sourdough is typically baked at high temperatures, often starting between 450-500°F (230-260°C). Baking in a preheated Dutch oven or with steam is common practice to create a moist environment that delays crust formation, allowing for maximum oven spring.
A common method is baking covered in a Dutch oven for the first 20-25 minutes to trap steam, then uncovered for another 20-30 minutes at a slightly lower temperature (e.g., 425-450°F / 220-230°C) to develop the crust color and internal temperature. Baking times vary based on loaf size and desired crust darkness, but aim for an internal temperature around 205-210°F (96-99°C).
Cooling and Storing Your Sourdough Bread to Maintain Freshness
Once baked, sourdough bread must be cooled completely on a wire rack. Cutting into a hot loaf can result in a gummy texture because the internal structure is still setting. Allow at least 2-3 hours for a standard-sized loaf to cool fully.
Store cooled sourdough bread at room temperature. Avoid refrigeration, as it can quickly make the bread stale. Wrap the loaf in a linen bread bag, a clean tea towel, or place it cut-side down on a cutting board to keep it fresh for a few days. For longer storage, slice and freeze the cooled bread.
Conclusion: Mastering the Art of Sourdough Bread Proofing
Proofing is a skill that improves with practice and observation. By understanding the role of temperature, time, and dough behavior, you can consistently achieve beautifully proofed sourdough loaves.
Embracing the nuances of fermentation is key to unlocking the full potential of your baking. This comprehensive guide aimed to provide you with the knowledge needed to confidently navigate the proofing stages for delicious vegan sourdough bread.
Key Takeaways for Successful Proofing
- Monitor dough volume and texture, not just time, as indicators of readiness.
- Control temperature and humidity for consistent results.
- Develop sufficient gluten during mixing and initial fermentation.
- Use the poke test as a guide for the final proof (especially at room temp).
- Don't be afraid to experiment with cold proofing for flavor and convenience.
- Troubleshoot by assessing starter activity, temperature, and gluten development.
- Remember that patience is a baker's best friend during the vegan bread proofing process.
Further Resources for Sourdough Bread Bakers on BakeWithEase.com
BakeWithEase.com offers a wealth of resources for bakers of all levels, including more vegan bread recipes, sourdough starter maintenance tips, and guides on specific techniques like scoring and baking with steam. Explore our articles and recipes to continue your baking journey and perfect your craft.
Frequently Asked Questions
How does vegan bread proofing differ from traditional bread proofing?
Vegan bread proofing often requires adjustments to proofing time due to the absence of dairy and eggs, which contribute to structure and rise. You might need to proof for slightly longer to achieve the desired lightness.
What are some common mistakes to avoid when proofing vegan bread?
One common mistake is over-proofing, leading to a collapsed loaf. Another is under-proofing, resulting in a dense and heavy bread. Always check for signs of proper proofing, like doubling in size.
What's the ideal temperature for proofing vegan bread dough?
The ideal temperature range is typically between 75-85°F (24-29°C). A warm, draft-free environment helps the yeast activate and produce the gases needed for a good rise.
Can I use a proofing box for vegan bread?
Yes! A proofing box provides a consistent temperature and humidity, making it an excellent tool for achieving optimal proofing results in vegan bread baking.
What are some visual cues to look for when determining if my vegan bread is properly proofed?
The dough should have doubled in size, feel light and airy to the touch, and a gentle indentation made with your finger should slowly spring back, indicating it's ready for baking.
Final Reflection: The Art and Science of Vegan Bread Proofing
The quest for the perfect loaf of vegan bread is a journey of precision and patience, a testament to the power of understanding the subtle nuances of fermentation. Achieving that light and fluffy texture isn't just about following a recipe; it's about mastering the art and science of proofing, a process that profoundly impacts the final product's quality and flavor. This understanding is more relevant than ever, as the demand for delicious and accessible vegan alternatives continues to grow.
The journey of perfecting vegan bread proofing has been a deeply rewarding one, highlighting the interconnectedness of ingredients, environment, and time. It's a process that mirrors life itself – requiring careful attention to detail, the ability to adapt to unexpected challenges (a slightly too-warm kitchen, perhaps? ), and a deep appreciation for the transformative power of time. Patience is a virtue, and nowhere is this more true than in the baking of bread.
This quote, while not specifically about vegan baking, perfectly encapsulates the essence of the proofing process and its impact on the final result.
Now, it's your turn. Consider the lessons learned within these pages – the importance of temperature control, the subtle signs of a properly proofed dough, and the unique considerations of vegan baking. Take this knowledge, experiment with different flours and techniques, and embark on your own journey to perfecting the art of vegan bread making. The reward? A loaf so light, so fluffy, so utterly delicious, that it will redefine your expectations of vegan baking. Don't just bake bread; bake a masterpiece.
Unlock Your Light & Fluffy Vegan Bread Baking Skills!
Thanks for taking the time to explore the secrets of perfect vegan bread! We hope you now feel empowered to create truly amazing loaves. Ready to put your new knowledge into action?
- Bake your dream loaf today! Try out the recipe variations we discussed – you might be surprised by the delicious results. Record your experience and share your baking journey with us!
- Share your baking triumphs (and challenges!) in the comments below. Let's build a supportive community of vegan bread bakers!
- Explore other amazing vegan recipes on BakeWithEase; we have a treasure trove of deliciousness waiting for you.
What unique ingredient will you experiment with in your next vegan bread adventure?