
Preventing Butter Breakage During Lamination: Tips and Tricks

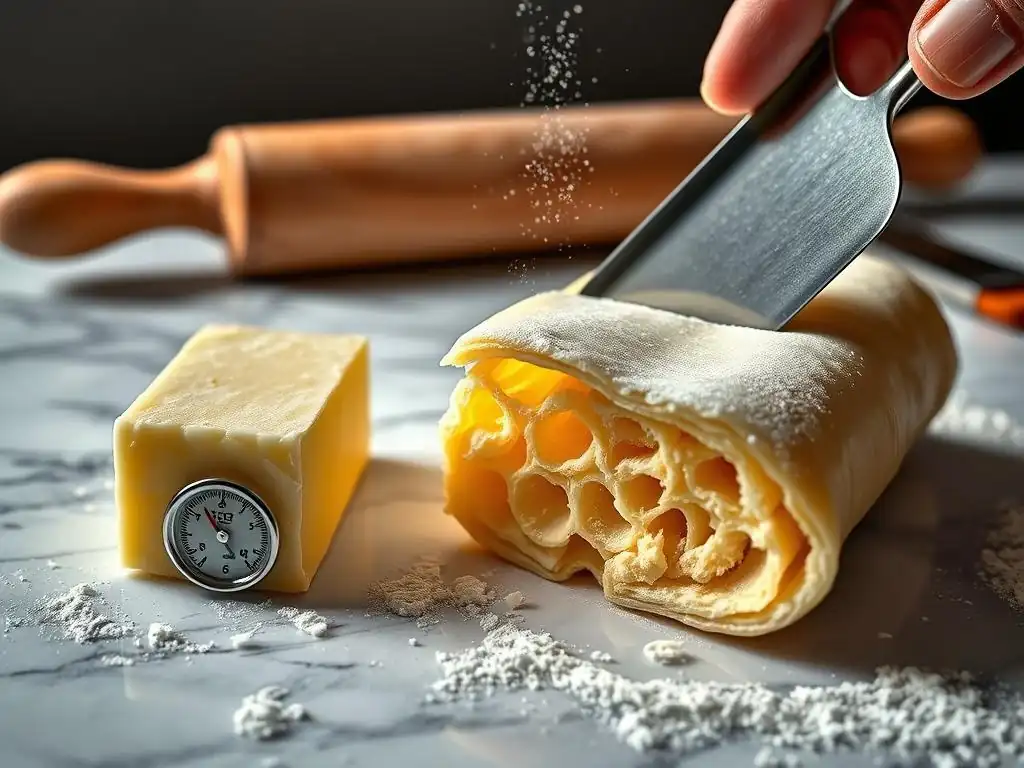
Welcome to BakeWithEase, your trusted guide to baking bliss! Are you ready to take your pastry skills to the next level? In this article, we'll delve into the sometimes-frustrating, yet ultimately rewarding world of cold butter lamination techniques. Discover the secrets to preventing butter breakage and achieving perfectly flaky layers, ensuring your croissants, puff pastries, and other laminated creations are a delicious success. Curious how to master this art? Let's get started!
- Preventing Butter Breakage During Lamination: Tips and Tricks for Perfect Viennoiseries
- Introduction: Mastering Lamination Techniques for Optimal Results
- Understanding the Importance of Butter Lamination in Viennoiseries
- Common Causes of Butter Breakage During Lamination
- Essential Tips and Tricks to Prevent Butter Breakage
- Advanced Lamination Strategies for Experienced Bakers
- Conclusion: Achieving Perfect Lamination with Effective Techniques
- Frequently Asked Questions
- Final Reflection: Mastering the Art of Cold Butter Lamination
- Unlock Your Perfect Laminations: Master the Butter!
Preventing Butter Breakage During Lamination: Tips and Tricks for Perfect Viennoiseries
Introduction: Mastering Lamination Techniques for Optimal Results
Welcome to the world of Viennoiseries! There's nothing quite like biting into a perfectly flaky croissant or a rich pain au chocolat, each delicate layer separating with a satisfying crispness. The secret to this incredible texture lies in a technique called lamination, where layers of dough and butter are folded and rolled repeatedly. It's a process that demands precision and patience, but the results are immensely rewarding.
However, one of the most common hurdles bakers face when attempting these beautiful pastries is butter breakage during the lamination process. This can lead to uneven layers, a greasy texture, and ultimately, a less-than-perfect final product. Don't worry, though! With the right understanding and application of key techniques, you can master the art of preventing butter breakage and consistently achieve those coveted flaky layers. This article will guide you through the essential tips and tricks to ensure your cold butter lamination techniques are successful every time.
Understanding the Importance of Butter Lamination in Viennoiseries
What is Lamination and Why is it Crucial?
Lamination is a baking technique involving the repeated folding and rolling of dough around a solid block of butter. The goal is to create numerous thin, alternating layers of dough and butter. As the pastry bakes, the water in the butter turns to steam, forcing the dough layers apart and creating the characteristic airy, flaky texture that defines Viennoiseries like croissants and puff pastry. This process is what transforms simple ingredients into complex, layered delights.
The success of lamination directly impacts the final texture and rise of the pastry. A well-executed lamination can result in dozens, or even hundreds, of distinct layers. For example, a typical croissant often undergoes three "turns" (folds and rolls), which can theoretically create over 200 layers. If the butter breaks or melts into the dough during this process, these distinct layers are compromised, leading to a dense, heavy, or greasy crumb instead of the desired light and airy structure.
The Role of Cold Butter in Successful Lamination
The use of cold butter is absolutely fundamental to successful lamination. The butter must be firm enough to be rolled and folded without melting into the dough. It needs to remain as distinct layers within the dough structure throughout the rolling and folding process. If the butter is too soft or warm, it will simply smear into the dough instead of forming separate sheets, preventing the creation of those crucial steam pockets during baking.
Optimal cold butter lamination techniques rely on maintaining the butter at a specific temperature range, typically between 4°C and 8°C (39°F and 46°F). At this temperature, butter is plastic – it can be bent and rolled without breaking, but it retains its shape and doesn't liquefy.
This plasticity allows it to spread thinly and evenly alongside the dough. Using butter that is too hard (straight from the fridge below 4°C) can cause it to crack and break, while butter that is too soft (above 8°C) will melt and incorporate into the dough, both leading to failure in creating distinct layers.
Common Causes of Butter Breakage During Lamination
Temperature Control: Keeping Butter Cold Enough
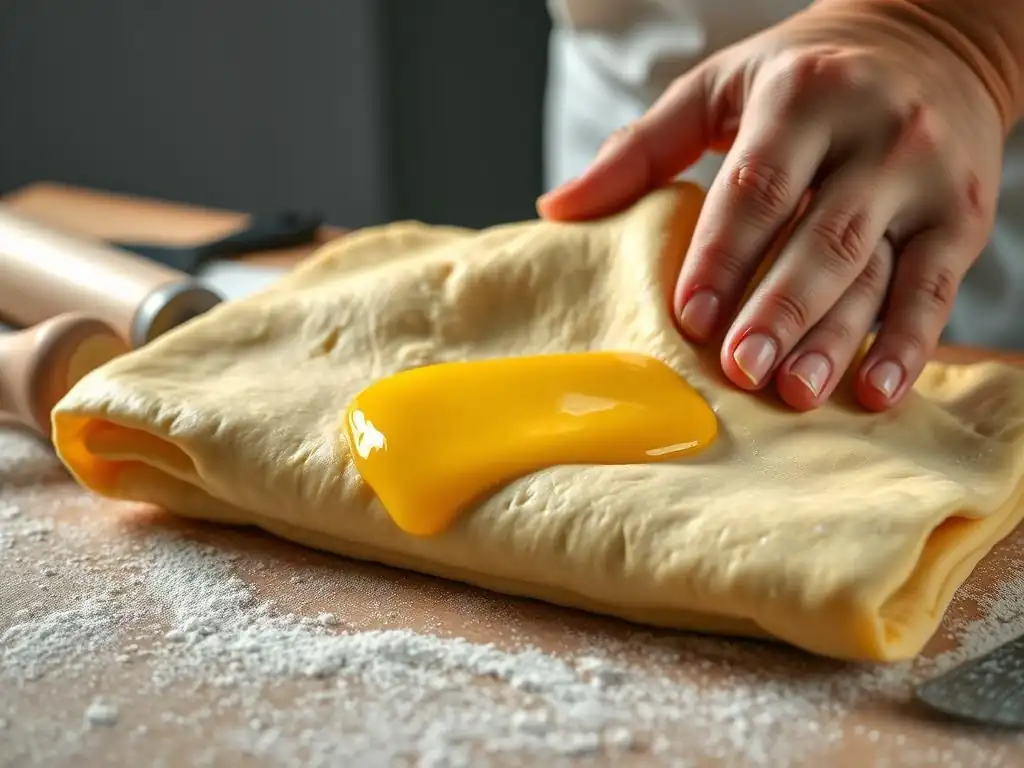
One of the primary culprits behind butter breakage or smearing is inadequate temperature control. If the butter warms up too much during the lamination process, it loses its structure and plasticity. Instead of rolling into a thin sheet, it becomes soft and can easily break apart or melt into the surrounding dough layers. This is particularly challenging in warmer kitchens or during long lamination sessions.
Maintaining a consistent low temperature for both the butter and the dough, as well as your work environment, is paramount. Working quickly and incorporating chilling periods between folds are essential cold butter lamination techniques. If the dough or butter feels soft or sticky at any point, it's a clear sign that the temperature is too high, and immediate chilling is required to prevent further issues. Ignoring this can lead to irreparable damage to your layered structure.
Dough Hydration: Finding the Right Balance
The hydration level of the dough plays a significant role in how it interacts with the butter layer. Dough that is too sticky due to high hydration can be difficult to handle and can cause the butter to stick and tear as you roll. Conversely, dough that is too dry might be too stiff and prone to tearing itself, which can also lead to uneven pressure on the butter and cause it to break.
Finding the right hydration balance is key for effective cold butter lamination techniques. The dough needs to be pliable enough to roll thinly and evenly alongside the butter without excessive resistance, but not so wet that it becomes sticky and difficult to manage. Recipes for laminated doughs often specify a hydration level that is slightly lower than typical bread doughs, often in the 50-60% range relative to the flour weight, though this can vary based on flour type and other ingredients. Experimentation or careful adherence to a tested recipe is crucial here.
Butter Consistency: Achieving Optimal Plasticity
Even if the temperature is correct, the consistency of the butter itself matters. Different brands and types of butter (e.g., European-style with higher fat content vs. standard American butter) have slightly different melting points and plasticity ranges. Using butter that is naturally too hard or too soft at the recommended working temperature can lead to problems.
Ideally, the butter should be pliable enough to bend without cracking but firm enough to hold its shape. Many bakers find that European-style butter, with its higher fat content (often 82% or more compared to 80% in standard American butter), offers better plasticity for lamination. Some recipes even call for tempering the butter slightly by gently pounding or rolling it before encasing it in the dough, ensuring it has the perfect consistency to spread evenly without breaking during the initial roll-out.
Overworking the Dough: Avoiding Gluten Overdevelopment
While a well-developed gluten structure is important for the dough's elasticity, overworking the dough during mixing or rolling can lead to excessive gluten development. This results in a dough that is too elastic and resistant to rolling, also known as having too much "snap-back." When you try to roll this resistant dough, it can exert uneven pressure on the butter layer, causing it to tear and break.
Gentle handling and allowing the dough adequate rest periods are crucial components of successful cold butter lamination techniques. Resting allows the gluten to relax, making the dough more extensible and easier to roll thinly without tearing. It's better to roll gently and gradually lengthen the dough over several passes, allowing it to rest briefly if it starts to resist, rather than forcing it with excessive pressure.
Uneven Pressure During Rolling: Techniques for Uniform Thickness
Applying uneven pressure with your rolling pin is a common cause of butter breakage, particularly in the initial stages of lamination when the butter block is encased in the dough. If you press harder in some areas than others, the butter will be squeezed out or torn in the spots receiving more pressure, while remaining thick in others. This leads to an uneven butter layer, which is prone to breaking during subsequent folds.
The key is to apply consistent, even pressure across the entire surface of the dough as you roll. Start from the center and roll outwards, rotating the dough frequently to ensure even lengthening and widening. Using a good quality, heavy rolling pin can help distribute pressure more evenly. Visualizing the butter layer inside and trying to roll it out uniformly is a helpful technique to prevent thin spots or tears.
Essential Tips and Tricks to Prevent Butter Breakage
Tip 1: Chill Everything! - Maintaining Optimal Temperatures
Maintaining cold temperatures is the golden rule for successful cold butter lamination techniques. This applies not just to the dough and butter, but also to your workspace and equipment.
Pre-Chill Butter and Dough Before Lamination
Ensure both your prepared butter block and your dough are properly chilled before you begin the first lamination step. The butter should be firm but pliable, typically around 4-8°C (39-46°F). The dough should also be cold, ideally around the same temperature, so it doesn't warm the butter too quickly upon contact. Chilling for at least 30-60 minutes in the refrigerator before starting is usually necessary.
Keep Your Work Surface Cold
If possible, work on a cold surface like marble or stainless steel. If you're using a standard countertop, you can try placing a baking sheet in the freezer for a few minutes and working on that, or simply work quickly and efficiently to minimize the time the dough and butter are exposed to room temperature. A dusting of flour can also help prevent sticking without adding significant warmth.
Use Chilled Equipment: Rolling Pin, Bench Scraper
Even your tools can transfer heat. If you're struggling with temperature, consider chilling your rolling pin in the refrigerator for a short period before starting. A chilled bench scraper is also useful for handling and folding the dough without warming it with your hands. Every little bit helps in maintaining the crucial cold environment needed for effective cold butter lamination techniques.
Tip 2: Mastering Butter Preparation for Lamination
Properly preparing your butter block is a critical step that is often overlooked by beginners. The shape and consistency of the butter before it meets the dough will dictate how evenly it spreads.
How to Prepare the Butter Block Properly
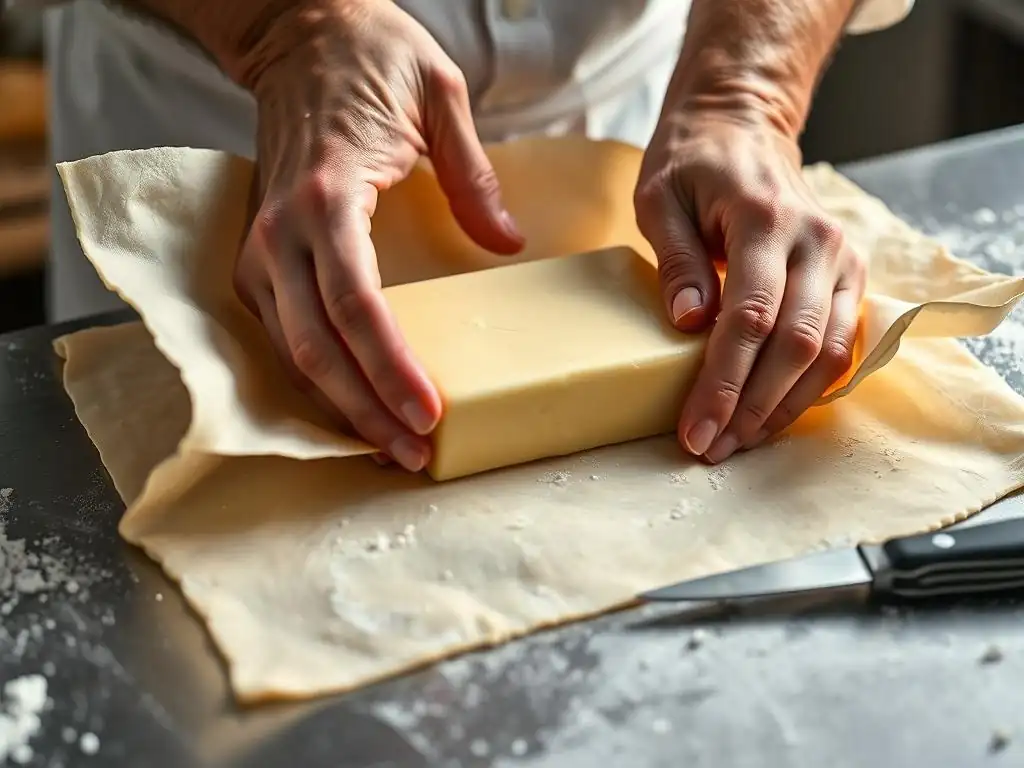
Start with cold butter (around 4°C or 39°F). Many recipes call for a specific weight of butter relative to the flour, often ranging from 25% to 40%. Cut the cold butter into pieces and arrange them on parchment paper. Cover with another sheet of parchment and gently pound it with a rolling pin or mallett to make it more pliable and easier to shape. This tempering process ensures the butter is uniformly plastic.
Achieving the Right Butter Consistency: Not Too Hard, Not Too Soft
The goal is butter that is pliable but still firm enough to hold its shape – think modeling clay. If it's too hard, it will crack when rolled. If it's too soft, it will melt into the dough. Pounding the butter helps achieve this consistency. You should be able to bend it gently without it breaking. If it cracks, pound it a little more; if it's mushy, chill it briefly.
Shaping the Butter Block for Even Distribution
Shape the tempered butter into a rectangle that is roughly one-third the size of your rolled-out dough rectangle. This allows the dough to be folded neatly around the butter. Aim for uniform thickness across the butter block. Some bakers find it helpful to roll the butter between two sheets of parchment paper using a ruler or guides to achieve a precise rectangle of the desired dimensions and thickness. This pre-shaped butter block is key for achieving even layers during the first enclosure step in cold butter lamination techniques.
Tip 3: Dough Preparation Techniques for Successful Lamination
The dough's characteristics are just as important as the butter's. A well-prepared dough will be extensible and strong enough to withstand the rolling and folding process without tearing.
The Importance of a Well-Developed Gluten Structure
Laminated dough requires a good balance of strength and elasticity. Mixing the dough sufficiently (often to a moderate gluten development) creates a network that can be rolled thinly without breaking. However, avoid over-mixing, which can make the dough too tough and resistant. The dough should be smooth and elastic but not overly springy.
Adjusting Dough Hydration for Butter Lamination
As mentioned earlier, slightly lower hydration compared to typical bread doughs is often beneficial. This makes the dough less sticky and easier to handle alongside the cold butter. However, it still needs enough moisture to develop gluten and be extensible. Adhering to the hydration specified in a reliable laminated dough recipe is the best approach, as it's designed to work with the specific butter ratio and lamination technique.
Resting the Dough: Allowing Gluten Relaxation
Resting is a non-negotiable step in cold butter lamination techniques. After mixing, the dough needs a bulk fermentation period, often followed by chilling. Crucially, the dough must rest in the refrigerator for 30-60 minutes (or even longer) between each rolling and folding step. This chilling period isn't just about keeping the butter cold; it allows the gluten in the dough to relax. Relaxed gluten makes the dough much easier to roll thinly and evenly, reducing the risk of tearing and ensuring uniform pressure on the butter layer.
Tip 4: Rolling and Folding Techniques to Avoid Butter Breakage
The physical act of rolling and folding is where butter breakage most commonly occurs if not done carefully. Mastering these techniques is fundamental.
Gentle and Even Rolling: Minimizing Stress on the Butter
Always roll gently, applying even pressure across the entire surface. Start from the center and roll outwards, extending the dough gradually. Avoid pressing down too hard, which can squeeze the butter out or cause it to break. Rotate the dough frequently (e.g., after every few passes of the rolling pin) to ensure it's lengthening and widening evenly and to prevent it from sticking to the surface. If the dough resists or springs back, stop rolling and let it rest for 5-10 minutes before continuing.
Proper Folding Techniques: Single vs. Double Folds
There are two primary folding methods: the single fold (or book fold) and the double fold (or letter fold). A single fold involves folding the dough in thirds, like a letter. A double fold involves folding both ends towards the center, then folding the dough in half, like closing a book.
Each turn increases the number of layers. For example, a single fold creates 3 layers from 1 (dough+butter+dough), and a double fold creates 4. Using the correct fold specified by your recipe and executing it neatly, aligning the edges, is vital for creating uniform layers and preventing butter from escaping.
Resting Between Folds: Preventing Butter from Warming Up
This is a critical cold butter lamination technique. After each fold (or "turn"), the dough and butter layers have been worked, which generates heat and stresses the gluten. The dough must be rested in the refrigerator for at least 30 minutes, and often 1-2 hours, before the next turn. This chills the butter back down to its optimal working temperature and allows the dough's gluten to relax. Skipping this step is a recipe for disaster, almost guaranteeing warm, sticky butter and resistant dough, leading to breakage and smearing.
Tip 5: Recognizing and Addressing Issues During Lamination
Even with the best preparation, problems can arise. Knowing how to spot and fix them is key to salvaging your laminated dough.
Identifying Signs of Butter Softening
Signs that your butter is getting too warm include the dough feeling oily or greasy to the touch, the butter starting to ooze out from the edges of the dough layers, or the dough becoming difficult to roll without the butter smearing. The dough may also feel excessively pliable and less distinctively layered. Catching these signs early is crucial for successful cold butter lamination techniques.
Corrective Actions: How to Rescue a Sticky Situation
If you notice the butter is too soft, stop rolling immediately. Place the dough back in the refrigerator on a flat surface for a significant rest, perhaps 30-60 minutes, until the butter is firm again. If butter is oozing, you can try gently dusting the area with a tiny amount of flour before chilling, but avoid incorporating too much flour into the dough. Sometimes, if the butter has completely melted into the dough, the lamination cannot be salvaged for classic flaky layers, and the dough might be better used for a different application like brioche or rolls.
Adjusting Your Technique Based on Environmental Conditions
Be mindful of the temperature in your kitchen. On a warm day, you will need to work faster and incorporate longer or more frequent chilling periods between folds. Consider starting earlier in the morning when it's cooler. If it's particularly hot, you might even need to chill the dough for a few minutes during the rolling process if you feel the butter softening. Being adaptable and responsive to your environment is a key skill in mastering cold butter lamination techniques.
Advanced Lamination Strategies for Experienced Bakers
For those who have mastered the basics of cold butter lamination techniques, there are ways to refine your process and explore new possibilities.
Working with Different Types of Butter
Experienced bakers often experiment with different butter fat percentages and types to find what works best for their specific recipe and environment. High-fat European-style butters (82%+) are popular for their plasticity, but some bakers might blend butters or even use specialized "dry" butters designed specifically for lamination. Understanding how different fat content and moisture levels affect plasticity and melting points allows for fine-tuning the process.
Incorporating Flavored Butter for Unique Viennoiseries
A creative application of lamination is using flavored butter. Imagine a chocolate croissant made with a cocoa-infused butter block, or a savory pastry using herb butter. The flavoring ingredients must be incorporated into the butter without compromising its ability to form layers. This often requires careful blending or incorporation and ensuring the butter remains firm enough to roll. This adds an extra layer of complexity to cold butter lamination techniques but offers exciting flavor possibilities.
Troubleshooting Common Lamination Problems
Experienced bakers develop a keen eye for potential issues. They can often diagnose problems based on how the dough feels, how it rolls, or how the butter behaves. Troubleshooting might involve adjusting chilling times, slightly altering hydration, or even adapting the number or type of folds based on how the dough is responding. For example, if the dough is consistently tearing, they might reduce the number of turns or switch from double to single folds for a turn to give the dough more rest.
Conclusion: Achieving Perfect Lamination with Effective Techniques
Mastering laminated dough is a rewarding journey that requires patience, practice, and a deep understanding of the interplay between dough, butter, and temperature. Preventing butter breakage is perhaps the most critical skill to develop, as it directly impacts the flaky, airy structure that defines classic Viennoiseries. By focusing on maintaining cold temperatures, preparing your butter and dough correctly, and employing gentle rolling and folding techniques, you can significantly improve your results.
Recap of Key Tips for Preventing Butter Breakage
Let's quickly review the core principles for successful cold butter lamination techniques:
- Chill everything: Keep dough, butter, tools, and your workspace cold.
- Prepare butter properly: Temper and shape the butter block for even distribution.
- Rest the dough: Allow sufficient chilling time between each fold to relax gluten and firm up butter.
- Roll gently and evenly: Apply consistent pressure to avoid tearing butter layers.
- Recognize and react: Know the signs of butter softening and be prepared to chill as needed.
Enjoy the Process and Experiment!
Don't be discouraged if your first attempts aren't perfect. Lamination is a skill that improves with practice. Embrace the process, pay attention to the feel of the dough and butter, and learn from each batch. Experiment with different flours, butters, and chilling times to see how they affect your results. By applying these cold butter lamination techniques and tips, you'll be well on your way to baking beautiful, flaky Viennoiseries that will impress everyone (especially yourself!). Happy baking!
Frequently Asked Questions
What is cold butter lamination, and why is it important?
Cold butter lamination is a baking technique used in pastries like croissants and puff pastry. It involves layering cold butter between dough and folding it repeatedly to create flaky layers. The cold temperature is crucial for preventing the butter from melting and integrating into the dough.
Why does butter breakage occur during lamination?
Butter breakage, where the butter shatters instead of remaining pliable, often occurs due to the butter being too cold and brittle. It can also be caused by the dough being too warm or overworked.
How can I prevent butter from breaking when laminating?
To prevent breakage, ensure the butter is at the correct temperature – pliable but still cold. You can achieve this by slightly softening it before beginning. Also, be gentle when folding and rolling the dough.
What is the ideal temperature for butter during lamination?
The ideal temperature is cold but pliable, around 60-65°F (15-18°C). The butter should be firm enough to hold its shape but soft enough to bend without cracking. Temperature control is key to success.
What are some alternative techniques if I struggle with butter breakage?
If you consistently struggle with breakage, consider using a European-style butter with a higher fat content. Also, practice patience and use gentle pressure when rolling out the dough to avoid stressing the butter.
Final Reflection: Mastering the Art of Cold Butter Lamination
The pursuit of perfectly flaky pastry, a seemingly simple goal, reveals a deeper truth about precision and patience in baking. The seemingly minor detail of preventing butter breakage during lamination significantly impacts the final product, transforming a potentially tough and dense pastry into a masterpiece of delicate layers. This seemingly small detail holds the key to unlocking the secrets of truly exceptional baked goods.
The impact of mastering cold butter lamination techniques extends far beyond the kitchen. It's a testament to the power of understanding fundamental principles, a lesson applicable to many aspects of life. The meticulous attention to detail required mirrors the dedication needed to achieve excellence in any field. The difference between ordinary and extraordinary is that little extra.
This quote perfectly encapsulates the essence of perfecting cold butter lamination – that extra effort yields extraordinary results. The process itself becomes a meditative practice, a quiet dance between precision and intuition.
Now, consider your own pursuits. What seemingly small details are you overlooking that could elevate your work, your creations, or even your personal life? I invite you to apply the principles of patience, precision, and attention to detail learned here to any challenge you face. Embrace the process, appreciate the small victories, and remember that even the most delicate of structures can be built with careful, considered steps. The perfectly flaky pastry is a testament to this truth, a delicious reward for your dedication.
Unlock Your Perfect Laminations: Master the Butter!
Thanks for taking the time to learn about preventing butter breakage during lamination! We hope you've gained valuable insights into creating flawlessly smooth, layered pastries. Ready to put your new knowledge into action?
- Try our foolproof butter softening technique: Experiment with the microwave method, outlined in the article, and see how effortlessly your butter blends. Note down your results!
- Share your lamination success (or challenges!) with our baking community in the comments below. Let's learn from each other's experiences!
- Consider exploring other BakeWithEase articles on advanced pastry techniques – you might discover your next baking masterpiece!
What unexpected tip did you find most helpful in preventing butter breakage during your next lamination attempt?