
Secrets to Perfectly Proofed Pain au Chocolat

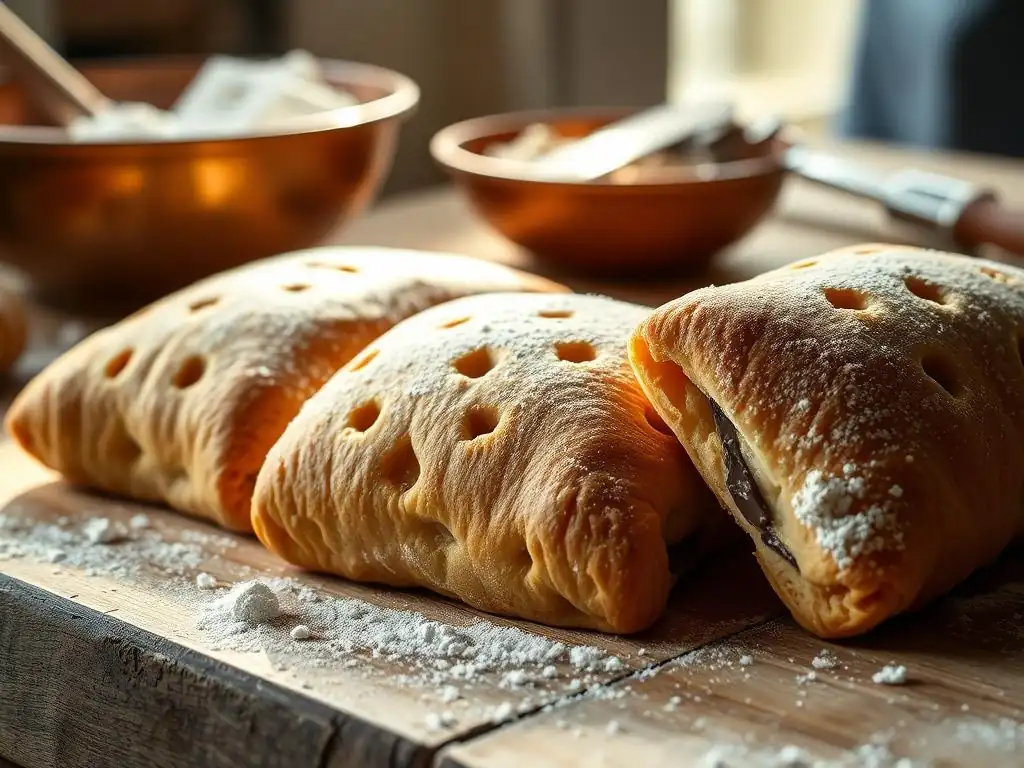
Welcome to BakeWithEase, where mastering the art of baking becomes a delightful journey! Ever dreamt of creating flaky, golden-brown pain au chocolat that rivals your favorite patisserie? You're in the right place. This article delves into the secrets behind achieving perfectly proofed pain au chocolat dough, a crucial step often overlooked. But what makes the perfect proof so vital, and how can you consistently achieve it? Let's unlock the secrets together...
- Secrets to Perfectly Proofed Pain au Chocolat: BakeWithEase Guide
- Mastering Pain au Chocolat Dough: The Importance of Proper Proofing
- Achieving the Ideal Pain au Chocolat Dough Proof: A Step-by-Step Guide
- Troubleshooting Pain au Chocolat Proofing Issues
- Tips for Perfect Pain au Chocolat Proofing Every Time
- Baking Your Perfectly Proofed Pain au Chocolat
-
Frequently Asked Questions
- How crucial is the proofing process for achieving flaky pain au chocolat?
- What is the ideal temperature range for proofing pain au chocolat dough?
- How can I tell if my pain au chocolat dough is adequately proofed?
- What happens if I over-proof my pain au chocolat dough?
- Can I proof pain au chocolat dough in the refrigerator overnight?
- Final Reflection: The Sweet Science of Perfectly Proofed Pain au Chocolat
- Unleash Your Inner Pâtissier: Perfect Pain au Chocolat Awaits!
Secrets to Perfectly Proofed Pain au Chocolat: BakeWithEase Guide
Mastering Pain au Chocolat Dough: The Importance of Proper Proofing
Why Proofing is Crucial for Flaky Pain au Chocolat
Proofing, also known as fermentation, is a non-negotiable step in creating light, airy, and perfectly proofed pain au chocolat dough. It's the phase where yeast gets to work, consuming sugars in the dough and producing carbon dioxide gas. This gas is trapped by the gluten network, causing the dough to rise and develop volume.
Without sufficient proofing, the dough remains dense and heavy, leading to a pain au chocolat that is tough and lacks the characteristic open crumb structure and flaky layers we all adore. The difference between a mediocre pastry and an exceptional one often comes down to this critical step.
Beyond just creating gas, proofing allows enzymes in the dough to break down starches and proteins. This process contributes significantly to the flavor development and aroma of the final product. A perfectly proofed pain au chocolat dough has a complex, slightly tangy flavor profile that simply doesn't exist in under-proofed dough. Moreover, the improved extensibility of well-proofed dough makes it easier to handle and shape without tearing, which is vital for layering the butter and dough correctly to achieve those signature flaky layers. Think of proofing as the flavor and texture development workshop for your viennoiserie.
Understanding the Proofing Process for Viennoiseries
Viennoiseries, like pain au chocolat, are enriched doughs, meaning they contain higher amounts of fat (butter), sugar, and sometimes eggs or milk compared to lean bread doughs. This richness affects the proofing process. The fat can inhibit gluten development slightly, and the sugar provides ample food for the yeast but can also draw moisture away from it in high concentrations.
Therefore, viennoiseries often require longer or slightly warmer proofing times than lean doughs to achieve adequate volume and flavor development. The goal is to achieve a perfectly proofed pain au chocolat dough that is light but still has enough structure to hold its shape and the butter layers during baking.
The proofing process for pain au chocolat typically involves multiple stages: a bulk fermentation after initial mixing and kneading, and a final proof after shaping. Each stage contributes uniquely to the dough's characteristics. The bulk fermentation allows the overall dough mass to develop flavor and strength, while the final proof gives the individual shaped pastries their final rise and delicate structure before hitting the oven.
Monitoring the dough's activity and feel throughout these stages is key to mastering perfectly proofed pain au chocolat dough. For example, a typical bulk fermentation might take 1-2 hours at room temperature or significantly longer (8-12 hours) in the refrigerator, depending on the desired flavor complexity and yeast quantity.
Achieving the Ideal Pain au Chocolat Dough Proof: A Step-by-Step Guide
Step 1: Preparing Your Pain au Chocolat Dough for Proofing
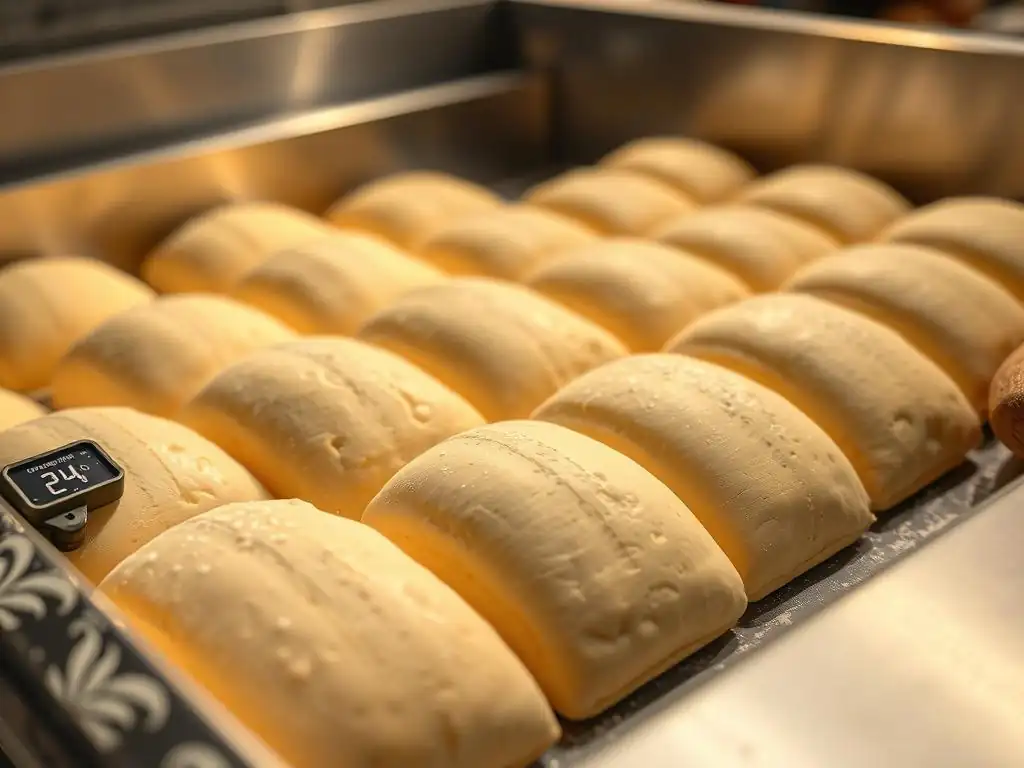
Preparing the dough properly before proofing sets the stage for success. This includes ensuring the dough has been adequately mixed and kneaded to develop a sufficient gluten network. For pain au chocolat, this means reaching a moderate gluten development – enough to trap gas but not so much that the dough becomes overly elastic and difficult to roll out thinly for lamination. The temperature of the dough itself is also critical; ideally, it should be around 24-26°C (75-79°F) after mixing to encourage optimal yeast activity once resting begins.
Selecting the Right Flour for Optimal Proofing
The type of flour significantly impacts how your perfectly proofed pain au chocolat dough behaves. A medium-protein bread flour, typically around 11-12% protein content, is often recommended. This provides enough gluten to build a strong structure capable of holding the gas produced during proofing, yet remains extensible enough for the lamination process.
Using flour that is too low in protein might result in a dough that collapses during proofing, while flour too high in protein could make the dough too tough and resistant to rolling, hindering even proofing and lamination. For instance, a standard all-purpose flour might yield acceptable results, but a dedicated bread flour usually gives better structure and a more reliable rise for perfectly proofed pain au chocolat dough.
The Role of Yeast in Proofing Pain au Chocolat
Yeast is the engine of proofing, converting sugars into carbon dioxide and alcohol. The type and amount of yeast used directly influence the proofing speed and flavor. Instant dry yeast is convenient and fast-acting, while active dry yeast needs to be proofed in liquid first but offers similar results.
Fresh yeast provides a slightly different flavor profile and is very active but has a shorter shelf life. The quantity of yeast impacts the proofing time; using, for example, 1% instant yeast based on flour weight might require 2-3 hours for a first proof at room temperature, while 0.5% might take 4-6 hours or longer. Ensuring the yeast is fresh and properly activated (if using active dry) is paramount for achieving perfectly proofed pain au chocolat dough.
Step 2: First Proof (Bulk Fermentation) for Pain au Chocolat
The first proof, or bulk fermentation, occurs after the initial mixing and kneading but before shaping. This is where the dough develops significant volume and flavor. Place the dough in a lightly oiled bowl large enough to accommodate its expansion, cover it to prevent drying, and let it rest.
The duration and temperature of this stage are flexible and depend on your recipe, yeast quantity, and desired outcome. A longer, cooler bulk fermentation (like overnight in the refrigerator at 4°C / 39°F) allows for slower yeast activity and more complex flavor development from enzymatic action, contributing to a more nuanced perfectly proofed pain au chocolat dough.
A shorter, warmer bulk fermentation (say, 1-2 hours at 24-26°C / 75-79°F) speeds up the process but might result in less complex flavors. During this stage, some bakers perform "folds" or "stretch and folds" every 30-60 minutes for the first part of the proof. This technique helps to strengthen the gluten network and equalize the dough temperature, leading to a more even rise and a stronger structure capable of supporting the eventual layers in your perfectly proofed pain au chocolat dough. For example, performing 2-3 sets of folds during a 2-hour bulk fermentation can significantly improve the dough's structure.
Controlling Temperature During the First Proof
Temperature control is perhaps the most critical factor during proofing. Yeast activity is highly dependent on temperature. While yeast is active over a broad range, optimal activity for fermentation and flavor development typically occurs between 24°C and 27°C (75°F and 80°F). Temperatures below this slow down fermentation, which can be desirable for flavor, while temperatures above 30°C (86°F) can accelerate fermentation too much, potentially leading to off-flavors and a weakened gluten structure. For a slow, overnight proof, a refrigerator temperature of 4°C (39°F) is ideal, effectively pausing rapid yeast activity while enzymes continue their work.
Consistency in temperature is key. Avoid placing the dough in drafty spots or direct sunlight. If your kitchen is cool, finding a warmer spot (like inside a turned-off oven with the light on) can help maintain a consistent temperature around 25°C (77°F). Conversely, if your kitchen is very warm, a cooler location or even a slightly cooler refrigerator temperature might be necessary to prevent over-proofing during the bulk stage. Achieving a consistently perfectly proofed pain au chocolat dough relies heavily on managing these temperature fluctuations.
Recognizing Signs of a Properly Fermented Dough
Knowing when the first proof is complete is essential. The dough should have visibly increased in volume, typically doubling or nearly doubling in size, depending on the recipe and proofing environment. It should also appear puffy and feel light and airy when gently handled. Another indicator is the "poke test" (though this is more commonly used for the final proof, a gentle version can be applied here); gently poke the dough with a floured finger – if the indentation slowly springs back but doesn't disappear entirely, it's likely ready.
A properly fermented dough will also have a pleasant, slightly alcoholic aroma, a byproduct of yeast activity. If the dough smells strongly of alcohol or appears overly bubbly and fragile, it might be starting to over-proof. Conversely, if it hasn't increased much in volume and feels dense, it's under-proofed and needs more time. Recognizing these signs is crucial for moving to the next step with perfectly proofed pain au chocolat dough. For example, a dough that started at 1 liter volume might reach 1.8-2 liters after a successful bulk fermentation.
Step 3: Shaping and Second Proofing Your Pain au Chocolat
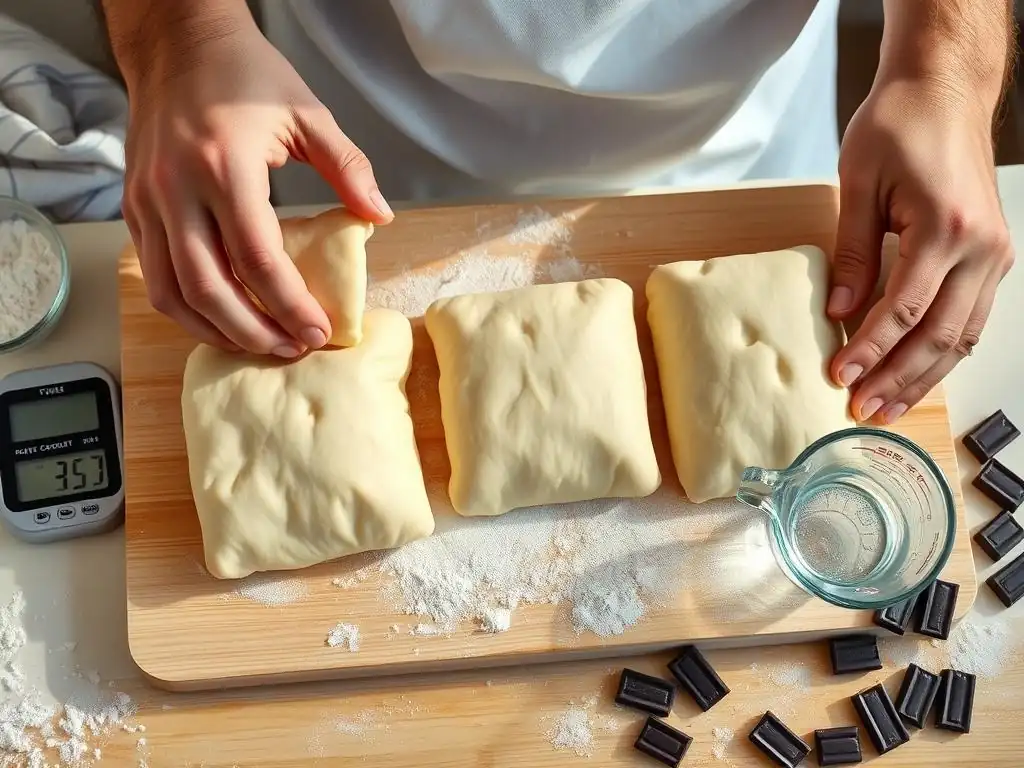
After the bulk fermentation and the crucial lamination steps (incorporating the butter layers), the dough is shaped into individual pain au chocolat pastries. This is where the final proofing begins, preparing the pastries for baking. Shaping must be done carefully to avoid degassing the dough too much, which would undo the work of the first proof. Once shaped, the pastries are placed on baking sheets, leaving ample space between them to allow for expansion during the final proof and oven spring.
The second proof is often shorter than the first but equally important for achieving a light texture. The shaped pastries need to proof until they are visibly puffy and have increased significantly in size, often by 50-75% or even doubled, depending on the desired outcome and dough properties. This final rise develops the delicate internal structure that will become the flaky layers when baked. Ensuring even spacing, perhaps 5-7 cm (2-3 inches) between pastries, is vital for uniform proofing and preventing them from sticking together as they expand into perfectly proofed pain au chocolat dough shapes.
Gentle Handling Techniques to Preserve Proofing
Handling the dough gently after lamination and during shaping is paramount to preserving the delicate layers and the gas already produced by the yeast. Avoid pressing or squeezing the dough forcefully. When cutting the dough into rectangles, use a sharp knife or pastry wheel to make clean cuts that don't compress the edges. When placing the chocolate batons and rolling the dough, do so firmly enough to create a seal but without crushing the layers. Over-handling or rough treatment can deflate the dough, resulting in dense, heavy pastries even if the bulk fermentation was successful.
Imagine the dough layers like delicate puff pastry; they trap air and butter. Rough handling can merge these layers or push the gas out, leading to a less airy and flaky result. For example, when rolling the pain au chocolat, a common technique is to start rolling from one end, ensuring the chocolate is encased tightly but without applying excessive downward pressure that would flatten the dough. This careful approach is essential for maintaining the potential for perfectly proofed pain au chocolat dough.
Arranging Pain au Chocolat for Even Proofing
Proper arrangement on the baking sheet is crucial for consistent proofing. Place pastries seam-side down to help them maintain their shape. Ensure there is sufficient space between each pain au chocolat, as they will expand upwards and outwards. Overcrowding can restrict their ability to rise freely and can lead to uneven proofing, where the edges of adjacent pastries rise differently than the centers. Using parchment paper on the baking sheet prevents sticking and makes transferring easier.
Consider the number of pastries per standard baking sheet. For optimal results, a typical home baking sheet (around 30x40 cm or 12x16 inches) might comfortably fit 6-8 pain au chocolat, arranged in two rows. This spacing allows air to circulate around each pastry, contributing to even temperature distribution and uniform proofing, leading to a batch of consistently perfectly proofed pain au chocolat dough ready for the oven.
Step 4: Monitoring the Second Proof for Optimal Results
The second proof is the final opportunity for the pastries to rise before baking. Monitoring this stage closely is vital, as both under-proofing and over-proofing at this point can ruin the final texture. The ideal proofing environment for pain au chocolat is typically warm and humid, around 24-26°C (75-79°F) with 70-80% humidity, which prevents the surface from drying out and forming a skin that would restrict rising. This stage usually takes between 1.5 to 3 hours, depending on the temperature, yeast activity, and dough composition.
Watch the pastries closely as the end of the proofing time approaches. They should look significantly larger and puffier than when they were shaped. The layers should appear more defined, and the pastries should feel light for their size. This visual assessment, combined with the poke test, helps determine if you have achieved perfectly proofed pain au chocolat dough.
Visual Cues for a Perfectly Proofed Pain au Chocolat
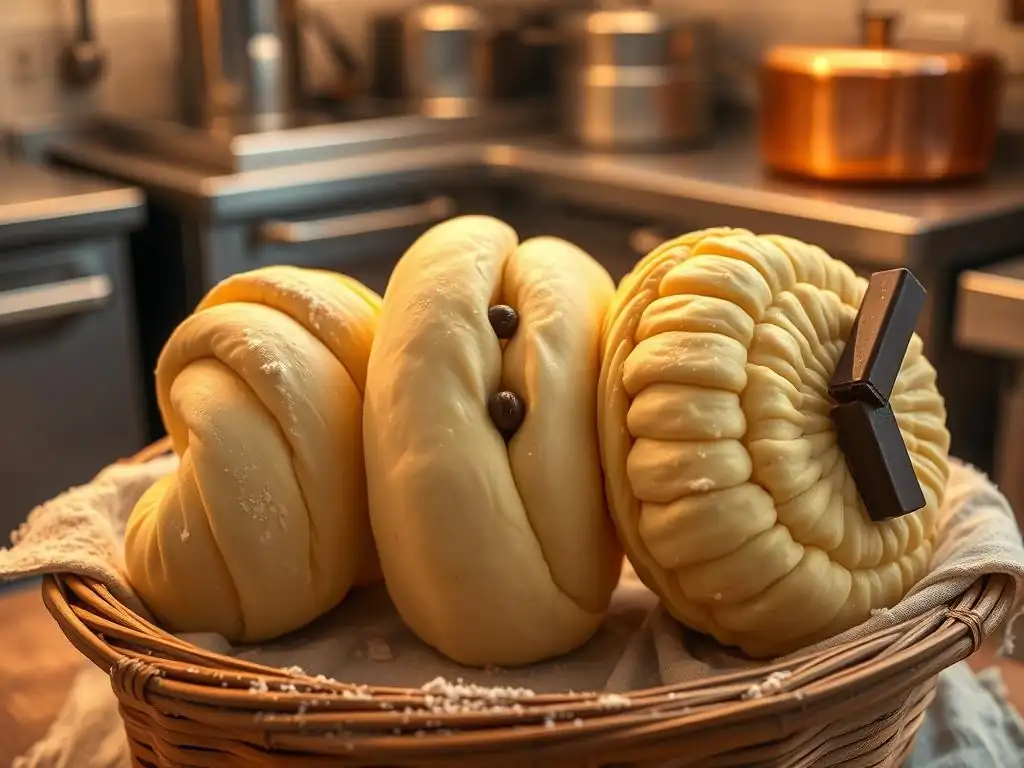
Observing the visual changes in the pastries is a primary way to judge the second proof. Perfectly proofed pain au chocolat dough will have increased substantially in volume, often appearing about 75% larger than its shaped size. The surface should look smooth and slightly rounded, not tight or shiny (which can indicate under-proofing) nor fragile and bubbly with visible gas pockets just beneath the surface (which can indicate over-proofing). The distinct layers created during lamination should still be discernible but appear slightly separated and airy.
The edges of the pastries, particularly where the cuts were made, should show signs of expansion. If the pastries look only slightly larger than when shaped, they are likely under-proofed. If they look excessively ballooned, have lost their defined shape, or appear fragile, they are probably over-proofed. Aim for that sweet spot where they are significantly puffy but still hold their structure, indicating perfectly proofed pain au chocolat dough.
The Poke Test: Assessing Proofing Readiness
The poke test is a classic method for assessing proofing readiness, particularly during the final proof. Gently and lightly press the surface of a pastry with a floured finger or knuckle.
- If the indentation springs back immediately and completely: The dough is under-proofed. It needs more time to relax and develop volume.
- If the indentation slowly springs back, leaving a slight but visible indent: The dough is perfectly proofed pain au chocolat dough. It has enough strength to hold its shape but is relaxed enough to expand in the oven.
- If the indentation remains completely or collapses: The dough is over-proofed. The gluten structure has weakened too much to hold the gas.
Perform this test gently on one or two pastries that appear representative of the batch. It's a reliable indicator when combined with visual cues. For instance, if the pastries have increased well visually but the poke test still springs back too fast, they need more time.
Troubleshooting Pain au Chocolat Proofing Issues
Over-Proofed Pain au Chocolat Dough: Rescue Strategies
Over-proofing occurs when the dough has fermented for too long or at too high a temperature, causing the gluten structure to weaken and collapse. Signs include pastries that look excessively large, may have lost their defined shape, appear fragile or bubbly, and fail the poke test by collapsing or staying indented. While a severely over-proofed dough is difficult to fully rescue, you can sometimes mitigate the damage.
If the pastries are just slightly over-proofed, handling them extremely gently and immediately baking them might still yield acceptable results, though they may spread more than desired and have a less open crumb. For dough that is significantly over-proofed but hasn't completely collapsed, you could very gently reshape them if possible (though this will deflate them significantly) and attempt a very short second proof (perhaps 15-30 minutes) before baking.
Alternatively, the dough can sometimes be repurposed for other uses where structure is less critical, like flatbreads, although this won't yield pain au chocolat. Prevention through careful monitoring is always better than attempting a rescue.
Under-Proofed Pain au Chocolat Dough: Solutions and Adjustments
Under-proofing is more forgiving than over-proofing. Under-proofed pastries look smaller and denser than they should, feel heavy, and the poke test springs back immediately. The solution is simple: give them more time to proof.
If you realize your pastries are under-proofed, continue the final proofing, checking every 15-30 minutes using visual cues and the poke test. You might need to adjust the proofing environment if it's too cool. For example, if they've been proofing at 20°C (68°F) for two hours and still look small, moving them to a spot closer to 25°C (77°F) can help speed things up. Baking under-proofed pain au chocolat will result in dense, heavy pastries with poor oven spring and a tight crumb, so allowing sufficient time for perfectly proofed pain au chocolat dough is crucial.
Common Proofing Mistakes and How to Avoid Them
Several common pitfalls can prevent you from achieving perfectly proofed pain au chocolat dough. One is inconsistent temperature; fluctuating temperatures slow down or unpredictably speed up fermentation. Another is insufficient kneading or gluten development early on, resulting in a weak structure that can't hold the gas. Using old or inactive yeast is another frequent issue – always check the expiry date and activate active dry yeast correctly.
Overcrowding pastries on the baking sheet is also a mistake, leading to uneven proofing. Lastly, not monitoring the dough is a sure way to miss the peak proofing window. Avoid these by:
- Maintaining a stable proofing temperature (use a proofing box, oven with light on, or consistent spot).
- Ensuring proper dough development during mixing.
- Using fresh, reliable yeast.
- Giving pastries ample space on the baking sheet (e.g., 6-8 per standard tray).
- Checking the dough's progress visually and with the poke test at regular intervals.
Tips for Perfect Pain au Chocolat Proofing Every Time
Maintaining Consistent Temperature and Humidity
Consistency is key to predictable and perfectly proofed pain au chocolat dough. Yeast is sensitive to temperature fluctuations. Aim for a steady temperature range, typically 24-26°C (75-79°F) for the final proof. Humidity is also important to prevent the surface of the dough from drying out and forming a skin, which restricts expansion. An ideal relative humidity is around 70-80%.
If you don't have a dedicated proofing setting on your oven, you can create a humid environment. Place the baking sheet with pastries inside a large plastic bag, ensuring the bag doesn't touch the pastries. Alternatively, place the baking sheet in a turned-off oven with a pan of hot water on the rack below. The evaporating water will create humidity. Using a small thermometer and hygrometer can help you confirm your proofing environment is within the desired range for achieving perfectly proofed pain au chocolat dough.
Using a Proofing Box or Alternative Methods
While professional bakers often use climate-controlled proofing boxes, home bakers have excellent alternatives. A home oven with a "proof" setting is ideal, as it maintains a low, consistent temperature (often around 24-27°C / 75-80°F). If your oven doesn't have this setting, the "oven with the light on" method often provides a temperature in a similar range, especially if the bulb is incandescent.
Other methods include using a large, clear plastic storage bin with a lid, placing the baking sheet inside with a bowl of hot water. This creates a warm, humid microclimate. Some even use specialized proofing boxes designed for home use that offer precise temperature and humidity control. Experimenting with different methods in your kitchen environment will help you find the most reliable way to achieve perfectly proofed pain au chocolat dough.
The Importance of Rest Time for Dough Relaxation
Resting the dough between stages is just as important as active proofing time. After kneading, the initial bulk fermentation allows the gluten to relax. After lamination and before shaping, a period of chilling (often 30-60 minutes) helps the gluten relax further, making the dough easier to roll without snapping back. After shaping, before the final proof, a short rest (sometimes 10-15 minutes, though often integrated into the start of the final proof) allows the dough to recover from handling stress.
This relaxation is crucial because stressed or tight dough resists expansion. A dough that is allowed adequate rest will proof more evenly and expand more gracefully, leading to a more tender and voluminous final product. Skipping these rest periods can result in misshapen pastries and a denser crumb, even if the yeast was active. Prioritizing these pauses contributes significantly to achieving perfectly proofed pain au chocolat dough.
Baking Your Perfectly Proofed Pain au Chocolat
Once your pain au chocolat pastries have reached their perfectly proofed pain au chocolat dough state, they are ready for baking. Baking at the correct temperature is essential for achieving the signature flaky layers and golden-brown crust. A common baking temperature range is 180-200°C (350-390°F). A slightly higher initial temperature can help encourage oven spring, where the sudden heat causes the yeast to produce a final burst of gas and the water in the butter layers to turn to steam, pushing the layers apart.
Bake until the pastries are deeply golden brown on top and bottom. This typically takes 15-25 minutes, depending on the oven and the size of the pastries. Baking sufficiently ensures the internal structure is set and the layers are fully rendered and crisp. Under-baked pain au chocolat will be doughy and lack flakiness, while over-baked ones will be dry and hard. A properly baked pastry made from perfectly proofed pain au chocolat dough will be light, airy, and incredibly flaky.
Achieving Optimal Oven Spring with Properly Proofed Dough
Oven spring is the final, rapid expansion of the dough in the first few minutes of baking. It's crucial for achieving a light, open crumb structure. Perfectly proofed pain au chocolat dough has the optimal balance of gas production and gluten strength to achieve excellent oven spring. The yeast is still active and gets a final boost from the heat, while the elastic gluten network expands to accommodate the gas. Simultaneously, the cold butter layers rapidly melt and turn to steam, forcing the dough layers apart to create flakiness.
If the dough is under-proofed, the gluten is too tight, restricting expansion. If it's over-proofed, the gluten is too weak to hold the gas, and the structure collapses. Therefore, perfectly proofed pain au chocolat dough is key to maximizing oven spring and achieving that beautiful lift and open structure. Ensuring your oven is fully preheated to the correct temperature is also vital for initiating rapid oven spring.
Cooling and Enjoying Your Homemade Pain au Chocolat
Once baked to a beautiful golden hue, transfer the pain au chocolat to a wire rack to cool. While it's tempting to dive in immediately, allowing them to cool for at least 15-20 minutes is important. This allows the internal structure to set and the butter within the layers to solidify slightly, which contributes to the crispness and prevents them from collapsing when you handle them.
Enjoying your homemade pain au chocolat, achieved through careful attention to creating perfectly proofed pain au chocolat dough, is the rewarding final step. The result should be a pastry that is light, incredibly flaky, with a rich buttery flavor and pockets of melted chocolate. Share them warm for the best experience!
Frequently Asked Questions
How crucial is the proofing process for achieving flaky pain au chocolat?
The proofing process is absolutely critical for flaky pain au chocolat. It allows the dough to rise and develop the necessary air pockets that create the desired texture. Without proper proofing, the pastry will be dense and heavy.
What is the ideal temperature range for proofing pain au chocolat dough?
The ideal temperature range for proofing pain au chocolat dough is typically between 75-80°F (24-27°C). This warmth encourages yeast activity without melting the butter layers, which are crucial for flakiness.
How can I tell if my pain au chocolat dough is adequately proofed?
A well-proofed dough will have nearly doubled in size and will feel light and airy. A gentle poke will leave a slight indentation that slowly springs back. This indicates sufficient gluten development and gas production.
What happens if I over-proof my pain au chocolat dough?
Over-proofing can lead to a flat, deflated pastry with a sour taste. The gluten structure weakens, causing the pain au chocolat to lose its shape and become unpleasantly dense.
Can I proof pain au chocolat dough in the refrigerator overnight?
Yes, you can proof pain au chocolat dough in the refrigerator overnight. This slow fermentation develops a richer flavor. However, it's essential to monitor the dough closely as refrigerator temperatures can vary.
Final Reflection: The Sweet Science of Perfectly Proofed Pain au Chocolat
The pursuit of the perfect pain au chocolat isn't merely about baking; it's about understanding the delicate dance between time, temperature, and yeast. Achieving that flawlessly puffed, intensely chocolatey pastry is a testament to patience and precision, a skill that elevates the simple act of baking into an art form. This journey into the heart of perfectly proofed dough reveals the surprising depth and complexity hidden within this seemingly straightforward treat.
The impact of mastering this technique extends far beyond the kitchen. It's a metaphor for the dedication and attention to detail required in any pursuit of excellence. The subtle shifts in dough texture, the tell-tale signs of perfect proofing – these are lessons that translate to other areas of life, reminding us that even the smallest details can significantly impact the final outcome. The difference between ordinary and extraordinary is that little extra.
This quote resonates deeply with the painstaking process of achieving perfectly proofed pain au chocolat, highlighting the importance of that "little extra" effort.
Now, I invite you to consider your own "dough." What aspects of your life require the same level of careful attention, the same patience and understanding of the subtle nuances involved? Perhaps it's a project at work, a personal relationship, or even a creative endeavor.
Embrace the process, appreciate the small victories along the way, and remember that the journey towards perfection, like the proofing of a pain au chocolat, is just as rewarding as the final result. Take the time, feel the dough, and let the sweet science of baking inspire you to achieve your own perfectly risen aspirations.
Unleash Your Inner Pâtissier: Perfect Pain au Chocolat Awaits!
Thanks for joining us on this delicious journey into the world of perfectly proofed pain au chocolat! We hope you've gained valuable insights and are ready to elevate your baking game. Now it's time to put your new knowledge to the test!
- Master the Art of Proofing: Try our recommended proofing method from the article – you'll be amazed by the difference! This is your chance to bake the pain au chocolat of your dreams.
- Share your Success: Post a picture of your masterpiece on social media and tag us! Let's inspire others with your baking prowess. Use #BakeWithEasePainAuChocolat to join the conversation.
- Explore Beyond Chocolate: Experiment with different fillings – perhaps raspberry or almond? The possibilities are endless!
Ready to transform your kitchen into a Parisian patisserie? What unique twist will you add to your next batch of pain au chocolat?