
Bake Panettone at Home: The Easy Way

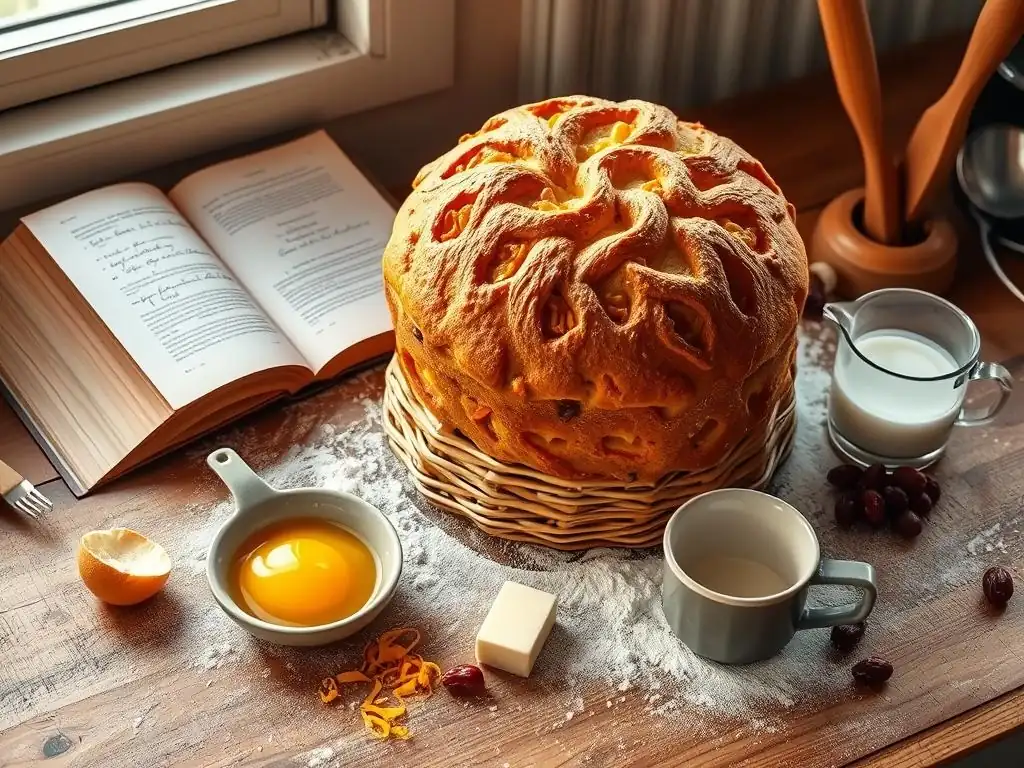
Welcome to BakeWithEase!
Ever dreamed of baking a perfect panettone, but felt intimidated? You're in the right place! We believe everyone can experience the joy of this classic Italian sweet bread. Discover our easy panettone recipe for beginners and unlock the secrets to a light, airy, and utterly delicious treat. Ready to impress your friends and family with a homemade masterpiece? Let's get started!
- Bake Panettone at Home: The Easy Way - A BakeWithEase Guide
- Introduction to Homemade Panettone: An Easy Recipe for Beginners
- Panettone Recipe: Simplified Ingredients and Equipment
- Step-by-Step Guide: Baking Panettone the Easy Way
- Tips and Tricks for Baking Perfect Panettone (Even as a Beginner)
- Storing Your Homemade Panettone
- Conclusion: Embrace the Joy of Easy Panettone Baking
-
Frequently Asked Questions
- How is this panettone recipe considered "easy" for beginners?
- What are the key ingredients that differentiate this "easy" panettone from a standard recipe?
- What if I don't have a traditional panettone mold? Can I still use this recipe?
- How long does it take to make this "easy" panettone from start to finish?
- What are some common mistakes beginners make when baking panettone, and how does this recipe help avoid them?
- Final Reflection: The Sweetness of Effort, the Joy of Sharing
- Unleash Your Inner Panettone Maestro!
Bake Panettone at Home: The Easy Way - A BakeWithEase Guide
Introduction to Homemade Panettone: An Easy Recipe for Beginners
Discover the Joy of Baking Panettone at Home
Baking panettone at home might seem like a daunting task, often associated with complex techniques and long proofing times. However, the satisfaction of pulling a tall, fragrant, golden loaf from your own oven is truly unparalleled. This traditional Italian sweet bread, typically enjoyed during the festive season, is a masterpiece of texture and flavor, rich with butter, eggs, and candied fruits. Imagine the aroma filling your kitchen, a scent that instantly evokes warmth and celebration. With the right guidance and a simplified approach, creating this iconic bread is well within reach for anyone, even those new to enriched doughs.
Embarking on this baking journey allows you to connect with a rich culinary history and share a truly special treat with loved ones. Many bakers find the process deeply rewarding, a meditative practice that culminates in a delicious reward. Our goal with this guide is to demystify the process, breaking it down into manageable steps that focus on achieving a fantastic result without unnecessary complications. Forget the intimidation; get ready to experience the pure joy of making your own panettone from scratch.
Why Choose This Easy Panettone Recipe?
Many traditional panettone recipes involve multiple dough stages, preferments like lievito madre (sourdough starter) that require days of feeding, and techniques that can be challenging for novice bakers. Our easy panettone recipe for beginners streamlines the process significantly while still respecting the core elements that define this beloved bread. We focus on using readily available ingredients and simpler methods that yield a delicious, airy, and moist panettone.
This approach cuts down on the complexity without sacrificing quality. We've tested and refined this method to ensure that beginners can achieve a successful bake on their first attempt. By simplifying the steps and clearly explaining the 'why' behind each stage, we empower you to bake with confidence. If you've been hesitant to try panettone because it seemed too difficult, this easy panettone recipe is designed specifically for you. It’s your perfect entry point into the wonderful world of baking traditional Italian treats.
Panettone Recipe: Simplified Ingredients and Equipment
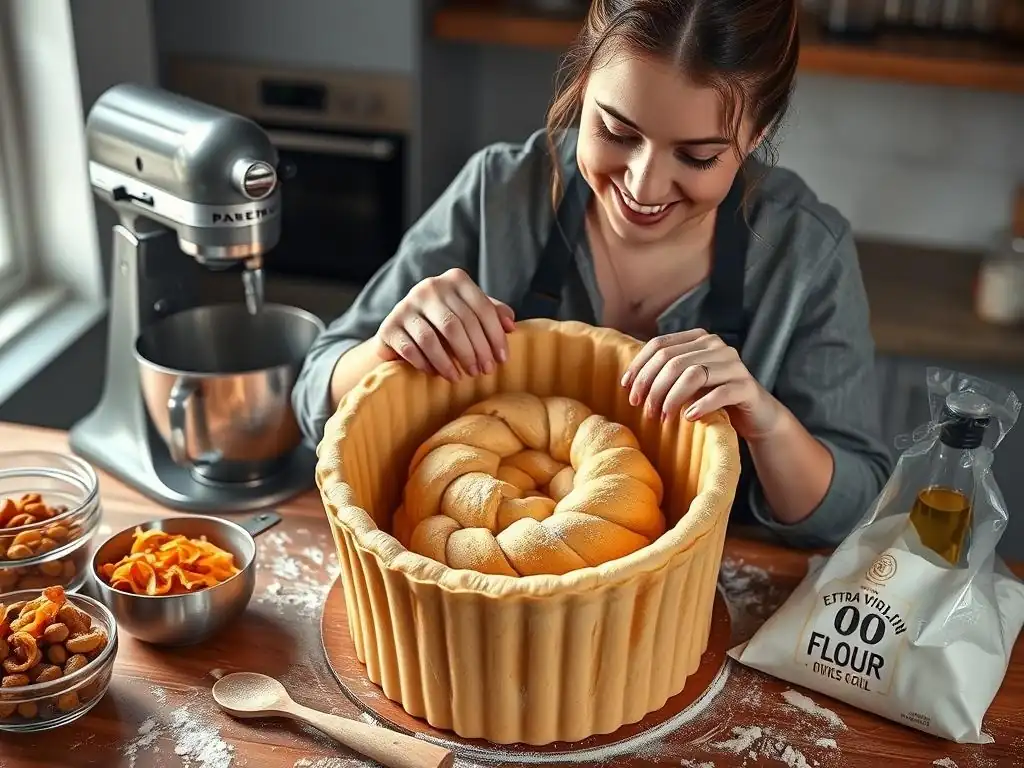
Essential Ingredients for Beginner-Friendly Panettone
Creating a delicious panettone starts with selecting quality ingredients. While the process is simplified in this easy panettone recipe, the components themselves play a crucial role in the final texture and flavor. Think of these as the building blocks for your success. We'll outline the key ingredients and what makes them important for this particular bake.
Here are the essential ingredients you'll need:
- High-quality bread flour
- Fresh active dry yeast or instant yeast
- Granulated sugar and a touch of honey
- Unsalted butter, softened
- Large eggs and egg yolks
- Milk
- Salt
- Vanilla extract or vanilla bean paste
- Candied orange peel and sultanas (raisins)
High-Quality Flour for a Perfect Rise
The type of flour you use significantly impacts the structure of your panettone. For this easy panettone recipe, we recommend using a high-quality bread flour with a protein content typically ranging from 12% to 14%. This higher protein level helps develop strong gluten networks, which are essential for trapping the gases produced by the yeast. A strong gluten structure allows the dough to rise tall and hold its shape during baking, giving panettone its characteristic airy crumb.
Using bread flour ensures that your dough can handle the richness from the butter and eggs without collapsing. While all-purpose flour can work, it may result in a less lofty loaf. Look for flour labeled "bread flour" or "strong flour" at your local grocery store. The investment in good flour pays off in a superior texture and volume, making your beginner panettone look and taste more professional.
The Importance of Fresh Yeast
Yeast is the leavening agent that makes your panettone rise, creating that light, airy texture. For an easy panettone recipe, using fresh active dry yeast or instant yeast is much simpler than managing a sourdough starter. Fresh yeast ensures reliable and predictable rising power. Check the expiration date on your yeast package to confirm it's fresh. Storing yeast properly, usually in an airtight container in the refrigerator or freezer, helps maintain its potency over time.
Using active dry yeast typically requires proofing it in warm liquid (around 40-43°C or 105-110°F) before adding it to the rest of the ingredients. Instant yeast can often be mixed directly into the dry ingredients, simplifying a step. Whichever type you choose, ensuring it's active is key. A simple test for active dry yeast is to mix it with warm water and a pinch of sugar; it should become foamy within 5-10 minutes if alive and ready to work.
Sweetening Your Panettone: Sugar and Honey
Sugar does more than just sweeten the panettone; it provides food for the yeast, contributes to the browning of the crust, and helps retain moisture, resulting in a softer crumb. This easy panettone recipe uses a combination of granulated sugar and a touch of honey. Granulated sugar provides the primary sweetness and structure.
Honey, even in a small amount, adds complexity to the flavor profile and contributes to the moistness of the final product. It also helps the crust achieve a lovely golden hue. The balance of sugar is important – too little and the yeast may struggle, too much and the dough can become heavy. Our recipe proportions are designed for a perfectly sweet and tender panettone suitable for beginners.
Dried Fruits and Candied Citrus: The Classic Panettone Flavors
The signature flavors of panettone come from the generous addition of dried fruits and candied citrus peel. Traditionally, this includes sultanas (golden raisins) and candied orange peel, sometimes with candied citron. These additions don't just add flavor and sweetness; they also contribute to the moistness of the loaf. Using high-quality, plump dried fruits and fragrant candied citrus is crucial for an authentic taste.
Before adding them to the dough, it's often beneficial to soak the dried fruits in warm water, rum, or orange juice for about 30 minutes. This plumps them up, preventing them from absorbing moisture from the dough and making your panettone dry. Drain them well after soaking. Ensure the candied citrus peel is soft and not overly dry. These simple steps enhance the distribution and texture of the fruit within your easy panettone.
Simple Equipment Needed for Baking Panettone
You don't need a professional bakery setup to make delicious panettone at home, especially with an easy panettone recipe designed for beginners. Most of the equipment required is standard in a well-equipped home kitchen. Having the right tools makes the process smoother and increases your chances of success.
Here's a checklist of the simple equipment you'll need:
- Large mixing bowls
- Measuring cups and spoons
- Panettone molds
- Stand mixer (highly recommended) or sturdy wooden spoon
- Kitchen scale (optional but helpful)
- Wire rack
- Long skewers (for cooling)
- Oven thermometer
Panettone Molds: Paper vs. Metal
Panettone is traditionally baked in tall, cylindrical paper molds. These molds are readily available online or in specialty baking stores and are highly recommended for achieving the classic panettone shape and height. The paper mold supports the tall dough as it rises and bakes, preventing it from spreading outwards. They also help create a beautiful, rustic crust.
While metal molds can be used, they typically require greasing and lining, and the paper molds offer the best support for that characteristic tall rise. For an easy panettone recipe beginner, using paper molds simplifies the process significantly – just pour the dough in, and you're ready to proof and bake. Choose molds appropriate for the size of your recipe, commonly available in 500g or 1kg sizes.
Stand Mixer vs. Hand Mixing: Choosing Your Method
Working with enriched doughs like panettone, which are high in fat and sugar, can be quite challenging to knead by hand. The dough is often very sticky and requires significant development of gluten. While it is possible to knead panettone dough by hand, it requires considerable effort and time, potentially 20-30 minutes of vigorous kneading.
For an easy panettone recipe, a stand mixer with a dough hook attachment is highly recommended. A stand mixer makes the kneading process much faster (typically 10-15 minutes) and more efficient, ensuring proper gluten development without the physical strain. This is one piece of equipment that truly simplifies baking panettone for beginners and helps guarantee a better texture. If you don't have a stand mixer, be prepared for a good workout!
Oven Essentials: Thermometer and Baking Sheet
Accurate oven temperature is critical for baking panettone successfully. Ovens can often vary significantly from their dial settings, sometimes by as much as 10-20°C (20-40°F). An inexpensive oven thermometer placed inside your oven will show you the true temperature, allowing you to adjust your oven's setting accordingly. Baking panettone at the correct, consistent temperature ensures it cooks through evenly without the crust burning before the inside is done.
Using a baking sheet is also important. Place your panettone mold directly on a sturdy baking sheet before putting it in the oven. This provides a stable base, makes it easy to transfer the tall loaf in and out of the oven, and catches any potential drips if your panettone rises higher than expected. These simple tools help ensure an even bake and easy handling, contributing to the success of your easy panettone recipe.
Step-by-Step Guide: Baking Panettone the Easy Way
Baking panettone involves several stages, but this easy panettone recipe breaks them down into simple, manageable steps. Follow along carefully, and you'll be well on your way to a beautiful homemade loaf.
Step 1: Preparing the First Dough (Lievito)
Even in a simplified recipe, starting with a small initial dough, sometimes called a lievito or biga, helps develop flavor and structure. This step activates the yeast and gives it a head start before it has to work with the rich, heavy main dough.
Activating the Yeast: A Crucial First Step
If you are using active dry yeast, this is where you wake it up. Measure out the warm milk (around 40-43°C or 105-110°F – warm to the touch but not hot) specified in the recipe. Sprinkle the yeast and a pinch of sugar over the milk. Stir gently and let it sit for 5-10 minutes. You should see the mixture become foamy and bubbly, indicating the yeast is active and ready. If it doesn't foam, your yeast may be expired or the milk was too hot/cold, and you'll need to start this step over with fresh yeast.
If using instant yeast, you can often skip this proofing step and mix it directly with the dry ingredients, but proofing it in the warm milk first as described above is a good way to confirm its activity, which can be reassuring for beginners following an easy panettone recipe. This simple check prevents potential disappointment later if the dough doesn't rise.
Mixing the First Dough: Achieving the Right Consistency
Once your yeast is active, combine it with a portion of the flour and a small amount of sugar and milk as specified in the recipe for the first dough. Mix these ingredients together until they form a shaggy, sticky dough. It won't be smooth at this stage, and that's perfectly fine. The goal is just to bring the ingredients together and hydrate the flour.
You can mix this first dough in a bowl with a spoon or in your stand mixer with the dough hook. Mix just until everything is combined, typically about 1-2 minutes. Avoid overmixing at this stage. The consistency should be like a thick batter or a very wet dough.
Proofing the First Dough: Time and Temperature
After mixing, cover the bowl with plastic wrap or a damp kitchen towel. Place the bowl in a warm, draft-free place to proof. An ideal temperature range for proofing is typically between 24-27°C (75-80°F). This initial proofing allows the yeast to start multiplying and developing flavor.
The first dough should roughly double in size. This usually takes about 45-60 minutes, depending on the warmth of your proofing environment. You'll notice bubbles forming on the surface. This active, bubbly first dough is a great indicator that your yeast is working well and you're on the right track for a successful easy panettone bake.
Step 2: Making the Second Dough (Impasto)
This is where the main dough comes together. You'll combine the risen first dough with the remaining rich ingredients to form the final panettone dough.
Combining the First Dough with New Ingredients
Transfer the proofed first dough to the bowl of your stand mixer (or a large mixing bowl if hand-kneading). Add the remaining ingredients: the rest of the flour, sugar, eggs, egg yolks, softened butter (added gradually), milk, salt, and vanilla. It will look like a messy mix at first, with the wet first dough blending with the new additions.
Using the dough hook attachment on your stand mixer, start mixing on a low speed to combine everything. If mixing by hand, use a sturdy spoon or your hands to bring the ingredients together into a cohesive mass. Scrape down the sides of the bowl as needed.
Kneading the Second Dough: Developing Gluten Strength
This is the most crucial step for developing the structure of your panettone. The dough needs significant kneading to develop strong gluten, which is necessary to support the heavy load of butter, eggs, and fruit and achieve that characteristic tall rise and airy crumb.
In a stand mixer, knead the dough on medium-low speed for about 10-15 minutes. The dough will start very sticky but will gradually become smoother and more elastic. It should eventually pull away from the sides of the bowl, though it may still stick to the bottom.
To test for sufficient kneading, perform the windowpane test: carefully stretch a small piece of dough; if it stretches thin enough to see light through it without tearing, the gluten is well-developed. If kneading by hand, this process will take longer, likely 20-30 minutes, and requires patience and persistence. Keep scraping the dough off your hands and the surface and folding it back into itself.
Adding Dried Fruits and Candied Citrus: Even Distribution
Once the dough is well-kneaded and passes the windowpane test, it's time to incorporate the pre-soaked and drained dried fruits and candied citrus. Add them to the dough and mix on a very low speed in the stand mixer (or fold in gently by hand) just until they are evenly distributed throughout the dough. Avoid overmixing once the fruit is added, as this can break down the gluten you've worked hard to develop.
Ensure the fruit is evenly spread so every slice of your easy panettone has delicious pockets of flavor. This step completes the dough preparation; it's now ready for its important proofing stages.
Step 3: Proofing the Panettone Dough
Proofing is where the magic happens – the yeast produces carbon dioxide, causing the dough to rise and develop its internal structure and flavor. Panettone requires two main proofing stages.
The First Proofing: Bulk Fermentation
After kneading and incorporating the fruit, place the dough in a lightly greased large bowl. Cover the bowl tightly with plastic wrap. Place it in a warm, draft-free spot. The first proofing, or bulk fermentation, allows the entire mass of dough to rise.
This stage can take anywhere from 2 to 4 hours, depending on the warmth of your environment and the activity of your yeast. The dough should roughly double in size. You'll see it become puffy and expanded. This slow rise also helps develop the complex flavors characteristic of traditional panettone. Patience is key here!
Shaping the Panettone: Gentle Handling
Once the dough has doubled, gently turn it out onto a lightly floured surface. Deflate it very gently – you want to retain as much of the gas as possible while reshaping it. Shape the dough into a smooth ball by bringing the edges underneath and tucking them in to create surface tension. Handle the dough with care to avoid knocking out too much air.
Place the shaped dough ball into your prepared paper panettone mold. Ensure the mold is sitting on a baking sheet for stability. The dough ball should fill the mold about one-third to halfway up, depending on the size of your mold and the amount of dough.
The Second Proofing: Achieving Maximum Rise
Cover the panettone mold loosely with plastic wrap or place it in a large plastic bag to create a humid environment. Return it to your warm proofing spot for the second proofing. This final rise is crucial for achieving the signature height of panettone.
The dough should rise until the top is nearly level with or slightly above the rim of the paper mold. This can take anywhere from 2 to 3 hours, sometimes longer, again depending on conditions. Be patient and let the dough rise sufficiently. A well-proofed panettone will be light and airy. You can gently poke the side of the dough with a finger; if the indentation springs back slowly, it's ready to bake.
Step 4: Baking the Panettone
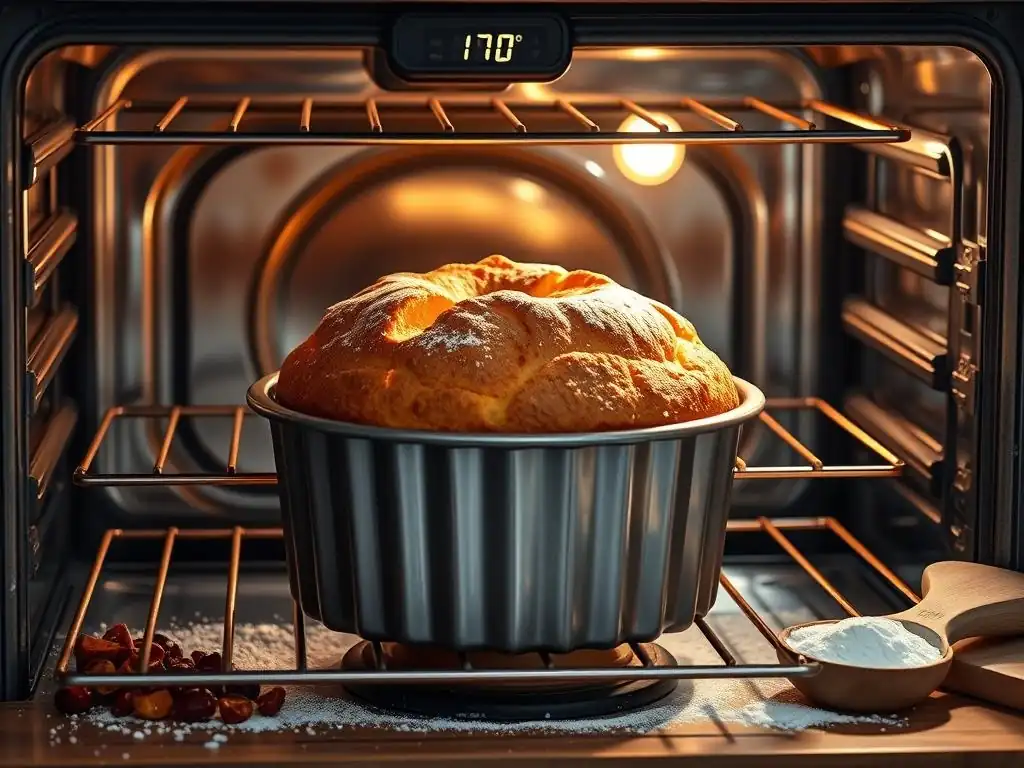
Baking is the culmination of all your hard work. Getting the temperature and timing right ensures a beautiful, golden crust and a perfectly cooked interior.
Preheating the Oven: Achieving the Perfect Temperature
Preheat your oven well in advance to ensure it reaches and stabilizes at the correct temperature. For panettone, a common baking temperature range is between 170°C and 190°C (340°F and 375°F). Use your oven thermometer to verify the temperature inside. If your oven runs hot or cold, adjust the dial accordingly.
Place the baking sheet with the panettone mold on a rack in the lower third of your oven. This helps prevent the top from browning too quickly while the inside cooks. Ensure there's enough space for the panettone to rise further in the oven (oven spring) without touching the top element.
Baking Time and Temperature: Monitoring for Doneness
Baking time will vary depending on the size of your panettone and your specific oven. A 500g panettone typically bakes for 30-40 minutes, while a 1kg loaf might take 45-60 minutes. Start checking around the lower end of the time range.
Bake at the specified temperature until the top is a deep golden brown. If the top starts to brown too quickly before the inside is done, you can loosely tent the top with aluminum foil. Monitor the panettone as it bakes; the aroma will become increasingly rich and sweet.
The Skewer Test: Ensuring a Fully Baked Panettone
The most reliable way to check if your panettone is fully baked is to use a long metal skewer or thermometer probe. Carefully insert it deep into the center of the loaf, avoiding the fruit as much as possible.
Pull the skewer out. If it comes out clean with no wet batter attached, the panettone is done. If there are wet crumbs or batter, the panettone needs more time. Return it to the oven for another 5-10 minutes and test again. A properly baked panettone will have an internal temperature of around 90-94°C (195-200°F). This test is essential for avoiding an undercooked, gummy center in your easy panettone.
Step 5: Cooling the Panettone Upside Down
This step might seem unusual, but it is absolutely critical for panettone. Skipping this step can result in your beautiful, tall loaf collapsing on itself as it cools.
Why Hanging Panettone Upside Down is Essential
Panettone is an incredibly rich bread, heavy with butter, eggs, and fruit. When it comes out of the oven, the internal structure is still delicate. If cooled upright, the weight of the bread can compress the light, airy crumb, causing the panettone to sink and become dense, especially at the bottom.
Hanging the panettone upside down immediately after baking allows the structure to set and cool while gravity works in your favor, stretching the crumb slightly rather than compressing it. This preserves the height and ensures that wonderful, open texture you worked so hard to achieve with your easy panettone recipe.
How to Cool Panettone Safely
Immediately upon removing the panettone from the oven, carefully insert two long metal skewers horizontally through the bottom third of the panettone, parallel to each other, about 1-2 inches apart. Make sure the skewers go all the way through the paper mold and the bread.
Suspend the panettone upside down using the skewers. You can rest the ends of the skewers on the edges of two chairs, between stacks of books, or on the rim of a tall pot. Ensure there is plenty of air circulation around the panettone. Let it hang completely upside down until it is fully cooled, which can take several hours, often 2-4 hours or even longer for larger loaves. Do not rush this step! Once completely cool, you can remove the skewers and store the panettone.
Tips and Tricks for Baking Perfect Panettone (Even as a Beginner)
Even with an easy panettone recipe, baking can sometimes present challenges. Here are some common issues and how to troubleshoot them, plus ideas for customizing your loaf.
Troubleshooting Common Panettone Baking Problems
- Dough not rising sufficiently.
- Panettone turning out dry.
- Uneven baking or burnt crust.
Dough Not Rising: Yeast Issues and Solutions
If your panettone dough isn't rising as expected, the most common culprit is inactive yeast. Ensure your yeast is fresh and was properly activated in warm liquid (if using active dry). Remember, the liquid temperature should be warm, not hot (around 40-43°C). Too hot will kill the yeast, too cold won't activate it efficiently.
Another factor is the proofing environment. If the room is too cold or drafty, the yeast will be sluggish. Find a warm spot, like near a sunny window (but not in direct scorching sun), inside a slightly warm oven (turned off! ), or on top of a warm appliance. Ensure the dough is well-covered to prevent drying out, which can also inhibit rising. Patience is also key; sometimes dough just needs more time, especially in cooler conditions.
Dry Panettone: Hydration and Baking Time Adjustments
A dry panettone can result from insufficient hydration in the dough or overbaking. Ensure you measure your ingredients accurately, especially the flour. While the dough is sticky, resist the urge to add too much extra flour during kneading or shaping, as this reduces hydration. Weighing ingredients with a kitchen scale is the most accurate method.
Monitor your panettone closely during baking. Use the skewer test to determine doneness rather than relying solely on the clock. If the crust is browning quickly but the inside isn't done, tent it with foil. Baking at a slightly lower temperature for a longer time can also help ensure the inside cooks fully without drying out the crust. Hanging the panettone upside down is also critical for maintaining moisture and preventing density.
Uneven Baking: Oven Temperature Variations
Uneven baking, where one side or the top/bottom is more done than another, is often due to hot spots in your oven or inaccurate oven temperature. Using an oven thermometer helps confirm your oven's actual temperature and allows you to adjust accordingly.
If your oven has significant hot spots, you may need to rotate the panettone halfway through the baking time. Be quick when opening and closing the oven door to minimize heat loss. Placing the panettone on a baking sheet in the lower third of the oven helps protect the bottom from burning while allowing the top to brown nicely. Consistent, accurate temperature is key for an even bake.
Flavor Variations: Customizing Your Easy Panettone Recipe
While the classic panettone with candied citrus and raisins is traditional, this easy panettone recipe provides a great base for experimentation. Once you've mastered the basic technique, feel free to customize the flavors to your liking.
Here are a few popular variations:
- Chocolate Panettone
- Citrus Panettone
- Nutella Swirl Panettone
Chocolate Panettone: Adding Cocoa and Chocolate Chips
For a decadent twist, turn your easy panettone recipe into a chocolate lover's dream. Reduce the amount of flour slightly and substitute with unsweetened cocoa powder (about 20-30g per 500g flour). You can also reduce the sugar slightly, as cocoa is bitter.
Instead of, or in addition to, the dried fruits and candied citrus, fold in high-quality chocolate chips or chopped dark chocolate during the last stage of kneading. About 100-150g per 500g loaf works well. The chocolate will melt slightly during baking, creating delicious pockets of richness within the airy crumb. This variation is always a crowd-pleaser.
Citrus Panettone: Enhancing the Citrus Flavors
If you adore the bright, fragrant notes of citrus, you can enhance them in your panettone. Use fresh lemon and orange zest in the dough along with the vanilla. Ensure you only grate the colored part of the peel and avoid the bitter white pith.
Increase the amount of candied orange peel used in the recipe. You can also soak your sultanas in orange juice or a citrus-flavored liqueur instead of water or rum. Some recipes even incorporate a small amount of orange blossom water or citrus extract into the dough for an extra burst of aroma. These simple additions elevate the classic citrus notes.
Nutella Panettone: A Decadent Twist
For a truly indulgent variation, swirl Nutella into your panettone dough. Prepare the dough as usual, up to the point of adding the fruit. Once the dough is kneaded, flatten it slightly into a rectangle. Dollop softened Nutella (about 50-80g per 500g loaf) over the surface.
Fold the dough over or roll it up gently, then twist it slightly to create a swirl effect. Be careful not to overmix, as you want distinct swirls of Nutella, not a uniformly brown dough. Then, place the swirled dough into the panettone mold and proceed with the second proofing and baking. The Nutella creates moist, chocolate-hazelnut pockets throughout the loaf.
Storing Your Homemade Panettone
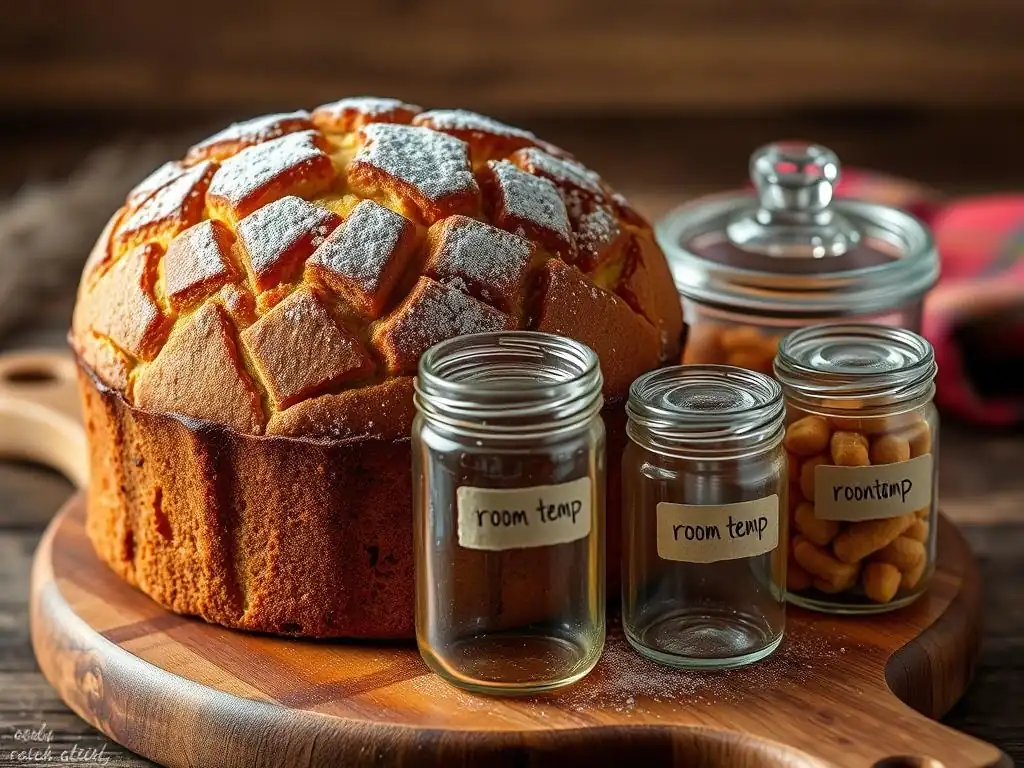
Once your panettone is baked, cooled, and you've admired your handiwork, proper storage is key to keeping it fresh and delicious for as long as possible.
Keeping Panettone Fresh: Proper Storage Techniques
Homemade panettone, being rich and moist, tends to stay fresh longer than lean breads. However, it's best enjoyed within a few days of baking. To keep it fresh, store it at room temperature in a cool, dry place. Avoid refrigeration, as this can dry out the bread quickly.
The best way to store panettone is to wrap it tightly. Once completely cool, remove the paper mold (by gently peeling it away) or leave it on – some prefer to leave it on for moisture retention and appearance. Wrap the panettone tightly in plastic wrap, then place it in a large airtight container or a sturdy plastic bag, squeezing out as much air as possible.
Stored this way, it should remain moist and delicious for 4-7 days. For longer storage, panettone freezes exceptionally well; wrap slices or the whole loaf tightly in plastic wrap, then foil, and freeze for up to 2-3 months. Thaw at room temperature.
Serving Suggestions: Enjoying Your Homemade Panettone
Serving homemade panettone is a simple pleasure. It's traditionally enjoyed sliced vertically. The classic way to eat it is simply on its own, allowing the rich flavor and airy texture to shine.
However, there are many delicious ways to serve it:
- Toasted slices with butter.
- Served with a dollop of whipped cream or mascarpone cheese.
- Accompanied by a sweet wine or coffee.
- Used in French toast or bread pudding recipes.
A popular Italian tradition is to serve panettone with crema di mascarpone, a simple cream made by whipping mascarpone with sugar and sometimes egg yolks. A slice of slightly warmed panettone with this rich cream is divine. Don't be afraid to get creative and find your favorite way to enjoy your successful easy panettone bake!
Conclusion: Embrace the Joy of Easy Panettone Baking
Celebrate Italian Baking Traditions at Home
Baking panettone, even with an easy panettone recipe, is a wonderful way to connect with Italian culinary traditions and bring a touch of festive warmth into your home. This guide has shown that while panettone has a reputation for complexity, a simplified approach makes it accessible to beginners. From activating the yeast to the crucial step of hanging it upside down, each stage contributes to the final masterpiece. The aroma, the texture, the taste – they all combine to create a truly special baking experience.
Sharing your homemade panettone with family and friends is incredibly rewarding. It's a gift made with time, care, and love. By following this easy panettone recipe, you've not only baked a delicious bread but also created a memory. Embrace the process, learn from each step, and take pride in your accomplishment.
Your Success with This Beginner-Friendly Panettone Recipe
You've tackled an enriched dough, managed proofing times, and performed the essential upside-down cool – these are significant baking achievements! This easy panettone recipe for beginners was designed to build your confidence and demonstrate that challenging bakes are achievable with the right instructions. Don't worry if your first attempt isn't absolutely perfect; every bake is a learning opportunity.
With practice, you'll become more attuned to the dough and the nuances of your oven. This guide provides a solid foundation for making delicious panettone at home. Now that you know how simple it can be to make this Italian classic, we hope you'll add it to your regular baking repertoire, not just for holidays but whenever you crave a taste of sweet, airy perfection. Happy baking!
Frequently Asked Questions
How is this panettone recipe considered "easy" for beginners?
This recipe focuses on simplified techniques and readily available ingredients compared to traditional panettone recipes, making it more accessible for those new to baking. It also breaks down complex steps into manageable chunks.
What are the key ingredients that differentiate this "easy" panettone from a standard recipe?
While the core ingredients are similar (flour, yeast, eggs, butter), this recipe might use pre-made candied fruit or a simpler proofing method to shorten the overall baking time and reduce complexity.
What if I don't have a traditional panettone mold? Can I still use this recipe?
Yes, you can! The recipe offers alternative baking options, such as using a deep cake pan or even creating a makeshift mold with parchment paper.
How long does it take to make this "easy" panettone from start to finish?
Expect the entire process, including proofing times, to take approximately 6-8 hours, significantly shorter than traditional panettone recipes that can take days. Active baking time is minimal.
What are some common mistakes beginners make when baking panettone, and how does this recipe help avoid them?
Common mistakes include over-proofing, uneven baking, and using the wrong type of flour. This recipe provides detailed instructions and troubleshooting tips to minimize these risks.
Final Reflection: The Sweetness of Effort, the Joy of Sharing
The aroma of freshly baked panettone, warm and yeasty, filling your home – this isn't just a recipe; it's an experience. This article aimed to demystify the seemingly daunting task of making panettone, proving that even beginners can achieve this festive Italian bread. The ease of the recipe, coupled with the rewarding results, speaks volumes about the power of accessible culinary adventures.
The tradition of baking panettone, a symbol of celebration and togetherness, transcends mere culinary skill. It's about the process, the anticipation, and the joy of sharing the fruits of your labor with loved ones. This resonates deeply with me, as I remember the warmth and laughter surrounding the preparation of festive treats in my own family. The best things in life are the people we love, the places we've been, and the memories we've made along the way.
This quote perfectly encapsulates the spirit of panettone baking – it's about creating memories as much as it's about creating a delicious bread.
So, I invite you, dear reader, to embrace the challenge. Don't be intimidated by the seemingly complex process. Gather your ingredients, follow the steps, and allow yourself to be captivated by the magic of baking. The reward? Not just a delicious panettone, but a deeper connection to tradition, a sense of accomplishment, and the pure joy of sharing something special with those you cherish. Let the warmth of the oven and the sweetness of the panettone fill your home and your heart this holiday season.
Unleash Your Inner Panettone Maestro!
Thanks for taking the time to explore the art of homemade panettone! We hope you gained valuable insights and newfound confidence in your baking abilities. Now it's time to put your knowledge to the test!
- Bake your own Panettone: This is the ultimate test of your newfound skills. Don't be afraid to experiment with different flavors and additions!
- Share your creation: Post a picture of your delicious panettone on social media and tag us @BakeWithEase – we'd love to see your masterpiece!
- Challenge a friend: Inspire someone else to bake their own panettone and share your tips and tricks. Let's create a panettone revolution!
What unique twist will you add to your next panettone baking adventure?