
Easy Sweet Russian Blini Recipe (Crêpes)

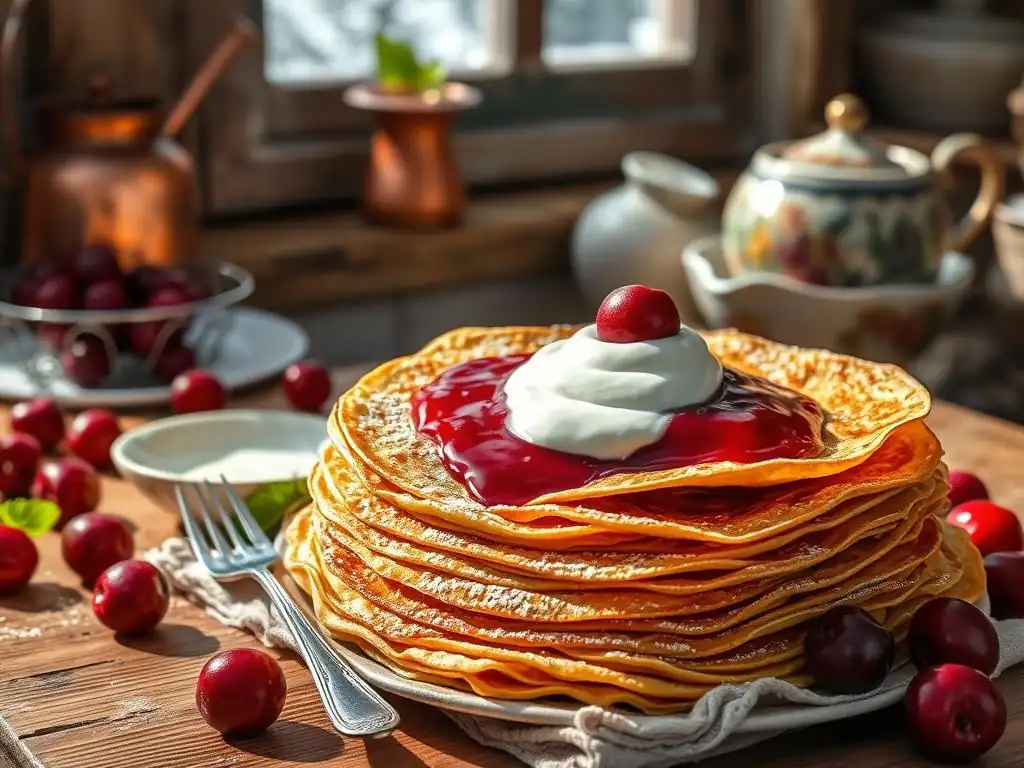
Welcome to BakeWithEase, your partner in creating delicious baked goods! Ever dream of effortlessly whipping up delicate, sweet treats that transport you to another culture? You're in the right place. Today, we're unveiling a truly Easy Russian Blini Recipe that will tantalize your taste buds and impress your friends. But what makes these blini so special, and how can you achieve that perfect golden-brown hue every time? Read on to discover the secrets...
- Introduction
- What are Crêpes?
- Why You'll Love This Recipe
- Ingredients
- Step-by-Step Guide
- Tips for Perfect Crêpes
- Filling Ideas and Toppings
- Serving Suggestions
- Troubleshooting
- More Recipes
- Enjoy Your Homemade Crêpes!
- Frequently Asked Questions
- Final Reflection: The Enduring Charm of Simple Russian Blini
- Unleash Your Inner Pastry Chef: Make Blini Today!
Introduction
Welcome to BakeWithEase! Today, we're diving into the delightful world of thin pancakes with our easy Russian blini recipe. Often compared to French crêpes, blini are a staple in Eastern European cuisine, particularly in Russia. They are incredibly versatile, serving as a perfect base for both sweet and savory fillings. This recipe focuses on creating light, tender blini that are simple enough for any home baker, regardless of experience level. Get ready to whip up a batch of these delicious treats that are sure to become a family favorite!
What are Crêpes?
Crêpes are essentially very thin pancakes, traditionally made from wheat flour. They are known for their delicate texture and wide diameter, typically cooked in a special shallow pan or griddle. While the term "crêpe" is most commonly associated with France, similar thin pancakes exist in many cultures around the world, with blini being the prominent Russian counterpart. Our easy Russian blini recipe brings this tradition right into your kitchen.
Origins and History
The history of thin pancakes like crêpes and blini spans centuries and continents. French crêpes trace their history back to the 13th century in Brittany, where buckwheat flour was initially used, evolving later to wheat flour. Blini, on the other hand, have a much deeper history in Slavic cultures, potentially dating back to pre-Christian times.
They are deeply intertwined with Russian tradition, especially the Maslenitsa (Butter Week or Pancake Week) festival, a week-long celebration before Lent where blini are eaten daily as a symbol of the sun, warmth, and abundance. This festival typically occurs in late February or early March and is a prime time for enjoying blini in copious amounts. It's fascinating how similar concepts of thin pancakes developed independently in different regions, each with its own unique cultural significance and preparation nuances.
Historically, blini were often made with yeast, resulting in a slightly thicker, spongier texture compared to the unleavened crêpes most people are familiar with today. However, modern easy Russian blini recipes often use baking powder or just eggs for leavening, bringing them closer in texture to the thin, delicate French crêpe while retaining the name and cultural context of blini.
The simplicity of ingredients – flour, eggs, milk – has made them a comforting and accessible food for generations, from humble peasant tables to elaborate feasts. The adaptability of blini, allowing them to be served with anything from sour cream and caviar to jam and sweetened cheese, has cemented their place as a beloved classic.
Sweet vs. Savory Variations
The beauty of both crêpes and blini lies in their incredible versatility, easily transitioning between sweet and savory dishes. The basic batter for thin pancakes is often quite neutral, containing just flour, eggs, milk (or water), a pinch of salt, and sometimes a touch of sugar. This neutral base makes them a perfect canvas for a vast array of fillings and toppings. Our easy Russian blini recipe yields a slightly sweet batter, making it ideal for dessert or breakfast applications, but it can easily be adapted for savory uses by simply reducing or omitting the sugar.
Sweet variations are incredibly popular, transforming blini into a delightful dessert or breakfast treat. Common sweet fillings include fruit jams (raspberry, strawberry, apricot), fresh berries, sliced bananas, honey, condensed milk, chocolate spreads like Nutella, or simply a sprinkle of powdered sugar and a squeeze of lemon juice. A classic Russian sweet filling for blini is tvorog (cottage cheese) mixed with sugar and sometimes raisins, creating a creamy, slightly tangy center.
Savory blini are equally diverse and delicious. Popular savory options include smoked salmon and cream cheese, ham and cheese, sautéed mushrooms with herbs, ground meat mixtures, or simply served with sour cream and dill. The choice of filling completely transforms the dish, showcasing the remarkable adaptability of this simple pancake.
Why You'll Love This Recipe
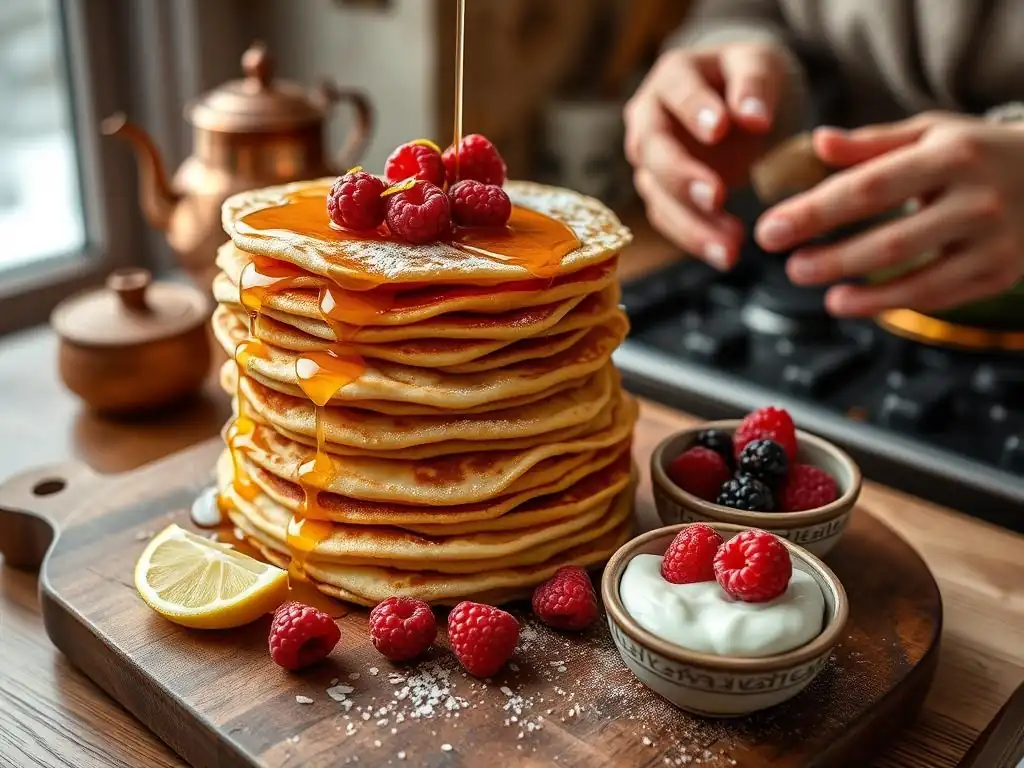
This easy Russian blini recipe stands out for several reasons, making it a fantastic choice for anyone looking to try their hand at making these delicate pancakes. It simplifies the process without sacrificing authenticity or flavor, ensuring a successful outcome even for novice bakers. We believe that baking should be a joyful and accessible experience, and this recipe perfectly embodies that philosophy.
Easy-to-Follow
One of the primary reasons you'll adore this recipe is its straightforward simplicity. We've broken down the process into clear, manageable steps, starting from gathering basic pantry ingredients to the final flip in the pan. There are no complicated techniques or specialized equipment required beyond a whisk, a bowl, and a non-stick pan.
The batter comes together quickly, often in just under 5 minutes of active mixing time. This ease makes it an ideal recipe for a spontaneous weekend breakfast or a last-minute dessert idea. We've tested this easy Russian blini recipe numerous times, ensuring that the instructions are foolproof and the results consistently delicious.
The simplicity extends to the ingredient list itself. You likely already have flour, eggs, milk, sugar, and butter on hand. The steps involve simple actions like whisking wet and dry ingredients separately before combining them, a technique that minimizes lumps and ensures a smooth batter. Even the cooking process, often seen as intimidating, is made easy with clear cues on when to pour the batter, how much to use, and when to flip. This focus on simplicity means less time stressing in the kitchen and more time enjoying your homemade treats.
Delicious and Versatile
Beyond its ease, this easy Russian blini recipe produces incredibly delicious blini with a perfect balance of tenderness and a slightly golden edge. The subtle sweetness in the batter makes them naturally appealing, whether served plain or with elaborate toppings. Their thin, pliable structure makes them perfect for rolling or folding around various fillings, allowing you to customize each serving to your liking.
As mentioned earlier, their versatility is unparalleled. Use them for a simple breakfast with butter and honey, stuff them with sweetened cream cheese for a classic Russian dessert, or even fill them with savory options like smoked salmon for a light lunch. The same basic batch of blini can cater to different tastes at the same meal, making them excellent for gatherings. This adaptability ensures that once you master this easy Russian blini recipe, you'll find countless ways to incorporate these delightful pancakes into your meals throughout the week.
Quick and Convenient
In today's busy world, finding recipes that are both delicious and quick is a real win. This easy Russian blini recipe fits the bill perfectly. The batter preparation is fast, often taking less than 10 minutes from start to finish, including gathering ingredients. While a brief rest for the batter (around 15-30 minutes) can improve texture, it's often optional if you're in a hurry, meaning you can start cooking almost immediately after mixing.
Cooking time per blini is minimal, typically just 1-2 minutes per side. A batch of about 10-12 blini can be ready in under 30 minutes, making this a fantastic option for a quick weeknight dessert or a fast weekend brunch. The convenience of this recipe means you don't need to plan hours ahead; you can satisfy a craving for warm, homemade blini relatively quickly. It's the perfect blend of speed and homemade goodness.
Ingredients
Creating perfect blini starts with understanding the role of each ingredient. This easy Russian blini recipe uses standard pantry staples, but paying attention to their quality and approximate measurements is key to achieving the desired light and delicate texture. We've outlined the essential components and provided some tips for variations and ingredient selection.
Detailed List of Ingredients
Here is a list of the primary ingredients needed for a standard batch of our easy Russian blini recipe, which typically yields about 10-12 blini:
- All-purpose flour: Approximately 1 cup (about 120-130 grams)
- Granulated sugar: About 2-3 tablespoons (adjust to your sweetness preference)
- Salt: A pinch (about 1/4 teaspoon)
- Large eggs: 2
- Milk: Approximately 1 ½ cups (about 350-375 ml), whole milk is recommended for richness
- Unsalted butter: About 2 tablespoons, melted, plus extra for greasing the pan
These quantities are designed to produce a batter that is thin enough for delicate blini but not so thin that they tear easily. Using large eggs provides structure and richness, while the milk adds moisture and contributes to the tender crumb. The small amount of sugar enhances the flavor and helps with browning.
Ingredient Substitutions
While the classic ingredients yield the best results for this easy Russian blini recipe, several substitutions can be made based on dietary needs or availability. For instance, if you prefer a dairy-free option, you can substitute the milk with almond milk, soy milk, or even water, although the texture might be slightly less rich. Similarly, vegan butter or a neutral oil like vegetable oil can replace the melted butter in the batter and for greasing the pan.
For those with gluten sensitivities, a good quality gluten-free all-purpose flour blend can often be substituted for wheat flour, though you may need to adjust the liquid slightly as different blends absorb moisture differently. Start with the recommended amount of milk and add a little more if the batter seems too thick. Experimentation is key when making substitutions, but the core structure of this easy Russian blini recipe is forgiving enough to allow for some flexibility.
Importance of Quality Ingredients
Using fresh, good-quality ingredients, even for a simple recipe like this easy Russian blini recipe, can significantly impact the final outcome. Fresh eggs contribute to better structure and flavor. Using fresh milk, ideally whole milk for its fat content, results in a richer, more tender blini. Stale flour can affect both the texture and taste of the batter.
While you don't need artisanal flour or organic milk for success, avoiding expired or poor-quality ingredients is advisable. The subtle differences in ingredient quality become more apparent in recipes with minimal components, like blini. Think of it like coffee – the quality of the bean makes a huge difference in the final cup. The same principle applies here; starting with fresh ingredients helps ensure your easy Russian blini recipe yields truly delicious results.
Step-by-Step Guide
Making blini is a simple process, but following a clear guide ensures success. This section breaks down the steps from mixing the batter to cooking the delicate pancakes, helping you master our easy Russian blini recipe. Precision isn't paramount, but attention to detail, especially during cooking, is key.
Preparing the Batter
Begin by whisking together the dry ingredients in a medium bowl: the flour, sugar, and salt. In a separate bowl, whisk the eggs lightly. Gradually add the milk to the eggs, whisking until well combined. This two-bowl method helps prevent overmixing the flour later. Now, pour the wet ingredients into the bowl with the dry ingredients.
Using a whisk, start from the center and gradually incorporate the dry ingredients into the wet. Whisk until the batter is smooth and free of lumps. Avoid over-whisking, as this can develop gluten and make the blini tough. The consistency should be similar to thin cream or heavy cream – thin enough to swirl easily in a pan, but not watery.
Once the batter is smooth, stir in the melted butter. This adds richness and helps prevent the blini from sticking to the pan. For the best texture, cover the bowl and let the batter rest in the refrigerator for at least 15-30 minutes. Resting allows the flour to fully hydrate and the gluten to relax, resulting in more tender blini. If you're short on time, you can skip the rest, but you might notice a slight difference in the final texture. This resting period is a simple step that elevates this easy Russian blini recipe from good to great.
Cooking the Crêpes
Heat a non-stick crêpe pan or a shallow frying pan over medium heat. A pan with a diameter of about 8-10 inches (20-25 cm) is ideal for standard-sized blini. Lightly grease the hot pan with a little butter or oil, using a paper towel to wipe away any excess. The pan should be hot enough that a drop of water sizzles and evaporates quickly, but not so hot that the butter burns instantly.
Pour about 1/4 cup (or slightly less, depending on your pan size and desired thickness) of batter into the center of the hot pan. Immediately lift the pan and gently swirl it in a circular motion to spread the batter thinly and evenly across the bottom. This swirling technique is crucial for achieving thin blini.
Return the pan to the heat. Cook for about 1 to 2 minutes, or until the edges look set and slightly golden, and the surface of the blini appears dry with tiny bubbles forming. You should be able to gently lift an edge with a spatula. The first blini is often considered a "test" blini – it helps you gauge if the pan temperature is correct and if you're using the right amount of batter. Don't be discouraged if the first one isn't perfect! Adjust the heat or batter amount as needed for the subsequent blini.
Flipping Tips
Knowing when and how to flip is key to preventing tears and achieving evenly cooked blini. Wait until the top surface of the blini looks mostly set and dry, and the edges are starting to pull away slightly from the pan. You should be able to easily get a thin spatula underneath the blini without it sticking. Gently slide a thin, flexible spatula under one edge, then carefully slide it under the entire blini.
With a swift, confident motion, flip the blini over to cook the second side. This side usually cooks faster, typically within 30 seconds to 1 minute, until lightly golden brown spots appear. If you're feeling adventurous and have a good non-stick pan, you can even try flipping them by hand with a flick of the wrist, but using a spatula is safer and recommended for beginners.
Once cooked on both sides, slide the blini onto a plate. Repeat the process with the remaining batter, lightly greasing the pan between blini if necessary. Stacking the cooked blini helps keep them warm and soft.
Achieving the Perfect Thickness
The thickness of your blini is primarily controlled by two factors: the consistency of your batter and the amount of batter you pour into the pan. A slightly thinner batter, achieved by adding a little more milk (a tablespoon or two at a time), will naturally spread more thinly. However, be careful not to make it too thin, or the blini might tear easily.
Equally important is the amount of batter used per blini. For a standard 8-10 inch pan, about 1/4 cup of batter is usually sufficient for a thin crêpe-like blini. Pour the batter into the center and quickly swirl the pan to coat the bottom thinly. If you use too much batter, you'll end up with thicker, more pancake-like blini. Practice with the first few blini to find the sweet spot for your pan size and desired thickness. Remember, the goal of this easy Russian blini recipe is a delicate, thin result perfect for rolling or folding with fillings.
Tips for Perfect Crêpes
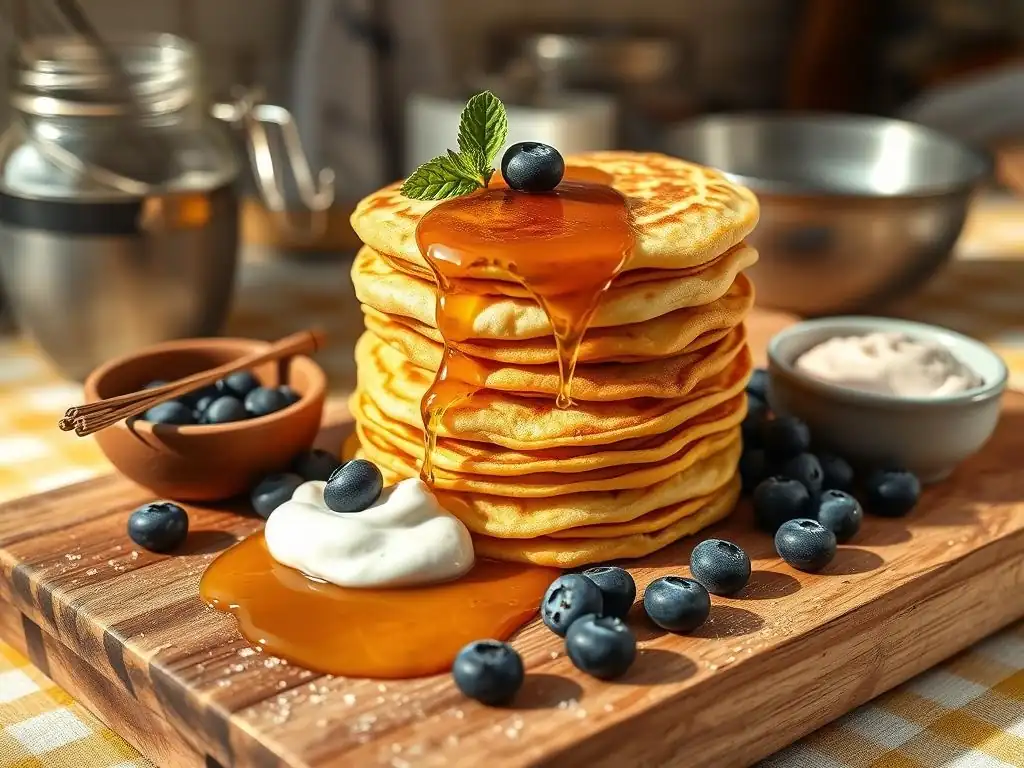
Making perfect blini consistently comes down to a few simple techniques. Once you've mastered the basic steps of our easy Russian blini recipe, keep these tips in mind to elevate your results. These small adjustments can make a big difference in the texture, appearance, and ease of cooking your blini.
Temperature Control
Maintaining the correct pan temperature is perhaps the most critical factor in achieving perfect blini. If the pan is too hot, the blini will cook too quickly, burning on the outside before the inside is set, resulting in tough or crispy edges and a potentially undercooked center. If the pan is not hot enough, the blini will take too long to cook, become pale and rubbery, and might stick to the pan.
The ideal temperature is medium heat. You'll know it's right when a small amount of butter melts smoothly without smoking, and the batter sets and starts bubbling within 30-60 seconds of hitting the pan.
It's common for the pan to get hotter as you cook successive blini. Monitor the heat throughout the process. If the blini are browning too quickly, slightly reduce the heat. If they are taking too long or looking pale, increase it slightly. Don't be afraid to briefly lift the pan off the heat if it seems to be getting too hot. Consistency in temperature ensures consistency in your blini.
Preventing Sticking
Sticking is a common frustration when making thin pancakes. Fortunately, there are several ways to prevent it when using our easy Russian blini recipe. Firstly, use a good quality non-stick pan. A well-seasoned cast iron pan can also work beautifully, but requires proper seasoning. Secondly, ensure the pan is adequately heated before adding the batter. Pouring batter into a cold or lukewarm pan is a surefire way to get it to stick.
Thirdly, use a small amount of fat (butter or oil) to grease the pan before cooking each blini, or every couple of blini depending on your pan. Melted butter adds flavor and helps with browning, while a neutral oil like vegetable or canola oil also works well. Use a paper towel to wipe out excess fat; you only need a thin film. If blini are still sticking despite these measures, your batter might be too thin (add a tablespoon of flour) or the pan might not be hot enough.
Storing and Reheating
If you end up with leftover blini (a rare occurrence, but possible! ), they store quite well. Allow them to cool completely before stacking. To prevent them from sticking together when stacked, you can place a small square of parchment or wax paper between each blini. Once cooled and stacked, wrap the stack tightly in plastic wrap or aluminum foil, or place them in an airtight container. They can be stored in the refrigerator for 2-3 days.
For longer storage, blini freeze beautifully. Stack them with parchment paper in between, wrap tightly, and place in a freezer-safe bag or container. They can be frozen for up to 1-2 months. To reheat refrigerated blini, you can gently warm them in a pan over low heat for a minute or two per side, or microwave them briefly (about 15-30 seconds per blini). Frozen blini can be reheated similarly from frozen, or thawed in the refrigerator first. Reheating them in a pan helps retain their delicate texture better than microwaving, which can sometimes make them slightly rubbery.
Filling Ideas and Toppings
One of the best parts about making blini from our easy Russian blini recipe is the endless possibilities for filling and topping them. Whether you're craving something sweet or leaning towards savory, blini serve as a fantastic base. Here are some ideas to get your culinary creativity flowing.
Classic Sweet Fillings
Sweet fillings are incredibly popular with blini, making them perfect for breakfast, brunch, or dessert. A simple sprinkle of powdered sugar is a classic, allowing the delicate flavor of the blini to shine through. Fruit jams, especially berry jams like strawberry, raspberry, or lingonberry, are traditional Russian accompaniments. Simply spread a thin layer of jam on the blini and roll or fold it.
- Powdered sugar
- Fruit jams (raspberry, strawberry, apricot, cherry)
- Fresh berries (blueberries, raspberries, sliced strawberries)
- Honey or maple syrup
- Sweetened condensed milk
- Chocolate spread (like Nutella)
- Sweetened Tvorog (cottage cheese mixed with sugar, sometimes raisins or vanilla)
Another beloved classic is serving blini with sour cream and sugar. The slight tang of the sour cream provides a wonderful contrast to the sweet blini. For a richer option, whipped cream or clotted cream also pair beautifully with fresh fruit or jam.
Creative Topping Combinations
Once you've explored the classics, feel free to get creative with your blini toppings and fillings. Think beyond single ingredients and combine flavors and textures for a more exciting experience. A simple but delicious combination is lemon zest and granulated sugar – sprinkle both generously over a warm blini and roll it up for a bright, zesty treat.
Consider pairing warm blini with warm toppings like sautéed apples with cinnamon, a quick berry compote, or caramel sauce drizzled with toasted nuts. For a more indulgent option, fill blini with pastry cream or a rich chocolate ganache and top with fresh fruit. You can even turn them into a layered cake by stacking blini with a creamy filling in between. The thin structure of blini holds up surprisingly well to various textures, allowing for imaginative combinations.
Savory Filling Options
While this is an easy sweet Russian blini recipe, the basic blini can easily lend itself to savory applications, especially if you slightly reduce or omit the sugar from the batter. Savory blini are a significant part of Russian cuisine, often served as appetizers or a light meal. One of the most iconic savory pairings is blini with smoked salmon and a dollop of sour cream or crème fraîche, often garnished with fresh dill.
Other popular savory fillings include:
- Sautéed mushrooms and onions, often mixed with sour cream.
- Ground meat fillings (beef, pork, or chicken) seasoned with herbs.
- Ham and cheese, simple but satisfying.
- Caviar (a luxurious, traditional pairing).
- Herring or other smoked fish.
To prepare savory blini, you might mix the filling ahead of time and then spread it onto warm blini before rolling or folding. Alternatively, some savory blini are baked after filling, like Nalesniki (similar to stuffed crêpes) which are often filled with tvorog and baked in a creamy sauce.
Serving Suggestions
Presenting your homemade blini can be just as enjoyable as making and eating them. Whether you're serving a simple breakfast or an elegant dessert, a little thought into presentation can make your easy Russian blini recipe feel even more special.
Elegant Plating Ideas
For a simple yet elegant presentation, stack a few blini on a plate and dust them lightly with powdered sugar. Arrange fresh berries or a dollop of whipped cream next to the stack. Alternatively, roll individual blini with a filling inside (like jam or sweetened tvorog) and arrange them neatly on a platter. You can slice the rolled blini into smaller pinwheels for an appetizer-style presentation.
Another classic way to serve blini, especially with savory fillings, is to fold them into quarters. Place a spoonful of filling (like smoked salmon or mushrooms) in the center of the blini, then fold it in half, and then in half again to create a triangular shape. Arrange these folded blini on a plate and garnish with fresh herbs like dill or chives. For a communal serving, stack a large pile of blini on a central plate and arrange various bowls of fillings and toppings around it, allowing guests to customize their own.
Pairing with Beverages
The best beverage pairing for blini often depends on the fillings and the time of day. For a sweet breakfast or brunch, coffee or tea are classic choices. A warm cup of black tea, perhaps with lemon or milk, complements the sweetness of the blini and fillings beautifully. For a more festive occasion, sparkling cider or even a dry sparkling wine can pair nicely with sweet blini, especially those with fruit fillings.
When serving savory blini, traditional Russian pairings include vodka (served chilled) or kvass (a fermented beverage). However, a dry white wine, such as a Sauvignon Blanc or Pinot Grigio, can also work well with savory options like smoked salmon. For a non-alcoholic option, a crisp apple juice or cranberry juice can be refreshing alongside savory blini.
Crêpes as Dessert
Blini made from our easy Russian blini recipe are inherently suited for dessert. Their light, delicate nature makes them a less heavy alternative to traditional cakes or pastries. Serve them warm, fresh off the pan, with a scoop of ice cream and a drizzle of chocolate or caramel sauce for a simple yet decadent treat.
Consider making a Blini Torte by layering blini with a rich filling like pastry cream, chocolate mousse, or a cream cheese frosting. Chill the layered blini cake for several hours before slicing and serving, allowing the flavors to meld and the layers to set. Garnish with fresh fruit, chocolate shavings, or a dusting of cocoa powder. Whether simple or elaborate, blini offer a delightful conclusion to any meal.
Troubleshooting
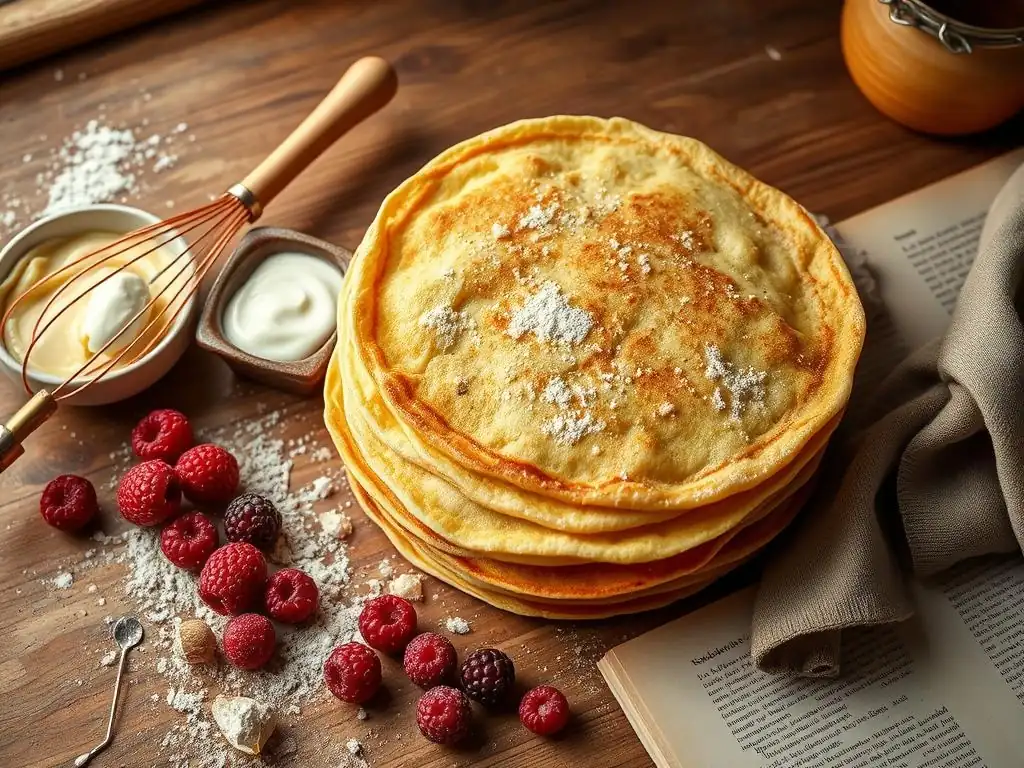
Even with an easy Russian blini recipe, sometimes things don't go exactly as planned. Don't worry; most common issues are easy to fix. Here are some solutions to typical problems you might encounter while making blini.
Batter Consistency
The batter consistency is crucial for thin, delicate blini. If your batter seems too thick, resulting in thicker, more pancake-like blini that don't spread easily, gradually whisk in a tablespoon or two of milk until the desired thin consistency (like thin cream) is achieved. Do this slowly to avoid making it too thin.
If your batter is too thin, resulting in blini that tear easily when you try to flip them or are overly fragile, whisk in a tablespoon of flour at a time until the batter thickens slightly. Lumps in the batter are another common issue. Ensure you whisk thoroughly when combining wet and dry ingredients. If lumps persist, you can strain the batter through a fine-mesh sieve into another bowl before cooking. Resting the batter also helps smooth it out.
Tearing or Sticking
Blini tearing or sticking to the pan is usually related to pan temperature, pan preparation, or batter consistency. As discussed earlier, ensure your pan is properly heated to medium heat. If it's too cool, the blini won't set quickly and will stick. If it's too hot, they might stick and burn.
Make sure you are using a good non-stick pan and lightly greasing it with butter or oil before cooking each blini or every couple of blini. If they are consistently sticking, try adding a little more fat or ensure you're wiping out excess, which can sometimes cause sticking. If the blini are tearing easily, your batter might be too thin (add a little flour) or you might be trying to flip them too soon, before the top surface is sufficiently set. Be patient and wait until the edges are set and the surface looks dry before attempting to flip.
Achieving the Right Texture
The perfect blini should be tender and slightly chewy, with a delicate structure and possibly slightly crispy edges. If your blini are tough or rubbery, it's often due to overmixing the batter, which develops too much gluten. Whisk just until the ingredients are combined and smooth; stop as soon as the lumps are gone. Overcooking can also lead to toughness, so cook them just until they are set and lightly golden, typically 1-2 minutes per side.
If your blini are too pale and flimsy, the pan likely isn't hot enough, and they are taking too long to cook without developing proper structure or color. Increase the heat slightly. If they are too crispy or burnt, the pan is too hot; reduce the heat. Practice helps you gauge the perfect heat and cooking time on your specific stove and pan. Getting the texture just right is a key element of this easy Russian blini recipe.
More Recipes
Mastering this easy Russian blini recipe is just the beginning of your baking adventure. Our website, BakeWithEase.com, is filled with simple yet rewarding recipes for bakers of all levels. We cover everything from basic cookies and cakes to more intricate pastries and breads.
Discover Other Treats
If you enjoyed the process of making these delicate blini, you might find joy in exploring other easy baking projects. Try our simple scone recipe for a quick tea-time treat, or dive into basic cookie dough that can be customized in countless ways. We offer step-by-step guides for classic chocolate chip cookies, easy brownies, and even simple bread recipes that require minimal kneading. Each recipe is designed with clarity and ease in mind, empowering you to create delicious baked goods in your own kitchen.
Look for recipes tagged as "Beginner Friendly" or "Quick Bakes" if you're looking for more projects that are as accessible as this easy Russian blini recipe. Expanding your repertoire with different types of dough, batters, and techniques is a rewarding way to build your baking skills.
Exploring Regional & Cultural Baking
This easy Russian blini recipe falls into our Regional & Cultural Baking category, which is a wonderful area to explore if you're interested in how baking traditions differ around the world. Discover the secrets behind Italian biscotti, learn to make traditional Irish soda bread, or try your hand at delicate French madeleines.
Each regional recipe offers a glimpse into the history and culture of its origin, often using unique ingredients or techniques. Exploring this category allows you to travel the world through your oven, bringing diverse and delicious treats to your table. The simplicity of our easy Russian blini recipe is a great starting point before tackling more complex cultural bakes.
Enjoy Your Homemade Crêpes!
You've done it! You've successfully made a batch of delicious blini using our easy Russian blini recipe. Now comes the best part – enjoying the fruits of your labor. Gather your favorite fillings and toppings, whether classic jams, fresh fruit, or even savory options.
Share them with friends and family, or savor them all yourself. Making blini is a rewarding experience, offering a taste of rich culinary traditions in a simple, accessible way. We hope this easy Russian blini recipe becomes a go-to in your kitchen. Happy baking and happy eating!
Frequently Asked Questions
What makes this Russian blini recipe "easy"?
This recipe is considered "easy" because it uses simple, readily available ingredients and features a step-by-step guide that's perfect for beginners. The instructions are clear and concise, minimizing potential errors.
Can I substitute ingredients in this Easy Sweet Russian Blini recipe?
While the recipe is designed for a specific flavor profile, you can make some substitutions. For example, you might swap regular milk for almond or oat milk or use a different type of sweetener. However, avoid major alterations that could affect the batter consistency.
What is the best way to serve these Russian blini?
These blini are typically served with a variety of toppings, both sweet and savory. Popular choices include sour cream, jam, honey, and berries. You can also serve them with smoked salmon or caviar for a more traditional experience.
How long do these blini stay fresh?
Ideally, these blini are best enjoyed fresh. However, you can store them in an airtight container in the refrigerator for up to 2-3 days. Reheat them gently in a pan or microwave before serving.
What is the difference between Russian blini and French crêpes?
While both are thin pancakes, blini are often made with yeast or baking powder for a slightly thicker and fluffier texture compared to French crêpes. Also, blini are traditionally served with savory toppings, while crêpes are more commonly associated with sweet fillings.
Final Reflection: The Enduring Charm of Simple Russian Blini
The seemingly simple act of making blini connects us to a rich culinary history, a history that remains vibrantly alive today. These delicate pancakes, far from being a mere breakfast food, represent a tradition passed down through generations, a testament to the enduring power of simple pleasures. Their ease of preparation belies the depth of flavor and the comforting warmth they bring to any table.
The influence of blini extends far beyond the kitchen; they are a symbol of shared meals, family gatherings, and the comforting familiarity of home. They represent a cultural bridge, connecting us to the heart of Russian heritage and reminding us of the importance of simple, wholesome ingredients. Food is symbolic of love when words are inadequate.
– Alan D. Wolfelt. This quote perfectly encapsulates the emotional resonance of sharing blini, a dish that transcends mere sustenance.
Now, I invite you to embrace the simplicity and joy of making your own blini. Don't be intimidated by the seemingly complex recipes you might find online; this recipe proves that creating something delicious and meaningful can be surprisingly easy. Try it, share it, and experience the magic of this timeless tradition for yourself. Let the warmth of the blini spread not only across your palate but also into your heart and your home.
Here's a Call to Action (CTA) tailored for the article "Easy Sweet Russian Blini Recipe (Crêpes)" on BakeWithEase.com:
Unleash Your Inner Pastry Chef: Make Blini Today!
Thanks for taking the time to explore this delicious and surprisingly simple blini recipe! We hope you've gained the confidence to create these delightful little pancakes. Now it's time to put your newfound skills to the test!
- Whip up a batch of blini: Follow the recipe and impress yourself (and maybe some friends!) with your culinary prowess. This is your chance to shine!
- Share your blini creation: Post a picture on social media using #BakeWithEaseBlini – we'd love to see your masterpiece!
- Experiment with toppings: Get creative! Try different jams, fruits, or even a savory topping – the possibilities are endless.
What unique topping will you create to elevate your blini experience? Let us know in the comments below!