
The Secret to Preventing a Dry Bread Crumb

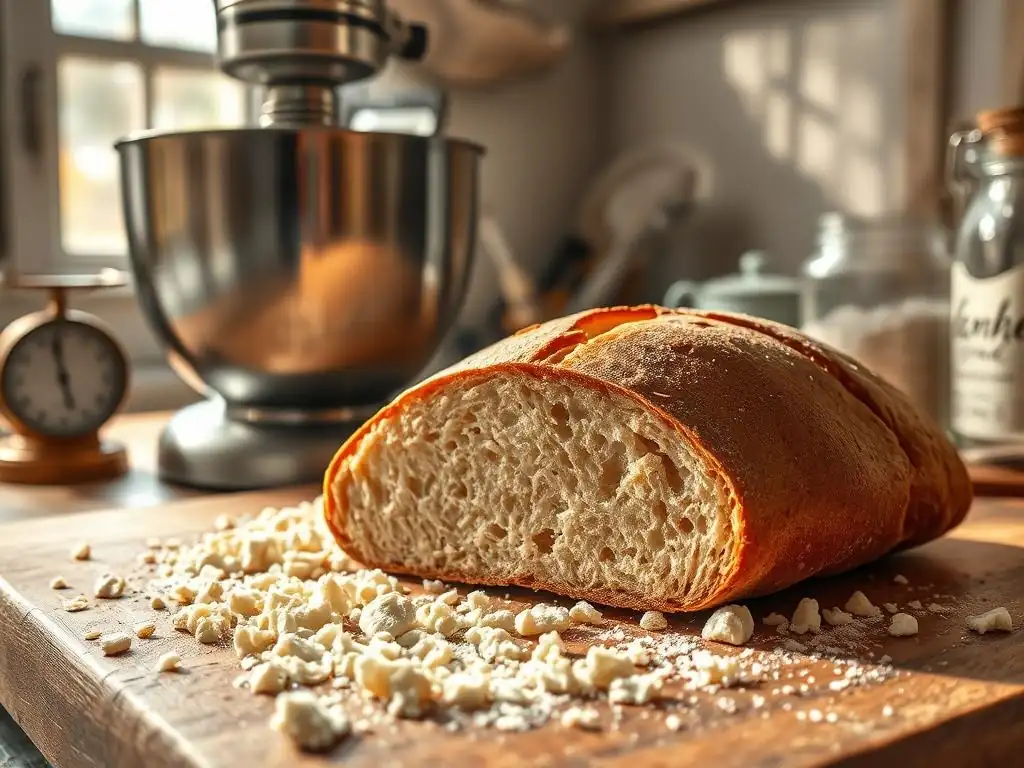
Welcome to BakeWithEase, your companion in the delightful world of baking! Ever wondered why your homemade bread sometimes turns out a little… dry? Our latest article dives into the secrets of dry bread crumb prevention, offering practical tips and tricks to ensure every loaf is perfectly moist and delicious. Discover the simple changes that make a world of difference and unlock the full potential of your baking creations – let's get started!
- The Secret to Preventing a Dry Bread Crumb: A Baker's Guide
- Dry Bread Crumb Prevention Techniques
- Reviving Slightly Dry Bread
- Conclusion: Mastering Dry Bread Crumb Prevention
- Frequently Asked Questions
- Final Reflection: The Enduring Crumb, A Testament to Baking's Delicate Dance
- Unlock Your Baking Potential: Perfect Crumbs, Every Time!
The Secret to Preventing a Dry Bread Crumb: A Baker's Guide
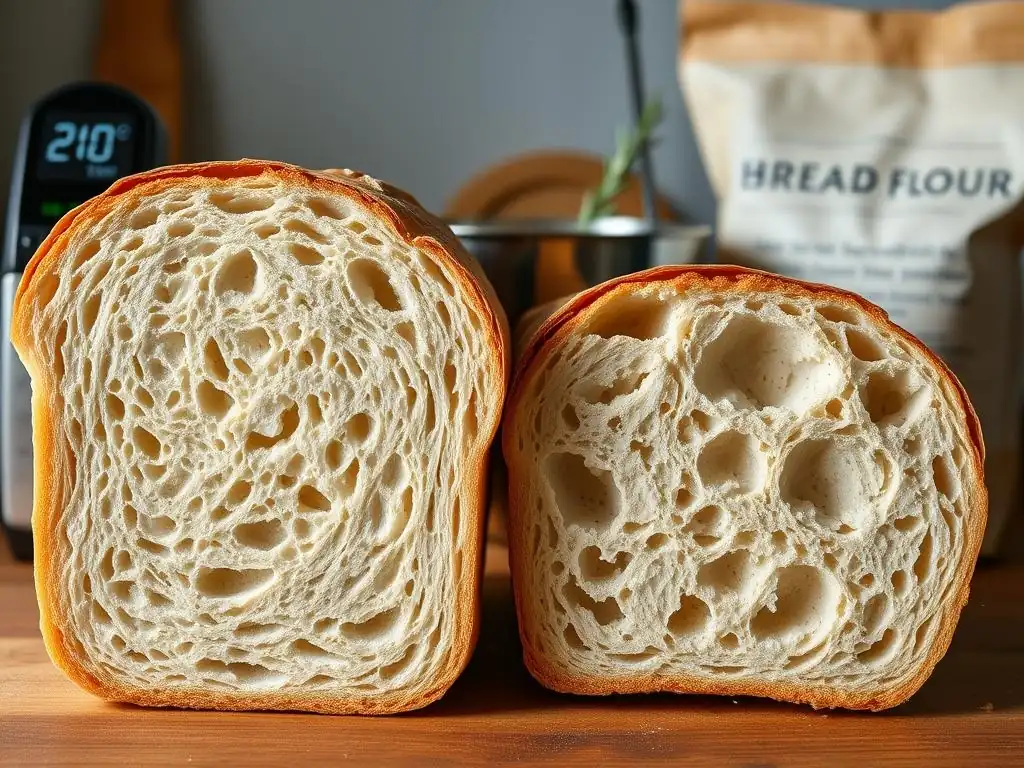
Insufficient Hydration: The Primary Culprit
One of the most frequent reasons bakers encounter a dry bread crumb is simply not enough water in the dough. Hydration refers to the ratio of water to flour by weight in a recipe. For example, a recipe using 1000g of flour and 600g of water has a 60% hydration.
Lean doughs (like baguettes or rustic loaves) often have hydration levels ranging from 60% to 75% or even higher, while enriched doughs (like challah or brioche, containing fats and eggs) might be lower, perhaps 50-60%. If the hydration is too low for the specific flour and recipe, the dough won't have enough moisture to distribute throughout the gluten network during mixing and fermentation, leading to a dense, dry bread crumb after baking.
Flour type significantly impacts how much water it can absorb. Whole wheat flour, for instance, typically requires more water than all-purpose white flour due to the presence of bran and germ, which are very absorbent. Using a recipe designed for white flour with whole wheat flour without adjusting the hydration will almost certainly result in a dry loaf.
Even environmental factors like humidity can play a role; very dry conditions might necessitate a slight increase in liquid compared to a humid environment. Mastering this aspect of dry bread crumb prevention starts with understanding your ingredients and their capacity to absorb moisture.
Overbaking: A Common Cause
Baking bread for too long or at too high a temperature is a sure path to a dry bread crumb. Heat causes water to evaporate from the dough. While some evaporation is necessary to set the crust and develop flavor, excessive heat exposure drives out too much moisture from the interior, leaving the crumb parched and sometimes even crumbly. The outer crust might look perfectly golden brown, but the inside tells a different, drier story.
Checking for doneness solely based on crust color or tapping the bottom of the loaf can be misleading. The most reliable method to prevent overbaking and subsequent dry bread crumb is to measure the internal temperature. Most lean bread loaves are done when their internal temperature reaches between 190°F (88°C) and 210°F (99°C). Enriched doughs, due to their fat content, might be slightly higher, around 200-210°F (93-99°C). Baking past this range guarantees excess moisture loss.
Gluten Development: Affecting Moisture Retention
Gluten, the protein network formed when flour and water are mixed and kneaded, plays a crucial role in trapping gases produced by yeast, giving bread its structure. A well-developed gluten network also helps retain moisture within the crumb. If the gluten is underdeveloped, the structure is weak and porous, allowing moisture to escape too easily during baking and cooling, contributing to a dry bread crumb.
Conversely, overworking the dough can also damage the gluten structure, leading to a tight, sometimes dry crumb. The goal is optimal gluten development – strong and elastic enough to hold its shape and moisture, but not so tight that it restricts expansion or moisture distribution. Techniques like proper kneading, autolyse, and adequate rest periods are key to achieving this balance and ensuring effective dry bread crumb prevention.
Improper Cooling: Leading to Moisture Loss
The baking process doesn't end when the bread comes out of the oven. The cooling phase is critical for the internal structure and moisture distribution. When bread is hot, the moisture within the crumb is mostly in the form of steam. As it cools, this steam condenses back into water, migrating from the hotter center towards the cooler crust. This process helps set the final crumb structure and ensures even moisture throughout the loaf.
Cutting into a hot loaf interrupts this vital condensation and redistribution process. The steam escapes into the air instead of condensing back into the crumb, resulting in a gummy, wet texture near the cut surfaces and a potentially dry bread crumb elsewhere. Similarly, cooling bread in an improper environment, such as on a solid surface that traps heat and steam underneath, can lead to a soggy bottom crust and uneven moisture, potentially contributing to a dry or dense crumb in other areas.
Dry Bread Crumb Prevention Techniques
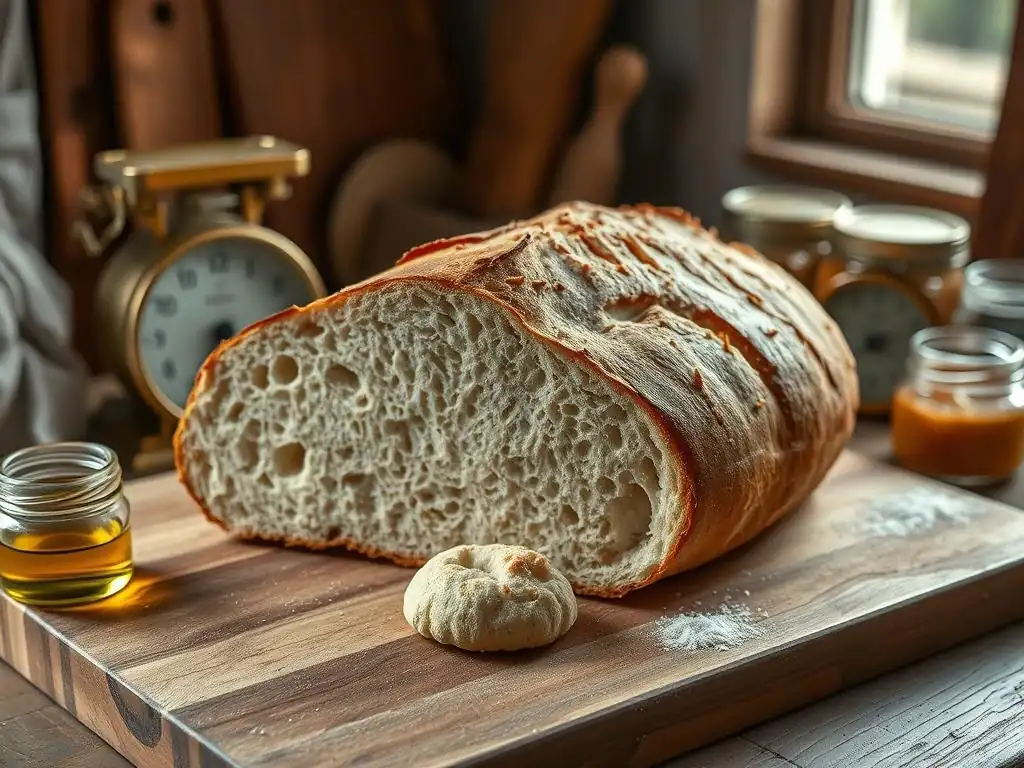
Mastering Hydration Levels
Achieving the right hydration level is perhaps the most impactful step in dry bread crumb prevention. It's not just about following a recipe; it's about understanding how ingredients interact and adjusting as needed.
Accurately Measuring Ingredients
Using a kitchen scale is paramount for accurate hydration. Volume measurements (cups) can vary significantly depending on how flour is scooped or packed, leading to inconsistent flour weights and thus incorrect hydration ratios. Weighing ingredients, especially flour and water, ensures the hydration percentage is precisely what the recipe intends or what you've calculated is appropriate for your flour. A difference of just 20-30 grams of flour in a 500-gram batch can alter the hydration by 4-6%, noticeably impacting the final crumb texture and moisture.
Evaluating Dough Consistency
A recipe's hydration is a starting point. Experienced bakers learn to evaluate the dough's consistency and make minor adjustments. Dough that feels too stiff, isn't coming together easily, or isn't developing elasticity might need a splash more water. Conversely, if it's excessively sticky and slack, despite proper mixing time, your flour might have lower absorption, or you might need slightly less water in the future. Learning what 'feels right' for a specific type of dough – whether it's a shaggy no-knead dough or a smooth, elastic enriched dough – is crucial for dry bread crumb prevention.
Adjusting Recipes for Different Flours
As mentioned earlier, different flours absorb water differently. If you substitute a higher-absorption flour like whole wheat or rye for white flour in a recipe, you will almost certainly need to increase the hydration, often by 5-10% or even more, to prevent a dry bread crumb. Conversely, using a lower-protein all-purpose flour instead of a high-protein bread flour might require slightly less water. Paying attention to the flour type specified in the recipe and being prepared to adjust based on its known absorption properties is a key dry bread crumb prevention strategy.
Achieving the Perfect Bake
Baking to the correct internal temperature is the most reliable way to avoid overbaking and ensure a moist crumb.
Internal Temperature Monitoring
Investing in a reliable instant-read thermometer is one of the best tools for dry bread crumb prevention. Insert the thermometer into the thickest part of the loaf, avoiding any crusty edges. For most standard loaves, aim for a temperature between 190°F and 210°F (88-99°C). Reaching this temperature indicates that the starches have gelatinized and the gluten structure has set, while still retaining sufficient moisture. Pulling the bread at the lower end of this range often results in a slightly moister crumb, while the higher end ensures a fully cooked interior, especially important for larger or richer loaves.
Understanding Oven Calibration
Ovens can be notoriously inaccurate, sometimes running significantly hotter or cooler than the set temperature. An oven that runs hot will bake your bread faster and potentially dry it out before the interior reaches the correct temperature or the crust achieves the desired color. Using an inexpensive oven thermometer to check your oven's true temperature is a simple yet effective step in dry bread crumb prevention. If your oven is off, you can adjust the temperature setting accordingly (e.g., set it 10-15 degrees lower if it runs hot) or adjust baking times.
Visual Cues for Doneness
While internal temperature is primary, visual and auditory cues still provide valuable information. The crust should be deeply golden brown to dark brown (depending on the bread type) for full flavor development and proper structure. Tapping the bottom of a lean loaf should produce a hollow sound. These traditional tests, combined with temperature, give you a comprehensive picture of doneness. If your bread is coloring too quickly but hasn't reached the target internal temperature, cover it loosely with foil to prevent the crust from burning while the interior finishes baking, helping prevent a dry bread crumb.
Optimizing Gluten Development
Properly developing the gluten network is vital for a strong structure that can hold moisture.
Proper Kneading Techniques
Kneading develops gluten by aligning the protein strands. Whether kneading by hand or machine, the goal is a dough that is smooth, elastic, and passes the "windowpane test" (stretching a small piece thin enough to see light through it without tearing). Under-kneading leaves the gluten weak, resulting in a dense, potentially dry crumb that can't hold steam effectively during baking.
Over-kneading can tear the gluten strands, also leading to a poor structure and dry texture. The duration and intensity of kneading depend on the dough and method, but typically range from 8-15 minutes by hand or 5-10 minutes by machine for standard loaves.
Autolyse: Enhancing Dough Hydration
The autolyse technique involves mixing just the flour and water (and sometimes a portion of the liquid) and letting it rest for 20 minutes to several hours before adding yeast and salt and beginning kneading. This resting period allows the flour to fully hydrate and enzymes to begin breaking down proteins, jumpstarting gluten development without mechanical work. This leads to a dough that is easier to knead, develops gluten more efficiently, and can often handle higher hydration, all contributing to a moister, less dry bread crumb. A typical autolyse might involve resting the flour/water mixture for 30-60 minutes.
Importance of Rest Periods
Beyond autolyse, various rest periods throughout the bread-making process (like the bulk fermentation and proofing stages) are essential. These rests allow the gluten to relax, making the dough more pliable and easier to shape. They also allow enzymes to continue their work, improving the dough's structure and the bread's flavor and texture.
Rushing these steps can lead to a dough with tight, underdeveloped gluten, hindering proper oven spring and moisture retention, increasing the likelihood of a dry bread crumb. For instance, a typical bulk fermentation for a sourdough loaf might last 3-5 hours at room temperature, while a commercial yeast dough might take 1-2 hours.
Optimal Cooling Techniques
How bread cools is just as important as how it bakes for preventing a dry bread crumb.
Cooling on a Wire Rack
As soon as the bread comes out of the oven, transfer it immediately to a wire rack. This allows air to circulate freely around the entire loaf, preventing the bottom crust from becoming soggy from trapped steam. More importantly, it facilitates even cooling, allowing the internal steam to condense and redistribute moisture throughout the crumb structure effectively. Placing a hot loaf on a solid surface will trap heat and steam, leading to an unevenly cooled loaf and potentially a gummy or dry texture in parts.
Avoiding Cutting Bread Too Soon
Patience is key! Resist the urge to slice into a hot loaf. As discussed, cutting too early releases the internal steam, which should be condensing back into the crumb. For most standard-sized loaves (around 1-1.5 lbs), allowing them to cool for at least 1-2 hours on a wire rack is recommended. Larger or denser loaves might require 2-3 hours or even longer to cool completely. Slicing warm bread also tends to compress the crumb, making it appear denser than it is and potentially contributing to a perceived dry bread crumb, even if moisture levels are adequate.
Storing Bread Properly
Once completely cooled, proper storage is essential for maintaining moisture and preventing a dry bread crumb over time. Storing bread in a breathable environment, like a paper bag or a cloth bread bag, helps the crust stay crisp while allowing some air circulation. For longer storage (more than a day or two), especially in dry climates, a bread box can help regulate humidity.
Avoid storing bread in the refrigerator, as this temperature range actually accelerates staling and dries out the crumb faster than room temperature. For longer-term storage, freezing is best; slice the cooled loaf and freeze slices in an airtight bag or container.
Reviving Slightly Dry Bread
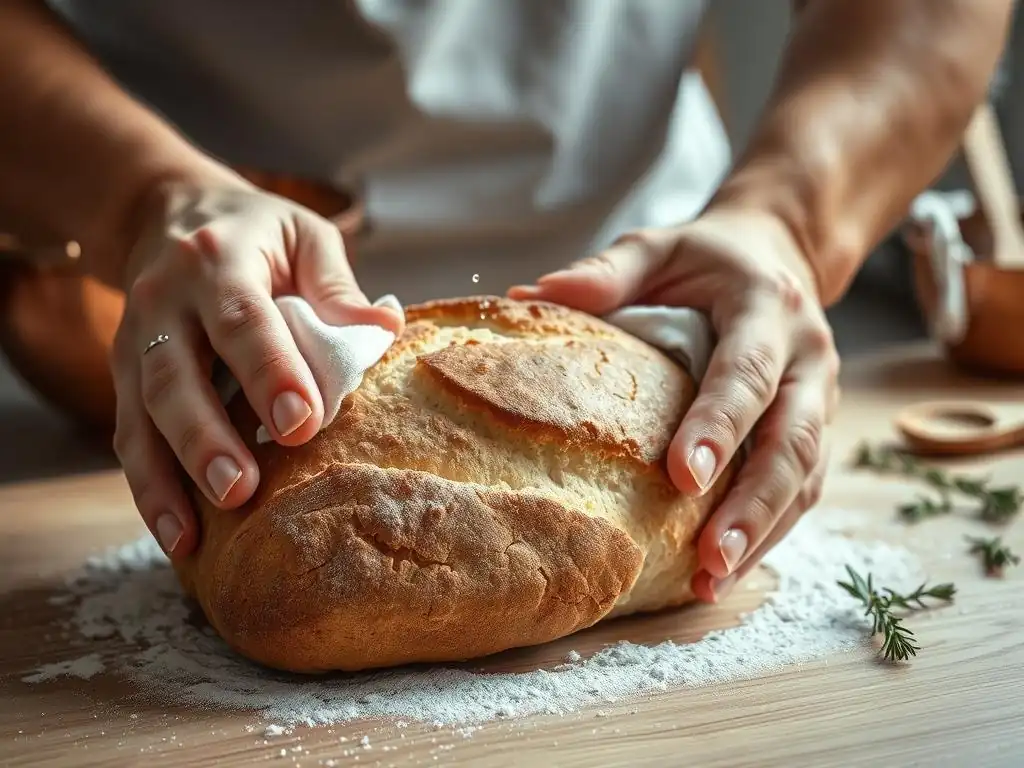
Even with the best dry bread crumb prevention techniques, sometimes bread gets a little past its prime. Don't despair! Slightly dry bread can often be revived or repurposed.
Reheating Techniques
A simple way to refresh a slightly dry loaf is by reheating it. You can lightly spritz the crust with water (a spray bottle works well) and bake it in a preheated oven at around 300-350°F (150-175°C) for 5-10 minutes. The moisture on the crust turns to steam, which penetrates the crumb, softening it. Another method is to wrap a slice or small piece loosely in a damp paper towel and microwave it for 15-30 seconds; this works for a quick fix but the effect is temporary.
Using Bread for French Toast or Stratas
When bread is too dry to enjoy sliced, it's perfect for applications where it will soak up liquid. Day-old or slightly dry bread is ideal for French toast because it absorbs the custard mixture without falling apart. Similarly, stratas (savory bread puddings) or bread puddings are excellent ways to use up dry bread. The bread cubes soak in a liquid base (eggs, milk, cream, savory broths) and then bake, resulting in a moist and delicious dish. Using dry bread for croutons or breadcrumbs is also a classic solution.
Conclusion: Mastering Dry Bread Crumb Prevention
Preventing a dry bread crumb is a skill that combines understanding the science of baking with attentive execution. It hinges on ensuring adequate hydration from the start, baking correctly to preserve internal moisture, allowing gluten to develop properly for structure and retention, and cooling the finished loaf completely and correctly.
By paying close attention to ingredient measurements, dough consistency, baking temperatures, and post-bake handling, you can significantly reduce the occurrence of dry bread crumb. While slightly dry bread can be salvaged, consistently producing loaves with a moist, tender crumb is a rewarding part of the baking journey and a hallmark of effective dry bread crumb prevention.
Frequently Asked Questions
How do I prevent my bread from having a dry crumb?
The key to preventing a dry bread crumb lies in hydration and moisture. Ensure you're using the correct water-to-flour ratio and consider adding ingredients like oil or honey.
What are some common causes of a dry bread crumb?
Over-baking is a very common culprit. Also, using too much flour or not enough liquid in your dough can lead to a dry crumb.
Can the type of flour I use affect the bread's crumb?
Yes, absolutely! Different flours absorb varying amounts of liquid. A higher protein flour may require more liquid to achieve the desired crumb texture.
How does kneading time impact the moisture content of my bread?
Proper kneading develops the gluten, which helps trap moisture. Under-kneading can result in a weak gluten structure, leading to moisture loss during baking.
Are there any specific ingredients I can add to keep my bread moist?
Yes, adding ingredients like oil, honey, mashed potatoes, or even cooked oatmeal can significantly improve the moisture content and prevent a dry bread crumb.
Final Reflection: The Enduring Crumb, A Testament to Baking's Delicate Dance
The fight against the dry bread crumb is not merely a battle against texture; it's a reflection of our commitment to culinary excellence. A perfectly moist crumb, yielding and flavorful, is the hallmark of a truly satisfying loaf. This pursuit, seemingly small, speaks volumes about our dedication to the craft of baking and the joy found in sharing perfectly crafted bread.
The quest for the perfect crumb has shaped baking traditions for centuries, influencing everything from ingredient selection to oven temperature control. The subtle shifts in technique, passed down through generations, underscore the importance of this seemingly minor detail. Bread is the staff of life,
they say, and a dry crumb can easily break that staff. This simple truth highlights the profound connection between the seemingly mundane act of baking and the deeper satisfaction of creating something nourishing and delicious.
Now, consider your own baking journey. What techniques have you employed to conquer the dry crumb? What have you learned about patience, precision, and the delicate balance of ingredients? I urge you to continue experimenting, to refine your methods, and to savor the triumph of a perfectly moist crumb in every loaf you create. Let the pursuit of the perfect crumb be a reminder of the artistry and dedication inherent in even the simplest of culinary endeavors.
Unlock Your Baking Potential: Perfect Crumbs, Every Time!
Thanks for taking the time to learn about preventing that dreaded dry crumb! We hope you gained valuable insights into achieving perfectly moist and flavorful baked goods. Now it's time to put your new knowledge into action!
- Experiment with different hydration techniques: Try adjusting your liquid ratios slightly in your next recipe – even a small change can make a big difference! This is the key to mastering that perfect crumb.
- Share your baking triumphs (and challenges!): Let’s build a community of bakers! Post your bread-baking experiences – pictures included! – on our BakeWithEase social media channels.
- Consider exploring advanced techniques: Dive deeper into topics like fermentation and dough development to take your baking to the next level. We have many more articles to help you out!
Ready to bake your most delicious loaf yet? What small adjustment will you make in your next baking project?