
From Failed Bake to Fabulous Cake: Problem Solving Steps

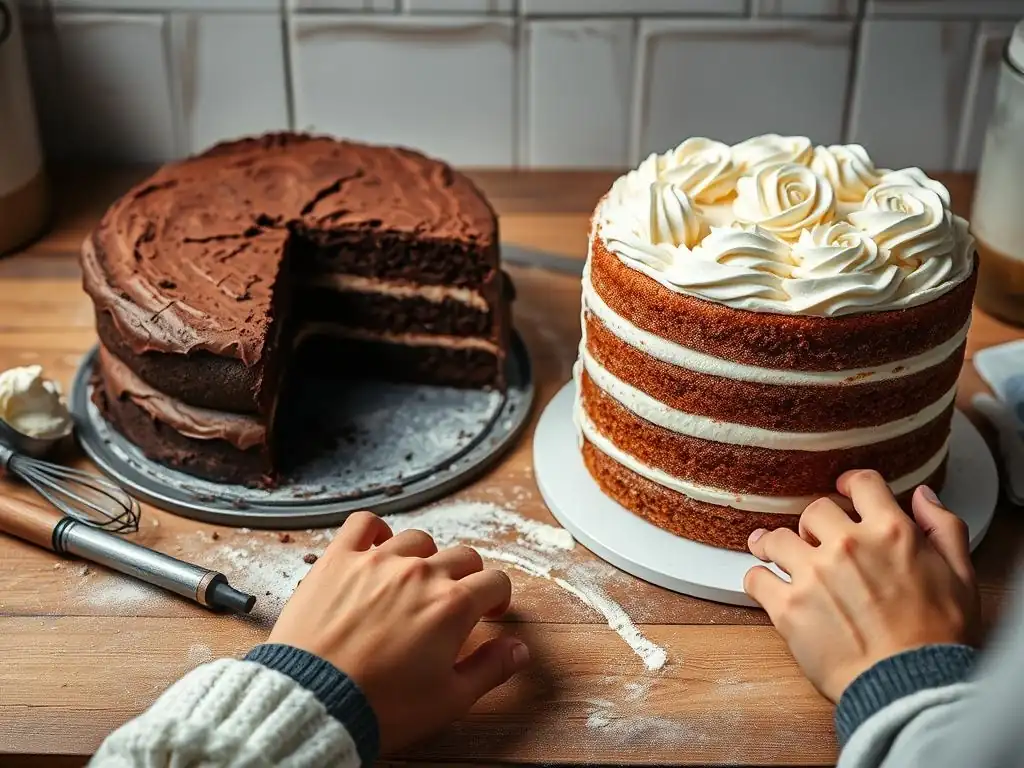
Welcome to BakeWithEase, where we believe anyone can create delicious baked goods! Ever stared at a collapsed cake or a rock-hard cookie and wondered where you went wrong? You're not alone! Dive into our expert guide on troubleshooting cake baking problems and uncover the secrets to achieving baking perfection. Let's transform those baking mishaps into baking mastery, one delicious step at a time. Ready to decode your baking fails?
- Solving Common Cake Baking Problems
- Troubleshooting Guide for Cake Baking
- Identifying Cake Baking Issues
- Problem: Dry Cake
- Problem: Dense Cake
- Problem: Sunken Cake
- Problem: Crumbly Cake
- Problem: Uneven Layers
- General Troubleshooting Tips
- Achieving Baking Success
- Frequently Asked Questions
- Final Reflection: The Sweetness of Perseverance in Baking (and Life)
- Unlock Your Inner Baking Genius!
Solving Common Cake Baking Problems
Troubleshooting Guide for Cake Baking
Embarking on the journey of baking a cake can be incredibly rewarding, but sometimes the results don't quite match the vision. From unexpected dryness to frustratingly sunken centers, encountering issues is a common part of the process, whether you're a beginner or have years of experience. This guide is designed to walk you through the essential steps of troubleshooting cake baking problems, helping you understand why things might go wrong and, more importantly, how to fix them or prevent them from happening again. Mastering the art of baking often involves learning from these mishaps.
Effective troubleshooting cake baking problems starts with observation and understanding the science behind baking. Each ingredient plays a specific role, and even small deviations in measurement, temperature, or technique can significantly impact the final outcome. By systematically identifying the symptoms of a problem and exploring the potential causes, you can refine your skills and consistently achieve delicious results. This guide provides a structured approach to tackling common issues, empowering you to turn baking challenges into triumphs.
Identifying Cake Baking Issues
Recognizing that something isn't right with your cake is the first step in troubleshooting cake baking problems. Often, the signs are visual – a cake that doesn't rise properly, a cracked surface, or an unusual texture. Sometimes, the problem is only apparent when you slice into the cake or take a bite, revealing a dry crumb or a dense layer. Becoming familiar with the typical appearance and texture of a well-baked cake will help you quickly spot deviations that indicate a problem.
Beyond visual cues, pay attention to how the cake behaves during baking. Does it seem to be browning too quickly? Is it taking much longer than the recipe suggests to bake through? These observations, combined with the final appearance, provide crucial clues for troubleshooting cake baking problems. For instance, a cake that browns too fast on the outside but remains gooey inside might point to an oven temperature issue.
Recognizing the Signs of Baking Issues
Spotting the signs of baking problems early or after the cake has cooled is key to effective troubleshooting cake baking problems. A common indicator is a cake that sinks in the middle; this often suggests underbaking or an issue with leavening or oven stability. Another frequent problem is a cake that cracks on top, which can be caused by the oven being too hot or the batter being overmixed, developing too much gluten.
Texture is another critical sign. A cake that is too dense, feeling heavy and compact, might indicate that the batter was overmixed, too much flour was used, or there wasn't enough leavening. Conversely, a cake that is dry and crumbly could be a sign of overbaking, insufficient liquid, or an incorrect ratio of fat to dry ingredients. Learning to interpret these signs is fundamental to successfully troubleshooting cake baking problems.
Diagnosing the Root Cause of Cake Issues
Once you've recognized the signs, the next step in troubleshooting cake baking problems is to diagnose the root cause. This requires a bit of detective work, systematically reviewing the steps you took and the ingredients you used. Start by considering the most common culprits: ingredient measurement accuracy, oven temperature, mixing technique, and baking time. Did you use a kitchen scale for accuracy, or rely solely on volume measurements? Did you check your oven temperature with an independent thermometer?
Think back to the mixing process. Was the butter and sugar properly creamed? Were the wet and dry ingredients combined gently, or did you mix vigorously? Reviewing the recipe instructions and comparing them to your actions is essential for diagnosing the root cause when troubleshooting cake baking problems. Sometimes, even seemingly minor deviations, like using cold eggs instead of room temperature ones, can impact the outcome.
Problem: Dry Cake
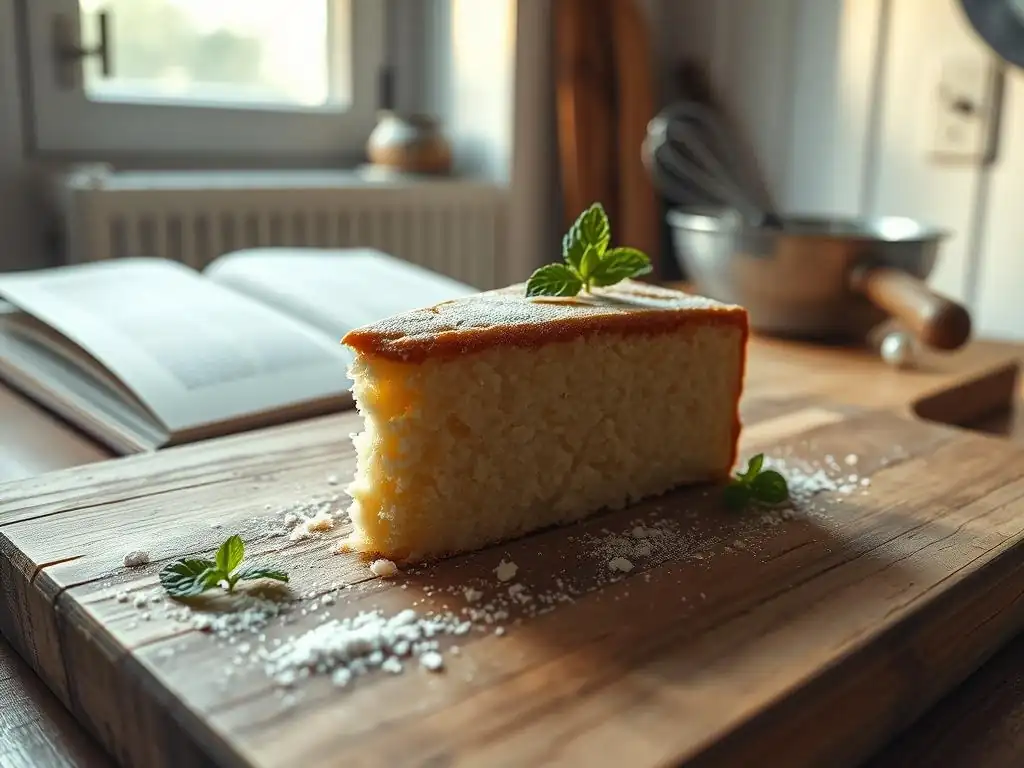
A dry cake is one of the most common and disappointing baking problems. Instead of a moist, tender crumb, you get a cake that feels crumbly and lacks richness. Troubleshooting cake baking problems like dryness involves looking at how moisture is introduced and retained during the baking process. It's often a result of an imbalance in ingredients or technique.
The primary goal when addressing a dry cake is to identify where the moisture was lost or never adequately present. This could be due to the cake being in the oven for too long, not having enough liquid ingredients in the batter, or an incorrect balance of fat, which contributes significantly to tenderness and moisture perception. Effective troubleshooting cake baking problems related to dryness requires examining these factors.
Causes: Overbaking, Insufficient Moisture, Incorrect Fat Ratio
Overbaking is perhaps the most frequent cause of a dry cake. When a cake stays in the oven longer than necessary, the heat continues to evaporate moisture from the batter, resulting in a dry texture. Even baking just 5-10 minutes too long can make a noticeable difference, especially in thinner cakes or layers. Monitoring doneness closely with a toothpick test is crucial.
Insufficient moisture in the batter is another significant factor. This can happen if you accidentally use less liquid (like milk, buttermilk, or water) than the recipe specifies, or if you add too much dry ingredient (like flour). The ratio of wet to dry ingredients is critical. Furthermore, an incorrect fat ratio – perhaps using too little fat or using a fat that doesn't contribute moisture well (like margarines with high water content) – can lead to a less tender and drier cake.
Solutions: Reduce Baking Time, Increase Liquid, Adjust Fat
To prevent overbaking, start checking for doneness at the minimum baking time specified in the recipe. Use a toothpick inserted into the center; it should come out with a few moist crumbs attached, not completely clean (unless specified otherwise). If your oven runs hot, consider reducing the temperature slightly (e.g., by 25°F or about 15°C) or shortening the baking time.
If you suspect insufficient moisture was the issue in a past bake, for your next attempt, double-check your liquid measurements. In some recipes, adding a tablespoon or two of extra liquid (relative to the total batter volume) can sometimes improve moisture, though significant changes can affect structure. For issues with fat ratio, ensure you are using the type and amount of fat specified, creaming butter properly with sugar to incorporate air and distribute fat evenly, which helps create a tender crumb.
Rescue: Simple Syrup, Moisturizing Frosting
If you've already baked a cake that turned out dry, don't despair! There are ways to rescue it. One effective method is brushing the cake layers with simple syrup while they are still slightly warm. Simple syrup (equal parts sugar and water, heated until dissolved) is easily absorbed and adds much-needed moisture back into the crumb. You can even infuse the syrup with vanilla, citrus zest, or a liqueur for added flavor.
Another rescue technique is to pair the dry cake with a very moist frosting or filling. Frostings like cream cheese frosting, ganache, or a rich buttercream with a high fat content can help compensate for the cake's dryness by adding moisture and richness with each bite. Layering the cake with fruit fillings or pastry cream also adds moisture and improves the overall texture experience, effectively troubleshooting cake baking problems after they've occurred.
Problem: Dense Cake
A dense cake lacks the light, airy texture characteristic of many cake types. Instead of a tender crumb that yields easily, you get a heavy, sometimes rubbery result. Troubleshooting cake baking problems related to density often involves examining how the batter was mixed and the role of leavening agents.
The goal is to create a batter that incorporates air and develops just enough structure to hold its shape as it bakes, but not so much structure that it becomes tough or heavy. Understanding the interaction between flour, liquid, and mixing is key to preventing and troubleshooting cake baking problems resulting in density.
Causes: Overmixing, Too Much Gluten, Insufficient Leavening
Overmixing is a primary culprit behind a dense cake. When you mix wet and dry ingredients together, gluten begins to develop from the proteins in flour. While some gluten is necessary for structure, excessive mixing develops too much gluten, leading to a tough, dense texture, similar to bread dough. This is especially true for recipes that call for gentle mixing or folding.
Using flour with a high protein content (like bread flour) instead of cake flour (which has lower protein) can also contribute to too much gluten development and thus a dense cake. Finally, insufficient leavening is a major cause. If you didn't use enough baking powder or baking soda, or if your leavening agents are old and inactive (check expiration dates! ), the cake won't rise properly, resulting in a heavy, dense structure because the air pockets needed for lightness weren't created or expanded.
Solutions: Gentle Mixing, Reduce Gluten Development, Increase Leavening
To avoid overmixing, mix the batter only until the ingredients are just combined. Stop mixing as soon as you no longer see streaks of dry flour. For most cakes, this means mixing on low speed or even folding by hand after the wet and dry ingredients meet. Think "just combined," not "smooth."
Ensure you are using the type of flour specified in the recipe, typically cake flour or all-purpose flour depending on the desired texture. If a recipe calls for cake flour, substituting all-purpose flour can lead to a denser result. When troubleshooting cake baking problems related to density, always check the freshness of your baking powder and baking soda. You can test baking powder by adding a teaspoon to hot water (it should fizz vigorously) and baking soda by adding a teaspoon to vinegar (it should also fizz strongly). If they don't react, they are likely expired and need replacing.
Achieving Fluffiness: Proper Mixing and Ingredient Balance
Achieving a fluffy cake texture hinges on two main factors: proper ingredient balance and gentle mixing technique. Recipes are formulated with specific ratios of flour, sugar, fat, liquid, and leavening to create the desired crumb. Adhering strictly to these measurements is the first step towards troubleshooting cake baking problems before they start.
Beyond measurement, the way ingredients are combined is paramount. The creaming method (beating butter and sugar together until light and fluffy) incorporates air, which is vital for a light texture. When adding dry ingredients, alternate with wet ingredients and mix just until combined. This minimizes gluten development while ensuring all ingredients are incorporated. Folding in delicate ingredients like whipped egg whites or sour cream also helps maintain air and tenderness, preventing density.
Problem: Sunken Cake
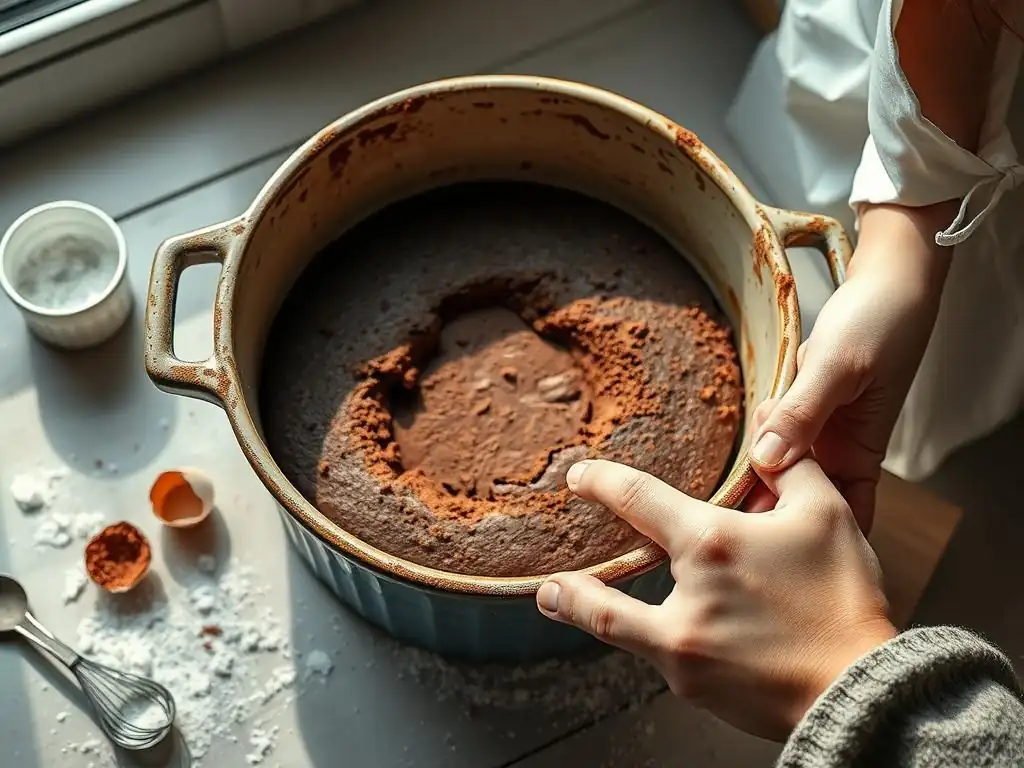
A cake that sinks in the middle after baking is a frustrating problem, leaving you with an uneven dessert that's difficult to frost. Troubleshooting cake baking problems like a sunken center requires looking at temperature, timing, and batter composition. It often indicates an issue with the cake's structure setting properly.
The center of the cake is the last part to cook. If it doesn't have enough time or consistent heat to set before the cake is removed from the oven, or if the structure is too weak to support itself, it will collapse as it cools. Identifying which of these factors was at play is key to preventing future sunken cakes.
Causes: Undercooking, Oven Temperature Fluctuations, Too Much Liquid
Undercooking is a primary cause of a sunken cake. If the cake is removed from the oven before the center has fully set, the structure is still too fragile to support the weight of the cake, and it will sink as it cools. The toothpick test is essential here; the center must be cooked through.
Frequent or rapid oven temperature fluctuations can also cause a cake to sink. If the oven temperature drops significantly (e.g., from opening the oven door too early or too often), the delicate structure of the rising cake can collapse. Similarly, an oven that is too cool might not provide enough consistent heat for the center to set properly within the expected baking time. Lastly, a batter with too much liquid can be too heavy and weak to support its own structure during baking, leading to a sunken center.
Prevention: Accurate Temperature, Proper Batter Consistency, Correct Baking Time
Preventing a sunken cake starts with ensuring your oven is accurately calibrated. Use an independent oven thermometer to verify the temperature. Avoid opening the oven door unnecessarily, especially during the first two-thirds of the baking time, as this releases heat and can cause temperature drops.
Ensure your batter consistency is correct according to the recipe. If your batter seems unusually thin, double-check your measurements, particularly the liquid ingredients. Finally, bake the cake for the full recommended time, or until a toothpick inserted into the center comes out clean or with only a few moist crumbs. Trust the doneness test over the clock alone, as oven variations exist.
Salvage: Creative Decorating, Filling
If you end up with a sunken cake, all is not lost! Creative decorating can easily hide the imperfection. The sunken area can be filled with frosting, whipped cream, fruit, or pastry cream, turning the flaw into a feature. This essentially creates a well or a cavity that is perfect for holding a delicious filling.
Alternatively, you can trim off the sunken top layer to create a level surface for frosting. The trimmed-off cake can be crumbled and used as a topping or incorporated into cake pops or trifles. Troubleshooting cake baking problems like a sunken top can often be solved with a little culinary creativity rather than discarding the cake entirely.
Problem: Crumbly Cake
A crumbly cake falls apart easily when sliced, lacking the cohesive, tender structure of a well-baked cake. While some cakes, like certain types of pound cake or coffee cake, are naturally denser, excessive crumbling is usually a sign of an issue. Troubleshooting cake baking problems involving crumbliness means looking at the balance of ingredients that bind and tenderize the cake.
The goal is a cake that holds together when cut but is still moist and tender. Crumbliness often indicates an imbalance where the elements that provide structure (like flour and eggs) and moisture/tenderness (like fat and liquid) are not in the correct proportion or were not handled properly.
Causes: Too Much Fat, Insufficient Binding, Overbaking
Using too much fat (like butter or oil) can interfere with the formation of the cake's structure, causing it to be excessively tender to the point of crumbling. Fat coats the flour particles, preventing them from forming a strong gluten network and also preventing egg proteins from coagulating and binding effectively. While fat is crucial for tenderness, an excess weakens the overall structure.
Insufficient binding agents, primarily eggs and flour (which forms gluten), can also lead to a crumbly cake. Eggs provide structure and help bind ingredients together. If a recipe calls for a specific number of eggs and you use fewer, the cake might lack the necessary binding. Similarly, if there's not enough flour or if gluten development is severely inhibited (perhaps by adding flour all at once with fat), the structure will be weak. As mentioned before, overbaking also dries out the cake, making it brittle and prone to crumbling.
Solutions: Adjust Fat Content, Increase Binding Agents, Monitor Baking Time
If you suspect too much fat is the issue based on your recipe or experience, double-check your measurements carefully. Ensure you're not adding extra fat beyond what the recipe calls for. Sometimes, slight variations in how fat is measured (e.g., packed vs. loosely measured shortening) can make a difference.
For insufficient binding, ensure you are using the correct number and size of eggs specified in the recipe. Eggs should ideally be at room temperature for better emulsification and binding. Avoid over-creaming butter and sugar to an extreme degree, as this can sometimes interfere with later binding steps. Always monitor baking time closely and use the toothpick test to avoid overbaking, which strips moisture and makes the cake fragile and crumbly.
Preventing Crumbliness: Balanced Ingredients, Proper Mixing
Preventing a crumbly cake is about achieving the right balance of ingredients that provide structure and those that provide tenderness and moisture. Follow the recipe's ingredient list and measurements precisely. Pay attention to the order and method of adding ingredients, as this impacts how gluten develops and how well the ingredients bind together.
Ensure wet and dry ingredients are properly incorporated without overmixing. The goal is a homogenous batter where the binding agents (eggs, flour) can create a stable network, while the tenderizing agents (fat, sugar) keep the cake soft. Mixing just until combined helps prevent both excessive gluten development (which can make it tough) and insufficient binding (which makes it crumbly).
Problem: Uneven Layers
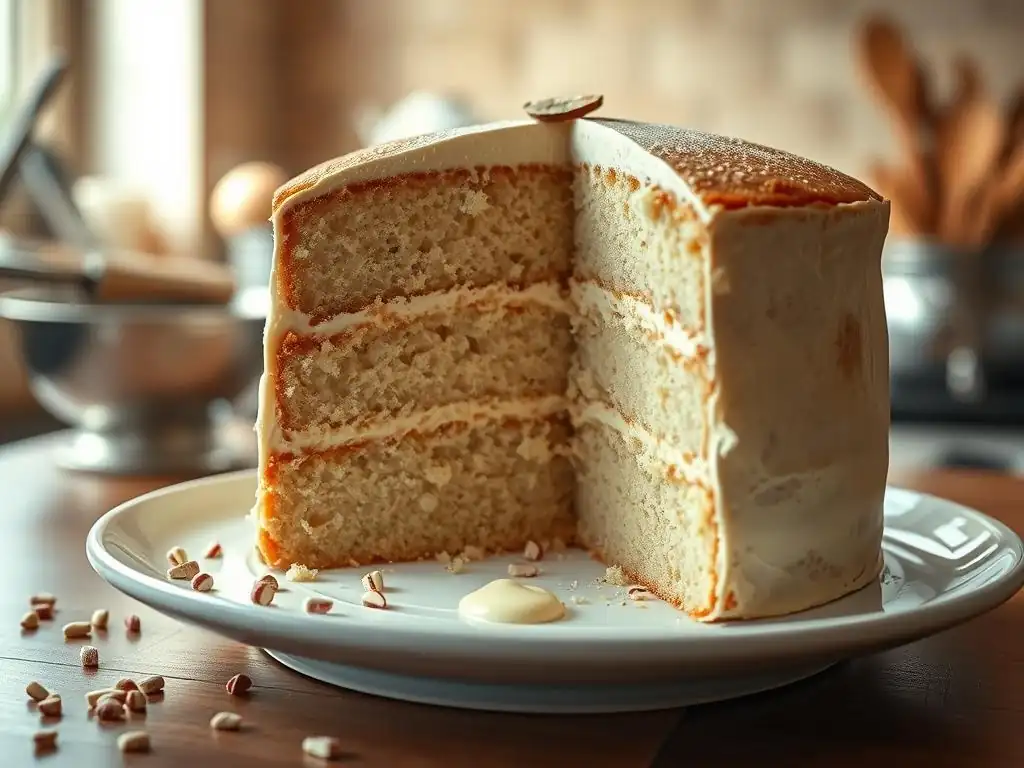
Baking cake layers that are perfectly level is the goal for easy stacking and frosting. Uneven layers, where the cake rises higher on one side or develops a domed top, can make assembly challenging. Troubleshooting cake baking problems related to uneven layers often points to inconsistencies in the baking environment or preparation.
Achieving even layers requires uniform heat distribution and consistent batter behavior during baking. Minor variations can lead to significant differences in how the cake rises and sets across the pan.
Causes: Uneven Oven Temperature, Improper Pan Preparation, Uneven Batter Distribution
The most common cause of uneven layers is an oven with hot or cool spots, leading to the cake baking faster on one side than the other. Even if your oven thermostat is accurate, the heat distribution inside might not be uniform. This results in one part of the cake setting while another is still rising, causing a tilt or dome.
Improper pan preparation can also contribute. If one side of the pan is greased or floured differently, it can affect how the cake rises and pulls away from the sides. Using dark metal pans without adjusting baking time or temperature can also lead to faster baking around the edges. Lastly, unevenly distributing the batter in the pan, with more batter on one side, will naturally lead to one side being thicker and potentially rising higher or requiring longer to bake through.
Achieving Even Layers: Oven Thermometer, Baking Strips, Level Batter
To combat uneven oven temperatures, always use an independent oven thermometer to identify hot or cool spots. If your oven has significant variations, you may need to rotate the cake pan halfway through the baking time. For consistent heat around the edges of the cake, consider using baking strips (wet fabric strips wrapped around the outside of the pan), which help the cake bake more evenly from the edges to the center, reducing doming and creating level layers.
Ensure your pans are prepared uniformly, greasing and flouring evenly if required. When adding batter to the pans, use a scale to weigh the batter and distribute an equal amount into each pan if baking multiple layers. Once the batter is in the pan, gently spread it evenly to the edges with an offset spatula, ensuring the surface is as level as possible before placing it in the oven.
Level Baking: Tips for Even Baking
Beyond the specific causes and solutions for uneven layers, several general tips promote level baking and help in troubleshooting cake baking problems. Avoid placing cake pans directly against the sides of the oven, which can block heat circulation. Leave space between pans if baking more than one at a time to allow for even heat distribution.
If you consistently get a dome on your cakes, it might indicate your oven temperature is slightly too high, causing the outside to set too quickly while the inside continues to rise. Reducing the temperature slightly (e.g., 25°F or 15°C) and potentially increasing the baking time can help. Alternatively, you can simply level the cooled cake layers with a serrated knife before frosting, though addressing the root cause is better for consistent results.
General Troubleshooting Tips
Beyond specific problems, there are universal practices that can prevent many common issues when troubleshooting cake baking problems. Baking is a science, and precision, attention to detail, and understanding the basics are your best tools.
Developing good habits in the kitchen and being prepared before you even start mixing can drastically reduce the likelihood of encountering problems. These general tips apply across most cake recipes and are fundamental to consistent baking success.
Common Mistakes and How to Avoid Them
One of the most common mistakes is inaccurate ingredient measurement. Using volume measures for dry ingredients like flour can lead to significant variations; using a kitchen scale is always recommended for precision. For example, a cup of flour can vary by as much as 30-40 grams depending on how it's scooped and packed.
Another frequent error is not having ingredients at the correct temperature (e.g., using cold butter or eggs when the recipe specifies room temperature). This affects emulsification and the texture of the final cake. Using expired leavening agents is another pitfall, leading to cakes that don't rise. Finally, opening the oven door too early or too often can cause temperature drops and lead to sunken cakes. Always double-check measurements, plan ahead for ingredient temperatures, check leavening dates, and resist the urge to peek too soon!
Essential Baking Tools and Equipment
Having the right tools is crucial for successful baking and effective troubleshooting cake baking problems. A reliable oven thermometer is non-negotiable for verifying your oven's accuracy. A kitchen scale is essential for precise measurement of dry ingredients.
Other indispensable tools include:
- Accurate measuring cups and spoons (for liquids and smaller quantities).
- Mixing bowls of various sizes.
- A whisk, rubber spatula, and wooden spoons.
- An electric mixer (stand or hand-held) for tasks like creaming butter and sugar.
- Properly sized and conditioned baking pans.
- A cooling rack for allowing cakes to cool properly, preventing condensation.
These tools ensure consistency and accuracy, laying the groundwork for preventing many common issues.
To practice your newfound troubleshooting skills and build confidence, start with reliable recipes known for their consistent results. Look for recipes from trusted sources that provide clear instructions and use standard measurements.
Focus on fundamental cake types like a classic vanilla butter cake, a simple chocolate cake, or basic cupcakes. These recipes often highlight core techniques like creaming butter and sugar, which are foundational to many baking methods. As you gain confidence and encounter fewer problems, you can gradually move on to more complex recipes.
Achieving Baking Success
Troubleshooting cake baking problems is an ongoing learning process. Every bake is an opportunity to refine your skills and deepen your understanding of how ingredients interact and how your oven behaves. Don't be discouraged by failures; they are valuable learning experiences.
The journey from a failed bake to a fabulous cake is paved with practice, patience, and a willingness to learn from mistakes. Embrace the process, and you'll find that your baking improves significantly over time.
Practice and Patience
Consistent practice is the most effective way to improve your baking skills and become adept at troubleshooting cake baking problems. The more you bake, the more familiar you'll become with the look, feel, and smell of properly prepared batters and baked goods. You'll develop an intuition for doneness and consistency.
Patience is equally important. Allow ingredients to reach the correct temperature, don't rush mixing steps, and resist the urge to open the oven door prematurely. Learning takes time, and mastering baking, like any craft, requires dedication and perseverance through trials and errors.
Join the Baking Community
Connecting with other bakers can be incredibly helpful for troubleshooting cake baking problems. Online forums, social media groups, or local baking classes offer opportunities to ask questions, share experiences, and learn from others' successes and failures.
Often, someone else has encountered the exact problem you're facing and can offer practical advice or insights. Sharing photos of your bakes and describing your process can help others diagnose potential issues. Learning from a community makes the troubleshooting process less daunting and more enjoyable.
Frequently Asked Questions
How do I prevent my cake from sinking in the middle?
This often happens due to underbaking or too much liquid in the batter. Ensure your cake is fully baked by using a toothpick test and carefully measure your ingredients.
Why is my cake dry and crumbly?
A dry cake can be caused by overbaking, too little fat, or incorrect ingredient ratios. Try reducing baking time slightly and ensuring proper fat content.
My cake is dense and heavy, not light and fluffy. What could be the reason?
This is usually due to overmixing the batter, which develops too much gluten. Gently fold in dry ingredients until just combined to avoid a dense texture.
What causes a cake to have a hard crust?
A hard crust is often a result of baking at too high a temperature or using too much sugar. Lower the oven temperature and ensure accurate sugar measurements.
My cake stuck to the pan even though I greased and floured it. What went wrong?
Insufficient greasing and flouring, or cooling the cake for too short a time can cause sticking. Let the cake cool in the pan for at least 10-15 minutes before inverting.
Final Reflection: The Sweetness of Perseverance in Baking (and Life)
The ability to troubleshoot effectively isn't just about creating perfect cakes; it's a crucial life skill applicable to every challenge we face. A perfectly risen, flawlessly frosted cake is a testament not only to culinary skill, but also to the problem-solving prowess employed along the way. From a collapsed soufflé to a stubbornly unyielding batter, each baking mishap presents an opportunity for growth and learning.
The journey from failed bake to fabulous cake mirrors the larger human experience. We all stumble, we all face setbacks, but it's our response to these challenges that truly defines us. The only way to do great work is to love what you do.
- Steve Jobs. This quote, while seemingly unrelated to baking, speaks volumes about the dedication and perseverance required to overcome obstacles, whether in the kitchen or in life's larger endeavors. The passion for improvement, the willingness to learn from mistakes – these are the ingredients that transform a simple hobby into a rewarding journey of self-discovery.
Now, consider your own "failed bakes." What challenges have you faced, and what strategies did you employ to overcome them? Take a moment to reflect on the lessons learned, not just in the realm of baking, but in all aspects of your life.
Embrace the imperfections, learn from the mistakes, and remember that even the most disastrous-looking cake can be salvaged with a little creativity and a whole lot of perseverance. The next time you face a challenge, remember the resilience you discovered while transforming that failed bake into a fabulous cake. You have the power within you to rise to any occasion.
Unlock Your Inner Baking Genius!
Thanks for joining me on this baking adventure! You've just learned valuable problem-solving skills that will transform your baking from frustrating to fulfilling. Ready to put your new knowledge into practice?
- Bake that dream cake: Choose your favorite recipe—perhaps one that has previously challenged you—and approach it with renewed confidence. Keep track of your progress; you might surprise yourself with what you can create!
- Share your baking triumphs (and even your flops!): Join our vibrant BakeWithEase community and inspire others with your baking journey.
- Explore our extensive recipe library for more delicious challenges and inspiring ideas.
So, what incredible cake will you attempt first? Let's see those baking masterpieces!