
LowandSlow vs HighHeat Baking: When to Adjust Oven Temperatures for Cakes and Breads

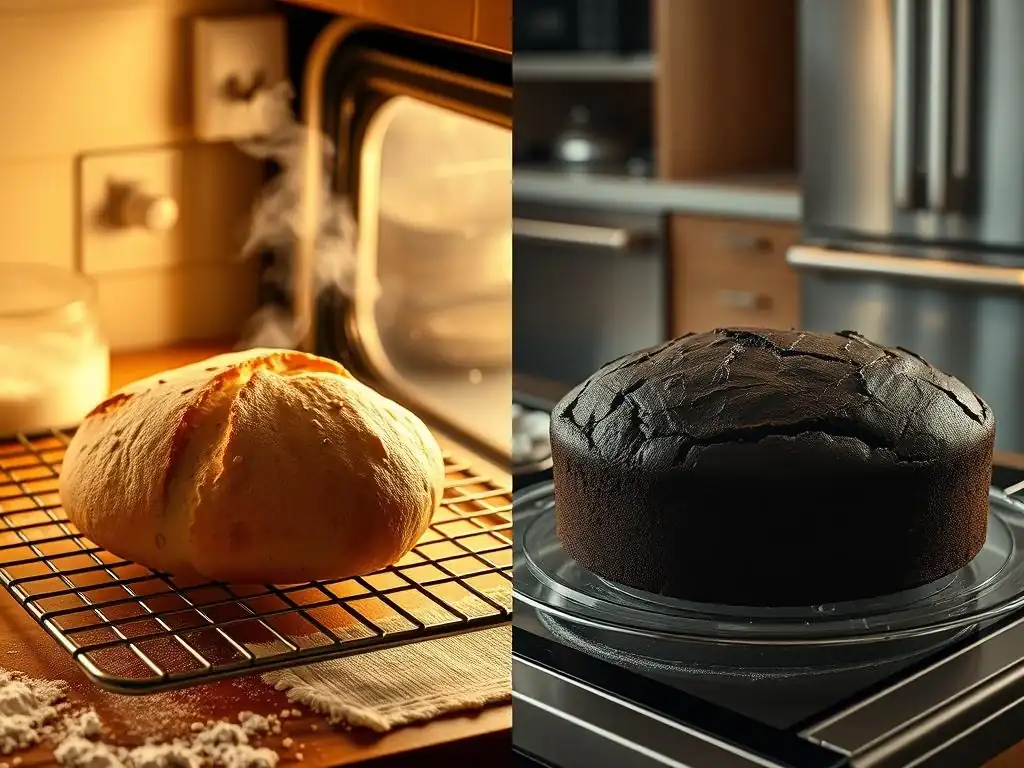
Welcome to BakeWithEase, your companion in the delightful world of baking! Ever wondered if you're missing out on a secret to flawless cakes? This article delves into the nuances of low heat baking cakes and how adjusting oven temperatures can dramatically impact your baked creations. Uncover the secrets of LowandSlow versus HighHeat baking and discover when to tweak your oven settings for perfectly risen cakes and beautifully browned breads. Ready to unlock the full potential of your oven? Let's get started!
- Understanding Oven Temperatures for Perfect Baking
- Low Heat Baking Cakes: Achieving Moistness and Even Baking
- High Heat Baking: Crust Formation and Quick Rise
- Low Heat vs. High Heat: A Detailed Comparison for Cakes and Breads
- Troubleshooting Baking Issues Related to Oven Temperature
- Mastering Oven Temperature Control for Baking Success
-
Frequently Asked Questions
- What is low heat baking, and when should I use it for cakes?
- How does baking at a lower temperature affect the texture of my cake?
- What types of cakes benefit most from low heat baking techniques?
- Can I use low heat baking for all types of bread?
- How do I adjust baking times when using lower oven temperatures?
- Final Reflection: The Gentle Art of Low and Slow Baking
- Unlock Baking Mastery: Master Your Oven's Heat!
Understanding Oven Temperatures for Perfect Baking
The Importance of Precise Oven Temperature in Baking
Achieving baking success hinges significantly on controlling your oven's temperature. It's not just about following a recipe; it's about understanding how heat interacts with your ingredients to transform batter into a perfectly baked cake or dough into a crusty loaf. An oven that runs too hot or too cool, even by a few degrees, can dramatically alter the outcome. For instance, a cake baked in an oven that's 20°C (around 35°F) hotter than specified might develop a hard crust before the inside is cooked, while one in a cooler oven could collapse or become dense.
Beyond simply cooking the item, temperature dictates chemical reactions like the Maillard reaction (browning) and the coagulation of proteins. It affects gluten development in bread and the setting structure in cakes. Precision is key, which is why many experienced bakers recommend using an external oven thermometer, as internal oven thermostats can sometimes be off by as much as 25°C (45°F). Knowing your oven's true temperature is the first step towards consistent, delicious results, whether you're aiming for low heat baking cakes or high heat bread.
Exploring the Spectrum: From Low Heat to High Heat Baking
Baking temperatures span a wide range, typically from about 120°C (250°F) for delicate custards or slow-drying meringues up to 260°C (500°F) or even higher for achieving intense crust development on artisan breads. This spectrum isn't arbitrary; different temperatures serve distinct purposes based on the desired texture, rise, and finish of the baked good. Low heat baking, often falling between 140°C and 160°C (285°F and 325°F), is frequently used for items that require gentle, even cooking throughout, like cheesecakes or rich pound cakes, minimizing cracking and ensuring a tender crumb.
Conversely, high heat baking, typically above 200°C (400°F), is essential for achieving specific results, particularly in bread making. The intense heat provides a rapid burst of energy that causes dough to expand quickly (oven spring) and promotes the rapid formation of a crisp, flavorful crust. Understanding when to employ low heat baking cakes techniques versus high heat for breads is fundamental to mastering a variety of baking projects and achieving professional-quality results in your home kitchen.
Low Heat Baking Cakes: Achieving Moistness and Even Baking
What is Low Heat Baking? Defining the Temperature Range
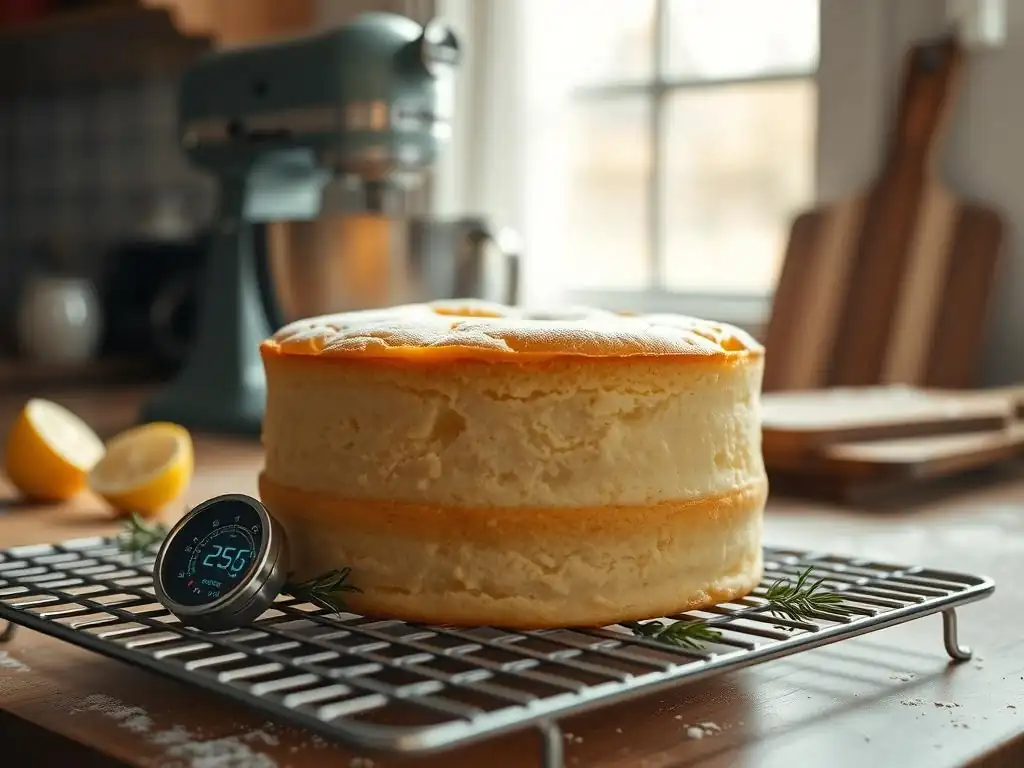
Low heat baking generally refers to oven temperatures set between 140°C and 160°C (285°F and 325°F). This range is significantly lower than the standard 175°C to 190°C (350°F to 375°F) often called for in many conventional cake recipes. The term "low and slow" is often associated with this method because the reduced temperature requires a longer baking time compared to higher temperatures. It's a technique favored for baked goods that are prone to drying out, cracking, or over-browning on the exterior before the interior is fully cooked.
The purpose of utilizing low heat for baking cakes is to allow the heat to penetrate the batter more gradually and evenly. This gentle approach minimizes the temperature gradient between the outside and the inside of the cake, promoting uniform cooking. It's particularly effective for batters that are dense, rich, or contain a high moisture content, where rapid heating could lead to undesirable textures or structural issues. Mastering low heat baking cakes opens up possibilities for achieving incredibly tender and moist results.
Benefits of Low Heat Baking for Cakes
Enhanced Moisture Retention in Cakes
One of the most significant advantages of low heat baking cakes is its ability to preserve moisture. At lower temperatures, water in the batter evaporates more slowly. The cake's structure sets gradually, trapping moisture within the crumb rather than allowing it to escape rapidly as steam, which happens more aggressively at higher temperatures. This results in cakes that are noticeably more tender, moist, and have a richer mouthfeel.
For instance, baking a rich chocolate cake or a red velvet cake at 150°C (300°F) instead of 175°C (350°F) for a longer duration can yield a final product that remains moist for days longer. This enhanced moisture retention is why low heat baking is often the secret behind exceptionally tender pound cakes and delicate sponge cakes that don't dry out around the edges.
Avoiding Domed Cakes: Even Baking at Lower Temperatures
Another common challenge in cake baking is the dreaded dome – where the center rises significantly higher than the edges, often leading to cracks. This typically occurs because the outer edges and top crust set quickly at higher temperatures while the center is still rising. Low heat baking helps mitigate this issue by ensuring the entire cake bakes and sets more evenly.
By using low heat for baking cakes, the temperature difference between the edges and the center is minimized. The batter rises more uniformly across the pan, reducing the likelihood of a pronounced dome and unsightly cracks. This is particularly beneficial for flat-topped cakes intended for layering or decorating, providing a more professional finish without the need for excessive trimming.
Ideal Cake Types for Low Heat Baking
Certain types of cakes benefit most from the low heat baking method. Rich, dense cakes with high fat or sugar content, such as pound cakes, butter cakes, and fruitcakes, are excellent candidates. The gentle heat allows these dense batters to cook through without drying out the exterior.
Cheesecakes are perhaps the prime example where low heat baking is crucial. Baking a cheesecake at around 150°C (300°F), often in a water bath, prevents the rapid setting of the outer layers, which causes cracking. Delicate cakes like some sponge cakes or chiffon cakes, which can be prone to tough textures or drying, also benefit from a slightly lower temperature than standard, though perhaps not as low as a dense pound cake, maybe around 160°C-170°C (325°F-340°F). Low heat baking cakes is a versatile technique for improving many classic recipes.
Low Heat Baking Times: Adjusting for Slower Cooking
Naturally, reducing the oven temperature means increasing the baking time. This is the "slow" part of "low and slow." A cake that might take 30-35 minutes at 175°C (350°F) could require 45-60 minutes or even longer at 150°C (300°F). The exact adjustment needed depends on the specific recipe, the size and shape of the pan, and your oven's true temperature.
It's crucial not to simply drop the temperature and expect the same cooking time. Always anticipate a significantly longer baking period. This extended time allows the heat to permeate the cake gently, ensuring the interior is fully cooked and the structure is set properly before the exterior is overly browned. Patience is a virtue when utilizing low heat baking cakes techniques.
Tips for Successful Low Heat Cake Baking
Calibrating Your Oven for Accurate Low Temperatures
As mentioned earlier, oven thermostats can be inaccurate. When practicing low heat baking cakes, precision is paramount. Invest in an inexpensive oven thermometer and place it in the center of your oven. Bake at your desired low temperature for 20-30 minutes and check the thermometer's reading. If it consistently reads differently from your oven's setting (e.g., you set it to 150°C but the thermometer reads 135°C), you'll know to adjust your oven dial accordingly for future bakes.
For example, if you aim for a true 150°C (300°F) but your oven runs 15°C cool, you'll need to set your oven dial to approximately 165°C (330°F) to achieve the desired low temperature. Regular checks with the thermometer ensure you are consistently achieving the correct low temperature for optimal results.
Monitoring Internal Temperature of Cakes During Low Heat Baking
While visual cues like browning and the toothpick test are helpful, using an instant-read thermometer is the most reliable way to determine if a cake baked at low heat is done. For most cakes, a finished internal temperature of 93°C to 98°C (200°F to 210°F) indicates that the proteins and starches have set properly.
Insert the thermometer into the center of the cake, avoiding the sides or bottom of the pan. Because low heat baking cakes takes longer, resist the urge to open the oven door frequently, as this can cause significant temperature drops and affect the even bake. Check the temperature only when the cake looks nearly done based on the recipe's estimated time range.
High Heat Baking: Crust Formation and Quick Rise
Understanding High Heat Baking Temperatures
High heat baking typically involves oven temperatures ranging from 200°C (400°F) up to 260°C (500°F) or even higher. This stark contrast to low heat baking cakes serves a completely different set of purposes, primarily related to achieving specific textures and volumes, especially in bread making. The intense radiant heat and convection currents at these temperatures rapidly transfer energy to the surface of the food.
This method is designed to create significant changes quickly. It's about generating a strong, crisp crust and providing a powerful initial burst of energy to lift the dough or batter. While less common for delicate cakes (which would likely burn), high heat is the standard for many types of bread and certain pastries where a golden-brown, sturdy exterior is desired alongside a light, airy interior.
Advantages of High Heat Baking for Breads
Achieving a Crispy Crust in Breads
One of the primary reasons for using high heat in bread baking is to develop a thick, crispy crust. The intense heat causes the sugars on the surface of the dough to caramelize rapidly, contributing to both color and flavor. Simultaneously, moisture on the surface evaporates quickly, forming a dry layer that can then crisp up.
Techniques like baking with steam or using a Dutch oven help delay the crust formation just long enough to allow for good oven spring, but the high temperature is what ultimately creates the desirable crackly or chewy crust characteristic of artisan loaves like sourdough or baguettes. Without sufficient heat, the crust would remain pale and soft.
Promoting Oven Spring: The Rapid Rise of Bread
High heat is critical for maximizing "oven spring," the rapid expansion of dough during the first 10-15 minutes of baking. When dough hits a very hot oven, the gases (carbon dioxide produced by yeast and air) trapped within the gluten network expand dramatically. Simultaneously, any water in the dough turns to steam, further contributing to lift.
This rapid expansion gives bread its final volume and helps create an open, airy crumb structure. A loaf baked at too low a temperature will experience less vigorous oven spring, resulting in a denser loaf. While low heat baking cakes focuses on gentle, even setting, high heat bread baking is about unleashing the dough's potential for dramatic rise.
When High Heat is Ideal: Bread Types and Baking
High heat is the preferred method for most lean doughs – those made primarily from flour, water, salt, and yeast, with little to no added fat or sugar. This includes:
- Sourdough loaves
- Rustic country breads
- Baguettes
- Ciabatta
These breads rely on high heat and often steam to achieve their characteristic open crumb and robust crust. High heat is also used for pizzas, where a quick bake at intense temperatures creates a crispy crust and bubbly cheese. Enriched doughs, like challah or brioche, might start at high heat to set the crust quickly but are often finished at a lower temperature to prevent burning due to their higher fat and sugar content.
High Heat Baking Times: Adapting for Faster Cooking
Compared to the extended times needed for low heat baking cakes, baking at high heat is significantly faster. A rustic loaf might bake for only 20-30 minutes at 230°C (450°F) or higher, especially if using a Dutch oven, which traps heat and steam around the loaf.
The rapid heat transfer means that the exterior cooks and sets very quickly. While this is desirable for crust formation and oven spring, it also means there's a higher risk of the outside burning before the inside is fully cooked. This is why many bread recipes call for starting at a very high temperature and then reducing it partway through the bake (e.g., 15-20 minutes at 230°C/450°F, then reduce to 200°C/400°F for the remaining time).
Tips for Successful High Heat Bread Baking
Using a Baking Stone or Dutch Oven
To get the most out of high heat baking for bread, preheating a baking stone, steel, or Dutch oven in the oven is highly recommended. These tools absorb and retain a significant amount of heat. When the dough is placed on the hot surface, it receives an immediate burst of intense heat from below, contributing significantly to oven spring and crust formation.
Preheating a stone or steel for at least 30-60 minutes at the high target temperature ensures it is sufficiently hot. A Dutch oven should also be preheated with the lid on. This creates a steamy environment initially, which is beneficial for crust development, before the lid is removed to allow the crust to crisp up directly in the dry high heat.
Monitoring Internal Temperature of Breads During High Heat Baking
Just like with cakes, relying solely on visual cues can be misleading when baking bread at high heat. While the crust might look perfectly golden brown, the interior may still be undercooked or gummy. Using an instant-read thermometer is the best way to check for doneness.
Most lean bread loaves are fully baked when their internal temperature reaches 93°C to 100°C (200°F to 212°F). Insert the thermometer into the thickest part of the loaf, away from the crust. For enriched breads, the target temperature might be slightly lower, around 88°C to 93°C (190°F to 200°F). Checking the internal temperature ensures your high heat efforts result in a perfectly cooked loaf throughout.
Low Heat vs. High Heat: A Detailed Comparison for Cakes and Breads
Cake Baking: Choosing the Right Temperature for Texture and Moisture
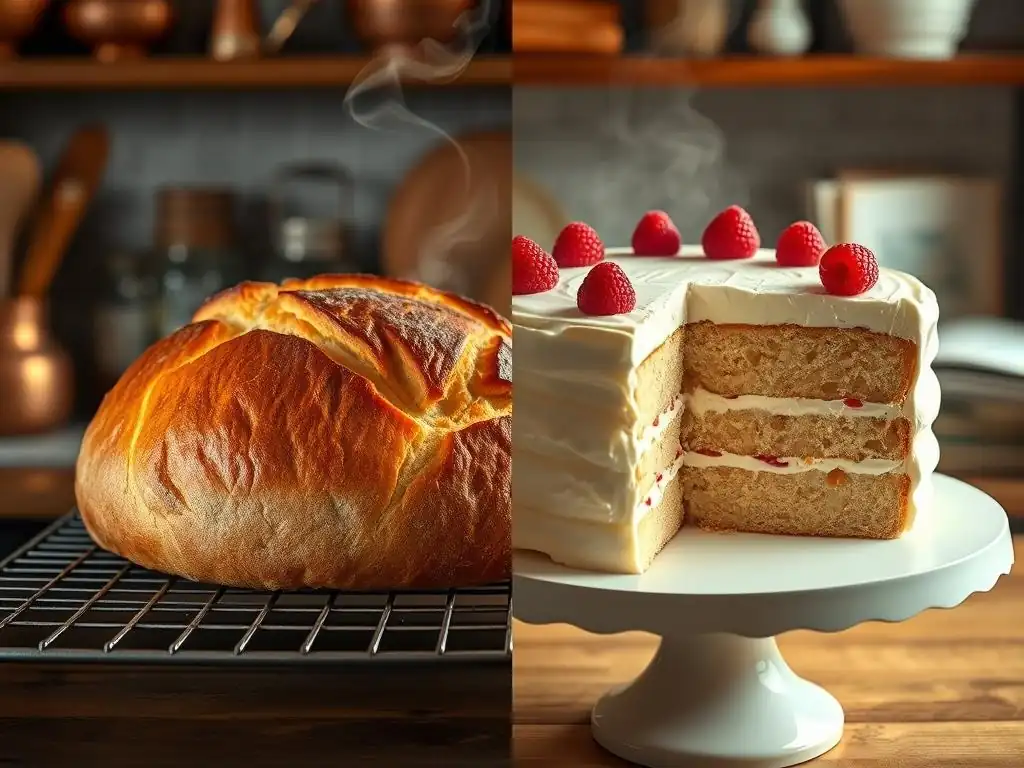
When it comes to baking cakes, the temperature choice significantly impacts the final texture and moisture level.
| Feature | Low Heat Baking (e.g., 150°C / 300°F) | High Heat Baking (e.g., 175°C / 350°F) |
|---|---|---|
| Moisture | Higher retention, results in very moist crumb | More evaporation, can lead to slightly drier crumb |
| Texture | Tender, finer, more even crumb | Can be slightly coarser, potentially tougher edges |
| Rise/Shape | More even rise, less doming, fewer cracks | Faster rise, more prone to doming and cracking |
| Crust | Lighter color, softer crust | Darker color, firmer crust |
| Baking Time | Longer (e.g., 45-60+ mins) | Shorter (e.g., 30-40 mins) |
| Ideal For | Dense cakes, cheesecakes, pound cakes, fruitcakes | Most standard butter cakes, cupcakes (often 175-180°C) |
Choosing low heat baking cakes is often preferred for recipes where a very tender, moist, and level cake is the goal. It's a forgiving method for preventing common cake flaws like dryness or severe doming. Standard cake recipes often use a medium-high temperature (175-190°C) for a balance of rise and relatively quick baking time, but adjusting to a lower temperature can elevate the final texture.
Bread Baking: Selecting the Optimal Temperature for Crust and Rise
For bread, the temperature choice is often about balancing oven spring, crust development, and ensuring the interior is cooked.
| Feature | Low Heat Baking (e.g., 160°C / 325°F) | High Heat Baking (e.g., 230°C / 450°F) |
|---|---|---|
| Oven Spring | Minimal | Significant, rapid rise |
| Crust | Soft, pale, less developed flavor | Thick, crispy, deep color, complex flavor |
| Crumb | Denser, less open | More open, airy (for lean doughs) |
| Baking Time | Very long (not typical for most breads) | Shorter (e.g., 20-30 mins, often with temp drop) |
| Ideal For | Not suitable for most standard breads; perhaps enriched loaves needing gentle finish | Lean artisan breads, sourdough, baguettes, pizza |
High heat is almost always preferred for lean, rustic breads to achieve the desired structure and crust. While some enriched breads might finish at a lower temperature after an initial high-heat phase, true low heat baking is rarely used for bread as it inhibits oven spring and crust development, resulting in a poor texture. The goal for bread is often a high initial temperature to maximize rise, sometimes followed by a slight reduction to ensure the interior cooks through without the crust burning.
Factors Influencing Temperature Choice: Ingredients and Recipe
The specific ingredients and structure of a recipe are the primary drivers for selecting low heat baking cakes or high heat for bread.
- Fat and Sugar Content: Recipes high in fat and sugar (like pound cakes or cookies) brown and burn faster. Lower temperatures are often used to allow them to cook through before the exterior gets too dark.
- Moisture Content: High-moisture items (like cheesecakes or custards) benefit from low, gentle heat to set without curdling or cracking. Lean bread doughs require high heat to convert internal moisture to steam for oven spring.
- Desired Texture: Do you want a tender, moist cake (low heat baking cakes) or a crusty bread with an open crumb (high heat)? The desired outcome dictates the temperature.
- Recipe Instructions: Always start by following the recipe's specified temperature and time. Experienced recipe developers have tested these parameters to achieve a specific result. Use your understanding of low vs. high heat to troubleshoot or adapt if necessary.
Common Problems with High Heat: Burnt Crusts and Raw Centers
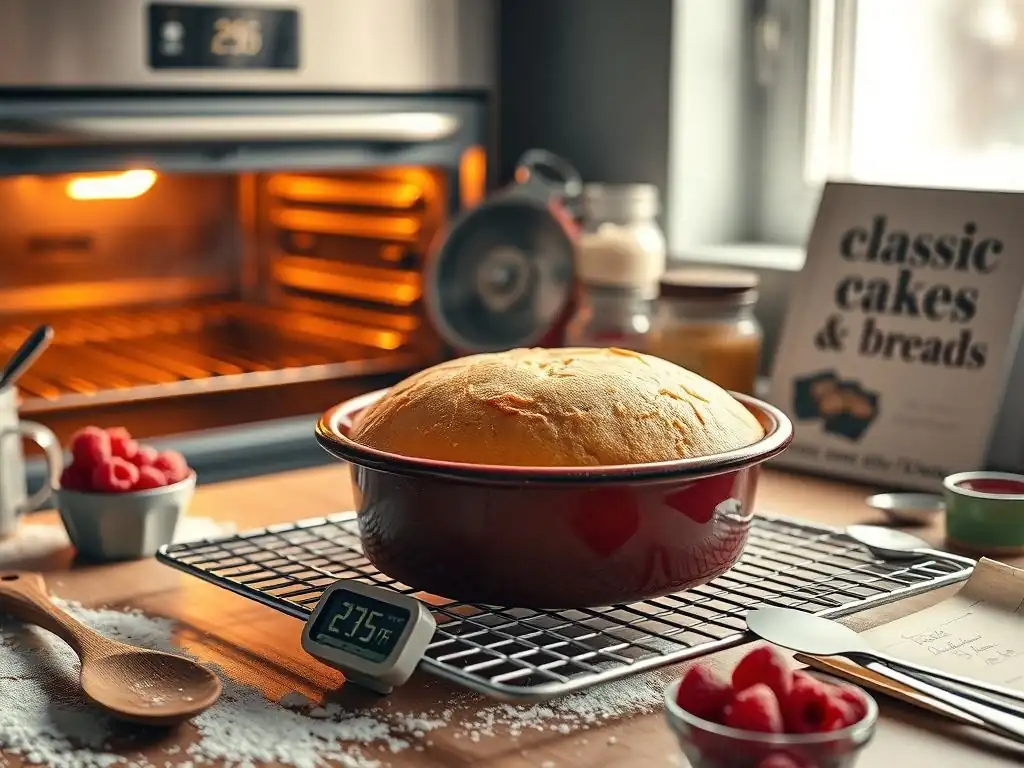
Baking at temperatures that are too high, or for too long at high heat, can lead to frustrating results, particularly with breads or even cakes accidentally exposed to excessive heat. A very common issue is a burnt or excessively dark crust while the interior remains undercooked or even raw. This happens because the outer surface cooks and sets too quickly, preventing heat from penetrating efficiently to the center.
Another problem is excessive doming and cracking in cakes, as the rapid heat sets the edges before the center has finished rising. For breads, while a dark crust is often desired, excessively high heat without proper steam can lead to a crust that's too thick, hard, or brittle, sometimes forming too fast and restricting oven spring. Using an oven thermometer and potentially reducing the temperature slightly or covering the item partway through baking can help mitigate these issues.
Common Problems with Low Heat: Dense Textures and Undercooking
Conversely, baking at temperatures that are too low, especially when the recipe calls for higher heat, presents its own set of challenges. The most frequent issue is undercooking; the item takes much longer than expected, and the center might remain gooey or unset. This is particularly problematic for cakes that rely on a quicker set for structure.
Low heat can also result in a lack of desired browning and crust development, leaving cakes pale and bread with a soft, unappealing crust. For items requiring significant rise, such as standard cakes or most breads, insufficient heat won't provide the necessary lift, leading to a dense, heavy texture. If you're attempting low heat baking cakes and they turn out dense, double-check your oven temperature and ensure you've extended the baking time sufficiently.
Adjusting Baking Times and Temperatures Based on Results
Learning to adjust based on your oven and results is key to becoming a better baker.
- If cakes are consistently too dark on top but raw inside when using a standard temperature (say, 175°C/350°F), try reducing the temperature by 10-15°C (20-30°F) and increasing the baking time. This leans towards the principles of low heat baking cakes.
- If bread crusts are pale and lack spring at high heat (say, 230°C/450°F), ensure your oven is reaching the target temperature (check with a thermometer!) and consider using a baking stone/steel or Dutch oven to improve heat transfer.
- If items are baking too quickly on the outside, try covering them loosely with foil partway through the bake to shield the exterior while the interior finishes cooking.
- If items are taking excessively long or never seem to set, your oven might be running cool. Verify with a thermometer and adjust your dial setting upwards accordingly.
Adjusting is an iterative process. Keep notes on what you baked, the temperature used (verified by thermometer), the time it took, and the outcome.
Mastering Oven Temperature Control for Baking Success
The Art of Fine-Tuning Your Baking Process
Mastering oven temperature is perhaps the most impactful skill a baker can develop after understanding ingredients. It's the difference between a recipe that "works" and one that consistently yields exceptional results. Fine-tuning your baking process involves not just setting a temperature but understanding why that temperature is used and how your specific oven behaves. It means being prepared to adjust based on observation – noting how quickly something is browning, how it's rising, and checking internal temperatures for doneness rather than relying solely on the clock.
Whether you are deliberately practicing low heat baking cakes for a moist, tender crumb or pushing the limits of high heat for an artisan bread crust, paying attention to the temperature's effect allows you to troubleshoot in real-time and adapt recipes. It's an ongoing learning process that transforms you from a recipe follower into a true baker capable of achieving desired outcomes consistently.
Low Heat: Vanilla Bean Cheesecake Recipe
Let's consider a classic example where low heat is essential: a baked Vanilla Bean Cheesecake.
Vanilla Bean Cheesecake (Low Heat Method)

Yields: 1 x 9-inch cheesecake
Prep time: 25 minutes
Chill time: 4 hours minimum
Bake time: ~60-80 minutes at low heat

Ingredients:
- 700g cream cheese, softened
- 200g granulated sugar
- 3 large eggs
- 1 tsp vanilla bean paste
- 200ml sour cream
- Pinch of salt
- Crust: 150g crushed graham crackers, 75g melted butter

Instructions:
1. Preheat oven to 150°C (300°F).
2. Prepare crust: Combine graham cracker crumbs and melted butter. Press firmly into the bottom of a 9-inch springform pan. Bake for 8-10 minutes, then let cool.
3. Prepare water bath: Wrap the outside of the springform pan tightly with heavy-duty aluminum foil to prevent water from seeping in. Boil water for the bath.
4. Make filling: Beat softened cream cheese and sugar until smooth. Add eggs one at a time, mixing until just combined. Stir in vanilla bean paste, sour cream, and salt. Do not overmix.
5. Pour filling over cooled crust. Place the foiled pan in a larger roasting pan. Carefully pour boiling water into the roasting pan until it comes about halfway up the sides of the springform pan.
6. Bake at 150°C (300°F) for 60-80 minutes, or until the edges are set but the center 5-7 cm (2-3 inches) still jiggles slightly.
7. Turn off the oven, prop the door open slightly, and let the cheesecake cool in the water bath inside the oven for 1 hour.
8. Remove from water bath, unwrap foil, and cool on a wire rack. Chill in the refrigerator for at least 4 hours before serving.
This recipe specifically uses low heat (150°C / 300°F) and a water bath. The low temperature ensures the delicate custard sets slowly and evenly, preventing the top from cracking, while the water bath provides gentle, moist heat, further promoting even cooking and preventing the edges from drying out before the center is done. This is a classic application of low heat baking cakes for a smooth, creamy result.
High Heat: Sourdough Bread Recipe
Now, consider a recipe where high heat is crucial for structure and crust: a rustic Sourdough Bread.
Rustic Sourdough Bread (High Heat Method)

Yields: 1 loaf
Prep time: 20 minutes + overnight proof
Bake time: ~25-30 minutes at high heat

Ingredients:
- 500g strong bread flour
- 350g warm water (approx. 30°C / 85°F)
- 100g active sourdough starter
- 10g salt

Instructions:
1. Mix: In a large bowl, combine flour, water, and active starter. Mix until no dry flour remains. Cover and let rest for 30 minutes (autolyse).
2. Add salt and mix/knead until incorporated and dough develops some strength (approx. 5-10 mins).
3. Bulk Fermentation: Over the next 3-4 hours, perform 3-4 sets of stretch and folds every 30-45 minutes. Dough should become smooth and airy.
4. Shape: Gently shape the dough into a boule or batard.
5. Proof: Place dough seam-side up in a floured proofing basket (banneton). Cover and refrigerate overnight (8-12 hours).
6. Preheat oven to 240°C (475°F) with a Dutch oven inside for 1 hour.
7. Bake: Carefully remove hot Dutch oven. Invert dough into the Dutch oven. Score the top of the dough with a sharp blade.
8. Place lid on Dutch oven and bake for 20 minutes.
9. Remove lid. Reduce oven temperature to 220°C (425°F). Bake for another 20-25 minutes, or until crust is deep golden brown and internal temp is 93-100°C (200-212°F).
10. Remove from Dutch oven and cool on a wire rack for at least 1 hour before slicing.
This sourdough recipe utilizes extreme high heat (240°C / 475°F) in a preheated Dutch oven for the initial bake phase. This intense heat provides maximum oven spring and starts the rapid development of the crust. Removing the lid and slightly reducing the temperature allows the crust to fully crisp up and brown without the interior becoming overly dense. This demonstrates how high heat is crucial for achieving the characteristic rise and crust of lean artisan breads, a stark contrast to low heat baking cakes.
Final Thoughts: Experimentation and Observation are Key
Understanding the principles behind low heat and high heat baking empowers you to take control of your oven and achieve better results. While low heat baking cakes is excellent for moisture and evenness, high heat is essential for bread's rise and crust.
Remember that every oven is different. Use an oven thermometer, pay close attention to how your baked goods look and feel throughout the process, and don't be afraid to adjust temperatures and times based on your observations. Experiment with slightly lower temperatures for your favorite cake recipes to see if you achieve a moister crumb, or push the heat for your next loaf of bread to get that perfect crust. Consistent baking success comes from combining reliable recipes with attentive temperature control and a willingness to learn from each bake.
Frequently Asked Questions
What is low heat baking, and when should I use it for cakes?
Low heat baking involves using lower oven temperatures than typically recommended. It's often used for delicate cakes like cheesecakes or sponge cakes to prevent cracking or uneven cooking.
How does baking at a lower temperature affect the texture of my cake?
Baking at lower temperatures can result in a moister and more evenly baked cake. This is because the cake cooks more slowly, allowing the internal structure to set properly without drying out.
What types of cakes benefit most from low heat baking techniques?
Cakes that are prone to cracking or drying out, such as cheesecakes, sponge cakes, and chiffon cakes, benefit most from low heat baking. These cakes often have a high moisture content.
Can I use low heat baking for all types of bread?
While some breads benefit from a lower temperature, especially during the later stages of baking to prevent burning, most breads require a higher initial temperature for proper crust formation and oven spring.
How do I adjust baking times when using lower oven temperatures?
When using lower oven temperatures, you will need to increase the baking time. It's crucial to monitor the cake or bread closely using a toothpick test to ensure it's fully cooked through.
Final Reflection: The Gentle Art of Low and Slow Baking
The nuanced dance between oven temperature and baking outcome is far more significant than many home bakers realize. Mastering this dance, as explored throughout this article, unlocks a world of texture and flavor possibilities, impacting not only the final product but also the overall baking experience. From the perfectly moist crumb of a low-heat cake to the deeply developed flavors of a slow-baked loaf, the right temperature is key.
The exploration of low-heat baking has profoundly shifted my own approach, moving beyond simple recipe adherence to a more intuitive understanding of heat transfer and its impact on gluten development and moisture retention. The oven is your canvas, and temperature is your brushstroke.
This quote, though not directly from a baking expert, perfectly encapsulates the artistry involved in controlling oven temperature. The subtle shifts in texture and flavor achieved through careful temperature management are a testament to the power of this often-overlooked aspect of baking.
Now, it's your turn. Consider the next time you bake. Don't just follow the recipe's temperature blindly. Think about the desired outcome – a tender cake, a crisp crust, a chewy interior. Experiment with slight adjustments, observe the results, and refine your technique. Embrace the journey of discovery, for the true reward of baking lies not just in the delicious final product, but in the understanding and mastery of the process itself. The perfect bake awaits, waiting to be unlocked by your newfound knowledge of low and slow.
Unlock Baking Mastery: Master Your Oven's Heat!
Thanks for taking the time to explore the fascinating world of oven temperatures and their impact on your baking! You now have the knowledge to create consistently delicious cakes and breads. Ready to put your newfound expertise to the test?
- Bake a test batch: Choose your favorite cake or bread recipe and experiment with the temperature adjustments you learned about – are the results as expected? Document your findings!
- Share your baking journey: Tell us (and other bakers!) about your successes and challenges in the comments below. What surprised you the most?
- Join our BakeWithEase community: Connect with fellow baking enthusiasts on our forum (a link would go here if this was a live site) to share tips, recipes, and ask questions.
What temperature adjustment are you most excited to try in your next baking project?