
Troubleshooting Bread That's Crusty on the Outside But Soft Inside

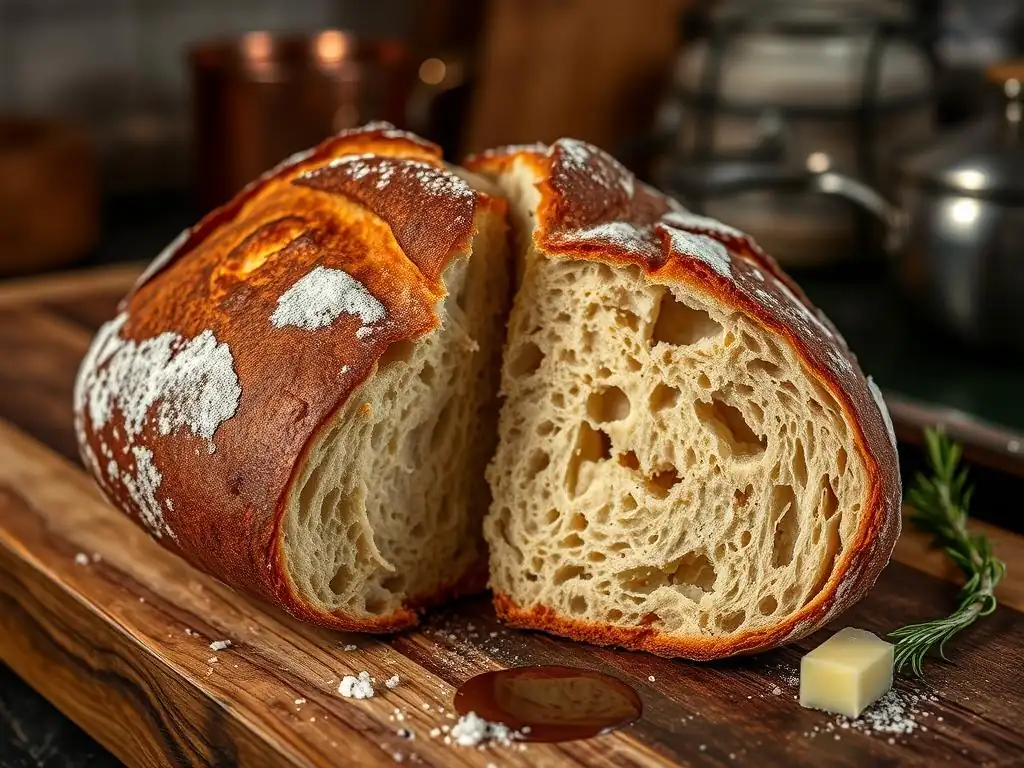
Welcome to BakeWithEase, where we unlock the secrets to baking perfection! Ever dreamt of achieving that ideal loaf – a delightfully crusty bread with a soft inside? You're in the right place! This guide dives deep into the common pitfalls and clever tricks to help you master the art of the perfect bake. Intrigued? Let's uncover the secrets together and banish baking frustrations forever!
- Understanding the "Crusty Bread Soft Inside" Phenomenon
- Common Causes of Crusty Exterior and Soft Interior in Bread
- Troubleshooting Your Bread Baking Process
- Step-by-Step Solutions
- Tips and Tricks for Consistent Results
- Achieving the Ideal Crusty Bread Soft Inside: A Summary
- Frequently Asked Questions
- Final Reflection: Embracing the Art of Crusty Bread with a Soft Heart
- Unlock Your Perfect Crust: Master the Art of Bread Baking!
Understanding the "Crusty Bread Soft Inside" Phenomenon
Factors Contributing to a Crusty Exterior and Soft Interior
Achieving the perfect crusty bread soft inside texture is the goal for many home bakers. This desirable contrast results from a delicate balance of factors during the baking process. The crust forms when the exterior of the dough rapidly dries and hardens under high heat, while the interior remains moist due to steam trapped within the loaf and the slower rate of heat penetration. Key elements contributing to this include sufficient dough hydration, proper gluten development, high initial baking temperatures, and adequate steam in the oven.
Furthermore, the type of flour used plays a role; flours with higher protein content, like bread flour, develop strong gluten networks that support a soft, open crumb structure. The fermentation process also contributes significantly. A well-fermented dough produces organic acids and carbon dioxide gas, which create the airy pockets characteristic of a soft interior crumb. When these elements align, the result is that satisfying textural contrast: a crisp, crackly crust yielding to a light, yielding interior.
Common Reasons for Uneven Bread Texture
While the ideal is a uniform soft interior contrasted by a consistent crust, sometimes you end up with bread that's uneven – perhaps too dense in spots, gummy, or with a crust that's too thick or too thin. One common culprit is inconsistent mixing or kneading, leading to uneven gluten development. This can result in areas with poor structure that collapse during baking, creating dense pockets. Another reason is improper proofing; underproofed dough won't develop enough gas for a light interior, while overproofed dough can collapse, leading to a dense, heavy crumb.
Uneven baking temperature within the oven is also a frequent cause of textural issues. Hot spots can cause parts of the loaf to bake faster, potentially leading to a tough crust in one area and an underbaked, gummy interior elsewhere. Additionally, insufficient steam during the initial baking phase can cause the crust to set too early, restricting oven spring and resulting in a denser interior than desired. Addressing these variables is crucial for consistently achieving the desired crusty bread soft inside texture.
Common Causes of Crusty Exterior and Soft Interior in Bread
Insufficient Oven Spring
Oven spring is the rapid expansion of the dough during the first 10-15 minutes of baking. It's vital for developing the final volume and internal structure of the loaf. Insufficient oven spring occurs when the dough doesn't expand as much as it should. This can happen if the dough is underproofed (not enough gas produced), overproofed (gluten structure weakened and can't hold gas), or if the initial oven temperature isn't high enough to provide the necessary burst of energy for expansion.
When oven spring is limited, the internal structure of the bread doesn't fully develop. The crumb can become tighter and less open, sometimes resulting in a slightly denser interior than expected for a truly soft crumb. While the crust might still form due to the heat, the lack of internal expansion means the delicate, airy structure required for the "soft inside" part of crusty bread soft inside isn't fully realized. Ensuring adequate proofing and a high initial oven temperature are key to maximizing oven spring.
Dough Hydration and Bread Texture
Dough hydration refers to the ratio of water to flour by weight in a recipe. Higher hydration doughs (e.g., 70-80% hydration) typically yield a more open, airy, and moist crumb compared to lower hydration doughs (e.g., 55-65% hydration), which tend to produce a tighter crumb. The water in the dough turns to steam during baking, contributing to the loaf's expansion and keeping the interior moist as the crust forms.
If your dough hydration is too low for the desired outcome, you might struggle to achieve a truly soft and open interior, even if you get a great crust. For example, a basic sandwich loaf might use 60% hydration, but a rustic country loaf known for its crusty bread soft inside might use 75% or higher. Understanding the typical hydration levels associated with different bread types is crucial. If your recipe's hydration is on the lower side but you're aiming for a very soft interior, it might be a limiting factor.
The Importance of Steam in Crust Formation
Steam is perhaps the most critical element for developing a thin, crisp, and beautiful crust. When bread is first placed in a hot oven, the steam-rich environment prevents the surface of the dough from drying out and hardening too quickly. This allows the loaf to expand maximally during oven spring. As the temperature rises and the steam dissipates (typically after 15-20 minutes), the crust then begins to brown and crisp up.
Without sufficient steam, the crust forms almost immediately upon hitting the hot air. This premature hardening restricts the dough's ability to expand, leading to reduced oven spring and potentially a denser interior. It also results in a thicker, sometimes tougher crust rather than the desired delicate crispness. Techniques like using a Dutch oven, a baking stone with a steam tray, or injecting steam into a professional oven are employed specifically to create this essential humid environment.
Impact of Baking Temperature on Crust
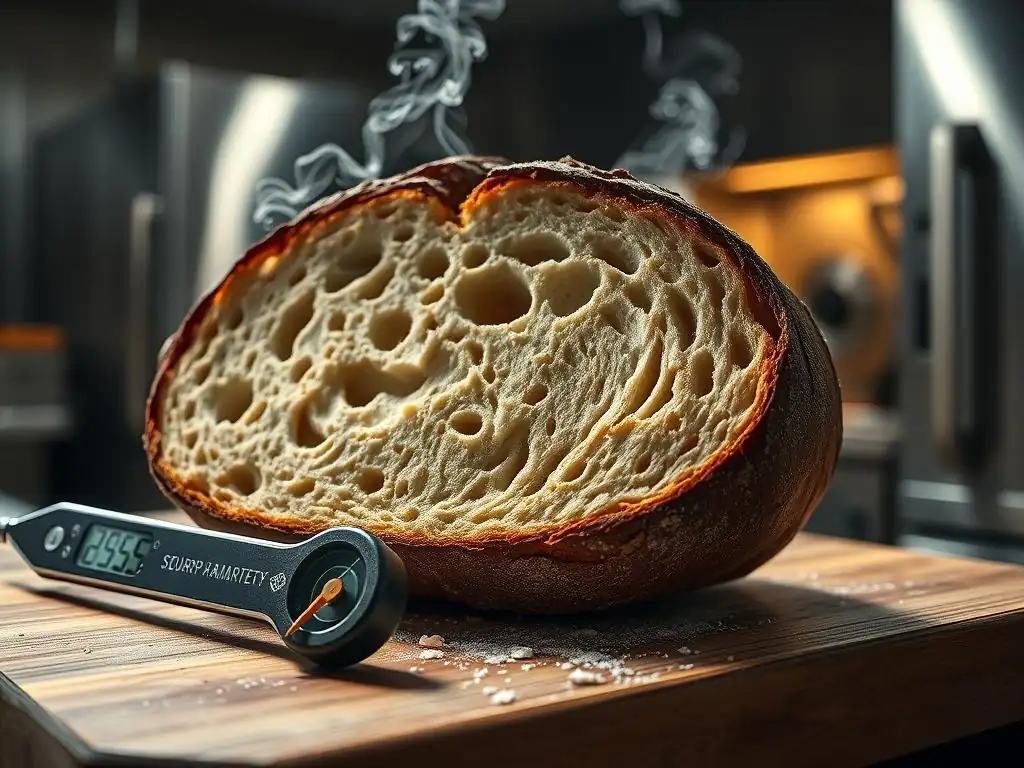
Baking temperature significantly influences both crust formation and oven spring. Most recipes for crusty loaves call for a high initial temperature, often starting around 450°F to 500°F (230°C to 260°C). This high heat provides the immediate thermal shock needed for maximum oven spring and rapid crust development. The intense heat quickly gelatinizes the starch on the surface, contributing to the crust's structure and color.
After the initial high-heat phase (often with steam), the temperature is often reduced to a lower setting, perhaps 400°F to 450°F (200°C to 230°C), for the remainder of the bake. This allows the interior of the bread to cook through evenly without the crust becoming too dark or burnt. If the initial temperature is too low, oven spring will be limited, and the crust may develop too slowly or unevenly. If the temperature is too high for too long, the crust can burn before the interior is fully cooked, resulting in a paradoxically dark exterior and potentially underbaked interior.
Underbaking and Soft Interiors
While the goal is a soft interior, underbaking can lead to an unpleasantly soft, often gummy or wet crumb. Bread is fully baked when its internal temperature reaches approximately 200-210°F (93-99°C). At this temperature, the starch molecules have fully gelatinized and set the structure, and much of the excess moisture has evaporated, leaving a light and airy interior.
If the bread is removed from the oven before reaching this internal temperature, the starches haven't fully set. This results in a doughy, sometimes sticky, or gummy texture in the center. Even if the crust looks perfectly golden and sounds hollow when tapped, an underbaked interior will compromise the desired crusty bread soft inside experience. Always checking the internal temperature is the most reliable way to ensure the interior is properly cooked.
Troubleshooting Your Bread Baking Process
Recipe Evaluation for Optimal Results
Start by closely examining the recipe you are using. Is it specifically designed for a crusty loaf with a soft interior? Look at the hydration percentage; recipes for rustic loaves or sourdough typically have hydration levels ranging from 70% up to 85% or more. Compare this to recipes for sandwich bread (often 60-65% hydration) or enriched doughs (which include fats and sugar). If your recipe has significantly lower hydration, it might inherently limit the potential for a very soft crumb.
Also, check the recommended baking method. Does it call for baking in a Dutch oven, using a baking stone with steam, or another method to create a humid environment? Does it specify a high initial temperature followed by a reduction? A recipe that simply calls for baking in a loaf pan at a single temperature without steam might not be optimized for the crusty bread soft inside texture you're seeking. Consider trying a recipe specifically formulated for this type of bread if your current one seems unsuitable.
Adjusting Hydration Levels
If your current recipe's hydration seems low (e.g., below 68-70%) and you desire a softer interior, you can try incrementally increasing the water in your dough. Start by adding just 2-3% more water by flour weight in your next attempt. For instance, if your recipe uses 500g of flour and 300g of water (60% hydration), try adding an extra 10-15g of water (making it 310-315g total). This increases hydration to roughly 62-63%.
Be prepared for the dough to be stickier and potentially harder to handle as you increase hydration. You might need to adjust your kneading technique, perhaps using stretch-and-folds rather than traditional kneading. Don't make drastic changes all at once; small adjustments over several bakes will help you find the hydration level that works best for your flour, environment, and handling skills while moving towards that ideal crusty bread soft inside texture.
Steam Injection Techniques
Creating a steam-rich environment in a home oven is crucial for a good crust and optimal oven spring. Here are a few effective methods:
Baking with a Dutch Oven
This is one of the most popular and effective methods for home bakers. A preheated cast iron Dutch oven traps the steam released by the dough itself, creating a perfect micro-environment. Preheat the Dutch oven with the lid on in your oven, often to temperatures like 450-500°F (230-260°C). Carefully transfer the dough into the hot Dutch oven, score it, put the lid back on, and bake for the first 20-30 minutes. Remove the lid for the remaining 15-25 minutes to allow the crust to brown and crisp.
Using a Water Pan for Steam
If you're baking on a baking stone or tray, you can create steam by placing a pan of hot water (boiling water is best) on the rack below your bread just as you load the loaf. Some bakers add lava rocks or a chain to the pan to increase the surface area and generate more steam. Be cautious when pouring hot water into the pan to avoid burns. Remove the water pan after 15-20 minutes.
Spritzing the Dough
A less effective but sometimes supplementary method is to lightly spritz the surface of the dough with water before loading it into the oven and occasionally during the first few minutes of baking. While this provides some surface moisture, it doesn't create the sustained, high-humidity environment that a Dutch oven or steam pan does. It's best used in conjunction with other methods or for loaves where a very thin crust is desired.
Fine-Tuning Baking Temperature and Time
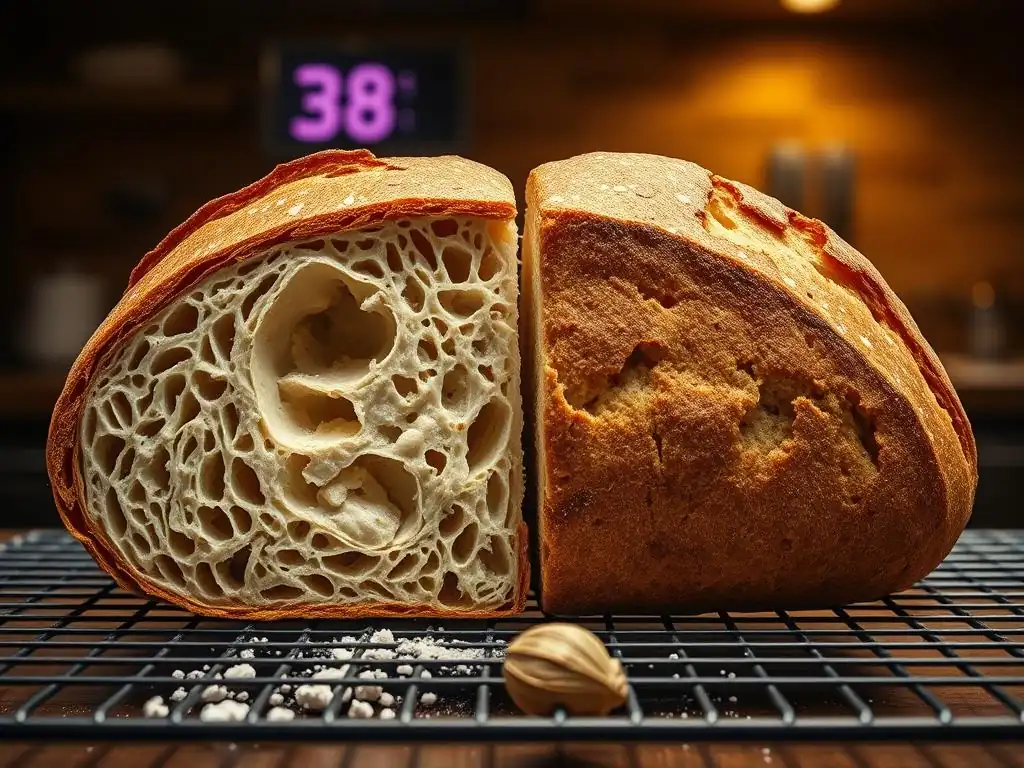
For many crusty loaves, a common approach is to bake at a high temperature initially (e.g., 450°F / 230°C) for the first 15-20 minutes (often with steam), and then reduce the temperature (e.g., to 400-425°F / 200-220°C) for the remaining baking time. If your crust is forming too quickly or burning before the interior is done, try reducing the initial temperature slightly or shortening the high-heat phase.
Conversely, if your crust is pale or not crisping up enough, ensure your initial temperature is high enough and that you remove any steam source for the final part of the bake to allow the crust to dry and brown. Total baking time will vary depending on the size and shape of the loaf, but a standard 1kg loaf might bake for 35-50 minutes in total. Always adjust based on visual cues and, importantly, internal temperature.
Checking for Doneness
Relying solely on external appearance can be misleading. A loaf might look golden and sound hollow, but still be underbaked inside.
Internal Temperature
The most reliable way to check if your bread's interior is cooked through is to use an instant-read thermometer. Insert the probe into the center of the loaf, avoiding any large air pockets. For most lean bread (flour, water, salt, yeast/starter), an internal temperature of 200-210°F (93-99°C) indicates it's done.
The Tap Test
A traditional method is to tap the bottom crust of the loaf. If it sounds hollow, it's often considered done. While this can be a good indicator, especially when combined with visual cues, it's not as precise as checking the internal temperature. A loaf might sound hollow but still have a slightly gummy interior if it hasn't reached the proper temperature.
Step-by-Step Solutions
Here’s a practical guide to troubleshooting your quest for crusty bread soft inside:
Step 1: Assess Current Baking Method
- [ ] Review your recipe and process.
- [ ] Note your typical hydration percentage.
- [ ] Identify how you create steam (or if you don't).
- [ ] Record your oven temperature settings and timings.
- [ ] Consider if you check the internal temperature for doneness.
This initial assessment helps pinpoint potential areas for improvement based on the common causes discussed earlier. Understanding your current baseline is crucial.
Step 2: Modify Dough Hydration
- [ ] If your hydration is below 70% for a rustic loaf, consider increasing it slightly (2-5% of flour weight) in your next bake.
- [ ] Handle the stickier dough using techniques like wet hands or a dough scraper during folds.
- [ ] Observe how the increased hydration affects dough handling and the final crumb structure.
Remember, higher hydration contributes to a more open and potentially softer interior crumb, a key part of the crusty bread soft inside goal.
Step 3: Implement Steam Injection
- [ ] If you're not using steam, try the Dutch oven method or a steam pan setup.
- [ ] Ensure the oven and steam setup are fully preheated before loading the bread.
- [ ] Maintain steam for the critical first 15-20 minutes of baking.
Proper steam allows for maximum oven spring and a thinner, crispier crust, which is essential for the crusty bread soft inside texture.
Step 4: Adjust Baking Temperature and Time
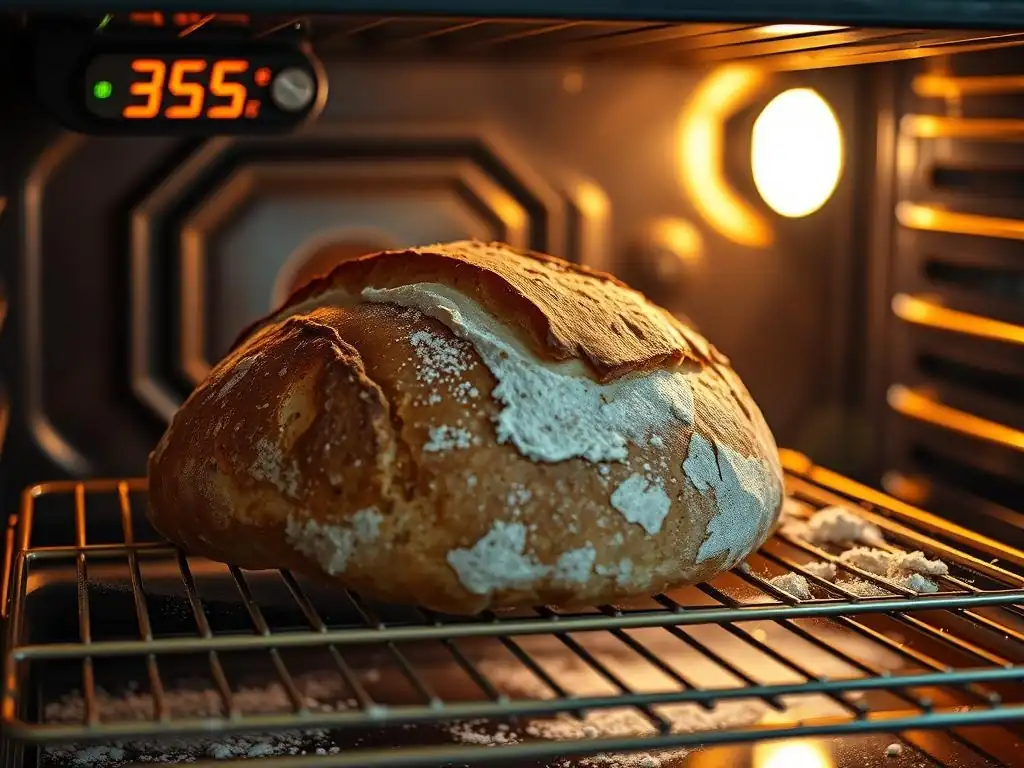
- [ ] Preheat your oven adequately, often to a high temperature like 450-475°F (230-245°C).
- [ ] Bake at this high temperature (with steam) for the initial phase (e.g., 15-20 minutes).
- [ ] Reduce the temperature (e.g., to 400-425°F / 200-220°C) for the remainder of the bake (e.g., 20-30 minutes).
- [ ] Adjust total baking time based on loaf size and color.
This two-stage baking process promotes oven spring and then allows the interior to cook through without burning the crust.
Step 5: Evaluate and Adjust
- [ ] Let the bread cool completely before slicing (at least 1-2 hours for a large loaf).
- [ ] Evaluate the crust: Is it crisp and thin? Or thick and hard?
- [ ] Examine the interior: Is it soft and airy? Or dense and gummy?
- [ ] Check the internal temperature if you didn't during baking.
- [ ] Based on the results, make further small adjustments to hydration, proofing time, steam method, or baking temperature/time in your next bake.
Troubleshooting baking is often an iterative process. Each loaf provides valuable feedback on how to improve your technique for that perfect crusty bread soft inside.
Tips and Tricks for Consistent Results
Proper Dough Handling
Avoid overworking or tearing the dough, especially during shaping. Gentle handling helps maintain the gas produced during fermentation, which contributes to a light and airy crumb. Techniques like stretch-and-folds during bulk fermentation build strength without degassing the dough excessively. When shaping, aim to create surface tension without tearing the gluten network just beneath the surface.
Using a Dough Thermometer
Fermentation is highly dependent on temperature. Using a simple digital thermometer to check your dough's temperature during bulk fermentation and proofing can help you achieve more consistent results. Aim for dough temperatures typically between 75-80°F (24-27°C) during bulk fermentation for many recipes. This consistency helps ensure your dough is properly proofed, which is fundamental for achieving that desired crusty bread soft inside texture.
Cooling Bread Correctly
Once your bread is out of the oven, resist the urge to slice it immediately! The interior is still undergoing a crucial process called "carry-over baking" as the residual heat continues to cook the crumb and set the structure. Cutting into a hot loaf will release steam prematurely, resulting in a gummy, dense interior. Always cool bread completely on a wire rack for at least 1-2 hours for a standard loaf, or longer for very large loaves, to allow the interior to set properly and achieve the ideal soft texture.
Storing Bread to Maintain Crustiness
Maintaining the crusty exterior while keeping the inside soft can be tricky. Once cooled, store the bread at room temperature. Avoid airtight containers or plastic bags, as these trap moisture released by the interior, quickly turning the crust soft and leathery. A paper bag is a good option for maintaining crustiness for a day or two. For longer storage, you can freeze cooled bread; slice it first if desired, then wrap tightly in plastic wrap and foil. Thaw at room temperature and reheat in a hot oven for a few minutes to revive the crust.
Achieving the Ideal Crusty Bread Soft Inside: A Summary
Key Takeaways
Mastering the art of baking bread with a perfect crusty exterior and a soft, airy interior involves controlling several key variables. Adequate dough hydration, typically in the 70%+ range for rustic loaves, provides the moisture needed for a soft crumb. Proper fermentation and handling ensure sufficient gas production and gluten development for a light internal structure. Crucially, creating a steam-rich environment during the initial phase of baking allows for maximum oven spring and a thin, crisp crust.
Using a high initial oven temperature followed by a reduction helps set the crust quickly while allowing the interior to cook through. Finally, ensuring the bread reaches the correct internal temperature (200-210°F / 93-99°C) confirms the interior is properly baked, preventing a gummy texture. Cooling the loaf completely before slicing is also non-negotiable for the best results. By focusing on these elements and making small, iterative adjustments to your process, you can consistently achieve that coveted crusty bread soft inside.
Further Resources
For more detailed guides on specific techniques mentioned, such as stretch-and-folds, using a Dutch oven, or checking dough temperature, explore other articles on BakeWithEase.com. You'll find step-by-step instructions and visual aids to help you perfect each stage of the bread-making process and troubleshoot common issues on your journey to baking delicious, crusty bread soft inside.
Frequently Asked Questions
Why is my bread crusty outside but too soft inside?
The most common reason is underbaking. Ensure the internal temperature reaches the recommended level, usually around 200-210°F (93-99°C), for optimal texture.
How can I ensure a truly crusty crust?
Creating steam during the initial baking phase is crucial. You can achieve this by using a Dutch oven or adding ice cubes to a preheated pan in the oven. This helps create a crispier exterior.
What role does hydration play in the bread's texture?
Higher hydration (more water in the dough) generally leads to a more open crumb and a softer interior. Adjusting the water content can influence the overall texture.
My bread is browning too quickly, but the inside is still soft. What should I do?
Tent the bread with aluminum foil during the latter part of baking to prevent excessive browning. This allows the inside to fully cook without burning the crust.
Can the type of flour affect the texture of my crusty bread?
Yes! Bread flour, with its higher protein content, develops more gluten, resulting in a chewier texture and a sturdier crust. Using all-purpose flour may result in a softer crust.
Final Reflection: Embracing the Art of Crusty Bread with a Soft Heart
In the world of baking, the quest for the perfect loaf— crusty on the outside yet soft inside— is not just a culinary challenge but a metaphor for life itself. As we navigate through the complexities of baking, we discover that the balance of textures mirrors our own experiences, reminding us that the outer appearance often belies the richness within. The techniques and insights shared in this article not only serve to enhance our baking skills but also resonate with the broader theme of finding harmony in contrasts.
Crusty bread that is soft inside has become a symbol of comfort and connection in our modern society. The act of baking, whether for oneself or for loved ones, fosters a sense of community and shared experience. As we gather around the table to enjoy a beautifully baked loaf, we are reminded of the importance of nurturing relationships and cherishing moments of togetherness. Baking is both an art and a science; it teaches us patience, precision, and the joy of creation.
This ongoing influence of bread-making in our lives encourages us to appreciate the simple pleasures and the bonds they create.
As you reflect on the lessons learned from troubleshooting your bread, I invite you to carry this spirit of exploration into your daily life. Consider how you can embrace the contrasts within yourself and your experiences, finding strength in vulnerability and beauty in imperfection. Let the process of baking serve as a reminder that, just like bread, we too can rise to the occasion, becoming more resilient and flavorful with each challenge we face.
Unlock Your Perfect Crust: Master the Art of Bread Baking!
Thanks for taking the time to explore the secrets of perfectly crisp bread! You’ve gained valuable insights into common baking pitfalls and now you’re ready to elevate your skills. Let's put that knowledge into action:
- Experiment with your oven's temperature and baking time: Try slightly increasing the oven temperature and extending the baking time by 5-10 minutes to see if that achieves the desired crispiness. This is your key step to success!
- Share your baking triumphs (or challenges!) on our BakeWithEase community forum. Let's learn from each other!
- Consider trying a new bread recipe from our extensive collection – perhaps one with a higher hydration level to challenge yourself further.
Ready to create that perfect crusty loaf? What unique baking tip will you try next?