
Working Chocolate into Pastries: Techniques for Flaky Results

Welcome to BakeWithEase, your haven for unlocking the secrets of the baking world!
Ever dreamt of creating pastries that shatter with each bite, releasing a burst of rich chocolate flavor? Dive into our latest article where we demystify flaky chocolate pastry techniques. Discover the key to achieving that perfect, melt-in-your-mouth texture and learn how to effortlessly incorporate chocolate for stunning results. Ready to elevate your pastry game? Let's get baking!
- Understanding Flaky Pastry and Chocolate: A Baker's Foundation
- Mastering Flaky Chocolate Pastry Techniques: Step-by-Step Guide
- Troubleshooting Common Flaky Chocolate Pastry Problems
- Advanced Flaky Chocolate Pastry Techniques
- Tips for Achieving the Perfect Flaky Chocolate Pastry
-
Frequently Asked Questions
- What is the key to achieving a flaky texture in chocolate pastries?
- How does working chocolate into pastry dough affect its texture?
- What are some common flaky chocolate pastry techniques?
- Can I use different types of chocolate for these flaky pastry recipes?
- What are some tips for preventing chocolate from melting during baking flaky pastries?
- Final Reflection: The Enduring Allure of Flaky Chocolate Pastry
- Unlock Your Inner Pastry Chef: Flaky Chocolate Dreams Await!
Understanding Flaky Pastry and Chocolate: A Baker's Foundation
What Makes Pastry Flaky? The Science Behind the Layers
Flaky pastry, whether it's for croissants, puff pastry, or danishes, owes its characteristic layers to a careful interplay of fat, flour, and water, combined with specific handling techniques. The magic happens when solid fat is incorporated into the dough in distinct layers. As the pastry bakes, the water in the dough turns to steam, which is trapped between these layers of fat.
This steam expands, pushing the layers apart and creating separation. Simultaneously, the fat melts, lubricating the layers and preventing them from sticking together. The gluten development in the dough provides structure to hold these expanded layers in place as the pastry sets.
The key to achieving optimal flakiness lies in maintaining the fat in solid pieces or layers throughout the dough preparation process, especially during rolling and folding. Using cold ingredients and keeping the dough chilled is paramount, as warm fat will soften and blend into the flour, inhibiting the formation of distinct layers.
A typical ratio for flaky pastry might involve a significant amount of fat, sometimes equal to or even exceeding the weight of the flour, though variations exist depending on the desired result. The number of folds and turns applied to the dough directly impacts the number of layers, contributing to the final delicate texture.
The Challenge: Incorporating Chocolate Without Sacrificing Flakiness
Incorporating chocolate into flaky pastry introduces unique challenges. Chocolate contains cocoa butter, which has a lower melting point than the butter or shortening typically used in pastry dough. If the chocolate is incorporated incorrectly or the dough becomes too warm, the chocolate can melt prematurely during handling, smudging into the dough layers. This disrupts the distinct fat layers necessary for flakiness, leading to a dense or greasy texture instead of the desired light, airy result. Furthermore, chocolate particles or melted chocolate can interfere with the steam expansion process, reducing lift.
The density and composition of chocolate also play a role. Large chunks or excessive amounts of chocolate can weigh down the delicate dough layers, preventing them from rising fully. When working with techniques like lamination, ensuring the chocolate layer or pieces remain separate from the dough's fat layers is crucial.
The goal is to have the chocolate melt during baking to create pockets of richness, while the pastry dough surrounding it develops its characteristic flaky structure independently. Mastering flaky chocolate pastry techniques requires careful temperature control and precise handling to preserve the integrity of both the dough layers and the chocolate inclusion.
Choosing the Right Chocolate for Flaky Pastries: Type and Quality Matters
The type and quality of chocolate significantly impact the outcome of flaky chocolate pastries. For inclusions like chips, chunks, or batons, using baking-specific chocolate is often recommended. These chocolates are formulated to hold their shape better during baking due to stabilizers or a different cocoa butter content, preventing them from spreading excessively and becoming greasy puddles. Look for chocolate with a cocoa content appropriate for your taste – higher percentages offer intense flavor, while lower percentages are sweeter. The form matters too; batons are ideal for classic pain au chocolat as they create distinct pockets of melted chocolate.
When using cocoa powder for dough or fillings, the distinction between natural cocoa and Dutch-processed cocoa is important. Natural cocoa is acidic and reacts with baking soda, contributing to leavening and a sharp chocolate flavor. Dutch-processed cocoa has been treated to be neutral, resulting in a darker color and a smoother, less acidic flavor.
For flaky pastries where leavening primarily comes from steam, either can be used, but Dutch-processed often provides a richer color and milder flavor that complements the buttery pastry. Always choose high-quality chocolate ingredients; better chocolate not only tastes superior but often performs more predictably under baking conditions, contributing to successful flaky chocolate pastry techniques.
Mastering Flaky Chocolate Pastry Techniques: Step-by-Step Guide
Technique 1: The Laminated Dough Method with Chocolate
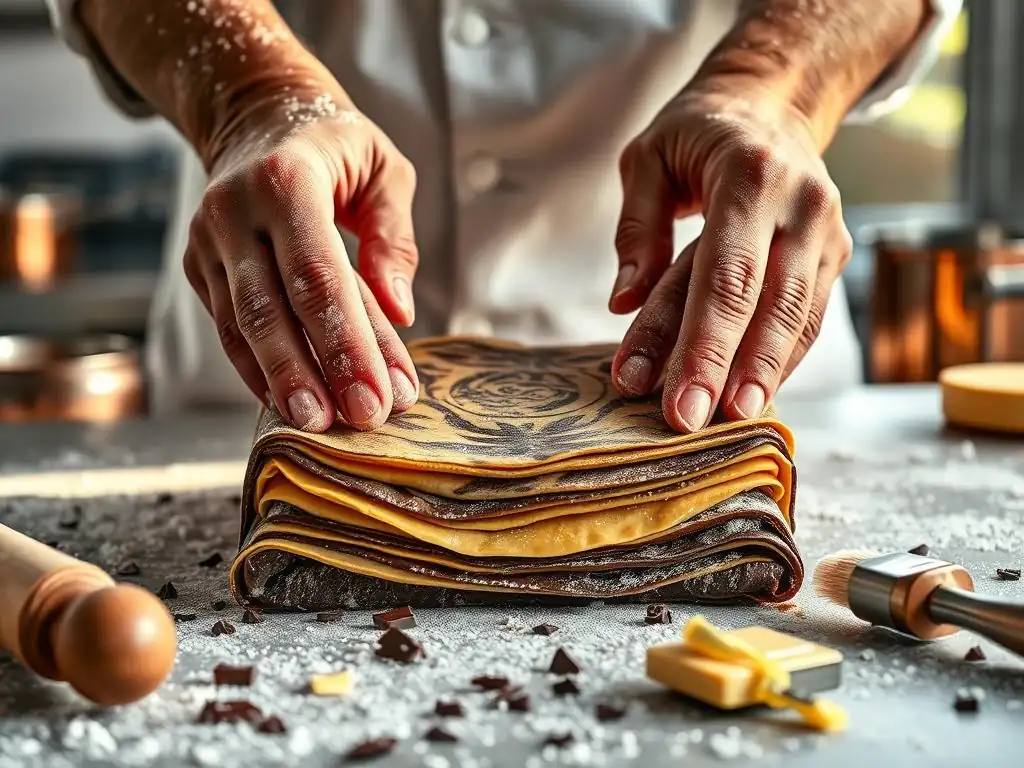
This technique is the foundation for classic pastries like pain au chocolat, where a sheet of chocolate is encased within layers of dough and butter. It requires careful temperature management and precise folding to create numerous alternating layers of dough, butter, and chocolate. The process typically involves making a basic dough (often enriched with milk and sugar), encasing a block of cold butter within it, and then repeatedly rolling and folding the dough. For chocolate lamination, a sheet of chocolate is often incorporated during one of the later folds or rolled into the final shape alongside the dough.
Achieving flaky chocolate pastry with this method hinges on keeping the dough and butter very cold throughout the process. This prevents the butter from melting and integrating into the dough, ensuring distinct layers. Each fold and turn increases the number of layers exponentially.
For example, a simple book fold followed by a tri-fold can quickly build hundreds of layers. Resting the dough in the refrigerator between folds is crucial for relaxing the gluten, making the dough easier to roll, and firming up both the butter and the added chocolate layer. This methodical approach is key to developing the signature airy, layered texture.
Preparing the Chocolate Lamination: Achieving Even Distribution
For pastries like pain au chocolat, the chocolate is typically incorporated as solid pieces or a sheet. If using chocolate batons, they are usually placed directly onto the rolled-out dough before shaping. For creating a layered effect within the dough itself, a thin sheet of tempered chocolate can be used, similar to how the butter block is incorporated.
This requires melting and tempering chocolate, then spreading it thinly onto parchment paper and allowing it to firm up into a flexible sheet. This sheet can then be handled much like the butter block, folded into the dough during the lamination process.
Alternatively, for a marbled effect within the laminated dough, softened but not melted chocolate can be spread onto the dough before folding. The key is to distribute the chocolate evenly across the surface that will be folded, ensuring that each subsequent layer incorporates some chocolate. Whether using solid pieces, a tempered sheet, or a spread, the goal is to maintain distinct chocolate within or between the dough layers until baking. This prevents the chocolate from smudging and allows the dough's flakiness to develop properly around the chocolate inclusions.
Folding and Turning: Creating Layers of Chocolate and Dough
The folding and turning process is where the magic of lamination happens, building hundreds or even thousands of paper-thin layers. After the initial dough is made and the butter block (and potentially a chocolate layer) is enclosed, the dough is rolled out into a rectangle.
Then, it's folded – common methods include the simple fold (folding one-third over the middle, then the other third over that, like a letter) or the book fold (folding both ends towards the middle, then folding in half). After folding, the dough is typically rotated 90 degrees before being rolled out again for the next turn.
Each turn doubles or triples the number of layers. For example, starting with 3 layers (dough/butter/dough) and performing 4 simple folds results in 3 * 3^4 = 243 layers. If a chocolate layer was incorporated, it adds another element to these layers. The key is to keep the dough and butter/chocolate layers distinct throughout this process. Rolling should be firm but gentle, applying even pressure to avoid squeezing the butter or chocolate through the dough. Consistent folding and turning, interspersed with chilling, are fundamental flaky chocolate pastry techniques.
Resting the Dough: Essential for Gluten Relaxation and Chocolate Firmness
Resting the dough in the refrigerator between folds and before shaping is absolutely critical for successful lamination and achieving flaky chocolate pastry. This chilling period serves multiple vital purposes. Firstly, it allows the gluten that was developed during mixing and rolling to relax. Relaxed gluten makes the dough pliable and easy to roll out again without springing back excessively, preventing uneven layers or tearing. A typical rest period between turns is at least 30 minutes, though longer is often better, up to several hours for complex doughs.
Secondly, chilling solidifies the butter and any incorporated chocolate within the dough layers. This firmness is essential for the next rolling step; solid fat and chocolate maintain their distinct form and separate from the dough, ensuring clear layers are created with each fold. If the dough or fat is too warm, the fat will melt and smear, ruining the lamination.
Proper chilling ensures that when the dough is rolled, the fat and chocolate remain as solid sheets or pieces, ready to create steam pockets and delicious melted centers during baking. Aim for the dough to be cold but still slightly pliable when you take it out to roll.
Technique 2: Chocolate Chip or Chunk Incorporation
Incorporating chocolate chips or chunks is a simpler method than lamination for adding chocolate to pastry dough, commonly used in scones, shortbread, or certain types of turnovers. While these pastries may not achieve the extreme flakiness of laminated doughs, they can still be delightfully tender and layered. The technique involves cutting or folding solid chocolate pieces directly into a prepared dough. The success of this method in achieving a pleasant texture depends on how the chocolate is added and handled within the dough matrix.
The primary challenge here is preventing the chocolate from interfering with the dough's structure and ensuring it melts nicely during baking without making the pastry greasy. This involves selecting the right size and type of chocolate, distributing it evenly, and managing baking temperature and time. Unlike lamination where chocolate is layered with fat, here the chocolate sits within the dough, and its melting behavior directly impacts the surrounding pastry texture.
Selecting Chocolate Chips or Chunks: Size and Shape Considerations
The size and shape of the chocolate pieces significantly affect the outcome when incorporating chips or chunks into pastry dough. Larger chunks or fèves (broad, flat discs) create distinct pockets of melted chocolate within the baked pastry, offering intense bursts of flavor and a gooey texture. Standard chocolate chips, especially those designed for baking, contain stabilizers or have a shape that helps them hold their form somewhat, leading to defined chocolate spots rather than large pools. The choice depends on the desired aesthetic and texture – do you want defined chips or melted puddles?
Consider the scale of the pastry. For smaller items like cookies or scones, standard chips or small chunks work well. For larger pastries like turnovers or galettes, larger chunks or even chopped bar chocolate can be more effective, providing substantial pockets of chocolate. Using chopped bar chocolate, particularly from high-quality baking bars, often yields a better melt and flavor than standard chips. The irregular shapes of chopped chocolate can also create interesting textures within the pastry.
Even Distribution Techniques: Preventing Chocolate Clumping
Achieving even distribution of chocolate chips or chunks throughout the dough is essential for a balanced flavor and texture in every bite. Simply dumping chips into dough and mixing vigorously can lead to clumping, where large pockets of chocolate form while other areas have none. A common technique is to sprinkle the chocolate pieces over the dough after it has been partially mixed or rolled out, then gently fold or knead them in minimally. This ensures the chocolate is dispersed without overworking the dough.
Another effective method is to toss the chocolate chips or chunks with a tablespoon or two of the dry flour from the recipe before adding them to the dough. The thin coating of flour helps prevent the chocolate pieces from sticking together. When adding the chocolate to the dough, fold it in using a spatula or your hands just until it is evenly distributed; avoid excessive mixing. For doughs that are rolled and cut, sprinkle the chocolate over the rolled-out dough before folding or shaping. These flaky chocolate pastry techniques ensure every piece has a delightful chocolate inclusion.
Adjusting Baking Time: Accounting for the Chocolate's Melting Point
When adding chocolate chips or chunks to a pastry, you may need to slightly adjust your baking time and temperature. The presence of chocolate can affect how quickly the pastry cooks, especially if there are large amounts. Chocolate melts at a relatively low temperature (around 85-90°F for cocoa butter), but it needs sufficient heat to become fully liquid and gooey inside the pastry. However, too high a temperature or too long a bake can cause the chocolate to burn or seize, becoming dry and grainy.
Monitor the pastry carefully as it nears the end of the typical baking time. Look for the pastry itself to be golden brown and cooked through. The chocolate inside should be melted and soft.
If the pastry is browning too quickly but the chocolate isn't fully melted, you can loosely tent the pastry with foil to prevent further browning while allowing the inside to finish cooking and the chocolate to melt. Conversely, if the chocolate seems to be melting too early and potentially running out, ensure your oven temperature is accurate and consider chilling the shaped pastries briefly before baking to ensure the chocolate is firm when it hits the heat.
Technique 3: Using Cocoa Powder for a Subtly Chocolate Flaky Pastry
Incorporating cocoa powder directly into the pastry dough is another way to infuse chocolate flavor, resulting in a more uniformly chocolatey pastry rather than one with distinct pockets of melted chocolate. This method doesn't rely on solid chocolate melting but rather on the cocoa powder integrating with the flour and fat matrix. While it won't give you gooey chocolate centers, it provides a consistent chocolate note throughout the flaky layers. This technique is often used for chocolate croissants, chocolate pie crusts, or chocolate puff pastry.
The primary consideration when adding cocoa powder is its effect on the dough's hydration and texture. Cocoa powder is dry and absorbent, so simply adding it to a standard recipe's dry ingredients without adjustment can result in a dry, stiff dough that is difficult to work with and may not laminate properly. Careful adjustment of liquid is necessary to maintain the dough's pliability and ensure successful lamination or layering, crucial for achieving flaky chocolate pastry.
Choosing the Right Cocoa Powder: Dutch-Processed vs. Natural
As mentioned earlier, the choice between natural and Dutch-processed cocoa powder impacts flavor and color. For pastry dough, either can be used, but Dutch-processed cocoa (alkalized) is often preferred for its darker color, smoother flavor, and less acidic profile, which can be more appealing in a buttery pastry. Natural cocoa is lighter in color and has a sharper, slightly fruity flavor due to its acidity. If the recipe relies on baking soda for leavening (uncommon in classic flaky pastry but possible in variations), natural cocoa is necessary to react with the soda.
For laminated doughs where leavening comes solely from steam, the choice is primarily about flavor and color preference. Dutch-processed cocoa creates a rich, deep brown hue that is visually striking. Natural cocoa yields a lighter reddish-brown color. When choosing, consider the overall flavor profile you want – a slightly tangy chocolate or a smooth, mellow one. High-quality cocoa powder, regardless of type, will provide a more intense chocolate flavor.
Incorporating Cocoa Powder: Maintaining Dough Hydration
Adding cocoa powder to pastry dough requires adjusting the liquid content because cocoa is highly absorbent. A general rule of thumb is that for every 1/4 cup of cocoa powder added, you may need to increase the liquid (usually water or milk) by about 1-2 tablespoons. The exact amount will vary depending on the specific cocoa powder and flour used. It's best to add the cocoa powder to the dry ingredients (flour, salt) and whisk well to distribute it evenly before adding the wet ingredients and fat.
When combining wet and dry ingredients, add the liquid gradually until the dough comes together but is not sticky or overly wet. The dough should be firm enough to handle and roll out without excessive sticking, especially if you plan to laminate it.
A dough that is too dry will crack when rolled, while a dough that is too wet will be difficult to handle and the layers may not separate cleanly. Pay close attention to the dough's consistency and make small adjustments to the liquid as needed to ensure it is smooth and pliable, ready for creating flaky chocolate pastry.
Flavor Enhancements: Complementary Spices and Extracts
Cocoa powder provides a base chocolate flavor, but it can be enhanced and complemented by other ingredients. A pinch of salt is essential in any chocolate recipe as it helps to balance the sweetness and amplify the chocolate notes. Vanilla extract is another classic pairing that adds depth and aroma. Just a teaspoon or two can significantly boost the overall flavor profile of the chocolate pastry.
Consider adding warm spices that pair well with chocolate, such as cinnamon, nutmeg, or a tiny pinch of cayenne pepper for a subtle kick. These spices can be added to the dry ingredients along with the cocoa powder. For example, a touch of cinnamon in a chocolate croissant dough adds an extra layer of warmth. Espresso powder is also an excellent addition; it doesn't necessarily make the pastry taste like coffee but intensifies the chocolate flavor. These small additions can elevate your flaky chocolate pastry techniques.
Troubleshooting Common Flaky Chocolate Pastry Problems
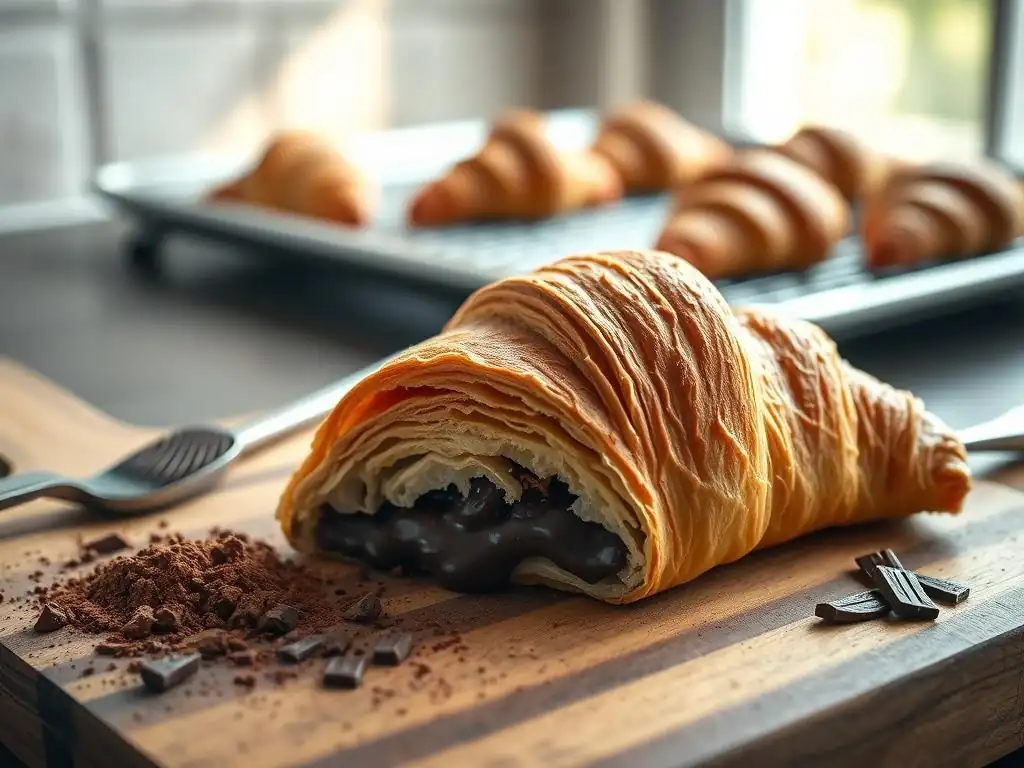
Making flaky chocolate pastry can sometimes present challenges. Despite following the steps, you might encounter issues like sticky dough, chocolate melting prematurely, or uneven flakiness. Understanding the root causes of these problems is key to fixing them and achieving perfect results. Most issues relate back to temperature control, ingredient ratios, or handling techniques.
Addressing these common pitfalls requires careful observation and adjustment. Don't be discouraged if your first attempt isn't perfect. Baking is a science, but it also requires practice to develop a feel for the dough and understand how it responds to different conditions. By identifying the problem and applying the correct solution, you can improve your flaky chocolate pastry techniques.
Dough Too Sticky: Addressing Hydration Issues
Sticky dough is a common problem, often indicating that the hydration level is too high – there's too much liquid relative to the flour and other dry ingredients, like cocoa powder if used. A sticky dough is difficult to roll out, can cause the fat layers to break or smudge, and may result in a dense rather than flaky pastry. This can happen if liquid measurements were inaccurate or if the flour used absorbed less liquid than expected.
To address overly sticky dough, you can carefully knead in a small amount of additional flour, a tablespoon at a time, until the dough is no longer excessively sticky but is still pliable. Be cautious not to add too much flour, as this will result in a dry, tough dough. Alternatively, chilling the dough thoroughly can sometimes help make it less sticky and easier to handle, as cold dough is firmer. Ensure you are using the correct type of flour (e.g., all-purpose or bread flour as specified by the recipe) as different flours absorb liquid differently.
Chocolate Melting During Baking: Temperature Control Strategies
If the chocolate inclusions in your pastry melt too quickly during baking, running out and potentially burning on the baking sheet, it's likely an issue with temperature. This could be the oven temperature being too high, or the pastries not being sufficiently chilled before baking. Starting with well-chilled pastries is crucial, especially for laminated doughs. The cold dough and chocolate can withstand the oven heat initially, allowing the pastry structure to set before the chocolate fully melts.
Ensure your oven thermostat is accurate; consider using an oven thermometer to check. Baking at the specified temperature, or sometimes slightly lower if the chocolate is melting too fast, is important. For pastries with large chocolate inclusions, a slightly lower temperature for a slightly longer time can allow the pastry to cook through and the chocolate to melt gently without scorching. If you notice chocolate oozing early, you can try reducing the oven temperature slightly or covering the pastries loosely with foil.
Uneven Flakiness: Folding and Lamination Refinement
Uneven flakiness, where some parts of the pastry are beautifully layered while others are dense or thick, points to inconsistencies in the folding and lamination process. This can be caused by uneven rolling, where the dough is thicker in some spots than others, resulting in fewer layers in the thinner areas. It can also result from inconsistent folding, where the layers aren't aligned squarely, leading to varying numbers of layers across the pastry.
To refine folding and lamination, focus on rolling the dough to a consistent thickness across the entire rectangle before folding. Use a ruler or measuring tape if necessary, especially when starting out. When folding, ensure the edges are aligned as neatly as possible to create even layers.
Avoid stretching or tearing the dough during rolling and folding, as this can break the layers. Consistent chilling between turns is also vital; dough that is too warm will resist rolling evenly and the layers will smear. Practice and attention to detail in these steps are key to achieving uniform flaky chocolate pastry.
Advanced Flaky Chocolate Pastry Techniques
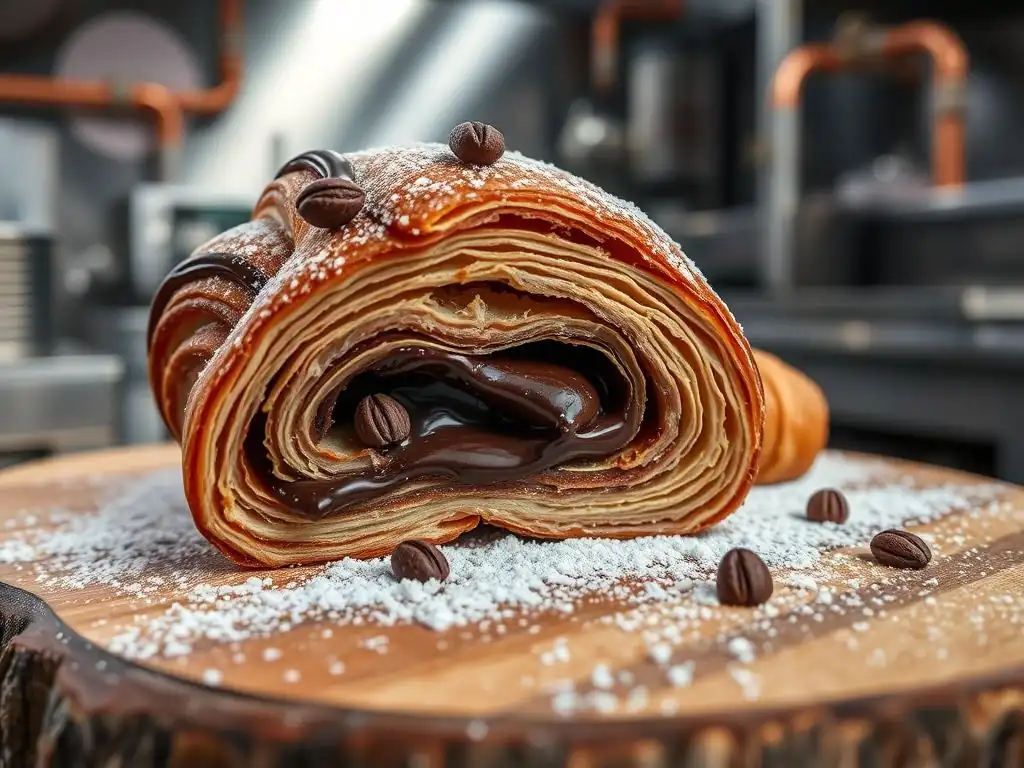
Once you've mastered the basic flaky chocolate pastry techniques, you can explore more advanced methods to enhance flavor, texture, and visual appeal. These techniques often involve incorporating chocolate in different forms or at different stages of the process, adding complexity and richness to your creations. They require a good understanding of dough handling and chocolate behavior.
These advanced methods build upon the foundational principles of creating flaky dough while introducing new ways to integrate chocolate. Experimenting with these techniques can lead to unique and impressive pastries that go beyond the classic chocolate croissant or simple chip-filled scone.
Swirling Chocolate into Dough: Creating a Marble Effect
Swirling chocolate into dough creates a beautiful marble effect, where ribbons of chocolate are visible throughout the baked pastry. This is often done with a soft chocolate paste, ganache, or even melted and slightly cooled chocolate spread thinly over the dough before rolling or folding. For laminated dough, this can be done after the final fold, spreading the chocolate over the rolled-out rectangle before shaping into logs or individual pastries.
To create the swirl, the dough with the chocolate spread is typically rolled up like a log or folded in a specific way, then sliced or shaped. The rolling or slicing reveals the layers of dough and chocolate in a swirling pattern. The key is to use a chocolate consistency that is soft enough to spread but firm enough not to completely blend into the dough during handling. This technique adds visual appeal and ensures chocolate flavor in every part of the pastry.
Adding Chocolate Ganache Layers: Introducing Richness and Moisture
Incorporating layers of chocolate ganache into flaky pastry adds an element of intense richness and a creamy texture that contrasts beautifully with the crisp layers of the dough. This is often done in pastries like pithiviers or layered tarts where a disk of ganache is placed between layers of puff pastry. The ganache is typically made from chocolate and heavy cream, sometimes with a bit of butter for extra richness.
The ganache needs to be firm enough to handle and layer within the dough without squeezing out during assembly or baking. This is achieved by chilling the ganache until it is firm but still pliable. It is then rolled or shaped into thin disks or layers that match the size of the pastry layers. During baking, the ganache melts, creating a luscious filling that permeates the surrounding flaky layers. This technique requires careful temperature control of both the dough and the ganache.
Experimenting with Different Chocolate Percentages: Tailoring the Flavor Profile
The percentage of cocoa solids in the chocolate you use dramatically affects the flavor of your flaky chocolate pastry. Using chocolate with a lower cocoa percentage (e.g., 40-50%) will result in a sweeter, milkier chocolate flavor. Using chocolate with a higher cocoa percentage (e.g., 60-70% or even higher) will yield a more intense, bitter, and complex chocolate taste. Experimenting with these percentages allows you to tailor the flavor profile to your preference.
Consider the other components of the pastry. A very rich, buttery dough might pair well with a slightly more bitter chocolate to balance the sweetness. A less enriched dough might be better complemented by a sweeter chocolate. You can also use a mix of different percentages within the same pastry, for example, using 70% chocolate chunks and a 50% chocolate ganache. Understanding how different chocolate percentages behave when melted and how they contribute to the overall flavor is a key aspect of advanced flaky chocolate pastry techniques.
Tips for Achieving the Perfect Flaky Chocolate Pastry
Achieving truly perfect flaky chocolate pastry consistently comes down to mastering a few fundamental principles. These tips are universally applicable whether you are making laminated dough, incorporating chips, or using cocoa powder. They focus on the core elements that contribute to both flakiness and successful chocolate integration.
Paying close attention to these details can significantly improve your results. Baking is a craft that rewards precision and patience. By focusing on these key areas, you'll be well on your way to creating delicious, beautifully layered flaky chocolate pastries.
Maintaining Cold Temperatures: The Key to Success
This cannot be stressed enough: keeping your ingredients and dough cold is the single most important factor in achieving flaky pastry, especially when working with chocolate. Warm butter or fat will integrate into the flour, destroying the potential for layers. Warm chocolate will smear into the dough, causing similar problems and potentially running out during baking.
Ensure your butter is cold and firm (but not frozen solid) when incorporating it. Keep your workspace cool if possible. Chill the dough thoroughly between every step – after mixing, between folds, and before shaping and baking. If working in a warm kitchen, consider chilling your rolling pin or working on a cold surface like marble. Cold dough is easier to handle, the fat stays solid, and the layers remain distinct, setting you up for successful flaky chocolate pastry.
Using High-Quality Ingredients: Elevating the Flavor and Texture
The quality of your ingredients directly impacts the flavor and texture of your final pastry. Using high-quality butter with good flavor and fat content will yield richer, more tender layers. Similarly, using high-quality chocolate, whether it's for chips, chunks, or cocoa powder, will result in a superior chocolate flavor. Cheap chocolate may contain more stabilizers or less cocoa butter, which can affect its melting properties and overall taste.
Investing in good flour, ideally one with a protein content suitable for pastry (often lower than bread flour), can also make a difference in dough handling and texture. While you can make decent pastry with standard ingredients, using premium butter and chocolate will elevate your flaky chocolate pastry techniques and the resulting baked goods to a new level, providing a more satisfying and delicious experience.
Perfecting Your Baking Time: Achieving a Golden-Brown Crust
The baking time and temperature are crucial for ensuring the pastry is cooked through, the layers are set, and the chocolate is perfectly melted, all while achieving that desirable golden-brown crust. Underbaking can result in a doughy, raw interior, while overbaking can lead to dry pastry and potentially burnt chocolate.
Pay attention to visual cues. The pastry should be significantly puffed up (if laminated) and evenly golden brown across the surface and sides. If using chocolate inclusions, you might see some melted chocolate peeking out, but it shouldn't be aggressively bubbling or burning. Use the baking time in a recipe as a guideline, but trust your senses. Different ovens can vary, so it's often best to start checking a few minutes before the suggested time. A perfectly baked flaky chocolate pastry will be crisp on the outside, beautifully layered, and have luscious melted chocolate inside.
Frequently Asked Questions
What is the key to achieving a flaky texture in chocolate pastries?
The key is to keep the butter (or fat) cold and create distinct layers. This is often achieved through lamination techniques.
How does working chocolate into pastry dough affect its texture?
Chocolate can inhibit gluten development, which can make the dough more tender but also more fragile. Careful handling is crucial.
What are some common flaky chocolate pastry techniques?
Common techniques include the French method (detrempe), the reverse puff pastry method, and variations using a food processor for quick results.
Can I use different types of chocolate for these flaky pastry recipes?
Yes, but consider the cocoa content and sugar level. Adjust the recipe accordingly to maintain the desired flavor and texture balance.
What are some tips for preventing chocolate from melting during baking flaky pastries?
Chill the pastries thoroughly before baking. Also, consider using chocolate chips or chunks instead of finely chopped chocolate, as they melt slower.
Final Reflection: The Enduring Allure of Flaky Chocolate Pastry
The pursuit of the perfect flaky chocolate pastry remains a timeless culinary quest, and mastering its techniques offers a rewarding journey for both novice and experienced bakers. The delicate dance between butter, flour, and chocolate, when executed with precision, results in a textural symphony that elevates a simple treat to an unforgettable experience. This isn't just about creating a delicious dessert; it's about understanding the fundamental principles of pastry making and applying them to achieve truly exceptional results.
The impact of mastering flaky pastry techniques extends far beyond the individual baker. It's a skill that connects us to a rich culinary heritage, passed down through generations of bakers who perfected the art of creating layers of buttery goodness. The satisfying crunch, the melt-in-your-mouth texture, the harmonious blend of sweet and rich – these are sensory experiences that transcend mere sustenance. They evoke memories, create connections, and offer a moment of pure indulgence. The best things in life are simple, but not easy.
This sentiment perfectly encapsulates the challenge and ultimate reward of mastering flaky chocolate pastry.
Now, consider your own baking journey. What techniques resonated most with you? What challenges did you overcome? More importantly, what will you bake next? Don't be afraid to experiment, to push your boundaries, and to strive for that perfect flake. The journey of mastering flaky chocolate pastry is a continuous one, filled with learning, growth, and the undeniable satisfaction of creating something truly beautiful and delicious. Embrace the process, savor the results, and share your creations with those you love. The world awaits your perfectly flaky masterpiece.
Unlock Your Inner Pastry Chef: Flaky Chocolate Dreams Await!
Thanks for exploring the art of incorporating chocolate into flawlessly flaky pastries! You've gained valuable insights into achieving that perfect texture – now it's time to put your newfound knowledge into action.
- Bake your masterpiece! Choose your favorite recipe (or try a new one inspired by what you've learned!) and create your own delicious, chocolate-filled pastry. Don't forget to share a photo on social media using #BakeWithEaseChocolate!
- Experiment with fillings: Go beyond the classic! Try incorporating different types of chocolate, fruits, or nuts into your fillings for unique flavor combinations. Document your creations in a pastry journal to track your successes (and learn from any mishaps!).
- Engage with our community! Share your pastry creations and tips in the comments below. Let's learn from each other and celebrate the joy of baking together!
Ready to create your own chocolate pastry perfection? What unique chocolate and pastry combination will you explore first?