
Your First Enriched Dough Project: Brioche Rolls Made Simple

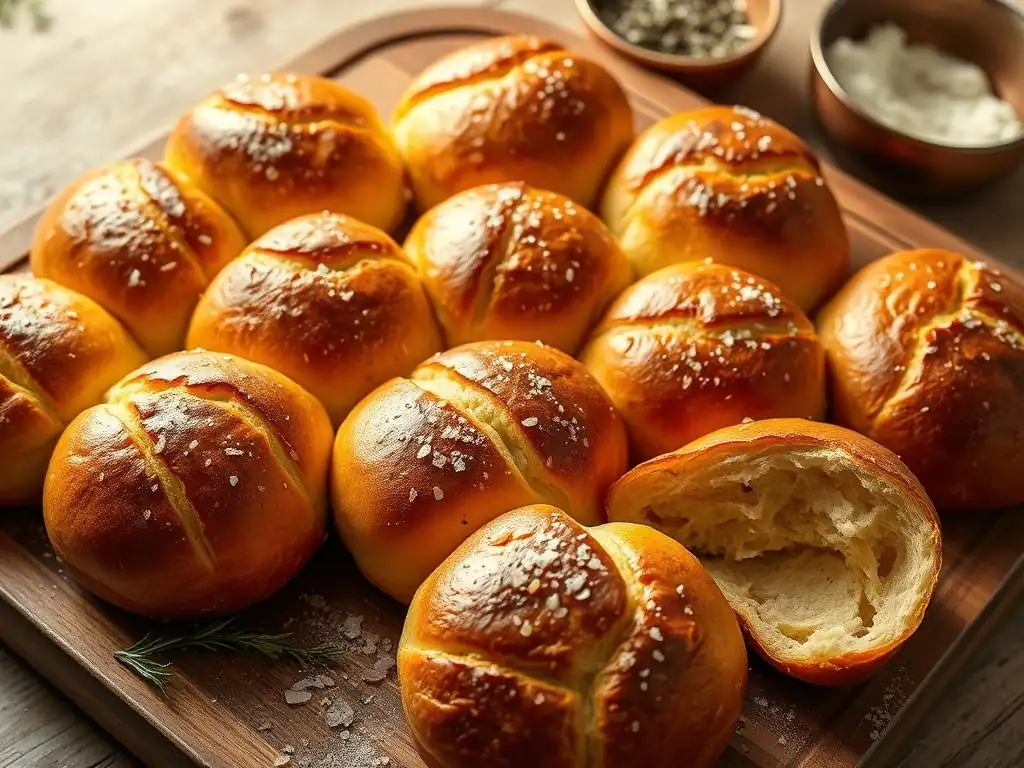
Welcome to BakeWithEase, your companion in the delightful world of baking! Ever dreamed of golden-brown, buttery brioche but felt intimidated? Think again. Today, we're demystifying the process with our easy brioche rolls recipe, perfect even if you're new to enriched doughs. Get ready to unlock a world of flavor and texture – let's get baking!
- Bake Easy Brioche Rolls: A Beginner's Guide
- Why Brioche Rolls Are the Perfect Enriched Dough Starting Point
-
Easy Brioche Rolls Recipe: Step-by-Step Instructions
- Ingredients for Delicious Homemade Brioche Rolls
- Brioche Dough Preparation: A Simple Mixing Method
- First Proofing: Allowing the Dough to Rise
- Shaping Your Brioche Rolls: Achieving Perfect Form
- Second Proofing: The Final Rise Before Baking
- Baking Your Brioche Rolls: Achieving Golden Perfection
- Cooling and Serving: Enjoying Your Homemade Brioche
- Tips and Tricks for Perfect Brioche Rolls Every Time
- Storing and Reheating Your Easy Brioche Rolls
- Embrace the Art of Enriched Dough: Your Brioche Journey Begins
-
Frequently Asked Questions
- What makes this brioche rolls recipe "easy" compared to other recipes?
- What are the key ingredients needed for this easy brioche rolls recipe?
- How long does it take to make these brioche rolls from start to finish?
- Can I substitute any ingredients in this brioche rolls recipe?
- What are some tips for achieving a light and fluffy texture in these brioche rolls?
- Final Reflection: The Unexpected Joys of Simple Brioche
- Unleash Your Inner Baker: Master the Art of Brioche!
Bake Easy Brioche Rolls: A Beginner's Guide
Embarking on your first enriched dough project can feel intimidating, but it doesn't have to be. We're here to guide you through creating delicious, tender, and buttery brioche rolls. This classic French bread, known for its rich texture thanks to generous amounts of butter and eggs, is surprisingly accessible for home bakers ready to step up from basic lean doughs. Learning to make an easy brioche rolls recipe is a rewarding experience that opens the door to a world of enriched baking.
This guide will break down the process into simple steps, from understanding what makes brioche unique to troubleshooting common issues. By the end, you'll have a batch of warm, golden-brown brioche rolls and the confidence to explore other enriched doughs. Get ready to fill your kitchen with the irresistible aroma of freshly baked bread!
Why Brioche Rolls Are the Perfect Enriched Dough Starting Point
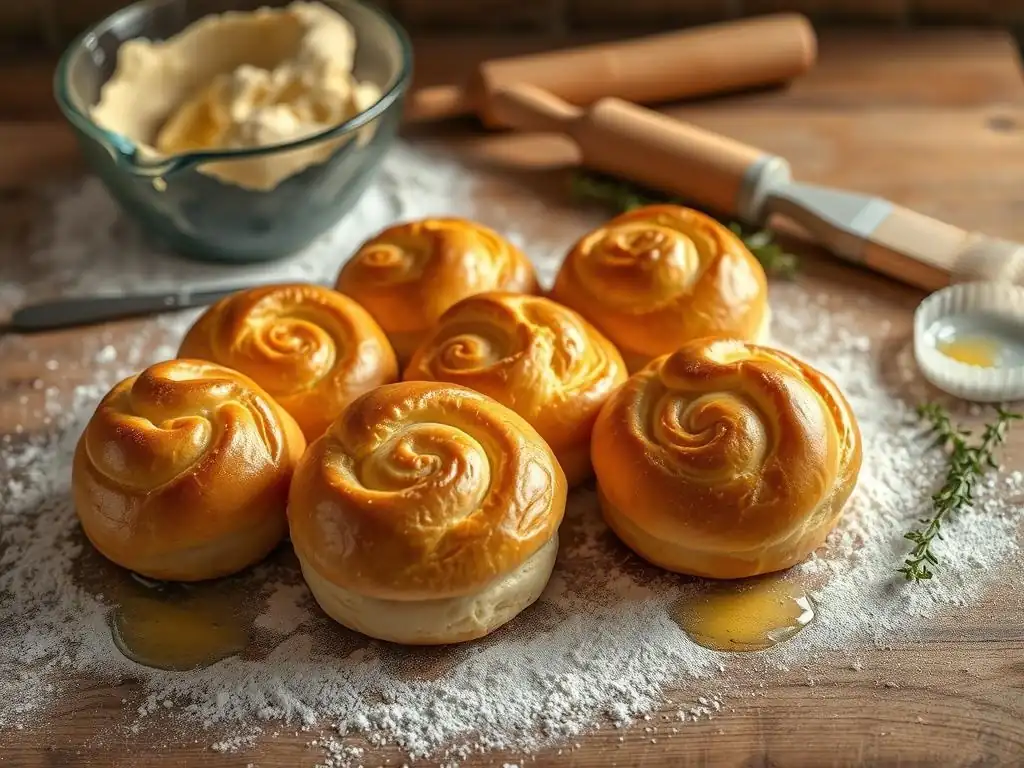
Brioche offers a fantastic entry point into the world of enriched doughs for several compelling reasons. Unlike more complex pastries like croissants or puff pastry, which require extensive folding and chilling, brioche dough primarily relies on thorough kneading and proper proofing. The generous fat content from butter and eggs makes the dough more forgiving during handling compared to lean doughs (like those used for baguettes), which can become tough if overworked after the initial gluten development.
Furthermore, the versatile nature of brioche dough lends itself perfectly to simple shapes like rolls. Shaping individual rolls is far less intricate than forming loaves or braided breads, allowing beginners to focus on mastering the dough itself. The satisfaction of pulling a tray of perfectly golden, uniform brioche rolls from the oven is an incredibly motivating experience that encourages further exploration in baking.
Understanding Enriched Dough: What Makes Brioche Special?
Enriched doughs are defined by the addition of ingredients like eggs, butter, milk, and sugar, which enrich the dough beyond the basic flour, water, yeast, and salt found in lean doughs. These additions significantly alter the dough's structure, flavor, and texture. Brioche, in particular, is characterized by its high proportion of fat, often containing butter that can range from 50% to even 75% of the flour's weight, alongside a substantial number of eggs and sometimes milk or cream.
This high enrichment results in a dough that is incredibly soft, tender, and rich after baking. The fats interfere with gluten development to some extent, yielding a fine, cake-like crumb rather than the chewy, open structure of lean bread. The sugar contributes to browning and sweetness, while the eggs add richness, color, and help create a softer texture. A typical brioche dough might use around 6-8 eggs and 1 cup (2 sticks or 227g) of butter for every 4 cups (approximately 500g) of flour, a ratio that clearly distinguishes it from simpler bread doughs.
Simplicity and Satisfaction: The Ease of Making Brioche Rolls
Making an easy brioche rolls recipe is more straightforward than many people assume. While the dough is sticky initially due to the high fat content, especially if using a stand mixer, the process is largely about patience during kneading and proofing. Unlike laminated doughs which demand precise temperature control and multiple rolling and folding steps over hours or even days, brioche dough requires just mixing, kneading until smooth and elastic, and allowing it to rise.
The satisfaction comes from seeing the dough transform from a shaggy mass into a smooth, supple ball, and then watching it double in size during the first proof. Shaping simple rolls is a quick, repetitive task that builds confidence. Finally, the aroma that fills your kitchen as the brioche bakes, followed by the sight of your perfectly baked, golden rolls, provides an immense sense of accomplishment. It's a project where the effort feels minimal compared to the delicious, impressive outcome, making it ideal for your first enriched dough adventure.
Easy Brioche Rolls Recipe: Step-by-Step Instructions
Let's dive into making your own batch of easy brioche rolls. This step-by-step guide is designed to be followed easily, ensuring a successful bake even if you're new to enriched doughs.
Ingredients for Delicious Homemade Brioche Rolls
Gathering the right ingredients is the first step to a successful bake. For a standard batch yielding about 10-12 rolls, you'll typically need:
- Approximately 3 ½ to 4 cups (440-500g) high-quality all-purpose or bread flour
- ¼ cup (50g) granulated sugar
- 1 teaspoon salt
- 2 ¼ teaspoons (one standard packet, about 7g) active dry or instant yeast
- ½ cup (120ml) warm milk (around 105-115°F or 40-46°C for active dry yeast)
- 4 large eggs, at room temperature
- ½ cup (1 stick or 113g) unsalted butter, softened and cut into pieces
- 1 large egg, beaten (for egg wash)
High-Quality Flour: The Foundation of Your Brioche
The type of flour you choose impacts the texture of your brioche. While bread flour, with its higher protein content (typically 12-14%), provides more structure and chewiness, all-purpose flour (around 10-12% protein) works perfectly for an easy brioche rolls recipe, yielding a softer, more tender crumb that many home bakers prefer. Using a good quality, unbleached flour is recommended as it generally has better flavor and structure.
Ensure your flour is fresh and stored properly to prevent off-flavors and ensure optimal performance. Measure your flour accurately, preferably by weight using a kitchen scale (1 cup of all-purpose flour is roughly 125g), as volume measurements can vary significantly. Accurate measurement is key to achieving the desired dough consistency.
Yeast Activation: Ensuring a Good Rise
Yeast is the leavening agent that makes your brioche light and airy. If using active dry yeast, you'll need to "bloom" it first: dissolve it in the warm milk (around 105-115°F or 40-46°C) with a pinch of sugar. Let it sit for 5-10 minutes until it becomes foamy. This confirms the yeast is alive and active. If it doesn't foam, your milk might not have been warm enough, too hot, or the yeast is expired; discard and start with fresh yeast.
Instant yeast can usually be mixed directly with the dry ingredients, as it doesn't require prior activation. However, using warm liquid (milk in this case) still helps kickstart its activity. Always check the expiration date on your yeast packet to ensure it's viable. Using the correct temperature for the liquid is crucial – too cold and the yeast is sluggish, too hot and you kill it.
Incorporating Butter: Achieving Richness and Flavor
Butter is what gives brioche its characteristic richness, tenderness, and golden color. For this easy brioche rolls recipe, using softened, room-temperature unsalted butter is ideal. Softened butter incorporates more easily into the dough during kneading. Ensure your butter is truly softened, not melted or hard from the fridge. It should be pliable but not greasy.
The method of adding butter can vary by recipe, but for a simpler approach, adding softened butter piece by piece after the initial dough has come together allows it to be kneaded in gradually. This helps develop gluten structure before the fat interferes too much, resulting in a stronger dough capable of supporting the rich ingredients. The amount of butter suggested (113g or 1 stick for ~500g flour) represents a moderate enrichment level, perfect for beginners.
Brioche Dough Preparation: A Simple Mixing Method
Preparing the brioche dough is the core of this easy brioche rolls recipe. Using a stand mixer with a dough hook is highly recommended due to the dough's stickiness, but it can also be done by hand with more effort.
Combining Dry Ingredients: Setting the Stage
Start by combining the flour, sugar, and salt in the bowl of your stand mixer (or a large mixing bowl if kneading by hand). If using instant yeast, add it here as well. Whisk these dry ingredients together briefly to ensure they are evenly distributed. This step is straightforward but important for consistent flavor throughout the dough.
Creating a small well in the center of the dry ingredients can be helpful before adding the wet components. This helps control the initial mixing and prevents the wet ingredients from immediately sticking to the bottom of the bowl.
Adding Wet Ingredients: The Importance of Slow Incorporation
Next, add the warm milk (with bloomed active dry yeast, if using), and the room-temperature eggs to the dry ingredients. Mix on low speed (or stir with a wooden spoon) until the ingredients just come together into a shaggy dough. It will look quite wet and sticky at this stage due to the high liquid content from the eggs and milk.
Avoid adding all the liquid at once initially if kneading by hand; add about half, mix, then add the rest. This allows the flour to start absorbing the liquid gradually. If using a stand mixer, scraping down the sides of the bowl multiple times during the initial mixing helps ensure all the dry ingredients are incorporated.
The Key to Kneading: Developing Gluten for Softness
Kneading is crucial for developing the gluten network, which gives the brioche its structure and soft, airy texture. In a stand mixer, increase the speed to medium-low and knead for about 5-7 minutes until the dough starts to pull away from the sides of the bowl. At this point, start adding the softened butter pieces one at a time, allowing each piece to be incorporated before adding the next.
Continue kneading for another 10-15 minutes after all the butter is added. The dough will be very soft, smooth, and elastic. To check for sufficient gluten development, perform the "windowpane test": carefully stretch a small piece of dough between your fingers. If you can stretch it thin enough to see light through it without tearing, the gluten is well-developed. If it tears easily, continue kneading for a few more minutes. Hand kneading this dough is demanding and can take 20-30 minutes or longer; scrape the dough off your hands and the counter frequently.
First Proofing: Allowing the Dough to Rise
The first proof is where the yeast gets to work, producing gas that makes the dough rise. This typically occurs at room temperature or slightly warmer.
Creating the Ideal Environment for Proofing
Place the kneaded dough in a lightly greased bowl, turning it to coat all sides. Cover the bowl tightly with plastic wrap or a clean kitchen towel. For an ideal proofing environment, find a warm, draft-free spot. An oven with the light turned on (but the oven turned off) is a perfect example, maintaining a temperature of around 80-85°F (27-30°C). Avoid placing the dough in a spot that's too hot, as this can cause the yeast to over-activate and produce less flavorful results.
If your kitchen is cool, placing the bowl in a microwave (turned off) or in a warm, sunny spot can help. The goal is a consistent, moderately warm temperature.
Understanding the Double-in-Size Rule
Proof the dough until it has roughly doubled in size. This usually takes about 1 to 2 hours, depending on the temperature of your proofing environment and the activity of your yeast. The dough should look significantly larger and feel puffy. To test if it's ready, gently poke it with a floured finger; if the indentation springs back slowly, it's ready. If it springs back immediately, it needs more time. If it doesn't spring back at all, it might be over-proofed.
Once the dough has doubled, gently punch it down to release the gas. Many brioche recipes also recommend a cold proof in the refrigerator at this stage (for several hours or overnight). This cold proof develops deeper flavor and makes the dough much easier to handle and shape due to the chilled butter. For an easy brioche rolls recipe, a brief chilling period of 30-60 minutes in the fridge after punching down is sufficient to make shaping easier, though an overnight rest yields better flavor.
Shaping Your Brioche Rolls: Achieving Perfect Form
Shaping the dough into uniform rolls is the next step. Precision here helps ensure even baking.
Dividing the Dough: Evenly Sized Rolls
Turn the chilled (or punched-down) dough out onto a lightly floured surface. For evenly sized rolls, which bake more uniformly, it's best to weigh the dough and divide it into equal portions. For standard dinner rolls, portions weighing between 60 and 80 grams (about 2 to 3 ounces) are typical. This will yield about 10-12 rolls from the recipe provided.
Use a bench scraper or knife to divide the dough. Avoid tearing it, as this can damage the gluten structure. Weigh each piece to ensure consistency.
Shaping Techniques: Classic Round Rolls vs. Knots
The simplest shape for an easy brioche rolls recipe is a classic round roll. Take each portion of dough and gently cup your hand over it on a lightly floured or un-floured surface. Using a circular motion, roll the dough against the surface, applying gentle downward pressure with your palm. This action creates tension on the surface of the dough ball, resulting in a smooth, tight sphere.
Alternatively, you could shape simple knots. Roll a dough portion into a rope about 6-8 inches long. Tie a loose overhand knot. This adds a touch of visual interest while still being relatively easy. Practice a few times, and you'll quickly get the hang of it.
Arranging the Rolls: Optimizing Baking Space
Place the shaped rolls on a baking sheet lined with parchment paper. If you want soft-sided rolls that touch each other as they rise and bake, place them relatively close together, about 1 to 1.5 inches apart. If you prefer individual, crustier rolls, space them further apart, about 2-3 inches apart. Ensure they are evenly spaced on the tray to allow for proper heat circulation in the oven.
For a standard half-sheet pan (approx. 13x18 inches), you can typically fit 10-12 rolls spaced for soft sides. Using two smaller baking sheets is also an option if needed.
Second Proofing: The Final Rise Before Baking
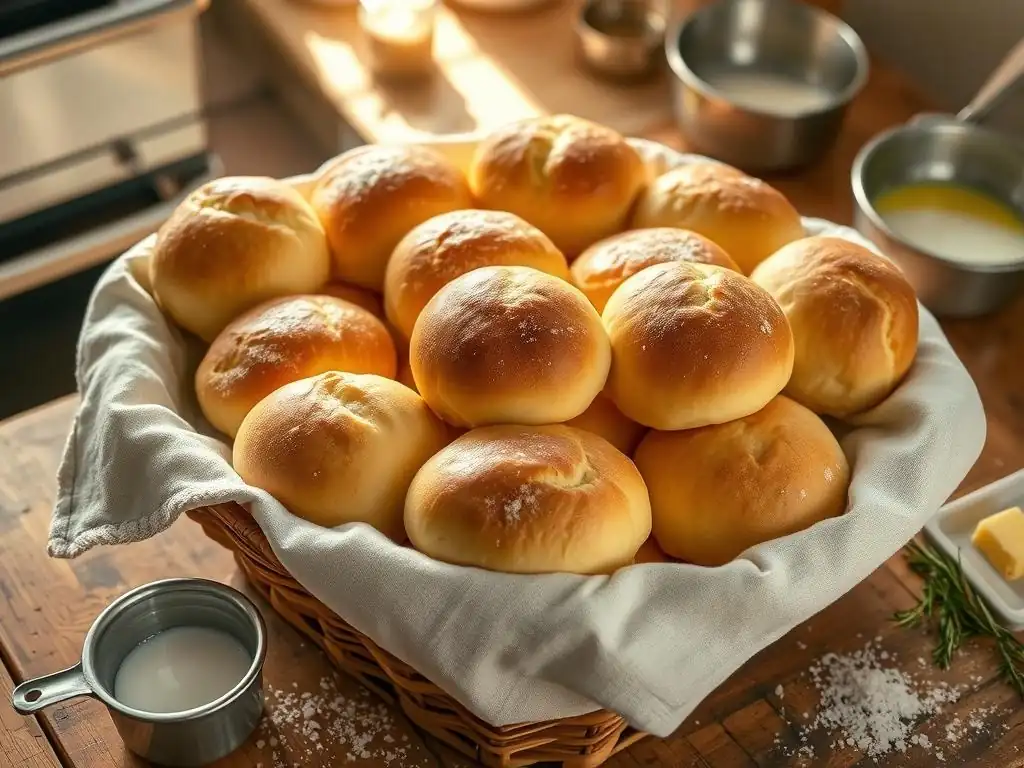
The second proof, also known as the final proof or proofing, is the last rise before the rolls go into the oven. This develops more flavor and gives the rolls their final volume and airy texture.
Monitoring Dough Expansion: Avoiding Over-Proofing
Cover the shaped rolls loosely with plastic wrap or a light kitchen towel and let them rise in a warm, draft-free place. This second proof is usually shorter than the first, typically taking 30 to 60 minutes. The rolls are ready for baking when they look visibly puffy and have increased significantly in size (though they may not quite double).
To check if they are ready, gently poke the side of a roll with a floured finger. If the indentation slowly springs back about halfway, they are perfectly proofed. If the indentation springs back immediately, they need more time. If the indentation remains completely, they are over-proofed, which can result in a collapse in the oven or a dense texture.
Baking Your Brioche Rolls: Achieving Golden Perfection
Baking is the culmination of your efforts, turning the proofed dough into beautiful, edible rolls.
Oven Temperature and Time: The Perfect Balance
Preheat your oven to 375°F (190°C) with a rack positioned in the center. Baking at this temperature allows the brioche to cook through and develop a lovely golden-brown crust without burning the rich ingredients. The baking time for brioche rolls is relatively short, typically 15 to 20 minutes.
Keep an eye on the rolls as they bake, as oven temperatures can vary. They should be golden brown on top and sound hollow when tapped on the bottom (though tapping a hot roll is tricky! ).
Egg Wash: Achieving a Shiny Crust
Before placing the rolls in the oven, apply an egg wash for a beautiful, shiny, golden crust. Whisk one large egg with a tablespoon of water or milk until well combined. Gently brush the tops and sides of the proofed rolls with this mixture using a pastry brush. Be careful not to deflate the rolls while brushing.
The egg wash not only gives a glossy finish but also enhances the browning, contributing to the appealing appearance of your easy brioche rolls recipe.
Monitoring Doneness: The Toothpick Test
To be certain your brioche rolls are fully baked, you can check their internal temperature using an instant-read thermometer. The center of the roll should register between 190°F and 200°F (88°C and 93°C). This is the most reliable way to ensure they are cooked through without being dry.
Alternatively, you can rely on visual cues: the deep golden-brown color and the hollow sound when tapped. If you are unsure, using a thermometer is the safest bet, especially for your first batch.
Cooling and Serving: Enjoying Your Homemade Brioche
The final steps involve cooling and, of course, enjoying your delicious creation!
Proper Cooling Techniques: Maintaining Softness
Once baked, immediately transfer the brioche rolls from the hot baking sheet to a wire cooling rack. Allowing them to cool on the wire rack is essential because it allows air to circulate around the rolls, preventing the bottoms from becoming soggy from trapped steam.
Let the rolls cool for at least 15-20 minutes before serving. While the aroma is tempting, cutting into hot bread can result in a gummy texture. Cooling allows the internal structure to set properly.
Serving Suggestions: Complementing Your Brioche Rolls
Your warm, homemade brioche rolls are incredibly versatile. They are wonderful served simply with just a smear of softened butter. They also pair beautifully with jam, honey, or clotted cream for a luxurious breakfast or brunch.
Consider using them as slider buns for mini sandwiches or alongside soup or salad for dinner. Their rich flavor and tender texture make them a perfect accompaniment to both sweet and savory dishes.
Tips and Tricks for Perfect Brioche Rolls Every Time
Even with an easy brioche rolls recipe, baking can sometimes present challenges. Here are some tips to help you achieve perfect results consistently.
Troubleshooting Common Brioche Baking Issues
Encountering issues is part of the learning process in baking. Here's how to address some common problems with brioche.
Dough Not Rising: Yeast Problems and Solutions
If your brioche dough isn't rising, the most likely culprit is inactive yeast. Ensure your yeast isn't expired. If using active dry yeast, confirm your liquid temperature was in the correct range (105-115°F or 40-46°C) for activation. Water that is too hot will kill the yeast, while water that is too cold won't activate it properly.
Another factor could be a cold proofing environment. Ensure your proofing spot is warm and draft-free, ideally around 80-85°F (27-30°C). Patience is also key; sometimes, especially in cooler conditions, dough simply needs more time to rise.
Dry Brioche Rolls: Addressing Moisture Issues
Dry brioche rolls can result from too much flour, insufficient kneading, or overbaking. Weighing your flour instead of using volume measurements helps prevent adding too much. Ensure you knead the dough fully to develop the gluten, which helps the dough retain moisture.
Be mindful of baking time; start checking for doneness at the lower end of the suggested time range (around 15 minutes for rolls) and use visual cues or an internal thermometer. Slightly underbaked brioche is preferable to dry, overbaked brioche.
Uneven Baking: Optimizing Oven Temperature
If your rolls are browning unevenly, your oven likely has hot spots. Most ovens have slight temperature variations. To mitigate this, rotate your baking sheet halfway through the baking time (e.g., after 8-10 minutes).
Using an oven thermometer placed inside your oven can also help you verify that your oven is reaching and maintaining the correct temperature (375°F or 190°C). If it's significantly off, you may need to adjust your oven's thermostat or cooking time accordingly.
Advanced Brioche Techniques: Taking Your Baking to the Next Level
Once you've mastered this easy brioche rolls recipe, you might want to experiment further.
Flavor Variations: Adding Citrus Zest or Spices
Brioche dough is a wonderful canvas for flavor. You can add the zest of one orange or lemon to the dry ingredients for a subtle citrus note. Incorporating ground cardamom, cinnamon, or even a pinch of nutmeg can add warmth and complexity, especially for sweet applications.
Consider adding chocolate chips, dried cranberries, or raisins to the dough during the final stages of kneading for sweet rolls. For savory rolls, you could add finely chopped herbs like chives or rosemary, or even some grated cheese. Additions like these are usually mixed in after the main kneading is complete.
Different Brioche Shapes: Experimenting with Braids and Loaves
Beyond simple rolls, brioche dough can be shaped into various forms. Try braiding the dough into a beautiful loaf – typically a three-strand or six-strand braid. This requires dividing the dough into equal portions, rolling them into ropes, and then braiding them together.
Larger loaves require longer baking times, often 30-40 minutes or more, and you'll need to monitor the internal temperature (190-200°F or 88-93°C) to ensure they are fully cooked. Experimenting with different shapes keeps baking interesting and allows you to apply your brioche skills in new ways.
Storing and Reheating Your Easy Brioche Rolls
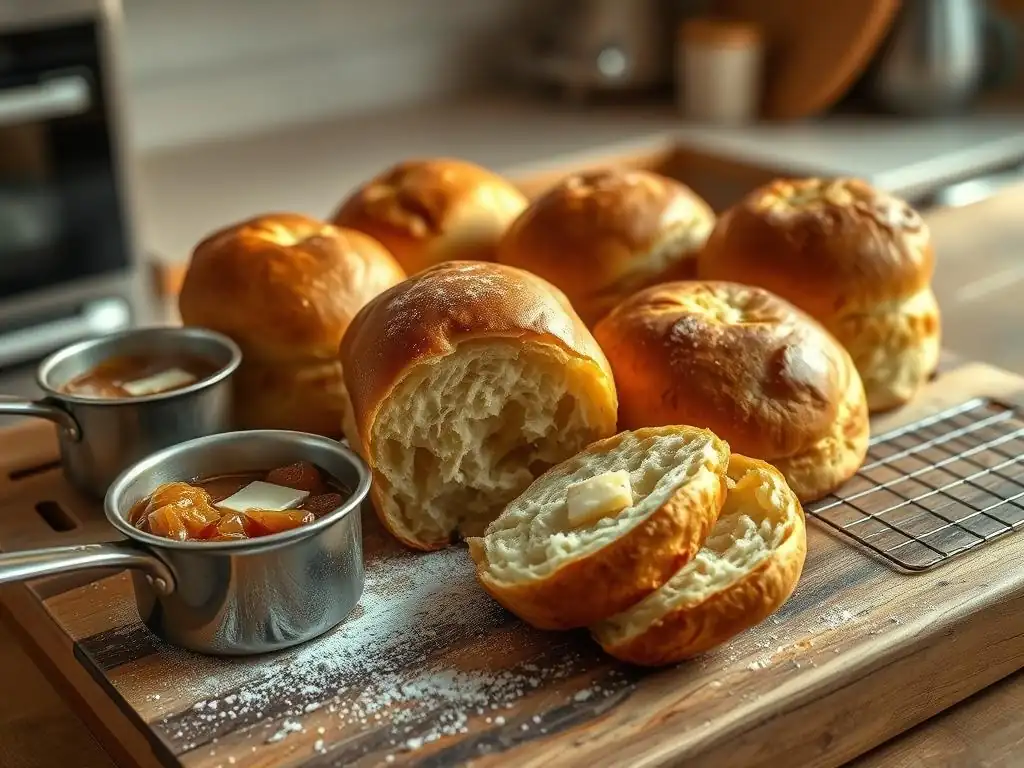
Proper storage helps maintain the freshness and texture of your homemade brioche rolls.
Proper Storage for Freshness
Brioche is best enjoyed the day it's baked, when it's at its peak of softness and flavor. However, leftovers can be stored at room temperature in an airtight container or a resealable plastic bag for 2-3 days. Ensure the rolls have cooled completely before storing to prevent condensation, which can make them soggy.
For longer storage, brioche rolls freeze beautifully. Once completely cool, place them in a freezer-safe bag or container. They can be frozen for up to 3 months. Freezing is a great way to preserve a large batch and enjoy fresh-tasting rolls whenever you like.
Reheating Techniques for Optimal Texture
Reheating frozen or day-old brioche rolls can restore much of their original tenderness. To reheat frozen rolls, thaw them at room temperature first.
For best results, warm the rolls in a preheated oven at 300-325°F (150-160°C) for 5-10 minutes, or until warmed through. This gentle heat warms the butter within the rolls, making them soft again. Alternatively, you can briefly microwave a roll for 15-30 seconds, but be cautious as microwaving can sometimes make bread chewy if done for too long.
Embrace the Art of Enriched Dough: Your Brioche Journey Begins
You've now successfully navigated the world of enriched dough by making easy brioche rolls! This project provides a solid foundation for exploring other rich breads and pastries. The skills you've learned – understanding yeast activity, proper kneading for gluten development, recognizing proofing stages, and managing a high-fat dough – are transferable to countless other recipes.
Don't be afraid to bake this easy brioche rolls recipe again, perhaps trying a different shaping technique or adding a flavor variation. Each bake will build your confidence and intuition. Brioche is just the beginning of your journey into the rewarding art of enriched baking. Enjoy your delicious rolls and the satisfaction of creating something wonderful from scratch!
Frequently Asked Questions
What makes this brioche rolls recipe "easy" compared to other recipes?
This recipe focuses on simplified techniques and readily available ingredients. We avoid overly complex steps, making it perfect for those new to enriched doughs.
What are the key ingredients needed for this easy brioche rolls recipe?
The primary ingredients are flour, yeast, sugar, salt, eggs, and a generous amount of butter, which is crucial for the rich, tender texture of brioche.
How long does it take to make these brioche rolls from start to finish?
While the active time is relatively short, the dough needs time to rise. Expect a total time of roughly 3-4 hours, including proofing and baking.
Can I substitute any ingredients in this brioche rolls recipe?
While substitutions can be made, they might affect the outcome. We recommend sticking to the recipe for your first attempt to ensure success.
What are some tips for achieving a light and fluffy texture in these brioche rolls?
Don't overmix the dough, and ensure the butter is properly incorporated. Also, allow the dough to rise fully in a warm environment for optimal results.
Final Reflection: The Unexpected Joys of Simple Brioche
The seemingly simple act of baking brioche rolls unlocks a world of sensory delight and surprising self-discovery. More than just a recipe, mastering this classic technique offers a tangible connection to culinary tradition and a rewarding sense of accomplishment, proving that even seemingly complex recipes can be approachable and enjoyable for home bakers of all levels. In a world increasingly focused on instant gratification, the slow, deliberate process of brioche making offers a valuable counterpoint, a chance to slow down and appreciate the nuances of flavor and texture.
The enduring appeal of brioche lies not just in its buttery richness, but in the shared experience it fosters. From the satisfying knead to the golden-brown crust, each stage of the process offers a moment of mindful engagement. The aroma alone is enough to transport you, evoking memories of cozy kitchens and shared meals. The best things in life are simple,
a sentiment often repeated, rings especially true when considering the profound satisfaction derived from creating something delicious with your own hands. This simple recipe empowers anyone to experience that joy.
Now, I invite you to roll up your sleeves, gather your ingredients, and embark on your own brioche adventure. Don't be intimidated by the seemingly complex steps; embrace the process, savor the moments, and revel in the delicious rewards. The journey of making these rolls is as fulfilling as the final taste, a testament to the power of simple pleasures and the transformative potential of a well-baked loaf. You might surprise yourself with what you discover – not just about baking, but about yourself.
Unleash Your Inner Baker: Master the Art of Brioche!
Thanks for joining us on this delicious journey into the world of brioche! We hope you've gained the confidence to tackle this seemingly complex bread. Now it's time to put your newfound skills to the test.
- Bake your own brioche rolls today! Use the recipe and tips from the article as your guide. Don't be afraid to experiment – baking is all about fun and discovery!
- Share your baking success (or even your struggles!) with our community. Post a picture of your gorgeous brioche rolls on social media and tag us – we'd love to see them!
- Challenge yourself: Try adapting the recipe to create other enriched dough delights, like croissants or pain au chocolat. The possibilities are endless!
Ready to experience the joy of homemade brioche? What unique twist will you add to your next batch?