
The #1 Reason Your Bread Dough Won't Double in Size

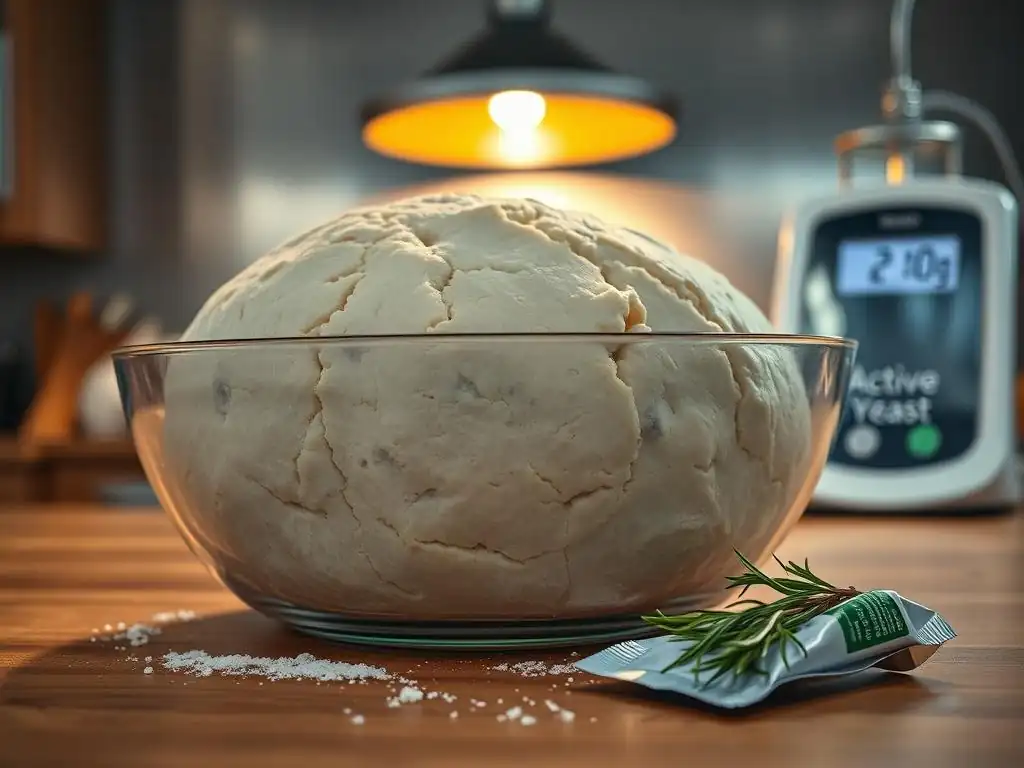
Welcome to BakeWithEase, your partner in creating delicious baked goods! Ever wondered why your bread dough fails to double in size, leaving you with a flat, disappointing loaf? We're diving deep into the secrets behind successful bread baking, starting with the most common culprit. Prepare to unlock the mystery and transform your bread-making game! Read on to discover the #1 reason and learn how to avoid this frustrating pitfall.
- Understanding Why Bread Dough Fails to Rise: A BakeWithEase Guide
- The Primary Culprit: Inactive or Expired Yeast
- Other Potential Reasons for Dough Not Doubling (And How to Avoid Them)
- Troubleshooting: What to Do When Your Dough Isn't Rising
- Preventing Dough Rising Issues: Best Practices for Consistent Results
-
Frequently Asked Questions
- Why isn't my bread dough doubling in size, even after a long time?
- What's the ideal temperature for proofing bread dough to ensure it doubles?
- How can I tell if my yeast is still active before adding it to my dough?
- Besides temperature and yeast, what other factors can inhibit bread dough from doubling?
- Can over-kneading also prevent bread dough from doubling properly?
- Final Reflection: The Humble Rise of a Perfect Loaf
- Unleash Your Inner Baker: Perfect Dough, Every Time!
Understanding Why Bread Dough Fails to Rise: A BakeWithEase Guide
Experiencing a loaf that stays stubbornly flat instead of puffing up beautifully during proofing is one of the most common and frustrating challenges for any bread baker. You follow the recipe precisely, mix your ingredients, knead with care, and then... nothing. This lack of rise, or inadequate doubling in size, is a clear sign that the yeast, the tiny powerhouse responsible for fermentation, isn't doing its job effectively. Understanding the fundamental reasons behind this issue is the first step to achieving consistently successful bread.
At BakeWithEase, we believe that troubleshooting is a vital part of the baking journey. While several factors can influence dough rise, pinpointing the primary cause is crucial for fixing the problem and preventing it in the future. Often, the simplest explanation is the correct one, and when it comes to dough that won't double, the spotlight almost always falls on the yeast itself. Let's dive into why this happens and how to ensure your yeast is ready to perform its magic.
The Primary Culprit: Inactive or Expired Yeast
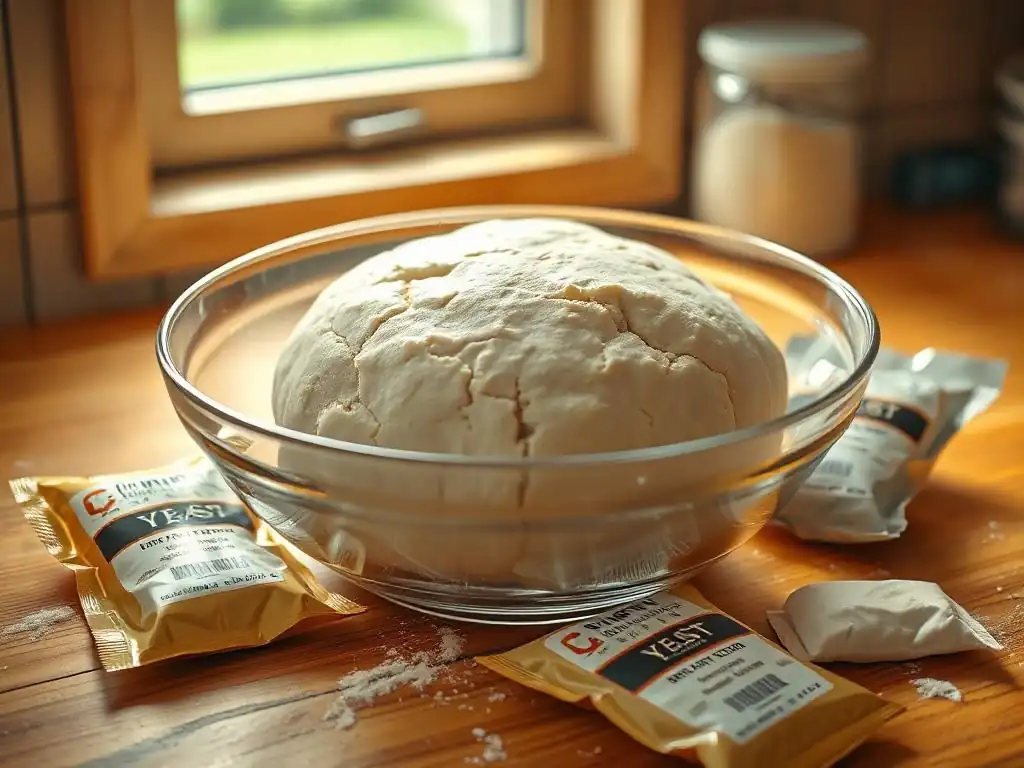
The single most frequent reason why bread dough fails to rise is the state of the yeast you are using. Yeast are living microorganisms that consume sugars in the dough and produce carbon dioxide gas and alcohol as byproducts. This gas is what gets trapped in the gluten network of the dough, causing it to expand and double in size during the proofing process. If your yeast is dead, dormant, or simply past its prime, it cannot perform this essential function, leaving you with a dense, unrisen dough.
Using inactive or expired yeast is like trying to inflate a balloon with a flat tire pump – the mechanism is there, but the power source is missing. Even if all other conditions are perfect – the right temperature, sufficient kneading, proper hydration – the dough will simply not rise without active yeast. This is why checking your yeast's viability before you start mixing your ingredients is a critical step that can save you time, ingredients, and frustration.
Why Yeast Activity is Crucial for Dough Proofing
Yeast activity directly dictates the rate and extent of fermentation in your bread dough. When yeast is active and healthy, it rapidly consumes the available sugars, producing a steady stream of carbon dioxide. This gas creates bubbles within the dough's structure, effectively leavening it and causing it to increase significantly in volume. This doubling in size, often referred to as the first rise or bulk fermentation, is a key indicator that the yeast is working correctly and developing flavor in the dough.
Conversely, if yeast activity is low, fermentation proceeds slowly or not at all. The limited gas production means fewer bubbles, resulting in a dough that barely changes size, if at all. This leads to a dense, heavy finished loaf because the necessary structure and aeration haven't been developed during proofing. Ensuring your yeast is vibrant and active is the foundational step to a successful rise and a light, airy crumb in your baked bread.
Testing Your Yeast's Viability Before Baking
Fortunately, determining if your yeast is still alive and kicking is a simple process that requires minimal time and ingredients. Performing a quick viability test can prevent the disappointment of a failed bake. The method varies slightly depending on whether you are using active dry yeast or instant yeast, but the principle is the same: provide the yeast with a warm, sugary environment and watch for signs of life.
This simple test provides peace of mind and confirms that your yeast is ready to perform its crucial role. If your yeast fails the test, discard it and get a fresh packet. This is a minor inconvenience compared to a completely failed batch of dough, and it's the most effective way to avoid the primary reason why bread dough fails to rise properly.
The Water Temperature Test for Active Dry Yeast
Active dry yeast typically requires "proofing" before being added to the dry ingredients. This process rehydrates the yeast cells and ensures they are alive. To test:
- Measure 1/2 cup of warm water (around 105-115°F or 40-46°C). Water that is too hot will kill the yeast, and water that is too cold won't activate it effectively.
- Stir in a pinch of sugar (about 1 teaspoon). Sugar provides food for the yeast to start their activity.
- Sprinkle 1 packet (about 2 1/4 teaspoons) of active dry yeast over the surface of the water.
- Let the mixture sit for 5-10 minutes.
Within this timeframe, the yeast should dissolve and the mixture should become foamy or bubbly on top. This foam indicates that the yeast is consuming the sugar and producing carbon dioxide – a clear sign of viability. If the mixture remains flat with no noticeable activity, your yeast is likely dead or inactive and should not be used for baking bread that requires a significant rise.
Checking Instant Yeast: A Quick & Easy Method
Instant yeast is designed to be mixed directly with the dry ingredients and does not strictly require proofing beforehand. However, you can still test its viability if you are unsure, though the reaction may be less dramatic than with active dry yeast. To test instant yeast:
- Measure 1/2 cup of warm water (around 105-115°F or 40-46°C).
- Stir in a pinch of sugar (about 1 teaspoon).
- Stir in 1 packet (about 2 1/4 teaspoons) of instant yeast.
- Let the mixture sit for 5-10 minutes.
While instant yeast doesn't need to form a thick foam like active dry yeast, you should still see some activity. Look for bubbles forming on the surface or a slight swelling of the mixture. Even a small amount of bubbling indicates the yeast is alive. If the mixture remains completely still and flat after 10 minutes, the instant yeast is likely inactive. While you can technically add untested instant yeast to your dry ingredients, performing this quick test offers a crucial safeguard against a failed rise.
Other Potential Reasons for Dough Not Doubling (And How to Avoid Them)
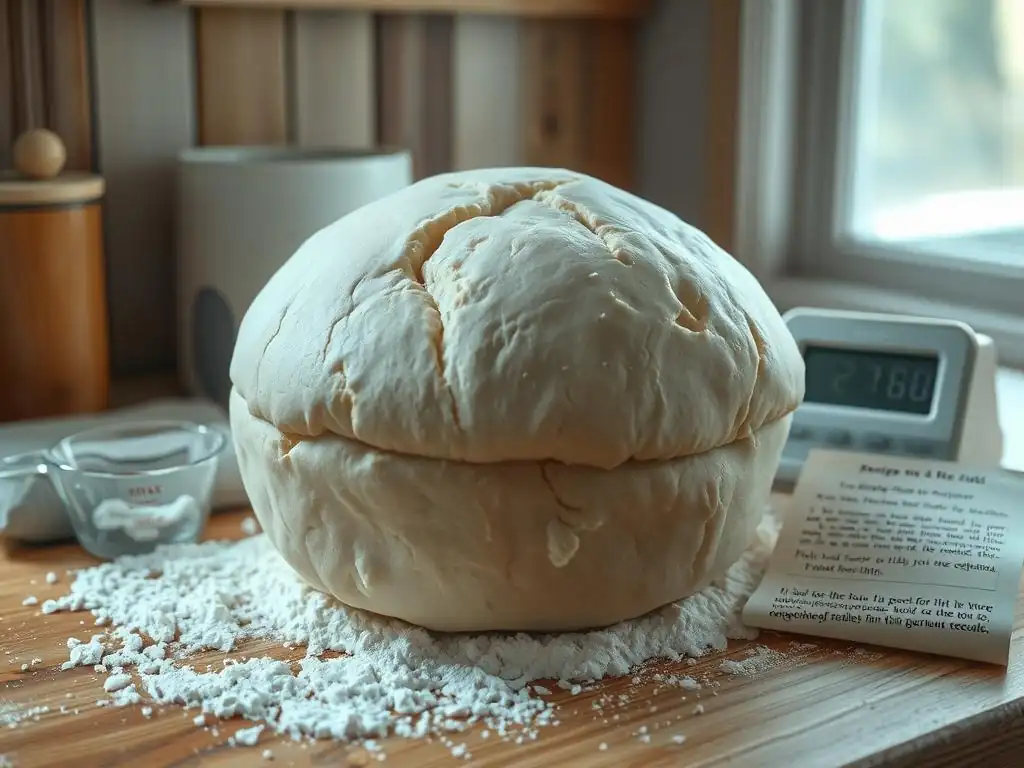
While inactive yeast is the most common culprit, several other factors can contribute to why bread dough fails to rise adequately. These issues often relate to the environment the dough is in, the ingredients used, or the technique applied during mixing and kneading. Addressing these potential problems alongside ensuring yeast viability provides a comprehensive approach to successful bread baking.
Understanding these secondary factors is essential for consistent results. A dough might rise slowly, inadequately, or unevenly if these conditions aren't met, even with active yeast. By controlling these variables, you minimize the chances of experiencing a disappointing, flat loaf and increase your success rate in the kitchen.
Incorrect Dough Temperature: Too Cold or Too Hot?
Temperature plays a critical role in yeast activity. Yeast performs optimally within a specific temperature range. If the dough is too cold, the yeast's metabolic processes slow down dramatically, resulting in very slow or virtually no gas production and thus, no significant rise. Think of it like trying to run a marathon in freezing temperatures – performance is significantly inhibited.
Conversely, if the dough becomes too hot, temperatures exceeding the yeast's tolerance level (typically above 130-140°F or 54-60°C) will begin to kill the yeast cells. Once yeast is killed, it cannot be revived, and the dough will stop rising entirely. Maintaining the correct dough temperature throughout mixing, kneading, and proofing is paramount for healthy yeast activity and a proper rise.
The Ideal Dough Temperature Range for Optimal Fermentation
For most standard bread recipes using active dry or instant yeast, the ideal dough temperature after mixing and kneading is typically between 75°F and 80°F (24°C and 27°C). This range provides a warm, comfortable environment where yeast can actively feed on sugars and produce carbon dioxide at a steady rate. Achieving this temperature promotes consistent and predictable rising times, usually resulting in the dough doubling in volume within 1-2 hours for the first rise, depending on the recipe and yeast amount.
You can check your dough's temperature using an instant-read thermometer inserted into the center of the dough mass. Factors influencing dough temperature include the temperature of your kitchen, the temperature of your ingredients (especially the liquid), and the friction generated during kneading (particularly with stand mixers). Aiming for this target range significantly reduces the likelihood of your dough experiencing temperature-related rising issues.
How to Adjust Dough Temperature for Faster or Slower Rising
If your dough is too cold after mixing, you can gently warm it up during the proofing stage. Placing the dough in a slightly warmer location, such as a turned-off oven with the light on (which typically reaches around 80-90°F or 27-32°C), or near a warm appliance can help. Avoid direct heat sources, which can create hot spots and kill the yeast. You can also warm your mixing bowl slightly before adding ingredients or use slightly warmer water (within the acceptable range) at the start.
If your dough is too warm, it might rise too quickly, potentially leading to less flavor development and a weaker structure. To cool it down, you can place the dough in a slightly cooler spot or even briefly in the refrigerator (though this will significantly slow the rise). Using cooler liquids (within the recipe's hydration requirements) and minimizing kneading time in a stand mixer can help keep dough temperatures down during mixing. Controlling dough temperature is a key skill in understanding why bread dough fails or succeeds.
Insufficient Kneading: Developing Gluten for Structure
While yeast produces the gas that makes dough rise, it's the gluten network developed during kneading that traps this gas, allowing the dough to expand without collapsing. Gluten is a protein structure formed when two proteins in wheat flour, glutenin and gliadin, are combined with water and manipulated through kneading. This manipulation aligns the protein strands, creating an elastic and extensible network.
If the dough is not kneaded enough, the gluten network remains weak and underdeveloped. When the yeast produces carbon dioxide, the flimsy structure cannot hold the gas effectively. The bubbles escape, and the dough either doesn't expand much or collapses during or after proofing. This is another significant reason why bread dough fails to double properly – the scaffolding needed to support the rise isn't strong enough.
Understanding the Role of Gluten in Bread Dough
Gluten acts like tiny elastic balloons within the dough. As yeast ferments and produces CO2, these gluten "balloons" inflate, causing the dough to expand. A well-developed gluten network is strong enough to stretch and hold these gases, giving the bread volume and contributing to a light, open crumb structure. Without adequate gluten development, the dough remains dense and heavy, even if the yeast is highly active.
The process of kneading stretches and folds the dough, aligning the gluten proteins and strengthening these connections. Think of it like weaving a strong fabric; the more the threads are worked together, the stronger the material. Different types of bread require different levels of gluten development – from the relatively gentle kneading for rustic loaves to the vigorous kneading needed for enriched doughs like brioche.
Signs of Under-Kneaded Dough
Recognizing under-kneaded dough is important for troubleshooting why bread dough fails to rise well. Several signs indicate that your dough needs more work:
- Tears easily: When you try to stretch a small piece of dough, it breaks quickly rather than stretching into a thin membrane.
- Feels shaggy or rough: The surface may not be smooth and elastic, often feeling somewhat bumpy or uneven.
- Lacks elasticity: The dough doesn't spring back when gently poked; it might feel dense or slack.
- Doesn't pass the windowpane test: The "windowpane test" is a classic method. Take a small piece of dough and gently stretch it with your fingers. If you can stretch it thin enough to see light through it without it tearing, the gluten is well-developed. If it tears before becoming translucent, it needs more kneading.
If your dough exhibits these signs, continue kneading until it becomes smooth, elastic, and passes the windowpane test. Proper kneading is a fundamental skill that directly impacts your dough's ability to rise and the final texture of your bread.
Using the Wrong Type of Flour for Bread Making
The type of flour you use significantly impacts gluten development and, consequently, how well your dough will rise. Different flours have varying protein contents. Since gluten is formed from proteins, a flour's protein level directly influences the potential strength of the gluten network it can form. Using a flour with insufficient protein can limit the dough's ability to trap gas, even with perfect yeast activity and kneading.
While many types of flour exist, choosing one appropriate for bread making is crucial. Using a low-protein flour intended for cakes or pastries will result in a weak dough structure that cannot support a substantial rise, contributing to why bread dough fails to double effectively. Always check the protein content of your flour, usually listed on the nutritional information.
High-Protein Flour vs. All-Purpose Flour: Making the Right Choice
For most standard bread recipes, a flour with a relatively high protein content is preferred. Bread flour, specifically milled for bread making, typically has a protein content of 12-14%. This higher protein level allows for the formation of a strong, elastic gluten network capable of trapping the large amounts of CO2 produced during fermentation, leading to excellent volume and chewiness.
All-purpose flour, with a protein content usually ranging from 10-12%, can also be used successfully for many bread recipes, especially for softer loaves or those with less demanding structures. However, it may require slightly longer kneading to develop sufficient gluten compared to bread flour. Using flours with very low protein, such as cake flour (around 7-9% protein), is generally unsuitable for traditional yeast bread as they cannot form a strong enough structure to support a good rise, leading to a common reason why bread dough fails.
Flour Storage Tips to Maintain Quality
Proper storage of flour is essential not only for preventing spoilage but also for maintaining the quality of the proteins needed for gluten development. Flour should be stored in a cool, dry, and airtight container away from direct sunlight. Heat and moisture can degrade the proteins over time, reducing the flour's ability to form gluten and potentially contributing to issues with dough rising.
While flour doesn't typically expire in a way that makes it dangerous to eat for a long time if stored correctly, its baking performance can diminish. Oxidization and moisture absorption can weaken the proteins. Ideally, use flour within a few months of opening. Storing it in the freezer can extend its shelf life significantly, preserving its baking properties and ensuring it contributes positively to your dough's rise.
Environmental Factors: Temperature and Humidity Impact
Beyond the dough temperature itself, the ambient temperature and humidity of your kitchen environment during proofing also play a significant role in yeast activity and the rate of rise. Yeast is sensitive to its surroundings; conditions that are too cold or too dry can inhibit fermentation, while conditions that are too hot or too humid can sometimes accelerate it unevenly or lead to issues with dough surface drying.
Controlling these environmental factors helps ensure a consistent and reliable rise. A drafty or cold spot can drastically slow down proofing, potentially leading you to believe your yeast is inactive when the environment is simply too cool. Conversely, a warm, humid environment is often ideal for encouraging yeast activity and achieving a good rise.
Creating a Warm and Draft-Free Environment for Proofing
Yeast thrives in warmth. The ideal ambient temperature for proofing bread dough is typically between 75°F and 85°F (24°C and 30°C). While room temperature (around 70°F or 21°C) is acceptable and will simply result in a slower rise, exposing the dough to cold drafts or placing it on a cold countertop can significantly hinder fermentation.
To create an optimal proofing environment:
- Use a turned-off oven with the light on. The warmth from the bulb is usually sufficient.
- Place the dough in a microwave (turned off) with a cup of hot water beside it.
- Find a warm spot in your kitchen, away from windows or air conditioning vents.
- Use a dedicated proofing box if you have one.
Always cover your dough loosely with plastic wrap or a damp towel to prevent the surface from drying out, which can restrict expansion and contribute to why bread dough fails to achieve its full potential volume.
Controlling Humidity for Consistent Results
Humidity affects the dough's surface. A humid environment helps keep the dough surface moist, allowing it to stretch more easily as it rises. If the environment is too dry, the surface can form a crust, which restricts the dough's ability to expand smoothly and can lead to uneven rising or a dense crust.
If your kitchen is dry, placing a pan of hot water on the bottom rack of your proofing environment (like the turned-off oven) can increase humidity. Covering the dough properly is the simplest and most effective way to manage surface moisture regardless of ambient humidity. Ensure the cover is airtight enough to prevent drying but loose enough not to inhibit the rise.
Troubleshooting: What to Do When Your Dough Isn't Rising
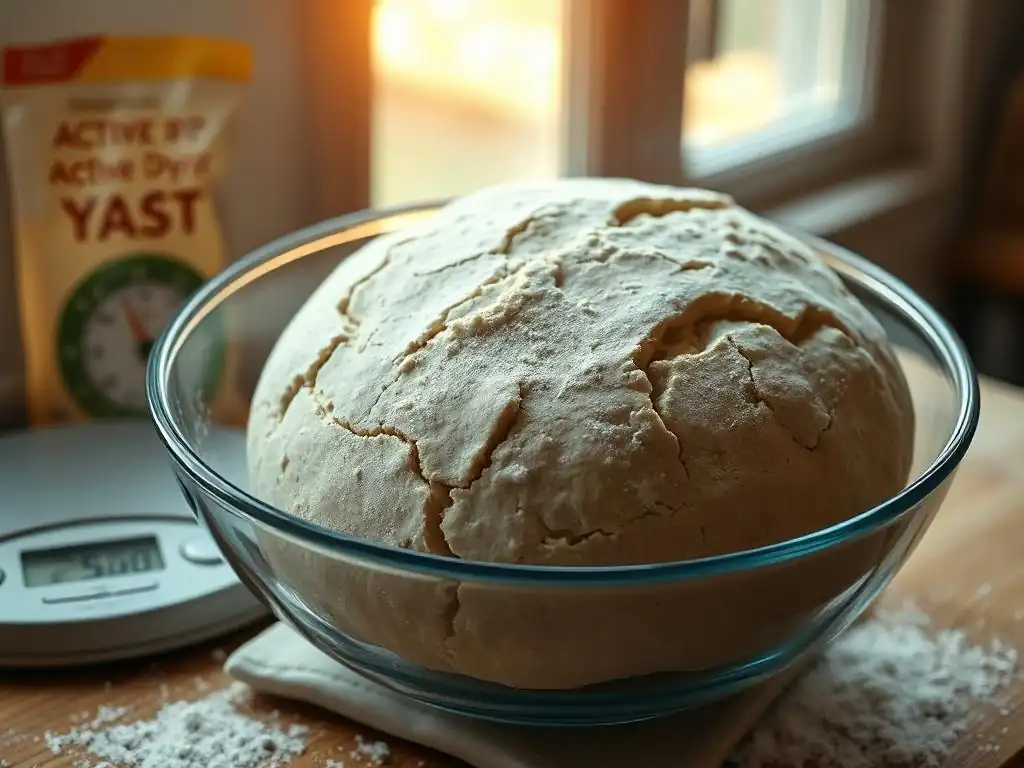
So, you've mixed, kneaded, and waited, but your dough isn't doubling. Don't despair! While a completely flat dough might indicate truly dead yeast (the #1 reason why bread dough fails), often there's still hope. Identifying the potential issue – whether it's slow yeast, cool temperature, or insufficient kneading – can guide your rescue efforts.
Salvaging under-proofed dough is often possible, though the final loaf might not have the perfect volume you initially aimed for. The key is to gently encourage further fermentation or adapt your baking plan based on the dough's current state. Patience and observation are your best tools here.
Salvaging Under-Proofed Dough: Rescue Techniques
If your dough has shown some signs of rising but hasn't doubled, it's likely under-proofed, possibly due to cool temperature or slightly sluggish yeast.
- Give it more time: The simplest solution is often just patience. Move the dough to a warmer spot (75-85°F / 24-30°C) and let it continue proofing. Check it periodically, but be prepared for it to take significantly longer than the recipe suggests – potentially 2-3 hours or even more.
- Gentle warmth: If you suspect temperature is the issue, placing the dough in a warm environment like a proofing box, a warm oven with the light on, or a microwave with hot water can kickstart fermentation.
- Knead slightly (if under-kneaded): If you realize the dough felt under-kneaded initially, you could gently knead it for a few minutes before putting it back to proof, but be aware this might slightly deflate any existing rise. This is a last resort if you suspect gluten development was the primary issue.
- Reshape and second rise: For some recipes, you might be able to gently punch down the slightly risen dough, reshape it, and give it a second, potentially longer, rise. This can sometimes help redistribute yeast and sugars.
If the dough shows absolutely no signs of life after an extended period in a warm environment, it's probable the yeast was inactive from the start, which is the most common reason why bread dough fails completely. In this case, the dough might be repurposed for flatbreads or crackers, which don't rely on yeast for leavening.
Adjusting Baking Time for Under-Proofed Bread
If you decide to bake a loaf that is under-proofed (meaning it hasn't doubled in volume), the final result will likely be denser and flatter than intended. Baking it exactly as the recipe dictates might lead to an even denser result or a loaf that doesn't bake through properly in the center.
Consider these adjustments:
- Slightly longer baking time: A denser loaf might take a little longer to bake through. Use an internal thermometer to check for doneness (typically 200-210°F or 93-99°C for most lean bread).
- Watch the crust: The crust might brown faster due to the density. If it's getting too dark, you can loosely tent the loaf with foil.
- Lower temperature (sometimes): For very dense loaves, a slightly lower baking temperature (e.g., 375°F instead of 400°F) for a longer period might help ensure the interior cooks before the exterior burns, though this depends heavily on the specific recipe and loaf size.
Ultimately, baking under-proofed dough is a compromise. While you won't achieve the airy texture of a perfectly risen loaf, you can still produce edible bread. Recognizing the signs of under-proofing and making slight adjustments is part of mastering why bread dough fails or succeeds.
Preventing Dough Rising Issues: Best Practices for Consistent Results
Preventing issues with dough rising is far easier than fixing them. By implementing a few best practices, you can significantly reduce the likelihood of encountering a flat, unrisen dough. These practices involve paying attention to the fundamentals of baking – ingredients, technique, and environment. Consistent success comes from understanding and controlling these variables every time you bake.
Adopting these habits will not only help you avoid the common pitfall of inactive yeast (the #1 reason why bread dough fails) but also address the other contributing factors. This leads to more predictable outcomes, allowing you to bake with confidence and enjoy consistently well-risen loaves.
Precise Measurements: Accurate Ingredient Ratios
Baking is a science, and accurate measurements are critical. The ratio of yeast to flour, liquid, salt, and sugar is carefully balanced in a recipe to ensure proper fermentation and dough structure. Using too little yeast will result in a very slow or incomplete rise. Using too much salt can inhibit yeast activity (salt regulates fermentation but too much can kill yeast). Too much sugar can also stress the yeast initially.
Using a kitchen scale to measure ingredients, especially flour, is highly recommended for accuracy. Volume measurements (cups) can vary significantly depending on how the ingredient is scooped or packed. A scale provides consistent ratios, ensuring that the environment within your dough is conducive to healthy yeast activity and optimal rising. This precision is a cornerstone in preventing issues with why bread dough fails.
Mastering the Fundamentals of Bread Baking: A BakeWithEase Approach
Understanding the basic principles behind each step of the bread-making process – from mixing and kneading to proofing and baking – is key to preventing problems. Learn what the dough should feel like at different stages, how to recognize a proper knead, and what a fully proofed dough looks like. BakeWithEase offers resources designed to help you build this foundational knowledge.
Practice makes perfect. The more you bake and pay attention to the process, the better you will become at recognizing potential issues early on. Understanding the role of each ingredient and technique empowers you to troubleshoot proactively and adapt as needed, reducing the instances of why bread dough fails to perform as expected.
Documenting Your Baking Process for Future Success
Keeping a simple baking journal can be incredibly helpful, especially when troubleshooting issues like poor dough rise. Note down:
- The recipe used (and any modifications).
- The brand and type of yeast and flour.
- Ingredient temperatures (especially water).
- Kitchen temperature and humidity.
- Kneading time and how the dough felt.
- Proofing time and how much the dough rose.
- Any issues encountered and what you tried to fix them.
Reviewing your notes can help you identify patterns. Did the dough fail to rise when you used yeast from a specific batch? Was your kitchen unusually cold? Did you use a different flour? This documentation helps you learn from each bake, refine your process, and systematically eliminate potential reasons why bread dough fails, leading to more consistent and successful results over time.
This article is for informational purposes only and provides general guidance. Specific results may vary based on individual ingredients, equipment, and environmental conditions.
Frequently Asked Questions
Why isn't my bread dough doubling in size, even after a long time?
The most common reason is incorrect yeast activity. This could be due to expired yeast, water that's too hot or cold, or not enough yeast used in the recipe.
What's the ideal temperature for proofing bread dough to ensure it doubles?
The ideal temperature range for proofing bread dough is between 75-80°F (24-27°C). A warm and slightly humid environment promotes optimal yeast activity and dough rise.
How can I tell if my yeast is still active before adding it to my dough?
You can perform a yeast proofing test. Mix the yeast with warm water and a little sugar; if it foams within 5-10 minutes, it's active and ready to use.
Besides temperature and yeast, what other factors can inhibit bread dough from doubling?
Other factors include the quality of the flour (older flour might not have enough gluten strength), using too much salt (which inhibits yeast), or under-kneading the dough.
Can over-kneading also prevent bread dough from doubling properly?
While less common, yes, over-kneading can also be a problem. It can damage the gluten structure, resulting in a weak dough that struggles to rise properly.
Final Reflection: The Humble Rise of a Perfect Loaf
The seemingly simple act of bread making reveals a profound truth about patience and precision. A perfectly risen loaf, light and airy, is a testament to understanding the fundamental principles of fermentation. Failing to achieve that double in size isn't just a culinary setback; it's a lesson in the interconnectedness of ingredients, process, and timing. This article highlighted the crucial role of yeast activity, but the implications extend far beyond the kitchen.
The quest for the perfect loaf mirrors our own journeys of growth and development. We often strive for ambitious goals, only to be met with setbacks. Just as a dough can fail to rise due to a single overlooked detail, our own aspirations can be hampered by neglecting the foundational elements. The greatest glory in living lies not in never falling, but in rising every time we fall.
- Nelson Mandela. This quote resonates deeply with the process of baking, and indeed, with life itself. The failures we encounter, whether in the kitchen or beyond, offer invaluable opportunities for learning and refinement.
Now, consider your own "dough." What are your aspirations, your personal "loaves" that you're striving to create? Take a moment to reflect on the foundational elements of your endeavors. Are you providing the right conditions for success? Are you patient enough to allow for the necessary rise? Remember, the journey towards achieving your goals, like the process of baking bread, is a journey of learning, adaptation, and ultimately, the sweet reward of success. Embrace the failures, learn from them, and rise again.
Unleash Your Inner Baker: Perfect Dough, Every Time!
Thanks for taking the time to learn about the secrets to perfectly doubled bread dough! We hope you now feel more confident in your baking skills. Ready to put your newfound knowledge into practice?
- Bake a loaf using your favorite recipe, focusing on the temperature and hydration techniques discussed. This is your chance to see the difference firsthand!
- Share your baking journey on social media using #BakeWithEase—we'd love to see your creations!
- Try experimenting with a new bread recipe, keeping in mind the key principles we covered today.
What amazing bread will you bake next?