
Keeping Your Croissant Dough Cool: A Key to Success

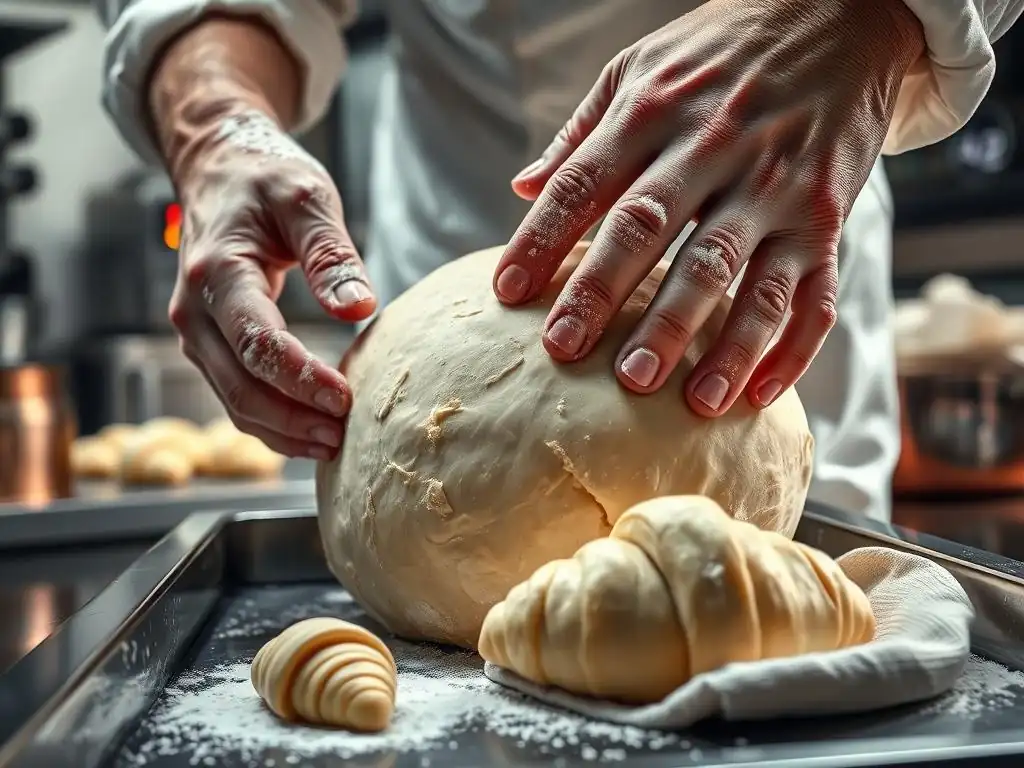
Welcome to BakeWithEase, your partner in crafting delectable delights! Ever wonder how to achieve that perfectly flaky, golden-brown croissant? The secret lies in temperature control, and we're diving deep into a cool croissant dough recipe that will transform your baking. Discover the crucial role temperature plays in lamination, and unlock the secrets to creating bakery-worthy croissants in your own kitchen. Ready to elevate your intermediate baking skills? Let's get started!
- Why Cool Croissant Dough is Essential for Perfect Layers
- Mastering the Cool Croissant Dough Recipe: A Step-by-Step Guide
- Techniques for Keeping Croissant Dough Cold During Baking
- Troubleshooting: Common Issues with Warm Croissant Dough
- Advanced Tips for Maintaining Cool Croissant Dough
- Cool Croissant Dough Recipe Variations: Adapting for Different Climates
- Achieving the Perfect Rise: The Relationship Between Temperature and Yeast Activity
- The Ultimate Test: Evaluating Your Cool Croissant Dough Recipe
-
Frequently Asked Questions
- What is the most important reason for keeping croissant dough cool?
- At what temperature should I ideally keep my croissant dough?
- What are some practical ways to keep my croissant dough cool during the lamination process?
- What happens if my croissant dough gets too warm during the baking process?
- Can I use frozen butter in my croissant dough recipe to help keep it cool?
- Final Reflection: The Cool Pursuit of Perfect Croissants
- Unlock Your Croissant Potential!
Why Cool Croissant Dough is Essential for Perfect Layers
Achieving those coveted, flaky layers in a classic croissant hinges significantly on temperature control. The process involves laminating butter into dough through a series of folds, creating alternating layers. If the dough or butter gets too warm, the butter melts into the dough rather than staying as distinct layers, resulting in a bread-like texture instead of the light, airy flakiness characteristic of a perfect croissant. Maintaining a cool croissant dough recipe throughout the process ensures these layers remain separate and intact, ready to puff up dramatically in the oven.
Moreover, cool dough is easier to handle. Warm dough becomes sticky and slack, making rolling and folding a messy and frustrating task. When the dough is properly chilled, it's firm yet pliable, allowing for precise manipulation without tearing or sticking excessively. This control is vital for uniform lamination, which directly translates to consistently beautiful and delicious croissants. Embracing the principle of cool croissant dough is non-negotiable for serious home bakers aiming for professional results.
The Science Behind Cold Croissant Dough: Gluten Development and Butter Lamination
The science behind why a cool croissant dough recipe works so well involves two key components: gluten and butter. Gluten, the protein network formed when flour and water are mixed, provides the structure for the dough. In croissant making, we need gluten to be developed enough to be elastic and strong enough to withstand rolling and folding, but not so tight that it resists shaping.
Cold temperatures slow down gluten development and help it relax, which is crucial between folds. For instance, after an initial mix and a few folds, refrigerating the dough at around 4°C (39°F) for several hours allows the gluten to relax significantly, making the dough easier to roll thin without snapping back excessively.
Simultaneously, the cold temperature keeps the butter solid but pliable – ideally around 10-15°C (50-59°F) during lamination. When the cold dough is rolled with the cold butter block inside, the butter is flattened into thin sheets alongside the dough. As the dough goes through multiple folds (often three or four "turns"), these butter and dough layers multiply.
A typical recipe might involve four single folds, resulting in theoretically 2^4 = 16 layers of butter and dough. If the butter melts even slightly during this process, it integrates with the dough, destroying the distinct layers essential for flakiness. Keeping everything cool ensures the butter stays in thin sheets, ready to create steam pockets during baking that push the dough layers apart.
Impact of Temperature on Butter in Croissant Dough: Preventing Meltdown
The state of the butter is perhaps the single most critical factor influenced by temperature when making a cool croissant dough recipe. Butter is a complex emulsion of fat, water, and milk solids. It has a relatively low melting point, typically between 30-35°C (86-95°F), but it becomes significantly soft and unstable above 15-20°C (59-68°F). During lamination, we need the butter to be firm enough to roll out into thin sheets without breaking, but pliable enough not to crack.
If the dough or ambient temperature is too high, the butter softens rapidly, becoming greasy and impossible to laminate into distinct layers. Instead of rolling out cleanly, it squishes into the dough. This prevents the formation of those crucial butter barriers that create steam and separation during baking.
Imagine trying to roll a cold stick of butter versus a softened one – the difference in how they behave is stark. Maintaining the butter and the dough at the correct cool temperature ensures the butter remains in its ideal state for successful lamination, preserving the integrity of the layers throughout the demanding folding process required for a classic cool croissant dough recipe.
Mastering the Cool Croissant Dough Recipe: A Step-by-Step Guide
Creating beautiful croissants at home is a rewarding process that demands patience and strict adherence to temperature control. A successful cool croissant dough recipe isn't just about ingredients; it's about managing the environment and the dough's temperature at every stage. By following a step-by-step approach focused on keeping things cool, you can significantly increase your chances of achieving those coveted flaky layers and rich buttery flavor.
This guide breaks down the key phases of making a cool croissant dough, highlighting where temperature management is most critical. From the initial mix through the final proof, paying attention to the dough's temperature will be your primary focus. It's a bit like a delicate dance with physics, ensuring the butter stays solid while the yeast prepares for its final act. Let's dive into the stages where maintaining a cool croissant dough truly makes the difference.
Step 1: Preparing the Dough: Initial Mixing and Refrigeration
The journey of a cool croissant dough recipe begins with the initial mixing. Unlike some bread doughs that require intense kneading to develop gluten, croissant dough benefits from a gentler approach. Over-mixing can generate excessive heat, warming the dough prematurely, and can also develop gluten too aggressively, making subsequent rolling difficult. A common practice is to mix the dough just until the ingredients are combined and a rough dough forms, often referred to as the "detrempe." The target temperature for the dough immediately after mixing is typically around 20-22°C (68-72°F).
Following the initial mix, the dough undergoes its first crucial chilling period. This refrigeration step is non-negotiable for a cool croissant dough. The dough should be wrapped tightly and placed in the refrigerator, ideally at 4°C (39°F), for a minimum of 4 hours, but often overnight (12-18 hours) is recommended.
This long chill serves multiple purposes: it significantly cools the dough down, firming it up for lamination; it allows the gluten structure to relax, making the dough more extensible for rolling; and it allows flavors to develop. This initial refrigeration sets the stage for successful lamination by ensuring the dough is at the optimal cool temperature.
Step 2: The Lamination Process: Maintaining Cold Temperatures Between Folds
The lamination process is where the magic of a cool croissant dough recipe truly happens, and it is the most temperature-sensitive stage. This involves enclosing a block of cold butter within the dough and repeatedly rolling and folding the dough to create multiple layers. The goal is to keep both the dough and the butter cold and firm throughout this process. The ideal temperature for the dough and butter during rolling is typically between 10-15°C (50-59°F). If the dough warms up, the butter will soften and melt, ruining the layers.
After each fold (or "turn"), the dough must be returned to the refrigerator to rest and cool down. This resting period, usually 30-60 minutes, is critical. It allows the gluten to relax again after the stress of rolling and folding, making the dough easier to roll thinner on the next turn.
More importantly, it brings the temperature of the dough and the butter back down to the optimal range. Skipping or shortening these rest periods is a common mistake that leads to warm, sticky dough and melted butter, resulting in croissants that lack flakiness. Consistency in temperature management during lamination is key to a perfect cool croissant dough.
Why Resting is Crucial: Gluten Relaxation and Temperature Stabilization
Resting the dough between turns in a cool croissant dough recipe is not merely a suggestion; it's a fundamental requirement for success. The intense process of rolling and folding stretches the gluten network considerably. If the dough is rolled immediately after a fold, the gluten will be tense and resistant, causing the dough to snap back and making it difficult to roll thin evenly.
Resting allows the gluten strands to relax, regaining their elasticity and making the dough pliable for the next turn. Think of it like stretching a rubber band – if you stretch it repeatedly without a break, it becomes less elastic.
Equally important, resting in the refrigerator brings the dough's temperature back down. Rolling generates friction and heat, and even cool ambient temperatures can warm the dough over time. Placing the dough back in the cold environment cools both the dough and the butter within it, ensuring the butter remains solid and distinct from the dough layers. This temperature stabilization is vital for maintaining the integrity of the lamination. Without adequate chilling between folds, the butter will soften, bleed into the dough, and those beautiful layers will be lost, regardless of how perfectly you executed the rolling and folding steps.
Step 3: Shaping and Proofing: Controlling Temperature for Optimal Rise
Once the lamination is complete and the dough has had a final rest (often several hours or overnight), it's time to shape the croissants. The dough should still be cool and firm for shaping, typically around 4-8°C (39-46°F). Working with cold dough makes it easier to cut triangles cleanly and roll them tightly without sticking or distorting the layers. Speed is helpful here – shape the croissants relatively quickly to prevent the dough from warming up too much from the heat of your hands and the ambient temperature.
After shaping, the croissants enter the proofing stage, which is another critical temperature-controlled step, albeit warmer than previous stages. Proofing allows the yeast to ferment and produce gases, causing the croissants to expand and achieve their final volume and texture. The ideal proofing temperature for croissants is typically between 24-26°C (75-79°F) at around 75-80% humidity.
Too cold, and the yeast will be sluggish; too warm, and the butter layers might melt and leak before the dough has fully risen, destroying the structure built by the cool croissant dough process. Proper proofing, where the croissants roughly double in size and become jiggly, takes time, often 2-3 hours depending on the temperature.
Techniques for Keeping Croissant Dough Cold During Baking
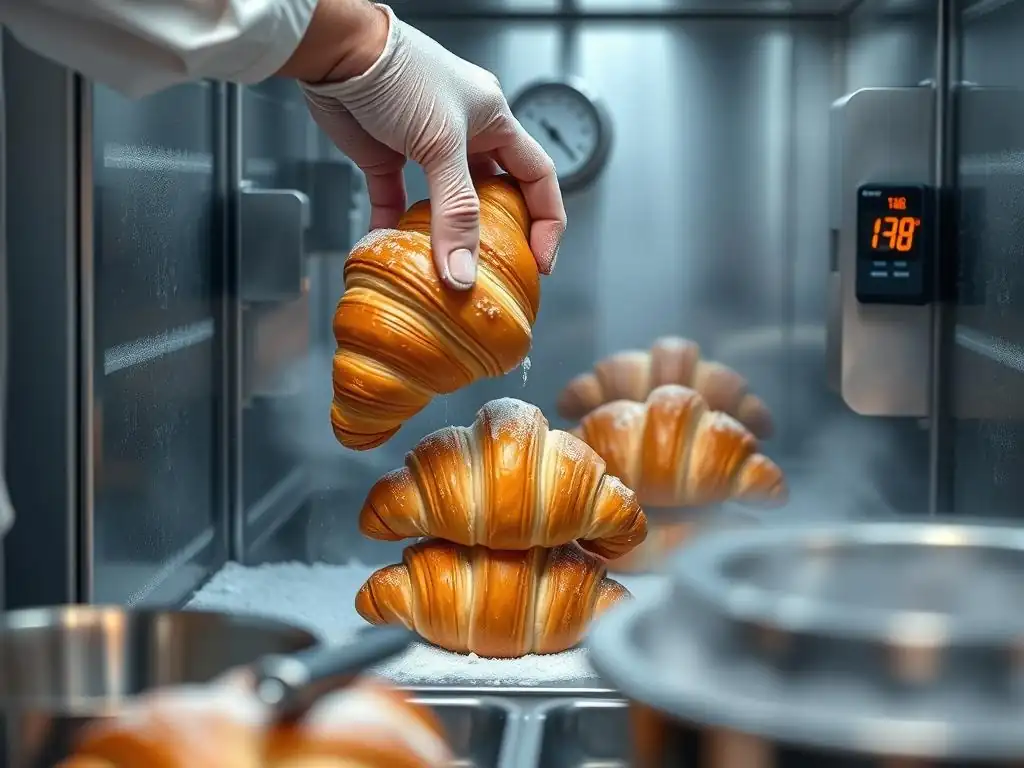
While the primary focus is on keeping the dough cool before baking, maintaining a cool environment and utilizing cold tools during the preparation stages is paramount. These techniques support the overall goal of a successful cool croissant dough recipe by minimizing heat transfer into the delicate layers. Every little bit helps in ensuring the butter stays firm and the dough remains pliable for lamination and shaping.
Implementing these simple techniques can make a significant difference in the outcome of your croissants. They are practical steps that home bakers can take to combat warmer kitchen environments and the natural heat generated during handling. Mastering these small habits contributes significantly to the overall success of your cool croissant dough.
Using a Cold Work Surface: Marble or Granite Slabs
A marble or granite slab is an excellent tool for anyone serious about making a cool croissant dough recipe. These materials naturally stay cooler than wood or laminate surfaces and can be chilled further by placing them in a cool room or even briefly in a refrigerator (if space allows, though this is often impractical). Working directly on a cold stone surface helps to counteract the warmth transferred from your hands and the ambient air, keeping the dough temperature lower during rolling and shaping.
The thermal mass of stone means it absorbs heat from the dough, helping to maintain its cool state. While not strictly necessary – many successful croissants are made on other surfaces – a cold work surface provides an extra layer of temperature insurance, especially in warmer kitchens. If you don't have a stone slab, even chilling a large metal baking sheet in the freezer for 10-15 minutes and working on that can offer a temporary cool surface benefit when handling your cool croissant dough.
Chilling Tools and Ingredients: Bowls, Rolling Pins, and Butter
Extending the principle of a cool work surface, chilling your tools and ingredients before you begin is another effective strategy for a cool croissant dough recipe. Start with your butter: ensure it's the correct temperature (firm but pliable, usually achieved after refrigeration and a short time at room temperature, around 10-15°C or 50-59°F). Your mixing bowl can be chilled in the refrigerator before you start mixing the detrempe.
Perhaps most importantly, your rolling pin can benefit from being chilled. A metal rolling pin is ideal for this, as it retains cold temperatures well. Place it in the refrigerator or even the freezer for 20-30 minutes before you start rolling. A cold rolling pin helps to keep the surface of the dough cool as you work, preventing the butter layers from softening prematurely due to contact heat. Keeping everything that touches the dough cool helps maintain the integrity of your cool croissant dough throughout the demanding lamination process.
Effective Refrigeration Strategies: Optimizing Cooling Time and Temperature
Effective refrigeration is the cornerstone of a successful cool croissant dough recipe. It's not just about putting the dough in the fridge; it's about how and for how long. Ensure your refrigerator is set to the optimal temperature for chilling, typically 4°C (39°F). Colder temperatures (near freezing) can make the dough too stiff and brittle, while warmer temperatures won't cool it sufficiently.
Proper packaging is also key. Wrap the dough tightly in plastic wrap or place it in an airtight container to prevent it from drying out and absorbing refrigerator odors.
Give the dough ample time to chill between each stage – the minimum recommended time is usually 30-60 minutes between turns, but longer rests (like overnight for the initial chill and final rest before shaping) are often beneficial for gluten relaxation and deep cooling. Placing the dough in the coldest part of your refrigerator (often the back) can also help it cool down faster and more effectively, ensuring your cool croissant dough maintains its temperature integrity.
Troubleshooting: Common Issues with Warm Croissant Dough
Despite best efforts, sometimes the dough warms up more than desired when attempting a cool croissant dough recipe. Recognizing the signs and understanding the causes of these issues is crucial for correcting them or preventing them in the future. Warm dough can lead to a host of problems that compromise the final texture and appearance of your croissants.
Addressing these common issues involves understanding the delicate balance between temperature, gluten, and butter. Being prepared to troubleshoot means you can salvage your batch or learn valuable lessons for your next attempt at a perfect cool croissant dough.
Butter Leakage: Causes and Prevention Strategies
Butter leakage, often called "butter bleeding," is a tell-tale sign that your dough or butter got too warm during lamination or proofing. It manifests as visible pools or streaks of melted butter seeping out from the dough layers. The primary cause is the butter reaching its melting point while still inside the dough, typically due to insufficient chilling between folds, working in a warm environment, or over-handling the dough. In proofing, it happens if the proofing temperature is too high.
To prevent butter leakage in your cool croissant dough recipe, rigorous temperature control is essential. Ensure your butter is the correct pliable but firm consistency before enclosing it. Refrigerate the dough for the full recommended time between each turn, ideally 30-60 minutes or longer. Work quickly and confidently during rolling and shaping to minimize handling time.
Use a cool work surface and chilled tools. During proofing, maintain the temperature within the recommended range (24-26°C or 75-79°F) and avoid proofing in direct sunlight or overly warm spots. If you notice butter starting to seep during lamination, immediately stop, wrap the dough, and return it to the refrigerator for a longer chill (at least 60 minutes) before attempting to continue.
Dough Elasticity: Managing Gluten Development Through Temperature Control
The elasticity and extensibility of the dough are heavily influenced by gluten development and temperature. Dough that is too elastic and snaps back excessively after rolling is often a sign of insufficient resting time or that the dough was too warm during mixing or early stages. When gluten is warm and agitated (like during rolling), it becomes tighter. If it doesn't get adequate cool rest, it remains tense, making it difficult to roll the dough thinly and evenly without tearing.
Managing dough elasticity in your cool croissant dough recipe relies on controlling gluten development and allowing it to relax. Ensure you don't overmix the initial detrempe; mix only until combined. The long initial chill (often overnight) is critical for relaxing the gluten significantly. Most importantly, the rest periods between lamination turns are essential.
These cool rests allow the gluten to relax after the stress of rolling. If you find your dough is fighting you and snapping back, it's a clear signal that it needs more time to rest and cool down in the refrigerator. Don't force it; patience and cold are your allies here.
Uneven Layers: Ensuring Consistent Cooling for Uniform Lamination
Uneven layers in a baked croissant can result from several issues, but often stem from inconsistent lamination, which in turn can be linked to uneven dough temperature. If parts of the dough are warmer than others during rolling, the butter in those warmer sections will soften more, making it harder to roll those areas evenly. This leads to variations in the thickness of the dough and butter layers across the sheet, resulting in some areas having perfect layers while others are compressed or fused.
Ensuring uniform cooling throughout your cool croissant dough is vital for consistent layers. When refrigerating the dough, place it flat and ensure it's not folded or bunched up, which can create warm spots. Allow sufficient time for the entire mass of dough to cool down between turns.
When rolling, try to apply even pressure across the dough. If you notice one section is warming up faster, you may need to adjust your technique or increase the chilling time between turns. Using a well-chilled rolling pin and a cool work surface also helps maintain an even temperature across the dough sheet during the critical lamination phase.
Advanced Tips for Maintaining Cool Croissant Dough
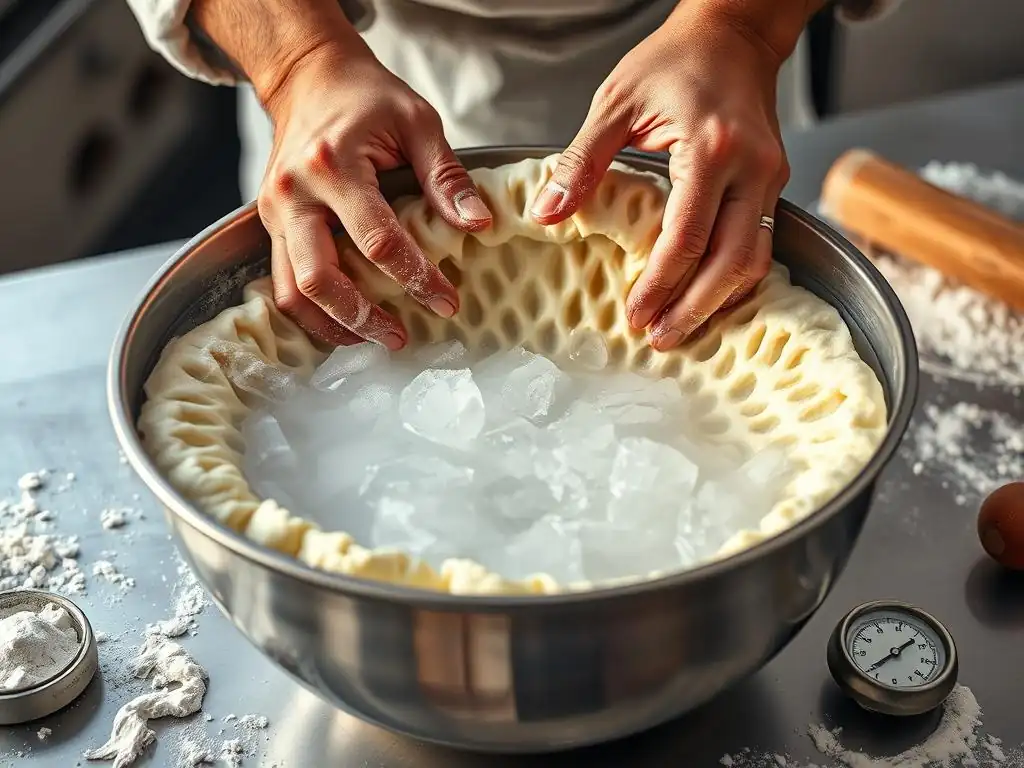
For those looking to perfect their cool croissant dough recipe and tackle the challenges of home baking, incorporating some advanced techniques can provide a significant edge. These tips go beyond the basics and focus on optimizing your environment and tools to ensure the dough stays as cool as possible throughout the entire process.
Implementing these strategies requires a bit more planning or investment but can make a noticeable difference in the consistency and quality of your croissants, especially when dealing with less-than-ideal kitchen conditions.
Utilizing a Dough Sheeter: Minimizing Hand Contact and Heat Transfer
For serious home bakers or small-scale producers, a dough sheeter is a game-changer for making a cool croissant dough recipe. This piece of equipment mechanically rolls out the dough to a precise thickness with minimal effort and, crucially, minimal contact with warm hands. Manual rolling generates heat through friction and hand contact, which can quickly warm up the delicate butter layers.
A dough sheeter allows you to achieve uniform thickness and perfect layering while keeping the dough relatively cool. The dough passes through rollers, reducing the need for extensive manual manipulation. While a significant investment, a sheeter drastically reduces the risk of butter meltdown during lamination and ensures consistently thin, even layers, leading to superior flakiness in your cool croissant dough.
Working in a Cool Environment: Air Conditioning and Ambient Temperature
The ambient temperature of your kitchen plays a huge role in the success of a cool croissant dough recipe. Trying to laminate dough in a warm, humid kitchen (say, above 24°C or 75°F) is incredibly challenging, as the butter will soften almost instantly. The ideal working temperature for croissant making is generally below 20°C (68°F), ideally closer to 18°C (64°F).
If possible, turn on the air conditioning in your kitchen well before you start working on your cool croissant dough. Close windows and doors to maintain a consistent, cool temperature. Avoid baking other items that generate significant heat while you are in the lamination process. A cooler environment gives you more working time before the dough and butter start to warm up, making the entire process less stressful and significantly increasing your chances of achieving perfect results.
Pre-Shaping and Freezing: Preparing Croissant Dough in Advance
One excellent way to manage the demanding schedule of a cool croissant dough recipe is to prepare the dough in stages and utilize freezing. You can make the laminated dough up to the point of shaping, then wrap the entire block tightly and freeze it. When you're ready to bake, thaw the dough overnight in the refrigerator.
Alternatively, you can shape the croissants fully and then freeze them on a baking sheet until solid. Once frozen, transfer them to an airtight container or bag.
When you want fresh croissants, place the frozen shaped croissants on a baking sheet, allow them to thaw and proof in a cool environment (like the refrigerator overnight, or a cool room for several hours) until they are properly proofed, then bake as usual (though they may require a few extra minutes in the oven). This allows you to spread the labor-intensive process over time and ensures you always have cool croissant dough ready to go.
Cool Croissant Dough Recipe Variations: Adapting for Different Climates
The principles of a cool croissant dough recipe remain consistent, but the execution needs to be flexible depending on your environment. Baking in a hot, humid climate presents different challenges than baking in a cold, dry one. Understanding how to adapt your technique is key to achieving success regardless of the weather outside your kitchen window.
These variations highlight the importance of reading your environment and adjusting your process accordingly. A good cool croissant dough recipe is one that is adaptable and resilient to external factors.
Baking in Hot and Humid Conditions: Extra Precautions and Adjustments
Baking a cool croissant dough recipe in hot and humid conditions requires extra vigilance and preventative measures. The higher ambient temperature and humidity accelerate warming. You'll need to rely heavily on refrigeration. Increase the chilling time between each turn, perhaps extending rests to 60-90 minutes. Work in shorter bursts, returning the dough to the fridge more frequently if you feel it warming up.
Consider starting your baking early in the morning or late in the evening when temperatures are naturally cooler. Use frozen tools – chilling your rolling pin in the freezer instead of the fridge can provide extra coldness. If your kitchen gets very warm, consider doing the lamination in stages over two days, with a long overnight rest after the first few turns.
You might also slightly reduce the hydration in your dough recipe, as high humidity can make the dough stickier. Working faster and having all your tools and ingredients prepared and chilled before you start is absolutely essential in hot climates for a successful cool croissant dough.
Baking in Cold and Dry Conditions: Balancing Cooling with Proper Proofing
Cold and dry conditions are generally more forgiving for the lamination phase of a cool croissant dough recipe, as the butter is less likely to melt. However, these conditions can pose challenges during the proofing stage. Cold temperatures slow down yeast activity significantly, meaning proofing will take much longer. Dry air can also cause the surface of the dough to dry out and form a skin, which restricts expansion and results in a poor rise.
In cold conditions, ensure your proofing environment is adequately warm (24-26°C or 75-79°F) and humid (75-80%). You might need to create a makeshift proofing box using your oven with the light on, or a cooler with a bowl of hot water inside. Cover the croissants loosely with plastic wrap or a damp cloth during proofing to prevent drying. While lamination is easier, still respect the resting times for gluten relaxation. The key is to balance the need to keep the dough cool during lamination with the need for a warm, humid environment for proofing your cool croissant dough.
Achieving the Perfect Rise: The Relationship Between Temperature and Yeast Activity
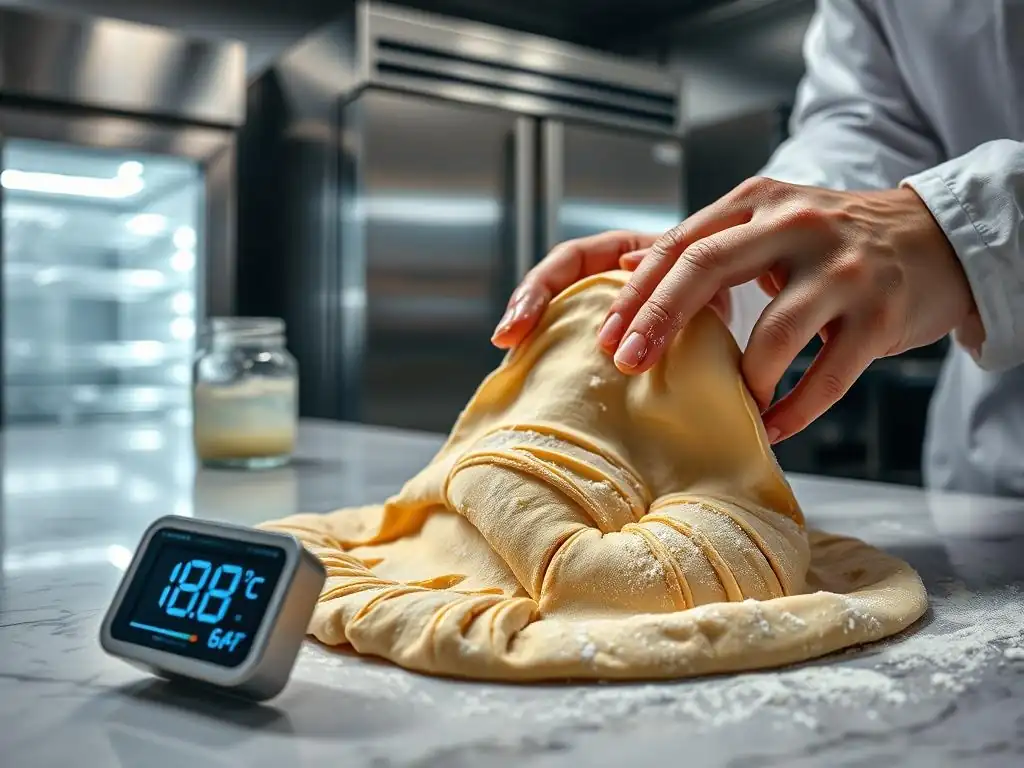
Once your cool croissant dough is laminated and shaped, the final rise, or proofing, is the yeast's moment to shine. This stage is entirely dependent on temperature and humidity to allow the yeast to produce carbon dioxide gas, which inflates the dough and creates the airy interior structure. The temperature during proofing is just as critical as the cool temperatures needed for lamination, but for different reasons.
Understanding the yeast's behavior at specific temperatures helps ensure your croissants achieve optimal volume and texture before baking. This stage is about nurturing the yeast in a controlled environment to fulfill the promise of the cool croissant dough you've so carefully prepared.
The Importance of Controlled Proofing: Preventing Over-Proofing
Controlled proofing is vital for a cool croissant dough recipe. The ideal proofing temperature range (24-26°C or 75-79°F) encourages yeast activity without being so warm that it melts the butter layers. Proofing allows the dough to expand, but it's a delicate balance. Under-proofed croissants will be dense and heavy with poor volume, while over-proofed croissants are equally problematic.
Over-proofing occurs when the yeast continues to produce gas to the point where the gluten structure becomes too weak to hold it. The croissants may look very puffy, but they can collapse in the oven, lose their shape, and the butter layers might melt and leak out as the structure fails. The best way to check for proper proofing is the "poke test": gently poke the side of a croissant. If the indentation springs back very slowly, leaving a slight mark, it's ready.
If it springs back immediately, it needs more time. If the indentation stays completely, it's likely over-proofed. Aim for that slow spring-back for your cool croissant dough.
Monitoring Dough Temperature During Proofing: Ensuring Optimal Volume
While we talk about proofing environment temperature, monitoring the actual dough temperature can also be helpful, especially in inconsistent conditions. The dough itself should gradually warm up to the proofing temperature range. Using an instant-read thermometer can help you gauge if your proofing setup is effectively warming the dough.
If the dough temperature isn't reaching the target range, your proofing will be slow or stalled. If it's getting too warm (above 28°C or 82°F), you risk melting the butter layers you worked so hard to create with your cool croissant dough technique. Maintaining the ambient proofing temperature within the ideal range is usually sufficient, but spot-checking the dough temperature can provide reassurance and help you adjust your setup if needed to ensure optimal yeast activity and volume development.
The Ultimate Test: Evaluating Your Cool Croissant Dough Recipe
After all the careful work of mixing, laminating, chilling, shaping, and proofing your cool croissant dough, the moment of truth arrives in the oven. The bake is where the magic happens, as the butter layers create steam, separating the dough into dozens of flaky layers. Evaluating the final baked croissant is the best way to understand the success of your cool croissant dough recipe and identify areas for improvement.
A successful bake is the culmination of meticulous temperature control at every preceding stage. By critically assessing the results, you gain valuable insights into what worked well and what adjustments might be needed for your next batch of cool croissant dough.
Assessing the Final Result: Flaky Layers, Buttery Flavor, and Golden-Brown Crust
The hallmark of a successful cool croissant dough recipe is the final product. What are you looking for?
- Flaky Layers: Break or cut open a croissant. Do you see distinct, numerous layers? Are they light and airy? This is the primary indicator of successful lamination and temperature control. Ideally, you should see many paper-thin layers.
- Buttery Flavor: A great croissant should taste richly of butter. This comes from using high-quality butter and ensuring it remained as distinct layers, contributing flavor throughout the dough rather than being absorbed early on.
- Golden-Brown Crust: The exterior should be a deep golden-brown, crisp and shatteringly flaky. This indicates proper baking temperature and time, allowing the exterior to caramelize while the interior cooks through.
- Airy Interior (Honeycomb Structure): Inside, the croissant should have a beautiful open structure, often described as a honeycomb. This indicates successful proofing and oven spring, where the gas produced by the yeast expands the dough.
A perfect cool croissant dough yields croissants that are light in hand, shatter when you bite into them, and have a rich, complex flavor.
Adjusting Your Technique: Refining Your Approach Based on Results
Every bake is a learning opportunity, especially when working with a complex process like a cool croissant dough recipe. Based on your evaluation of the final croissants, you can refine your technique.
- If layers are poor and texture is bread-like: This strongly suggests butter melted during lamination. Focus on more rigorous chilling between turns, working faster, using colder tools/surface, or lowering your kitchen temperature.
- If croissants are dense with poor rise: This likely indicates under-proofing or issues with yeast activity. Check your proofing temperature and humidity, and ensure the dough had enough time to proof until properly expanded.
- If croissants are flat or collapsed: This points to over-proofing or butter leakage during proofing. Reduce proofing time or temperature, and ensure your lamination was solid to prevent butter leaks.
- If the crust is pale: Increase oven temperature slightly or bake for a few more minutes.
Keep notes on your process – kitchen temperature, rest times, proofing duration – alongside photos of your results. This documentation helps you systematically adjust variables in your cool croissant dough recipe until you achieve the perfect croissant consistently.
Frequently Asked Questions
What is the most important reason for keeping croissant dough cool?
Keeping the dough cool is crucial to prevent the butter from melting and incorporating into the dough. Melted butter results in a dense, less flaky final product.
At what temperature should I ideally keep my croissant dough?
The ideal temperature for your croissant dough is between 60-65°F (15-18°C). This range ensures the butter remains firm and distinct layers are maintained during lamination.
What are some practical ways to keep my croissant dough cool during the lamination process?
Work in a cool environment, use a marble or chilled countertop, and frequently return the dough to the refrigerator between folds to maintain the correct temperature.
What happens if my croissant dough gets too warm during the baking process?
If the dough gets too warm, the butter will melt before the dough sets. This will cause the butter to leak out, resulting in a greasy and flat croissant.
Can I use frozen butter in my croissant dough recipe to help keep it cool?
While you can use frozen butter, it's generally not recommended. It can be difficult to laminate evenly with frozen butter, potentially leading to uneven layers and textures.
Final Reflection: The Cool Pursuit of Perfect Croissants
Maintaining a consistently cool dough temperature is not merely a technical detail in croissant baking; it's the cornerstone of achieving flaky, buttery perfection. Ignoring this crucial element leads to a dense, disappointing result, a stark contrast to the airy, layered masterpiece we all strive for. The difference between a good croissant and a great one often lies in this seemingly small, yet profoundly impactful, detail.
The pursuit of the perfect croissant transcends mere culinary skill; it's a testament to patience, precision, and the understanding of fundamental baking principles. The process itself, with its meticulous layering and chilling, mirrors the careful construction of any great endeavor. It's a reminder that even the most seemingly simple recipes require dedication and attention to detail. The best things in life are worth waiting for,
and this certainly holds true for the exquisite reward of a perfectly baked croissant.
Now, consider your own projects, your own aspirations. What seemingly small details are you overlooking? Where could a little extra patience, a little extra attention to the fundamentals, lead to a significantly improved outcome? I encourage you to apply the principles of cool-dough mastery to your own life – to approach your challenges with the same measured precision and unwavering dedication that yields the most exquisite of croissants. The rewards, I promise you, will be just as delicious.
Unlock Your Croissant Potential!
Thanks for taking the time to explore the secrets of keeping your croissant dough cool! We hope you now feel empowered to tackle those flaky layers with confidence. Ready to put your new knowledge into practice?
- Bake a batch of croissants this weekend! Use what you've learned to create perfectly layered, golden-brown pastries. This is your chance to impress yourself and your loved ones.
- Share your croissant creations on social media using #BakeWithEaseCroissants and tag us! We’d love to see your baking triumphs.
- Consider trying a different croissant recipe and analyzing what changes you need to make to your cooling technique for optimal results. What surprising discovery will you make?
Ready to embark on your croissant journey? What unique twist will you add to your next batch?