
The Truth About Cup vs. Gram Measurements: Which One Makes Your Bread Failproof?

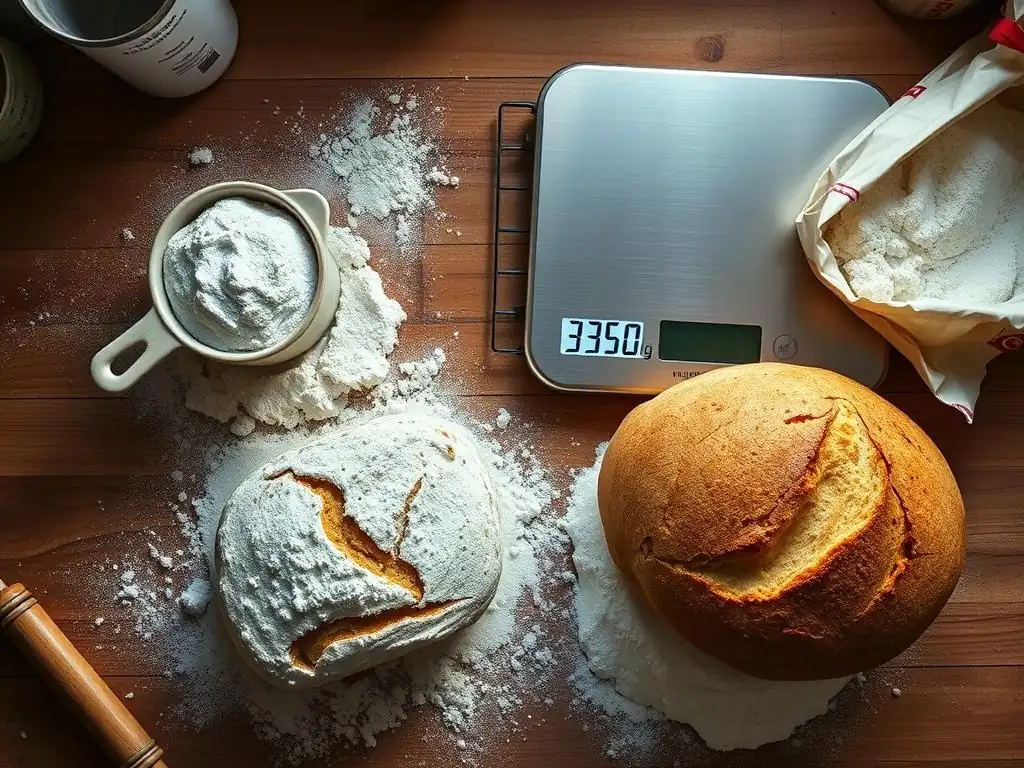
Welcome to BakeWithEase, your trusted companion on your baking journey! Ever wondered if your cup vs. gram measurements are secretly sabotaging your perfect loaf of bread? Prepare to unlock the secrets to consistent, delicious results. Dive in to discover the definitive answer and say goodbye to baking mishaps forever!
- BakeWithEase: Achieving Baking Success Through Accurate Measurement
- The Cup vs. Gram Debate: Understanding Ingredient Measurement for Bread Baking
- Cup Measurements for Bread: Convenience vs. Consistency
- Gram Measurements for Bread: Precision and Repeatability
- Converting Cup Measurements to Grams for Bread Recipes
- The Science Behind Bread Baking: Why Grams Rule
- Bread Baking Measurement Showdown: Cup vs. Gram - Which Wins?
- Failproof Bread Baking: Mastering Gram Measurements
- Advanced Bread Baking Techniques: Embracing Precision
- BakeWithEase: Your Journey to Perfect Bread Starts Here
-
Frequently Asked Questions
- How does using cups versus grams affect the outcome of my bread baking?
- Why does BakeWithEase recommend using grams over cups for bread recipes?
- If I only have measuring cups, can I still bake bread successfully?
- What type of kitchen scale is best for measuring ingredients in grams for bread baking?
- What are the most common mistakes people make when using cups to measure ingredients for bread?
- Final Reflection: The Weight of Precision in Baking
- Unlock Your Baking Potential: Master the Perfect Loaf!
BakeWithEase: Achieving Baking Success Through Accurate Measurement
Welcome to BakeWithEase: Your Guide to Perfect Bread
Welcome to BakeWithEase, your trusted companion on the journey to baking mastery! We believe that everyone can bake delicious bread, from simple sandwich loaves to crusty sourdoughs. Our mission is to provide you with clear, easy-to-follow guidance, breaking down complex techniques into manageable steps. Understanding the fundamentals of ingredient measurement is one of the most critical steps in achieving consistent baking success, especially when it comes to the delicate balance required for perfect bread.
At BakeWithEase, we know that accuracy in the kitchen directly translates to reliability in the oven. Whether you're just starting out or looking to refine your skills, mastering how you measure your ingredients is paramount. This article delves into a fundamental question that often sparks debate among bakers: should you measure your ingredients by volume using cups, or by weight using grams? For something as sensitive as bread dough, the answer can significantly impact your results.
The Cup vs. Gram Debate: Understanding Ingredient Measurement for Bread Baking
Why Accurate Measurement Matters in Bread Making
Accurate measurement is not just a suggestion in bread making; it's a necessity. Unlike some baking where slight variations might be forgiving, the ratios of flour, water, yeast, and salt in bread dough are carefully balanced to create the desired structure, texture, and flavor. Even small deviations can alter the hydration level, affecting gluten development, rise, and ultimately, the final crumb structure and crust of your loaf.
Consider a recipe calling for 500 grams of flour and 350 grams of water (70% hydration). If you accidentally use 530 grams of flour due to imprecise measurement, but still use 350 grams of water, your hydration drops to roughly 66%. This lower hydration will result in a stiffer dough that may not develop gluten as easily, leading to a denser loaf compared to the intended airy crumb.
Conversely, too much water can make the dough overly sticky and difficult to handle, potentially collapsing during proofing or baking. Precise measurement ensures you hit the target ratios every time, leading to predictable and repeatable results for your cup vs gram bread.
The Common Pitfalls of Using Cup Measurements for Bread
Using cup measurements for bread baking introduces significant variables that can lead to inconsistent outcomes. The primary issue is the difference in density that occurs when measuring dry ingredients like flour by volume. How tightly packed the flour is in the cup can drastically change its actual weight, even if the volume appears correct. This variability makes it challenging to replicate results from one baking session to the next, which can be frustrating when trying to perfect a specific bread recipe.
Another pitfall is the lack of standardization in cup sizes across different regions or even within the same kitchen. While a standard US cup is technically defined, variations exist, and the way a baker fills the cup—whether scooping directly from the bag, sifting, or spooning and leveling—introduces further inconsistency. This inherent variability in volume measurement makes it difficult to maintain the precise ingredient ratios needed for successful bread, making the cup vs gram bread debate lean heavily towards the latter for reliability.
Cup Measurements for Bread: Convenience vs. Consistency
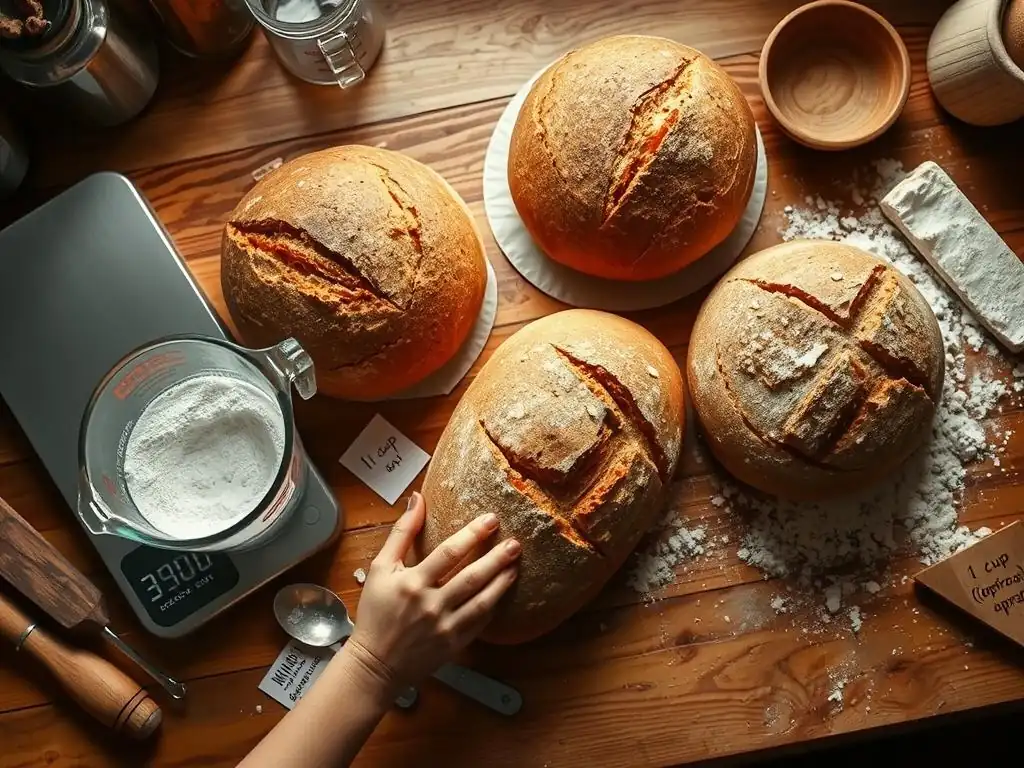
How Cup Measurements Can Lead to Baking Inconsistencies
The convenience of cup measurements is undeniable – a quick scoop and level seems simple enough. However, this method is inherently inconsistent for dry ingredients like flour. The amount of flour that fits into a cup depends heavily on how it's handled. Sifting flour before measuring will result in a lighter, less dense cup compared to flour scooped directly from a bag where it might be compacted. This means a "cup" of flour can weigh significantly different amounts each time you measure it.
For example, a standard cup of all-purpose flour, when properly spooned into the cup and leveled, is generally accepted to weigh around 120 to 130 grams. However, if you aggressively scoop that same flour directly from a bag using the measuring cup, you can easily pack in 150 grams or more. This potential difference of 20-30 grams per cup in a recipe calling for multiple cups of flour can dramatically alter the flour-to-liquid ratio, leading to dough that is too wet or too dry, and inconsistent cup vs gram bread results.
The Impact of Different Flour Types on Cup Measurements
Different types of flour have varying densities, which further complicates cup measurements. A cup of all-purpose flour will not weigh the same as a cup of whole wheat flour, rye flour, or bread flour. Whole wheat flour, for instance, is often denser than all-purpose flour due to the presence of the bran and germ, meaning a cup of whole wheat flour can weigh more than a cup of all-purpose flour, typically ranging from 130-140 grams when spooned and leveled.
Similarly, flours with higher protein content, like bread flour, can sometimes be slightly denser than lower-protein all-purpose flour. Relying on volume alone doesn't account for these density differences. If a recipe was developed using weight measurements but provides cup conversions based on a specific flour type, substituting a different flour type without adjusting for weight will throw off the ratios, impacting gluten development and the final texture of your cup vs gram bread.
Why 1 Cup of All-Purpose Flour Can Weigh Differently Depending on How It's Scooped
As touched upon earlier, the method of scooping is perhaps the most significant factor causing weight variability in cup measurements of flour. The standard method recommended by many baking experts is the "spoon and level" method: gently spoon flour into the measuring cup until it overflows, then level off the excess with a straight edge. This method aims to achieve a consistent density, typically resulting in a weight of about 120-130 grams for a cup of all-purpose flour.
Contrast this with the common practice of simply plunging the measuring cup directly into the flour bag. This method compacts the flour significantly, allowing you to fit much more into the same cup volume. It's not uncommon for a cup measured this way to weigh 150 grams or even more. This potential 20-30 gram difference per cup, especially in recipes requiring 3-4 cups of flour, can mean an extra 60-120 grams of flour in your dough, leading to a much lower hydration level and a noticeably different – and likely less successful – loaf of cup vs gram bread.
Gram Measurements for Bread: Precision and Repeatability
Why Grams Provide More Accurate Bread Baking Results
Measuring ingredients by weight using grams provides unparalleled accuracy and repeatability in bread baking. A gram is a unit of mass, meaning 100 grams of flour is always 100 grams of flour, regardless of how fluffy or compacted it is, or what type of flour it is (though recipes will specify the type of flour needed). This eliminates the density variable inherent in volume measurements.
When you measure by weight, you are using the exact amount of each ingredient specified in the recipe every single time. This consistency ensures that the crucial ratios between flour, water, yeast, and salt remain constant from batch to batch. Using grams makes it significantly easier to replicate successful results and troubleshoot failures, as you can be confident that your measurements were precise. This precision is why professional bakers and serious home bakers overwhelmingly prefer grams for achieving consistent cup vs gram bread.
Using a Kitchen Scale for Bread Baking: A Step-by-Step Guide
Transitioning to using a kitchen scale for bread baking is a simple process that quickly becomes second nature. Most digital kitchen scales are affordable and easy to use. Here's a basic guide:
- Place your mixing bowl or container onto the scale.
- Turn the scale on. Most scales will automatically zero out (tare) the weight of the container when turned on with the container already on it. If not, press the "tare" or "zero" button.
- Begin adding your first ingredient (e.g., flour) to the container. Watch the display until the desired weight in grams is reached.
- To add the next ingredient (e.g., water), press the "tare" or "zero" button again. This resets the scale to zero, allowing you to measure the next ingredient directly into the same bowl or on top of the previous ingredient without needing a separate container.
- Repeat step 4 for each subsequent ingredient.
This simple process allows you to measure multiple ingredients sequentially into the same bowl, minimizing clean-up and maximizing accuracy. It's a fundamental technique for achieving precise cup vs gram bread.
Taring Your Scale and Accurately Measuring Flour and Water
Taring your scale is the key to measuring multiple ingredients by weight into a single container. The "tare" function subtracts the current weight on the scale (the weight of the container or the ingredients already added) and resets the display to zero. This allows you to measure each ingredient individually by weight, even if they are being added to the same bowl.
For example, after measuring 500g of flour into your mixing bowl, you press tare, and the scale reads 0g. You can then add 350g of water directly into the bowl with the flour, knowing you've added the exact amount.
Measuring flour by weight is straightforward: simply spoon or pour the flour into your tared container until the scale reads the target weight. There's no need to worry about sifting or compacting; the scale measures the actual mass of the flour. Measuring liquids like water is even easier.
Place your container on the scale, tare it, and pour the liquid until the desired weight is reached. Since 1 gram of water is very close to 1 milliliter of water (at standard temperatures), measuring water by weight is highly accurate and much more reliable than volume cups, which can vary depending on how full they are filled or if the liquid is viscous. This precision is vital for consistent cup vs gram bread hydration.
Converting Cup Measurements to Grams for Bread Recipes
The Importance of Reliable Conversion Charts for Baking
While switching entirely to grams is the most accurate approach, you may encounter recipes that still use cup measurements. In such cases, using a reliable conversion chart is crucial, but it's important to understand their limitations. Conversion charts provide approximate weights for standard cup volumes of common ingredients. However, these conversions are based on average densities using proper measuring techniques (like spoon and level for flour). They cannot account for how you specifically measured the ingredient using cups.
Therefore, conversion charts should be seen as helpful guides for adapting recipes, but they are not a substitute for recipes originally developed using weight measurements. Relying on a chart introduces an extra layer of potential inaccuracy compared to simply using a scale from the start. For the most consistent cup vs gram bread results, seek out recipes that provide measurements in grams whenever possible.
King Arthur Baking: Cup to Gram Conversions
Many reputable sources provide conversion charts, and King Arthur Baking is widely recognized for its reliability in this area. They offer detailed charts specifying the approximate weight in grams for a standard cup of various ingredients, measured using proper techniques. For example, King Arthur Baking typically lists 1 cup of all-purpose flour as approximately 120 grams and 1 cup of water as approximately 227 grams (equivalent to 8 fluid ounces or 237 ml, but measured by weight).
Using a trusted source like King Arthur Baking for conversions can help minimize errors when working with cup-based recipes. However, remember that these are still conversions from a less precise method (volume) to a more precise one (weight). The best practice for consistent cup vs gram bread is to find recipes that provide gram measurements directly, or to use a reliable conversion as a starting point and be prepared to make minor hydration adjustments based on dough feel.
Understanding Hydration Levels in Bread Dough When Converting
When converting a cup-based bread recipe to grams, paying close attention to the hydration level is critical. Hydration is the ratio of the weight of water to the weight of flour in your dough, expressed as a percentage. For example, if a recipe uses 500g of flour and 350g of water, the hydration is (350 / 500) * 100 = 70%. This percentage significantly impacts dough consistency and the final loaf.
If you convert cups to grams using average conversion factors, you might calculate the total weight of flour and water. However, because the original cup measurements were prone to variability, your calculated hydration might not match the intended hydration of the original recipe developer.
For instance, if a recipe called for 3 cups of flour and 1.5 cups of water, and you convert using 120g/cup for flour and 227g/cup for water, you get 3 * 120g = 360g flour and 1.5 * 227g = 340.5g water, resulting in ~94.6% hydration – likely much higher than intended for a standard loaf (unless it's a very wet dough like ciabatta). This highlights why direct gram measurements are superior for controlling hydration and achieving consistent cup vs gram bread.
The Science Behind Bread Baking: Why Grams Rule
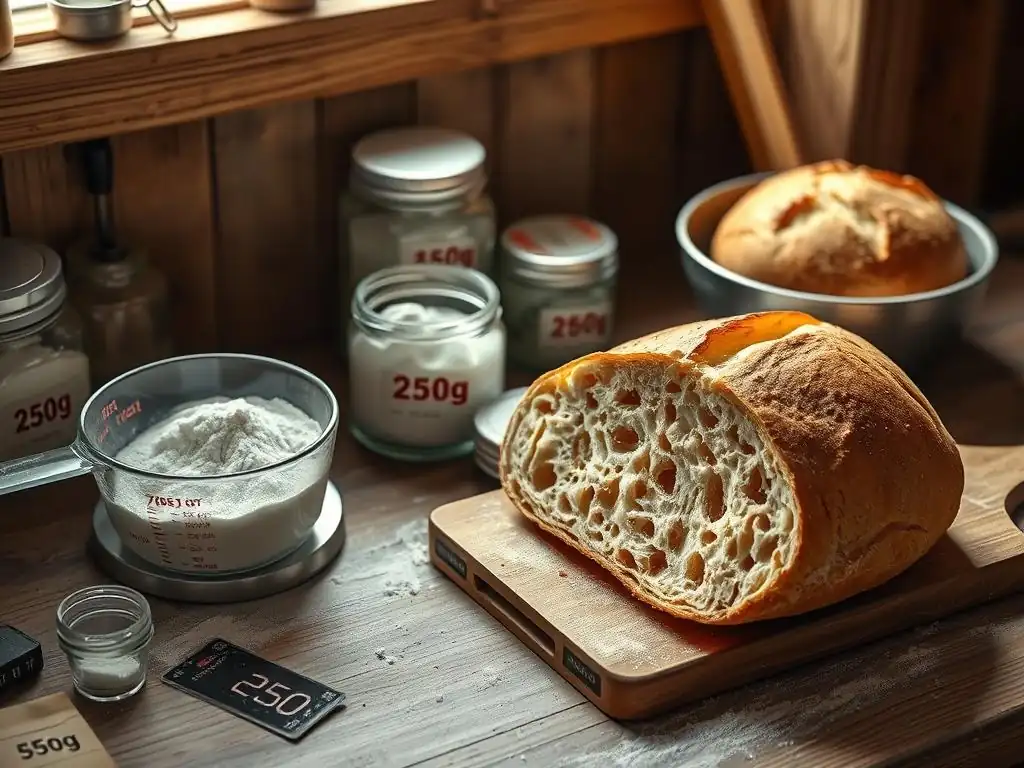
The Role of Hydration in Bread Texture and Structure
Hydration is arguably the single most important factor determining the texture and structure of your finished bread. Water interacts with the proteins in flour (glutenin and gliadin) to form gluten, the elastic network that gives bread its structure and allows it to trap gases produced by yeast, causing it to rise. The amount of water relative to flour dictates how easily gluten develops and how extensible and elastic the dough is.
Higher hydration doughs (e.g., 70%+) are typically stickier and harder to handle but can result in a more open, airy crumb with larger holes and a crispier crust. Lower hydration doughs (e.g., 60-65%) are stiffer, easier to knead, and produce a tighter, more uniform crumb, suitable for sandwich loaves. Precise gram measurements allow you to hit the target hydration consistently, ensuring you achieve the specific texture and structure intended by the recipe, which is fundamental to successful cup vs gram bread.
How Precise Gram Measurements Control Gluten Development
Precise gram measurements directly control the hydration level, which in turn dictates the environment for gluten development. Gluten develops more easily in a well-hydrated dough because the water allows the glutenin and gliadin proteins to move and link together effectively when kneaded or folded. A dough that is too dry due to inaccurate flour measurement will be resistant to gluten development, requiring more effort and potentially still resulting in a dense loaf.
Conversely, a dough that is too wet due to inaccurate water measurement can lead to a weak gluten structure that collapses under its own weight during proofing or baking. By using grams, you ensure the water-to-flour ratio is exactly as intended, creating the optimal conditions for gluten formation for that specific recipe. This level of control is essential for mastering bread baking and is simply not possible with the variability of cup measurements, making grams the clear winner in the cup vs gram bread debate for consistency.
Bread Baking Measurement Showdown: Cup vs. Gram - Which Wins?
Comparing the Pros and Cons of Cup Measurements for Bread
Cup measurements offer a perceived convenience and are familiar to many home bakers, especially those new to the craft or following older recipes. They don't require any special equipment beyond standard measuring cups. This accessibility is their primary advantage.
However, the cons for bread baking are significant. As discussed, the variability in density of dry ingredients, particularly flour, means that the same volume can have drastically different weights depending on the scooping method. This inconsistency makes it nearly impossible to replicate results reliably. Furthermore, accurately measuring liquids can also be tricky with cups, especially when dealing with smaller volumes or needing precise ratios. For serious bread baking, the lack of precision in cup measurements is a major drawback in the cup vs gram bread comparison.
Gram measurements excel in precision and repeatability, which are paramount for successful bread baking. Using a kitchen scale eliminates the variability associated with volume measurement of dry ingredients – 100 grams of flour is always 100 grams. This ensures that the critical ratios of flour, water, yeast, and salt are consistent from batch to batch, leading to predictable outcomes.
The main "con" of using grams is the initial need to purchase a kitchen scale if you don't already own one, though basic digital scales are quite affordable (often under $20). Additionally, recipes written solely in cups require conversion, which can introduce minor inaccuracies if not done carefully using reliable charts. However, the benefits of precision and consistency far outweigh these minor hurdles for anyone serious about improving their cup vs gram bread results.
Failproof Bread Baking: Mastering Gram Measurements
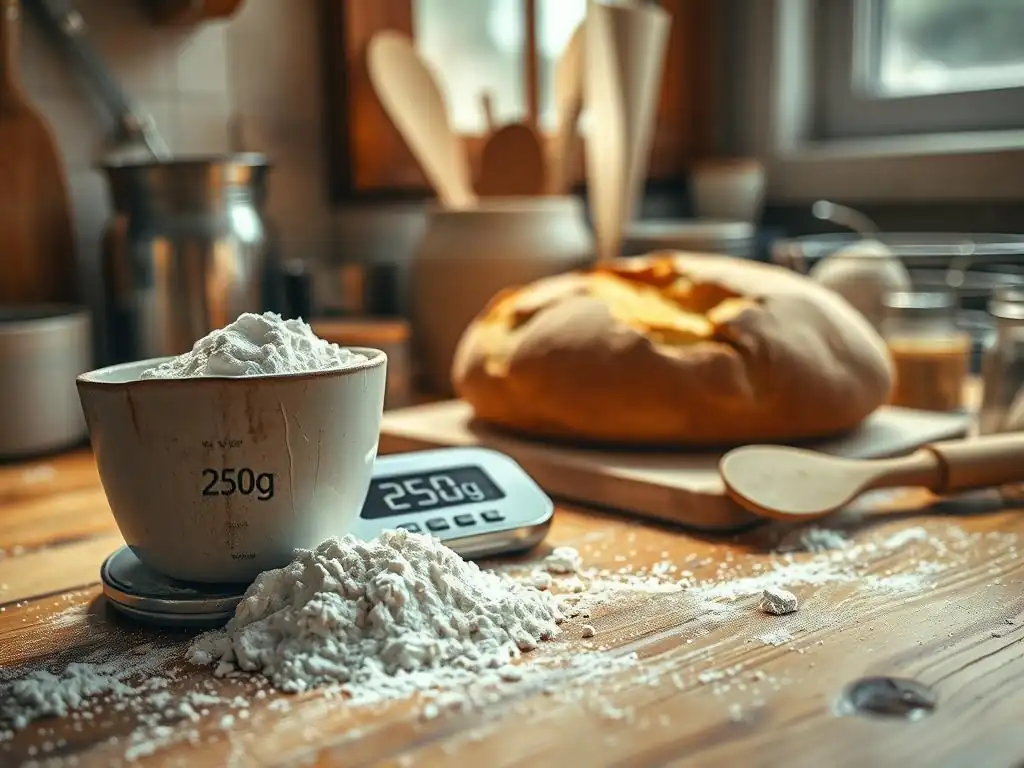
Tips for Transitioning from Cups to Grams in Your Bread Baking
Making the switch from cups to grams might seem daunting at first, but it quickly becomes intuitive. Start by investing in a reliable digital kitchen scale that measures in grams and has a tare function. Begin by finding recipes that already provide measurements in grams – many modern baking blogs and cookbooks do. This allows you to follow a recipe designed for weight from the start.
If you have a favorite cup-based recipe, try converting it using a reputable online conversion chart (like King Arthur Baking's). When you bake the converted recipe, pay close attention to the dough's feel. Does it seem wetter or drier than you remember? Make notes and adjust slightly on future bakes until you achieve the desired consistency. This iterative process, guided by the precision of grams, will help you fine-tune your understanding of hydration and dough feel for perfect cup vs gram bread.
Addressing Issues Such as Sticky Dough When Using Gram Measurements
Even with precise gram measurements, dough consistency can sometimes seem off due to factors like flour type, humidity, or even the specific batch of flour. If you're using a recipe designed for grams and your dough is unexpectedly sticky (indicating too much water relative to flour), first verify your measurements. Did you tare the scale correctly? Did you add the exact weight specified?
If measurements are confirmed accurate, consider the flour itself. Different brands or types of flour absorb water differently. For instance, some whole wheat flours might absorb more water than standard all-purpose.
If the recipe specified a certain flour type, ensure you're using it. If the issue persists, make a small adjustment in future batches – perhaps reduce the water by 10-20 grams or increase the flour by a similar amount – until you achieve the desired dough consistency for your environment and ingredients. Grams make these controlled adjustments possible, unlike the guesswork involved with cups for cup vs gram bread.
Advanced Bread Baking Techniques: Embracing Precision
Measuring Water Temperature Accurately for Yeast Activation
Beyond measuring the ingredients themselves, precision extends to factors like water temperature, which is crucial for yeast activation. Most bread recipes call for water within a specific temperature range – often lukewarm (around 95-105°F or 35-40°C) for active dry yeast or cooler (around 75-85°F or 24-30°C) for instant yeast or slower rises. Water that is too hot can kill the yeast, while water that is too cold will slow down or inhibit yeast activity.
Using a thermometer to measure your water temperature precisely ensures your yeast is happy and active, leading to a reliable rise. This is another example of how attention to detail and accurate measurement – whether of mass (grams) or temperature (degrees) – contributes significantly to successful cup vs gram bread outcomes.
Why Precise Salt Measurement Matters for Gluten Strength
Salt is not just for flavor in bread; it plays a vital role in controlling yeast activity and strengthening the gluten structure. Salt slows down fermentation, preventing the dough from rising too quickly and allowing flavors to develop. More importantly, salt tightens the gluten network, making the dough stronger and more elastic, which helps it hold its shape and trap gases during proofing and baking.
Too little salt can result in a pale, bland loaf with a weak structure that spreads rather than rises. Too much salt can inhibit yeast activity excessively and make the dough too tight, leading to a dense crumb. Measuring salt precisely by grams (usually 1.8-2% of the flour weight) ensures you get the right balance for flavor, fermentation control, and gluten development, contributing to a failproof cup vs gram bread.
BakeWithEase: Your Journey to Perfect Bread Starts Here
Mastering Baking Techniques for Consistent Results
Mastering bread baking is a rewarding process, and accurate measurement using grams is a fundamental technique that will elevate your results. By embracing precision with a kitchen scale, you gain control over the critical ratios that define dough consistency, gluten development, and ultimately, the texture and structure of your finished loaf. This consistency allows you to troubleshoot effectively and replicate your successes time and time again.
Moving beyond cups to grams is a key step towards becoming a more confident and skilled bread baker. It eliminates a major source of variability and allows you to focus on other important techniques like mixing, kneading, shaping, and proofing. At BakeWithEase, we encourage you to take this step and experience the difference that precision makes in your cup vs gram bread journey.
Explore More Bread Baking Recipes on BakeWithEase
Now that you understand the power of gram measurements, it's time to put your knowledge into practice! BakeWithEase offers a wide variety of bread recipes, many of which include gram measurements for optimal accuracy. From beginner-friendly no-knead loaves to challenging sourdoughs, you'll find recipes designed to help you succeed.
Explore our collection, choose a recipe that excites you, grab your kitchen scale, and start baking with confidence. With accurate measurements and our step-by-step guides, you're well on your way to baking delicious, consistent, and failproof bread. Happy baking!
Frequently Asked Questions
How does using cups versus grams affect the outcome of my bread baking?
Using cups for measuring ingredients can lead to inconsistencies due to variations in how tightly ingredients are packed. Grams provide a more precise and reliable measurement, resulting in more consistent bread.
Why does BakeWithEase recommend using grams over cups for bread recipes?
BakeWithEase advocates for grams because they offer greater accuracy compared to cups. This precision is crucial for achieving the correct hydration and gluten development needed for successful bread baking.
If I only have measuring cups, can I still bake bread successfully?
Yes, you can, but it requires extra care. Ensure you use proper measuring techniques (e.g., spooning and leveling flour) and understand that results might vary. Consider using a conversion chart as a starting point.
What type of kitchen scale is best for measuring ingredients in grams for bread baking?
A digital kitchen scale with a tare function is ideal. The tare function allows you to zero out the weight of the bowl or container, ensuring you only measure the ingredient itself.
What are the most common mistakes people make when using cups to measure ingredients for bread?
Overpacking or underpacking ingredients like flour is a common error. Another mistake is not using the correct size measuring cup or leveling the ingredients properly, leading to inaccurate ratios and poor bread texture.
Final Reflection: The Weight of Precision in Baking
The debate between cups and grams in baking isn't just a kitchen quirk; it's the difference between a satisfying loaf and a culinary catastrophe. Accurate measurement is paramount, and this article has highlighted why grams consistently outperform cups when it comes to bread making. The seemingly small discrepancies between measuring methods can lead to significant variations in texture, rise, and overall taste.
The shift towards gram-based baking reflects a broader cultural appreciation for precision and consistency in food preparation. We've moved beyond the era of "eyeballing" ingredients; the pursuit of perfect bread, like many other aspects of modern life, demands a meticulous approach. The difference between ordinary and extraordinary is that little extra.
This quote, though not specifically about baking, perfectly encapsulates the impact of precise measurement on the final product. The subtle nuances revealed by weighing ingredients, rather than relying on imprecise volume measurements, have profoundly changed my own baking experience, leading to more reliable and delicious results.
Now, consider your own baking journey. Are you ready to embrace the accuracy of grams and unlock the potential for consistently perfect loaves? Take the leap – invest in a kitchen scale, experiment with gram-based recipes, and experience the transformative power of precise measurement. The journey to mastering bread baking begins with a commitment to accuracy, and the rewards are well worth the effort. You might be surprised by the difference!
Unlock Your Baking Potential: Master the Perfect Loaf!
Thanks for taking the time to explore the world of cup vs. gram measurements! You've now armed yourself with the knowledge to avoid those frustrating baking fails. Ready to put your new skills to the test?
- Bake a perfect loaf today! Use your newfound knowledge to confidently measure ingredients for your next bread recipe – and see the delicious difference!
- Share your baking triumph! Post a picture of your masterpiece on social media and tag us – we'd love to see it!
- Explore our other baking guides: Delve into our extensive library of recipes and tutorials to further improve your baking game.
What innovative baking technique will you master next?