
Preventing Cookie Spreading on Warm Kitchen Countertops

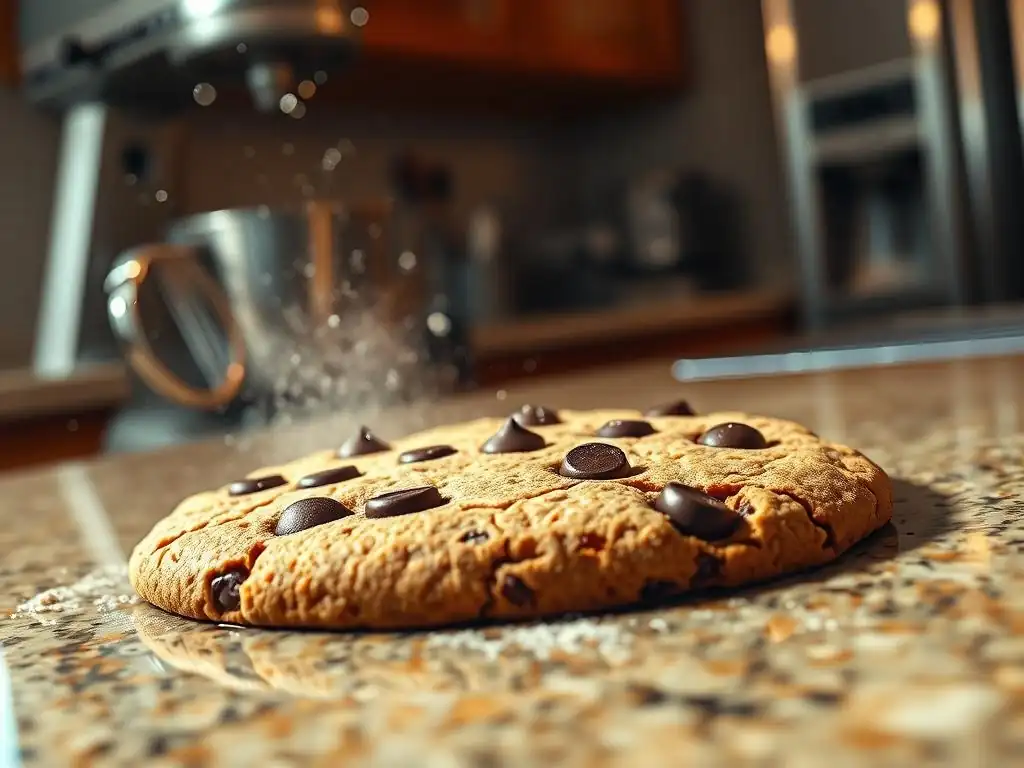
Welcome to BakeWithEase, your guide to baking bliss! Ever wondered why cookies spread too much when left on a warm counter? We've all been there! This article dives deep into the science behind cookie spreading, offering practical tips and tricks to ensure your next batch comes out perfectly shaped, even with the kitchen heat cranked up. Discover the secrets to picture-perfect cookies and say goodbye to flat, disappointing results!
- Preventing Cookie Spreading on Warm Kitchen Countertops: A BakeWithEase Guide
- Introduction: The Mystery of Spreading Cookies
- The Science Behind Cookie Spread: Temperature and Ingredients
- Identifying Warm Countertop Issues: Is Your Kitchen Too Hot?
- Troubleshooting Cookie Spreading: Solutions for Warm Kitchens
- Specific Cookie Types and Their Spreading Tendencies
- Advanced Techniques for Controlling Cookie Shape
- Summary: Mastering Cookie Baking in Warm Environments
- Further Reading: Explore More Baking Tips & Hacks on BakeWithEase.com
-
Frequently Asked Questions
- Why do cookies spread too much when the dough is left on a warm counter?
- How can I prevent my cookie dough from getting too warm on the counter?
- What ingredients contribute most to cookie spreading?
- Does the type of fat used in the cookie recipe affect spreading?
- What oven temperature is best for preventing cookie spreading?
- Final Reflection: The Enduring Mystery (and Solution!) of the Spreading Cookie
- Unleash Your Baking Potential: Keep Those Cookies Cool!
Baking cookies should be a joy, a simple act that results in delicious, perfectly shaped treats. However, sometimes our cookies have other plans, spreading into thin, flat discs that look nothing like the picture in the recipe. This common issue, often exacerbated by environmental factors like a warm kitchen, can be frustrating. Understanding the why behind this phenomenon is the first step to baking success.
Have you ever wondered why cookies spread warm counter or when sitting on a warm surface before baking? It's a frequent question we hear at BakeWithEase. The dough's interaction with temperature, both in the kitchen and the oven, plays a critical role in how much your cookies spread. A warm countertop can subtly but significantly impact your dough even before it hits the heat of the oven.
The primary culprit behind cookies spreading too thin on warm counters is the premature softening or melting of the fats in your dough, primarily butter. When cookie dough sits on a surface warmer than room temperature, the butter begins to soften beyond its ideal consistency. This leads to a dough that is too pliable and less structured before it even enters the oven.
Upon hitting the heat of the oven, this already-softened dough melts much faster than dough that was properly chilled or at room temperature. The rapid melting of fat allows the dough to collapse and spread outward quickly before the flour and egg proteins have a chance to set and provide structure. This is a key reason why cookies spread warm counter surfaces contribute to excessive spreading.
Temperature is arguably the most critical factor in cookie baking, influencing everything from texture to spread. The temperature of your ingredients, the dough itself, the baking sheet, and even the ambient temperature of your kitchen all contribute to the final result. Specifically, the temperature of your dough dictates how the fats melt and interact with other ingredients during baking.
Cold dough, typically chilled in the refrigerator, contains firm fat particles. As the cookie bakes, these particles melt more slowly, creating small pockets of steam that contribute to lift and a thicker cookie. Conversely, warm or soft dough, perhaps from sitting on a warm counter, causes the fat to melt too quickly and extensively, leading to excessive spread before the structure can solidify. This explains why cookies spread warm counter surfaces so readily facilitate this issue.
Understanding the science is key to preventing unwanted spread. It's a delicate balance between the melting point of fats, the setting point of proteins, and the role of leavening agents. When you place dough on a warm surface, you're essentially accelerating the initial stages of this process before the cookie even reaches the oven's heat.
The interaction between temperature and your core ingredients – butter, sugar, and flour – is fundamental. The temperature of your kitchen environment, including the countertop, directly impacts these interactions before baking begins. This is central to understanding why cookies spread warm counter scenarios cause problems.
Butter is the primary fat in most cookie recipes and its temperature is paramount. Recipes often call for "room temperature" or "softened" butter, which is typically around 65-68°F (18-20°C). At this temperature, butter is pliable but still holds its shape. When creamed with sugar, it incorporates air pockets, contributing to lift.
However, if butter is too warm – say, 75°F (24°C) or higher, or softened by a warm countertop – it becomes greasy and doesn't hold air as well. When this dough bakes, the overly soft butter melts almost instantly, causing the cookie to spread out rapidly before the structure sets. For instance, dough made with butter just above room temperature might spread 10-15% more than dough made with butter at the ideal temperature, especially if placed on a warm surface.
Sugar plays multiple roles in cookies: sweetness, tenderness, and structure. Different types of sugar also affect spread. Granulated sugar, with its larger crystals, helps to aerate the dough when creamed with butter. However, it also melts and spreads when heated, contributing to the overall spread of the cookie.
If dough is placed on a warm counter, the sugar crystals near the surface can begin to soften or even slightly dissolve prematurely, especially if there's any moisture present. This can weaken the dough's structure before baking, making it more susceptible to excessive spreading in the oven. A dough with a higher ratio of sugar to flour will naturally spread more, and this effect is amplified why cookies spread warm counter surfaces.
Flour provides the structure in cookies. Gluten development (though minimal in cookies) and the starch within the flour absorb liquid and set during baking. A recipe's flour-to-liquid ratio is critical for controlling spread. Too little flour or too much liquid results in a weaker dough that spreads easily.
The balance of liquid (from eggs, extracts, etc.) and flour determines the dough's viscosity. A dough that is too wet will spread more. While a warm counter doesn't directly add liquid, it can affect how the flour absorbs the existing liquid by altering the dough's temperature and the fat's consistency. Ensuring your flour is accurately measured (spooned and leveled, not scooped) and your liquids are proportionate is vital to prevent excessive spread, particularly when environmental factors like a warm counter are present.
Identifying Warm Countertop Issues: Is Your Kitchen Too Hot?
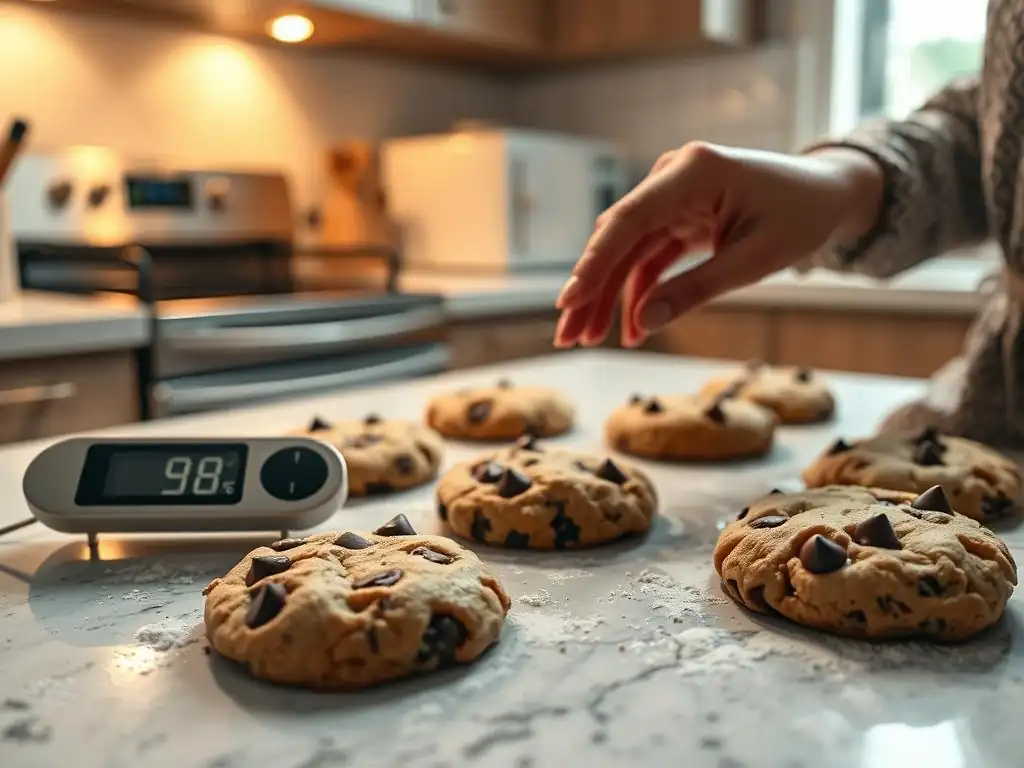
Sometimes, the problem isn't just the recipe or your technique, but the environment itself. A kitchen that is too warm, especially during summer months or after heavy cooking, can significantly impact your baking. This warmth permeates surfaces, including countertops, making them less than ideal resting places for temperature-sensitive cookie dough.
Recognizing the signs of a kitchen that's too warm for baking is important. If you feel uncomfortably warm, if your butter softens almost instantly when left out, or if your dough becomes greasy quickly, your kitchen temperature is likely contributing to issues like excessive cookie spread. Understanding why cookies spread warm counter surfaces is easier when you can identify the warmth itself.
Recognizing the Signs of a Too-Warm Baking Environment
Beyond just feeling hot, there are specific signs your kitchen environment is impacting your baking. Your butter might soften from firm to greasy in just a few minutes on the counter. Chocolate chips in your dough might start to feel tacky or even slightly melt while you're scooping. Dough that should hold its shape firmly might become loose and sticky very quickly.
Consider the ambient temperature. Most baking recipes assume a standard room temperature of around 68-72°F (20-22°C). If your kitchen is consistently above 75°F (24°C), you'll likely encounter issues with dough consistency and spread. This elevated temperature directly affects surfaces like countertops, making them a contributing factor to why cookies spread warm counter surfaces before baking.
While you don't need a laboratory setup, you can get a good idea of your countertop temperature. A simple infrared thermometer (often used for cooking) can give you a surface temperature reading. Aim for a countertop temperature ideally below 70°F (21°C) when working with or resting cookie dough, especially butter-based doughs.
If you don't have a thermometer, a simple test can help. Place a small, firm pat of butter on the clean counter surface. Observe how quickly it softens. If it becomes noticeably soft and greasy within 5-10 minutes, your counter is likely warm enough to negatively affect cookie dough left on it for extended periods. This helps confirm why cookies spread warm counter issues might be affecting your results.
Dealing with excessive cookie spread, especially when warm conditions are a factor, requires a few strategic adjustments. Fortunately, there are several effective techniques you can employ to combat this issue. These methods focus on controlling the dough's temperature and consistency before it goes into the oven.
The goal is to ensure the fat in your dough remains firm until it hits the heat of the oven, allowing the cookie structure to set properly as the fat melts. Here are some reliable solutions to prevent why cookies spread warm counter issues from ruining your batch.
This is perhaps the most widely recommended and effective method for controlling cookie spread. Chilling the dough solidifies the fat (butter) and allows the dry ingredients, particularly flour, to fully hydrate. This creates a firmer, more stable dough structure that is less prone to spreading rapidly when heated.
Proper chilling ensures that when the dough hits the hot oven, the butter melts more slowly. This gives the edges of the cookie time to set before the center completely collapses, resulting in a thicker cookie with less overall spread. For instance, chilling dough for just 30 minutes can reduce spread by 20-30% compared to baking unchilled dough, especially if the dough started slightly warm from sitting on a counter.
The Importance of Properly Chilled Cookie Dough
Chilling dough does more than just firm up the fat. It also allows flavors to meld and deepen, often resulting in a more delicious cookie. More importantly for structure, the flour absorbs more moisture over time, creating a more stable matrix. This reduces the dough's tendency to relax and spread while waiting on the baking sheet.
Dough straight from mixing, even if ingredients were the correct temperature, is often too soft to bake immediately for optimal shape. A minimum of 30-60 minutes in the refrigerator is generally recommended for most drop cookies. For dough that's been exposed to a warm counter, chilling is even more critical to reverse the softening effect.
Optimal Chilling Times for Different Cookie Recipes
Optimal chilling times vary based on the recipe's fat content and overall hydration. Standard drop cookies (like chocolate chip or peanut butter) benefit from at least 30 minutes, but 2-24 hours can significantly improve texture and flavor, as well as minimize spread. Slice-and-bake cookies require chilling until firm enough to slice cleanly, usually 1-2 hours.
For dough that feels particularly soft or greasy, perhaps from sitting on a warm surface, extend the chilling time. If you plan to bake in batches and have dough waiting, keep the unbaked portions in the refrigerator until you are ready to scoop and place them directly onto the baking sheet just before they go into the oven. This minimizes their exposure to any warm surfaces.
Solution 2: Using Parchment Paper or Silicone Baking Mats
While not a direct solution to why cookies spread warm counter issues before baking, using parchment paper or silicone mats during the baking process is crucial for managing spread and ensuring even results. These surfaces provide a non-stick barrier and can influence how the cookie heats and spreads.
Baking directly on a greased or ungreased metal baking sheet can sometimes lead to more rapid spread, especially on older or darker pans that absorb heat quickly. Parchment paper and silicone mats create a consistent surface that can help regulate the heat transfer to the cookie dough, promoting more even baking and potentially slightly less spread compared to baking directly on a hot pan.
Preventing Cookie Stickage and Uneven Spreading
Parchment paper and silicone mats guarantee that your cookies won't stick to the pan, making them easy to remove without damage. This is particularly helpful with cookies that spread a lot. Beyond preventing sticking, the smooth, consistent surface they provide ensures that each cookie spreads uniformly in all directions, rather than potentially sticking in one spot and spreading unevenly.
For instance, if a dough is prone to sticking slightly to a metal pan, that resistance can impede smooth, even spread. Using parchment or a mat eliminates this variable, allowing the dough to spread naturally according to its composition and temperature, rather than being influenced by the pan's surface texture or stickiness.
Benefits of Parchment Paper vs. Silicone Mats
Both parchment paper and silicone mats are excellent non-stick options, but they have slight differences. Parchment paper is single-use, convenient, and provides a very smooth surface. It can sometimes lead to slightly crispier bottoms due to direct contact with the pan's heat, though the paper acts as a slight buffer.
Silicone mats (like Silpat) are reusable, more durable, and provide excellent non-stick properties. They tend to insulate the bottom of the cookie slightly more than parchment, which can result in a softer, chewier bottom and potentially marginally less spread. Using either is vastly superior to baking directly on a greased pan for consistent, non-stick results and controlled spread.
If you consistently battle excessive spread, especially in a warm environment, a minor adjustment to your recipe might be necessary. Small tweaks to the ratio of ingredients can significantly impact the dough's behavior when heated. This is a more advanced step, but very effective once you understand the role of each component.
Adjusting ingredients like sugar, flour, or even the type of fat can help create a sturdier dough less susceptible to spreading too much, even if it sits briefly on a slightly warm surface. This addresses the core composition that dictates why cookies spread warm counter or in the oven.
Reducing Sugar Content for Less Spreading
Sugar contributes to spread because it melts into a liquid when heated. Reducing the granulated sugar content in your recipe by a small amount (e.g., 10-15%) can help. For example, if a recipe calls for 1 cup (200g) of granulated sugar, try using 3/4 cup (150g). Be mindful that this will also affect sweetness and texture, potentially resulting in a slightly less tender or sweet cookie.
Consider the type of sugar too. Brown sugar contains molasses and moisture, which can slightly increase spread compared to granulated sugar. Using a higher ratio of granulated to brown sugar, or slightly reducing the total sugar, can help control spread in recipes where it's a persistent issue.
Increasing Flour for a Sturdier Cookie Structure
Flour provides the primary structure. Adding a small amount of extra flour can create a firmer dough that resists spreading. If your cookies are consistently too flat, try adding 1-2 tablespoons (8-16g) of extra flour per cup of flour called for in the recipe. For example, if a recipe uses 2 cups (240g) of flour, try 2 cups plus 2 tablespoons (around 256-264g).
Be careful not to add too much flour, as this can result in dry, dense, or cakey cookies. The goal is a subtle increase to bolster the structure, not fundamentally change the texture. This is particularly helpful in recipes that seem prone to spreading, even when chilled properly, and addresses why cookies spread warm counter surfaces exacerbate this structural weakness.
Substituting Butter with Shortening for Less Spread
Butter has a relatively low melting point and contributes significantly to spread. Shortening, on the other hand, is 100% fat (unlike butter which is about 80-85% fat and 15-20% water/milk solids) and has a higher melting point. Substituting a portion of the butter with shortening can dramatically reduce spread.
For instance, replacing half of the butter with an equal weight of shortening can result in a much thicker, taller cookie. Shortening doesn't cream with sugar to incorporate air in the same way butter does, so cookies made solely with shortening might be less tender and flavorful than those made with butter. A 50/50 blend is a common compromise to control spread while retaining some butter flavor and texture benefits.
Solution 4: Cooling the Countertop Surface
If you must work on a countertop that feels warm, actively cooling the surface can make a difference, especially when measuring or shaping dough. This is a temporary fix but can prevent the dough from softening prematurely while you are handling it.
This method is particularly useful if you live in a hot climate, your kitchen retains heat, or you've just finished using your oven extensively, warming up the surrounding surfaces. It directly counteracts the why cookies spread warm counter problem at its source.
Using Ice Packs or Damp Towels to Lower Counter Temperature
Before you start working with your dough, you can place ice packs or trays of ice wrapped in towels on the section of the counter you plan to use. Leave them there for 10-15 minutes to draw heat away from the surface. Alternatively, you can wipe the counter down with a cloth soaked in cold water, repeating as needed, though this introduces moisture.
Ensure the surface is completely dry before placing any dough on it, as moisture can also negatively impact dough consistency. This technique is most practical for smaller areas where you'll be portioning or shaping dough.
Creating a Temporary Cold Surface for Cookie Baking
If you need a cool surface to rest scoops of dough before transferring them to the baking sheet, consider using a marble pastry board (marble stays naturally cooler) or even placing a metal baking sheet in the refrigerator or freezer for a few minutes before scooping onto it.
Once scooped onto this chilled surface, you can then transfer the dough balls quickly to your parchment-lined baking sheet ready for the oven. This minimizes the time the dough spends on any potentially warm surface and helps maintain its firm structure right up until baking, effectively mitigating the why cookies spread warm counter issue.
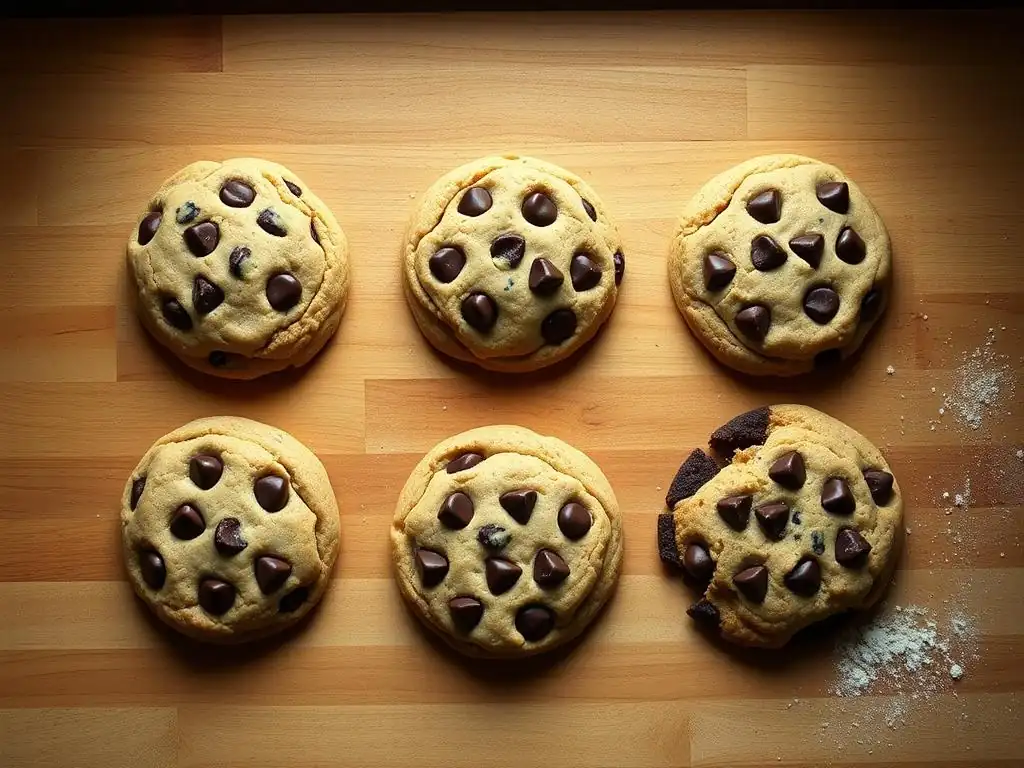
Different types of cookies have inherent differences in their spread based on their composition. Understanding these tendencies helps in troubleshooting. For example, a shortbread cookie with a high butter content and no leavening will spread differently than a chewy chocolate chip cookie with brown sugar and baking soda.
Recognizing the typical spread for a cookie type helps you determine if your spread is normal or excessive, and why cookies spread warm counter surfaces might affect certain types more than others.
Classic roll-and-cut sugar cookies require minimal spread to maintain their shapes. They typically have a higher flour-to-fat ratio than drop cookies and often use only granulated sugar. Excessive spread in sugar cookies usually means the dough was too warm, the butter was too soft, or there wasn't enough flour.
To prevent spread in sugar cookies, ensure your butter is just softened, not greasy. Chill the dough thoroughly before rolling and cutting – at least 1-2 hours, or until quite firm. Cut shapes and immediately place them on a parchment-lined baking sheet. If your kitchen is warm, pop the entire baking sheet with cut cookies into the refrigerator or freezer for 10-15 minutes before baking. This is crucial because why cookies spread warm counter surfaces is a direct impact of temperature on the dough's structure.
Chocolate chip cookies are notorious for spreading, partly because many recipes use a high proportion of butter and a mix of granulated and brown sugars, both of which promote spread. The ideal chocolate chip cookie often involves a balance of spread and thickness.
To control spread in chocolate chip cookies, start with butter that is properly softened, not melted or greasy. Chilling the dough is highly effective; even 30 minutes helps. For thicker cookies, try using slightly less butter (e.g., reducing by 1-2 tablespoons per cup) or substituting a small amount of butter with shortening. Also, ensure your leavening (baking soda/powder) isn't expired, as inactive leavening can sometimes contribute to excessive spread if the cookie doesn't rise properly before the fat melts.
Traditional peanut butter cookies made with the classic three ingredients (peanut butter, sugar, egg) often spread significantly because peanut butter is high in fat. Recipes that add flour and leavening tend to spread less.
To get a chewier, less spread-out peanut butter cookie, use a recipe that includes flour. Chill the dough before baking. The classic criss-cross fork pattern pressed into the cookie also helps to control spread by slightly compacting the dough. If using a recipe without added flour, ensuring the peanut butter isn't oily (stir natural peanut butter well) and chilling the dough thoroughly are your best defenses against excessive spread, especially if dealing with why cookies spread warm counter issues.
Beyond ingredient ratios and temperature control, there are specific handling techniques that can help you achieve perfectly shaped cookies every time. These methods are particularly useful when you're aiming for uniformity or working with doughs that are prone to spreading.
These techniques complement temperature control and recipe adjustments, providing additional layers of control over the final cookie shape, regardless of minor environmental challenges or why cookies spread warm counter issues.
For roll-and-cut cookies, using sharp cookie cutters is essential. Dip the cutter in flour between each cut to prevent sticking. Ensure your dough is evenly rolled to a consistent thickness (typically 1/4 inch or 6mm). After cutting, carefully transfer the shapes to a parchment-lined baking sheet using a thin spatula.
If you notice the shapes distorting as you transfer them, the dough is likely too warm. Pop the rolled dough back into the refrigerator for 10-15 minutes before cutting, or chill the cut shapes on the baking sheet before baking, as mentioned earlier. This prevents the dough from relaxing and losing its shape on a warm surface.
For drop cookies, the way you shape the dough balls can impact uniformity. Using a cookie scoop (disher) of a consistent size ensures each cookie starts with the same volume of dough. For perfectly round cookies, you can gently roll the scooped dough between your palms into smooth balls.
For slightly taller cookies, some bakers recommend shaping the dough into taller, cylindrical logs rather than perfect spheres. As they bake, they will still spread, but the initial height can result in a thicker cookie. This technique is especially useful if you're trying to counteract the natural tendency for why cookies spread warm counter issues lead to flat cookies.
An interesting technique for achieving perfectly round, consistently sized, and thicker cookies is to bake them in muffin tins. Lightly grease the cups of a standard muffin tin or line them with paper liners. Place a scoop of cookie dough in each cup.
As the cookies bake, the sides of the muffin tin restrict their lateral spread, forcing them to rise upwards more. This results in thick, perfectly round cookies. This method completely bypasses any issues related to countertop temperature or dough handling affecting the initial shape, providing a guaranteed uniform result.
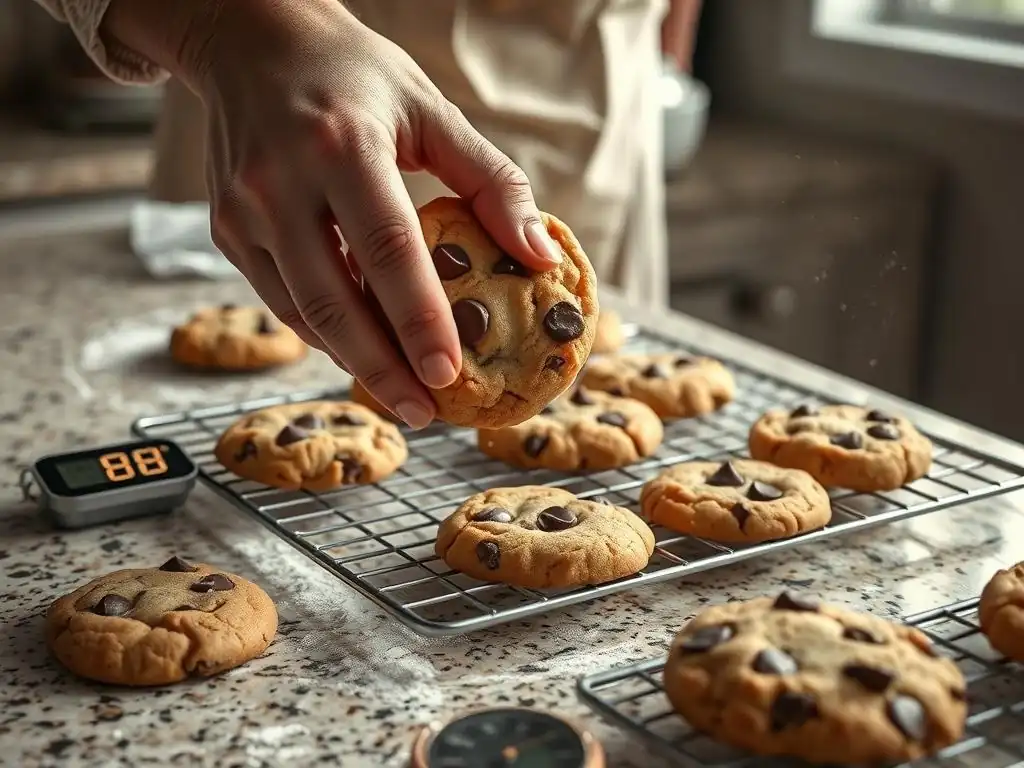
Baking perfect cookies, even in a warm kitchen, is absolutely achievable with the right knowledge and techniques. Understanding why cookies spread warm counter surfaces and warm environments contribute to this issue is the first step. By controlling dough temperature, adjusting recipes slightly when necessary, and using smart baking practices, you can consistently produce beautiful, delicious cookies.
Remember that temperature control, particularly chilling the dough, is your most powerful tool against excessive spread. Combine this with proper ingredient ratios and smart handling, and you'll overcome the challenges posed by a warm kitchen.
- Chill Your Dough: This is the most effective method. Refrigerate dough for at least 30 minutes, and up to 24 hours or more for best results.
- Start with Proper Butter Temperature: Use butter that is softened, not melted or greasy.
- Measure Ingredients Accurately: Especially flour and sugar, as their ratio significantly impacts spread.
- Use Parchment or Silicone Mats: These provide a consistent, non-stick surface for even baking and spread.
- Consider Recipe Adjustments: Slightly reducing sugar or increasing flour can help sturdier doughs.
- Cool Surfaces if Necessary: Avoid letting dough sit on warm countertops. Use chilled surfaces if needed.
By implementing these strategies, you can take control of your cookie baking. Don't let a warm kitchen frustrate you! With a little planning and attention to dough temperature, you can achieve consistent, delicious results batch after batch. Happy baking!
Further Reading: Explore More Baking Tips & Hacks on BakeWithEase.com
Frequently Asked Questions
Cookies spread excessively on a warm counter because the butter in the dough softens, causing it to melt too quickly in the oven. This results in a flat, thin cookie instead of one with a defined shape. The warm temperature also activates gluten development, contributing to spread.
The best way to prevent excessive spreading is to keep the dough chilled. Consider placing the cookie dough in the refrigerator for 15-20 minutes before scooping, especially if your kitchen is warm. Alternatively, scoop the dough onto a baking sheet and then chill the entire sheet before baking.
Butter and sugar are the main culprits. Butter, especially when softened too much, melts rapidly. Too much sugar, particularly granulated sugar, attracts moisture and promotes spreading. Using too little flour can also contribute to the problem.
Yes, it does! Recipes using all butter are more prone to spreading than those using shortening or a combination of both. Shortening has a higher melting point than butter, providing more structure to the cookie as it bakes.
Baking cookies at the correct oven temperature is crucial. If the oven is too low, the butter will melt before the structure sets. Generally, a temperature of 350-375°F (175-190°C) is recommended to allow the cookies to set before they spread too much.
The seemingly simple act of baking a cookie holds a surprising amount of scientific complexity, and understanding the science behind why cookies spread on warm countertops is crucial for achieving that perfect, chewy texture. Ignoring the subtle interplay of temperature, ingredients, and baking surface can lead to a batch of flat, disappointing cookies—a culinary tragedy indeed! This article has explored the key factors contributing to this common baking problem, offering practical solutions for achieving perfectly formed cookies every time.
The impact of this seemingly small issue extends beyond the individual baker's frustration. It speaks to a larger appreciation for the delicate balance required in cooking and baking, a balance easily disrupted by seemingly insignificant variables. The difference between something good and something great is attention to detail.
This quote, while often applied to other fields, perfectly encapsulates the importance of understanding the nuances of cookie baking, from the precise measurement of ingredients to the careful consideration of countertop temperature. The pursuit of the perfect cookie, in its own way, reflects a broader human desire for mastery and precision.
Now, consider your own baking experiences. Have you ever been frustrated by a batch of spread-out cookies? Remember the feeling of disappointment when your carefully crafted treats failed to live up to expectations?
I encourage you to apply the knowledge gained from this article to your next baking adventure. Experiment with chilling your dough, using a cooler countertop, or adjusting your baking time. Embrace the challenge, and with a little attention to detail, you'll be well on your way to baking cookies that are not only delicious but also perfectly formed, a testament to your newfound understanding of the science behind the spread.
Thanks for taking the time to learn how to prevent cookie spread! We hope you now feel more confident in achieving perfectly shaped cookies every time. Ready to put your new knowledge into practice?
- Bake a batch of your favorite cookies today, using the tips we’ve shared. Note the difference!
- Share your baking triumphs (and even your flops!) on our BakeWithEase community forum. Let's learn from each other!
- Consider experimenting with different cooling methods – what unexpected results will you discover?
What's your go-to trick for preventing cookie spread? Let's chat in the comments!