
Crumbly Dough in Thumbprint Cookies? Bind It Together like a Pro

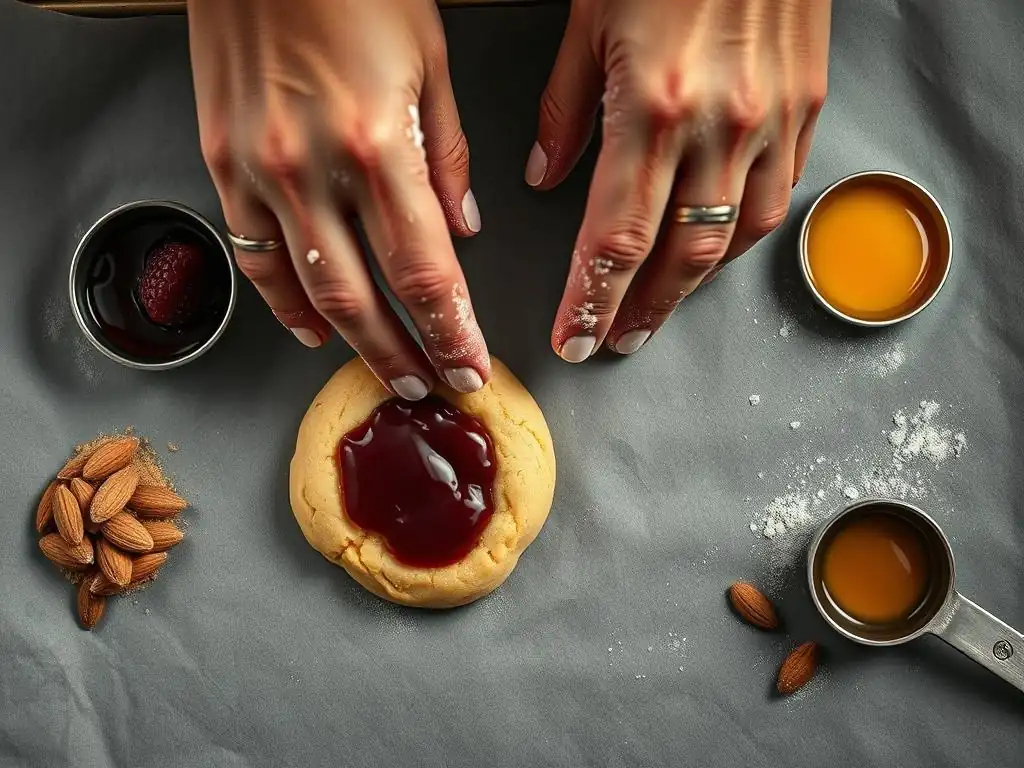
Welcome to BakeWithEase, your trusted guide to baking bliss! Ever wondered how to bind crumbly cookies and achieve that perfect, melt-in-your-mouth texture? Discover the secrets to rescuing even the most fragile dough and transforming it into delectable treats. Get ready to unlock the techniques that will make your thumbprint cookies – and all your baking adventures – a resounding success. Let's get baking!
- Troubleshooting Dry Cookie Dough: A Comprehensive Guide
- Understanding Dry Cookie Dough: Causes and Solutions
- Techniques to Fix Dry Cookie Dough
- Troubleshooting Specific Ingredients
- Preventing Dry Cookie Dough: Best Practices
- Rescuing Severely Dry Dough: Emergency Solutions
- Achieving Perfect Cookie Dough: Summary of Techniques
-
Frequently Asked Questions
- How can I tell if my thumbprint cookie dough is too crumbly before baking?
- What's the most common reason for crumbly thumbprint cookie dough?
- Can I fix crumbly thumbprint cookie dough after I've already mixed it?
- Besides adding liquid, are there other ways to bind crumbly thumbprint cookie dough?
- What if my thumbprint cookies are still crumbly after baking?
- Final Reflection: The Unexpected Joy of Perfectly Bound Cookies
- Unleash Your Inner Baking Pro: Conquer Crumbly Dough!
When you're aiming for perfect cookies, encountering dry, crumbly dough can be frustrating. This often happens when the balance of wet and dry ingredients is off, leading to a mixture that doesn't hold together properly. Understanding the root causes is the first step in knowing how to bind crumbly cookies and achieve that ideal texture. It's a common issue, particularly with recipes that have a higher ratio of dry ingredients or use certain types of fats.
Troubleshooting dry cookie dough involves identifying why it's dry in the first place. Was the flour over-measured? Was the butter too cold or too little? Did the recipe call for less liquid than needed? Once you pinpoint the cause, applying the right technique, whether it's adding a touch more moisture or adjusting your handling, becomes much simpler. This guide will walk you through the common culprits and effective strategies to bring your dough back to life.
One of the most frequent reasons for dry, crumbly cookie dough is inaccurate ingredient measurement, specifically an excess of flour. Baking is a science, and even a slight surplus of flour – perhaps just a couple of extra tablespoons if you scoop directly from the bag rather than spooning and leveling – can significantly alter the dough's hydration level.
For instance, in a typical chocolate chip cookie recipe calling for 2 1/4 cups of flour, adding even just 1/4 cup more can absorb too much of the liquid from the butter and eggs, resulting in a stiff, dry mixture that resists coming together. Using too little fat (butter or shortening) or using fat that is too cold can also contribute, as fat provides crucial moisture and helps bind the dry ingredients.
Another significant factor is the temperature and state of the butter. If the recipe calls for softened butter but you use it straight from the refrigerator, its cold temperature prevents it from creaming properly with the sugar, which is a critical step for incorporating air and moisture into the dough.
Similarly, if melted butter is used when softened butter is required, the dough structure changes, often leading to a greasier but potentially still crumbly texture because the fat doesn't emulsify with the other ingredients as intended. Over-mixing the dough after the flour is added can also develop too much gluten, making the dough tough and less pliable, sometimes presenting as dryness.
A primary indicator of dry cookie dough is its inability to come together into a cohesive ball or mass. When you try to gather it, it breaks apart easily, feeling sandy or powdery rather than smooth and slightly sticky. For example, if you're making classic sugar cookies or shortbread and the dough crumbles extensively when you try to roll it out or shape it with your hands, you likely have a dryness issue. It won't hold its shape well and will resist being pressed or molded without cracking excessively around the edges.
Another sign is the appearance of visible dry flour patches or streaks that haven't been fully incorporated. While some doughs might start slightly shaggy, they should eventually smooth out with gentle mixing. If, after the recommended mixing time, you still see dry flour spots or the dough looks patchy and uneven, it's a clear signal of insufficient moisture. The dough might also feel stiff and difficult to work with, requiring significant effort to bring together, unlike a properly hydrated dough that feels pliable and somewhat yielding.
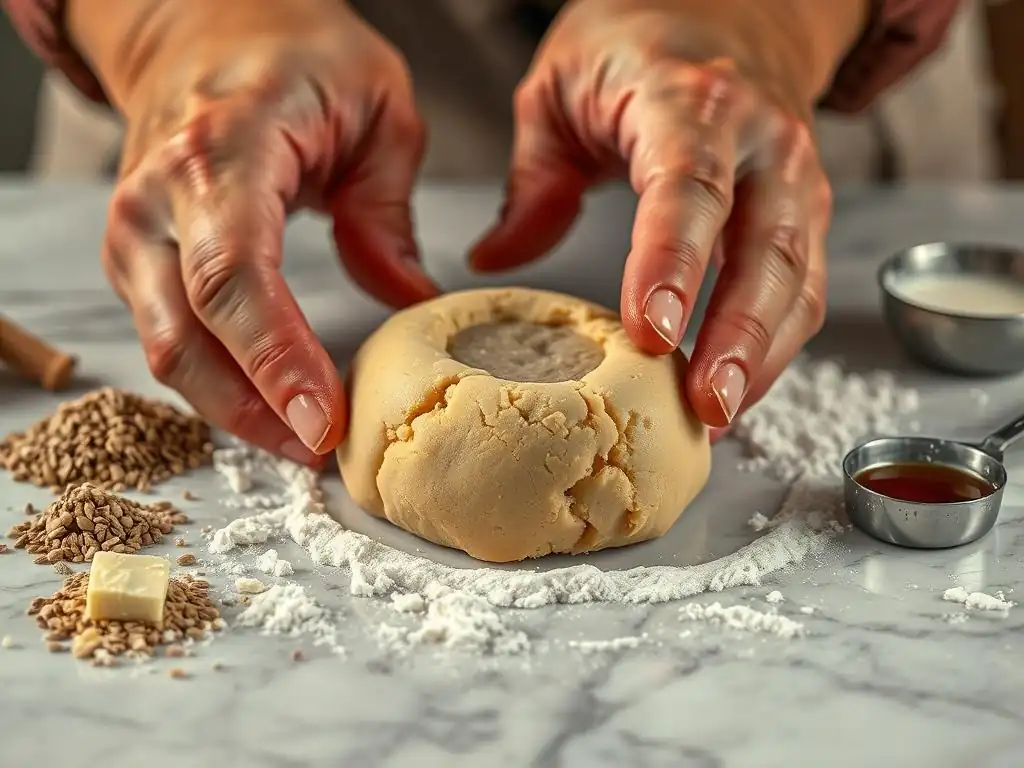
When faced with a dry, crumbly mixture, don't despair! Several techniques can help you rescue it. The key is to add moisture back into the dough or manipulate its structure to improve its binding capabilities without negatively impacting the final cookie texture. Choosing the right technique depends on how dry the dough is and the specific recipe you're working with. Sometimes, a simple adjustment is all that's needed to transform that crumbly mess into a workable dough.
Addressing dryness early on prevents frustration during the baking process. A properly hydrated dough will be easier to scoop, roll, or shape, and the resulting cookies will generally have a better texture – less likely to be hard or dry after baking. Learning these techniques is invaluable for any home baker, giving you the confidence to tackle common dough problems and ensure your cookies turn out perfectly every time.
Technique 1: Adding Moisture to Dry Dough
Adding a small amount of liquid is often the most direct way to fix dry cookie dough. The goal is to introduce just enough moisture to help the dry ingredients bind together without making the dough sticky or wet. Common liquids include milk, water, or even a splash of juice if it complements the flavor profile (like orange juice in citrus-flavored cookies). The key is to add the liquid very gradually, typically a teaspoon or tablespoon at a time, mixing gently after each addition until the dough reaches the desired consistency.
For example, if you have a batch of shortbread dough that's too crumbly to press into its pan, you might start by adding 1 teaspoon of whole milk. Gently work it into the dough with your hands or a spatula. If it's still too dry after a minute of mixing, add another teaspoon. Continue this process, adding only small amounts, until the dough just holds together when squeezed but isn't sticky. This careful, incremental approach prevents you from accidentally adding too much liquid, which can lead to tough or spread-out cookies.
Incorporating Liquids: Milk, Water, or Juice
When incorporating liquids like milk, water, or juice into dry cookie dough, it's best to pour the liquid into a small bowl first, rather than directly from the carton or tap. This allows you to control the amount added more precisely. Add a measured amount, such as 1/2 to 1 teaspoon, to the dough. Use a spatula or clean hands to gently work the liquid into the dry sections of the dough, focusing on areas that look particularly crumbly or powdery. Avoid vigorous mixing, especially if the dough already contains flour, as this can overdevelop gluten.
If you are working with a large batch of dough, you might divide it into smaller portions to make it easier to work the liquid in evenly. For a batch using 3-4 cups of flour, you might need a total of 1-3 tablespoons of liquid, but this is just an estimate; the actual amount needed depends entirely on how dry the dough is and the specific recipe. Continue adding liquid, a small amount at a time, until the dough just comes together when squeezed. The dough should feel cohesive but not wet or sticky.
Determining Liquid Quantity: Preventing Overly Wet Dough
Determining the exact amount of liquid needed to fix dry cookie dough is a process of careful observation and incremental addition. There's no one-size-fits-all answer, as it depends on the initial dryness level, the specific recipe, and even environmental factors like humidity. The rule of thumb is to start small – typically 1/2 to 1 teaspoon for a standard batch of cookies – and mix it in thoroughly before deciding if more is needed. Look for visual cues: does the dough still have dry patches? Does it crumble when you try to form a ball?
After adding a small amount and mixing, test the dough by squeezing a small portion in your hand. If it holds together without crumbling, you've likely added enough. If it still falls apart, add another small amount (another 1/2 to 1 teaspoon) and repeat the process.
It's crucial to err on the side of adding too little and needing more, rather than adding too much at once. Too much liquid can make the dough sticky, difficult to handle, and can cause cookies to spread excessively or become tough. If you accidentally add too much, you may need to carefully add a tiny bit more flour (1/2 teaspoon at a time) to balance it back out, but this should be a last resort.
Technique 2: Working the Dough: Developing Gluten
Sometimes, a dough isn't necessarily lacking moisture but simply needs a little help to activate the binding properties of the flour's gluten. Gluten develops when flour is mixed with liquid and then worked or kneaded. While you generally want to avoid over-mixing cookie dough after the flour is added to prevent tough cookies, a slightly dry dough might benefit from a gentle amount of working to encourage the gluten network to form and hold the ingredients together. This is particularly true for doughs that are meant to be rolled or cut.
This technique is about helping the existing moisture and ingredients to bind, rather than adding new components. It's a fine balance; you want just enough gluten development to create structure and cohesion, but not so much that the cookies become hard or bready. It's most effective for doughs that are only slightly dry and crumbly, not those that are severely parched and powdery.
Gentle Kneading: Strengthening Dough Structure
For dough that is slightly dry and crumbly, especially if it's a type that benefits from some structure like sugar cookies or shortbread, gentle kneading can help. Turn the dough out onto a clean, lightly floured surface. Use the heel of your hand to push the dough away from you, then fold it back over itself. Rotate the dough slightly and repeat. This process helps distribute the moisture more evenly and encourages the gluten proteins in the flour to connect, creating a network that binds the dough together.
Perform this gentle kneading for only a short period, typically 30 seconds to a minute. You should feel the dough become slightly smoother and more cohesive as you work it. Be mindful not to over-knead, as excessive gluten development will result in tough cookies. The goal is just enough working to make the dough pliable and less crumbly, allowing you to roll or shape it without it falling apart. If the dough is severely dry, kneading alone won't be enough; you'll likely need to combine this with adding a little liquid (Technique 1).
Avoiding Over-Mixing: Maintaining Desired Texture
While gentle kneading can help a slightly dry dough, it's crucial to understand the difference between helpful working and harmful over-mixing. Once the flour is added to most cookie doughs, continued vigorous mixing, especially with an electric mixer, develops gluten rapidly. This results in a tough texture because the gluten strands become too strong and numerous. For example, if you beat chocolate chip cookie dough for several minutes after adding the flour, the resulting cookies will be dense and chewy, not the desired tender texture.
When attempting to fix dry dough, if you choose to work it, do so gently and only until the dough just comes together. If using a stand mixer, switch to a low speed or finish mixing by hand. Pay attention to the dough's texture; as soon as it looks cohesive and loses its crumbly appearance, stop mixing. The aim is to bind the crumbly cookies together with minimal gluten development, preserving a tender crumb in the final baked product.
Technique 3: Chilling the Dough: Enhancing Hydration
Chilling cookie dough is a common step in many recipes, and it serves several important purposes. Beyond making the dough easier to handle and preventing excessive spread during baking, chilling allows time for the dry ingredients, particularly the flour, to fully absorb the available moisture from the wet ingredients. This hydration process continues even when the dough isn't being actively mixed, effectively helping to bind crumbly dough over time.
For a dough that feels slightly dry or crumbly immediately after mixing, chilling can sometimes resolve the issue without adding extra ingredients. As the dough rests in the refrigerator, the liquid components (like butter, eggs, and any added milk) have more time to distribute themselves evenly and hydrate the flour particles. This results in a more uniformly moist and less crumbly dough.
Benefits of Chilling: Improved Dough Consistency
Chilling dry cookie dough offers several benefits. Primarily, it allows the flour ample time to absorb the moisture from the fats and liquids present in the dough. This process, known as hydration, is crucial for developing a cohesive dough structure. For instance, if you mix a batch of oatmeal cookie dough and it feels a bit dry, refrigerating it for an hour or two allows the oats and flour to soak up moisture from the butter and eggs, resulting in a less crumbly texture that's easier to scoop and bake.
Furthermore, chilling solidifies the fats in the dough. While this doesn't directly add moisture, firm fat contributes to a better dough consistency that holds together more readily when scooped or rolled. It makes the dough less sticky while simultaneously improving its ability to bind. This is why many recipes for cut-out cookies or scoop-and-bake cookies specifically call for chilling – it makes the dough workable and helps bind crumbly cookies effectively without adding more ingredients.
Optimal Chilling Time: Balancing Hydration and Workability
The optimal chilling time for dry cookie dough depends on how dry it is and the recipe type, but generally, allowing at least 30 minutes to an hour in the refrigerator is beneficial. For doughs that are quite crumbly, chilling for several hours or even overnight can significantly improve hydration and workability. During this time, the moisture migration happens slowly and effectively. For example, if your sugar cookie dough is too dry to roll out immediately, chilling it for 2 hours might make it perfectly pliable.
However, be mindful of chilling too long, especially if the dough contains a high amount of butter. Over-chilling can make the dough very hard and difficult to work with, requiring time to warm up slightly before it becomes pliable again. A good balance is often 1-4 hours for most doughs. If chilling overnight, you might need to let the dough sit at room temperature for 10-15 minutes before attempting to scoop or roll it. The goal is a dough that is firm but not rock hard, allowing for easy shaping while still being cohesive and well-hydrated.
Troubleshooting Specific Ingredients
Sometimes, the dryness of your cookie dough can be traced back to specific ingredients and how they were handled or measured. Butter, flour, and sugar all play distinct roles in the moisture balance and texture of cookie dough. Understanding how these ingredients behave and common pitfalls associated with them can help you prevent dryness from occurring in the first place or identify the likely cause if your dough turns out crumbly.
Addressing issues related to specific ingredients requires attention to detail in your baking process. It highlights the importance of following recipe instructions precisely, from ingredient temperature to measurement technique. By focusing on these foundational elements, you can significantly reduce the likelihood of ending up with dry, unworkable dough and improve your overall cookie-making success.
Butter is a critical component in cookie dough, providing fat for tenderness, flavor, and moisture. Issues with butter are a common reason for dry or crumbly dough. The temperature of the butter and its fat content significantly impact how it interacts with other ingredients and contributes to the dough's overall hydration and structure. Using butter that is too cold, too warm, or has an incorrect fat percentage can throw off the delicate balance of the recipe.
For instance, if a recipe calls for softened butter but you use it cold, it won't cream properly with the sugar, failing to create the necessary aeration and preventing the fat from coating the flour effectively. This leaves dry pockets and results in a crumbly dough. Conversely, if melted butter is used when softened is specified, the dough can become greasy but still lack the cohesive structure that properly creamed butter provides, sometimes still presenting as a challenging, crumbly mass.
Butter Temperature: Impact on Dough Hydration
The temperature of your butter is paramount for achieving the correct dough consistency and hydration. Most cookie recipes specify "softened" or "room temperature" butter, which typically means the butter should be pliable enough to indent easily with your finger but not melted or greasy, ideally around 65-70°F (18-21°C). At this temperature, butter contains tiny pockets of air and water. When creamed with sugar, the sugar crystals cut into the butter, creating more air pockets, which contributes to leavening and helps distribute moisture evenly.
If butter is too cold (e.g., straight from the fridge at 35-40°F), it won't cream effectively with sugar. The fat remains in hard chunks, unable to coat the flour particles adequately or create aeration. This directly results in a dry, crumbly dough because the fat isn't releasing its moisture or binding the ingredients together as intended. The dough will look uneven and resist coming together. Ensuring your butter is at the correct temperature before you start mixing is a simple but critical step in preventing dry cookie dough.
Butterfat Content: Selecting the Right Butter
While often overlooked, the butterfat content of your butter can subtly affect dough hydration and spread. Standard butter in the U.S. typically contains at least 80% butterfat, with the remaining percentage being mostly water and milk solids. European-style butter, often labeled as "high-fat," usually contains 82-84% butterfat. Using a butter with a significantly lower butterfat percentage than the recipe assumed (though less common in standard butters) could potentially contribute to a slightly drier dough, as there is less fat to provide moisture and tenderness.
Conversely, using a high-fat butter might result in a slightly richer, more tender cookie, but it shouldn't inherently cause dryness unless other factors are at play. The main concern regarding butter and dryness is usually temperature or quantity, not minor variations in fat content between standard butters. However, being aware that fat contributes moisture reinforces why accurate measurement of butter is crucial – even a tablespoon less than required can impact dough hydration and lead to a crumbly texture.
Flour is the structural backbone of most cookies, but using too much or the wrong type is a primary cause of dry, crumbly dough. Flour absorbs moisture, and an excess amount will soak up all the available liquid in the recipe, leaving none to bind the dry particles together. The protein content of the flour also plays a role, affecting gluten development and the dough's ability to hold together.
Addressing flour-related issues often comes down to precise measurement and understanding how different flours behave. It's easy to accidentally add too much flour, especially if you're scooping directly from the bag, which compacts the flour and results in more volume than intended. Learning the correct way to measure flour can prevent many dough problems, including excessive dryness.
Accurate Flour Measurement: Preventing Over-Flouring
Inaccurate flour measurement is arguably the most common culprit behind dry cookie dough. The standard method recommended by baking experts is the "spoon and level" method.
This involves gently spooning the flour from its container into your dry measuring cup until it overflows, then leveling off the excess with a straight edge (like the back of a knife or a spatula) without compacting the flour in the cup. This method results in a lighter, more accurate measure compared to scooping the measuring cup directly into the flour bag, which can pack in significantly more flour – sometimes up to 25% more by weight.
For example, if a recipe calls for 2 cups of all-purpose flour, and you scoop instead of spooning and leveling, you might inadvertently add 2.5 cups or more. This excess flour will absorb too much moisture, leading to a stiff, dry, and crumbly dough that is difficult to work with and produces hard cookies. Using a kitchen scale to measure flour by weight (e.g., 120-125 grams per cup) is the most accurate method and highly recommended for consistent results, effectively preventing over-flouring and the resulting dry dough.
Flour Type: Considerations for Different Recipes
The type of flour used can also impact dough hydration and texture, although it's less likely to cause severe dryness than over-measurement. All-purpose flour is standard for most cookie recipes due to its moderate protein content (around 10-12%), which allows for some gluten development needed for structure but not so much that it results in toughness. Using a flour with a much higher protein content, like bread flour (around 12-14% protein), can potentially lead to a slightly tougher, less tender cookie due to increased gluten development, which might feel less moist.
Conversely, using a lower protein flour like cake flour (around 7-9% protein) will result in a more tender, delicate cookie with less structure. While this typically doesn't cause dryness, it affects the dough's handling and the final texture. When troubleshooting dry dough, ensure you are using the type of flour specified in the recipe. Substituting different flour types without adjusting liquid content or other ingredients can alter the dough's consistency and potentially contribute to dryness or other textural issues.
Sugar's Sweet Spot: How Sugar Affects Dough Moisture
Sugar does more than just sweeten cookies; it plays a vital role in their texture, spread, and moisture level. Sugar is hygroscopic, meaning it attracts and retains moisture. In cookie dough, sugar competes with flour for the available liquid. It also melts during baking, contributing to spread and creating a tender texture. The type of sugar and the ratio of sugar to fat and flour are key factors influencing dough moisture.
An imbalance in the sugar ratio can contribute to dryness or other textural issues. Too little sugar might result in cookies that are less moist and don't spread as much. The granulation of the sugar also matters, as it affects how quickly the sugar dissolves and interacts with other ingredients during mixing and baking.
Sugar Granulation: Impact on Dough Texture
The granulation of sugar, whether fine granulated, coarse, or powdered, affects how it interacts with fats and liquids in the dough, influencing texture and moisture distribution. Fine granulated sugar, the most common type for cookies, creams well with butter, helping to create air pockets and contributing to an even texture. It dissolves relatively easily during mixing and baking, ensuring moisture is distributed.
Using a coarser sugar when fine sugar is specified might result in a dough that feels slightly more textured or gritty, and the sugar might not dissolve as completely, potentially leaving dry spots or affecting the overall moisture balance. Powdered sugar, on the other hand, contains cornstarch (to prevent clumping) and dissolves very readily, leading to a tender, sometimes more dense cookie.
While granulation is less likely to be the primary cause of severe dryness compared to over-flouring or cold butter, using the correct type of sugar specified in the recipe ensures the intended interaction with other ingredients and contributes to proper dough hydration.
Sugar to Fat Ratio: Maintaining Ideal Moisture Balance
The ratio of sugar to fat is crucial for maintaining the ideal moisture balance and achieving the desired cookie texture and spread. Sugar competes with flour for moisture, while fat provides richness, tenderness, and moisture. A recipe with a high sugar-to-fat ratio might result in a cookie that spreads more and is crispier, but if the balance is off, it could also potentially lean towards dryness if there isn't enough fat or liquid to hydrate both the sugar and the flour adequately.
Conversely, a higher fat-to-sugar ratio typically results in a more tender, less spread-out cookie, like shortbread. For instance, classic shortbread has a high ratio of butter to sugar and flour (often 1 part sugar, 2 parts butter, 3 parts flour by weight), resulting in a tender, crumbly texture that relies heavily on the butter for binding and moisture.
If the sugar amount was significantly increased without adjusting other ingredients, it could potentially lead to a different texture or even contribute to dryness if the sugar absorbs too much available moisture. Maintaining the ratio specified in a trusted recipe is key to ensuring proper hydration and texture.
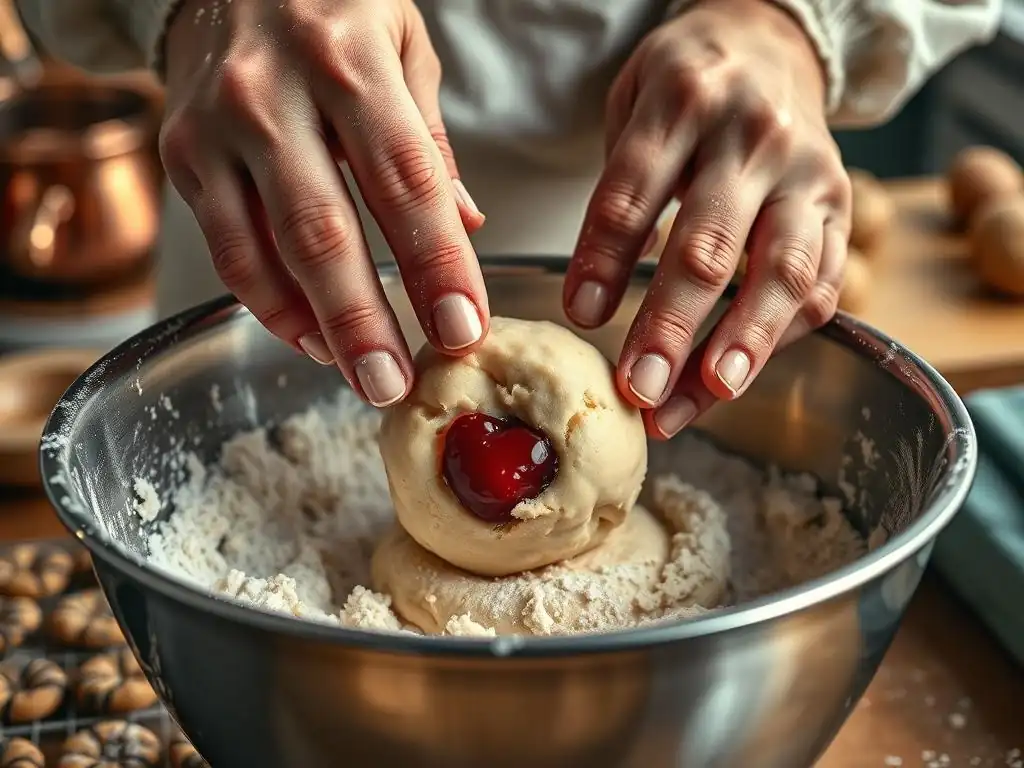
Prevention is always easier than fixing a problem. By adopting best practices in your baking routine, you can significantly reduce the likelihood of ending up with dry, crumbly cookie dough in the first place. These practices involve paying close attention to detail during ingredient preparation and measurement, selecting quality ingredients, and understanding how environmental factors might affect your dough.
Implementing these habits will not only help you avoid dry dough but will also contribute to more consistent and successful baking results overall. They are fundamental techniques that every baker, from beginner to experienced, should employ to ensure their cookies turn out perfectly every time.
Precise Ingredient Measurement: Ensuring Consistency
As highlighted earlier, precise ingredient measurement is the single most effective way to prevent dry cookie dough. Using the "spoon and level" method for flour or, even better, weighing your ingredients using a digital kitchen scale, ensures you are adding the exact amounts specified in the recipe. For example, a cup of all-purpose flour can weigh anywhere from 100 to 150 grams depending on how it's measured; using a scale eliminates this variability.
Consistency in measurement extends beyond flour. Ensure you accurately measure sugar, butter, and liquids. For wet ingredients like milk or extracts, use liquid measuring cups and measure at eye level. For solid fats like butter, use the markings on the wrapper or weigh it. By consistently measuring accurately, you maintain the intended balance of moisture to dry ingredients, which is crucial for preventing dryness and ensuring your dough comes together correctly.
High-Quality Ingredients: Impact on Dough Hydration
The quality of your ingredients can subtly impact dough hydration and the final cookie texture. While not the primary driver of severe dryness, using fresh, high-quality ingredients generally yields better results. For instance, using fresh butter with the correct fat content and proper storage ensures it performs as expected in the recipe. Eggs provide essential moisture and binding; using fresh, standard-sized eggs helps maintain the liquid balance.
Similarly, using fresh flour that hasn't been sitting on the shelf for too long is advisable. While flour doesn't "go bad" quickly, very old flour might absorb moisture differently. Using ingredients at the correct temperature, as specified by the recipe (e.g., room temperature eggs and butter), is also part of using "high-quality" ingredients in practice, as it allows them to emulsify and distribute moisture properly throughout the dough.
Adjusting Recipes for Altitude: Compensating for Moisture Loss
For bakers living at high altitudes (generally above 3,000 feet), recipe adjustments are often necessary due to lower atmospheric pressure and humidity. At higher altitudes, liquids evaporate faster, and leavening gases expand more quickly. While excessive spread is a more common high-altitude cookie problem, increased evaporation can also contribute to dough dryness if the recipe isn't adjusted.
Standard high-altitude adjustments for cookies often involve slightly increasing liquid ingredients (like milk or eggs), slightly decreasing leavening agents (baking soda/powder), and slightly increasing flour to compensate for the faster evaporation and expansion. For instance, adding an extra tablespoon of milk or using an extra egg yolk might be recommended in a high-altitude adjustment for a standard cookie recipe to combat potential dryness caused by increased evaporation during baking. Consulting high-altitude baking charts or resources specific to your elevation can provide guidance on specific adjustments needed.
Rescuing Severely Dry Dough: Emergency Solutions

Sometimes, despite your best efforts, you might end up with cookie dough that is severely dry and crumbly – beyond what a little gentle kneading or chilling can fix. In these situations, you need more potent solutions to introduce significant moisture and binding agents back into the dough. These are "emergency" techniques to salvage a batch that would otherwise be unusable, helping you figure out how to bind crumbly cookies when they seem beyond repair.
These methods involve adding ingredients rich in fat and/or protein, which act as powerful binders and moisturizers. While they can effectively rescue a dry dough, be aware that they might slightly alter the final texture or richness of the cookie compared to a perfectly mixed batch. However, they are excellent tools to have in your baking arsenal when facing a dough disaster.
Adding Egg Yolk: Binding and Moisturizing
Egg yolks are rich in fat and lecithin, a natural emulsifier, making them excellent binding agents and sources of moisture in baking. If your cookie dough is severely dry and crumbly, adding an extra egg yolk can be a very effective way to rescue it. The fat and emulsifiers in the yolk will help bind the dry ingredients together and add richness.
For a standard batch of cookie dough (using 2-3 cups of flour), start by adding one extra large egg yolk. Gently work it into the dough using your hands or a sturdy spatula until it is fully incorporated and the dough becomes more cohesive. Avoid adding the whole egg, as the extra egg white adds protein that can make cookies tougher and more prone to spreading thin. The yolk provides concentrated fat and binding power without excess liquid. This technique is particularly useful for doughs that were dry due to insufficient fat or liquid initially.
Using Shortening: Restoring Moisture and Texture
Shortening, like butter, is a solid fat at room temperature, but it is 100% fat (unlike butter's ~80% fat and ~18% water). This makes it a powerful moisturizer and tenderizer. If your cookie dough is extremely dry and resistant to coming together, adding a small amount of softened shortening can help restore moisture and improve texture. Shortening doesn't contribute flavor like butter, but it is very effective at coating flour particles and preventing excessive gluten development, leading to a tender crumb.
Start by adding a small amount of softened shortening, perhaps 1-2 tablespoons for a standard batch of dough. Work it into the dough gradually with your hands or a spatula until it is evenly distributed. The fat will help bind the dry ingredients and make the dough more pliable. Be cautious not to add too much, as excessive shortening can make cookies greasy or cause them to spread too much during baking. This technique is particularly useful when the dryness seems related to insufficient fat content in the original mixture.
Mastering cookie dough consistency is a key step in baking perfect cookies. Understanding the common causes of dryness – from over-measuring flour to using cold butter – empowers you to prevent problems before they start. However, when you do encounter dry, crumbly dough, knowing the right techniques to fix it is invaluable. Whether it's gently adding moisture, briefly working the dough, or letting time and chilling do their magic, there are effective ways to salvage your batch.
Remember that baking is also about learning and adapting. Each batch of dough can be a little different depending on ingredients, environment, and technique. By applying the principles of accurate measurement, ingredient temperature, and understanding the role of each component, you'll be well-equipped to handle dry cookie dough and achieve the tender, delicious results you're aiming for.
Here are the essential points to remember when dealing with dry or crumbly cookie dough:
- Measure Accurately: Always spoon and level flour or, ideally, weigh your ingredients. This is the most crucial step to prevent over-flouring.
- Check Butter Temperature: Ensure butter is softened to room temperature (65-70°F) if the recipe calls for it, allowing it to cream properly and distribute moisture.
- Add Moisture Gradually: If dough is dry, add liquids (milk, water) 1/2 to 1 teaspoon at a time, mixing gently until just combined.
- Consider Gentle Working: For slightly dry dough, a brief period (30-60 seconds) of gentle kneading can help bind ingredients, but avoid over-mixing.
- Utilize Chilling: Refrigerate dough for at least 30 minutes to allow dry ingredients to hydrate and improve consistency.
- Emergency Fixes: For severely dry dough, add an extra egg yolk or a small amount of softened shortening to restore moisture and binding.
- Ingredient Quality Matters: Use fresh, quality ingredients and ensure they are at the correct temperature.
By keeping these points in mind, you'll be prepared to tackle dry dough and ensure your cookies turn out beautifully.
Recipe-Specific Considerations for Dough Hydration
Different types of cookie recipes naturally have varying hydration levels and textures. For example, shortbread dough is intentionally less hydrated and more crumbly than a chocolate chip cookie dough because it contains a high ratio of fat to flour and little to no liquid or leavening. Knowing the expected consistency for the specific type of cookie you are making is important.
If you're making thumbprint cookies, for instance, the dough is often designed to be slightly crumbly but should still hold together when rolled into a ball and accept an indentation without cracking excessively. If it's too crumbly to even form a ball, it's likely too dry.
Conversely, a drop cookie dough like oatmeal raisin should be softer and stickier than a roll-out dough. If it's stiff and dry, it won't spread properly during baking. Always refer to the recipe's description of the dough's expected consistency. If your dough deviates significantly (e.g., a supposed-to-be-soft dough is rock hard), you'll need to apply the troubleshooting techniques mentioned earlier. Understanding the typical hydration for your specific cookie type helps you assess if your dough has a problem or if its consistency is simply characteristic of that recipe.
Frequently Asked Questions
If the dough doesn't easily form a ball and falls apart when pressed, it's likely too crumbly. You should be able to mold it without it immediately cracking.
The most frequent culprit is not enough moisture – either insufficient butter/fat or not enough liquid ingredients like eggs. It could also be over-mixing the flour after adding wet ingredients.
Yes, usually. Try adding a small amount of cold water or milk, a teaspoon at a time, until the dough just comes together. Be careful not to over-hydrate it.
You can try adding a tablespoon of melted butter or a beaten egg yolk. These will add fat and moisture, helping to bind the dry ingredients.
This usually indicates that the dough was still too dry or overbaked. While they can't be completely fixed, you can enjoy them as is or crumble them over ice cream!
The seemingly simple act of baking a cookie holds a world of lessons in precision and patience. A crumbly cookie dough, once a source of frustration, can become a testament to understanding the delicate balance of ingredients and technique. This journey through binding crumbly cookie dough isn't just about achieving perfectly formed thumbprint cookies; it's about mastering a fundamental skill applicable to all baking endeavors.
The quest for the perfect cookie dough, free from frustrating crumbles, has resonated deeply with bakers for generations. It's a pursuit that transcends mere culinary skill; it's about the satisfaction of transforming simple ingredients into something beautiful and delicious. Baking is at once child's play and adult joy. And cooking is all that and a whole lot more.
- Alma Flor Ada. This quote perfectly captures the essence of this process – the initial simplicity giving way to the profound satisfaction of a job well done. The struggle to bind the dough teaches us perseverance and the importance of paying attention to detail.
Now, armed with the knowledge of how to effectively bind your cookie dough, I invite you to embrace the challenge. Don't be discouraged by initial setbacks; see them as opportunities for learning and refinement. Experiment with different techniques, adjust your ingredients, and most importantly, enjoy the process. The next time you face a crumbly dough, remember the lessons learned here, and confidently transform it into something truly special. The perfectly formed, beautifully bound cookie awaits.
Unleash Your Inner Baking Pro: Conquer Crumbly Dough!
Thanks for joining us on this baking adventure! We hope you now feel confident tackling even the trickiest doughs. Ready to put your newfound knowledge into action?
- Master the art of perfectly bound dough: Try the techniques we discussed with your next batch of thumbprint cookies – you'll notice a dramatic improvement in texture and ease of handling.
- Share your baking triumphs (and challenges!): Post a picture of your perfectly formed cookies on social media and tag us – we'd love to see your results!
- Explore other helpful baking guides on BakeWithEase.com to enhance your skills even further.
What unique ingredient or technique are you excited to experiment with next?