
Say Goodbye to Freezer Burn: Freezing Techniques That Work

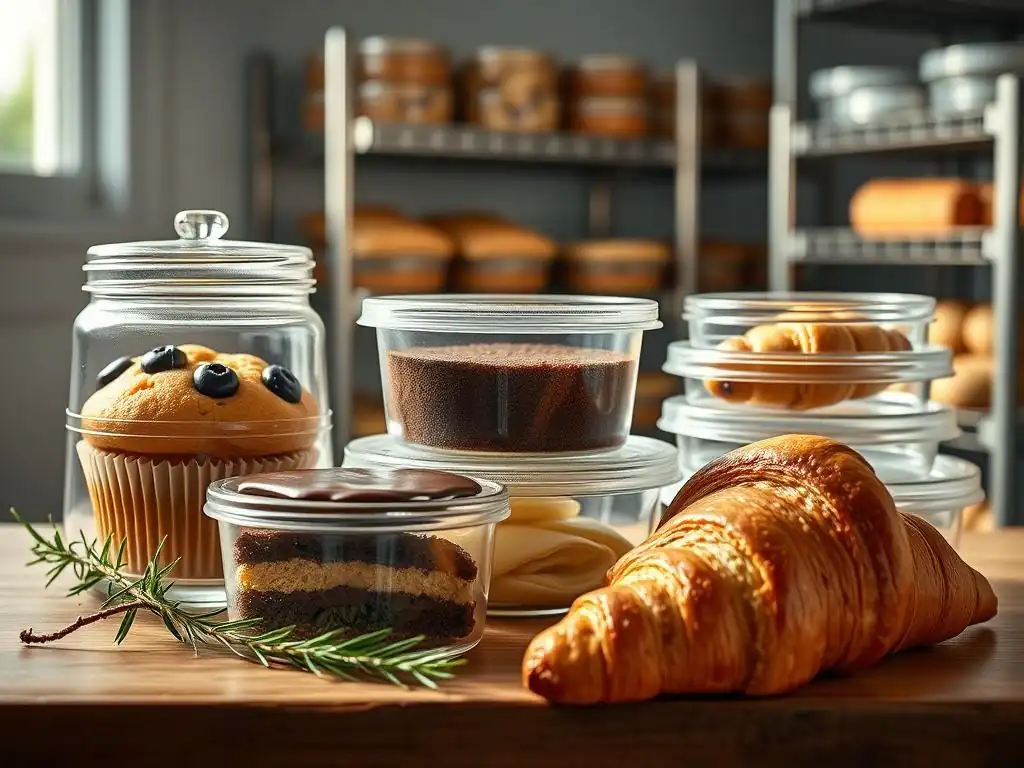
Welcome to BakeWithEase, your haven for conquering the delicious world of baking! Ever wondered how to keep that perfect cake or batch of cookies tasting just as amazing as the day they came out of the oven? You're in the right place. Discover how freezing baked goods prevents burn and unlocks a whole new level of convenience. But that's just the beginning! Keep reading to uncover the secrets to preserving freshness and flavor, ensuring your baked creations are always ready to impress.
- Extending Shelf Life: Freezing Techniques for Baked Goods
- Introduction: Why Freezing Baked Goods is Crucial
- Essential Tools for Freezing Baked Goods
- Freezing Techniques for Different Types of Baked Goods
- The Science of Thawing Baked Goods
- Preventing Freezer Burn: Enhanced Strategies
- Troubleshooting Common Freezing Problems
- Conclusion: Freezing Baked Goods for Prolonged Freshness
- Frequently Asked Questions
- Final Reflection: The Sweet Science of Freezing, and the Future of Freshness
- Unlock Your Freezer's Full Potential!
Extending Shelf Life: Freezing Techniques for Baked Goods
Introduction: Why Freezing Baked Goods is Crucial
Freezing baked goods is a fantastic way to lock in freshness, preserve flavor, and ensure you always have a sweet treat or a loaf of bread ready when you need it. Whether you've baked a big batch of cookies, a delicious cake for a special occasion, or simply want to save half a loaf of sourdough, proper freezing techniques are your best friend. Mastering these methods means less food waste and more enjoyment of your homemade goodies over time.
Beyond the convenience factor, freezing homemade goods allows you to bake ahead for holidays, parties, or simply to have a ready supply of your favorites. It's an excellent strategy for managing portion sizes or preserving seasonal bakes. Understanding the right way to prepare, package, and freeze your creations is key to maintaining their quality and preventing common issues that can degrade taste and texture.
Understanding Freezer Burn: Dehydration and Oxidation
Freezer burn is the common enemy when storing food in the freezer for extended periods. It manifests as dry, discolored patches on the surface of food. This isn't just an aesthetic issue; it significantly impacts taste and texture, leading to dry, tough, or flavorless results. The primary culprits behind freezer burn are dehydration and oxidation.
When food isn't properly sealed, cold, dry air in the freezer draws moisture out of the food (dehydration). Simultaneously, exposure to air allows oxygen to react with the food's surface (oxidation), causing discoloration and off-flavors. Properly freezing baked goods prevents burn by creating a barrier against this moisture loss and air exposure.
The structure of baked goods, often porous and containing fats, makes them particularly susceptible to freezer burn if not protected. For instance, a slice of cake left unwrapped in the freezer can develop freezer burn within just a few days, turning its edges dry and its flavor muted. Preventing this requires diligent packaging techniques that create an airtight seal, effectively shielding your delicious bakes from the harsh freezer environment.
The Benefits of Freezing: Convenience and Reduced Waste
The ability to freeze baked goods offers unparalleled convenience. Imagine having a supply of homemade muffins ready for busy mornings or a celebratory cake slice available whenever a craving strikes, all without needing to bake from scratch every time. This makes meal prep easier and ensures you're never caught without a treat for unexpected guests. It's estimated that households waste a significant amount of food annually, and freezing provides a powerful tool to combat this, allowing you to save leftovers or excess bakes that might otherwise go stale.
Furthermore, freezing baked goods prevents burn, which is crucial for preserving their quality and extending their edible life far beyond their typical shelf life at room temperature or in the refrigerator. A loaf of bread might only last 3-5 days on the counter before going stale, but frozen properly, it can remain fresh-tasting for several months. This drastically reduces the likelihood of having to discard perfectly good food, saving money and contributing to a more sustainable kitchen.
Essential Tools for Freezing Baked Goods
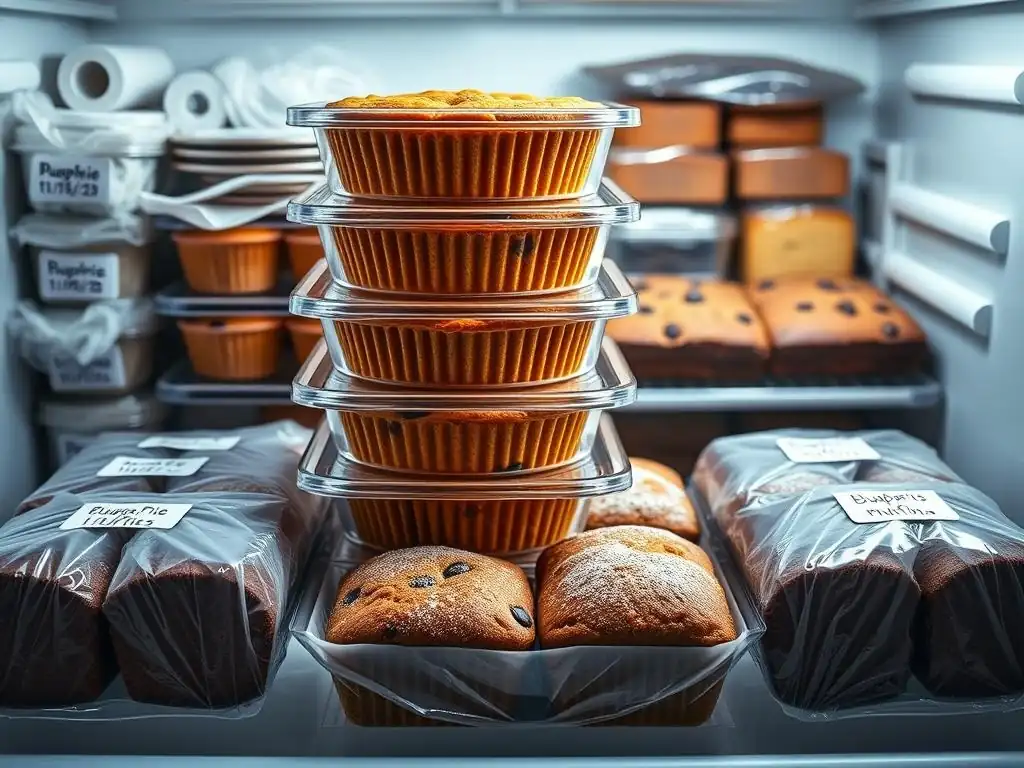
Having the right tools is fundamental to successful freezing. The goal is always to create an airtight barrier around your baked goods to protect them from the cold, dry air and prevent freezer burn. Investing in quality packaging materials will pay off in the long run by preserving the taste and texture of your treats.
From sturdy containers to specialized wraps, each tool serves a specific purpose in the freezing process. Choosing the appropriate tool for the type of baked good you're freezing is also important. For example, a delicate frosted cake requires different packaging than a dense loaf of bread.
Choosing Freezer-Safe Containers: Plastic vs. Glass
Freezer-safe containers are designed to withstand the extreme cold temperatures without becoming brittle or cracking. They also provide a rigid structure that protects delicate items from being crushed. Both plastic and glass containers offer benefits, but have different properties. Plastic containers are generally lighter, less prone to breakage, and often stackable, making them space-efficient. Look for containers labeled "freezer-safe" or made from types of plastic known for cold resistance, such as polypropylene (#5 PP).
Glass containers, particularly those made from tempered glass, are also excellent for freezing. They don't absorb odors or stains, are microwave and oven safe (useful for thawing/reheating), and are non-reactive. While heavier and potentially more fragile than plastic, they offer durability and longevity. Ensure the lids create a tight seal. Regardless of material, containers should be filled appropriately, leaving a little headspace for expansion if freezing liquids or items with high moisture content.
Airtight Packaging: Zip-Top Bags, Wraps, and Containers
Achieving an airtight seal is paramount when freezing baked goods to prevent freezer burn. Zip-top freezer bags are incredibly versatile and can be used for everything from cookies and muffins to individual slices of bread. The key is to press out as much air as possible before sealing. For added protection, especially for items that might shift or get freezer burn easily, consider wrapping the item tightly in plastic wrap or aluminum foil before placing it in the bag.
Plastic wrap and aluminum foil are essential for creating a close-fitting barrier around irregularly shaped items like cakes or loaves of bread. Wrap items tightly, ensuring no gaps or exposed surfaces. Combining layers is often recommended: wrap first in plastic wrap, pressing it firmly against the surface to eliminate air pockets, then follow with a layer of aluminum foil or place the wrapped item in a freezer bag or container. This layering significantly enhances the protection against freezer burn.
Vacuum Sealing: Extending Freezer Life Significantly
For the ultimate protection against freezer burn and to significantly extend the freezer life of baked goods, vacuum sealing is the gold standard. Vacuum sealers remove almost all air from the packaging before sealing it, creating an incredibly tight, oxygen-free environment. This drastically reduces the risk of dehydration and oxidation. While an initial investment, a vacuum sealer can preserve the quality of frozen goods for much longer periods compared to traditional methods.
Vacuum-sealed baked goods can often last in the freezer for 6-12 months or even longer, maintaining their original texture and flavor much better than those frozen using standard packaging. However, delicate items like frosted cakes or soft pastries might be compressed by the vacuum process. For these, consider flash freezing them first until solid, then vacuum sealing, or use a chamber vacuum sealer with a "gentle" setting if available. Freezing baked goods prevents burn most effectively with a vacuum seal.
Freezing Techniques for Different Types of Baked Goods
The best way to freeze a baked good often depends on its type, texture, and whether it's frosted or plain. A one-size-fits-all approach doesn't always work, and tailoring your technique ensures optimal results upon thawing. Understanding the specific needs of cakes, breads, cookies, and pastries will help you preserve their quality.
Different structures and ingredients mean varying susceptibilities to moisture loss and structural damage during freezing and thawing. For instance, high-fat items like pound cake freeze differently than lean, crusty breads.
Freezing Cakes: Layer Cakes, Bundt Cakes, and Cupcakes
Freezing cakes requires careful handling to preserve their structure and moisture. For unfrosted cakes (like Bundt cakes or cake layers), ensure they are completely cooled before wrapping. Wrap each cake or layer tightly in plastic wrap, ensuring no surface is exposed. Follow this with a layer of aluminum foil or place the wrapped cake in a large freezer bag or container. This double layer offers superior protection against freezer burn. Properly wrapped cakes can be frozen for 2-3 months.
Frosted cakes and cupcakes present a unique challenge due to their delicate surfaces. To prevent frosting from sticking to the wrapping, flash freeze them first. Place the frosted cake or cupcakes on a baking sheet lined with parchment paper and freeze until the frosting is firm (about 1-2 hours for cupcakes, longer for a whole cake). Once firm, remove from the freezer and wrap tightly as described above. This initial freezing step ensures the frosting remains intact during the wrapping process.
Freezing Whole Cakes vs. Individual Slices: Pros and Cons
Freezing a whole cake is ideal if you plan to serve it all at once for a future event. It requires more freezer space but keeps the entire cake together, which can be convenient. The primary advantage is preserving the aesthetic of a complete cake. However, if you only need a slice now and then, thawing a whole cake can be wasteful if it's not eaten quickly.
Freezing individual slices is excellent for portion control and convenience. Simply slice the cooled cake, wrap each slice tightly in plastic wrap, then place multiple wrapped slices in a freezer bag or container. This allows you to thaw just what you need, reducing waste. The disadvantage is that individual slices might be slightly more prone to drying out along the cut edges if not wrapped meticulously, and they take up more small pieces of freezer space.
Frosting and Icing Before Freezing: Stability Considerations
Whether to frost a cake before freezing depends on the type of frosting. Buttercream and cream cheese frostings generally freeze well. As mentioned, flash freezing is crucial for these to prevent damage during wrapping. Once thawed, these frostings usually return to their original texture, although they might benefit from a quick whip with a mixer.
Frostings like meringue or those made with gelatin typically do not freeze well. Meringue can become watery and lose its structure, while gelatin-based frostings can become rubbery. Cakes with these types of frostings are best frozen unfrosted, with the frosting applied after thawing. This ensures the best possible texture and appearance upon serving.
Freezing Bread: Sourdough, Sandwich Loaves, and Rolls
Freezing bread is one of the most effective ways to extend its life and prevent staleness. The key is to freeze it as quickly as possible after it has cooled completely from baking. This locks in the moisture and structure before staling begins. Wrap whole loaves or rolls tightly in plastic wrap, pressing out all the air, then wrap again in aluminum foil or place in a freezer bag. This double layer is highly effective.
Leaner breads, like French baguettes or sourdough, tend to freeze very well. Richer breads, like brioche or challah, also freeze successfully due to their fat content, which helps keep them moist. Properly wrapped bread can last in the freezer for 4-6 months. Freezing baked goods prevents burn on bread by shielding the crust from dry air.
Preventing Staling: Rapid Freezing and Proper Wrapping
Staling in bread is primarily a process where starch molecules recrystallize, making the bread hard and dry. Freezing slows this process significantly. The faster you freeze bread after it cools, the better you can halt this staling process in its tracks. Avoid placing warm bread in the freezer, as this creates condensation inside the packaging, leading to ice crystals and potentially soggy bread.
Proper wrapping is equally important. Any exposed surface allows moisture to escape, leading to freezer burn and dry, stale patches. Ensure the bread is wrapped as airtight as possible using multiple layers of protective wrap or a high-quality freezer bag. Removing excess air from bags is crucial; you can use a straw to suck out air just before sealing if you don't have a vacuum sealer.
Freezing Sliced Bread: Maintaining Separability
Freezing sliced bread is incredibly convenient for daily use. You can pull out just the slices you need without thawing the whole loaf. To prevent the slices from freezing into a solid block, ensure the bread is fully cooled before slicing. Then, stack the slices and place the entire stack into a freezer bag or wrap it tightly.
For added ease of separation, you can place a small piece of parchment paper between every few slices before bagging. This makes it easier to peel off just one or two slices at a time. Press out all air from the bag before sealing. Freezing sliced bread makes it incredibly convenient for toast or sandwiches right from the freezer.
Cookies are excellent candidates for freezing, either as dough or after baking. Freezing cookie dough allows for freshly baked cookies whenever you crave them, while freezing baked cookies is great for preserving large batches. Both methods effectively extend the life of your treats.
Brownies, often treated similarly to cookies for freezing purposes, also freeze exceptionally well due to their dense, fudgy texture and high fat content. They are less prone to breakage than many cookies.
Freezing Cookie Dough: Scoopable vs. Slice-and-Bake
Freezing cookie dough is a popular technique for spontaneous baking. For scoopable dough (like chocolate chip or oatmeal), portion the dough using a scoop onto a baking sheet lined with parchment paper. Flash freeze until firm (about 1-2 hours). Once firm, transfer the dough balls to a freezer bag or container. This prevents them from sticking together, allowing you to grab just a few at a time. Freeze dough for up to 3-6 months.
For slice-and-bake dough (like sugar cookies or shortbread), shape the dough into logs. Wrap each log tightly in plastic wrap, then in aluminum foil. You can then slice and bake directly from frozen, adding a minute or two to the baking time. Freezing dough is a fantastic way to have homemade cookies ready in minutes.
Freezing Baked Cookies: Preventing Crumbling and Flavor Loss
To freeze baked cookies, ensure they are completely cooled. Delicate or decorated cookies (like sugar cookies with icing) should be flash frozen on a baking sheet first to protect their structure. Once firm, stack plain cookies with a piece of parchment paper between them to prevent sticking, or place flash-frozen decorated cookies in a single layer or with parchment dividers in a rigid container.
Place stacks or single layers in a freezer bag or airtight container. Press out air from bags. While baked cookies might lose a tiny bit of crispness compared to fresh, properly frozen ones retain their flavor and texture remarkably well for 3-4 months. Freezing baked goods prevents burn by shielding them from the dry freezer air.
Freezing Pastries: Croissants, Scones, and Puff Pastry
Freezing pastries, especially those made with laminated dough like croissants or puff pastry, can be slightly more nuanced but is highly rewarding. You can freeze them either unbaked or baked, depending on your preferred method for finishing them off.
Pastries often rely on delicate layers or textures that can be compromised by improper freezing or thawing. Understanding the best approach for each type ensures they retain their flakiness or tenderness when ready to eat.
Freezing Unbaked Pastries: Proofing and Baking Considerations
Freezing unbaked pastries is a great option for having "freshly baked" goods with minimal effort later. For croissants or other yeast-leavened pastries, shape them but do not proof them fully. Flash freeze on a baking sheet until solid. Then transfer to a freezer bag or container.
When ready to bake, transfer the frozen pastries to a baking sheet and let them proof at room temperature until doubled in size (this can take several hours, sometimes overnight in the refrigerator followed by a few hours at room temperature). Then bake as usual. For scones or puff pastry items, shape them and flash freeze, then bag. Bake directly from frozen, adding extra time. Freezing unbaked ensures that sought-after fresh-from-the-oven experience.
Freezing Baked Pastries: Reheating for Optimal Crispness
Freezing baked pastries is simpler and faster when you need a quick treat. Ensure they are completely cool. Flash freeze delicate pastries like croissants or those with glazes on a baking sheet first. Once firm, wrap individually in plastic wrap, then place in a freezer bag or container.
To reheat baked pastries for optimal texture, especially crispness, it's often best to do so in an oven or toaster oven rather than a microwave. Reheating in a 350°F (175°C) oven for 10-15 minutes (depending on size) can help revive their crispness. Microwave reheating tends to make them soft or rubbery.
The Science of Thawing Baked Goods
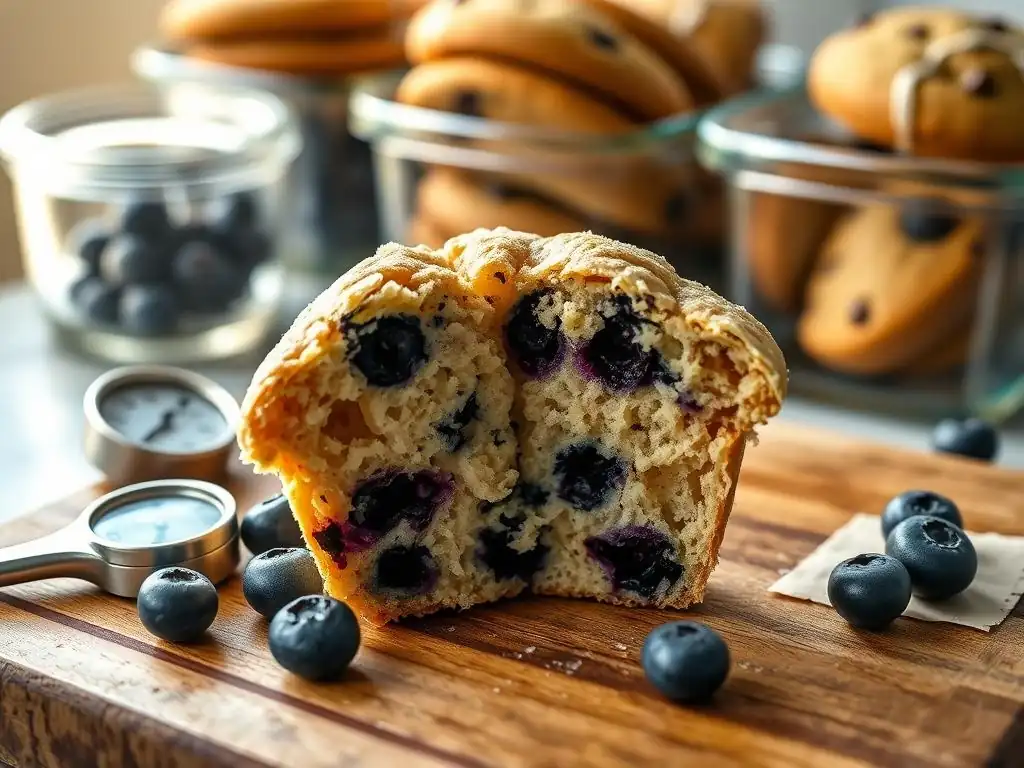
Thawing is just as critical as freezing. Improper thawing can ruin the texture and flavor you worked so hard to preserve. The goal is to allow the baked good to return to a palatable temperature and texture without becoming soggy, dry, or developing off-flavors.
Different types of baked goods require different thawing methods and times. A dense cake thaws differently than a crusty loaf of bread, and a single cookie thaws much faster than a whole batch.
Safe Thawing Methods: Refrigerator, Countertop, and Oven
The safest and often recommended method for thawing most baked goods, especially those containing dairy or eggs (like cream-filled pastries or cheesecakes), is in the refrigerator. This slow, controlled thaw minimizes the risk of bacterial growth. However, it can take a long time (hours for cookies, overnight or longer for cakes or bread).
Thawing on the countertop is suitable for most breads, cookies, and muffins that don't contain perishable fillings, especially if they are well-wrapped to prevent condensation from making them soggy. This method is faster than refrigerator thawing but should be done at room temperature, not in direct sunlight or a warm environment.
Direct thawing or reheating in the oven or microwave is often used for quick results, particularly for bread or pastries where you want to revive crispness. However, this can sometimes lead to uneven thawing or drying out if not done carefully.
Thawing time varies significantly. A whole loaf of bread or a large cake can take 8-12 hours or even longer to thaw completely in the refrigerator. On the countertop, a loaf of bread might take 2-4 hours, while a whole cake could take 4-6 hours. Individual slices of cake or bread thaw much faster, often within an hour on the counter.
Cookies thaw relatively quickly. Individual cookies might be ready in 15-30 minutes on the counter. A bag of frozen cookie dough balls can take 30-60 minutes to become scoopable, or they can often be baked directly from frozen (with adjusted baking time). For most items, thawing in their wrapping helps manage condensation.
Reviving Frozen Baked Goods: Using Ovens and Microwave
Once thawed, some baked goods benefit from a quick revival. Bread can be refreshed by a short time in a warm oven (around 300-350°F or 150-175°C) for 5-10 minutes, which helps crisp up the crust and soften the interior. This is particularly effective for loaves frozen whole.
Baked cookies that feel a little soft after thawing can be briefly reheated on a baking sheet in a warm oven (250-300°F or 120-150°C) for a few minutes. Pastries like croissants are best reheated in an oven to regain flakiness. Microwaving can quickly warm items like muffins or brownies, but it can also make them rubbery or tough if overdone. Use short bursts of time.
Preventing Freezer Burn: Enhanced Strategies
While basic wrapping techniques are essential, several enhanced strategies can provide even better protection against freezer burn, ensuring your baked goods taste as fresh as possible months down the line. These methods focus on minimizing air exposure and maintaining a stable temperature.
Implementing these strategies is particularly important if you plan to store items for longer periods or if your freezer tends to fluctuate in temperature. Freezing baked goods prevents burn most effectively when multiple layers of protection are used.
Double Wrapping: Aluminum Foil and Plastic Wrap Combination
Double wrapping is a simple yet highly effective technique. First, wrap the baked good tightly in a layer of plastic wrap, ensuring it adheres closely to the surface and eliminates as many air pockets as possible. This forms a primary barrier against moisture loss.
Next, wrap the plastic-wrapped item again in a layer of heavy-duty aluminum foil. The foil provides an additional barrier and also helps protect the item from being crushed. This combination significantly reduces the risk of air exposure and freezer burn compared to using just one layer. It's a recommended method for cakes, loaves of bread, and larger pastries.
Flash Freezing: Maintaining Structure and Texture
Flash freezing involves placing items directly into the freezer, unwrapped, on a baking sheet until they are solid. This rapid freezing helps individual pieces maintain their shape and prevents them from sticking together before being wrapped or bagged. It's invaluable for delicate items like frosted cupcakes, individual cookies, scones, or portioned cookie dough.
Once the item is frozen solid (which can take anywhere from 30 minutes to several hours depending on size), quickly transfer it to its final airtight packaging (container, bag, or double wrap). Because the surface is already frozen, it's less likely to be damaged during the packaging process, and you can easily grab just one piece from a bag without a frozen block.
Maintaining Freezer Temperature: Optimal Settings and Practices
The ideal temperature for a freezer is 0°F (-18°C) or lower. Maintaining a consistent, low temperature is crucial for preventing freezer burn and preserving food quality. Fluctuations in temperature, often caused by opening the freezer door frequently or overloading the freezer with warm items, can lead to thawing and refreezing cycles.
These cycles cause ice crystals to grow, which damages the structure of baked goods and contributes to freezer burn. Ensure your freezer is set to the correct temperature and try to minimize how long the door is open. Keeping the freezer relatively full (but not overloaded, which can restrict air circulation) can also help maintain a stable temperature, as the frozen items help keep each other cold.
Troubleshooting Common Freezing Problems
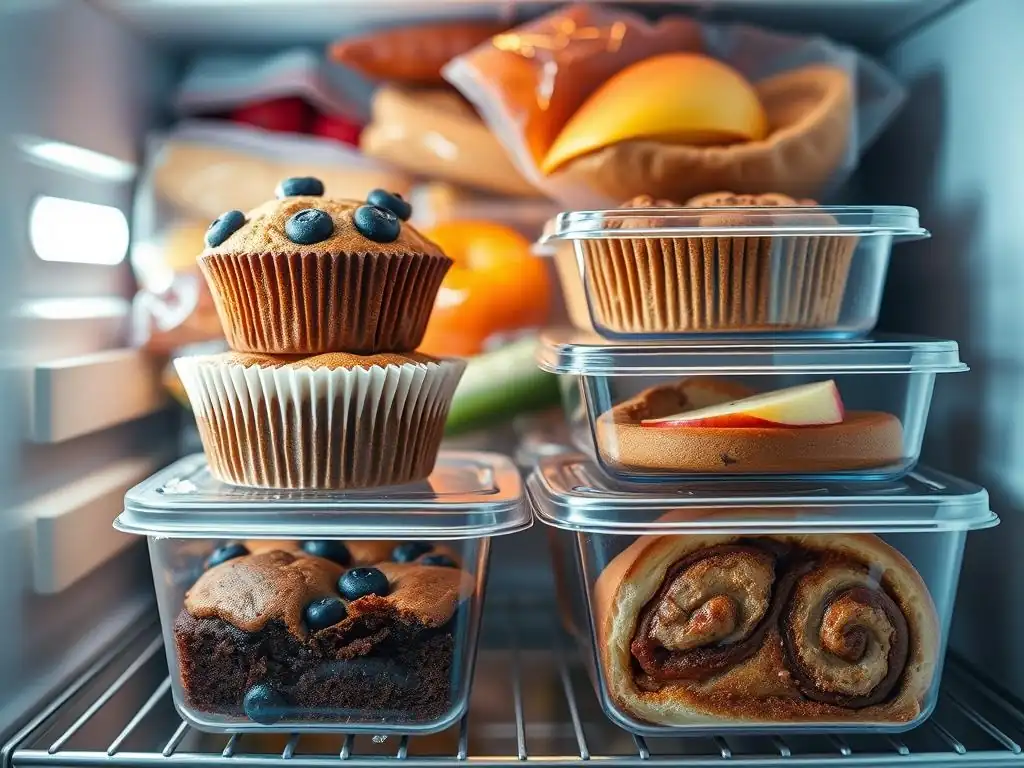
Even with the best techniques, occasional issues can arise when freezing baked goods. Recognizing these problems and understanding their causes can help you prevent them in the future and sometimes even mitigate them after they occur.
Common problems include baked goods turning soggy, developing excessive ice crystals, or experiencing changes in texture and flavor that weren't anticipated.
Soggy Baked Goods: Addressing Excess Moisture
Sogginess often occurs due to condensation. If a baked good is wrapped before it has completely cooled, the residual heat creates steam, which then condenses inside the packaging and freezes as ice crystals on the surface. Upon thawing, these crystals melt, leading to a soggy texture.
To prevent this, always ensure your baked goods are completely cool before packaging for the freezer. Like, seriously cool – room temperature is best. Another cause can be moisture migrating from other items in the freezer if packaging isn't airtight. Double-checking your seals and wraps is key.
Ice Crystals: Minimizing Formation Through Proper Packaging
Ice crystals are a visual indicator of moisture loss and temperature fluctuations, directly contributing to freezer burn. Small crystals are normal, but large, excessive crystals signal a problem. They form when moisture evaporates from the food's surface and then freezes on the colder inner surface of the packaging or the freezer walls.
Proper, airtight packaging is the primary defense against ice crystal formation. Using multiple layers (plastic wrap + foil/bag) or vacuum sealing significantly reduces the space for moisture to escape and freeze. Flash freezing also helps lock moisture inside the food before it's sealed. Maintaining a stable freezer temperature is also vital.
Changes in Texture and Flavor: Prevention is Key
Texture and flavor changes are often a result of freezer burn, oxidation, or storing items for too long, even if properly frozen. Freezer burn dries out the product, leading to a tough or crumbly texture and muted or off-flavors. Oxidation can cause fats in the baked goods to become rancid over very long periods.
The best way to avoid these changes is prevention: use airtight packaging, freezing baked goods prevents burn effectively when done right, and try to consume frozen items within their recommended freezer life (e.g., 3-6 months for most baked goods, though some can last longer). While you can't perfectly restore a freezer-burned item, sometimes trimming the affected parts can make the rest salvageable.
Conclusion: Freezing Baked Goods for Prolonged Freshness
Mastering the art of freezing baked goods is a game-changer for any home baker. It allows you to enjoy your creations over a longer period, reduce food waste, and always have a delicious treat ready for any occasion. By understanding the principles of preventing freezer burn – primarily through proper packaging to avoid dehydration and oxidation – you can ensure your frozen cakes, breads, cookies, and pastries remain as close to their fresh state as possible.
The right tools, from freezer-safe containers to vacuum sealers, combined with tailored techniques for different types of baked goods, make all the difference. Remember the importance of cooling completely, using airtight barriers, and maintaining a stable freezer temperature.
Summary of Essential Techniques
- Cool baked goods completely before freezing.
- Use airtight packaging (plastic wrap, foil, freezer bags, containers).
- Consider double wrapping for extra protection.
- Flash freeze delicate or individual items before final packaging.
- Remove as much air as possible from packaging, especially bags.
- Maintain your freezer at 0°F (-18°C) or lower.
- Thaw properly based on the type of baked good.
- Revive texture in an oven when appropriate.
- Freezing baked goods prevents burn when these steps are followed diligently.
We've covered a lot of ground on how freezing baked goods prevents burn and keeps them delicious. Do you have a go-to method for freezing your favorite cookies? Any clever tricks for wrapping that tricky loaf of bread? We'd love to hear from you! Share your best freezing tips and experiences in the comments below. Let's build a community of expert frozen-bake hoarders!
Frequently Asked Questions
How does freezing prevent freezer burn on baked goods?
Freezing at the right temperature and with the right packaging methods greatly slows down the process of moisture loss. This prevents the ice crystals that cause freezer burn from forming on the surface of your baked goods.
What types of baked goods freeze best?
Generally, baked goods with higher fat content, like cookies and cakes with frosting, freeze better. Also, yeast breads and many pastries can be frozen successfully.
What's the best way to wrap baked goods for freezing?
The key is airtight packaging. Use a combination of plastic wrap and then a freezer-safe bag or container to create a strong moisture barrier.
How long can I freeze baked goods without them getting freezer burn?
While it varies, most baked goods can be frozen for 2-3 months without significant freezer burn if properly wrapped. Beyond that, quality can start to decline.
What's the best way to thaw frozen baked goods?
Thaw them gradually in the refrigerator for the best results. This helps prevent condensation and keeps the texture intact. Avoid thawing at room temperature, as this can lead to uneven thawing and potential spoilage.
Final Reflection: The Sweet Science of Freezing, and the Future of Freshness
The art of freezing baked goods isn't just about preservation; it's about extending the joy of freshly baked treats. Proper freezing techniques, as explored throughout this article, are crucial in preventing freezer burn and maintaining the quality and deliciousness of your favorite baked creations. This isn't a niche skill; it's a valuable tool for anyone who loves baking and wants to minimize waste.
The impact of efficient food preservation methods, particularly for perishable items like baked goods, is profound. It allows for greater flexibility in baking schedules, reduces food waste, and ultimately contributes to a more sustainable approach to cooking. As we become increasingly aware of the environmental impact of food production and consumption, mastering techniques like those discussed here becomes even more important. Waste less, bake more, enjoy longer
– this should be the new mantra for the modern baker.
Now, consider your own baking habits. What adjustments can you make to incorporate these freezing techniques? Think about the possibilities: a freezer stocked with ready-to-bake muffins for busy mornings, a stash of perfectly preserved cookies for unexpected guests, or the convenience of pulling out a pre-portioned pie crust whenever inspiration strikes. Embrace the power of mindful freezing, and unlock a new level of efficiency and enjoyment in your baking journey. The future of fresh, delicious baked goods is in your freezer – let's make the most of it.
Unlock Your Freezer's Full Potential!
Thanks for taking the time to learn how to conquer freezer burn! We hope you now feel confident in preserving your delicious creations for longer. Ready to put your new skills to the test?
- Try our foolproof freezing method: This week, choose one of your favorite recipes and freeze it using the techniques we discussed. Note your results!
- Share your freezing successes (or challenges!): Let's build a community of freezer-savvy bakers. Share your tips and tricks in the comments below.
- Experiment with different packaging techniques: Explore using different types of freezer bags or containers to see which works best for your needs and preferred foods.
What's your biggest freezer-related struggle, and how will you tackle it this week?