
Your First Aid Kit for Cake Baking Fails

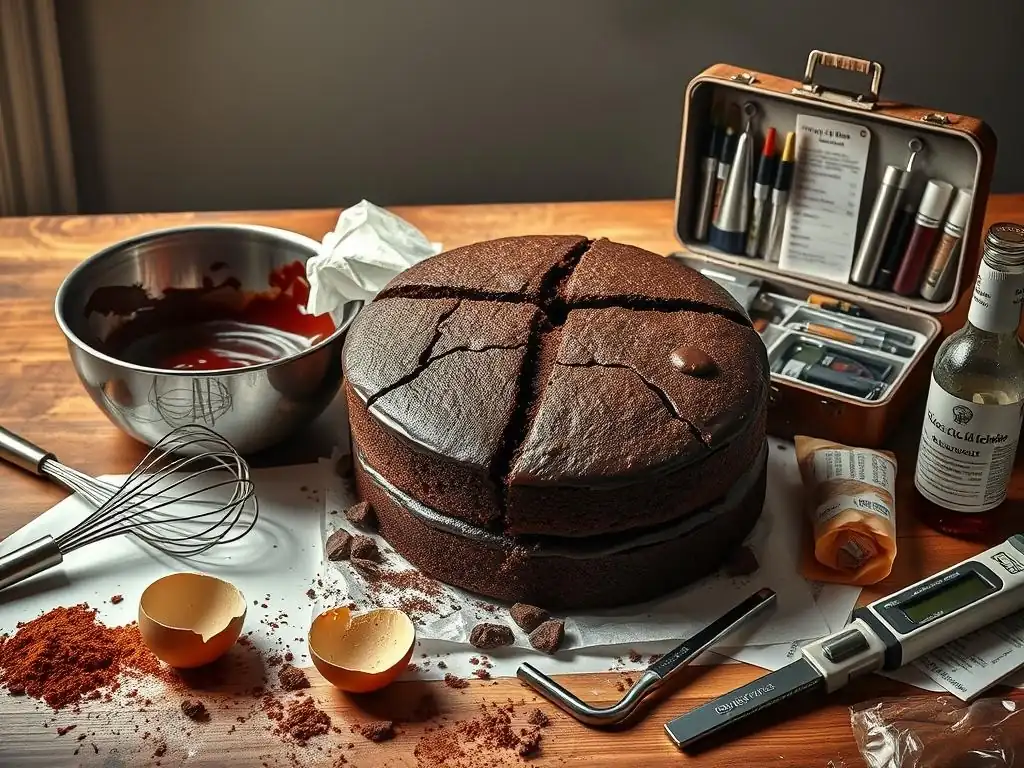
Welcome to BakeWithEase, where even the most daunting baking challenges crumble before your eyes! Are your cakes sinking, cracking, or turning out tough? Don't despair! Our Cake Baking Troubleshooting Guide is your essential first aid kit for tackling those frustrating baking fails. Discover the secrets to perfect cakes and never let another baking mishap ruin your day. Dive in now and unlock the solutions to common cake baking problems that will transform you into a confident cake artist!
- Cake Baking Troubleshooting Guide
- Troubleshooting: Essential Fixes
- Preventative Measures: Avoiding Disasters
- Advanced Troubleshooting: Less Common Problems
- Conclusion: Conquer Any Challenge
- Frequently Asked Questions
- Final Reflection: Sweet Success from Baking Blunders
- Unleash Your Inner Cake Boss: Conquer Baking Challenges!
Cake Baking Troubleshooting Guide
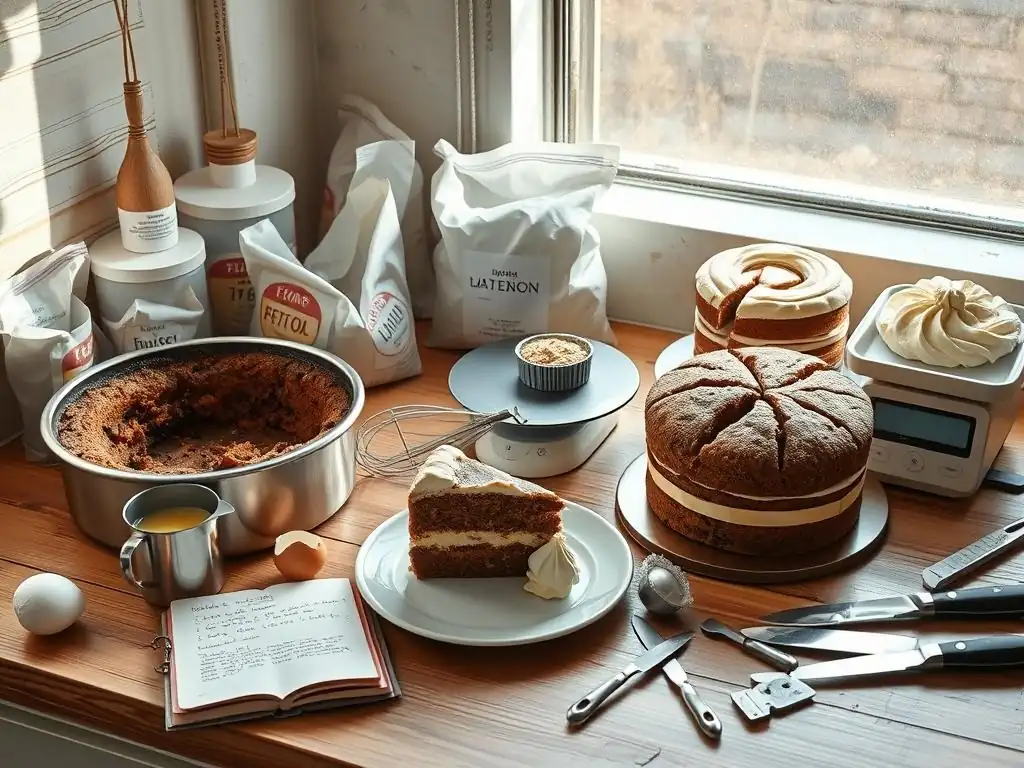
Why Cakes Go Wrong: Understanding Baking Mistakes
Embarking on the journey of baking a cake is often filled with anticipation for that perfect, fluffy, moist creation. However, even seasoned bakers encounter hiccups. Understanding the common pitfalls is the first step in effective cake baking troubleshooting. Many issues stem from fundamental errors that, once identified, are easily corrected, transforming potential disasters into learning opportunities.
Common culprits include inaccurate ingredient measurements – a difference of just a few grams of flour or sugar can significantly alter texture. Incorrect oven temperature is another major factor; an oven running too hot or too cool can lead to burning, sinking, or improper cooking. Over-mixing the batter develops too much gluten, resulting in a tough or dense cake, while under-mixing can leave streaks of unincorporated ingredients. Environmental factors like humidity can also play a subtle but noticeable role in baking outcomes. Mastering these basics is crucial for successful cake baking troubleshooting.
Troubleshooting: Essential Fixes
Collapsed Cake: Troubleshooting a Sunken Center
A cake that sinks in the middle after looking glorious in the oven is a common and frustrating problem in cake baking troubleshooting. This usually indicates that the cake didn't finish baking or set properly before being removed from the heat. The structure wasn't strong enough to support itself as it cooled, leading to a concave center.
Understanding Why Cakes Sink: Common Causes
One of the primary reasons for a sunken cake is opening the oven door too soon. The sudden drop in temperature can shock the delicate structure of the rising cake, causing it to fall before it's fully set. Similarly, an oven temperature that is too low will prevent the cake from baking through properly, leaving the center undercooked and weak.
Using too much leavening agent (like baking soda or powder) can also cause the cake to rise too rapidly and then collapse under its own weight. High altitude baking often requires adjustments as well, as the lower atmospheric pressure affects leavening and moisture retention, potentially leading to sinking if not accounted for.
Over-mixing the batter can also contribute to a sunken center. While it might seem counterintuitive, excessive mixing can incorporate too much air initially, leading to a dramatic rise followed by a collapse as the fragile structure can't support the volume. Checking for doneness with a toothpick too early and too frequently can also introduce cool air and jostle the cake, potentially causing it to sink. Ensuring you follow the recipe's suggested baking time and check for doneness only when the cake is close to ready is vital for effective cake baking troubleshooting.
Quick Fixes for a Collapsed Cake: Adjust oven temperature, use a cake nail
If you suspect your oven temperature is the issue, investing in an oven thermometer is a simple yet effective step for better cake baking troubleshooting. Calibrating your oven or adjusting the temperature setting based on the thermometer reading can prevent future sinks. Ensure the oven is fully preheated before inserting the cake; this can take 15-20 minutes after the light indicates it's ready.
For dense batters or larger cakes, a cake nail or heating core can help distribute heat more evenly to the center, ensuring it bakes through at the same rate as the edges. Simply grease and flour the nail/core and place it point-up in the center of the pan before adding batter.
If a cake does sink slightly, you can sometimes level it off and cover the indentation with frosting, fruit, or a decorative element, making the fail less noticeable. For a significant sink, consider transforming it into a trifle or cake pops, salvaging the flavor even if the structure is compromised.
Dense Cake: Troubleshooting Texture Problems
A dense cake, lacking that desirable light and airy crumb, is another frequent challenge in cake baking troubleshooting. Instead of a fluffy texture, you end up with something heavy and sometimes gummy. This often points to issues with the ingredients, mixing process, or oven temperature.
Reasons for Dense Cake Texture
One common cause of a dense cake is using ingredients that are too cold. Butter and eggs should typically be at room temperature for creaming, as this allows them to emulsify properly with sugar and other ingredients, creating a stable structure that traps air. Over-measuring flour is also a significant factor; too much flour absorbs excess moisture and weighs down the batter. Using a kitchen scale for accuracy is highly recommended.
Another major reason is over-mixing the batter once the flour is added. When flour is mixed with liquid, gluten develops. While some gluten is necessary for structure, too much makes the cake tough and dense. Ingredients like buttermilk or yogurt can also contribute to a slightly denser, moister crumb compared to recipes using only milk. Finally, an oven that is too cool can cause the cake to bake slowly and unevenly, leading to a dense texture rather than a light rise.
Solutions for a Lighter Cake: Cream butter and sugar properly, don't overmix
Achieving a lighter cake starts with proper creaming of butter and sugar. This step incorporates air bubbles into the fat, which expand during baking and contribute to the cake's rise and tender crumb. Cream softened butter and sugar together until the mixture is light and fluffy, often taking 3-5 minutes with an electric mixer.
When adding dry ingredients, mix just until combined. Stop mixing as soon as you no longer see streaks of flour. Overmixing is one of the easiest mistakes to make, so err on the side of slightly under-mixing. Using the correct type and amount of leavening agent is also crucial; ensure your baking powder or soda is fresh. Sifting dry ingredients can help distribute them evenly and incorporate air. Adjusting oven temperature to the correct setting and ensuring proper preheating also helps the cake rise quickly and set before it becomes too dense.
Dry Cake: Troubleshooting Moisture Levels
A dry, crumbly cake is disappointing after all the effort involved in baking. This issue in cake baking troubleshooting is usually related to moisture balance, either in the ingredients used or the baking process itself.
Why is My Cake So Dry?
The most frequent cause of a dry cake is over-baking. Leaving the cake in the oven for too long at too high a temperature evaporates too much moisture, resulting in a parched texture. Using too much flour or not enough fat (butter, oil) or liquid (milk, eggs, buttermilk) in the recipe throws off the moisture balance. Different types of flour also absorb moisture differently; for example, cake flour absorbs less liquid than all-purpose flour.
Storing the cake improperly can also lead to dryness. Leaving a cake exposed to air for too long allows moisture to escape. Even after baking correctly, a cake can become dry if not wrapped well or stored in an airtight container. Using insufficient amounts of moistening ingredients like sour cream, yogurt, fruit purées (like applesauce or mashed banana), or oil instead of butter can also contribute to a drier result.
How to Rescue a Dry Cake: Simple syrup, enhance frosting
If you've baked a cake that turned out dry, there are ways to add moisture back. A simple syrup is a baker's best friend for this type of cake baking troubleshooting. To make it, heat equal parts sugar and water (e.g., 1 cup sugar to 1 cup water) until the sugar dissolves. Let it cool slightly, then brush or drizzle it over the cake layers while they are still warm or cooled. The cake will absorb the syrup, adding moisture.
You can also use flavorful liquids like milk, fruit juice, or liquor in place of water in the simple syrup. Pairing a dry cake with a moist frosting, like a cream cheese frosting or a rich ganache, can help compensate for the cake's lack of moisture. Adding a layer of fruit filling or jam between layers also introduces moisture. For future bakes, consider slightly reducing baking time, using an oven thermometer to ensure accurate temperature, or incorporating ingredients known for adding moisture like sour cream, oil, or buttermilk into your recipes.
Burnt Cake: Troubleshooting Over-Baking
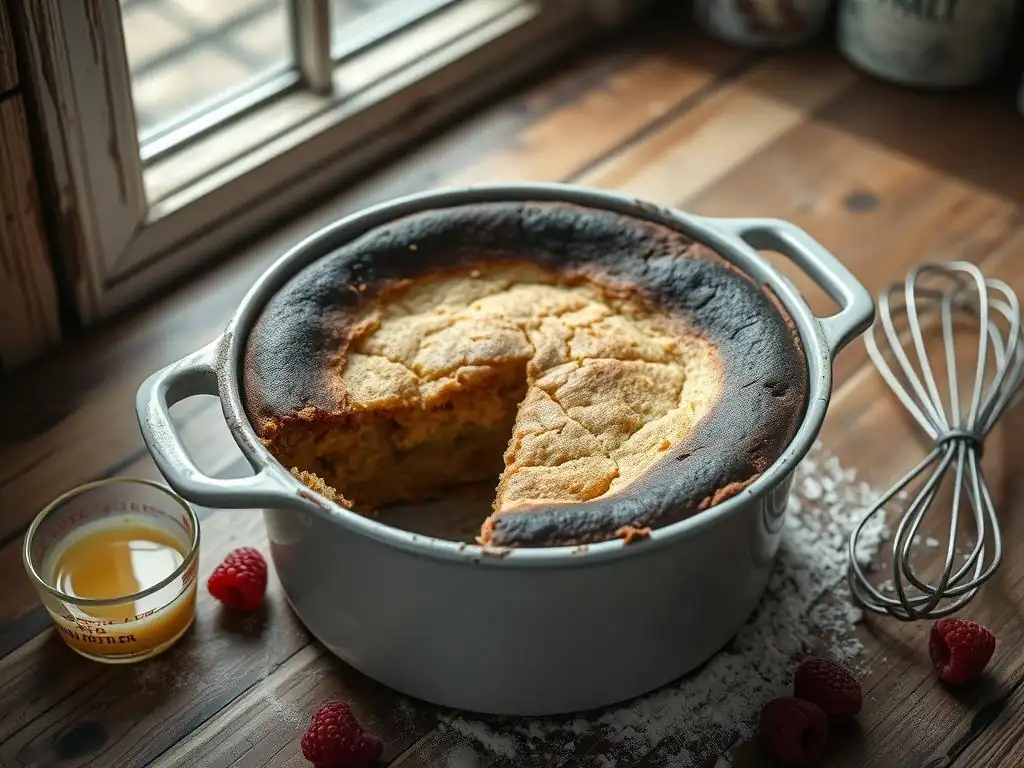
A cake with burnt edges or a dark, hard crust is a clear sign of over-baking or incorrect oven temperature, a common hurdle in cake baking troubleshooting. While the center might be salvageable, the burnt parts are bitter and unpleasant.
Identifying a Burnt Cake
A burnt cake is usually easy to spot. The edges or top surface will be significantly darker than intended, often dark brown or black. The texture will be hard and brittle, unlike the tender crust of a properly baked cake.
A tell-tale sign is also the smell of scorching that might fill your kitchen. This typically happens when the cake is left in the oven for too long, the oven temperature is too high, or the cake is placed too close to a heating element. Dark-colored pans absorb more heat than light-colored ones and can contribute to burnt edges if the temperature isn't adjusted.
Even if the top looks okay, check the bottom. If the bottom crust is excessively dark and hard, the cake is likely burnt on the underside. This can be caused by the oven rack being too low or a hot spot on the bottom of the oven. Using parchment paper on the bottom of the pan can offer some protection against burnt bottoms.
Saving a Burnt Cake: Remove burnt edges, use flavorful frosting
If your cake is only slightly burnt around the edges or on the very top, you can often salvage it. Carefully use a serrated knife to trim away the burnt portions. If the top is just dark and hard, you might be able to gently scrape off the burnt layer. This is a key technique in cake baking troubleshooting for surface issues.
Once the burnt parts are removed, the remaining cake can be used. Pair the salvaged cake layers with a generous amount of flavorful frosting or filling. A strong flavor like chocolate ganache, coffee frosting, or a tart fruit curd can help mask any residual slightly-overbaked flavor in the remaining cake. If a significant portion is burnt, consider using the non-burnt parts for cake pops, crumbs for a topping, or blending them into a trifle. Adjusting your oven temperature or reducing baking time by 5-10 minutes in future attempts, or using lighter colored pans, can prevent recurrence.
Uneven Cake Layers: Troubleshooting Baking Consistency
Achieving perfectly level cake layers is often the goal, but many bakers encounter layers that dome significantly in the center or are higher on one side than the other. This makes stacking and decorating challenging and is a common issue in cake baking troubleshooting.
Why Your Cake Layers Aren't Level
A primary cause of a domed cake is the oven temperature being too high. When the oven is too hot, the edges of the cake bake and set much faster than the center. As the center continues to rise, the set edges restrict it, forcing the middle to dome upwards. Uneven heat distribution within the oven can also cause one side of the cake to rise more than the other, resulting in lopsided layers. Hot spots in the oven are a frequent culprit here.
Over-mixing the batter can also contribute to a dome. Excessive mixing develops gluten, which creates a stronger structure. This strong structure can sometimes lead to the cake rising more rigidly in the center rather than evenly across the surface. Filling pans unevenly is another simple reason; if one side has more batter, it will naturally bake higher.
Achieving Even Cake Layers: Use cake strips, level after baking
For better cake baking troubleshooting regarding uneven layers, consider using cake strips. These are fabric bands that you wet and wrap around the outside of your cake pans. They insulate the edges of the pan, causing the cake to bake more evenly from edge to center, resulting in a flatter top. You can purchase commercial cake strips or make your own from old towels or newspaper wrapped in foil.
Ensuring your oven temperature is accurate with an oven thermometer is crucial for preventing domes. Lowering the oven temperature slightly (e.g., from 350°F to 325°F) and increasing the baking time can also promote more even baking. If your oven has hot spots, rotating the cake pans halfway through the baking time can help.
If you still end up with domed layers, the easiest fix is to level them after baking using a serrated knife or a cake leveler. Simply slice off the domed top to create a flat surface for stacking. These trimmed tops, often called "scraps," are perfect for snacking or making cake pops.
Sticky Cake: Troubleshooting Under-Baking
A cake that's sticky or gooey in the center, even if the edges look done, is a clear sign of under-baking. This is a key area for cake baking troubleshooting related to doneness. The texture is unpleasant, and the cake may collapse upon cooling.
Identifying an Under-Baked Cake
An under-baked cake feels heavy and dense, particularly in the center. If you insert a toothpick or cake tester into the middle, it will come out with wet batter clinging to it, not just moist crumbs. The surface might look set, but pressing lightly on the center will reveal a soft, unstable area. If you try to remove it from the pan too soon, it may fall apart.
Sometimes, an under-baked cake also appears slightly shrunken from the sides of the pan, even though the center is still soft. This is because the edges have set and pulled away, while the center hasn't finished cooking and lacks structure. A sticky or gummy texture is the most definitive indicator that the cake needed more time in the oven.
Getting a Sticky Cake Right: Return to oven, check internal temperature
The best way to address an under-baked cake is to return it to the oven immediately. If the cake is still in the pan and hasn't cooled significantly, put it back in the oven at the temperature specified in the recipe. Bake for an additional 5-15 minutes, checking for doneness every few minutes with a toothpick inserted into the center.
If the cake has cooled significantly or been removed from the pan, it's much harder to fix. Reheating a cooled, under-baked cake might dry out the edges before the center cooks through. In such cases, the best approach is often to repurpose the cake.
It can work well crumbled into a trifle, layered with pudding or mousse, or used as the base for cake pops. For future baking, ensure your oven is accurately calibrated and preheated, and rely on the toothpick test or an internal thermometer (a cake is typically done when the internal temperature reaches 205-210°F or 96-99°C) to confirm doneness before removing it from the oven.
Preventative Measures: Avoiding Disasters
Preventing cake fails is easier than fixing them. Implementing careful practices from the start can significantly reduce the need for cake baking troubleshooting. It's about building good habits in the kitchen.
Measuring Ingredients Accurately
Precision in measuring is perhaps the single most important factor in consistent baking results. Using a kitchen scale to measure dry ingredients like flour, sugar, and leavening agents is the most accurate method. For example, a cup of all-purpose flour can weigh anywhere from 120 grams to 150 grams depending on how it's scooped and leveled. Using the "spoon and level" method for volume measurements (gently spooning flour into a measuring cup and leveling with a straight edge) is better than scooping directly from the bag, but a scale offers far greater accuracy.
Liquid ingredients should be measured at eye level in a liquid measuring cup. Small amounts of ingredients like extracts, salt, and leavening agents need precise measurement using appropriate measuring spoons. Double-checking your measurements against the recipe before mixing can catch simple errors that could lead to significant issues like a dense or dry cake.
Oven Temperature Calibration
As highlighted in multiple cake baking troubleshooting scenarios, an inaccurate oven temperature is a frequent cause of problems. Ovens can be off by as much as 25-50°F (15-30°C) from the dial setting. This discrepancy can lead to over-baking, under-baking, or uneven rising.
Investing in an inexpensive oven thermometer is highly recommended. Place it in your oven and check the temperature after it has preheated for at least 15-20 minutes. If there's a significant difference, you'll know to adjust your oven setting accordingly (e.g., if the thermometer reads 325°F when set to 350°F, you'll need to set it to 375°F for recipes calling for 350°F). Regularly checking the thermometer helps ensure consistent results and minimizes surprises during baking.
Mixing Techniques
Proper mixing technique is vital for developing the right cake texture. The creaming method (beating softened butter and sugar together) is foundational for many cakes, incorporating air that provides lift. Ensure you cream long enough (often several minutes) until the mixture is lightened in color and fluffy.
When adding dry and wet ingredients alternately, as is common in the creaming method, begin and end with the dry ingredients. Mix just until combined after adding the flour. Overmixing develops gluten, leading to a tough cake. Use the lowest speed on your mixer or mix by hand for the final additions. Scrape down the sides and bottom of the bowl frequently to ensure all ingredients are incorporated evenly without overworking the batter.
Advanced Troubleshooting: Less Common Problems
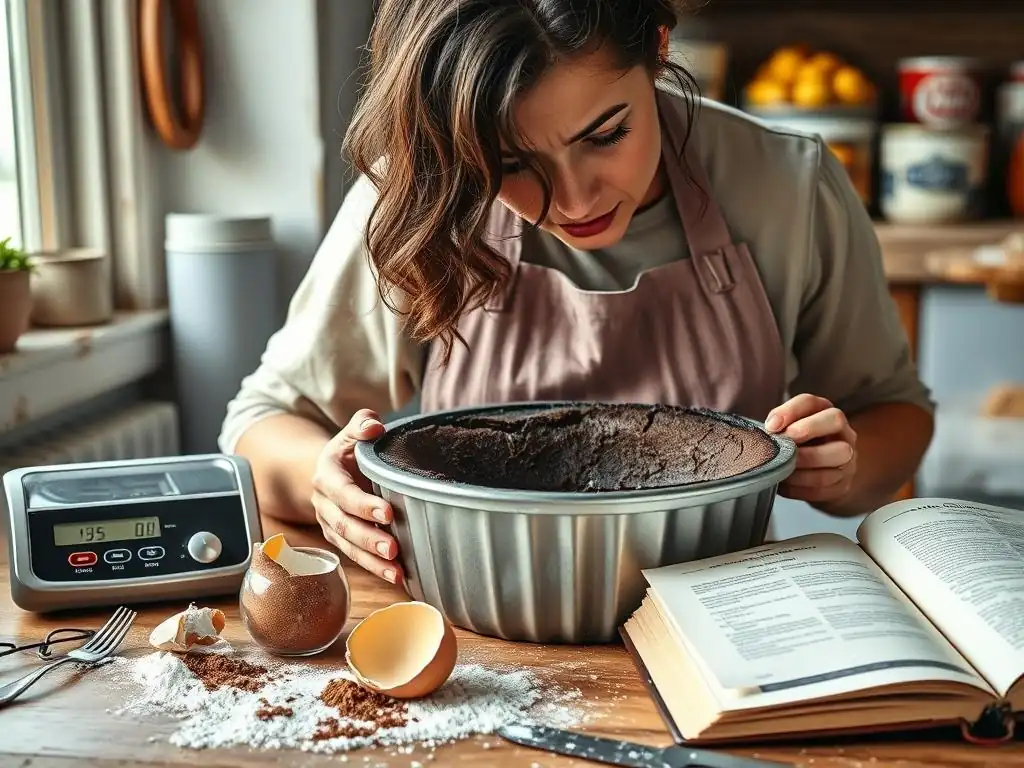
Sometimes, cake baking troubleshooting goes beyond the usual suspects. These less frequent issues can be puzzling but often have specific causes related to ingredients or technique.
Troubleshooting Gummy Cake: Starch Issues
A gummy layer or texture in a cake, often near the bottom, is a less common but frustrating issue in cake baking troubleshooting. This is typically related to starch gelatinization and can occur when the cake doesn't bake fully or evenly, or when there is too much moisture or not enough structure.
One cause is insufficient baking time or an oven that isn't hot enough, preventing the starches in the flour from setting properly throughout the cake. Another factor can be overmixing, which develops too much gluten; when combined with high moisture, this can lead to a dense, chewy, or gummy texture. Using too much liquid in the batter or baking at too low a temperature can also contribute to this problem. Some gluten-free flour blends, particularly those high in certain starches, can be prone to gumminess if not handled correctly.
Troubleshooting Cracked Cake Tops: Temperature and Moisture
A cake top that cracks significantly during baking is usually a sign that the surface set too quickly while the interior was still rising. This is a specific challenge in cake baking troubleshooting related to temperature and moisture balance.
The most common cause is an oven temperature that is too high, causing the outside of the cake to bake and form a crust before the inside has finished rising. As the interior expands, the set crust cracks to accommodate the movement. A batter that is too stiff or dry can also contribute to cracking, as it lacks the flexibility to expand evenly. Placing the cake in the center of the oven rack helps ensure even heat distribution.
Troubleshooting a Cake That Sticks: Pan Prep
A cake sticking to the pan is a disheartening end to the baking process. Proper pan preparation is essential cake baking troubleshooting to ensure an easy release.
The most frequent reason is inadequate greasing and flouring (or cocoa powder for chocolate cakes) of the pan. Even non-stick pans benefit from proper preparation. Ensure you cover all surfaces thoroughly, including corners and edges. Using parchment paper on the bottom of the pan provides an extra layer of insurance, especially for delicate cakes. Not allowing the cake to cool in the pan for the correct amount of time before attempting to invert it can also cause sticking; cooling too long can cause it to contract and stick, while cooling too little means it's still too fragile.
Conclusion: Conquer Any Challenge
Baking cakes is a rewarding process, and encountering occasional fails is a normal part of the learning curve. Armed with this cake baking troubleshooting guide, you're better equipped to identify what went wrong and, more importantly, how to fix it or prevent it next time.
Learning from Mistakes
Every baking mishap is an opportunity to learn. Did your cake sink? Note the potential causes – opening the oven door, temperature issues, etc. – and adjust your process for the next bake. Was it dry? Consider your baking time, temperature, or ingredient ratios. Keeping a baking journal can be incredibly helpful; jot down the recipe used, any modifications, the baking time and temperature, and the result. This log becomes an invaluable cake baking troubleshooting guide tailored to your oven and techniques.
Further Resources
Don't hesitate to consult reliable baking resources. Cookbooks, reputable baking websites, and online communities offer a wealth of knowledge and specific advice. Often, others have encountered the same problems and shared their solutions. Practicing different recipes and techniques will also build your intuition and skill, making you more adept at anticipating and preventing common cake problems. With patience and practice, you'll conquer any cake baking troubleshooting challenge and bake delicious cakes consistently.
Frequently Asked Questions
What are the most common causes of a cake sinking in the middle?
A cake sinking in the middle can be caused by several factors, including overmixing the batter, using too much liquid, or not baking the cake at a high enough temperature.
My cake is dry. What could I have done wrong?
A dry cake is often the result of overbaking, using too much flour, or not adding enough fat or moisture to the recipe.
Why did my cake stick to the pan, even though I greased it?
Even with greasing, sticking can occur. Ensure you're using enough grease, perhaps try adding flour after greasing, or use parchment paper to line the bottom of the pan.
My cake batter curdled. Is it ruined?
Not necessarily! Curdling often happens when cold ingredients are mixed with warm ones. Try adding the dry ingredients gradually or gently warming the cold ingredients before mixing.
What does it mean if my cake has a large crack on top?
A large crack usually indicates that the oven temperature is too high or that the cake is baking too quickly. Try lowering the temperature by 25 degrees or tenting the cake with foil.
Final Reflection: Sweet Success from Baking Blunders
The art of cake baking, while seemingly simple, is a delicate dance between science and artistry. A single misplaced ingredient or a slightly off temperature can transform a potential masterpiece into a culinary catastrophe. Yet, understanding the common pitfalls and possessing the right troubleshooting techniques can turn even the most disastrous baking experience into a learning opportunity, ultimately leading to sweeter successes.
This journey through common cake baking challenges has highlighted the importance of patience, precision, and a willingness to learn from mistakes. It's a process that mirrors life itself; we stumble, we adapt, we improve. The only true wisdom is in knowing you know nothing.
- Socrates. This quote, while seemingly unrelated to cake baking, perfectly encapsulates the continuous learning process involved in mastering any skill, especially one as nuanced as baking. The more we bake, the more we understand the subtle interactions between ingredients and techniques, leading to a deeper appreciation for the craft.
Now, it's your turn. Don't be afraid to experiment, to embrace the occasional flop, and to learn from your mistakes. Keep your first-aid kit of baking solutions handy, and remember that even the most experienced bakers have faced their share of challenges. Each failed attempt is a step closer to baking perfection. So, grab your apron, gather your ingredients, and embark on your next baking adventure with renewed confidence and a spirit of playful experimentation. The sweetest rewards await those who dare to try.
Unleash Your Inner Cake Boss: Conquer Baking Challenges!
Thanks for joining us on this baking adventure! We hope you've gained some valuable insights and newfound confidence to tackle those tricky cake situations. Now it's time to put your knowledge into action.
- Master your next cake masterpiece: Try out one of the tips from the article on your next baking project – even a simple sponge cake will benefit from your new expertise!
- Share your baking triumphs (and even your flops!): Tell us about your experiences in the comments below. We'd love to hear your success stories (and commiserate on the less-than-perfect ones! ).
- Discover more baking secrets: Explore other articles on BakeWithEase to further refine your baking skills.
Ready to bake something amazing? What cake challenge will you conquer first?