
Achieving Sharp Edges on Your Buttercream Cake

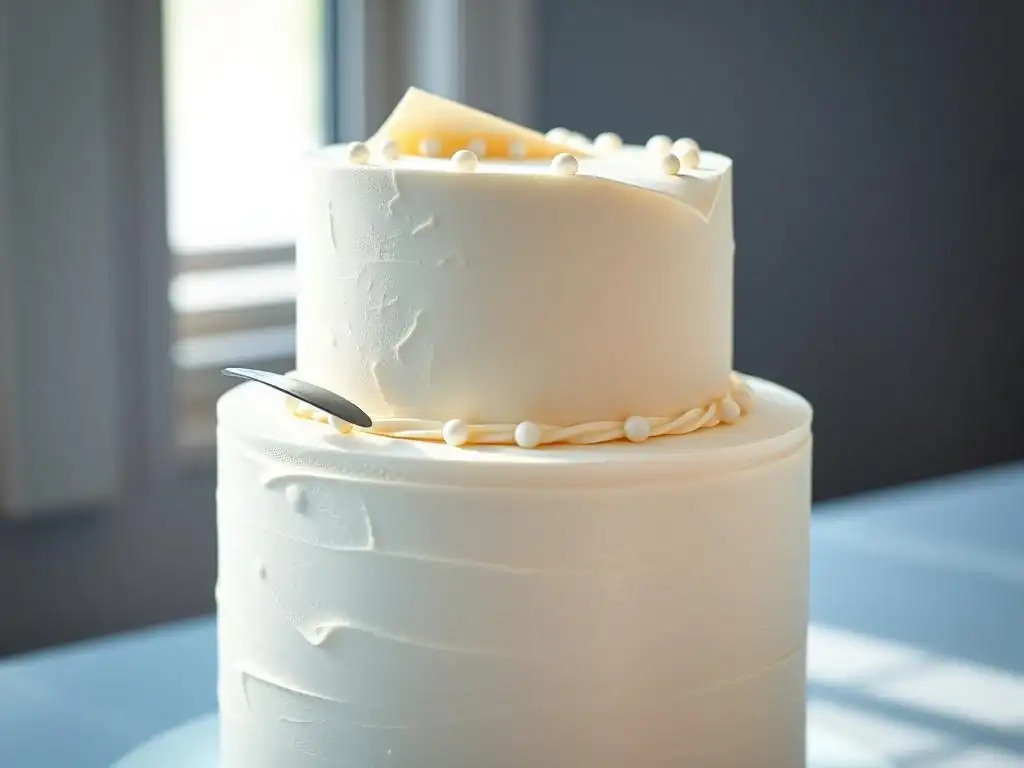
Welcome to BakeWithEase, where we believe everyone can create stunning desserts! Are you ready to elevate your cake decorating game? Mastering the art of sharp buttercream edges can transform an ordinary cake into a show-stopping masterpiece. Unlock the secrets to achieving professional-looking results with our comprehensive tutorial and discover the techniques that will leave your cakes flawlessly finished. Intrigued? Let's get started and turn your buttercream dreams into a delicious reality!
- Achieving Sharp Buttercream Edges: A Tutorial
- Introduction to Sharp Buttercream Edges for Cakes
- Essential Tools for Sharp Buttercream Edges
- Step-by-Step: Mastering the Sharp Buttercream Edges Technique
- Troubleshooting Common Issues with Sharp Buttercream Edges
- Advanced Techniques for Sharper Buttercream Edges
- Maintaining Your Sharp Buttercream Edges
- Conclusion: Your Journey to Perfect Buttercream Edges
-
Frequently Asked Questions
- How important is the buttercream consistency for achieving sharp edges?
- What tools are essential for a sharp buttercream edges tutorial?
- Can any type of buttercream be used for creating sharp edges?
- How many layers of buttercream are recommended for sharp edges?
- What is the 'hot water' technique, and how does it help in achieving sharp buttercream edges?
- Final Reflection: The Enduring Allure of Perfectly Sharp Edges
- Unleash Your Inner Cake Artist: Sharpen Your Skills!
Achieving Sharp Buttercream Edges: A Tutorial
Introduction to Sharp Buttercream Edges for Cakes
Why Sharp Edges Elevate Your Cake Decorating
Sharp buttercream edges transform a simple cake into a professional-looking masterpiece. They provide a clean, defined line that immediately catches the eye, suggesting precision and skill. Think of it like framing a beautiful painting – the frame enhances the art. Crisp edges create a sophisticated finish, making your cake appear taller and more polished. This level of detail is especially important for tiered cakes, where uniform, sharp edges on each tier create a stunning, cohesive structure. Achieving sharp edges is a hallmark of intermediate to advanced cake decorating and is a skill worth mastering.
Beyond aesthetics, sharp edges demonstrate control over your medium. They show that the buttercream was applied and smoothed with care and technique, not simply spread on. For instance, a cake with perfectly straight, sharp edges often commands a higher perceived value, whether it's for a special occasion like a wedding or just a beautiful birthday celebration. Learning this technique is a significant step in elevating your baking and decorating game, making your cakes stand out from the crowd. This sharp buttercream edges tutorial will guide you through the necessary steps.
The Importance of Smooth Buttercream for Crisp Edges
Achieving truly sharp edges begins long before you pick up your scraper – it starts with your buttercream. A smooth, air-bubble-free buttercream is absolutely fundamental. If your buttercream is lumpy, grainy, or full of trapped air, no amount of scraping or smoothing will yield those coveted sharp lines. Imagine trying to build a perfectly straight wall with uneven bricks; it just won't work. The consistency must be homogenous and pliable, allowing it to spread evenly and adhere smoothly to the cake surface.
Incorporating air during mixing is necessary for volume and texture, but excess air trapped in the finished buttercream will create frustrating pockmarks as you try to smooth it. To combat this, after your buttercream is fully mixed, switch to a low speed and let the mixer run for several minutes. This low and slow process helps to push out trapped air bubbles.
Some decorators even give the buttercream a final stir by hand with a spatula, pressing it against the sides of the bowl to ensure maximum smoothness. This preparation step is crucial for executing a successful sharp buttercream edges tutorial.
Essential Tools for Sharp Buttercream Edges
The Right Type of Buttercream for Sharp Edges
Swiss Meringue Buttercream vs. American Buttercream for Sharpness
When aiming for sharp buttercream edges, the type of buttercream you choose plays a significant role. Generally, buttercreams with a higher fat content and smoother texture lend themselves better to sharp finishes. Swiss Meringue Buttercream (SMBC) and Italian Meringue Buttercream (IMBC) are often favored by professionals for their incredibly smooth, silky texture and ability to hold shape once chilled. These meringued-based buttercreams are less likely to crust quickly, giving you more time to work and smooth the surface without tearing or pulling. Their stability allows for cleaner scraping and chilling.
American Buttercream (ABC), made from butter and powdered sugar, can certainly achieve sharp edges, but it often requires more finesse and speed. ABC tends to crust much faster due to the high sugar content, which can make smoothing challenging as it starts to set. It's also more prone to trapping air bubbles.
While it's possible, achieving the same level of glass-like smoothness and razor-sharp edge with ABC typically requires ensuring it's perfectly soft and pliable before application and working quickly with heated tools. For beginners attempting a sharp buttercream edges tutorial, SMBC or IMBC might offer a slightly more forgiving experience.
Offset Spatulas: Your Smoothing Companion
Offset spatulas are indispensable tools in cake decorating, particularly when applying and initially smoothing buttercream. Their angled blade keeps your hand away from the cake surface, allowing for a cleaner application and reducing the risk of accidentally touching the wet buttercream. You'll use them to scoop buttercream from your bowl and apply it generously to the top and sides of your crumb-coated cake, building up a thick, even layer.
Different sizes of offset spatulas are useful. A small one is great for filling in small gaps or correcting minor imperfections, while a larger one is efficient for applying the bulk of the buttercream quickly. The smooth, flat surface of the offset spatula is also used for the initial smoothing pass on the top of the cake before moving on to a bench scraper for the sides. Proper use of the offset spatula sets the stage for achieving crisp, sharp buttercream edges.
Metal Scrapers: Achieving That Perfect Finish
Metal bench scrapers or cake scrapers are arguably the most critical tool for achieving those signature sharp edges. Unlike plastic scrapers, metal scrapers provide a rigid, perfectly straight edge that can shave away excess buttercream with precision, resulting in a smooth, flat side. Holding the scraper at a consistent angle against the cake, while rotating the turntable, allows you to systematically remove excess buttercream and create a uniform surface.
Scrapers come in various heights. Choosing one that is taller than your cake allows you to create a single, continuous smooth pass from bottom to top, ensuring a straight side. The weight and rigidity of a metal scraper also help apply even pressure, which is key to removing just the right amount of buttercream without digging into the cake. Mastering the angle and pressure of your metal scraper is fundamental to any sharp buttercream edges tutorial.
Turntable: The Key to Uniform Application
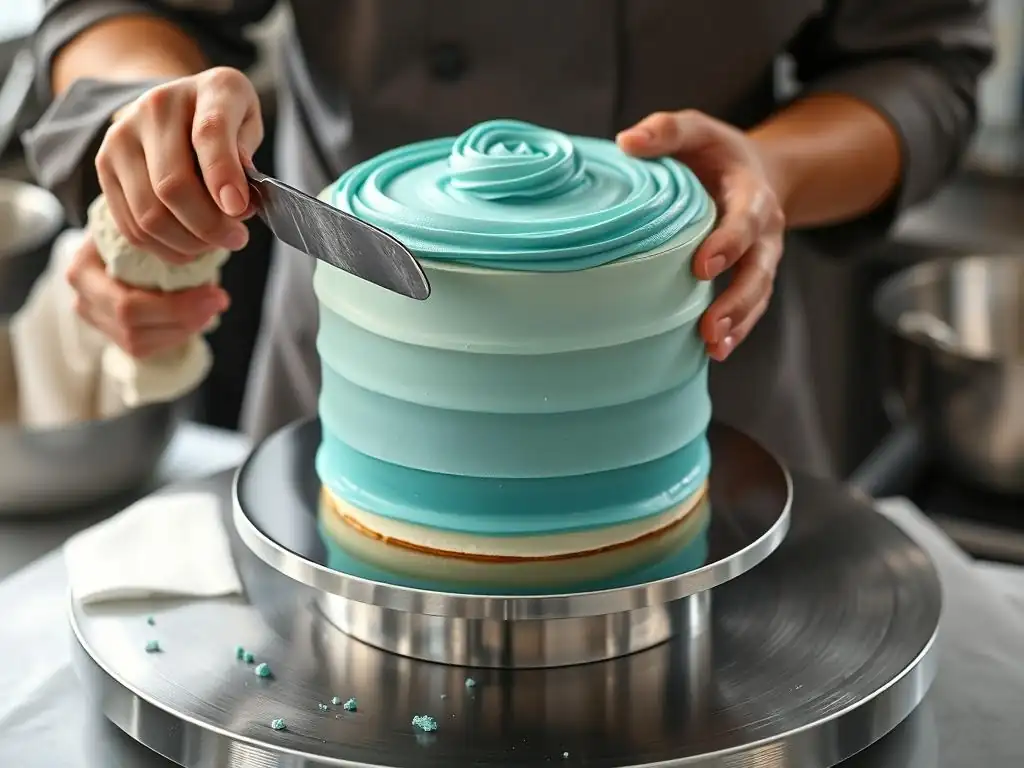
A smooth-rotating turntable is essential for applying and smoothing buttercream evenly around the cake. It allows you to keep your scraper or spatula stationary at the ideal angle while the cake rotates, ensuring consistent coverage and pressure across the entire surface. Trying to smooth a cake by moving your hand around a static cake is significantly more challenging and often results in unevenness.
For best results, a heavy-duty, smooth-spinning turntable is recommended. The weight helps keep it stable on your counter, and a good bearing ensures a consistent, effortless rotation. This allows you to focus entirely on the angle and pressure of your smoothing tool, which is crucial for achieving perfectly flat sides and sharp corners as demonstrated in a sharp buttercream edges tutorial.
Hot Water and Spatula: For Refined Smoothness
While not always listed as a primary tool, a tall glass or jug of hot water and a clean offset spatula or metal scraper can be invaluable for achieving a final, glass-smooth finish and refining those sharp edges. Dipping your scraper or spatula in hot water, wiping off the excess, and then lightly running it over the chilled buttercream surface slightly melts the very outer layer.
This technique allows you to smooth out tiny imperfections, fill in minute air bubbles, and create an incredibly polished look. It's particularly effective on buttercreams that crust slightly. Be cautious not to use water that is too hot or press too hard, as this can melt too much buttercream and ruin your carefully constructed shape. This final pass with a warm tool is a finishing touch that elevates good edges to truly sharp buttercream edges.
Step-by-Step: Mastering the Sharp Buttercream Edges Technique
Step 1: Crumb Coat Your Cake for a Flawless Base
Why a Crumb Coat is Essential
A crumb coat is a thin layer of buttercream applied to the cake before the final, thicker layer. Its primary purpose is to trap any loose crumbs from the cake layers, preventing them from getting into your final buttercream layer and ruining its smooth appearance. Imagine finding cake crumbs embedded in your perfectly smooth, colored buttercream – it's frustrating and unsightly. The crumb coat acts as a seal, creating a clean surface for your subsequent decorating steps.
Furthermore, a crumb coat helps to fill in any gaps or unevenness in the cake layers themselves, providing a more stable and uniform base for the final buttercream application. It's like applying a primer before painting a wall; it prepares the surface for a perfect finish. Skipping this step makes achieving sharp buttercream edges significantly more difficult, as crumbs and unevenness will constantly interfere with your smoothing efforts.
Applying the Perfect Crumb Coat
To apply a crumb coat, ensure your cake layers are cool and stable. Place the first layer on your turntable. Apply a thin layer of buttercream to the top, then add the next layer. Repeat for all layers. Apply a thin, almost translucent layer of buttercream to the top and sides of the entire cake using an offset spatula. The goal is just to cover the cake surface and trap crumbs, not to build up thickness. Don't worry about making it perfectly smooth at this stage.
Once the cake is fully covered with the thin crumb coat, place it in the refrigerator or freezer for about 15-30 minutes, or until the buttercream is firm to the touch. This chilling step is crucial because it hardens the crumb coat, locking in all those loose crumbs and creating a solid foundation. A well-chilled crumb coat makes applying the final, thicker layer much easier and greatly contributes to achieving sharp buttercream edges.
Step 2: The Thick Buttercream Layer: Building the Foundation
Achieving Consistent Buttercream Thickness
With your crumb-coated cake chilled and firm, it's time to apply the final, thicker layer of buttercream. The thickness of this layer is important for achieving sharp edges. You need enough buttercream on the sides to be able to scrape away the excess and create a flat, straight surface. Aim for a layer that is approximately 1/4 to 1/2 inch thick all around the cake. This provides enough material to work with without being excessive.
Start by applying a generous amount of buttercream to the top of the cake, smoothing it with an offset spatula. Then, apply large dollops or strips of buttercream around the sides of the cake. Using a piping bag with a large round tip can help apply an even amount of buttercream around the circumference, making initial smoothing easier and promoting consistent thickness from the start. This generous application is key to building the foundation for your sharp buttercream edges tutorial.
Avoiding Air Bubbles During Application
Even if you've prepared your buttercream to be smooth, air can still be introduced during the application process. To minimize this, avoid overworking the buttercream as you apply it. If using a piping bag, fill it carefully, pressing out any large air pockets before you start piping onto the cake. When using an offset spatula, try to apply the buttercream in smooth, sweeping motions rather than choppy dabs.
As you apply the thick layer, keep an eye out for any visible air bubbles. If you spot one, gently press it out with your spatula or smooth over it immediately. Sometimes, small bubbles only become apparent during the scraping process. These can be filled in with a little extra buttercream and re-scraped. A smooth application from the beginning significantly reduces the amount of troubleshooting needed later and contributes to achieving crisp buttercream edges.
Step 3: Initial Smoothing and Scraping
Using the Cake Scraper Effectively
Once the thick layer of buttercream is applied to the sides, it's time to use your metal cake scraper. Hold the scraper firmly against the side of the cake, keeping it as perpendicular as possible to the turntable. The bottom edge of the scraper should rest lightly on the turntable surface (if your cake board is the same size as the cake) or just above it (if your cake board is wider). The key is to maintain a consistent angle and pressure.
With the scraper held steady, slowly rotate the turntable. The scraper will shave away excess buttercream, revealing a smoother surface underneath. You will likely need to scrape several times, wiping the excess buttercream off your scraper after each pass. Don't expect perfection on the first pass; this is the initial smoothing to get the sides relatively straight and remove the bulk of the excess.
Rotating the Turntable for Even Coverage
Smooth, consistent rotation of the turntable is critical during scraping. A jerky or inconsistent rotation will lead to uneven pressure against the scraper, resulting in dips and bumps in the buttercream. Aim for a steady, fluid motion. Your non-scraping hand should turn the turntable smoothly while your scraping hand remains steady, maintaining the angle and pressure.
Practice rotating the turntable at a consistent speed. This helps ensure that the scraper is removing the same amount of buttercream all the way around the cake. After each full rotation and scrape, examine the sides for low spots or areas that need more buttercream. Fill these in with a little extra buttercream using an offset spatula and scrape again. This iterative process of applying, scraping, and rotating is fundamental to achieving sharp buttercream edges.
Step 4: Chilling the Cake: A Crucial Step
Why Chilling is Necessary
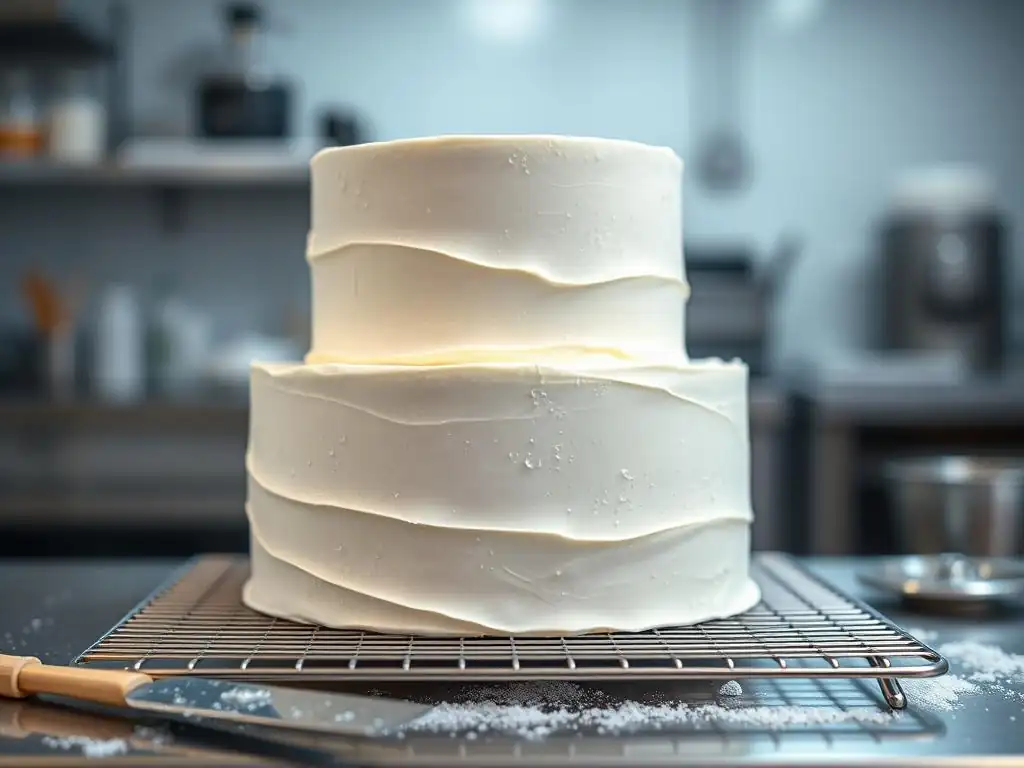
Chilling the cake after the initial smoothing is a non-negotiable step for achieving truly sharp buttercream edges. Just like chilling the crumb coat, chilling the final buttercream layer firms it up significantly. This firm state allows you to go back and scrape again with more precision, removing even smaller imperfections and creating a much cleaner, sharper line where the side meets the top. Trying to create a sharp edge on soft buttercream is like trying to cut jelly with a blunt knife – it just smears.
The chilled buttercream is stable enough to withstand the pressure of the scraper or spatula needed to define the edge without collapsing or deforming. This step is particularly helpful when working with softer buttercreams like SMBC or IMBC, but it's equally beneficial for ABC. A properly chilled cake is the foundation for the final edge-sharpening steps in this sharp buttercream edges tutorial.
Optimal Chilling Time
The optimal chilling time depends on the type of buttercream and the temperature of your refrigerator or freezer. As a general guideline, refrigerate the cake for at least 30-60 minutes, or until the buttercream is firm to the touch and no longer yields easily when gently pressed. If you're in a hurry, placing the cake in the freezer for 15-20 minutes can speed up the process, but be careful not to freeze it completely, as this can cause condensation issues later.
You'll know the cake is sufficiently chilled when the surface feels hard and dry, not sticky or soft. Don't rush this step; insufficient chilling is a common reason why edges aren't as sharp as they could be. A properly chilled cake makes the final smoothing and sharpening process much more effective and less frustrating.
Step 5: The Final Smoothing and Edge Sharpening
Using Warm Water for a Smooth Finish
After chilling, the buttercream is firm. Now you can refine the surface and sharpen the edge. Dip your metal scraper (or a clean offset spatula) in a tall container of hot water. Wipe the excess water off with a paper towel – you want the tool warm, not dripping wet. Hold the warm scraper against the chilled buttercream side and rotate the turntable. The warmth of the scraper will slightly melt the surface, allowing you to smooth out any faint lines left from previous scraping passes and fill in tiny pinholes.
Repeat this process, dipping and wiping the scraper as needed. Work quickly and lightly; too much heat or pressure can melt too much buttercream. This technique gives the sides a glass-like smoothness that is difficult to achieve with just a cold scraper. It's a professional trick that significantly enhances the look of your sharp buttercream edges.
Perfecting the Top Edge
Once the sides are smooth, it's time to create the crisp top edge. Hold a clean offset spatula or metal scraper parallel to the top surface of the cake, with the edge of the spatula extending slightly over the side edge. With a smooth motion, pull the spatula from the outer edge towards the center of the cake, removing the small ridge of buttercream that has built up along the top edge during side scraping.
Wipe your spatula clean after each pull and repeat around the entire circumference of the cake. Work methodically, overlapping your pulls slightly to ensure you get a clean, sharp line all the way around. Some decorators prefer to do this step after the sides are completely finished and chilled again, while others do it during the warm scraping phase. Find the method that works best for you to achieve the sharpest line.
Correcting Imperfections
Even with careful technique, you might find small imperfections – a tiny air bubble pops, a slight dip, or an area that isn't perfectly straight. For small pinholes or minor unevenness, a warm scraper pass often fixes the issue. For larger dips or areas where you've accidentally scraped too much away, you'll need to add a little more buttercream. Use a small offset spatula to carefully apply a small amount of buttercream to the problem area.
Then, use your scraper (either cold or slightly warmed) to smooth that specific spot, blending it into the surrounding buttercream. You might need to re-scrape the entire side lightly after correcting an imperfection to ensure uniformity. Patience and attention to detail are key here. Don't be afraid to add and re-scrape until you are satisfied with your sharp buttercream edges.
Troubleshooting Common Issues with Sharp Buttercream Edges
Air Bubbles: Identification and Removal
Air bubbles are a common frustration when trying to achieve sharp buttercream edges. They appear as small pockmarks on the surface after scraping. The best prevention is ensuring your buttercream is properly de-aerated before application (low speed mixing). However, some bubbles may only become visible during smoothing.
If you see a bubble, you can often prick it with a fine pin or the tip of a small spatula. If it's a small bubble that's just below the surface, a warm scraper pass might smooth over it. For larger or more numerous bubbles, you might need to scrape down that section, apply a little fresh buttercream, and re-scrape. In extreme cases, if the buttercream is riddled with bubbles, you might need to remove it, re-mix it on low speed, and start the application process again.
Uneven Buttercream Application: Prevention and Correction
Applying the buttercream unevenly is a primary cause of difficulty in achieving sharp edges. If one side has significantly less buttercream than another, you won't have enough material to scrape into a flat surface. Prevention involves applying a generous and relatively consistent layer from the start, perhaps using a piping bag as suggested earlier.
If you discover unevenness during scraping (e.g., you hit cake on one side while still having a thick layer on another), you'll need to add more buttercream to the low spots. Build up the thin areas with an offset spatula, ensuring you extend the new buttercream slightly beyond the dip. Then, re-scrape that section, and potentially the entire side, to blend it seamlessly. This might require several passes.
Soft Buttercream: Solutions for Stability
Buttercream that is too soft or warm is very difficult to scrape into a sharp edge. It will just smear and won't hold its shape. If your buttercream is too soft, your primary solution is chilling. Place the cake (or even just the bowl of buttercream if you haven't applied it yet) in the refrigerator for a period to firm it up.
Ensure your kitchen isn't excessively warm, as this can soften buttercream quickly. If you're working in a warm environment, chilling times between scraping passes will be longer and more critical. Sometimes, a buttercream recipe might simply be too soft; adding a little more powdered sugar (for ABC) or ensuring the butter is properly incorporated and chilled (for meringued buttercreams) can help with stability.
Cake Showing Through the Buttercream
If the cake is showing through the buttercream after scraping, it means one of two things: either your initial buttercream layer was too thin, or you have scraped too much away in a particular area. If it's just a small spot, you can carefully patch it with a little extra buttercream and re-scrape that area.
If large sections of cake are visible, it indicates the overall layer was too thin. You will need to apply another layer of buttercream over the existing one. This can be tricky as you don't want to incorporate crumbs. Ensure the existing layer is chilled and firm. Apply a new, thin-to-moderate layer over the entire cake and then re-scrape, being careful not to press too hard. This reinforces the idea that a thick enough initial layer is crucial for this sharp buttercream edges tutorial.
Advanced Techniques for Sharper Buttercream Edges
The "Reverse" Method for Ultra-Sharp Edges
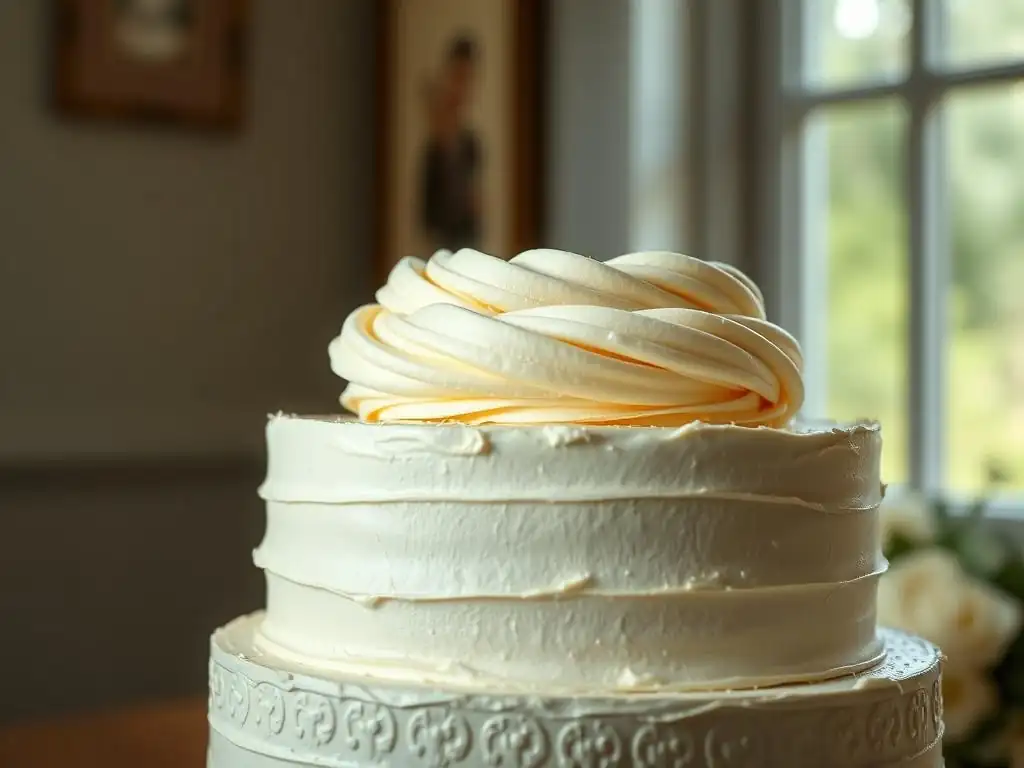
The "reverse" method is an advanced technique often used by professional decorators for incredibly sharp, almost acrylic-like edges. Instead of applying buttercream to the cake first, you line the inside of your cake pans (or use acetate strips inside a cake ring) with a thick, smooth layer of buttercream.
Once the buttercream is chilled and firm, you place your cake layers inside the buttercream shell, filling any gaps with more buttercream. When the entire structure is firm, you invert the cake and remove the pan/ring/acetate. This method creates perfectly straight sides and a pre-formed sharp edge. It requires precision in lining the mold and is more involved than direct application but can yield exceptional results.
Using Ganache Under Buttercream
Another technique for achieving structural integrity and sharp edges is to apply a layer of chocolate ganache under the buttercream. Ganache, made from chocolate and cream, sets very firmly when chilled. You apply a thin layer of ganache to the crumb-coated cake and smooth it meticulously using a hot scraper, much like you would buttercream.
Once the ganache is perfectly smooth and chilled rock-hard, you apply your buttercream over the top. The firm ganache layer beneath provides a rigid, perfectly smooth surface that makes achieving sharp buttercream edges with the final layer much easier. It's like having a solid foundation to build upon and scrape against. This method is particularly popular for cakes that need to withstand transport or warmer temperatures.
Maintaining Your Sharp Buttercream Edges
Storing Your Cake to Preserve Sharpness
Proper storage is crucial for maintaining your beautifully crafted sharp buttercream edges. Once decorated, the cake should be stored in a cool environment. Refrigeration is generally recommended, especially for buttercreams like SMBC or IMBC, and particularly during warmer weather. Store the cake in an airtight cake carrier or a box wrapped tightly in plastic wrap to prevent it from drying out, absorbing odors, or developing condensation.
When taking the cake out of refrigeration, allow it to sit at room temperature for a period (perhaps 30-60 minutes, depending on the size and ambient temperature) before serving. This allows the buttercream to soften slightly, improving its texture and flavor. However, avoid letting it sit out for too long, especially in warm or humid conditions, as this can cause the edges to soften and lose their crispness.
Transporting Your Cake Without Damaging the Edges
Transporting a cake with sharp buttercream edges requires careful planning and execution. Ensure the cake is well-chilled before transport; a firm buttercream is less susceptible to dents and smudges. Place the cake on a non-slip mat or a few damp paper towels inside a sturdy cake box. The box should be large enough that the sides do not touch the buttercream.
Place the cake box on a flat surface in your vehicle, like the floor of the passenger side or the trunk, ensuring it cannot slide around. Avoid placing it on a seat, which is often sloped. Drive carefully, avoiding sudden stops or sharp turns. For long distances or hot weather, consider using a cooler box (without ice directly touching the cake box) to maintain a cool temperature during transit. Handle the box gently at all times to keep those edges pristine.
Conclusion: Your Journey to Perfect Buttercream Edges
Recap of Key Techniques for Sharp Edges
Mastering sharp buttercream edges is a rewarding skill that significantly enhances the visual appeal of your cakes. It requires patience, practice, and attention to detail, but it is absolutely achievable for bakers of all levels willing to learn the techniques. Remember the crucial steps outlined in this sharp buttercream edges tutorial: starting with smooth, de-aerated buttercream, applying a stabilizing crumb coat, building a generous and even final layer, using the right tools like metal scrapers and a turntable, and crucially, chilling the cake between smoothing steps.
Techniques like using a warm scraper for a final polish and correcting imperfections as you go are vital for refining the finish. While initial attempts might not be perfect, each cake you decorate will bring you closer to achieving those coveted crisp, sharp buttercream edges. With consistent practice, these steps will become second nature, allowing you to create stunning, professional-looking cakes that impress everyone who sees and tastes them. Happy decorating!
Frequently Asked Questions
How important is the buttercream consistency for achieving sharp edges?
Buttercream consistency is crucial. It needs to be firm enough to hold its shape, but also smooth enough to spread easily. A too-soft buttercream will make achieving sharp edges impossible.
What tools are essential for a sharp buttercream edges tutorial?
Key tools include an offset spatula, a bench scraper (metal is preferred), a turntable, and potentially hot water. These help to create smooth, even surfaces and crisp edges.
Can any type of buttercream be used for creating sharp edges?
While some buttercreams are easier to work with, most can be adapted. American buttercream is often considered more challenging due to its higher sugar content, but Swiss or Italian meringue buttercream are generally preferred for their stability.
How many layers of buttercream are recommended for sharp edges?
At least two layers are recommended. A crumb coat seals in the cake crumbs, and a second, thicker layer allows for smoothing and achieving the desired sharp edges.
What is the 'hot water' technique, and how does it help in achieving sharp buttercream edges?
The hot water technique involves dipping the spatula or bench scraper in hot water and drying it before smoothing the buttercream. The heat helps to smooth out the buttercream and create a flawless finish, contributing to sharper edges.
Final Reflection: The Enduring Allure of Perfectly Sharp Edges
The pursuit of flawlessly sharp edges on buttercream cakes isn't merely a decorative flourish; it's a testament to precision, patience, and the enduring power of visual appeal in the culinary arts. In today's visually-driven world, where Instagrammable desserts reign supreme, mastering this technique translates to a significant advantage, elevating your baking from hobby to artistry. The demand for visually stunning cakes continues to grow, making the skills detailed in this tutorial more relevant than ever.
The journey to achieving those crisp, clean lines has profoundly impacted my own baking philosophy. It's taught me the importance of meticulous preparation, the value of the right tools, and the surprising satisfaction of mastering a seemingly small detail. Perfection is not attainable, but if we chase perfection, we can catch excellence.
– Vince Lombardi. This quote resonates deeply, as the pursuit of that perfect edge pushes me to constantly refine my technique and strive for excellence in every aspect of my baking. The process itself, even with its occasional imperfections, is a rewarding journey of learning and growth.
Now, it's your turn. Don't be intimidated by the challenge of sharp edges. Take the techniques outlined in this tutorial, practice them, experiment, and most importantly, have fun! Each perfectly piped rose, each flawlessly smooth surface, is a testament to your dedication and skill. Embrace the process, celebrate your successes, and learn from your setbacks. The journey to mastering sharp buttercream edges is a rewarding one, and the results will speak for themselves – in the delighted smiles of those who enjoy your creations.
Unleash Your Inner Cake Artist: Sharpen Your Skills!
Thanks for taking the time to learn how to achieve those perfectly sharp edges on your buttercream cakes! We hope you gained valuable tips and tricks to elevate your baking game. Ready to put your new skills to the test?
- Master the art of the crumb coat: Practice your crumb coat technique on a simple cake this week. Notice the difference a well-executed crumb coat makes in achieving that flawless finish.
- Share your creation: Post a picture of your perfectly edged cake on social media and tag us @BakeWithEase – we’d love to see your masterpiece!
- Explore our other tutorials: Discover more advanced techniques and recipes to further enhance your cake decorating skills.
What unique edge design will you try on your next cake?