
Your First Piping Bag: Getting Started Right

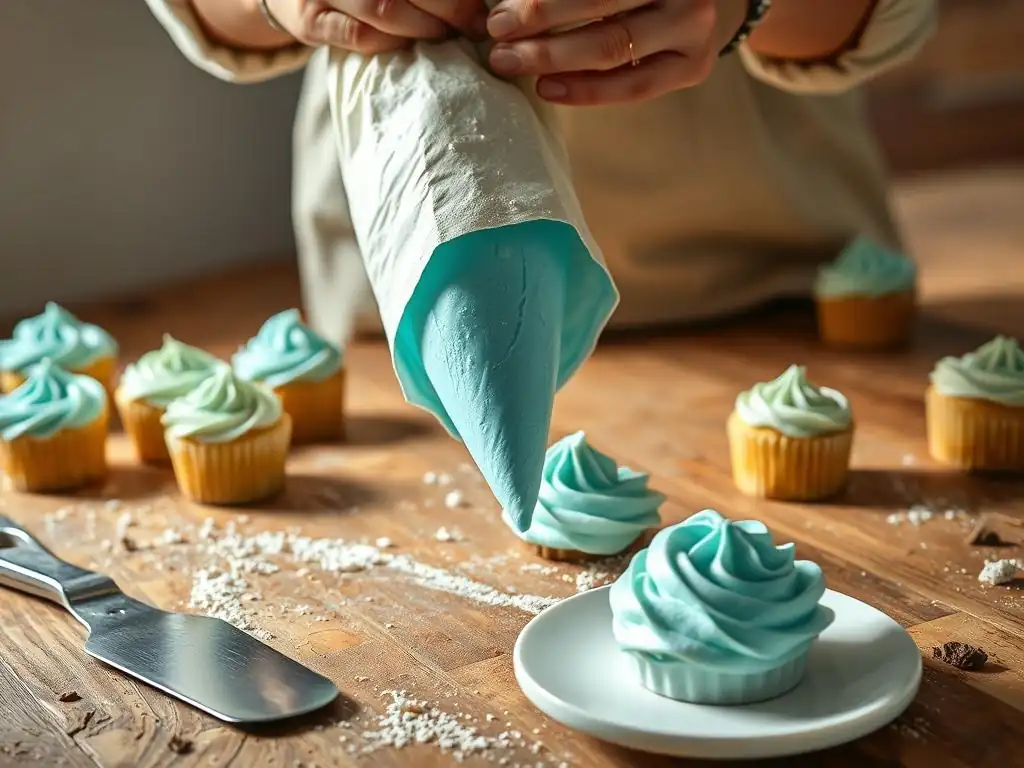
Welcome to BakeWithEase, your partner in creating delicious treats! Ever wondered how to achieve those perfectly swirled cupcakes or elegant cake decorations you see online? This guide demystifies the process, starting with a fundamental technique: How to fill a piping bag like a pro. Unlock the secrets to smooth, mess-free filling and begin your journey to stunning baked creations. Ready to elevate your baking game? Let's get started!
- Mastering the Piping Bag: A Beginner's Guide
- Introduction to Cake Decorating with Piping Bags
- Exploring Different Types of Piping Bags
- Essential Piping Bag Tools
- Step-by-Step Guide: Filling Your Piping Bag
- Practicing Fundamental Piping Techniques
- Troubleshooting Common Piping Challenges
- Cleaning and Storing Piping Bags
- Advanced Piping Techniques
- Conclusion: Elevate Your Cake Decorating Skills
- Frequently Asked Questions
- Final Reflection: Mastering the Art of the Piping Bag
- Unleash Your Inner Pastry Chef!
Mastering the Piping Bag: A Beginner's Guide
Introduction to Cake Decorating with Piping Bags
Why Piping Skills are Crucial for Cake Decoration
Piping skills are absolutely fundamental if you want to elevate your cake decorating from simple frosting spreads to impressive, professional-looking designs. Mastering how to use a piping bag allows for precision that is simply impossible with a spatula alone. Think about the difference between a roughly frosted cake and one adorned with delicate swirls, sharp shell borders, or elegant lettering. This control over the flow and placement of frosting or icing is what transforms a home-baked treat into a showstopper.
Developing proficiency in piping opens up a world of possibilities, enabling you to create consistent patterns, fill delicate details like small cavities or lines, and apply frosting smoothly and evenly to cupcakes or cookies. Bakers who invest time in learning effective piping techniques can significantly improve the aesthetic appeal and perceived value of their baked goods. For example, a professional baker can decorate a dozen cupcakes with consistent, beautiful swirls in under 5 minutes, whereas a beginner might take 15-20 minutes for the same task with less uniform results. Precision piping also minimizes waste by allowing for controlled application.
Your Guide to Fundamental Cake Decorating Techniques
Welcome to the exciting world of cake decorating! This guide is designed to walk you through the essential skills needed to start using a piping bag effectively. We'll cover everything from understanding the different types of bags and necessary tools to the all-important question of how to fill piping bag correctly and practice basic techniques. Whether you dream of piping perfect rosettes, writing heartfelt messages on cakes, or adding decorative borders, this is where your journey begins.
Learning these foundational techniques will build your confidence and provide a solid base for tackling more complex designs later on. We'll focus on practical, easy-to-follow steps that even absolute beginners can master. By the end of this guide, you'll feel comfortable preparing, filling, and using a piping bag to add beautiful decorative touches to your baked creations. Let's get started on demystifying this essential baking tool!
Exploring Different Types of Piping Bags
Disposable Piping Bags: Benefits and Drawbacks
Disposable piping bags are a popular choice, especially for busy bakers or those working with multiple colors or types of frosting. Their main benefit is convenience; after use, you simply discard them, eliminating the need for washing. This saves significant time and effort, particularly when dealing with greasy frostings or when decorating a large batch of items requiring frequent color changes. They are also often the most hygienic option, as each bag is new and sterile.
However, disposable bags also have downsides. From an environmental perspective, they contribute to waste. While some are made from biodegradable materials, many are standard plastic. Cost can also add up over time if you bake frequently; a pack of 100 disposable bags might cost around $10-$20, which is a recurring expense. Some cheaper disposable bags can also be less durable and prone to bursting if overfilled or used with very stiff frosting.
Reusable piping bags are typically made from materials like silicone, coated fabric, or durable plastic, designed to withstand repeated use and washing. Their primary advantage is their longevity and cost-effectiveness over time. A good quality reusable bag might cost between $5 and $15 but can last for years with proper care, making the long-term investment much lower than continually buying disposables. They are also a more environmentally friendly option, significantly reducing waste.
The main drawback to reusable bags is the cleaning process. They require thorough washing after each use, which can be time-consuming, especially if frosting gets lodged in seams or corners. While modern materials are easier to clean than older canvas bags, it still adds a step to your cleanup routine. Reusable bags also need to be stored properly to prevent mold or mildew growth.
Selecting the Ideal Piping Bag Material: Plastic, Silicone, and Coated Fabric
Choosing the right material for your piping bag depends largely on your personal preferences, frequency of use, and budget.
- Plastic (Disposable): Best for occasional use, multiple colors, or when hygiene is paramount (like in a commercial setting). Offers ultimate convenience.
- Silicone: Flexible and easy to handle, silicone bags offer a good grip and are relatively easy to clean. They are durable and a popular reusable option. They can feel slightly sticky compared to other materials.
- Coated Fabric: Often the most durable and long-lasting reusable option. The coating (usually polyurethane or nylon) makes them less porous than traditional canvas bags, improving hygiene and ease of cleaning. They can be slightly stiffer than silicone bags but offer excellent control.
Consider how often you'll be baking and decorating, the types of frostings you'll use (some materials handle stiff frostings better), and how much you value convenience versus sustainability and long-term cost. Many bakers keep a mix of both disposable and reusable bags on hand for different tasks.
Essential Piping Bag Tools
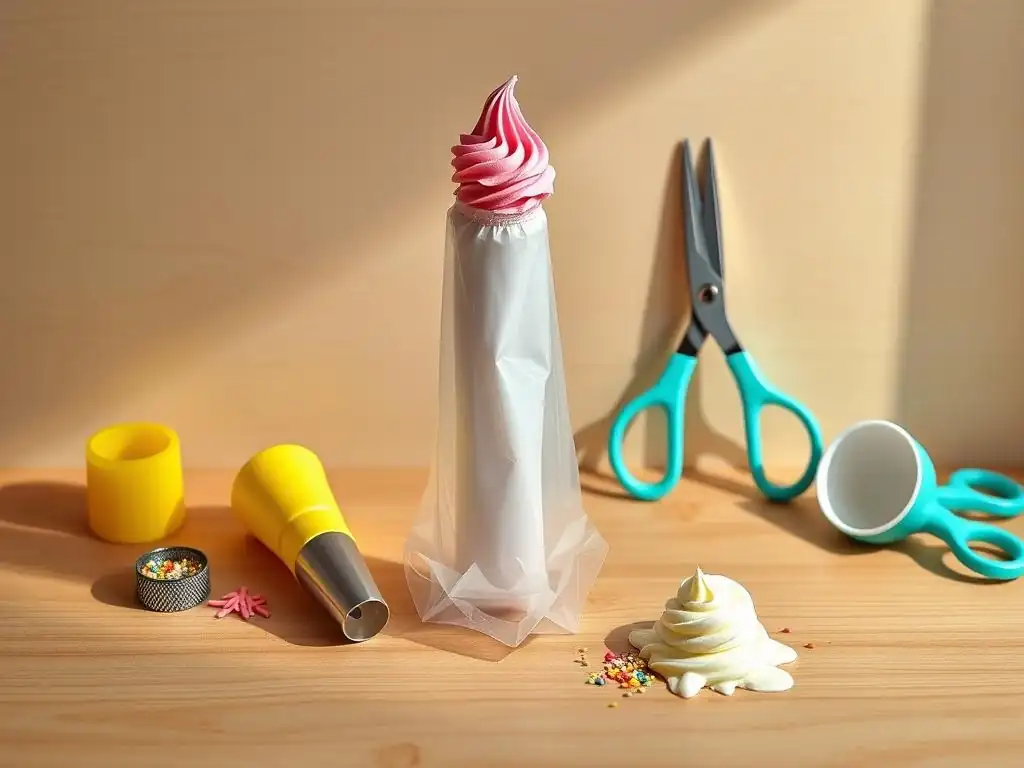
Piping Bags: Choosing the Appropriate Size
Piping bags come in various sizes, typically measured by length, ranging from small 8-inch bags up to large 18-inch or even 20-inch bags. The size you choose depends on the amount of frosting you need to use and the scale of your project.
- Small bags (8-10 inches): Ideal for intricate detail work, writing, or using small amounts of different colored frostings. They are easy to handle for fine lines and small dots.
- Medium bags (12-14 inches): A versatile size suitable for decorating cupcakes, adding borders to cakes, and other general piping tasks. They hold a good amount of frosting without being too unwieldy.
- Large bags (16-20 inches): Best for covering large cakes quickly, filling large areas, or working with stiff doughs like churros. They hold a significant volume of material.
Using a bag that's too small for a large job means constant refilling, while a bag that's too large for detail work can be difficult to control. For beginners learning how to fill piping bag and practice basic techniques, a 12 or 14-inch bag is often a good starting point.
Piping Tips: Understanding Basic Tip Shapes and Applications
Piping tips, also called nozzles, are what give your piped frosting its shape. They are typically made of metal or plastic and come in hundreds of shapes and sizes, each designed for a specific purpose. Understanding a few basic types is key to getting started:
- Round Tips: Produce smooth lines and dots. Small round tips (like #1, #2, #3) are used for fine detail and writing. Larger round tips (like #10, #12) are used for filling, making larger dots, or creating smooth mounds of frosting.
- Star Tips: Create star shapes, shells, zigzags, and rosettes. Open star tips (like #1M, #21) produce defined points, while closed star tips (like #2D) have petals that curve inwards, creating a more ruffled effect. The popular #1M tip is excellent for cupcake swirls and large rosettes.
- Petal Tips: Used for piping ruffles, swags, and flower petals. They have one narrow end and one wider end.
- Leaf Tips: Shaped like a V, used for piping leaves.
Most tips are numbered by the manufacturer (like Wilton or Ateco), and charts are widely available online to show the effect of each number. Starting with a basic set that includes a few round and star tips is recommended.
Couplers: Facilitating Easy Tip Changes
A coupler is a simple two-part tool that allows you to change piping tips without changing the piping bag or emptying the frosting. It consists of a base ring and a coupler ring. The base ring is inserted inside the piping bag before you add frosting, with the narrow part poking out of the hole you cut at the tip of the bag. The piping tip is then placed over the base ring on the outside, and the coupler ring screws on to hold the tip securely in place.
Using a coupler is incredibly convenient when you need to use different tips with the same color frosting, such as piping a border with a star tip and then adding details with a round tip. It saves time and reduces the number of bags you need to prepare and clean. For beginners, learning how to fill piping bag with a coupler already inserted is a valuable skill.
Piping Bag Ties or Clips: Preventing Frosting Leaks
Piping bag ties or clips are simple accessories that help prevent frosting from leaking out of the top of the piping bag while you're working. After filling the bag, you twist the top closed and secure it with a tie or clip.
These ties can be reusable silicone bands, plastic clips, or even just a strong rubber band. Using a tie helps maintain pressure within the bag, making piping easier and more consistent. It also keeps your hands cleaner! While not strictly essential for every single piping task, they are highly recommended for maintaining control and preventing mess, especially when learning how to fill piping bag and handle it for the first time.
Step-by-Step Guide: Filling Your Piping Bag
Learning how to fill piping bag correctly is perhaps the most crucial step after choosing your tools. Proper filling prevents air pockets, leaks, and blowouts, making the piping process much smoother and less frustrating.
Preparing the Piping Bag: Cutting and Securing the Tip
First, you need to prepare the piping bag itself. If you are using a bag without a coupler, insert the piping tip into the narrow end of the bag. Push it down as far as it will go.
Then, hold the bag with the tip pointing down and snip off the very end of the bag just enough so that the tip of the piping nozzle is exposed. Be careful not to cut off too much, or the tip won't stay securely in place. For a standard metal tip, you usually want the opening of the tip to be just slightly past the cut edge of the bag.
If you are using a coupler, insert the coupler base (the ribbed part) inside the bag, pushing the narrow end down towards the tip. Hold the bag with the coupler base pointing down and snip off the end of the bag so that about half of the ribbed part of the coupler base is exposed. Do not cut off too much. Place the piping tip over the exposed coupler base on the outside of the bag, and then screw the coupler ring over the tip and base to secure it tightly.
Efficiently Filling a Piping Bag with Frosting
Once the bag is prepared with or without a tip/coupler, it's time for the main event: how to fill piping bag with your delicious frosting! The goal is to fill it cleanly and efficiently, avoiding mess and air pockets. There are two common methods:
Method 1: Using a Spatula for Frosting Transfer
This is perhaps the most straightforward method for beginners learning how to fill piping bag.
- Prepare Your Station: Have your frosting ready in a bowl. Hold the piping bag open with one hand, or place it tip-down in a tall glass or container and fold the top edges down over the rim. This creates a wide opening and keeps the bag stable.
- Scoop Frosting: Use a rubber spatula or spoon to scoop a generous amount of frosting from the bowl. A standard batch of buttercream (enough for about 12-18 cupcakes) might require filling a 12-inch bag two or three times.
- Transfer to Bag: Use the spatula to carefully transfer the frosting into the piping bag. Scrape the frosting off the spatula against the inside wall of the bag near the opening.
- Avoid Overfilling: Only fill the bag about two-thirds to three-quarters full. Overfilling makes the bag hard to handle and increases the risk of frosting spilling out the top or the bag bursting under pressure.
- Clean the Top Edge: Use your spatula to scrape down any frosting clinging to the inside of the bag's opening. This makes it easier to seal the bag.
Method 2: The Hand-Over-Bag Method for Easy Filling
This method is quick and clean once you get the hang of it, often favored by experienced bakers for its efficiency when learning how to fill piping bag quickly.
- Prepare Your Hand: Hold the piping bag with your non-dominant hand, inserting your hand deep into the bag so that the bag material wraps around your hand and forearm. Your hand inside the bag creates a large, stable opening.
- Scoop with Spatula: Use your dominant hand and a spatula to scoop frosting from the bowl.
- Wipe into Bag: Wipe the frosting off the spatula against the inside of the bag, near your hand. As you add frosting, gently pull your hand out of the bag, allowing the frosting to fill the space left behind.
- Fill Partially: Again, fill only about two-thirds full.
- Clean Edge: Use your spatula to clean the edge of the bag opening as you withdraw your hand completely.
Eliminating Air Pockets in Your Piping Bag
Air pockets are the enemy of smooth, consistent piping. They cause frustrating gaps and spurts in your frosting flow. After filling the bag, it's crucial to eliminate them.
- Gather Frosting: Hold the bag upright, tip pointing down. Gently gather the frosting towards the tip by twisting the top of the bag closed just above the level of the frosting.
- Push Down: With the top twisted, gently squeeze the bag, pushing the frosting down towards the tip. You might see air bubbles move up the bag.
- Tap (Optional): Some bakers gently tap the tip of the bag against the countertop to help stubborn air bubbles rise.
- Squeeze Out Air: Once the frosting is packed towards the tip, hold the bag over your bowl and gently squeeze until frosting starts to come out smoothly, indicating any remaining air has been expelled.
Practicing Fundamental Piping Techniques
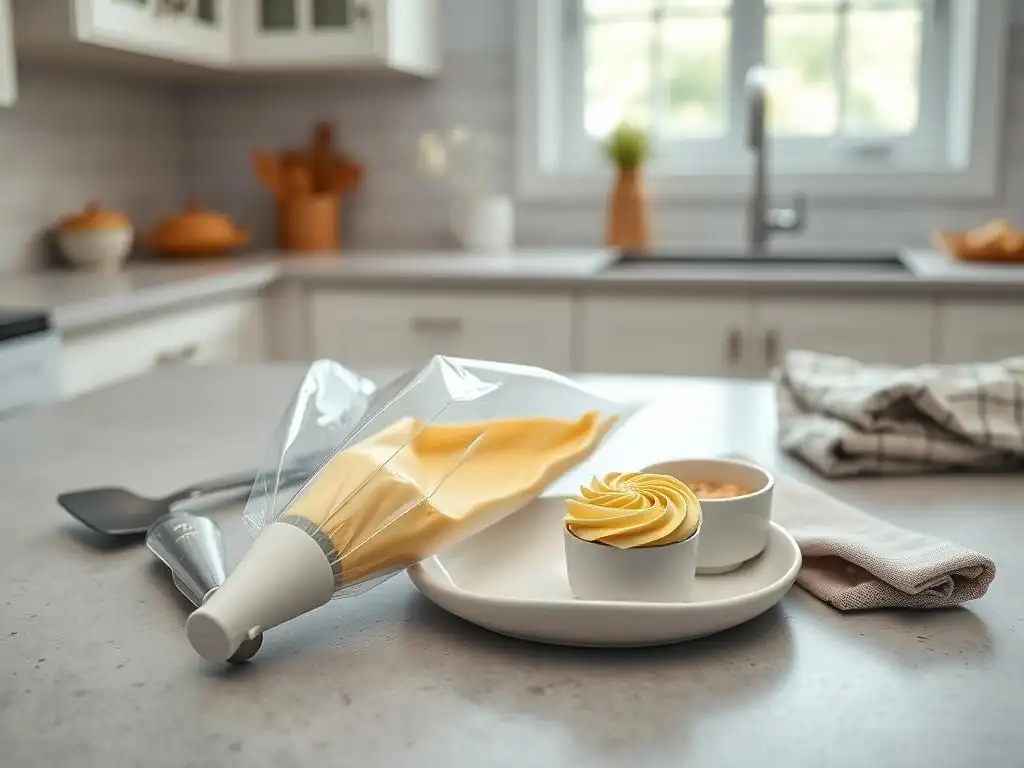
Once your bag is filled correctly (you've mastered how to fill piping bag! ), it's time to practice using it. Don't start on your masterpiece cake! Practice on parchment paper or the back of a baking sheet. You can scrape the practice frosting back into the bowl to reuse it.
Holding the Piping Bag for Maximum Control
Proper grip is key to stable and controlled piping.
- Twist the Top: After filling and removing air, twist the top of the bag tightly just above the level of the frosting. This twist is where you will apply pressure.
- Grip: Hold the twisted part of the bag securely with your dominant hand. This is your "pressure hand."
- Guide: Use your non-dominant hand to gently guide the body of the bag near the tip. This hand provides stability and direction but should not apply significant pressure.
- Angle: Hold the bag at an angle appropriate for the technique you're using (often 90 degrees for dots, 45 degrees for lines or shells).
Maintaining Consistent Pressure for Uniform Designs
Consistency in piping comes from maintaining steady, even pressure on the bag with your dominant hand.
- Even Squeeze: Apply continuous, steady pressure on the twisted top of the bag. Avoid squeezing in bursts unless the technique specifically requires it (like for stars).
- Release Pressure: To stop piping a line or shape, momentarily stop squeezing the bag before pulling the tip away. This helps create clean stops.
- Adjust as Needed: As the bag empties, you'll need to twist the top further down to maintain pressure on the remaining frosting.
Essential Piping Techniques: Lines, Dots, Stars, and Rosettes
Start with these basic techniques on your practice surface:
- Lines: Hold the bag at a 45-degree angle. Apply steady pressure and move the tip along your desired path. Try straight lines, wavy lines, and zigzags. Practice maintaining uniform thickness.
- Dots: Hold the bag at a 90-degree angle directly above the surface. Apply pressure, letting the frosting mound up to your desired size. Stop squeezing and lift straight up. Practice dots of different sizes.
- Stars (using a star tip): Hold the bag at 90 degrees. Apply pressure to create a star shape. Stop squeezing and lift straight up. Practice different sizes and spacing.
- Rosettes (using a star tip like #1M): Hold the bag at 90 degrees. Start in the center, apply pressure, and pipe in a circular motion outwards, or start at the edge and pipe inwards, overlapping slightly. Stop squeezing and pull away.
Practice these shapes repeatedly until you can create them consistently in size and form.
Troubleshooting Common Piping Challenges
Even after learning how to fill piping bag and practicing, you might encounter issues. Don't worry, these are common and fixable!
Preventing Piping Bag Explosions: Avoiding Overfilling
A bursting piping bag is messy and frustrating. The primary cause is overfilling the bag, especially when using very stiff frosting or applying excessive pressure.
- Don't Overfill: As mentioned, only fill the bag about two-thirds to three-quarters full. This leaves enough room at the top to twist and grip comfortably without straining the material. For a 14-inch bag, this means adding maybe 1 to 1.5 cups of frosting at a time, not trying to stuff 3 cups in there.
- Use Durable Bags: If you're using very stiff frosting or find bags bursting often, consider switching to more durable, reusable bags or higher-quality disposable ones.
- Soften Stiff Frosting: If your frosting is too stiff, it puts more strain on the bag. Try stirring in a tablespoon or two of milk, cream, or softened butter to achieve a smoother consistency.
Correcting Frosting Consistency Issues: Stiff or Soft Frosting
The consistency of your frosting significantly impacts piping success.
- Too Stiff: Frosting that is too stiff is hard to squeeze, can cause bags to burst, and results in rough, jagged edges on piped shapes. Remedy by adding a very small amount (like 1 teaspoon to 1 tablespoon) of liquid (milk, cream, or water) or softened butter/shortening. Mix thoroughly until smooth and pliable.
- Too Soft: Frosting that is too soft won't hold its shape, resulting in slumped lines and formless designs. Remedy by adding a small amount (like 1 tablespoon at a time) of sifted powdered sugar or cornstarch. Alternatively, chilling the frosting in the refrigerator for 10-20 minutes can help firm it up.
Always adjust consistency gradually, mixing well and testing a small amount before adding more.
Clearing Blocked Piping Tips: Solutions and Preventative Measures
Sometimes, a piping tip can get clogged, usually by a lump in the frosting (like undissolved sugar or a piece of fruit) or an air bubble.
- Check for Lumps: If the flow stops or becomes uneven, stop piping. Hold the bag upright and gently squeeze to see if you can force the obstruction through. If not, you may need to carefully remove the tip (if using a coupler) or even empty the bag to investigate the blockage.
- Sift Dry Ingredients: To prevent lumps, always sift powdered sugar or cocoa powder when making frosting.
- Smooth Add-ins: If adding small pieces of fruit or nuts, ensure they are finely chopped and evenly distributed. Consider if the tip size is appropriate for any solid add-ins; a small round tip is likely to clog with even tiny pieces.
- Expel Air: Ensure you've properly removed air pockets after learning how to fill piping bag, as trapped air can also cause sputtering and blockages.
Cleaning and Storing Piping Bags

Proper care of your piping bags is essential for hygiene and longevity, especially for reusable ones.
Disposing of Disposable Piping Bags Responsibly
While convenient, disposable bags contribute to waste. If possible, choose biodegradable options. Before discarding, scrape out as much excess frosting as possible into the trash to minimize mess in waste bins. Then, simply place the used bag in the garbage. Avoid rinsing large amounts of grease down the drain, as this can cause plumbing issues.
Thoroughly Cleaning Reusable Piping Bags
Reusable bags require immediate and thorough cleaning after use to prevent frosting from hardening and bacteria from growing.
- Scrape Out Excess: Use a spatula to scrape out as much remaining frosting as you can into the trash.
- Rinse: Turn the bag inside out and rinse it under warm running water.
- Wash: Use warm, soapy water and a brush (a bottle brush works well) or sponge to scrub the inside and outside of the bag, paying close attention to seams and the tip area.
- Rinse Again: Rinse thoroughly with clean water to remove all soap residue.
- Sanitize (Optional): For extra hygiene, you can soak bags in a mild bleach solution (about 1 tablespoon bleach per gallon of water) for a few minutes, then rinse thoroughly.
- Dry Completely: This is crucial! Hang the bags to air dry completely, inside and out, before storing. Damp bags can develop mold. Hanging upside down or using a drying rack designed for bags works well. Cleaning a reusable bag might take about 5-10 minutes depending on how messy it is.
Storing Piping Bags for Hygiene and Longevity
Once completely dry, store reusable piping bags in a clean, dry place. Options include:
- Rolling or folding them neatly and storing in a clean drawer or container.
- Hanging them on hooks.
- Storing them with your piping tips and couplers.
Ensure they are protected from dust and moisture. Proper cleaning and storage will ensure your reusable bags last for many years and remain hygienic for all your baking projects.
Advanced Piping Techniques
Once you're comfortable with the basics and have mastered how to fill piping bag and pipe simple shapes, you can explore more advanced techniques to create stunning effects.
Creating Ombre Effects with Multi-Colored Frosting
Ombre piping creates a beautiful gradient of color.
- Prepare Colors: Tint your frosting in two or three shades of the same color, from lightest to darkest.
- Fill Bag: Place the darkest color frosting along one side of the piping bag's interior, from the tip upwards. Place the medium shade next to it, and the lightest shade next to that, filling the bag. You can also fill the bottom with the darkest color and layer lighter colors on top.
- Pipe: As you pipe, the colors will blend together, creating a lovely gradient effect. You'll need to pipe a little onto a practice surface first until the gradient appears. This technique is great for cupcake swirls or cake borders.
Mastering Complex Designs with Specialty Piping Tips
Beyond basic tips, there are specialty tips for specific designs:
- Basketweave Tips: Create woven patterns.
- Grass/Hair Tips: Produce many fine strands for furry textures or grass.
- Ruffle Tips: Designed specifically for elaborate ruffles and swags.
- Flower Nail Tips: Used with a flower nail to pipe individual buttercream flowers like roses, carnations, and chrysanthemums, which are then transferred to the cake.
Experimenting with these tips requires patience and practice, often building upon the basic pressure and angle control learned with simpler tips.
Developing a Steady Hand for Professional Results
Achieving a steady hand is crucial for clean lines, consistent shapes, and detailed work like lettering.
- Practice, Practice, Practice: There's no substitute for repetition. Spend time practicing lines, curves, and shapes on parchment paper.
- Proper Posture: Stand or sit comfortably with good lighting. Position your body so you are stable and can see your work clearly.
- Use Your Guide Hand: Remember to use your non-dominant hand to guide the bag and maintain stability, especially when piping longer lines or curves.
- Work at the Right Temperature: Ensure your frosting is at a good piping consistency. Frosting that is too warm or too cold can make piping difficult and less controlled.
Developing a steady hand takes time, but the results are well worth the effort, giving your baked goods that polished, professional finish.
Conclusion: Elevate Your Cake Decorating Skills
Recap of Essential Steps for Piping Bag Mastery
You've now taken the crucial first steps towards mastering the piping bag! We've covered selecting the right tools, understanding the different types of bags and tips, the vital process of how to fill piping bag efficiently and cleanly, practicing fundamental techniques like lines and rosettes, troubleshooting common issues, and proper bag care. Remember these key takeaways:
- Choose the right bag size and material for your project.
- Select appropriate piping tips for the desired design.
- Learn how to fill piping bag correctly to prevent air pockets and leaks.
- Practice your grip and pressure control on a flat surface.
- Don't be discouraged by challenges; troubleshooting is part of the process.
- Clean reusable bags immediately and thoroughly.
Continue Your Journey in Cake Decorating
Learning to use a piping bag is a foundational skill that unlocks endless creative possibilities in cake decorating. This guide provides the essential knowledge to get you started. As you become more comfortable, explore different frosting types, experiment with more complex tips and techniques, and find your own style. The world of cake decorating is vast and rewarding. Keep practicing, keep experimenting, and most importantly, have fun turning your baking visions into delicious, beautiful realities!
Frequently Asked Questions
How do I properly prepare a piping bag before filling it?
Before filling, ensure your piping bag is clean and dry. Insert your desired piping tip into the bag and push it down until it's snug. You may need to trim the bag slightly to ensure the tip protrudes.
What's the best way to hold a piping bag while filling it?
The easiest method is to place the bag, tip-down, in a tall glass or jar. Fold the top edges of the bag over the rim of the glass to create a wide opening for easy filling.
How much filling should I put in a piping bag?
Avoid overfilling your piping bag. Generally, fill it no more than two-thirds full. This prevents the filling from spilling out the top and gives you more control.
How do I close the top of the piping bag after filling?
Twist the top of the bag tightly to create a seal. You can use a piping bag tie or a rubber band to secure it, preventing the filling from leaking out.
What do I do if I have air bubbles in my piping bag?
After filling and closing the bag, gently squeeze the bag to push the filling towards the tip. This will help release trapped air bubbles and ensure a smooth, consistent flow.
Final Reflection: Mastering the Art of the Piping Bag
The seemingly simple act of filling a piping bag is, in reality, the gateway to a world of creative culinary expression. From delicate buttercream roses to perfectly swirled frosting, the mastery of this fundamental skill unlocks a universe of possibilities for bakers of all levels. This isn't just about filling a bag; it's about unlocking your potential to create stunning desserts.
The impact of this seemingly small skill extends far beyond the kitchen. It's a testament to the power of precision and patience, qualities that translate to countless other areas of life. The satisfaction derived from creating beautiful, intricate designs with a simple tool is deeply rewarding. As the renowned pastry chef, Pierre Hermé, once said, Pastry is a form of art, and like any art form, it requires dedication, precision, and a passion for perfection.
This sentiment perfectly encapsulates the journey from novice to confident baker, a journey that begins with mastering the humble piping bag.
Now, consider your own journey. Perhaps you've already tried filling a piping bag, experiencing both frustration and triumph. Remember that feeling of accomplishment as you piped your first perfect swirl? Or the satisfaction of seeing your creation come to life? Take that feeling, that sense of achievement, and apply it to other challenges in your life. Embrace the learning process, celebrate small victories, and never underestimate the power of mastering a fundamental skill to unlock your full potential. The next masterpiece is waiting to be created – all it takes is the courage to fill that piping bag.
Unleash Your Inner Pastry Chef!
Thanks for joining us on this journey into the wonderful world of piping! We hope you now feel confident and excited to create beautiful, professional-looking desserts. Ready to put your new skills to the test?
- Master a new piping technique: Try practicing the rose swirl or star tip – the possibilities are endless! Challenge yourself to create a small masterpiece.
- Share your creations: Show off your piping skills on social media and tag us @BakeWithEase – we’d love to see your creations!
- Explore our other tutorials: Discover more piping tips and techniques on BakeWithEase.com, from basic to advanced techniques.
What stunning design will you create with your piping bag next?