
Essential Tools for Working with Buttercream Like a Pro

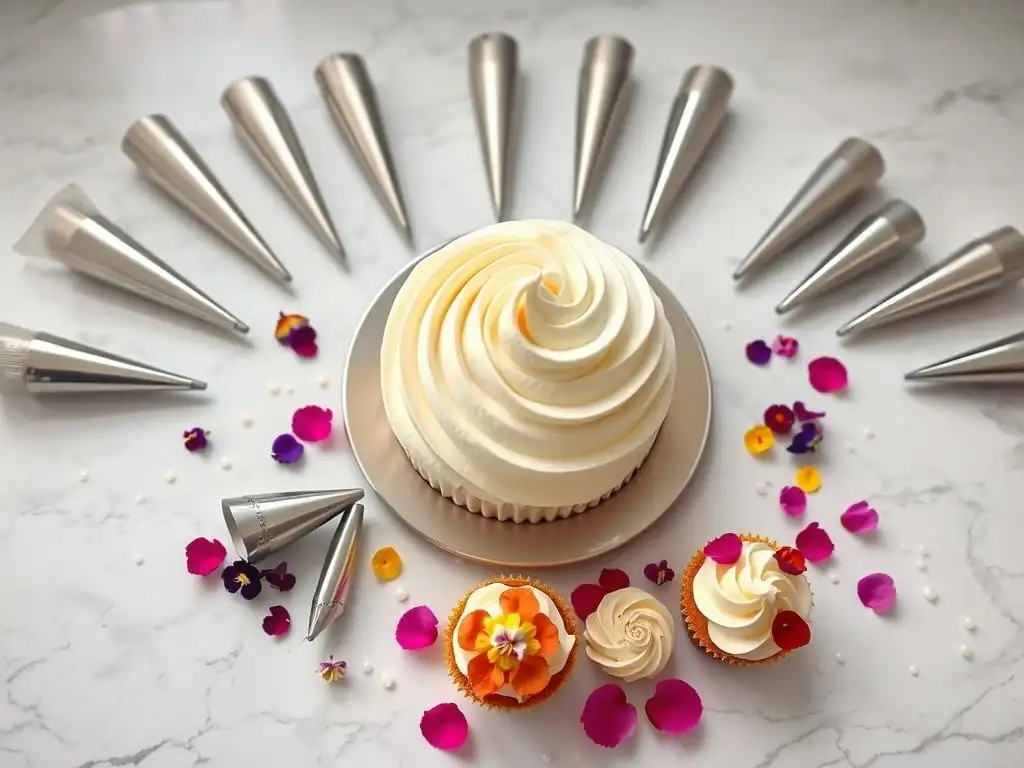
Welcome to BakeWithEase, your trusted guide to the sweet world of baking! Ready to elevate your cake decorating game? Discover the essential secrets to achieving stunning results with our guide to the best buttercream piping tips. Whether you're a seasoned baker or just starting out, we'll unlock the potential of your frosting bag. Want to create professional-looking swirls, rosettes, and borders? Let's dive in and explore the tools that will transform your buttercream into edible art!
- Introduction to Professional Buttercream Techniques
- Must-Have Buttercream Piping Tips for Stunning Decorations
- Essential Buttercream Preparation Tools
- Coloring Your Buttercream: Tools and Techniques
- Buttercream Storage and Application Tools
- Advanced Buttercream Tools for Professional Bakers
- Troubleshooting Common Buttercream Problems
- Conclusion: Mastering Buttercream with the Right Equipment
-
Frequently Asked Questions
- What are the essential tools mentioned in the article for buttercream piping?
- What makes a piping tip the best for buttercream?
- How does the coupler make working with buttercream easier?
- What's the best way to clean buttercream piping tips after use?
- Are there any beginner-friendly piping tips recommended in the article?
- Final Reflection: Mastering the Art of Buttercream
- Unleash Your Inner Pastry Chef!
Introduction to Professional Buttercream Techniques
Elevating Your Baking with Perfect Buttercream
Creating beautiful cakes, cupcakes, and cookies often hinges on mastering the art of buttercream. This versatile frosting is not just a delicious topping; it's a canvas for your creativity. Achieving that smooth, fluffy texture and being able to pipe intricate designs requires more than just a good recipe; it demands the right tools. Think of it like painting – you wouldn't expect stunning results with just your fingers; you need brushes, palettes, and the right kind of paint. Similarly, the journey to professional-looking baked goods decorated with buttercream begins with selecting and understanding your essential equipment.
The quality of your tools directly impacts the quality of your work. A stand mixer, for instance, can make the difference between grainy, inconsistent buttercream and a perfectly smooth, airy consistency. Similarly, the type of piping tip you use dictates the shape and definition of your decorative elements, from simple dots and lines to elaborate flowers and ruffles.
Investing in a few key pieces of equipment can dramatically improve your results and make the process of working with buttercream significantly more enjoyable and less frustrating. It's about building a foundation of reliable tools that empower you to bring your sweetest visions to life.
Why Use the Right Tools for Buttercream Frosting?
Using the appropriate tools for buttercream frosting is crucial for achieving professional results, saving time, and reducing waste. Imagine trying to frost the sides of a cake smoothly with just a dinner knife – it's possible, but incredibly difficult and time-consuming to get an even finish. An offset spatula, designed specifically for this task, makes it effortless to spread and smooth frosting across large surfaces quickly and efficiently. This isn't just about aesthetics; even distribution of frosting contributes to the overall balance of flavors and textures in your finished dessert.
Beyond basic application, specialized tools unlock advanced decorating techniques. For example, attempting to pipe a detailed rose without a petal tip would be impossible. The correct tools provide the precision and control needed for intricate work. Furthermore, having the right equipment often means better handling and storage of your buttercream, ensuring it stays at the perfect consistency for piping or spreading. This minimizes issues like crusting, splitting, or melting, which can ruin your hard work. Ultimately, equipping yourself properly is an investment in your baking skills and the quality of your final product.
Must-Have Buttercream Piping Tips for Stunning Decorations
The Importance of Choosing the Right Piping Tip
Choosing the right piping tip is perhaps the most critical decision when planning your buttercream decorations. Each tip is designed to create a specific shape or effect, and having a variety allows you to execute a wide range of designs, from simple borders and lettering to complex floral arrangements and intricate patterns. Using a tip that's too large for delicate work or too small for bold statements will result in decorations that look clumsy or lack definition. It's like trying to write a fine script with a thick marker – the tool dictates the outcome.
The material and construction of the tip also matter. High-quality piping tips, typically made from stainless steel, are seamless and durable, ensuring clean lines and consistent shapes. Cheaper tips might have seams that disrupt the flow of buttercream or be made from softer metal that bends easily.
Understanding the numbering system used by manufacturers (like Wilton or Ateco) is also key, as specific numbers correspond to specific shapes and sizes. Familiarizing yourself with the different types of tips available is the first step towards mastering the art of piped buttercream decorations and finding the best buttercream piping tips for your projects.
Top Buttercream Piping Tips for Beginners
Starting your buttercream decorating journey can feel overwhelming with the sheer number of piping tips available. However, a few fundamental tips can help beginners achieve a wide range of popular effects. Focusing on these core shapes builds confidence and provides a solid foundation before exploring more specialized options. These basic tips are versatile workhorses in any baker's toolkit and are often included in starter sets marketed as the best buttercream piping tips for new decorators.
Learning to control pressure and angle with these foundational tips is key. Practice on parchment paper before committing to your cake. You'll quickly see how subtle adjustments create different looks, even with the same tip. Mastering these basics will unlock your ability to tackle more complex designs later on.
Round Piping Tips: Creating Simple Borders and Lines
Round tips are arguably the most fundamental of all piping tips. They come in a vast range of sizes, from tiny ones (#1 or #2) perfect for fine writing and delicate dots, to large ones (#12 or #A1) ideal for bold dots, borders, or filling large areas quickly. A medium-sized round tip, like a #5 or #8, is excellent for creating outlines, simple messages, and classic bead borders around the edge of a cake.
To use a round tip effectively for lines or dots, hold the piping bag directly above the surface and apply steady pressure. For dots, stop squeezing and pull the bag straight up. For lines, maintain pressure while moving the bag smoothly along your desired path. Varying the pressure or speed allows for different line thicknesses and effects. A set including a few key sizes is considered essential among the best buttercream piping tips for any beginner.
Star Piping Tips: Making Classic Stars and Rosettes
Star tips are instantly recognizable for creating the iconic star shape and are indispensable for piping rosettes, shells, and ruffled borders. They come in two main varieties: open star tips (like #1M or #21) and closed star tips (like #2D or #32). Open star tips produce more defined, pointed edges, while closed star tips create a more ruffled or swirled effect. The size of the tip and the number of points also vary, influencing the final look.
The #1M open star tip is a perennial favorite and often cited as one of the best buttercream piping tips for beginners due to its versatility. It's perfect for piping quick and easy rosettes (just hold the tip perpendicular to the surface, squeeze, and swirl outwards slightly before stopping pressure) or classic star borders. Closed star tips, like the #2D, are fantastic for creating beautiful, full swirls on cupcakes.
Petal Piping Tips: Crafting Realistic Flowers
Petal tips are specifically designed to create realistic flower petals and ruffles. They have an opening that is wide and rounded on one side and narrow or pointed on the other. By controlling the angle and movement of the tip relative to the surface, you can create various types of petals, from delicate rose petals to ruffled borders. Common petal tips include #104 (for roses) and #124 (for larger petals).
To pipe a rose petal, hold the bag with the wider end of the tip towards the base of the flower (or the surface) and the narrow end pointing outwards. As you squeeze, move the tip slightly back and forth while rotating the cake or cupcake. This motion, combined with the tip's shape, forms the characteristic wavy edge of a petal. Mastering petal tips takes practice, but the results are incredibly rewarding, making them a key component when seeking the best buttercream piping tips for floral designs.
Leaf Piping Tips: Adding Greenery to Your Designs
Leaf tips are essential for adding realistic greenery to your buttercream flowers and arrangements. These tips have a V-shaped opening, often with serrated edges to create a natural vein-like texture. Common leaf tips include #67 and #352. They are relatively simple to use but add a professional touch to floral compositions.
To pipe a leaf, position the tip with the V-opening pointed outwards at the desired angle. Apply firm pressure to create the base of the leaf, then gradually decrease pressure as you pull the tip away, creating a tapered point. A slight jiggle or squeeze-and-release motion can enhance the natural look of the leaf with veins. They are a must-have accessory alongside the best buttercream piping tips for flowers.
Speciality Piping Tips: For Unique Buttercream Effects
Beyond the basic shapes, a world of specialty piping tips exists to create unique and intricate buttercream effects. These include basketweave tips (for creating woven textures), grass/hair tips (with multiple small holes), ruffle tips (with a curved opening), and even tips designed for specific patterns like swirls or shells. While not essential for every project, they allow for creative exploration and add advanced techniques to your repertoire.
Examples include the #233 grass tip, which is perfect for piping grass on a cake or creating furry textures on animal designs. Basketweave tips (#46 or #47) are used to create a woven pattern by piping overlapping lines. Exploring these specialty tips expands your decorating possibilities significantly, complementing your collection of the best buttercream piping tips for standard designs.
Essential Buttercream Preparation Tools
Stand Mixers: Achieving Smooth and Consistent Buttercream
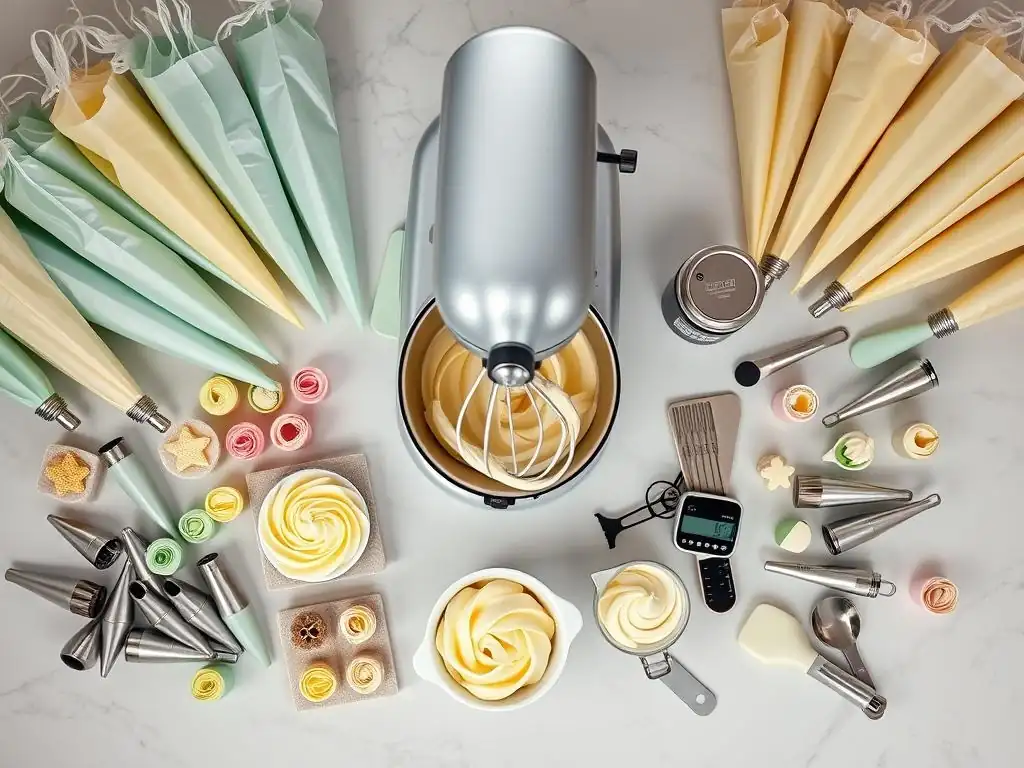
A stand mixer is arguably the most valuable tool for making buttercream, especially in larger quantities. Its powerful motor and planetary mixing action ensure that butter and sugar are creamed together thoroughly and that air is incorporated evenly, resulting in light, fluffy, and consistent buttercream every time. While hand mixers can work for smaller batches, a stand mixer handles stiff butter and large volumes with ease, reducing strain on you and your appliance.
Using a stand mixer allows you to walk away while the ingredients are creaming, freeing you up for other tasks. The consistent speed and power are key to achieving the correct texture – creaming butter and sugar for several minutes (often 5-10 minutes) on medium speed is essential for light and airy results. This process emulsifies the ingredients and incorporates air, which is vital for pipeable and spreadable buttercream. A good stand mixer is an investment that pays dividends in the quality and consistency of your baked goods.
Spatulas: Perfect for Scraping and Folding
Spatulas are the unsung heroes of the baking world, and you'll need several types when working with buttercream. Their primary functions include scraping down the sides of the mixing bowl to ensure all ingredients are incorporated, folding in flavorings or colors gently, and transferring buttercream from the bowl to piping bags or containers. Having a few different sizes and shapes makes various tasks easier.
Silicone spatulas are preferred because they are flexible, heat-resistant, and non-stick, making them ideal for scraping every last bit of buttercream from a bowl. A sturdy rubber spatula is also useful for heavier mixing or folding. Ensure your spatulas are comfortable to hold and have a good balance of flexibility and firmness for efficient scraping and mixing.
Offset Spatulas: For Even Frosting Application
Offset spatulas are specifically designed for spreading and smoothing frosting onto cakes and other large surfaces. They feature a blade that is bent at an angle away from the handle, which keeps your knuckles from dragging through the frosting as you work. They come in various sizes, from small ones (4-inch blade) for cupcakes and tight spots to large ones (10-inch or 12-inch blade) for frosting the sides and tops of multi-layer cakes.
Using an offset spatula allows you to apply even pressure across the surface of the cake, helping you achieve a smooth, professional finish. The angled blade makes it easy to level the top of the cake and create sharp edges on the sides. For best results, apply a generous amount of buttercream to the cake and use the offset spatula to spread it out, then go back with a lighter touch to smooth the surface, dipping the spatula in hot water and wiping it dry can help achieve an extra smooth finish.
Bench Scrapers: Smoothing Buttercream Surfaces
While often associated with bread making for portioning dough, a bench scraper (also called a bowl scraper or dough scraper) is an invaluable tool for achieving perfectly smooth sides on a frosted cake. It's typically a rectangular piece of metal or plastic with a straight, firm edge. Holding it against the side of a cake while rotating it on a turntable allows you to scrape away excess buttercream and create a perfectly straight, smooth vertical surface.
Using a bench scraper takes a little practice, but it's the most effective way to get those coveted sharp edges on your cake. Apply a thick layer of buttercream to the sides of the cake first, then hold the bench scraper perpendicular to the turntable, pressing gently against the side of the cake. Rotate the turntable smoothly, allowing the scraper to remove the excess frosting. Clean the scraper frequently between passes for the smoothest finish.
Measuring Cups and Spoons: Ensuring Accurate Ratios
Accuracy in baking is paramount, and this holds true for buttercream as well. The ratios of butter to sugar, liquid, and flavorings are critical to achieving the desired consistency and flavor. Using standard dry measuring cups for powdered sugar and liquid measuring cups for milk or cream ensures you're adding the correct volume of each ingredient. Measuring spoons are essential for smaller quantities of extracts or flavorings.
While some experienced bakers might eyeball certain ingredients, especially when adjusting consistency, starting with precise measurements from a recipe is the surest way to guarantee success. A slight deviation in the amount of liquid, for example, can make your buttercream too thin for piping intricate designs with even the best buttercream piping tips. Investing in a good set of measuring cups and spoons is a basic but essential step in preparing consistent, high-quality buttercream.
Coloring Your Buttercream: Tools and Techniques
Gel Food Colors: Achieving Vibrant and Consistent Hues
When coloring buttercream, gel food colors are the preferred choice over liquid food coloring. Gel colors are highly concentrated, meaning you need only a small amount to achieve vibrant hues without adding excess liquid, which can alter the consistency of the buttercream. They come in a vast spectrum of colors, allowing for endless creative possibilities.
To use gel colors, it's best to add them gradually using a toothpick or the tip of a small spoon, mixing thoroughly after each addition until you achieve the desired shade. Remember that colors often deepen slightly as they sit. Gel colors disperse evenly throughout the fat in the buttercream, resulting in consistent, streak-free colors. They are widely available and a staple tool for any decorator.
Color Charts: Understanding Color Combinations
While not a physical tool in the traditional sense, a color chart or understanding basic color theory is incredibly helpful when coloring buttercream. Knowing how primary colors (red, blue, yellow) combine to create secondary colors (green, orange, purple) and how adding white or black affects shades and tints allows you to mix custom colors accurately. Many gel food coloring brands also provide charts or guidelines for mixing specific shades.
Experimenting with small batches of buttercream is the best way to learn how colors interact and how much gel color is needed for different intensities. For example, achieving a true red or black often requires a significant amount of gel color and may benefit from starting with a darker base like chocolate buttercream. Understanding color principles saves time and prevents wasted buttercream by allowing you to mix the perfect shade on the first try.
Mixing Bowls: Preparing Different Shades of Buttercream
Having an assortment of mixing bowls is essential when you need multiple colors of buttercream for a single project. Dedicated bowls for each color prevent cross-contamination and allow you to mix different shades simultaneously. Glass or stainless steel bowls are easy to clean and don't retain colors or odors.
Small bowls are perfect for mixing small quantities of accent colors, while larger bowls are needed for base colors that cover the majority of the cake. Using separate bowls also makes it easy to adjust the consistency of individual colors if needed. For instance, you might need one color slightly firmer for piping delicate flowers with the best buttercream piping tips and another color softer for crumb coating.
Buttercream Storage and Application Tools
Piping Bags: Disposable vs. Reusable Options
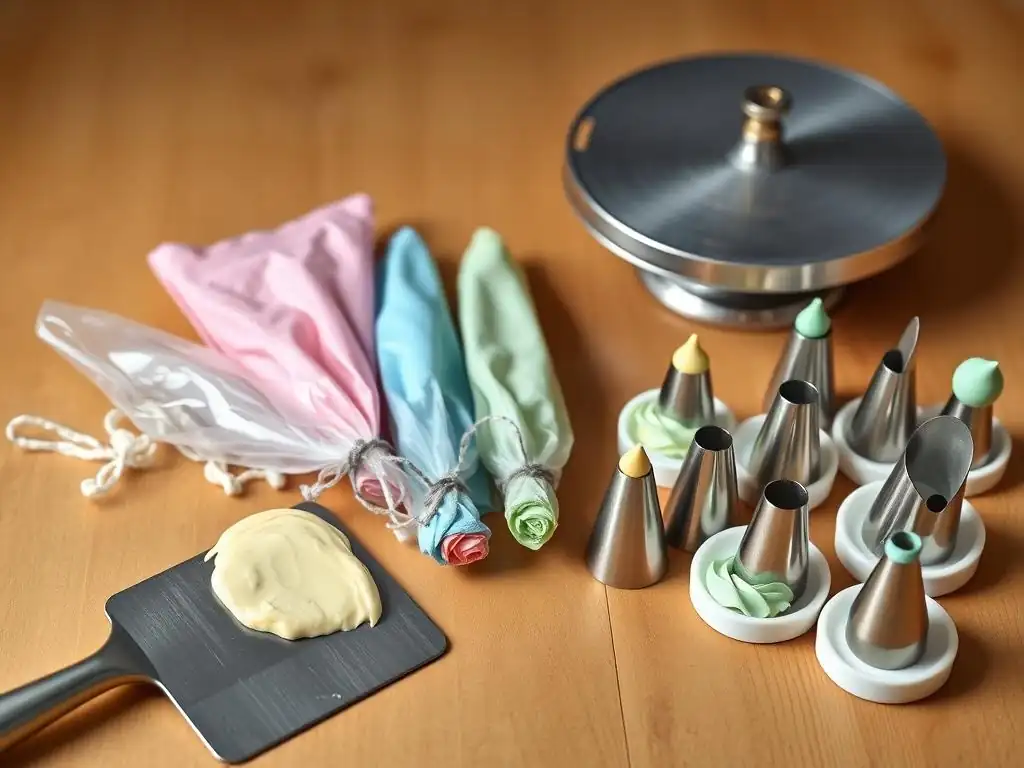
Piping bags are the vessel that holds your buttercream, allowing you to control its flow through piping tips. You have two main options: disposable or reusable bags. Disposable piping bags, often made from plastic, are convenient as they require no cleaning – simply use and discard. They are ideal for projects with many color changes or when working with strong colors that might stain reusable bags.
Reusable piping bags are typically made from nylon, silicone, or plastic-coated cotton. They are more environmentally friendly and durable but require thorough cleaning after each use. Reusable bags often feel more substantial in your hand and offer good grip. The choice between disposable and reusable often comes down to personal preference, volume of work, and cleaning tolerance. Both types work effectively with the best buttercream piping tips.
Couplers: Switching Piping Tips with Ease
Couplers are incredibly useful adapters that allow you to change piping tips on a piping bag without changing the bag itself. A standard coupler consists of two parts: a base that goes inside the piping bag before the tip, and a ring that screws onto the outside of the bag, securing the tip in place. This is particularly handy when you want to use the same color buttercream for different designs requiring different tips.
Using a coupler means you only need one bag of a specific color buttercream, rather than filling multiple bags with the same color but different tips. This saves time, reduces the number of bags used (especially helpful with disposable bags), and minimizes waste. Standard couplers fit most small to medium-sized tips, including many of the best buttercream piping tips for beginners like round and star tips.
Cake Turntables: Rotating for Smooth Application
A cake turntable is a simple yet revolutionary tool for anyone decorating cakes with buttercream. It allows you to easily rotate the cake while applying and smoothing frosting, piping borders, or adding details. This continuous, smooth rotation is essential for achieving even coverage and straight lines on the sides of the cake.
Turntables come in various materials (plastic, metal, glass) and styles (manual or ball-bearing for smoother spin). A sturdy turntable with a non-slip base is recommended to prevent the cake from shifting. Whether you're applying a crumb coat, smoothing the final layer with an offset spatula, or piping intricate designs with the best buttercream piping tips, a turntable makes the process significantly easier and the results more professional.
Advanced Buttercream Tools for Professional Bakers
Airbrush Systems: Creating Gradient Effects
For advanced decorators looking to add unique visual effects, an airbrush system can be a powerful tool. Airbrushing involves using a small compressor to spray edible liquid colors (specifically designed for airbrushing) onto the surface of the buttercream. This allows for the creation of smooth gradients, ombre effects, and soft, blended colors that are difficult or impossible to achieve with traditional piping or spreading methods.
Airbrush systems require practice to control the spray and pressure effectively. They are particularly useful for covering large areas quickly with an even layer of color or for adding subtle shading and highlights to enhance details created with piping tips. While a significant investment compared to basic tools, an airbrush opens up a new realm of artistic possibilities for buttercream decoration.
Stencils: Adding Intricate Patterns
Stencils provide a quick and easy way to transfer intricate patterns or designs onto a buttercream surface. They are typically made from thin plastic and feature cut-out designs. To use a stencil on buttercream, chill the frosted cake until the buttercream is firm. Then, place the stencil gently against the surface and apply a thin layer of buttercream (or sometimes royal icing or edible paint) over the stencil using an offset spatula or scraper. Carefully peel back the stencil to reveal the design.
Stencils can range from simple geometric shapes and dots to complex lace patterns and images. They are a fantastic tool for adding sophisticated details without the need for advanced freehand piping skills. Ensure the buttercream is firm enough to hold the stencil in place without indenting but not so hard that it cracks when the stencil is applied.
Texture Combs: Achieving Unique Textures on Buttercream
Texture combs are specialized bench scrapers designed with various patterns along their edges – waves, stripes, zigzags, etc. These combs are used on the sides of a frosted cake to create decorative textures. After applying a generous, even layer of buttercream to the sides of the cake, hold the texture comb against the buttercream surface and rotate the cake on a turntable, similar to using a regular bench scraper.
The pattern on the comb will be imprinted into the buttercream, creating a consistent, decorative texture around the entire cake. Texture combs are available in sets with multiple patterns, allowing for a wide variety of finishes. They offer a relatively simple way to elevate the visual appeal of a cake beyond a smooth finish or basic piped border from the best buttercream piping tips.
Troubleshooting Common Buttercream Problems
Tools for Fixing Seized Buttercream
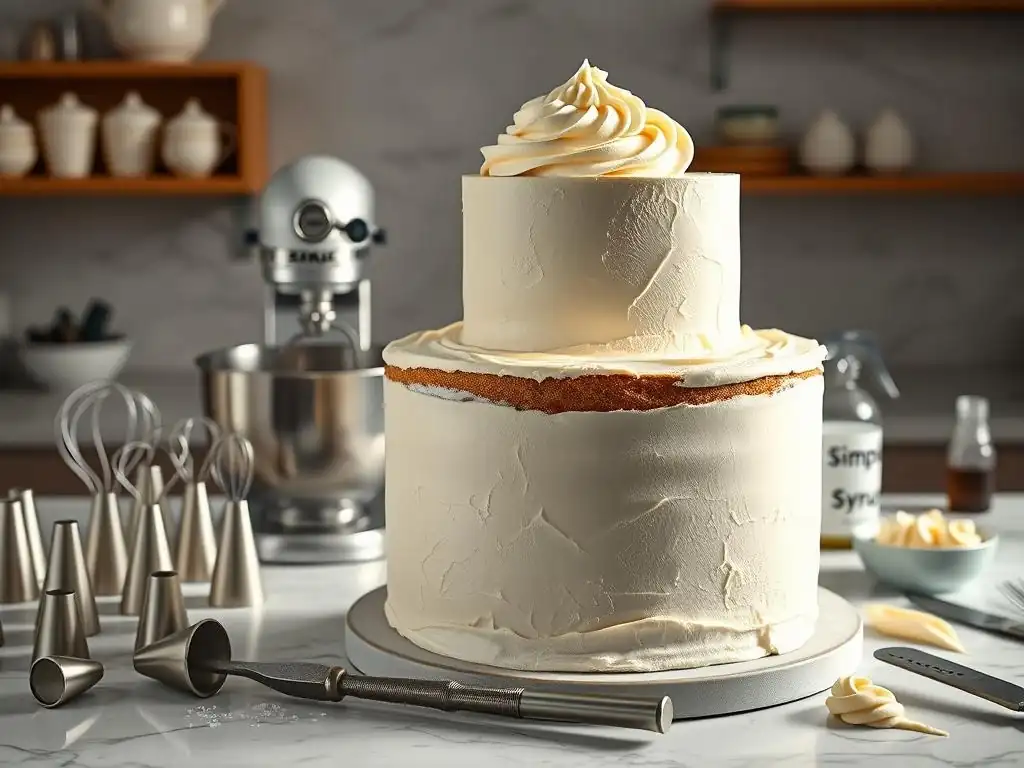
Buttercream can sometimes "seize" or curdle, appearing lumpy and separated. This often happens if the temperature of the ingredients is off or if liquid is added too quickly. While frustrating, seized buttercream can often be rescued with the right tools and technique. A stand mixer or hand mixer is key here.
Often, simply continuing to beat the buttercream on medium-high speed for several minutes will help it come back together as the friction from the mixer blades warms the mixture slightly and re-emulsifies the fats and liquids. If it seems too cold, carefully warm the bottom of the mixing bowl over a double boiler (not direct heat) for a few seconds, then return it to the mixer and beat again.
Sometimes, adding a tablespoon of warm milk or cream while mixing can also help bring it back to a smooth consistency, making it ready for piping with your best buttercream piping tips.
Adjusting Buttercream Consistency with the Right Tools
Achieving the perfect buttercream consistency is crucial for both spreading and piping. If your buttercream is too stiff, it will be difficult to spread smoothly and challenging to pipe intricate details, potentially even clogging your best buttercream piping tips. If it's too soft, piped shapes will lose definition and might melt. The right tools help you make these adjustments.
If the buttercream is too stiff, you can loosen it by adding a small amount (start with a teaspoon) of liquid, such as milk, cream, or even a clear extract, while mixing on low speed using your stand or hand mixer. Mix until fully incorporated, then check consistency. Repeat if necessary.
If it's too soft, you can stiffen it by adding a small amount of powdered sugar (a tablespoon or two) while mixing, or by chilling the buttercream in the refrigerator for 15-20 minutes, then re-whipping it with your mixer. Spatulas are useful for stirring small amounts or scraping down the bowl during these adjustments.
Conclusion: Mastering Buttercream with the Right Equipment
Investing in Quality Buttercream Tools for Baking Success
Mastering buttercream is an achievable goal for any baker, and the right tools are your trusted companions on this journey. From the power of a stand mixer to achieve that perfect fluffy texture, to the precision offered by a variety of piping tips for stunning decorations, each tool plays a vital role. Investing in quality equipment means your tools will be durable, perform consistently, and make the process more efficient and enjoyable. You don't need every tool right away, but building a collection of essential items over time will significantly enhance your baking capabilities.
Think of your tools as an extension of your hands and creativity. The best buttercream piping tips unlock intricate designs, while a good offset spatula helps you achieve a flawless finish. A sturdy turntable and bench scraper make frosting cakes smoother and faster. By understanding the purpose of each tool and how to use it effectively, you gain confidence and control, allowing your focus to shift from struggling with technique to expressing your artistic vision through delicious buttercream.
Where to Find the Best Buttercream Piping Tips and Equipment
Finding the best buttercream piping tips and other essential equipment is easier than ever. Local craft stores often carry a wide selection of piping tips, bags, and basic decorating tools. Specialty baking supply stores are excellent resources for a broader range of professional-grade equipment, including various tip sizes, texture combs, and advanced tools like airbrush systems.
Online retailers offer unparalleled selection and competitive pricing, allowing you to compare different brands and read reviews from other bakers. Look for reputable suppliers known for quality baking tools. Consider starting with a basic set of the best buttercream piping tips that includes essential round, star, and petal tips, then expand your collection as your skills and project complexity grow. Remember, the right tools, combined with practice and patience, are the key to transforming simple ingredients into edible works of art adorned with beautiful buttercream.
Frequently Asked Questions
What are the essential tools mentioned in the article for buttercream piping?
The article highlights several essential tools, including a good quality piping bag, a variety of piping tips (especially round, star, and petal tips), and a coupler for easy tip changes.
What makes a piping tip the best for buttercream?
The "best" piping tip depends on the desired effect. Generally, durable stainless steel tips are preferred for their longevity and ability to create crisp, clean designs with buttercream.
How does the coupler make working with buttercream easier?
A coupler allows you to quickly and easily switch between different piping tips without having to change the entire piping bag, saving time and reducing mess when working with various buttercream designs.
What's the best way to clean buttercream piping tips after use?
Immediately after use, rinse the tips with hot, soapy water. For stubborn buttercream, use a small brush to remove any residue before drying them completely.
Are there any beginner-friendly piping tips recommended in the article?
Yes! The article suggests starting with large round and star tips as they are versatile and easy to control, making them perfect for learning basic buttercream techniques.
Final Reflection: Mastering the Art of Buttercream
The pursuit of the perfect buttercream rose, the flawlessly smooth frosting swirl – these aren't just aesthetic goals; they're testaments to skill, precision, and a deep understanding of your tools. In today's visually-driven world, the ability to create stunning buttercream designs is more relevant than ever, impacting everything from professional baking businesses to home bakers sharing their creations online. The demand for beautiful, expertly-piped buttercream is high, and mastering the techniques discussed in this article is key to success.
The journey of learning to work with buttercream is a deeply rewarding one. It's about more than just achieving a technically perfect result; it's about the creative process, the satisfaction of transforming simple ingredients into something beautiful, and the joy of sharing that creation with others. The best things in life are homemade.
This sentiment rings especially true when considering the personal touch and artistry involved in creating buttercream masterpieces. The techniques and tips explored here are not merely instructions; they are pathways to unlocking your own creative potential and finding joy in the process.
Now, it's your turn. Consider the tips and techniques discussed within this article, and reflect on how you can incorporate them into your own baking journey. Experiment with different piping tips, explore various buttercream consistencies, and most importantly, don't be afraid to get creative! The world of buttercream is vast and exciting, and with practice and dedication, you too can master the art of creating stunning, professional-quality buttercream designs. Embrace the challenge, and let your creativity flourish.
Unleash Your Inner Pastry Chef!
Thanks for diving into the world of perfect buttercream! We hope you've gained valuable insights into creating those smooth, dreamy frosting masterpieces. Ready to put your new skills to the test?
- Master your first buttercream rose: Grab your piping bag and tips and practice creating that classic swirl. Share your results with us—we'd love to see your creations!
- Experiment with flavour infusions: Try adding extracts, spices, or even fruit purees to create unique and delicious buttercream variations. What exciting new flavor will you discover?
- Join our Baking Buddies Community: Connect with fellow bakers, share tips, and get inspired by others’ stunning buttercream designs. Let's create a beautiful baking community together!
What incredible buttercream creation will you bake next?